

A soft breeze of air passing through a cute little desktop fan mounted on your desktop. What else is needed to feel great while working?
The problem with most desktop fans is that they provide random airflows, not constant wind. Dyson overcame this problem and created a wonderful product, commonly known as the “Dyson Fan” or “Bladeless Fan”.
Note:
It is known as a fan without blades, not because it does not have fan blades, but because the fan is invisible and is located below.
In this manual, the author of this homemade tried to create a dyson fan in home conditions using cardboard and DC motor with high rotation speed. This brushless fanDo it yourself»Looks exceptionally good and copies the uniform movement of the air flow. However, he is not standing next to a commercial Dyson fan.
Having achieved the result in the manufacture of this fan, the author assures that the attempt was worth it. Try to make this wonderful device at home, but for best results, try to keep the bend as even and smooth as possible, and the gap between the loops should be about 1 mm at the back.
Step One: Watch the video on making this homemade product
Also, study the following steps for more information and to view the necessary images that will help you understand the basic principles of making homemade products.
Step Two: Prerequisites
• High speed DC motor
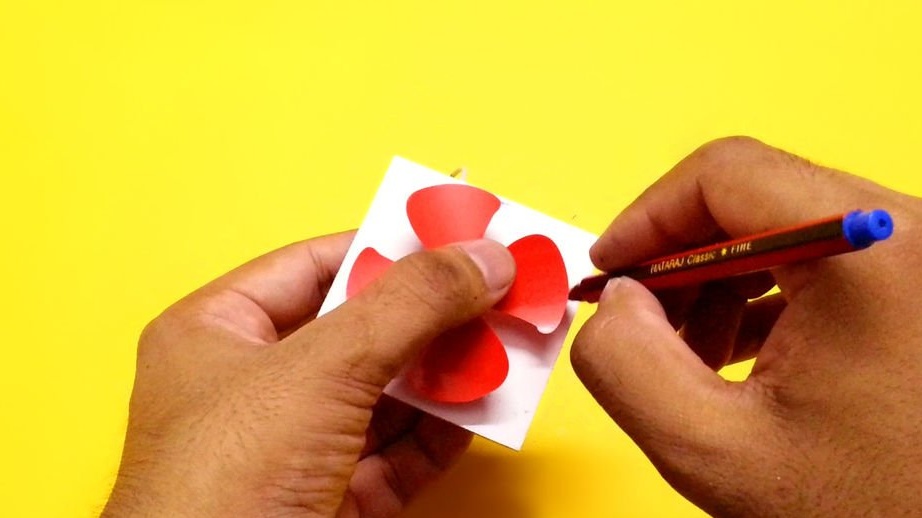
• Propeller
• DC adapter
• DC adapter jack
• switch
• Heat Shrink Tubing
• Stationary knife
• Hot glue gun
Materials and tools that everyone has at home:
• cardboard
• ruler
• compass
• connecting wires
• mini drill.
You can use any miniature drill or a screwdriver.
Step Three: Preparing the Product Base
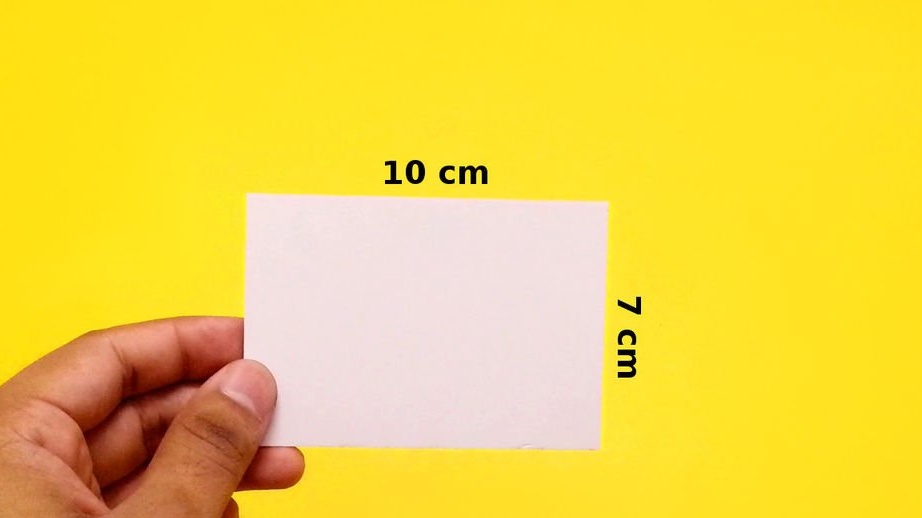

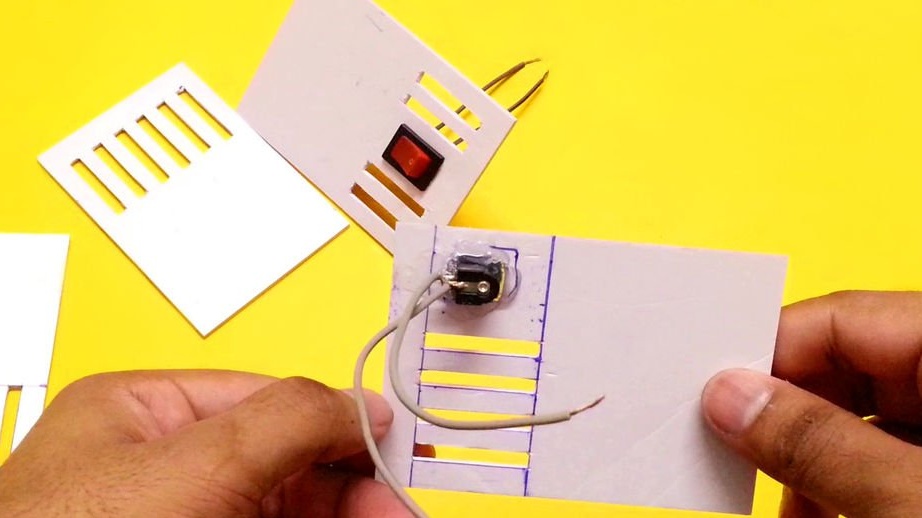

• Take 4 pieces of cardboard measuring about 10 x 7 cm.
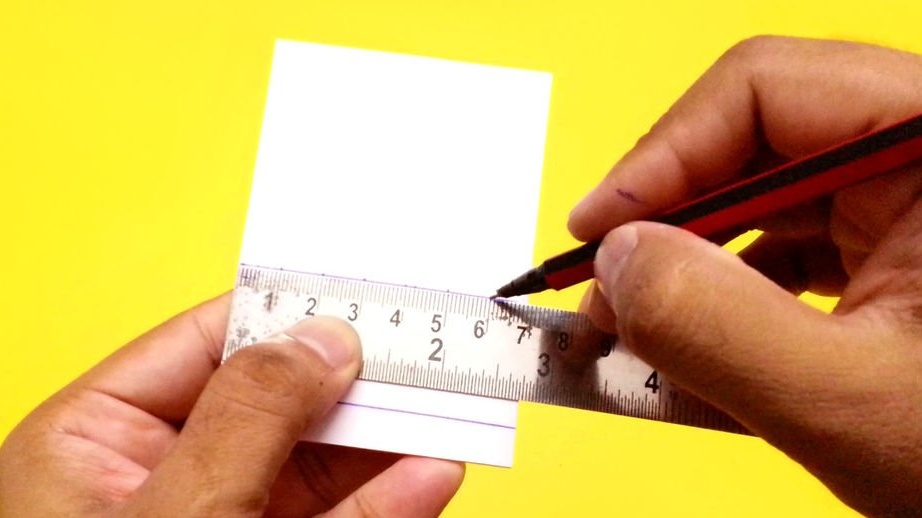
• Using a ruler, mark 6 equally spaced points and draw 6 lines of columns on one piece.
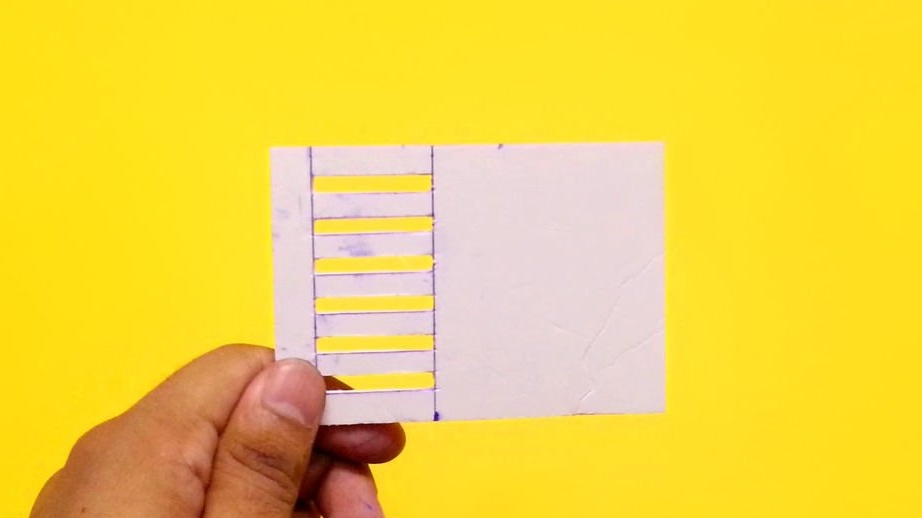
• Using a knife, cut the slots along the marked lines.
• Make 2 identical cardboard pieces with slots.
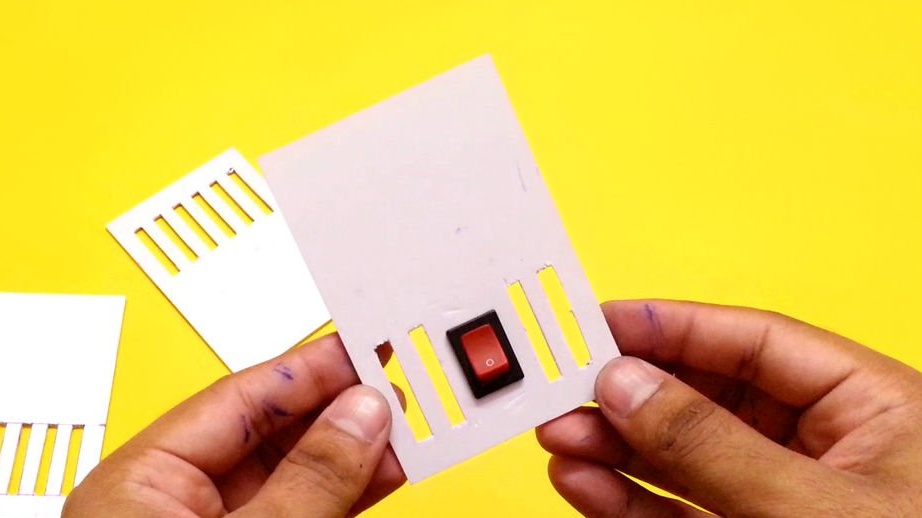
• Take another piece of cardboard and insert the switch in the center from the bottom.
• On the 4th cardboard element, make a groove for inserting the DC circuit breaker and fix it with hot glue.
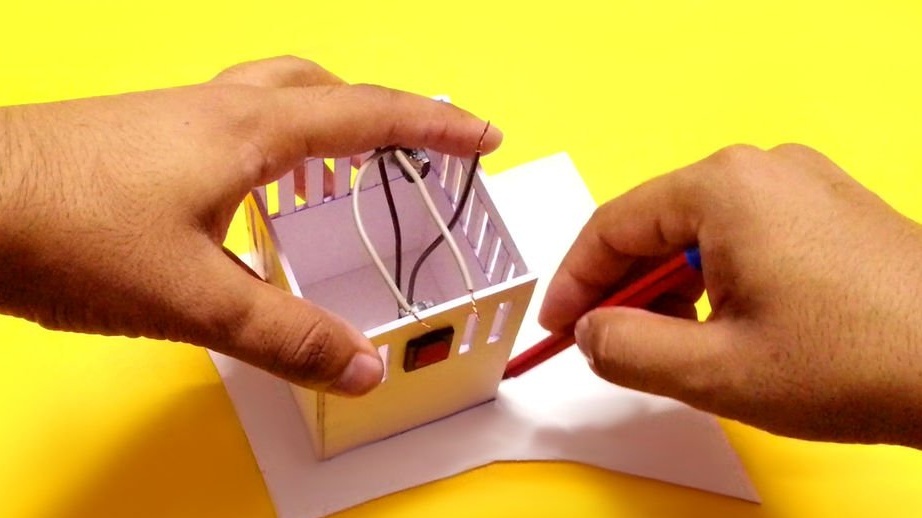
• Using hot glue, glue all 4 pieces of cardboard together to form a square base.
Note:
Refer to the images above to avoid errors.
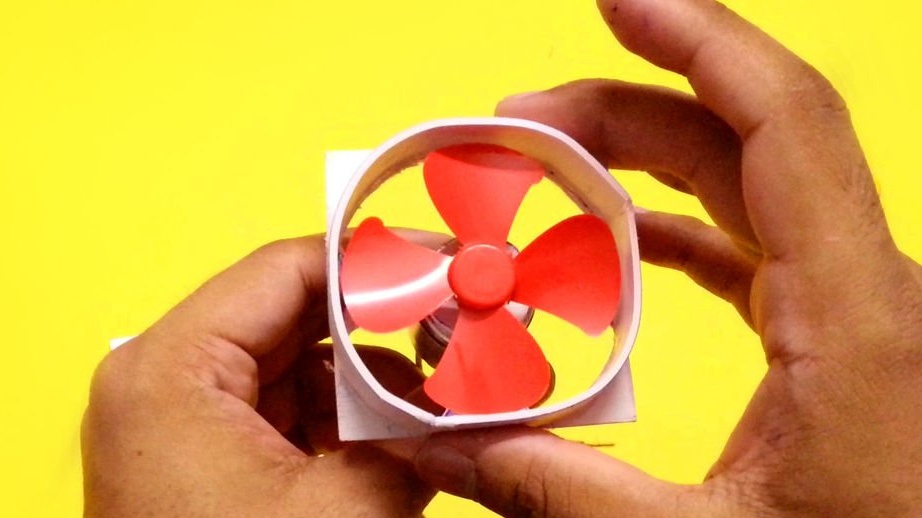
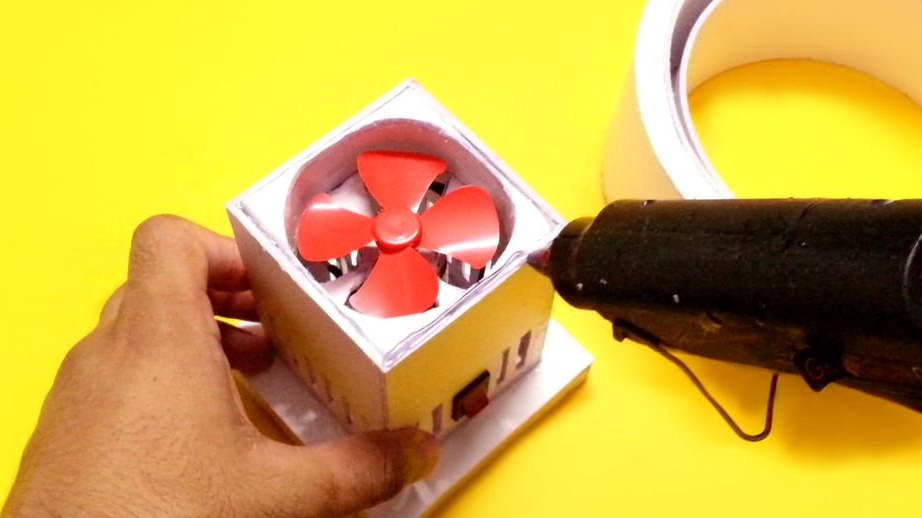
Step Four: Making a Fan Case
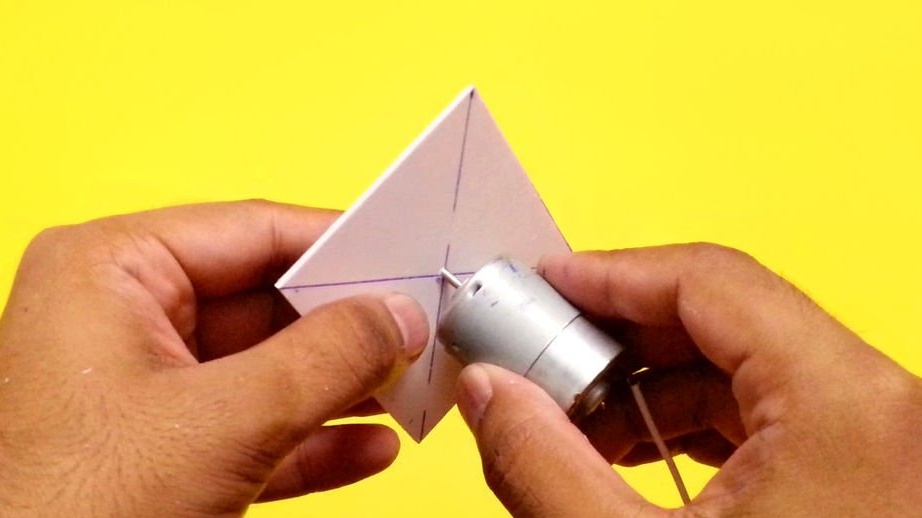


• Place the square base made in the previous step on a piece of cardboard.
• Cut a piece of cardboard that can fit inside the square.
• Using a mini-drill for PCBs, make a hole in the center of the square.
• Insert the DC motor through the hole and mark the mounting holes.
• Make mounting holes using a mini drill.
• Put the fan blades on the motor shaft and mark the diameter of the fan on a cardboard sheet.
• Cut a piece of cardboard as shown in the figure above.
• Using hot glue, cover the fan cowl with a piece of cardboard.
• Mount the engine with screws and mount the propeller on the motor shaft.
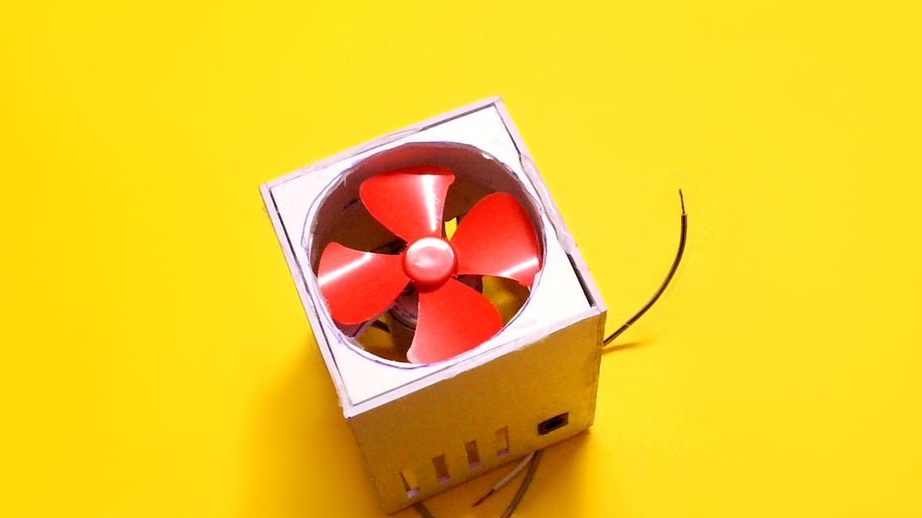
• Finish making the fan casing and insert it into the square base.
Place the chassis on a square cardboard platform.
Note:
Be sure to watch the video and refer to the images attached above to avoid errors.
Step Five: Connecting Components


• Refer to the attached wiring diagram and connect electronic components among themselves.
• Connect the motor terminal to the DC connector.
• Connect another motor terminal to the switch terminal.
• Connect another switch connector to the DC connector.
• Connect the power adapter and turn on the fan.
• Make sure that the airflow direction is outward; if not, swap the motor connection.
• Insert the square base onto the platform as shown in the figure above.
Step Six: Where the Whirlwind Is Born
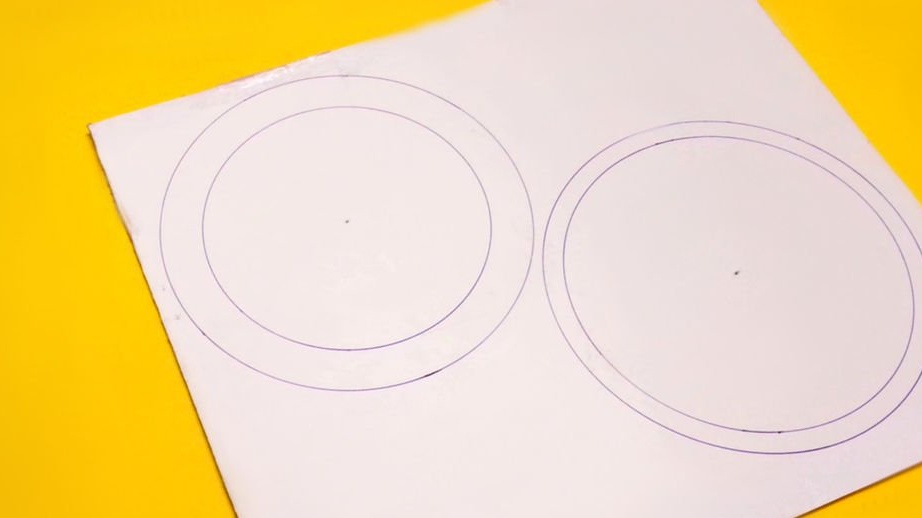

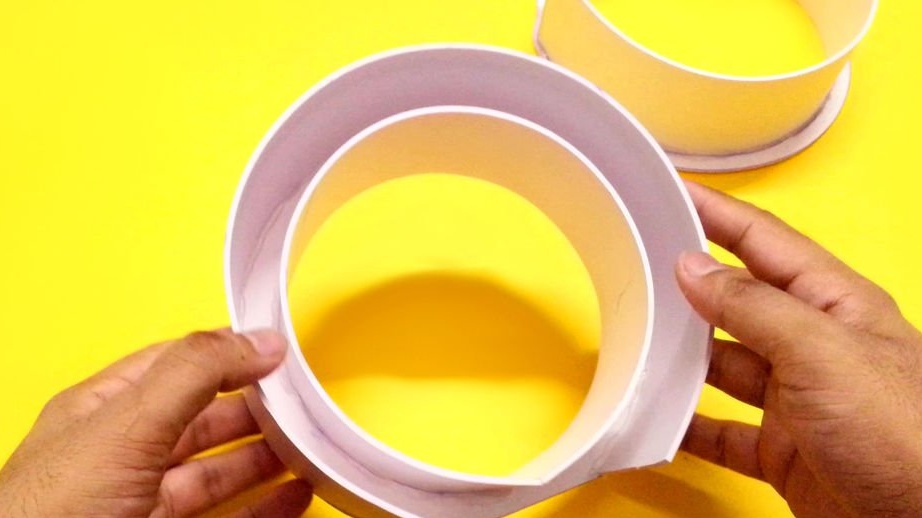

• On a sheet of cardboard, make two circles with a radius of about 9 cm.
• Make concentric circles inside both circles.
• One concentric circle should be smaller than the other.
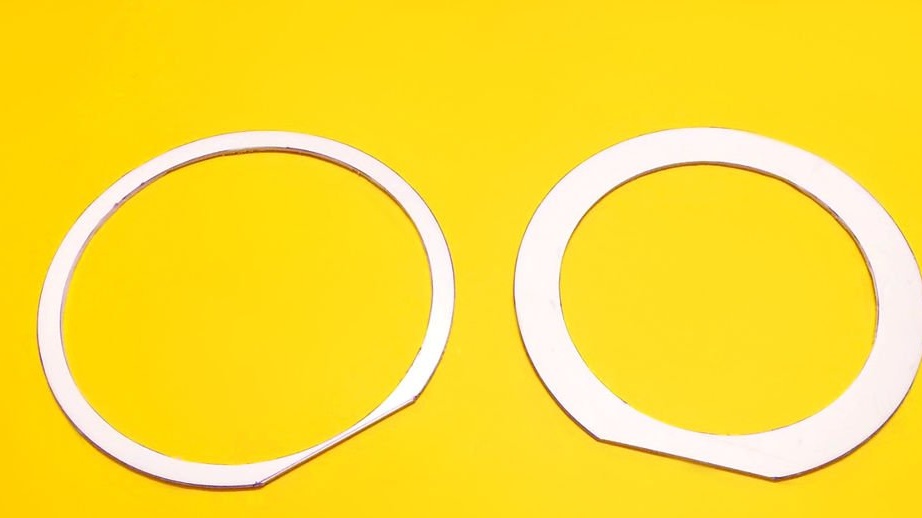
• Cut concentric circles from a cardboard sheet.
• Using hot glue, stick long pieces of cardboard around the inner circumference of both circles so that you get a structure similar to a hat.
• Also stick long pieces of cardboard around the outer circumference of both circles.
• Put a smaller circle on top of the big one to make a loop, and fasten the parts with hot glue.
• A small circular gap will form along the loop at the back, through which air will pass.
Note:
It is rather difficult to explain this process in words, it is highly recommended to watch the video in order to understand this procedure well.
Please note that this is not a real Dyson fan. It's just good model for school shows and function demonstrations. The Dyson fan has a well streamlined housing in which air can circulate at much higher speeds. The slot in the Dyson fan has a streamlined surface, about 1 mm wide, to reduce airflow resistance.
Step Seven: Final Stage


• Using hot glue, attach a circular loop to the base of the propeller.
• Seal connections to prevent air leaks.
• A copy of the Bladeless Dyson fan is ready.
• Connect the 6 V DC adapter and turn on the fan.
You will feel a uniform flow of air from a circular loop, however, the air pressure will not be comparable to a real Dyson fan.