
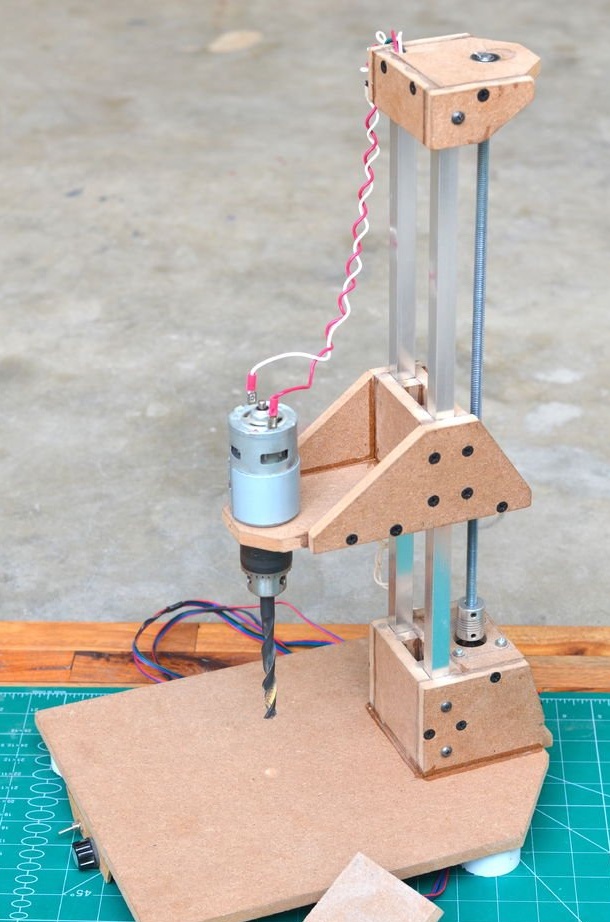
These instructions will help you make a semi-automatic drilling machine small enough to fit on a table and made from ordinary parts.
The idea of creating a semi-automatic drilling machine was born when the author needed to drill a straight hole almost to the end in hardwood boards. This required a drilling machine. It was necessary to hold the workpiece with two hands, making sure that the hole passed in the right place. Therefore, the machine must be controlled by a foot pedal.
Step 1: Materials and Tools
List of materials for this project:
10mm thick MDF sheet
12mm square aluminum pipe
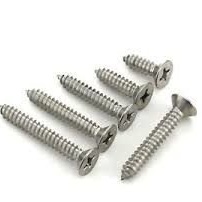
Wood screws
Super glue
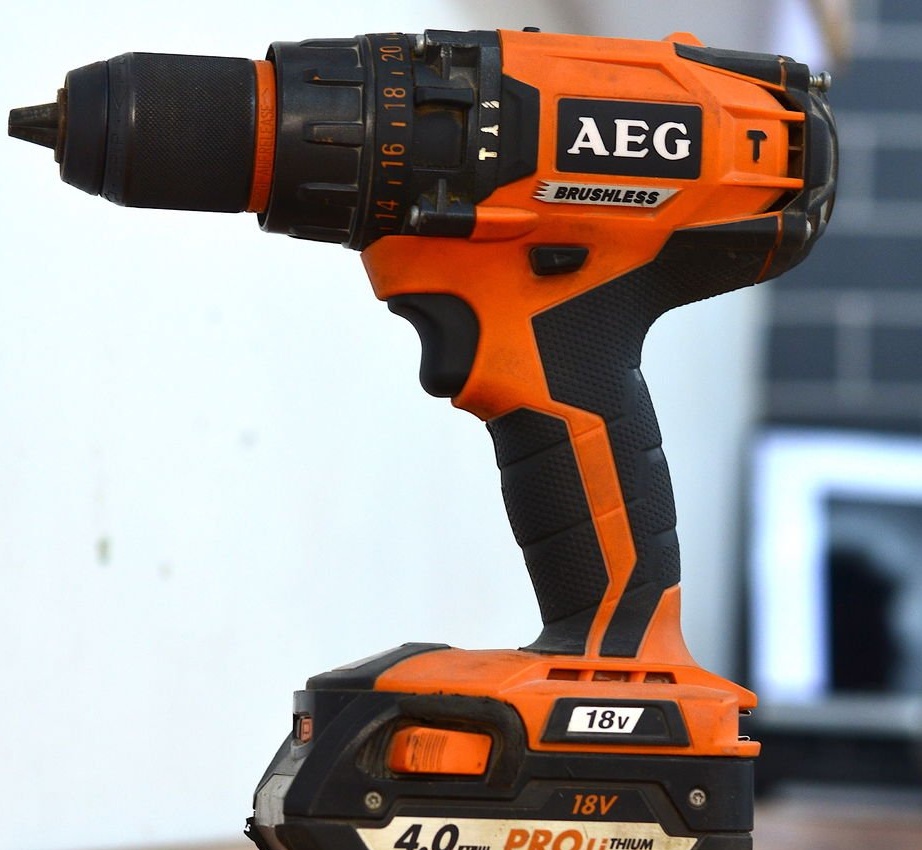
DC motor, 775 rpm
Nema 17 stepper motor
8 mm stud and nut
Stepper Motor Connection
Bearing
Drill chuck
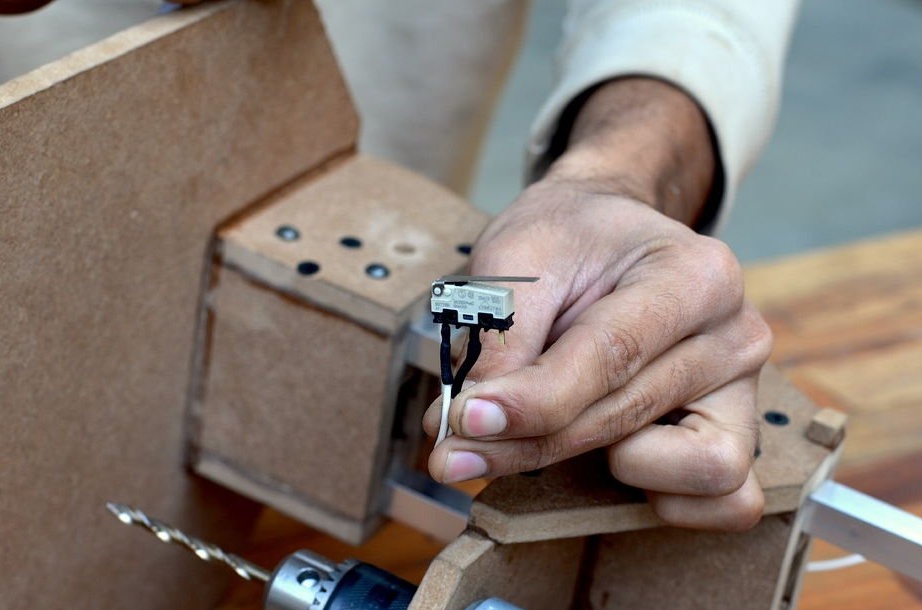
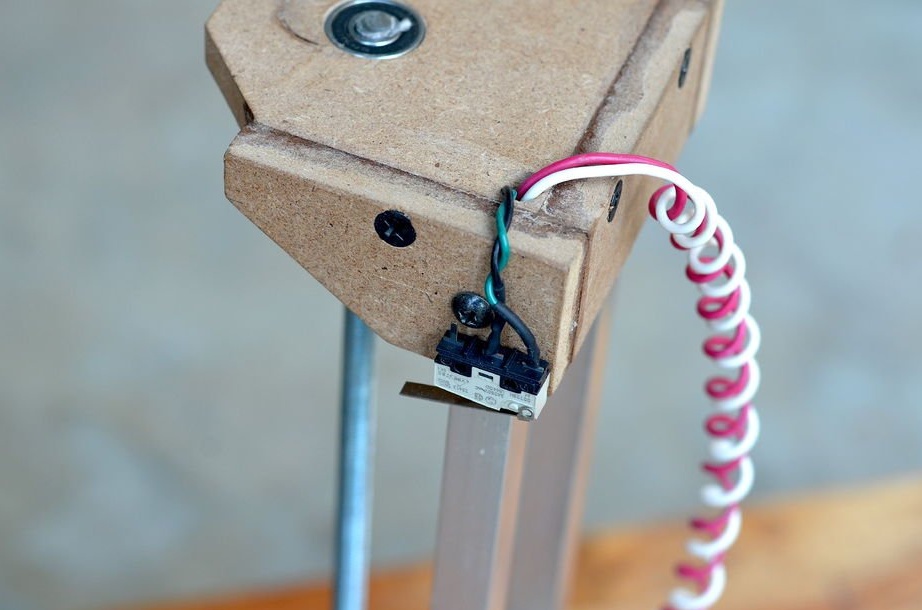
Wires and switch
A4988 stepper motor driver
PCB motor driver, circuit and components
PVC pipe.
Recommended tools for this project:
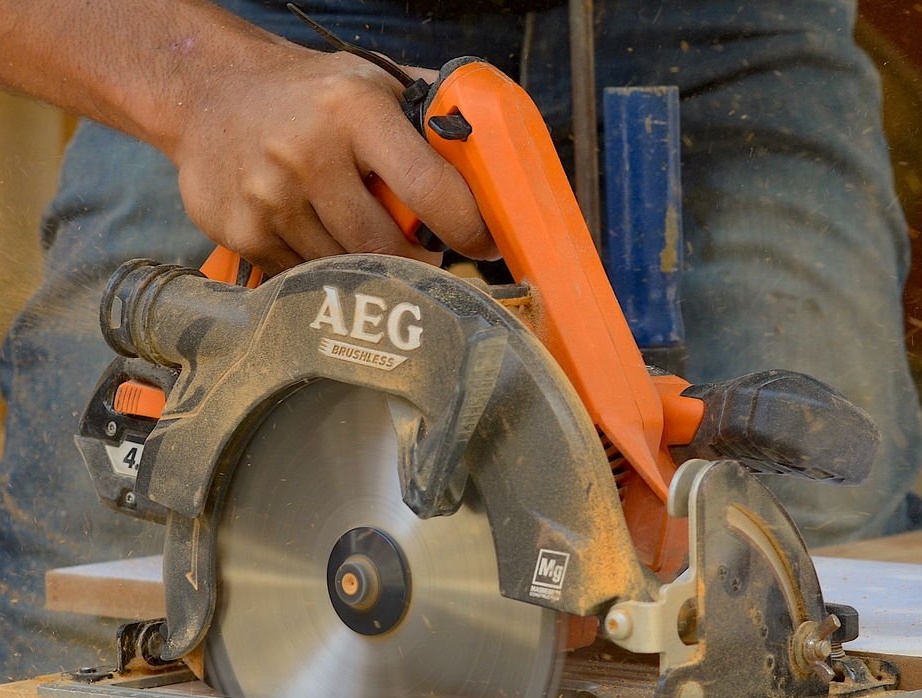
Circular saw
Hand drill
Drill
Soldering tools
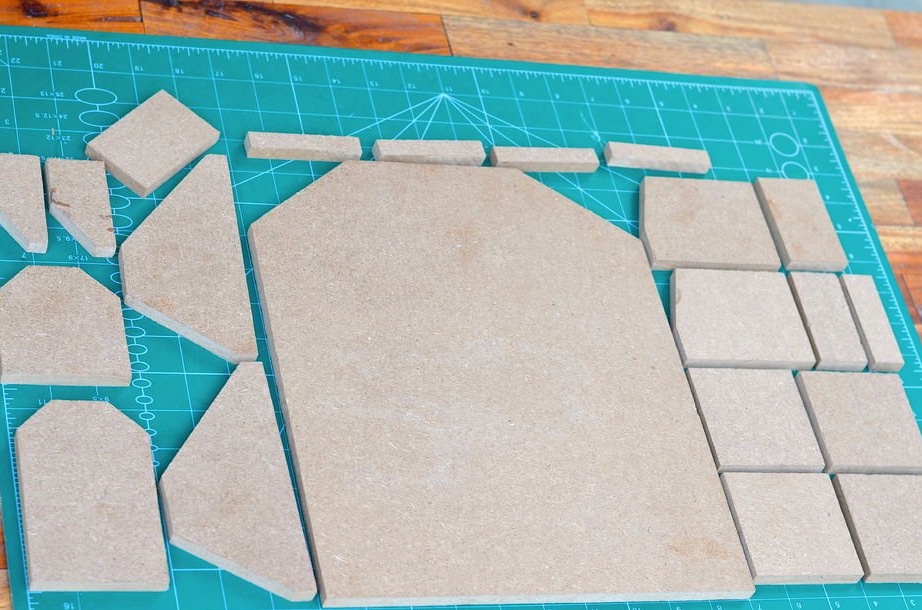
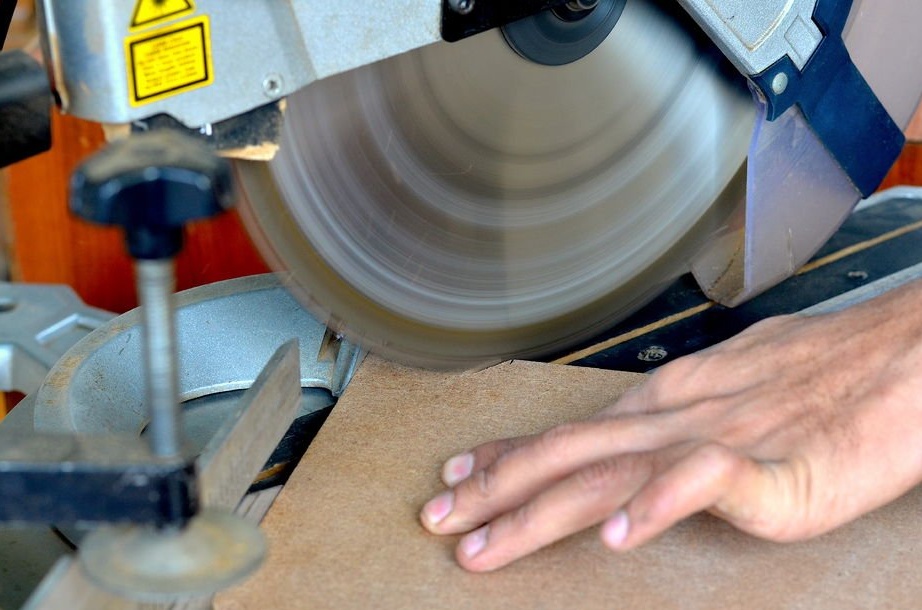
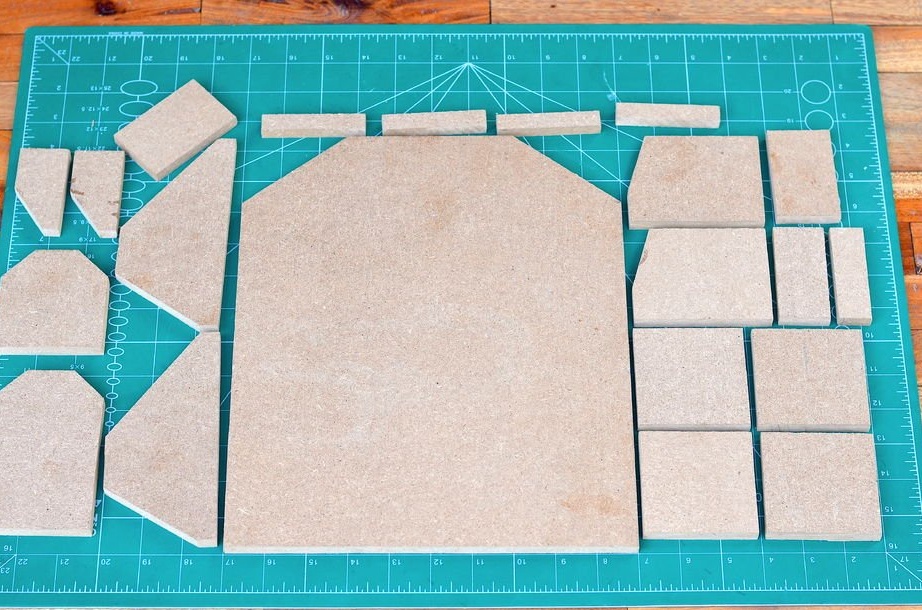
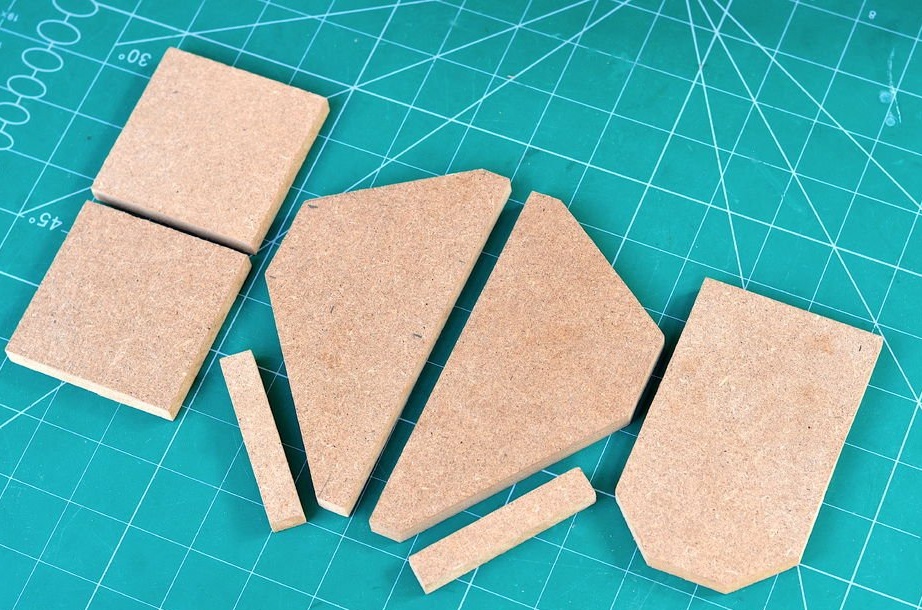
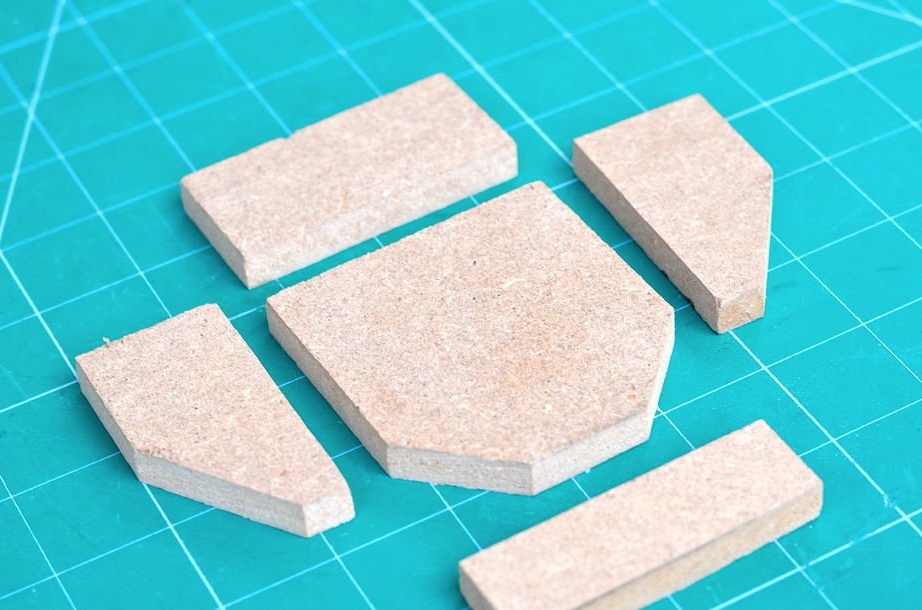
Step 2: Cutting parts for the structure
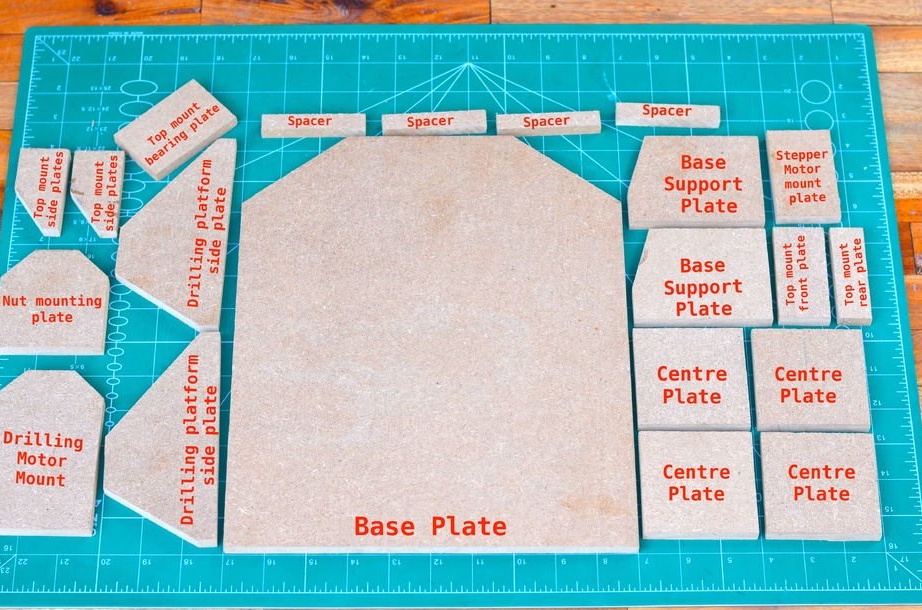

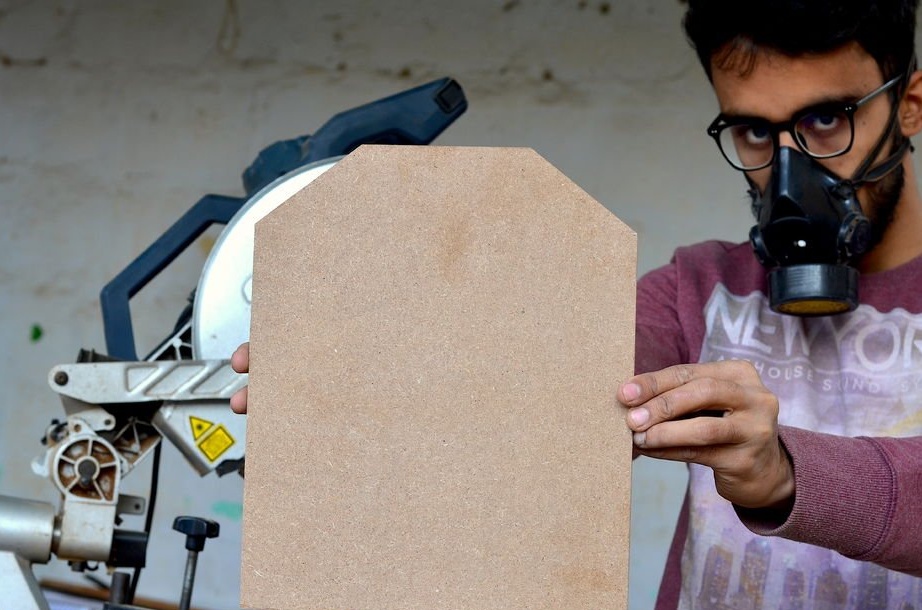
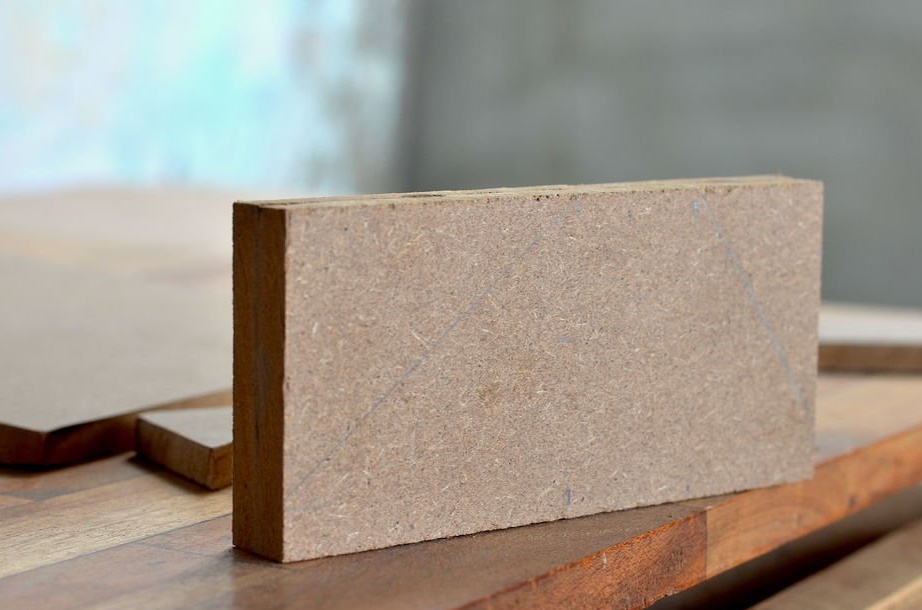

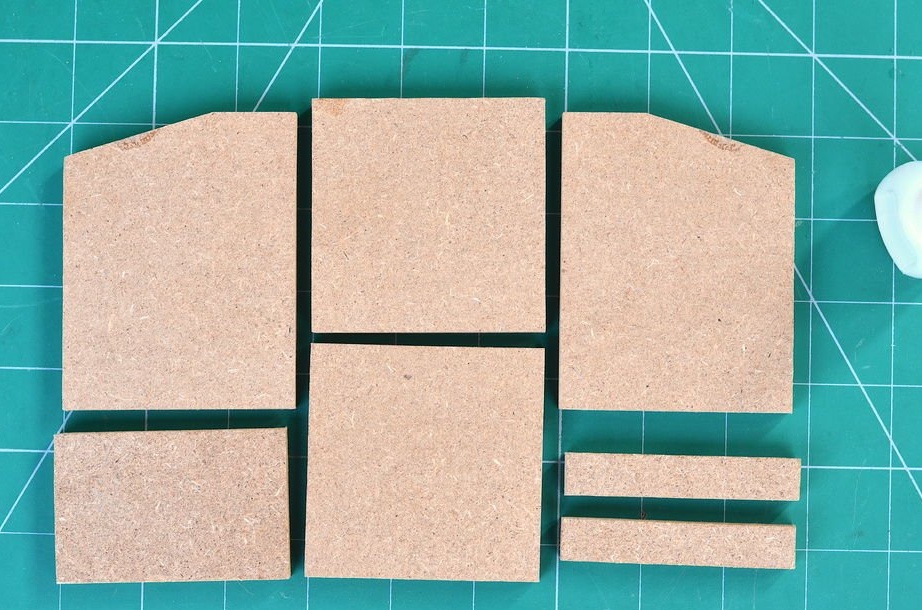
The design of the drilling machine is completely made of MDF sheet 10 mm thick, which makes it a convenient material for work and good enough for small jobs.
A bunch of tools were used to precisely cut all the parts, including a miter saw, a circular saw and a table saw.
Dimensions and number of parts are shown below:
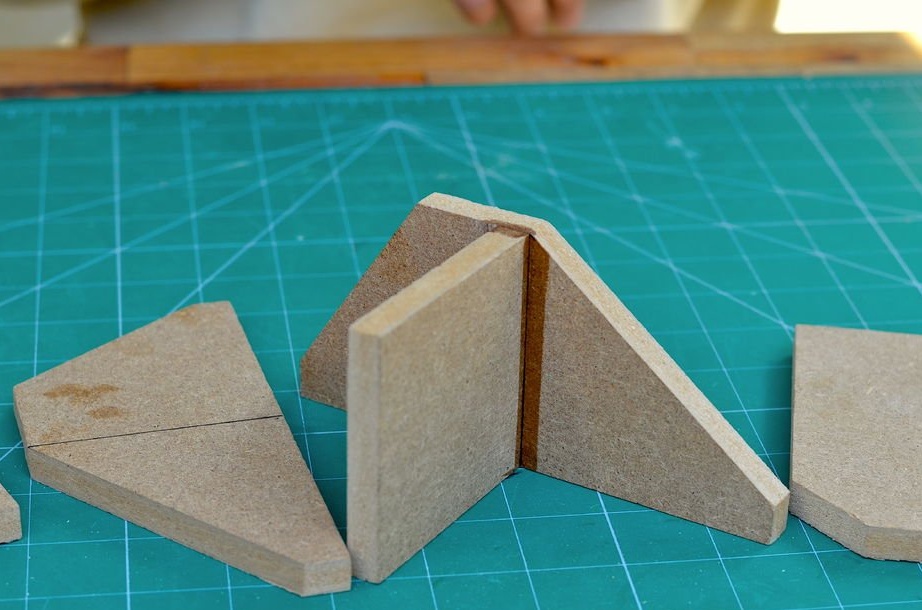
Base plate: 30 cm * 25 cm (with corner cut) (1 pc.)
PVC pipe with a diameter of 25 mm: length 19 mm (4 pcs.)
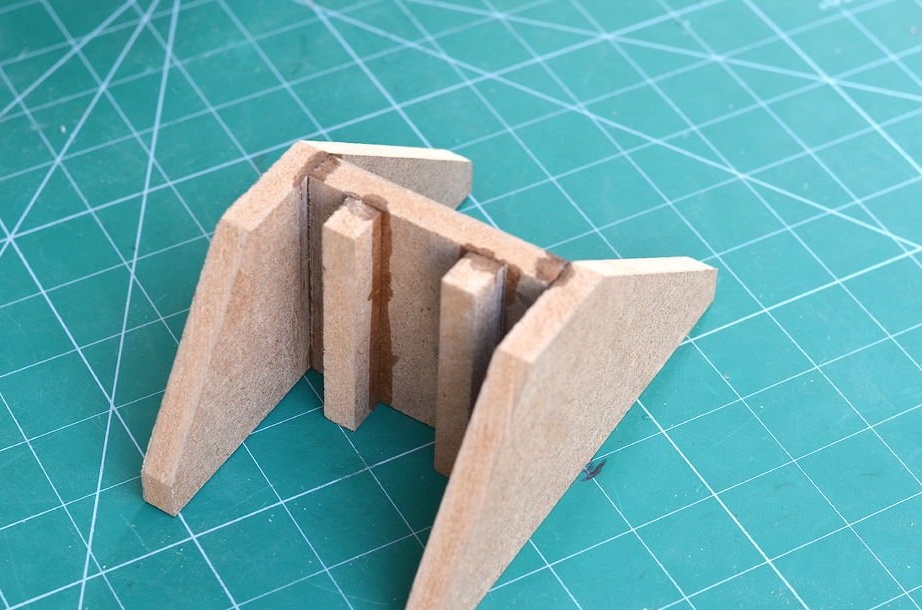
Spacers: 70mm * 12.5mm (4pcs)
Center plates: 70 mm * 70 mm (4 pcs.)
Base base plates: 70mm * 90mm (with corner cut) (2 pcs.)
Stepper motor mounting plate: 70 mm * 45 mm (1 pc.)
Side plate of the drilling platform: 70mm * 15mm (with corner cut) (2 pcs.)
Drill motor mount: 70mm * 110mm (with corner cut) (1 pc.)
Nut mounting plate: 70mm * 42mm (1 pc.)
Base plate on top: 70 mm * 75 mm (with corner cut) (1 pc.)
Top side panels: 65 mm * 33 mm (with corner cut) (2 pcs.)
Top mounting plate: 70 * 33 mm (1 pc.)
Top Mount Rear Panel: 70mm * 23mm (1 pc.)
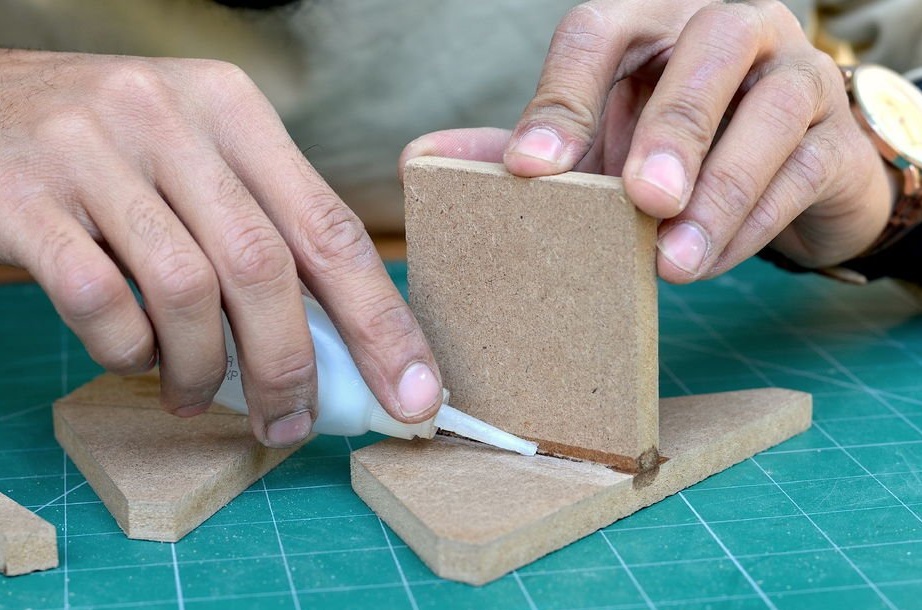
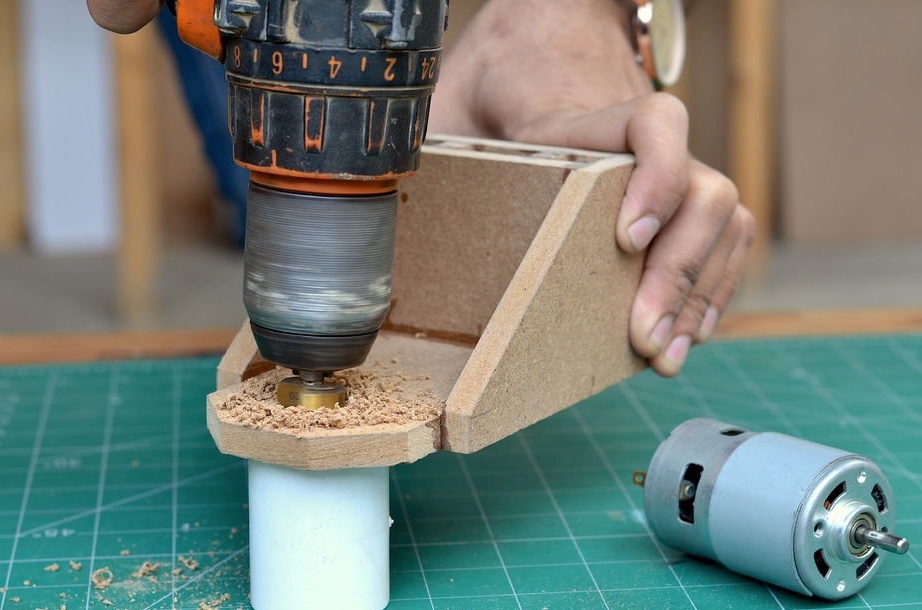
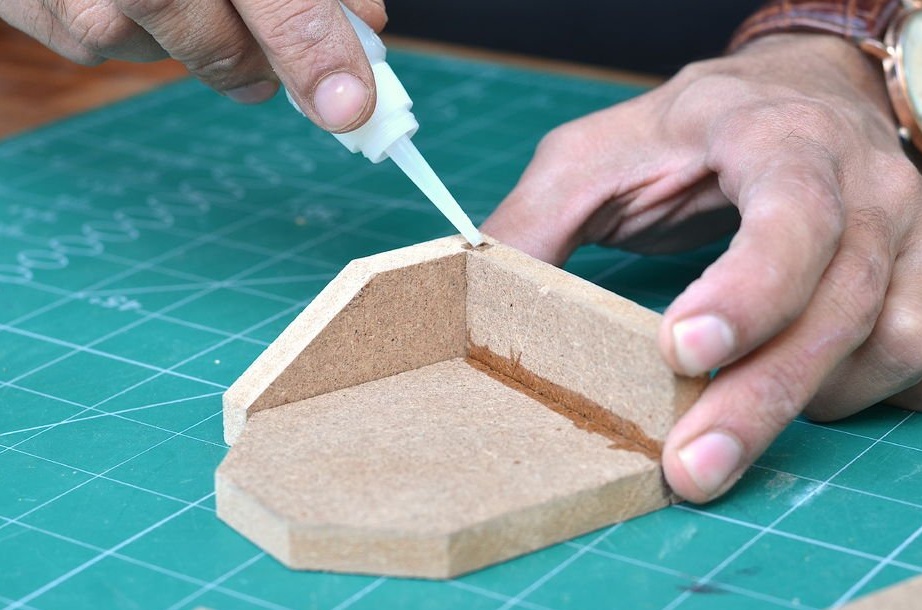
Step 3: Creating a Base Plate
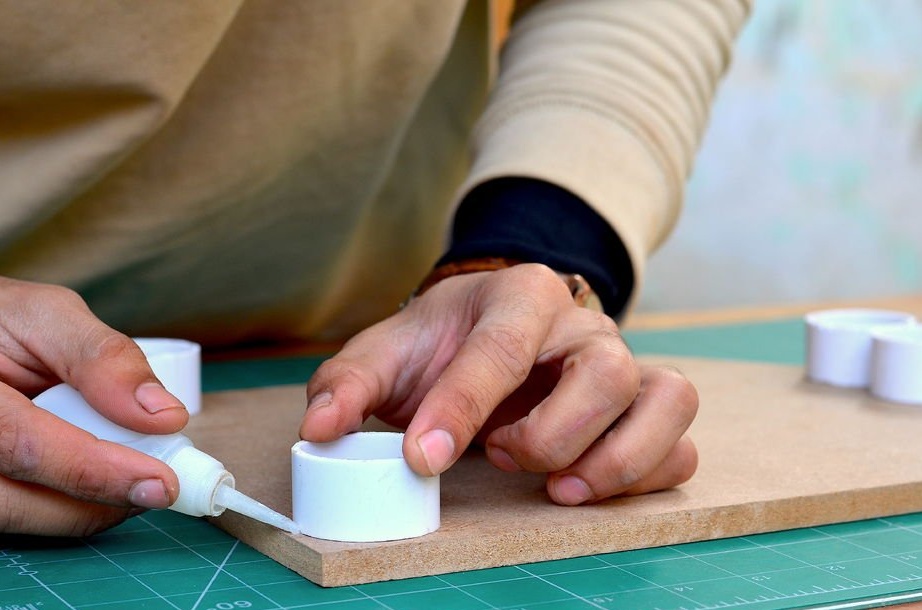

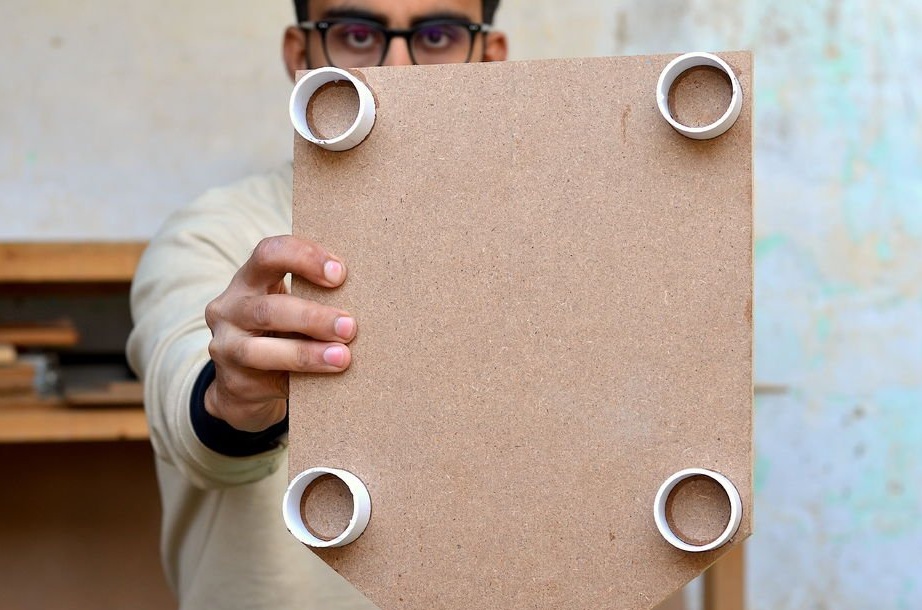
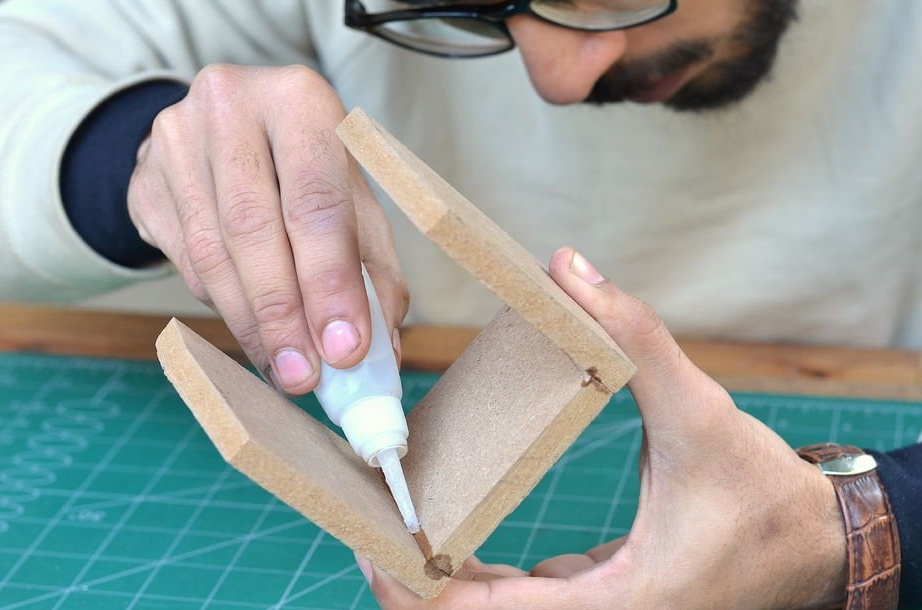
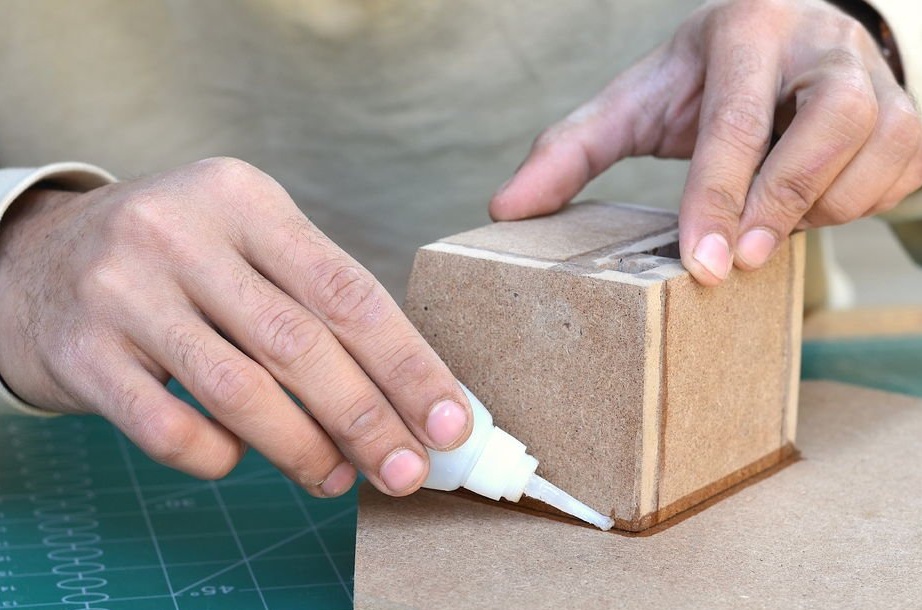
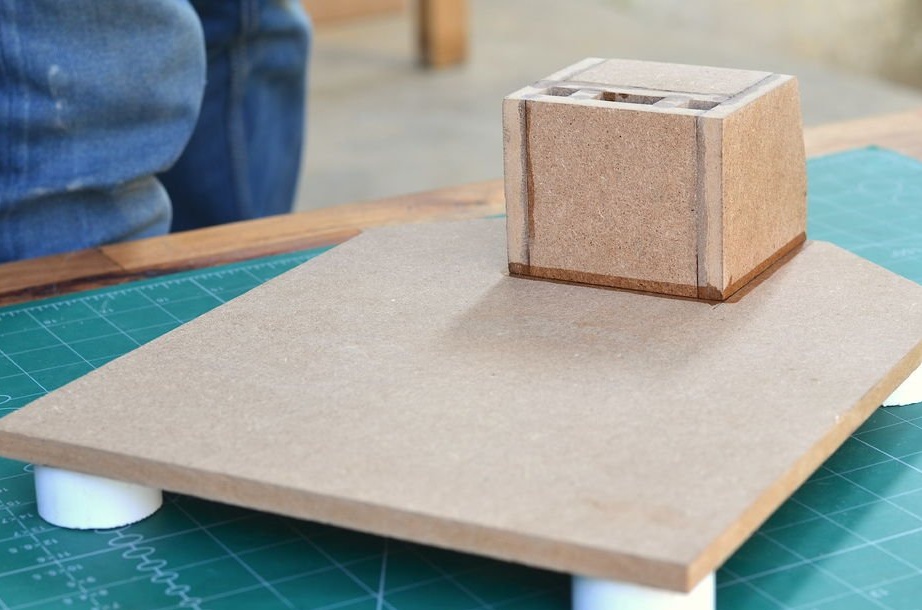
The base plate should be above the workplace, so four pieces of PVC pipe with a diameter of 25 mm and a length of 19 mm were glued as legs.
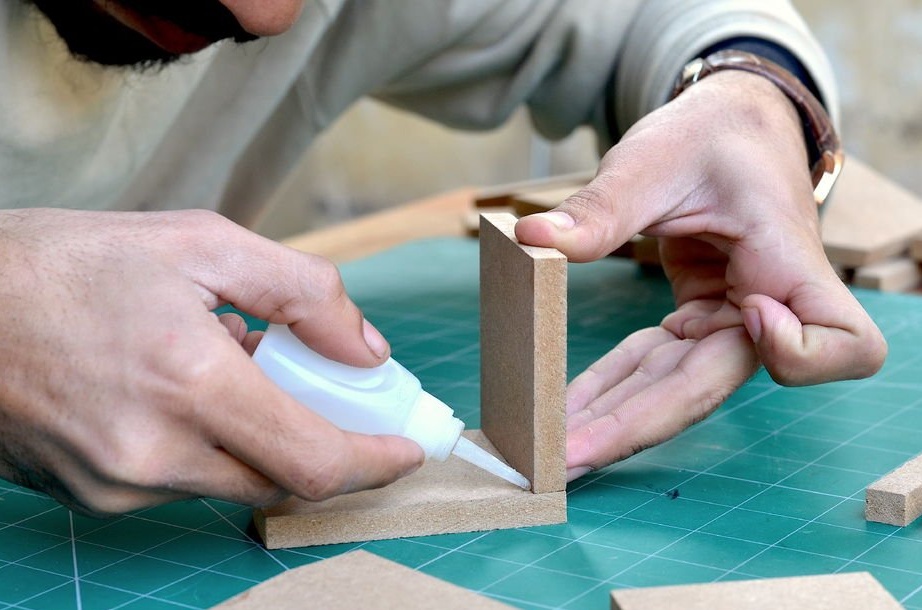
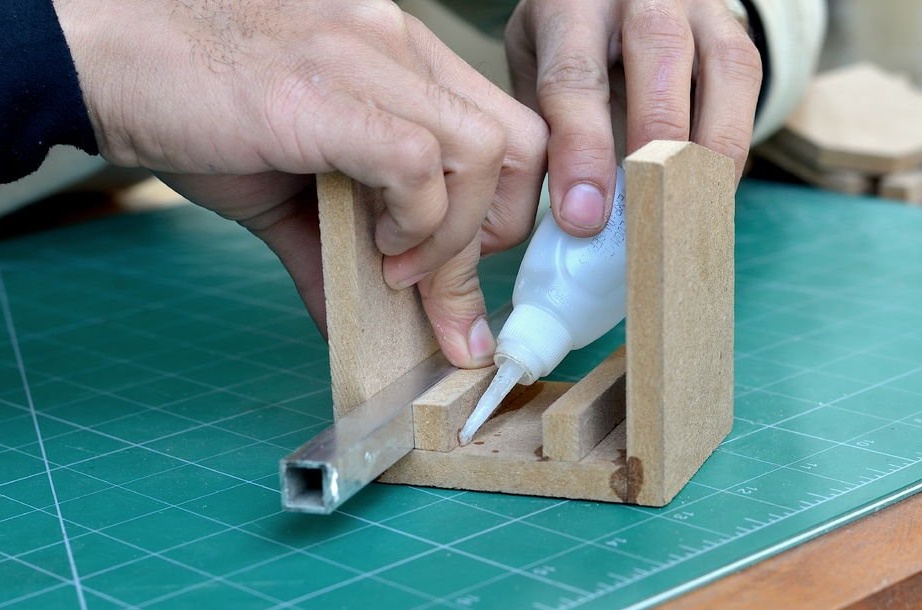
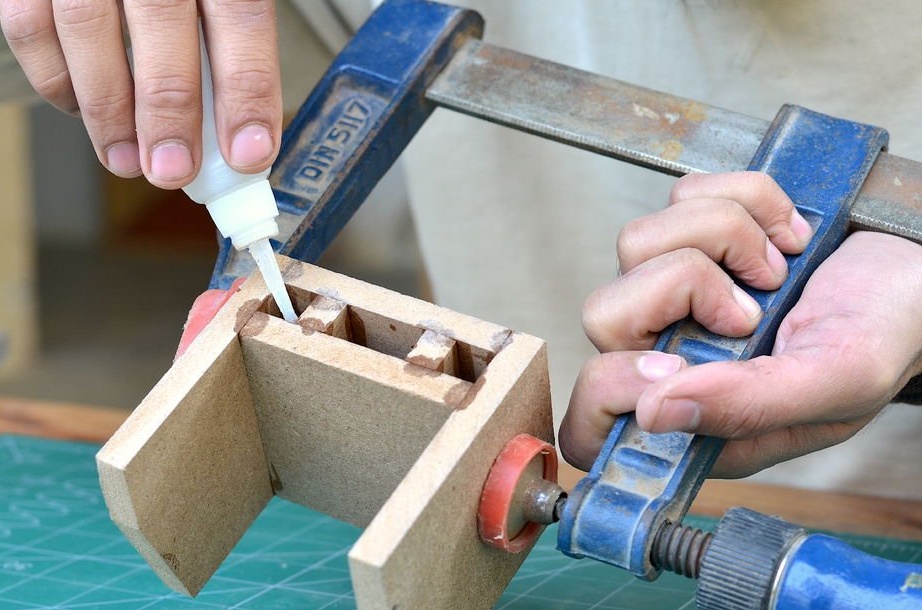
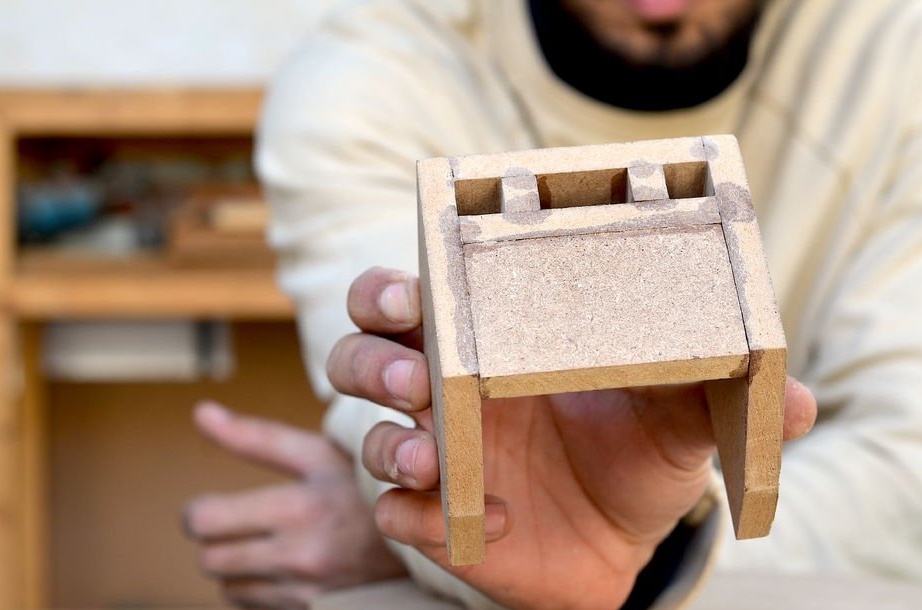
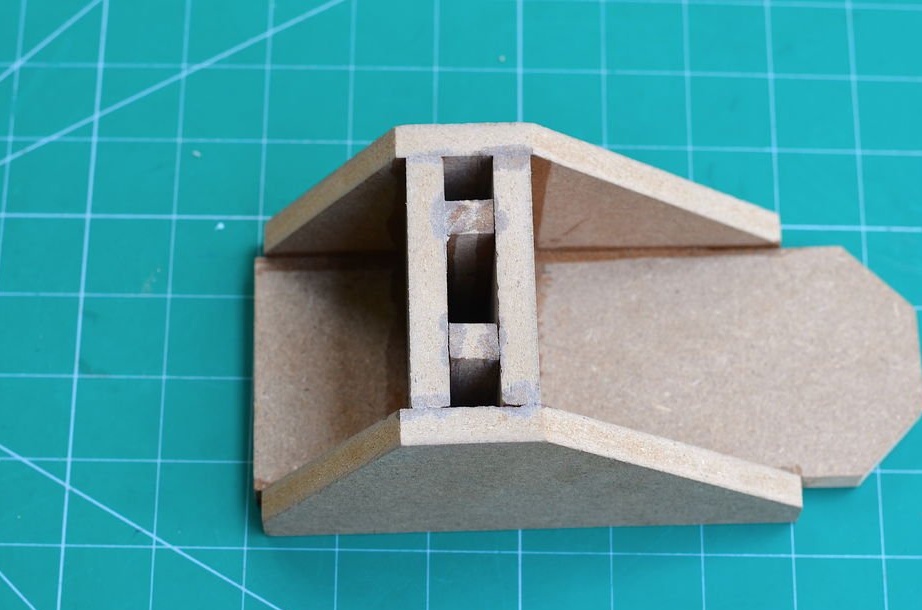
Further, all the parts were glued together to form a base support that would hold the sliding rails and the drilling machine. When gluing the spacers, be sure to place aluminum rails between them to ensure a good fit.
Next, the support is glued to the base plate. This support will also act as a holder for the stepper motor, which will drive the drilling machine.
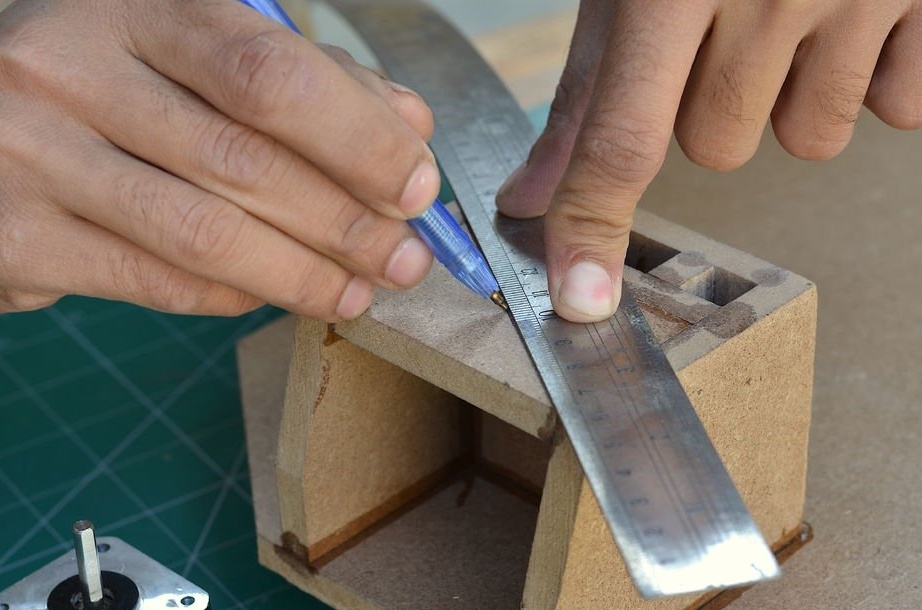
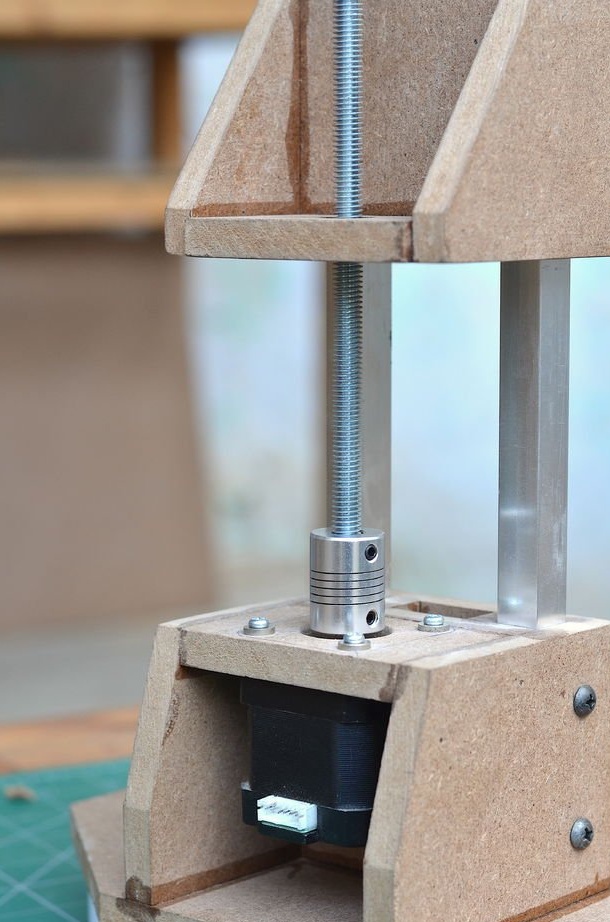
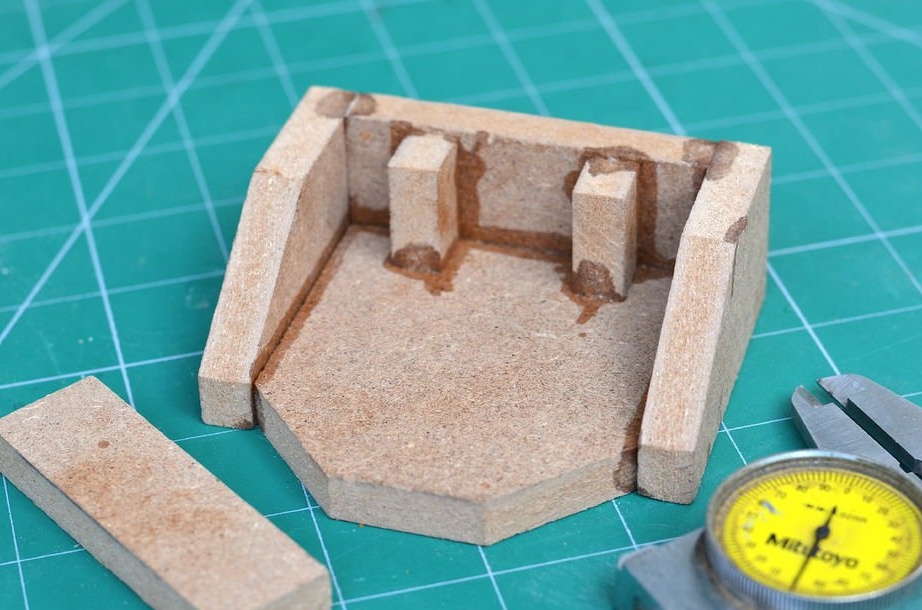
Step 4: Mounting the stepper motor and guides
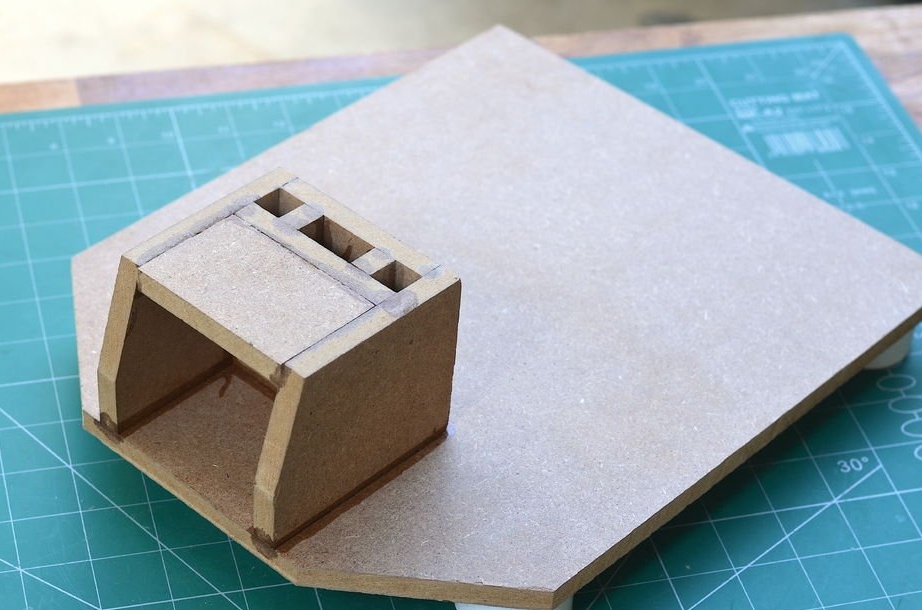
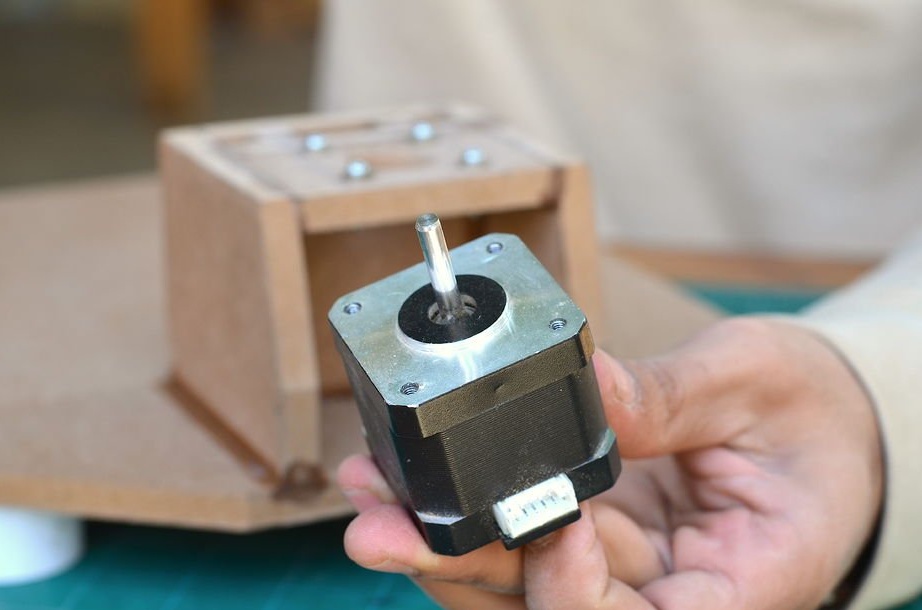
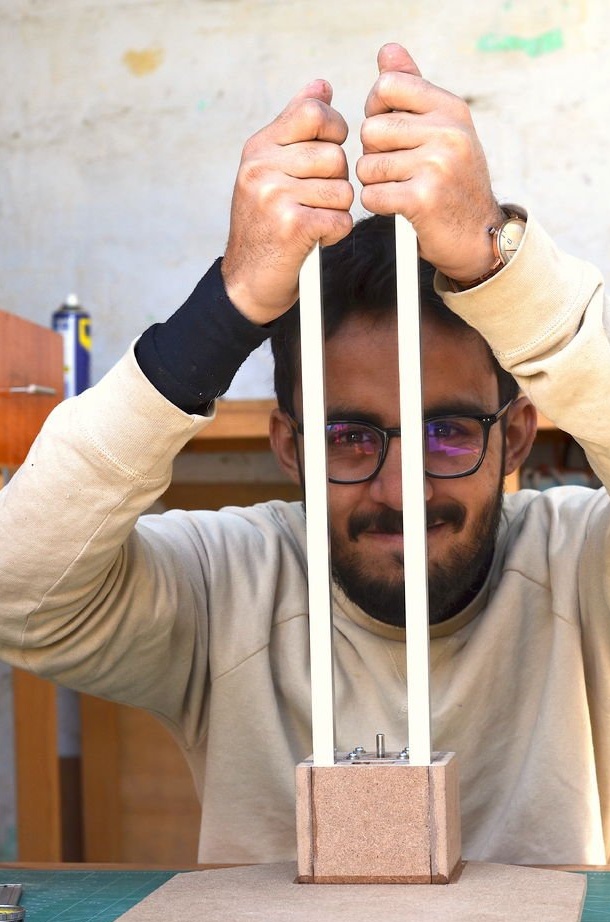
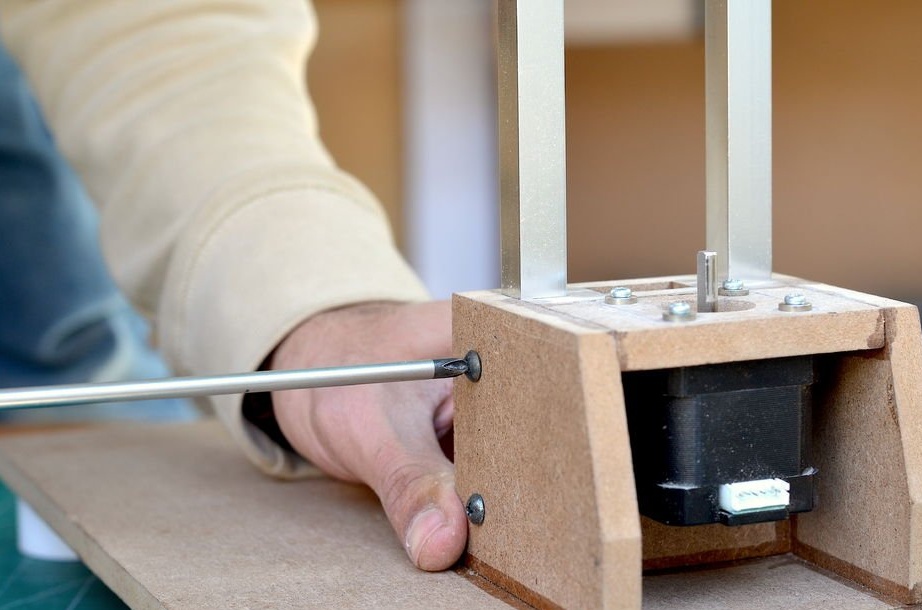
For the exact movement of the drilling machine, we will use the Nema 17 stepper motor. The reason why the DC motor is not used is that in order to obtain the necessary torque, you will need to add a gearbox.
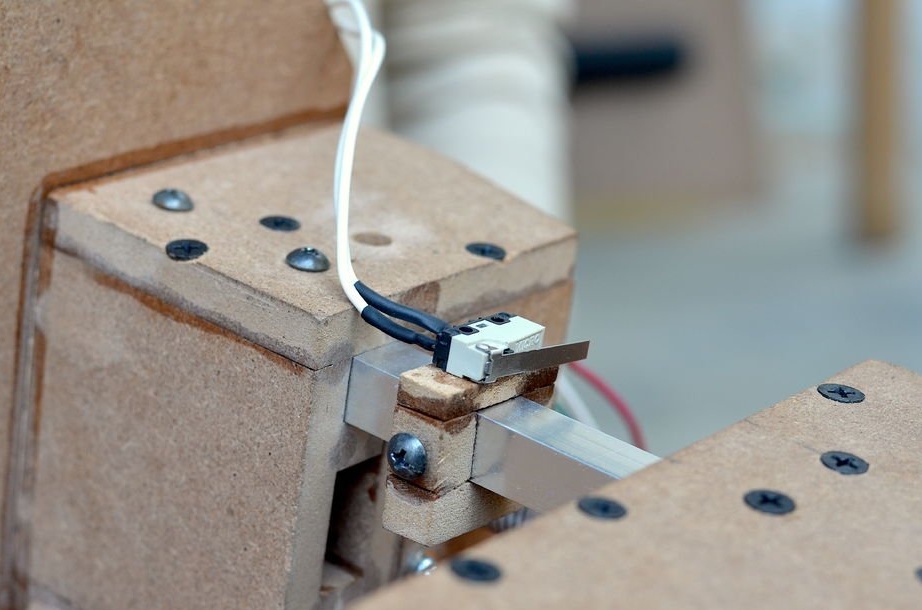
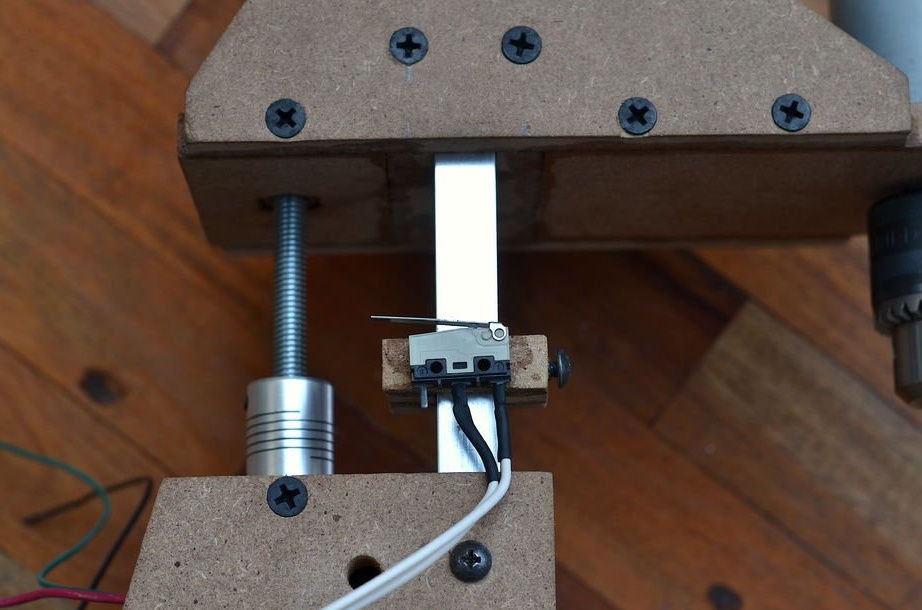
The motor is mounted on the base support with four screws. Then aluminum guides are added. A couple of screws on the side walls were used for their fastening.
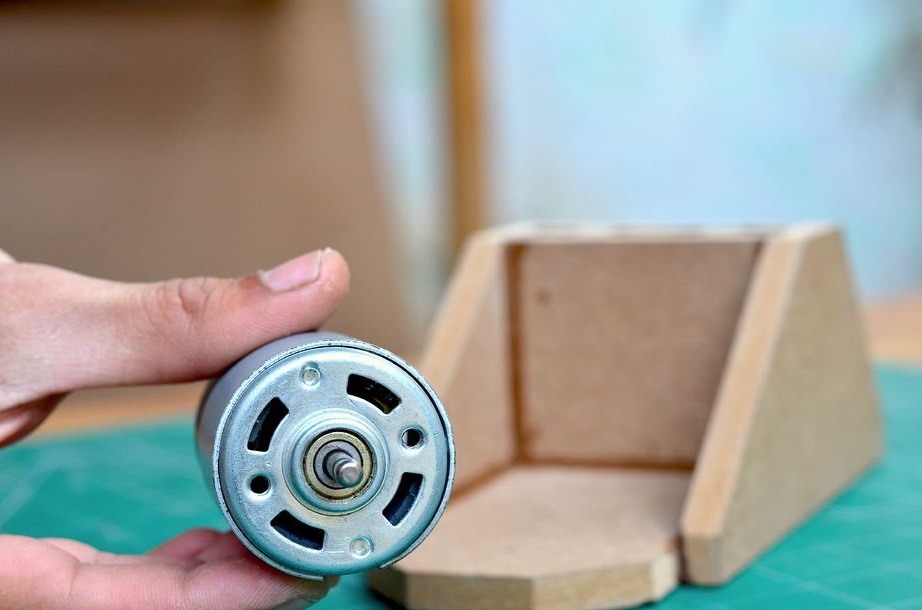
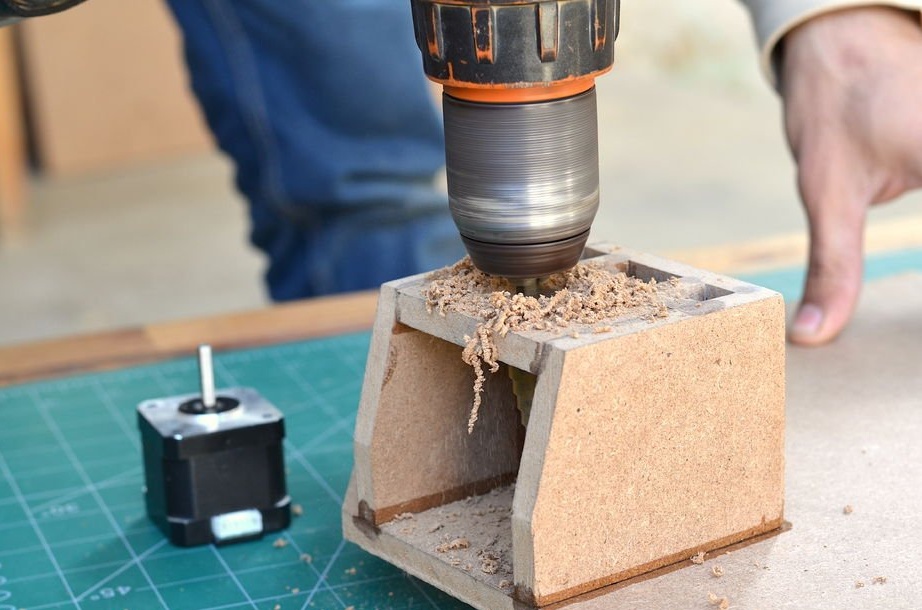
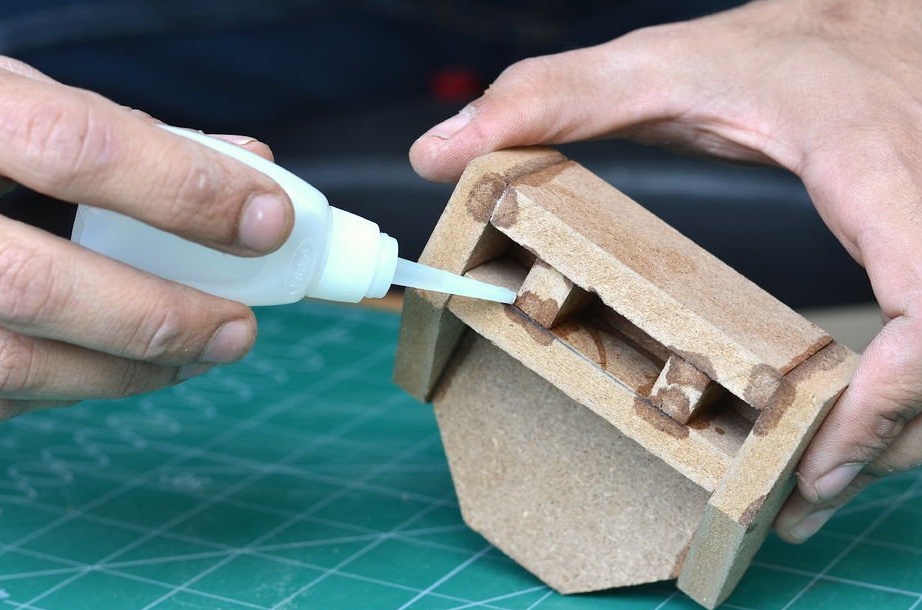
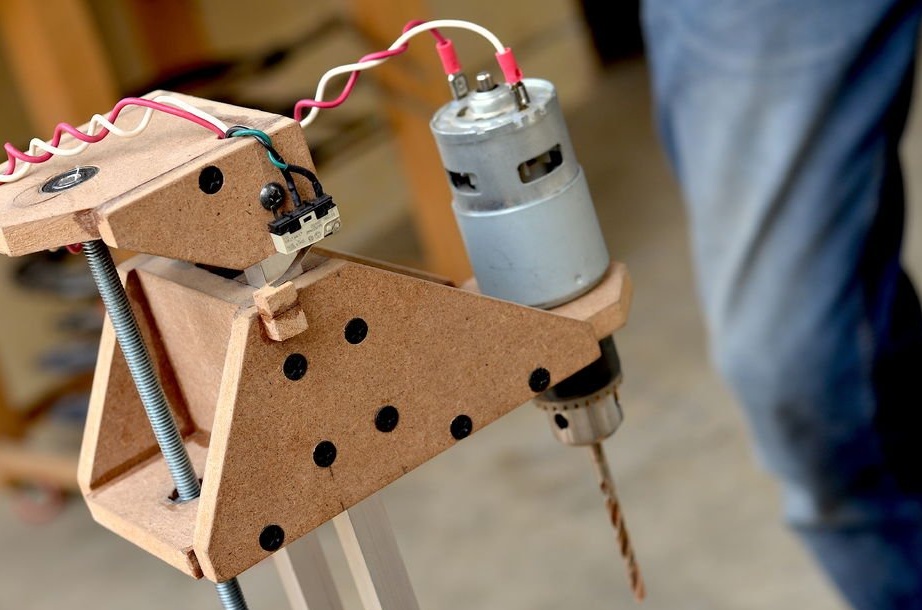
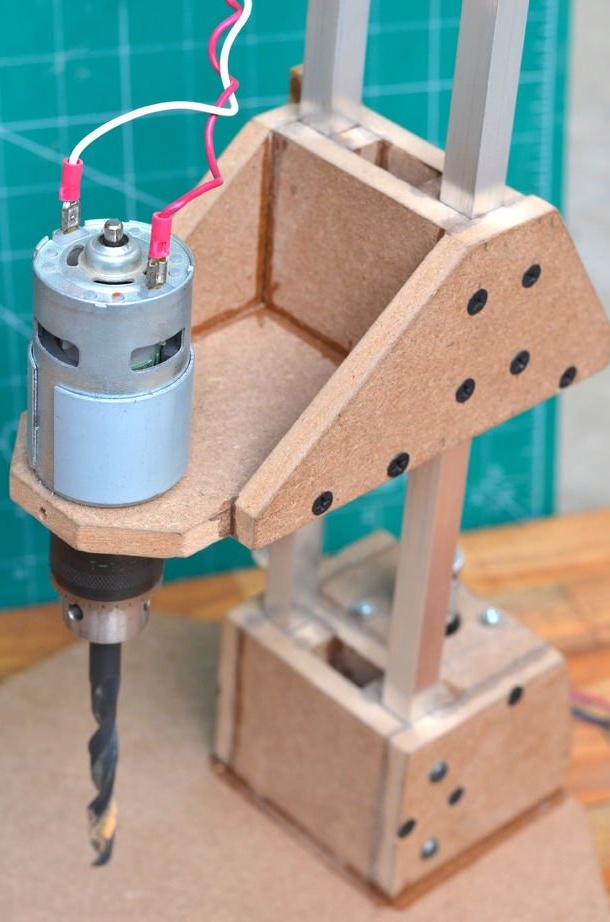
Step 5: create a drilling platform
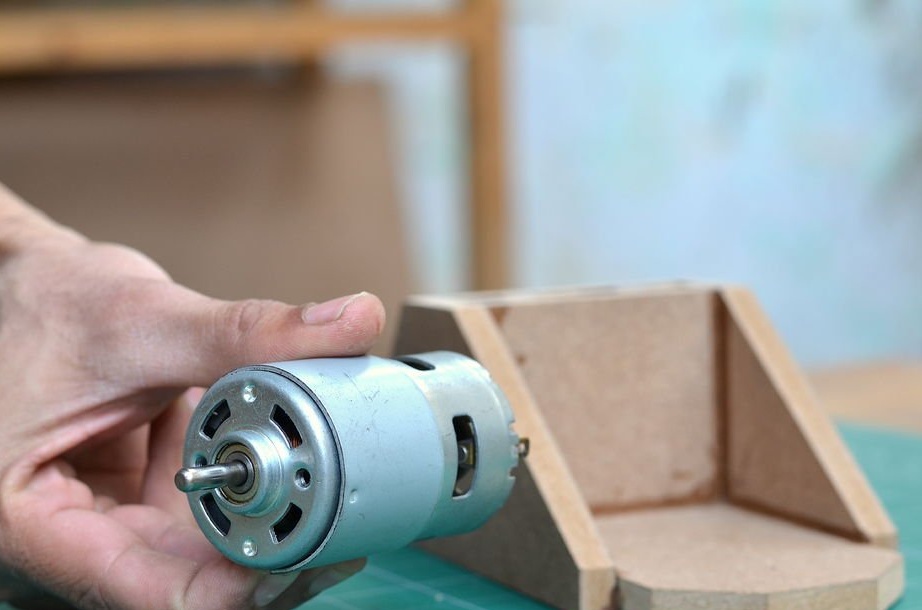


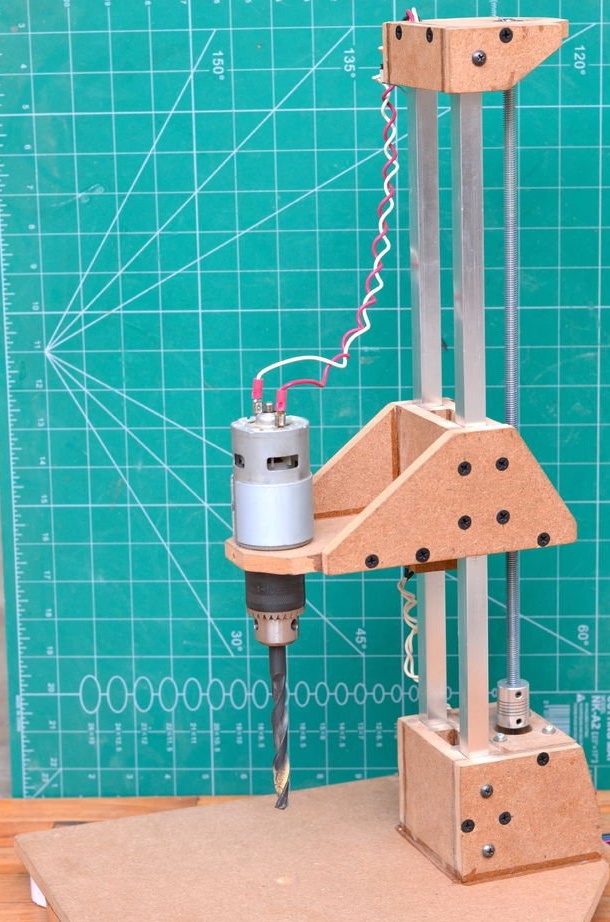
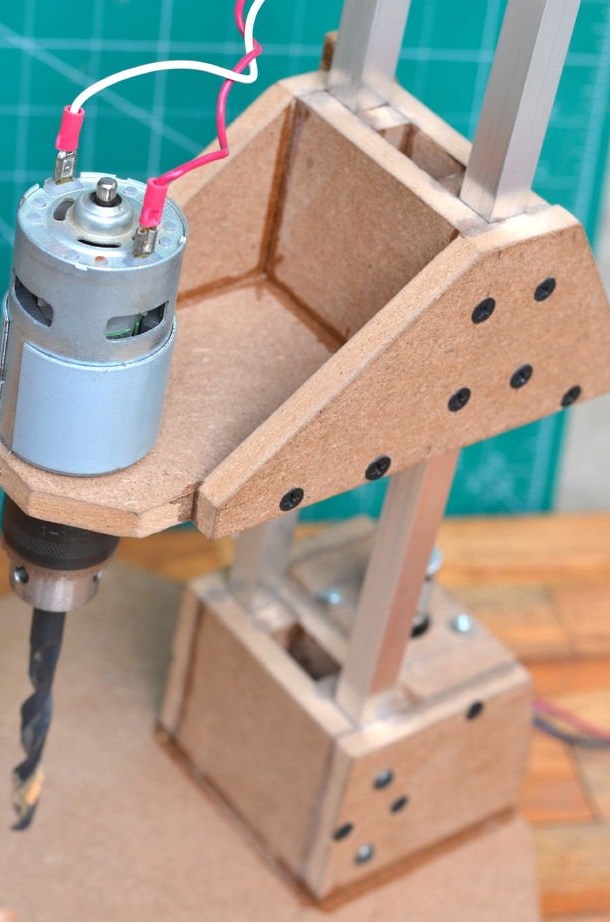
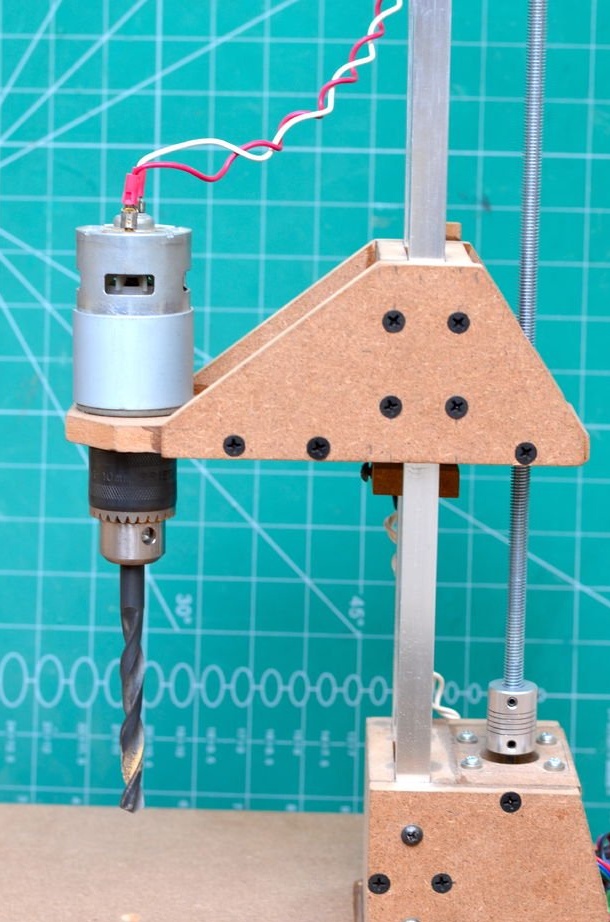
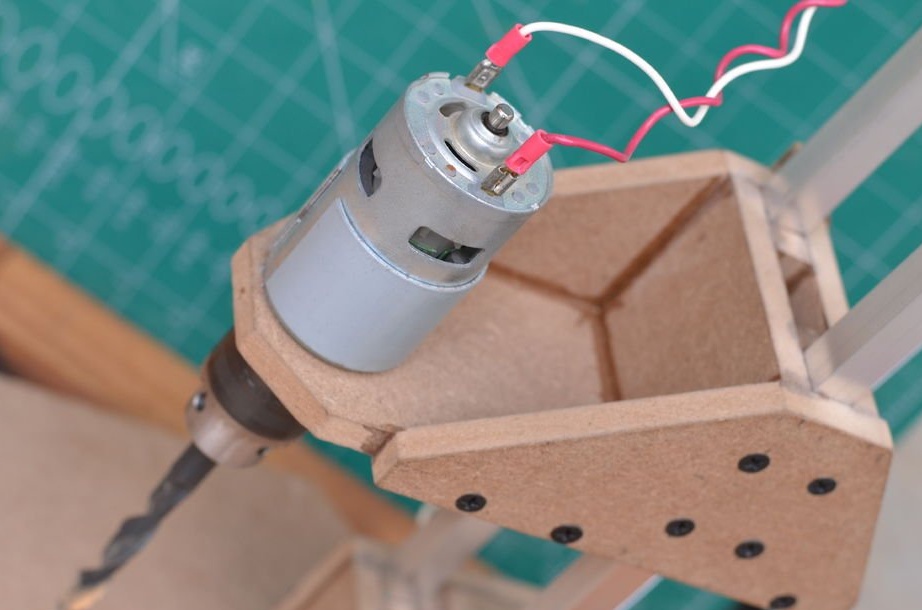
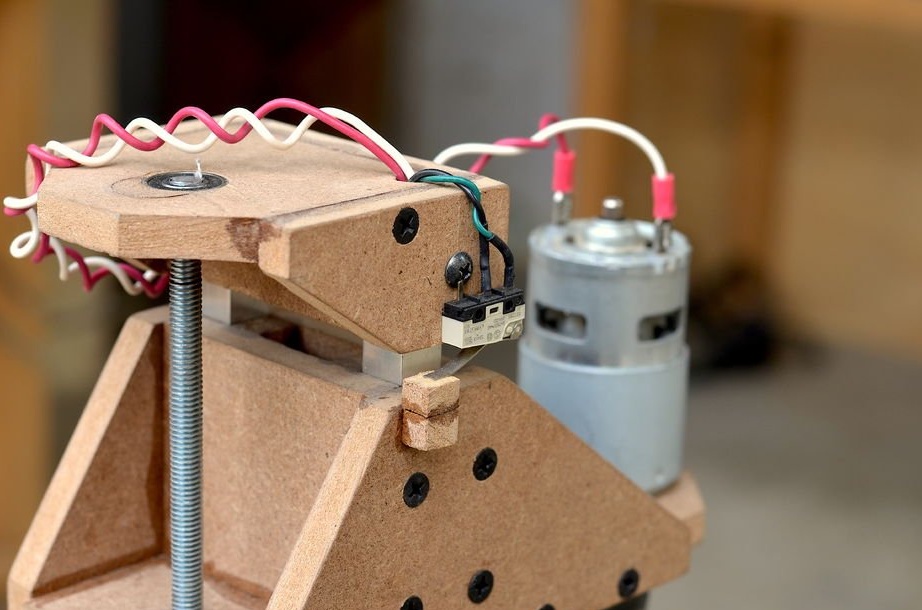
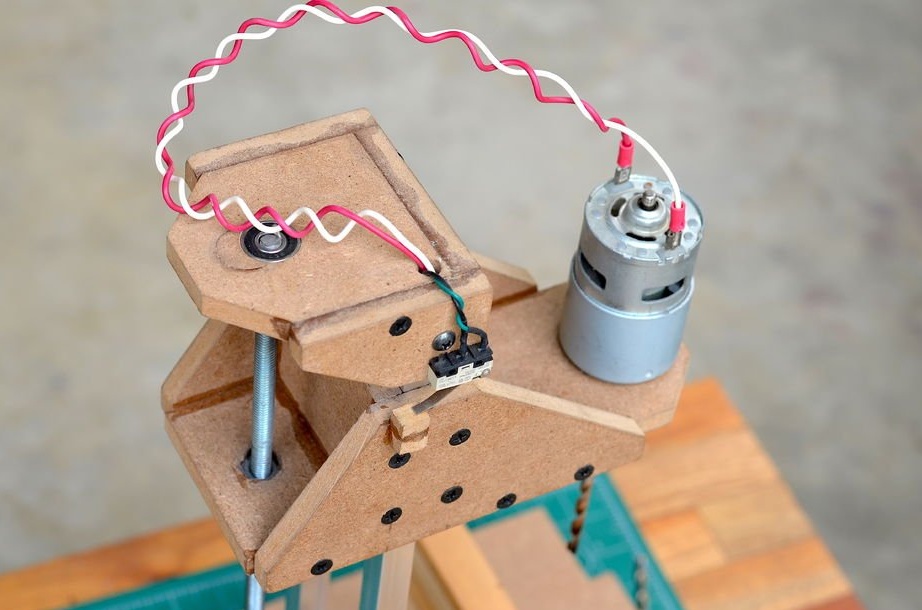
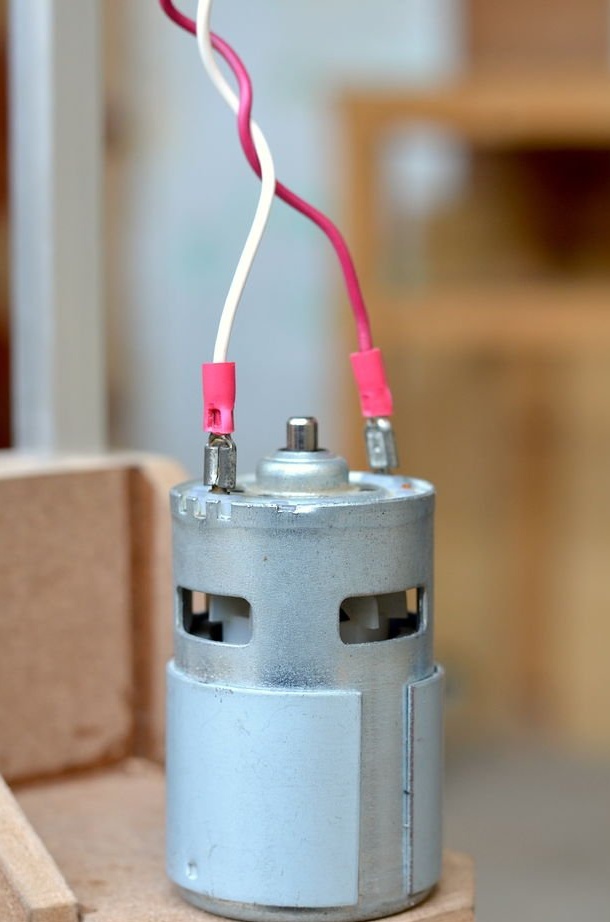
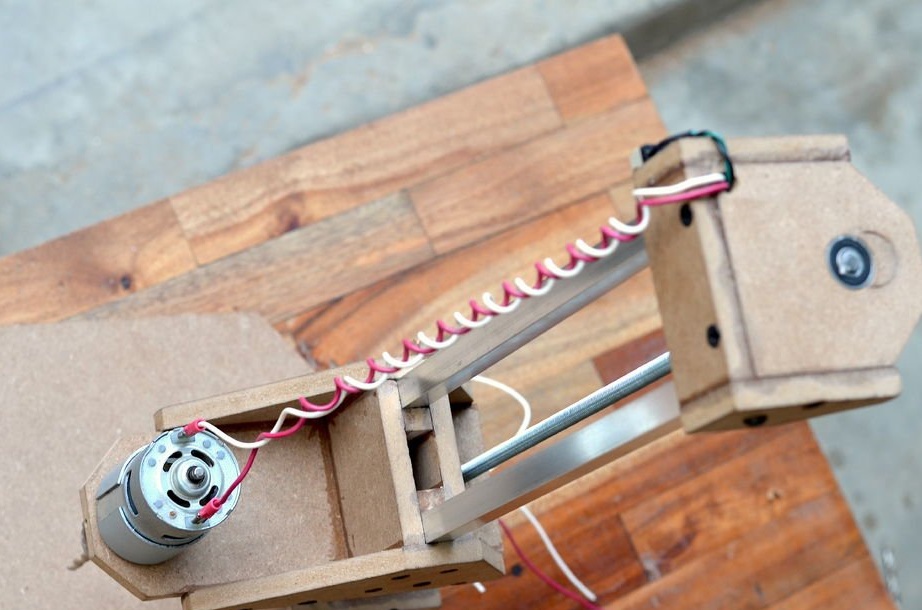
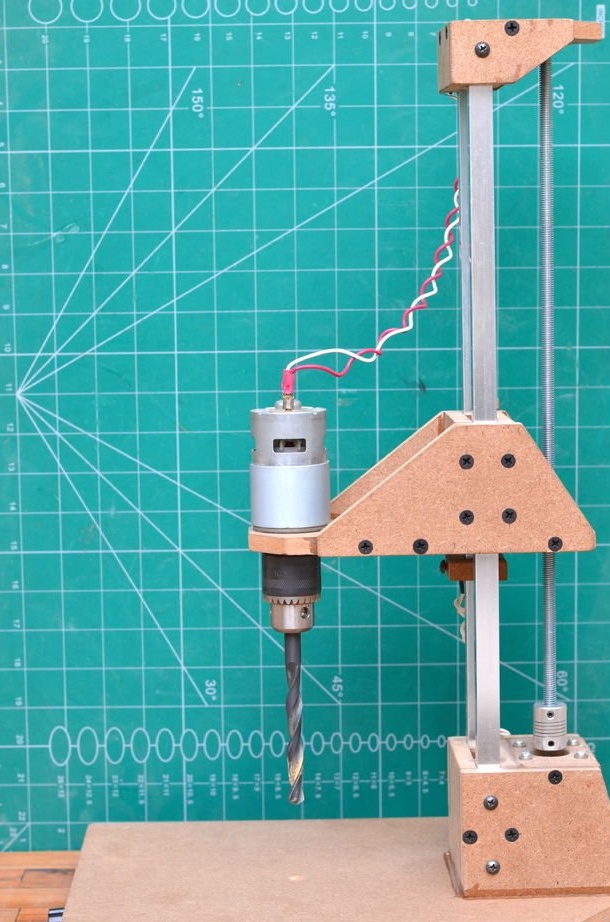
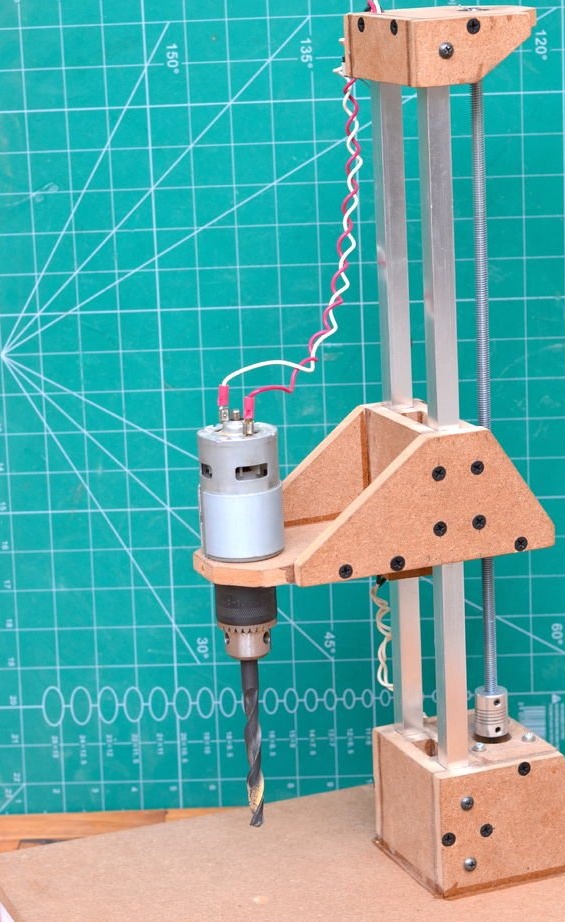
The drilling platform is made in the same way as the support base. An engine will be installed on the side of the platform. The engine we are going to use is a DC motor at a speed of 775 rpm. Since it is cheap, it is better to use the gear version to achieve a slightly higher torque, which will greatly improve the drilling power of this tool.
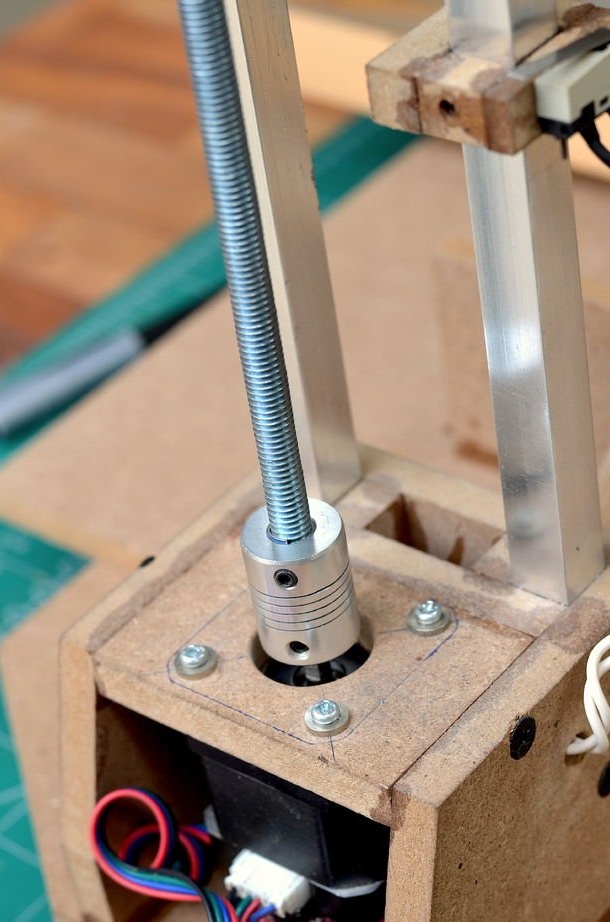
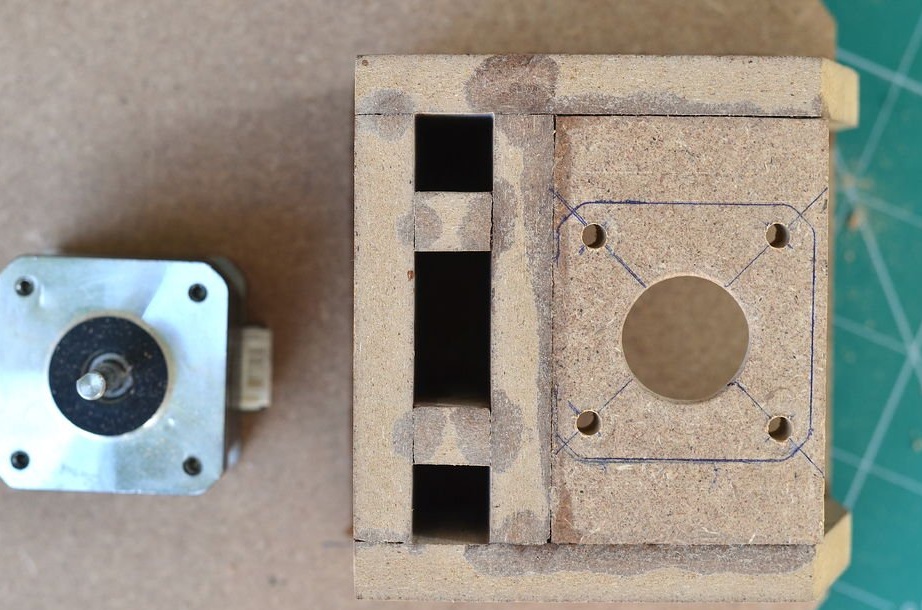
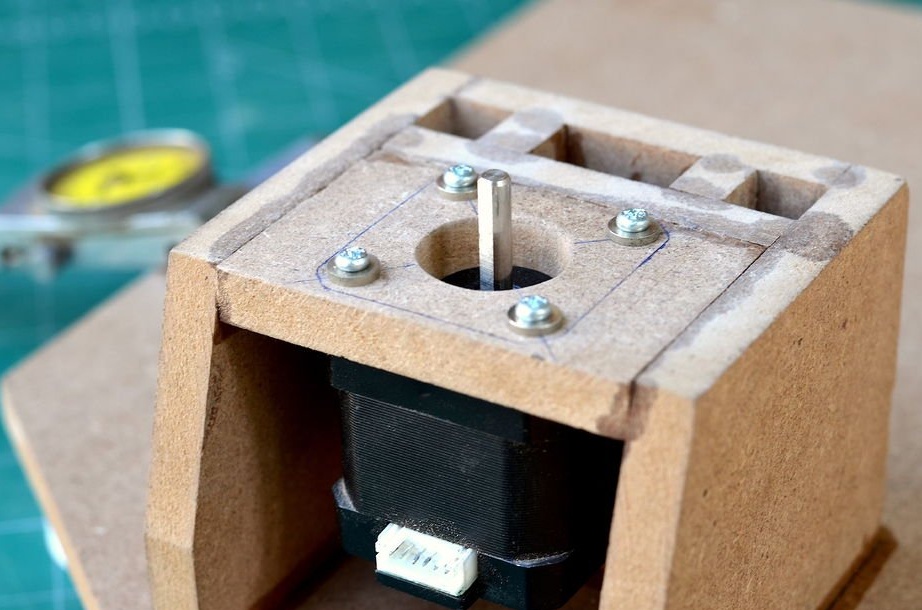
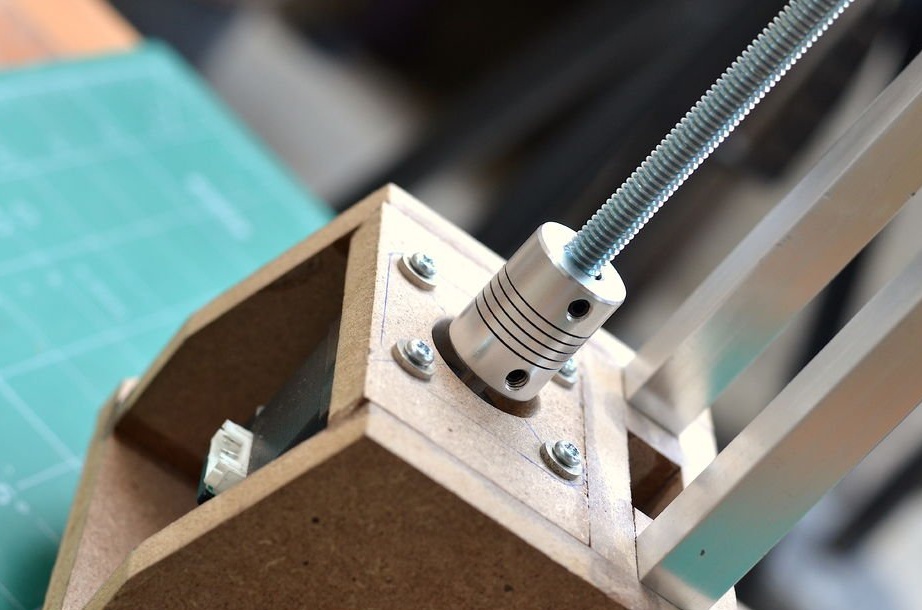
Since all the parts are glued together, the motor and nut are installed on the other side, which will help to control the platform using a threaded rod. Make sure that the nut is on the same axis as the motor shaft, so that the sliding movement of the platform is as smooth as possible.
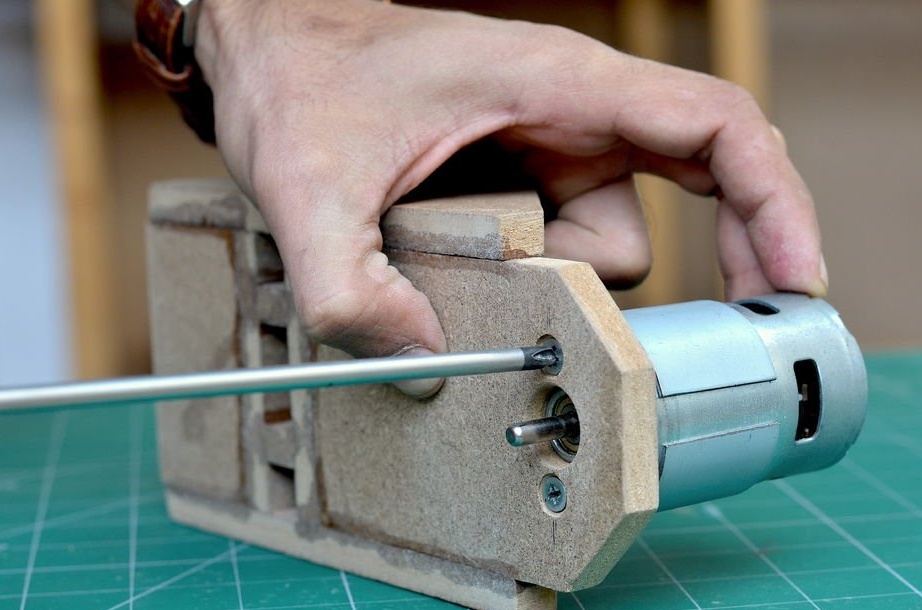
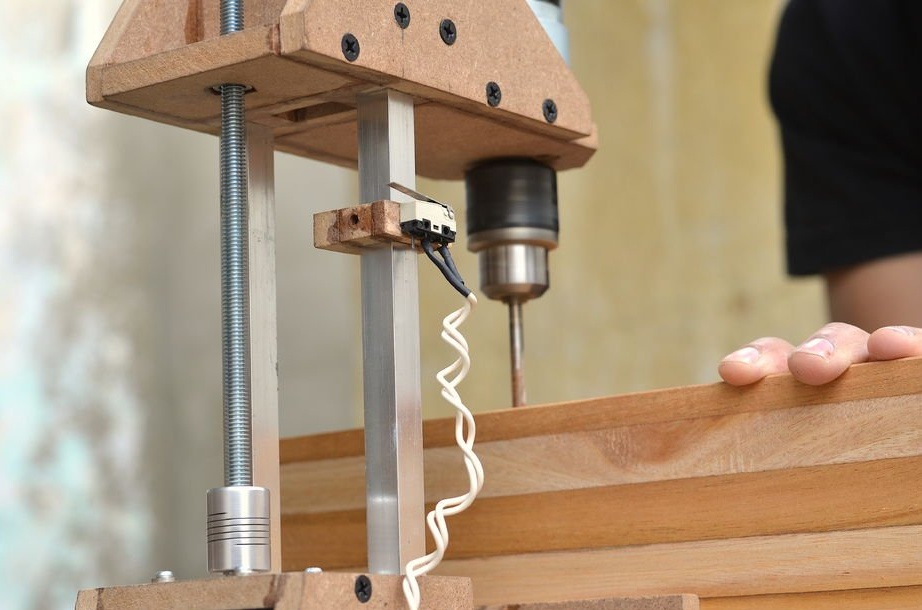
Step 6: Install Drill Chuck and Drive Screw
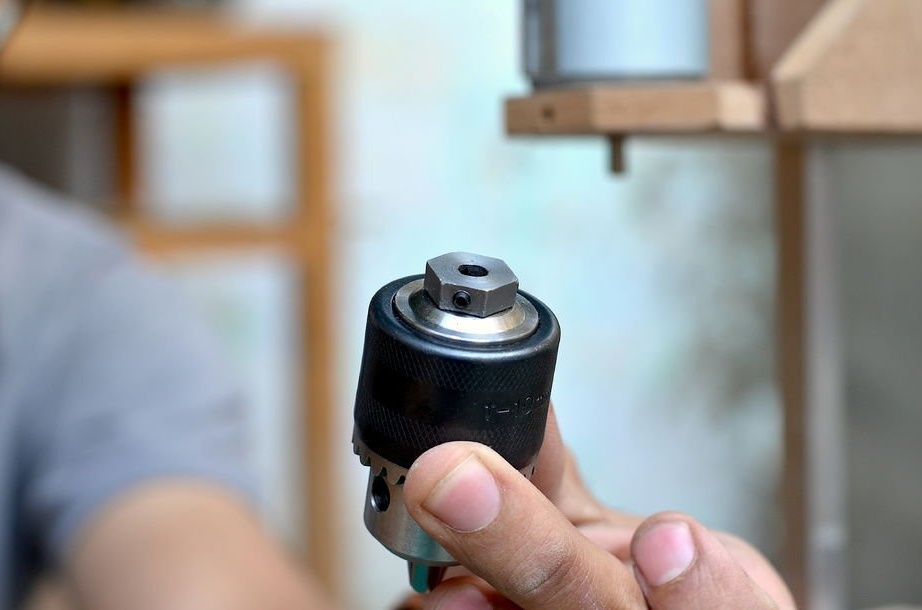

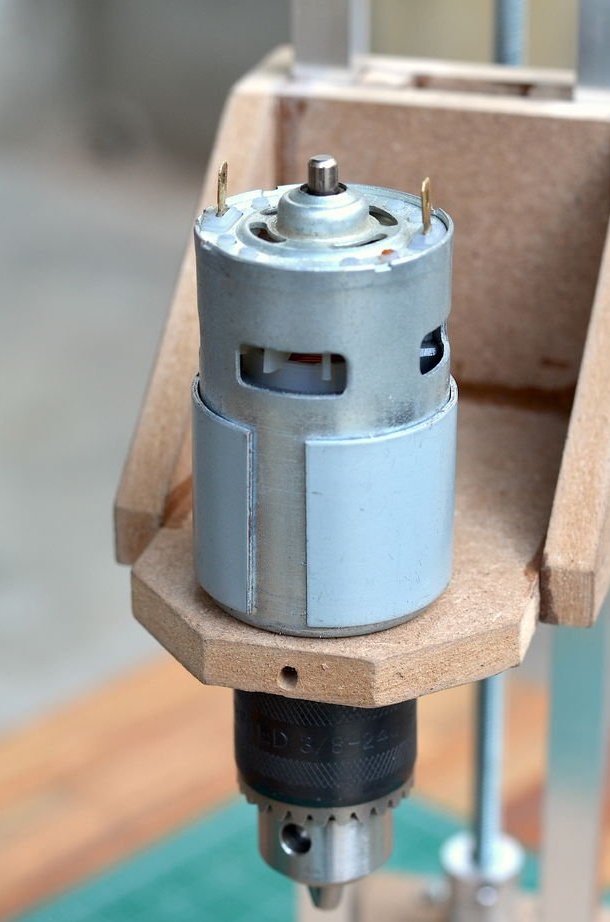
Then a drill chuck was attached to the engine. This special drill chuck has a 5 mm mounting hole so that it can be easily mounted on the engine at 775 rpm.
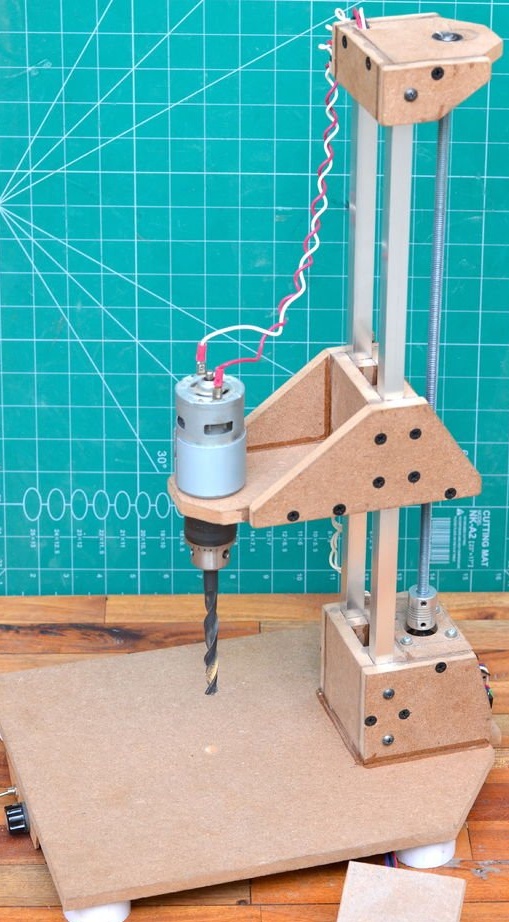
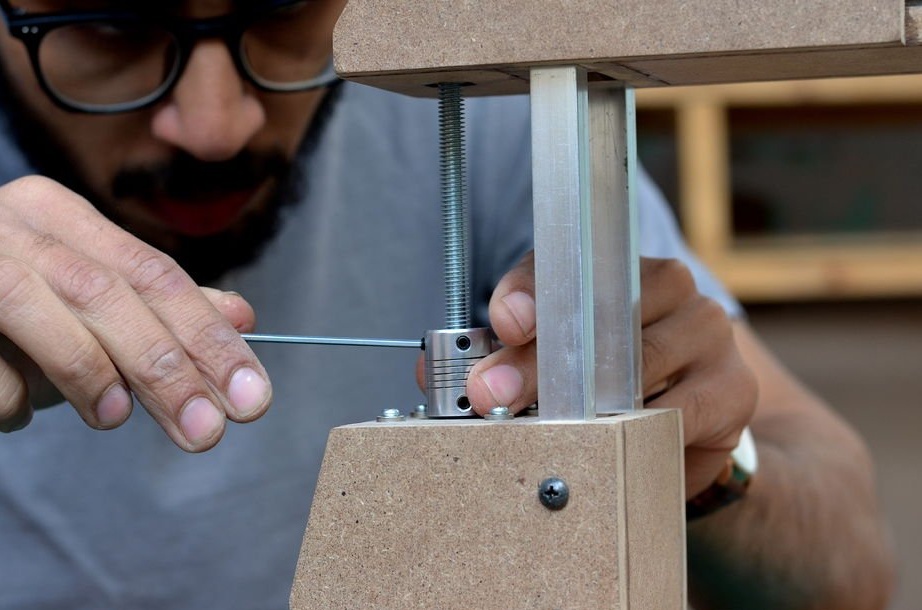
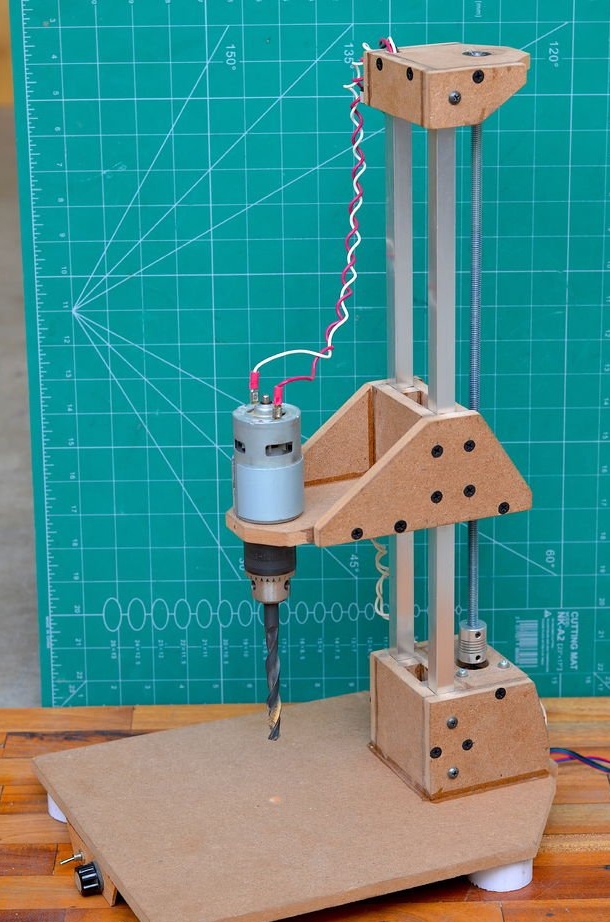
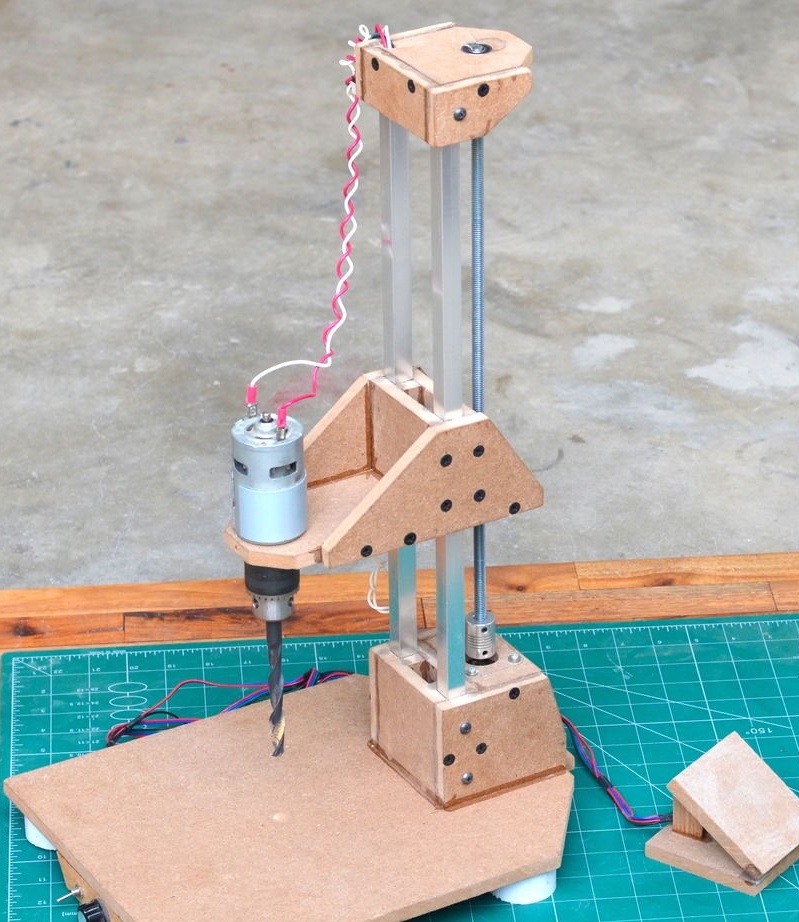
Then, the drive screw is attached to the shaft of the stepper motor using an aluminum adapter. The threaded rod has a diameter of 8 mm and passes through a nut installed inside the sliding platform. As the stepper motor rotates, the sliding platform moves up and down depending on the direction of rotation.
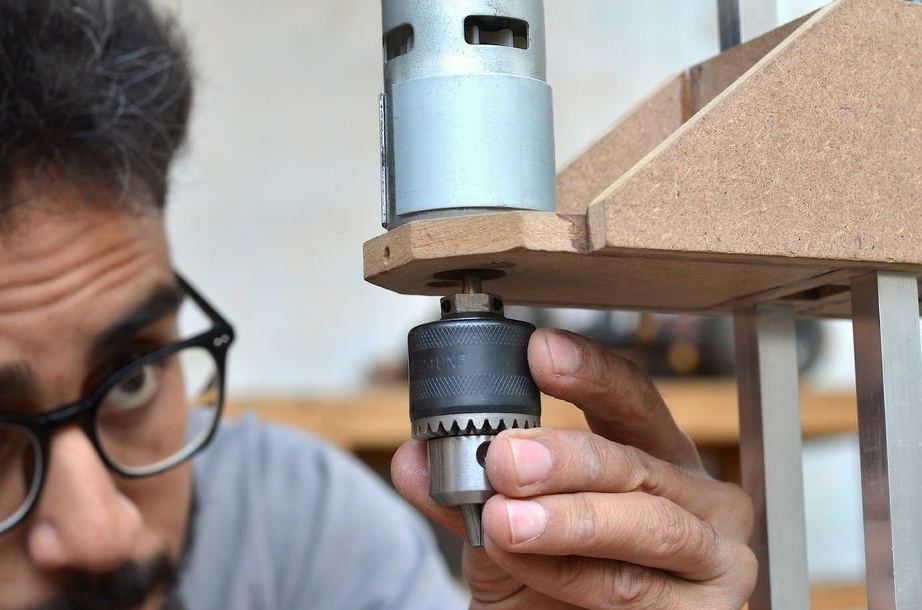
Step 7: Upper Platform
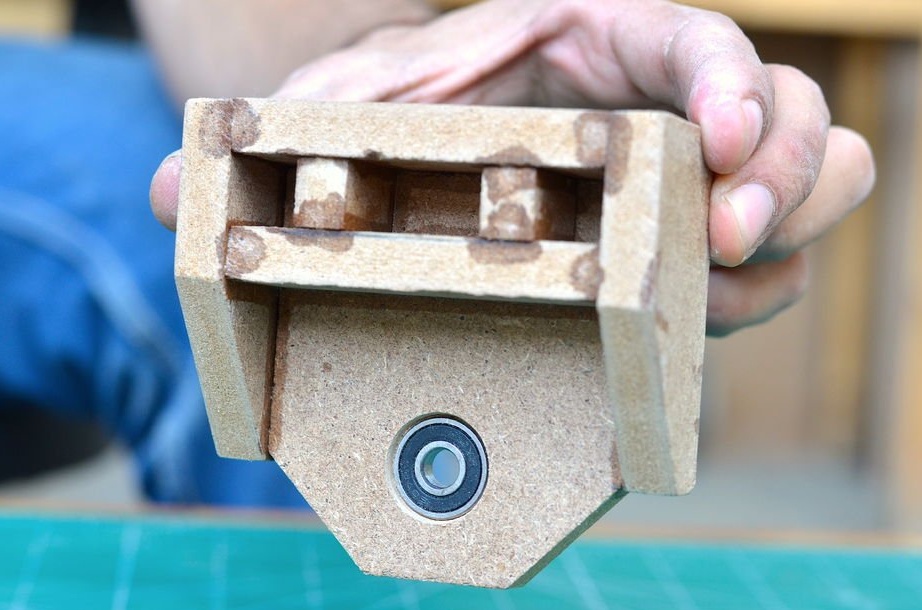
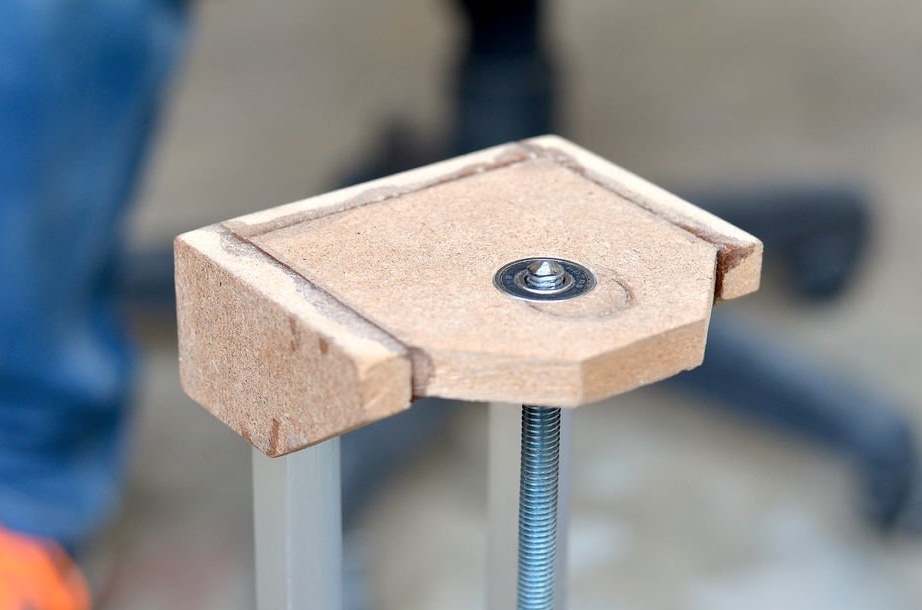
The last part of the design is the top assembly, which will maintain the distance between the rails and the screw through a ball bearing attached to the mount. After gluing all the parts together, the upper frame was installed using several screws.
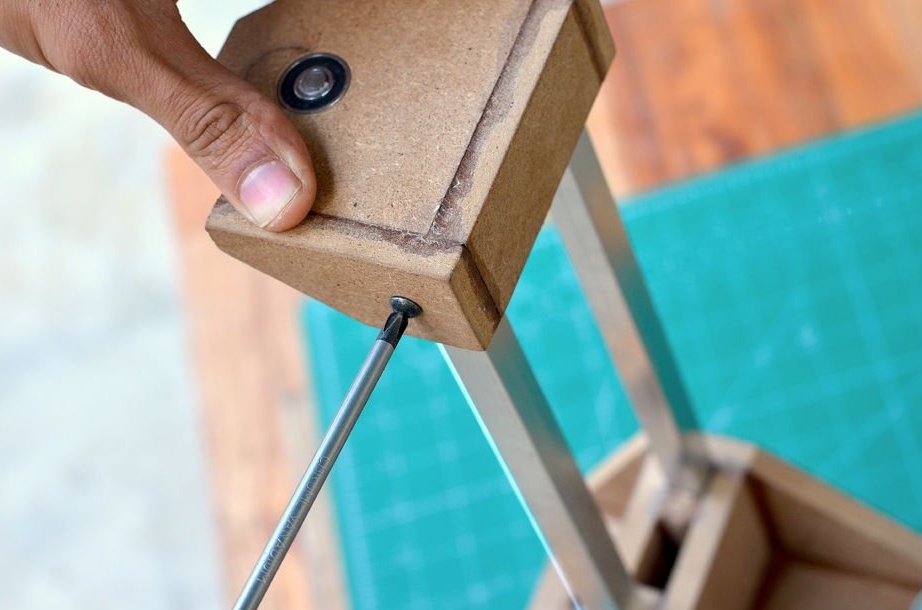
Step 8: Strengthening the design
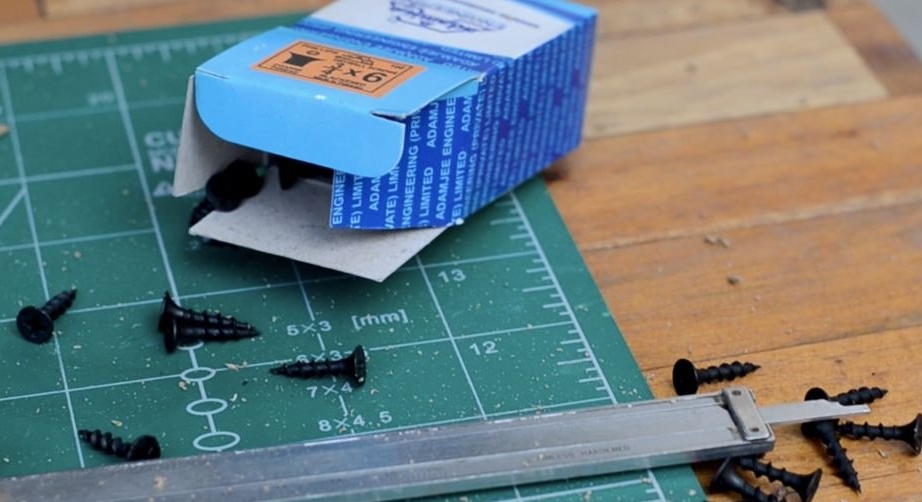

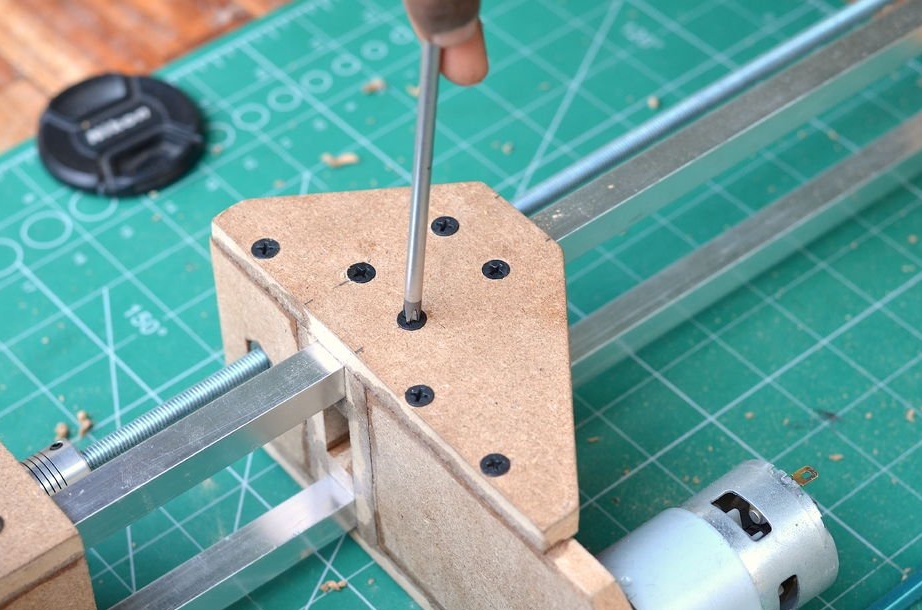

To strengthen the entire structure, self-tapping screws on each joint were used to make sure that the whole structure was strong enough to do what it was intended for.
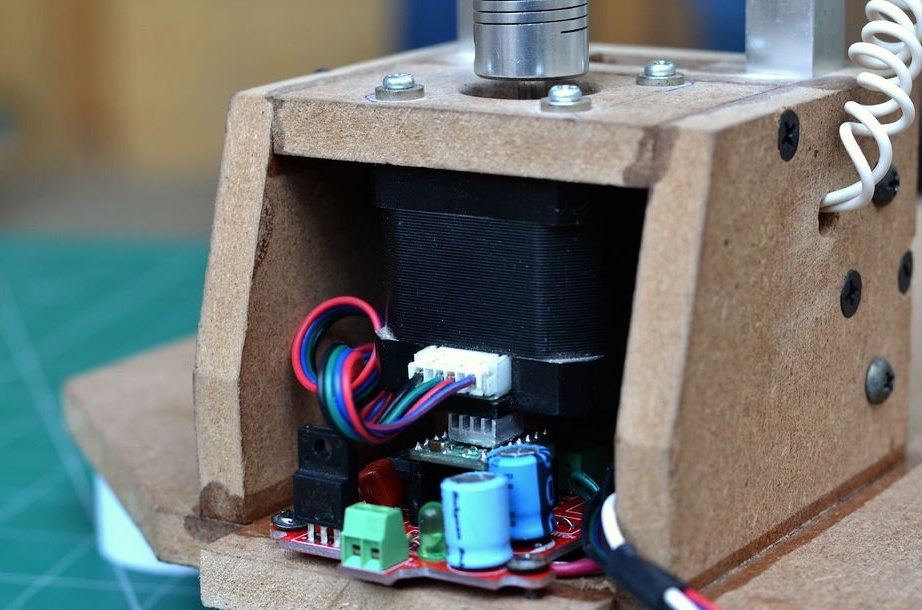
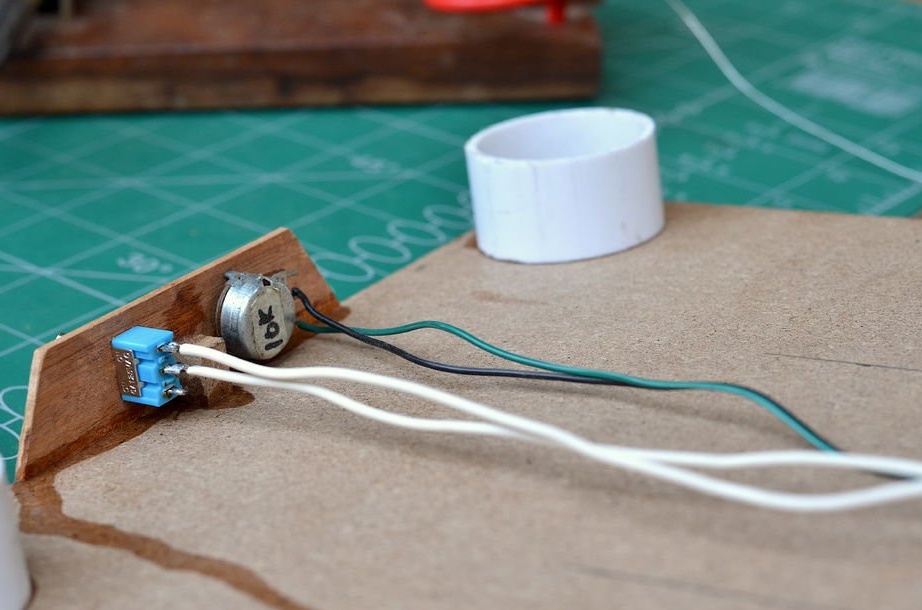
Step 9: stepper motor driver
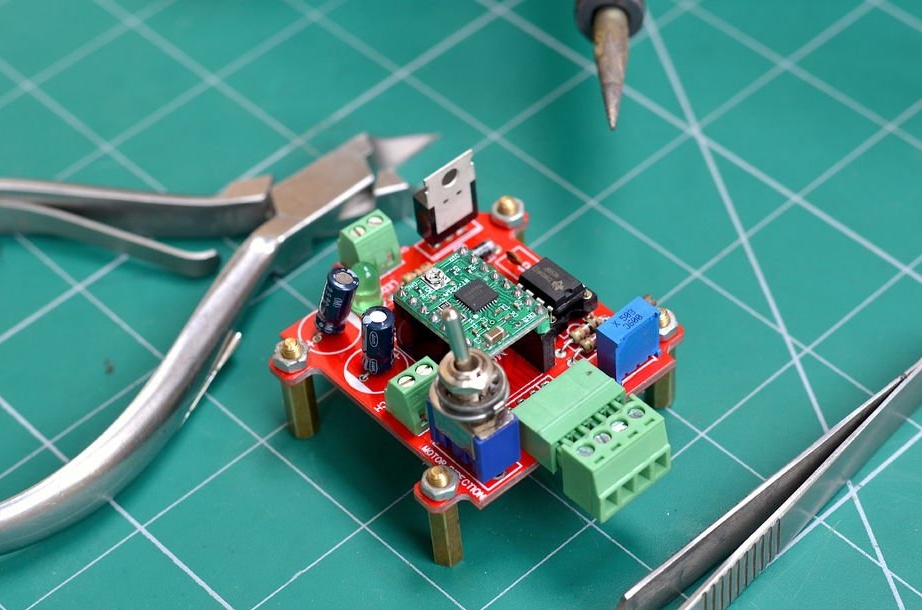
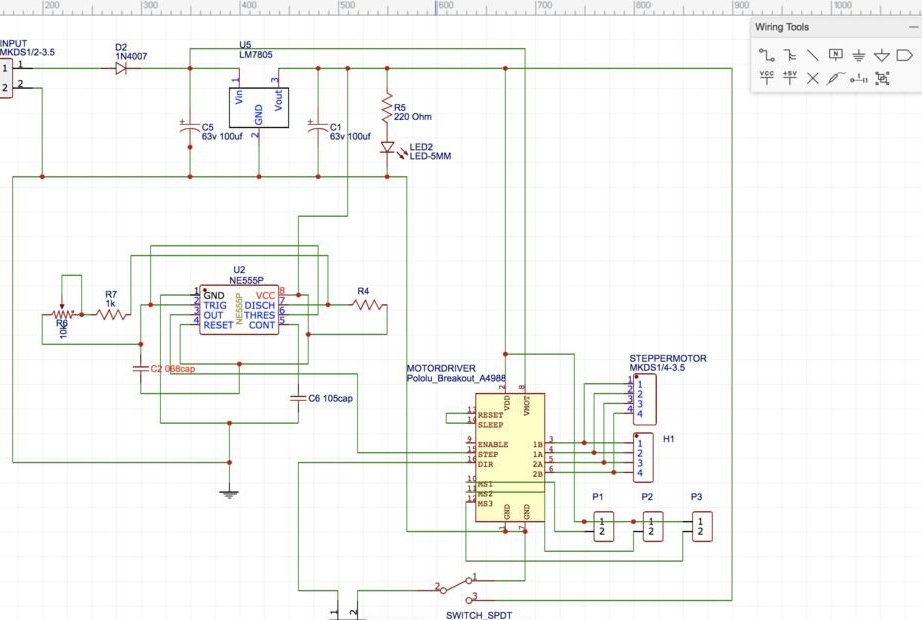
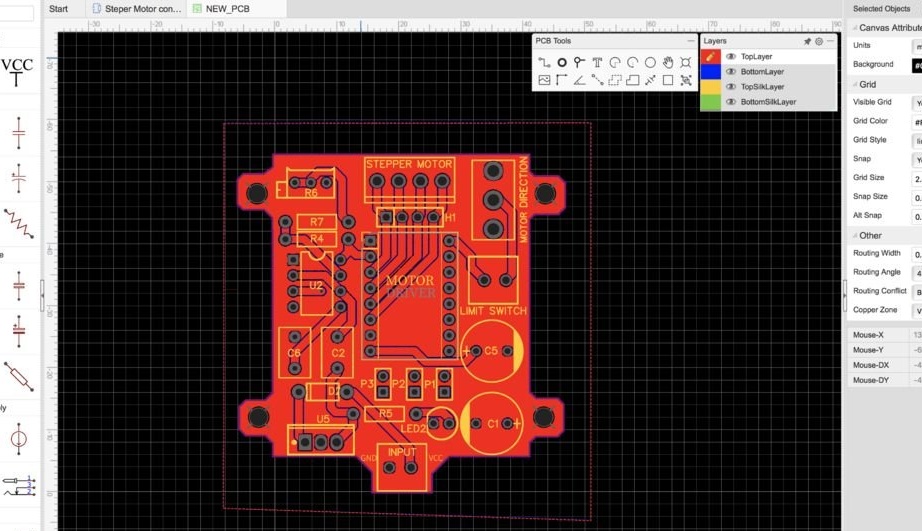
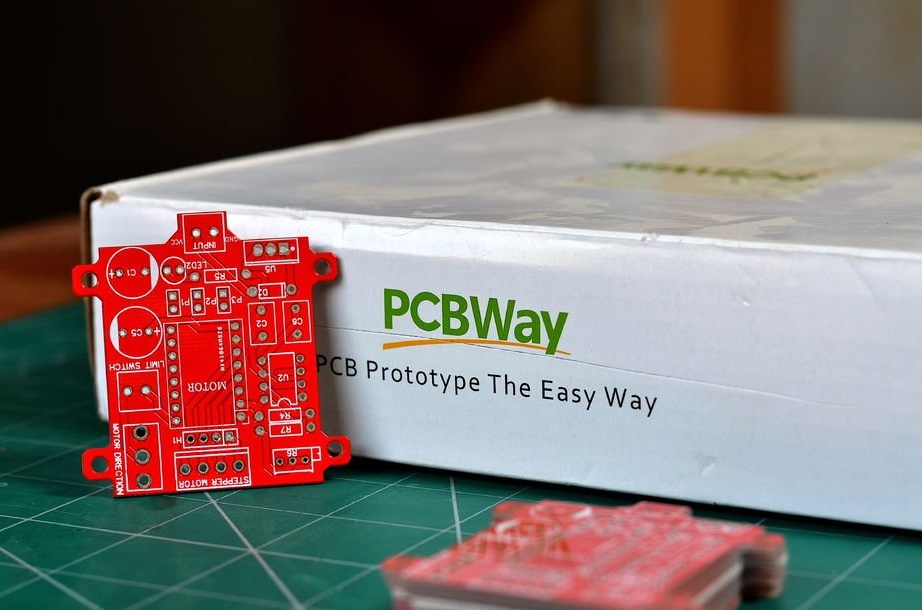
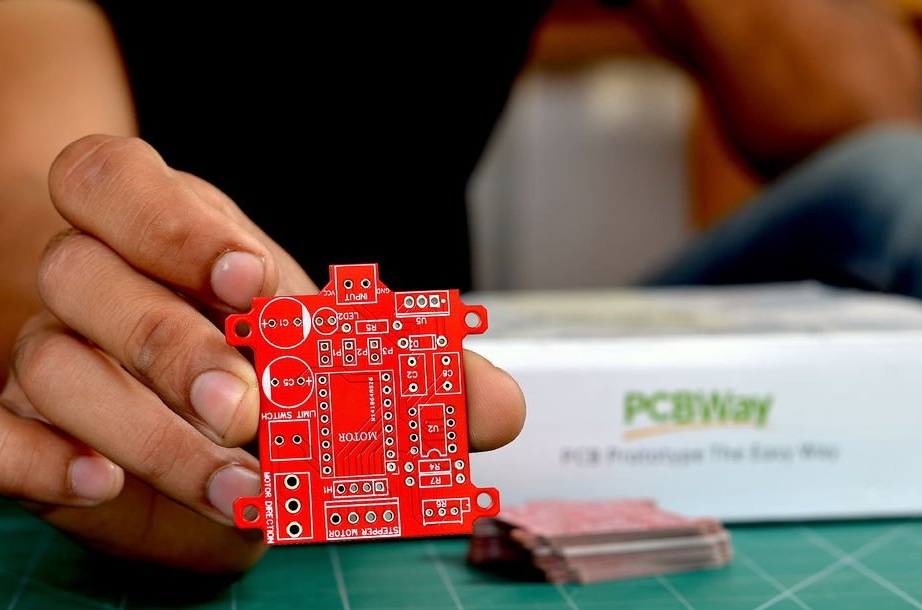
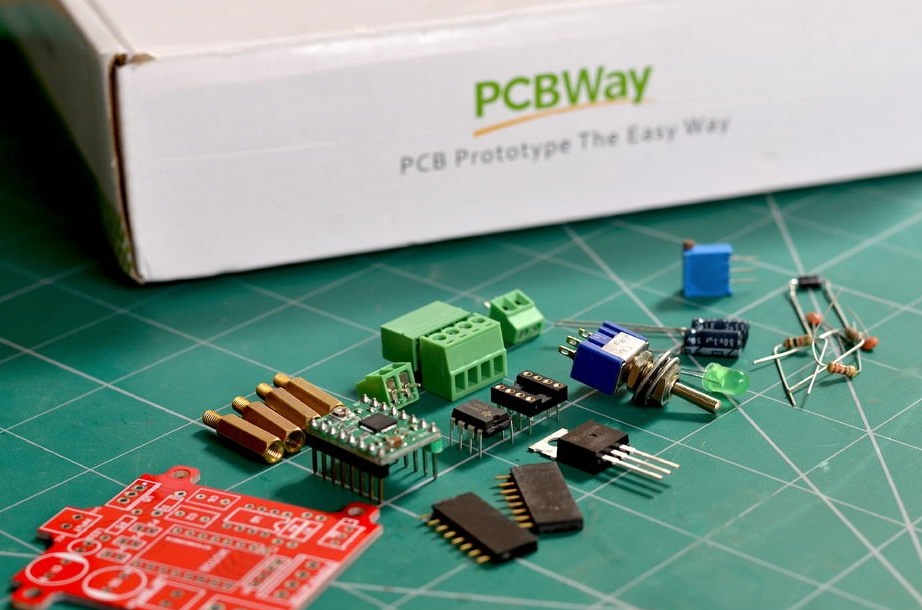
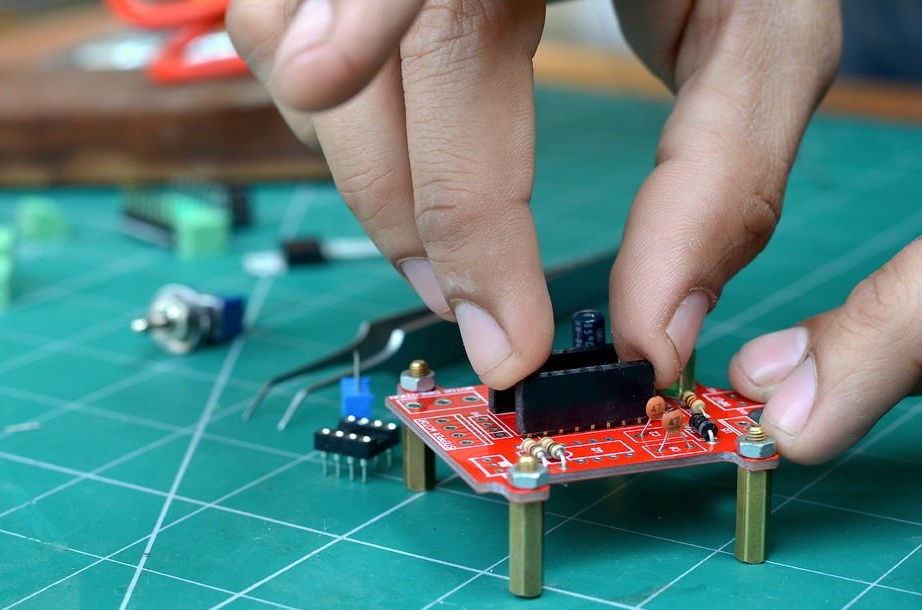
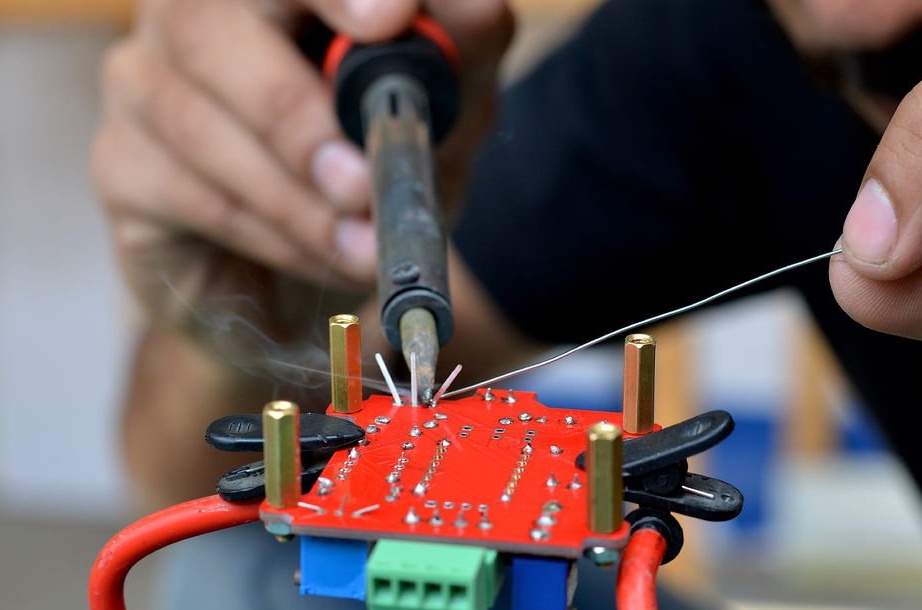
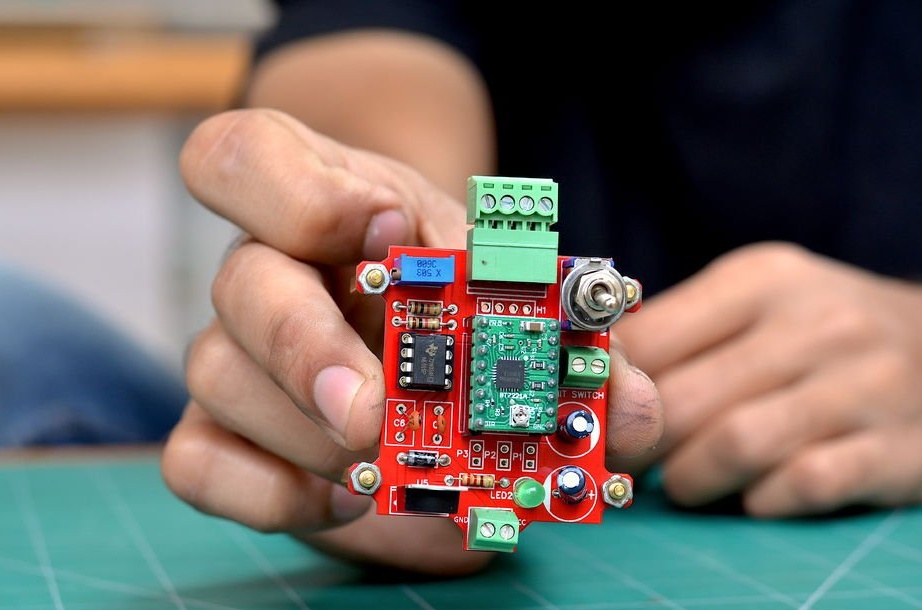
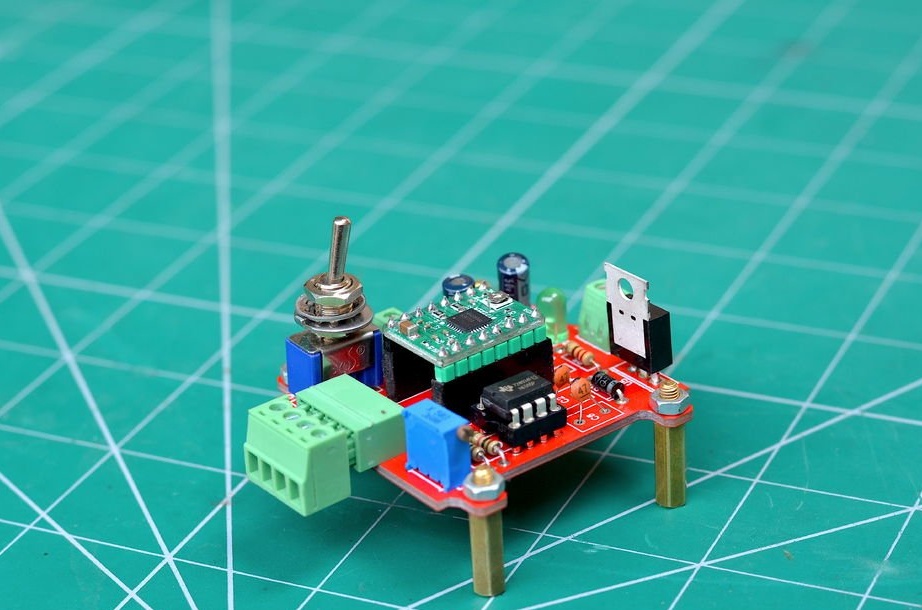
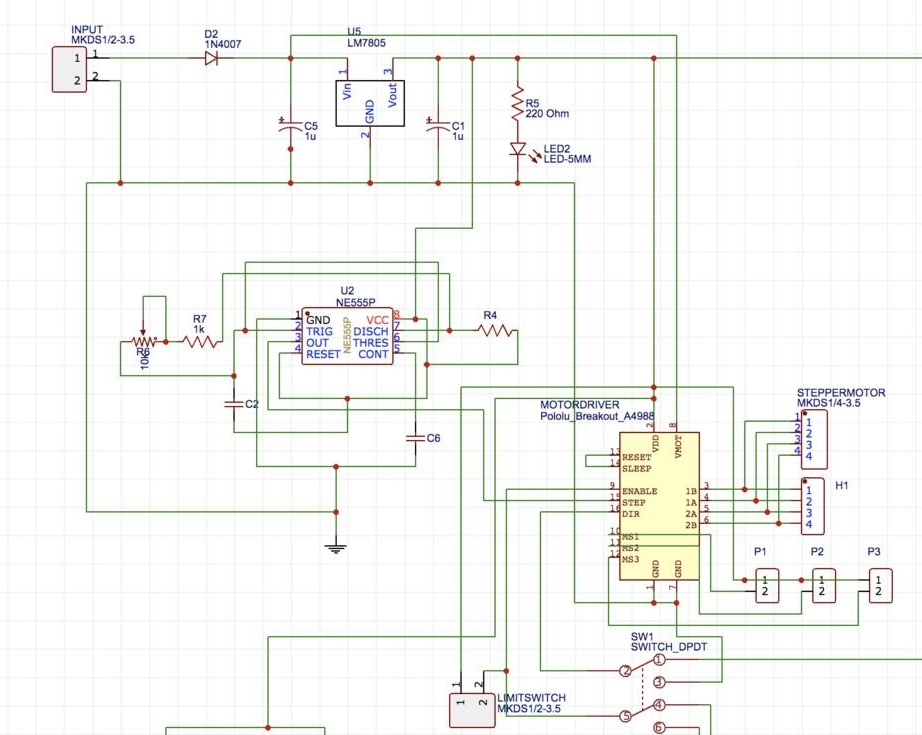
To control a stepper motor and control the speed of rotation, we need a controller. These functions will be performed by the 555 chip with a timer. This driver is built into the circuit board.
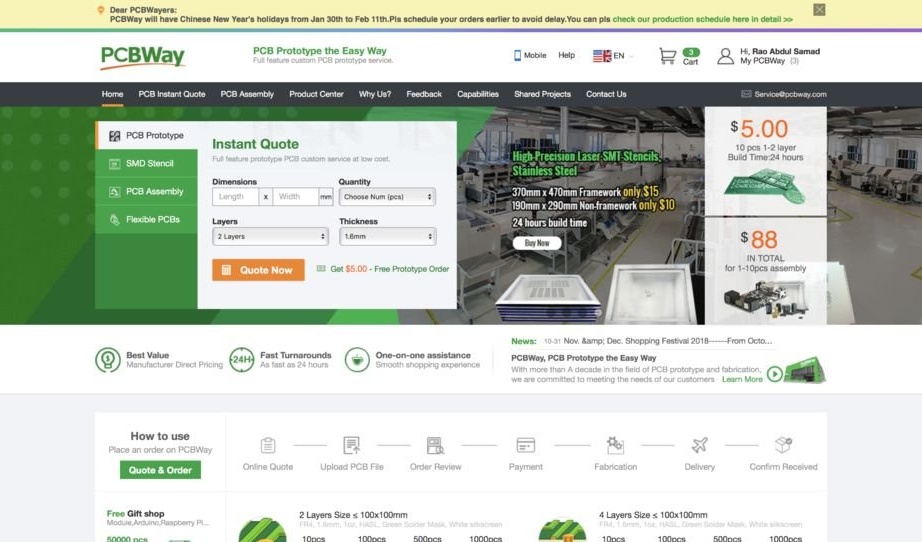
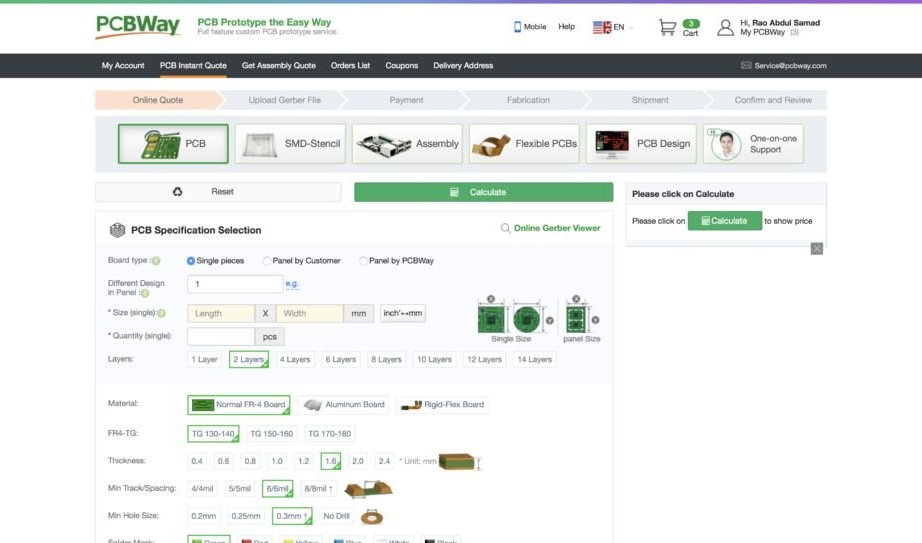
Then the gerber files were uploaded to the PCBWAY website, where an order for a specialized printed circuit board was made.
After collecting all the components, they were placed on the board. Then the components were soldered, and the 555 timer, together with the A4988 driver boards, was inserted into place. Then the controller was tested.
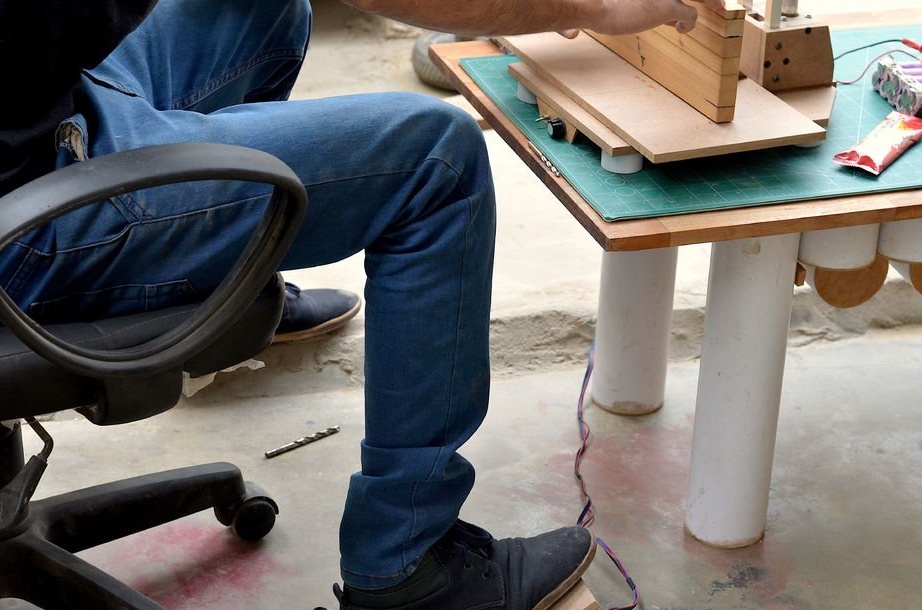
Step 10: Putting It Together
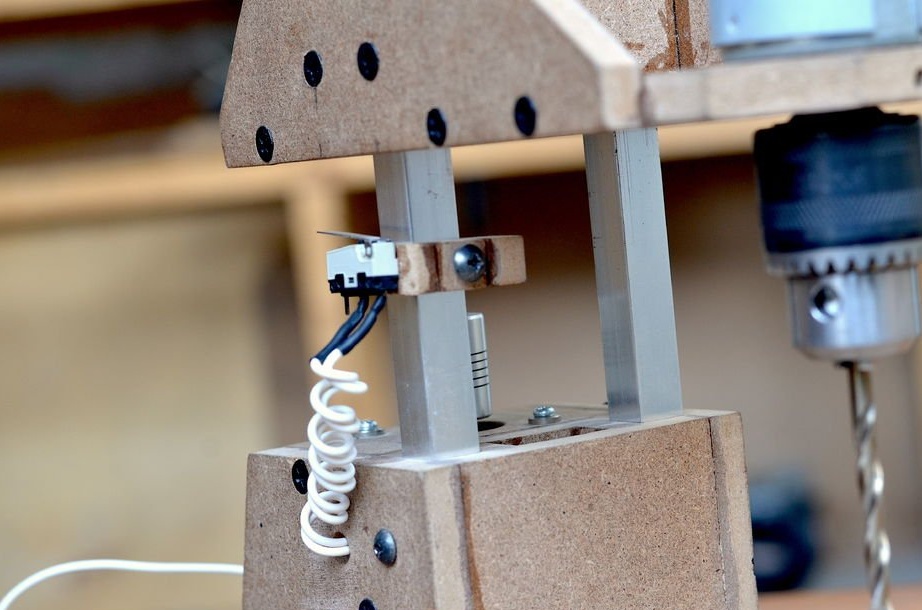
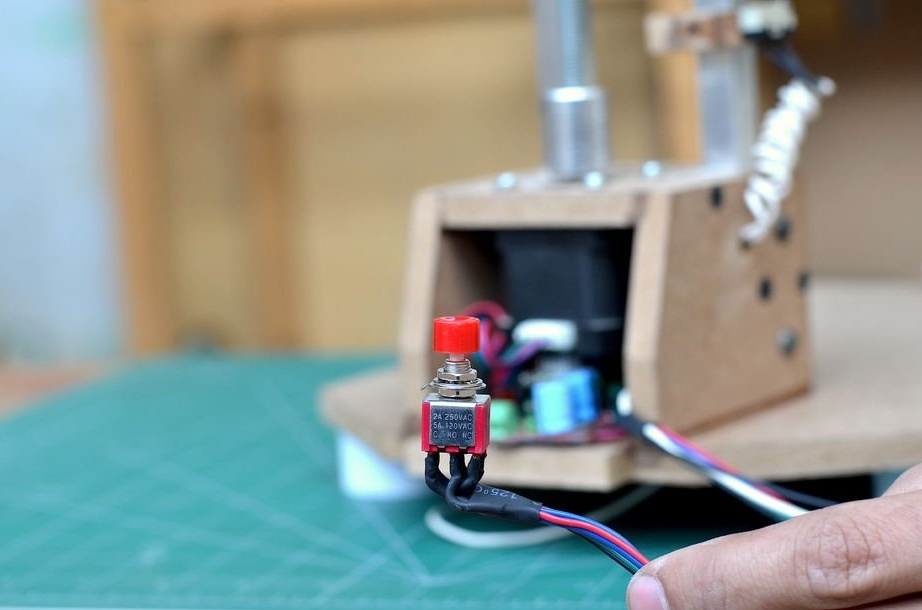

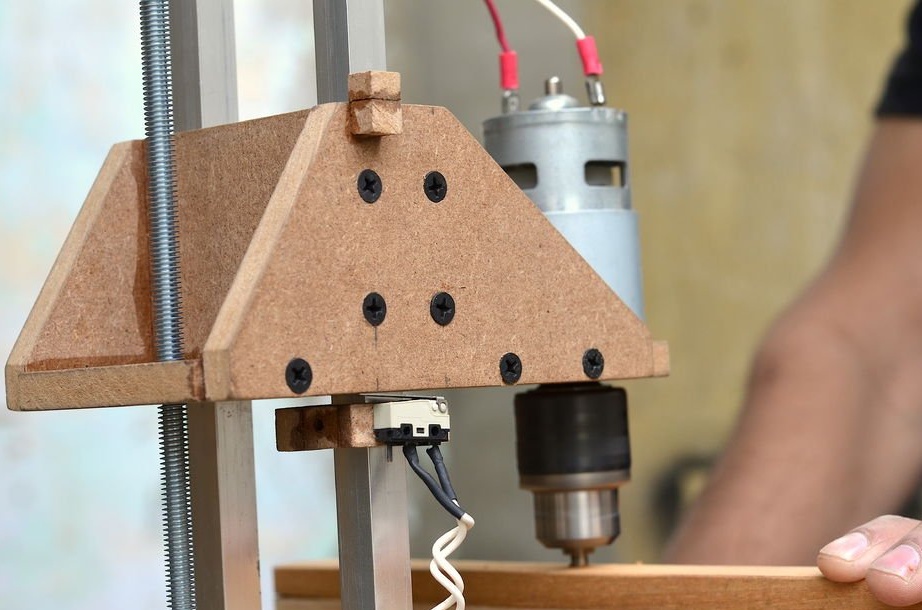
First you need a switch to turn the drill motor on and off.
To move the drilling platform up and down, a foot pedal will be used in which the DPDT switch will be activated. This will help control the direction and help limit the moment of drilling.
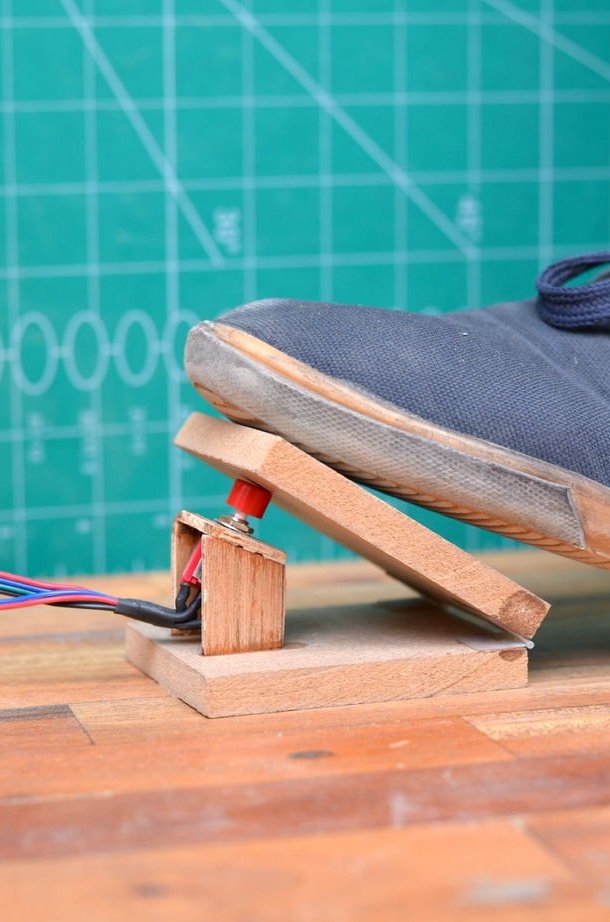
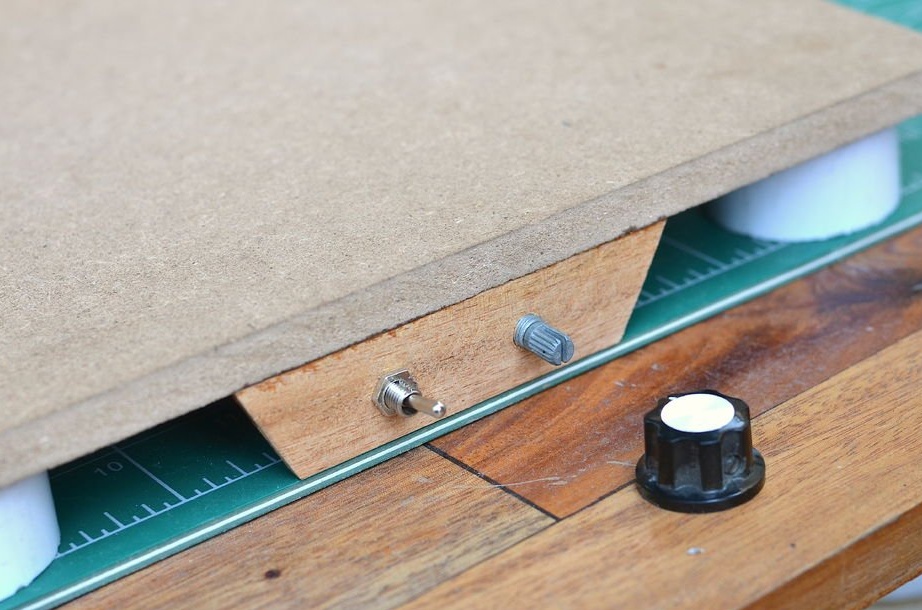
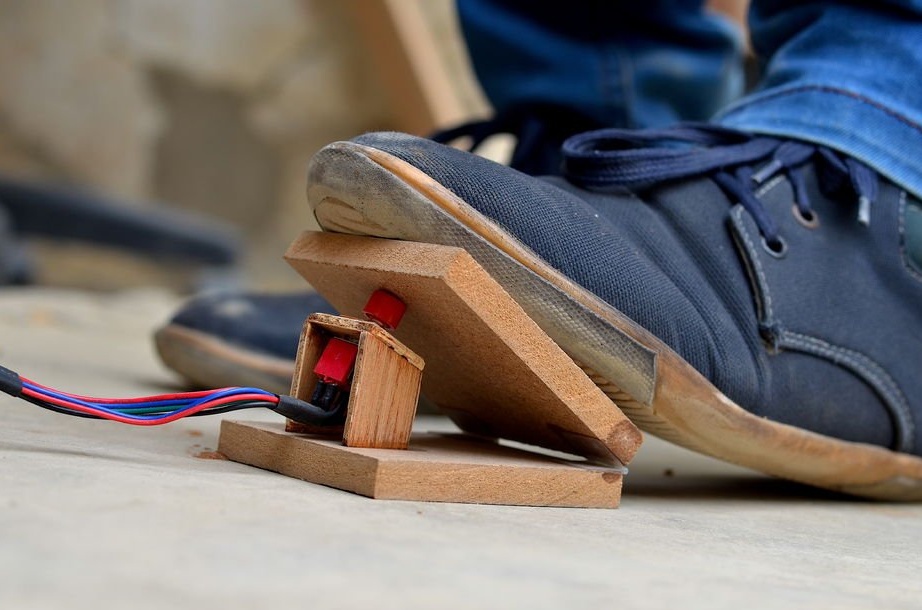
Step 11: Foot Pedal
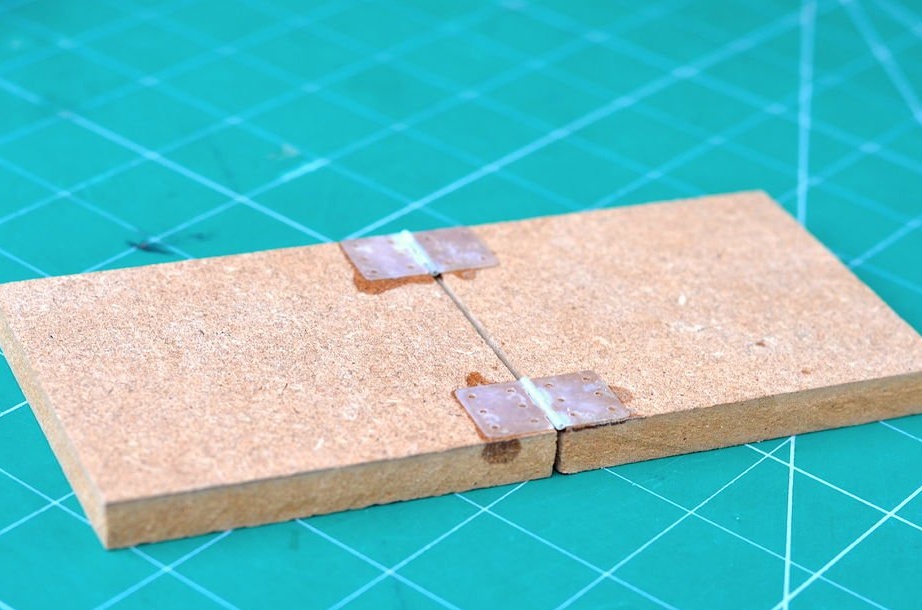
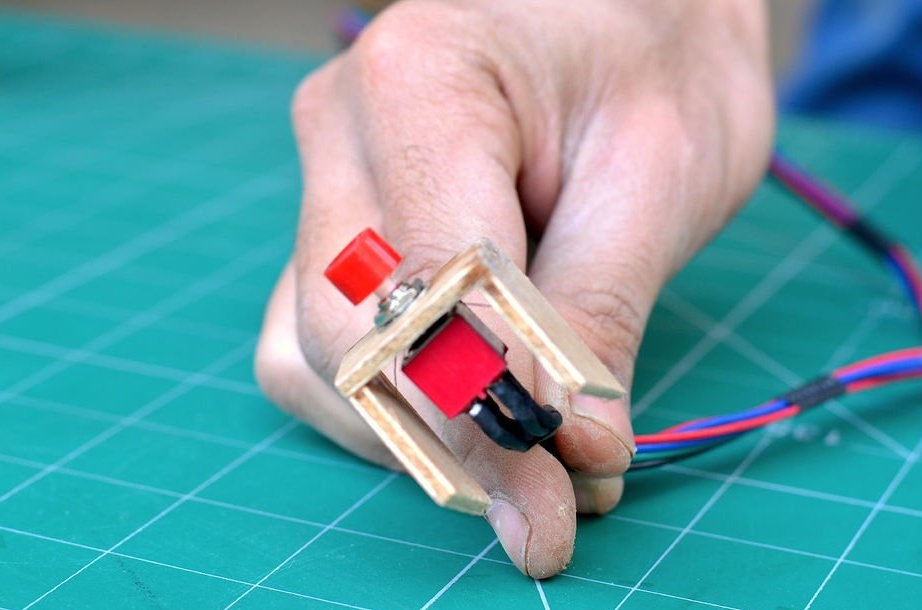
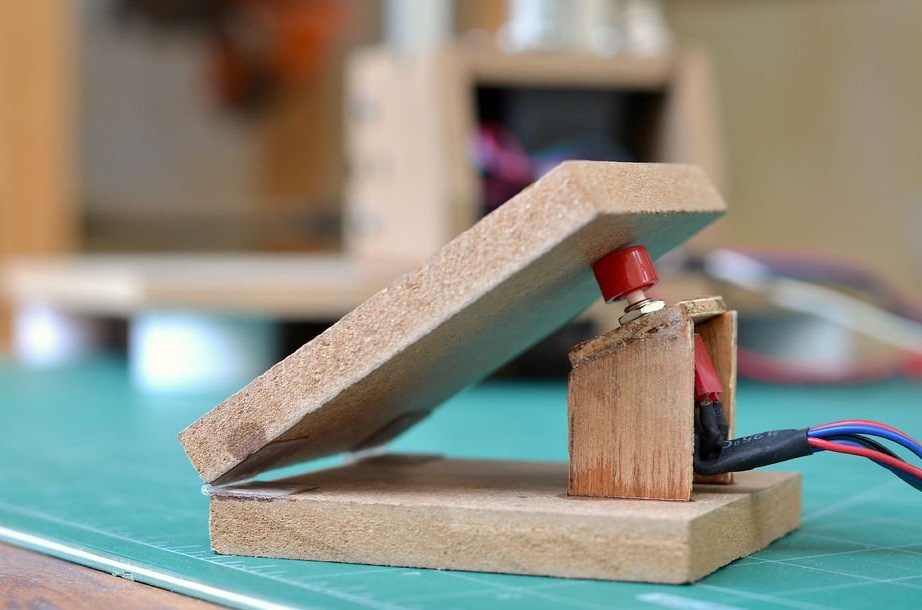
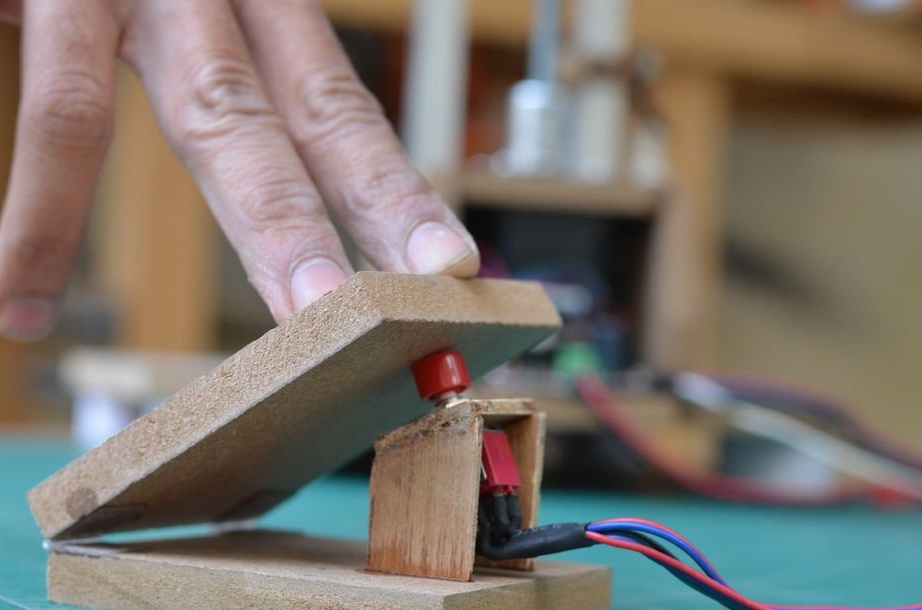
The foot pedal is made of two parts of an MDF sheet measuring 63 mm * 10 mm. Both parts are joined together using a pair of plastic hinges. The DPDT switch is mounted at a slight angle using plywood parts.
Step 12: Final Results
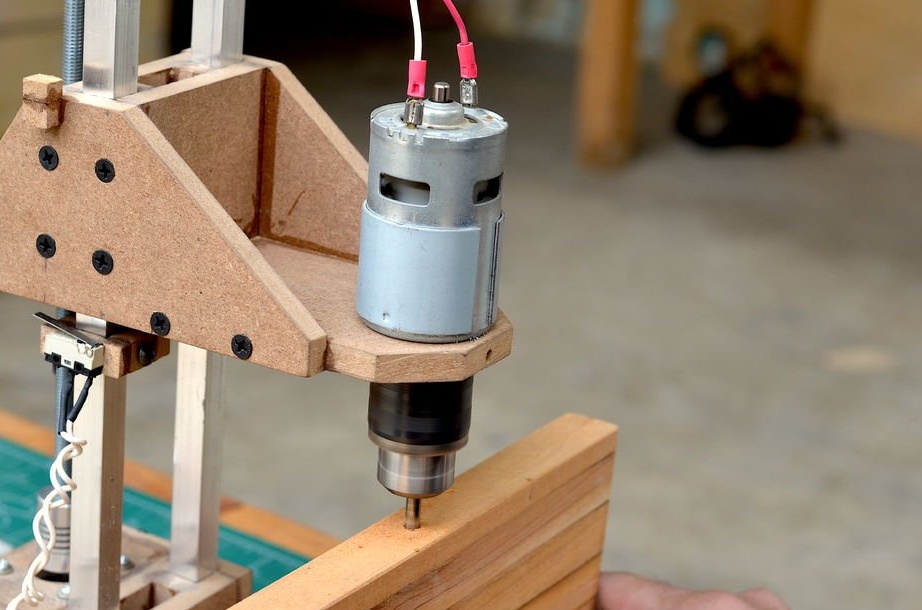
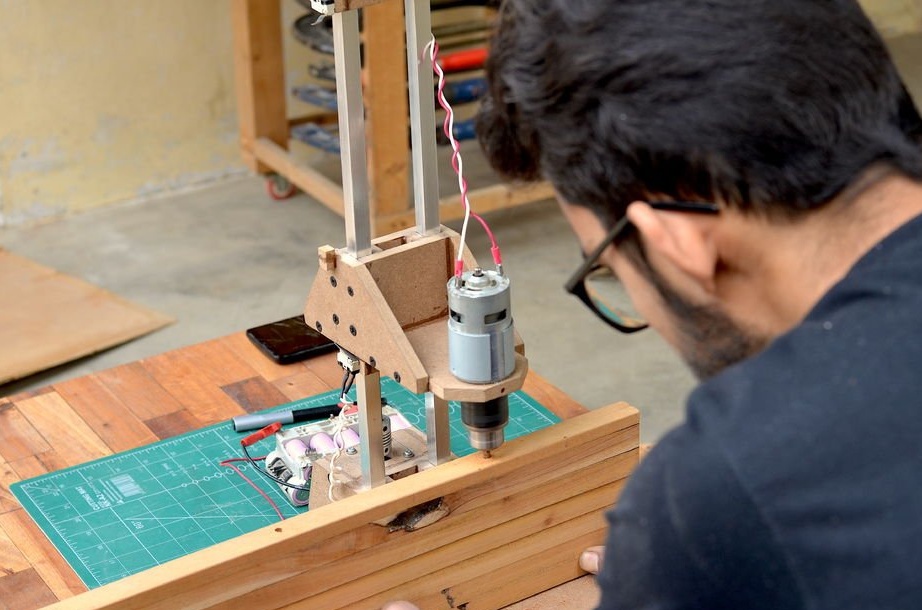
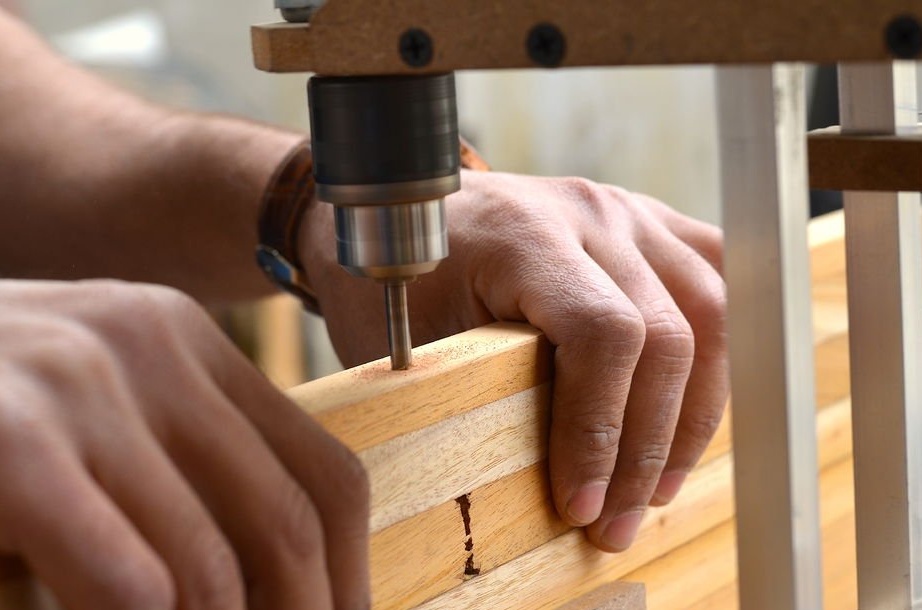
Finally, the drilling machine was tested on hardwood boards. Precision and usability at altitude. Drilling performance can be significantly improved with a gearbox added to the engine.