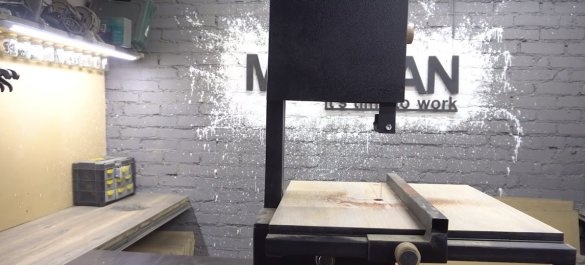
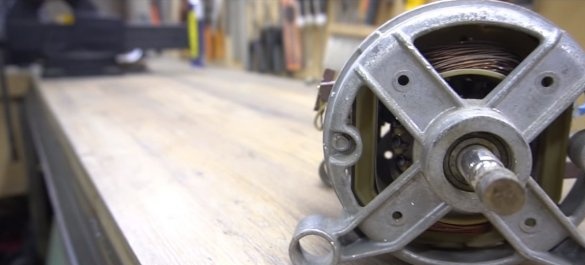
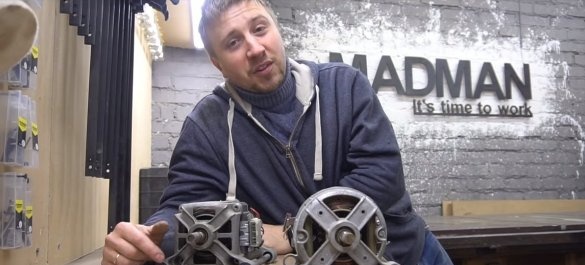
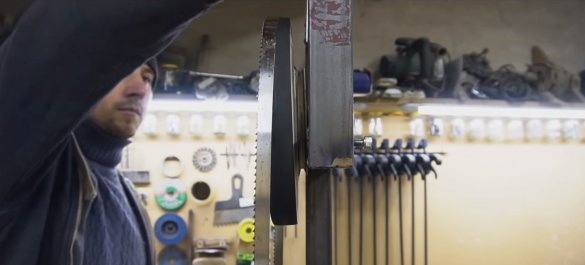
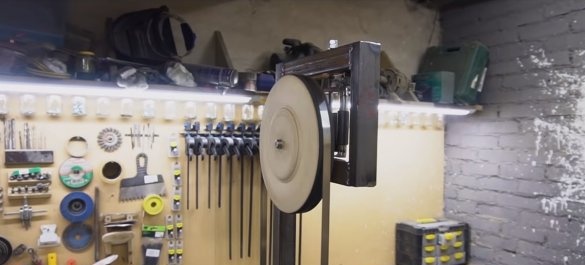
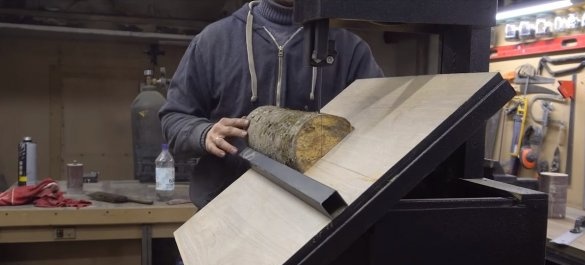
In this manual, we will look at how to make such a necessary thing for the workshop as a tape cutting machine. With it, you can cut everything from wood to metals. The productivity of such machines is very high, since the tape continuously rotates in a circle and is cleaned of sawdust. On a tape machine, you can easily cut boards, like on a circular saw, cut along stumps and much more. Of course, performance depends heavily on engine power, but the author uses the engine from a washing machine and he has enough power for various domestic needs. Everything is collected quite simply from the available materials. If you are interested in the project, I propose to study it in more detail.
Materials and tools used by the author:
Material List:
- profile pipes;
- the engine from the washing machine;
- ;
- bearings, bolts, nuts, screws, etc .;
- plywood;
- self-tapping screws;
- carpentry glue;
- polyurethane adhesive;
- axles with bearings (from the automobile pump 2101 and 2108);
- Sheet steel.
Tool List:
- a circular saw;
- drill;
- welding machine;
- milling machine;
- lathe;
- vise;
- measuring tool, wrenches, etc.
Machine manufacturing process:
Step one. Wheel making
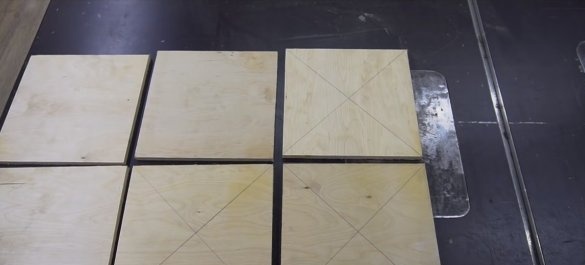
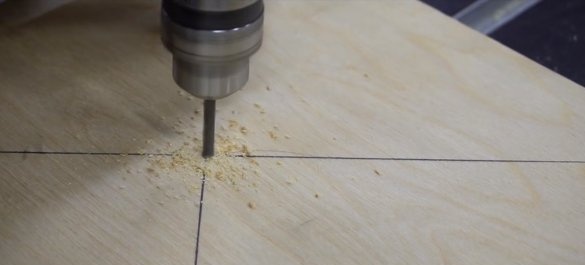
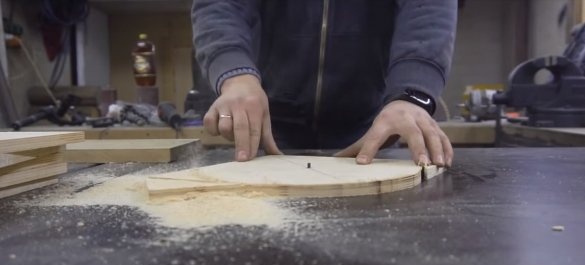
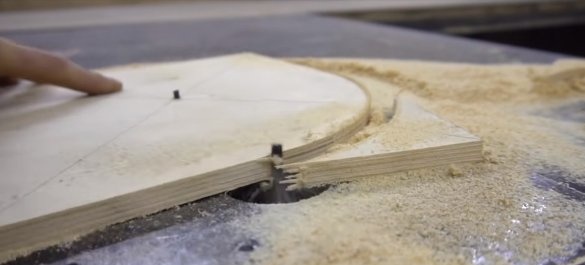
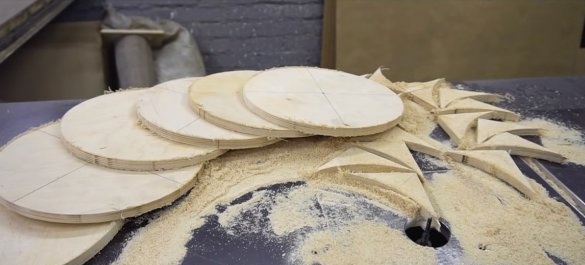
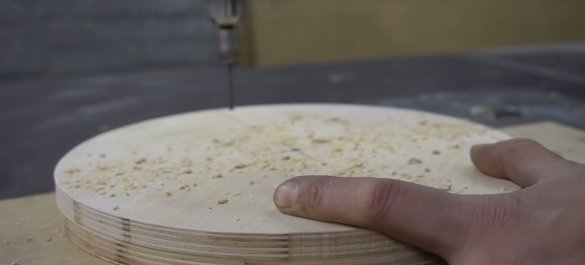
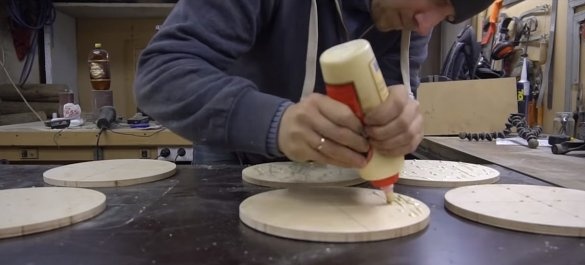
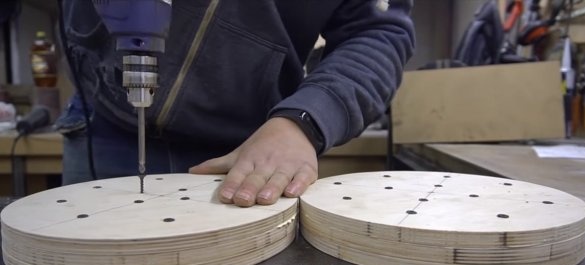
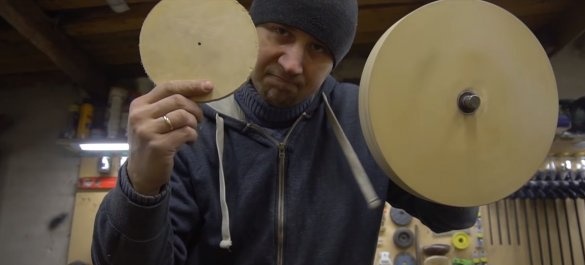
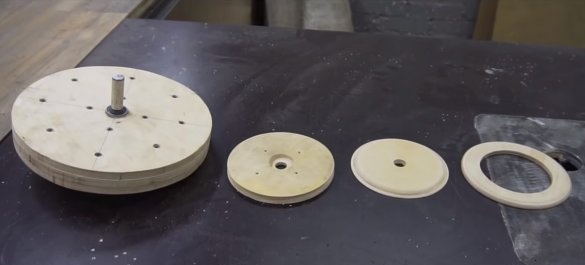
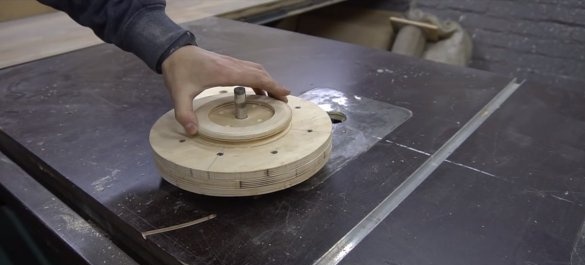
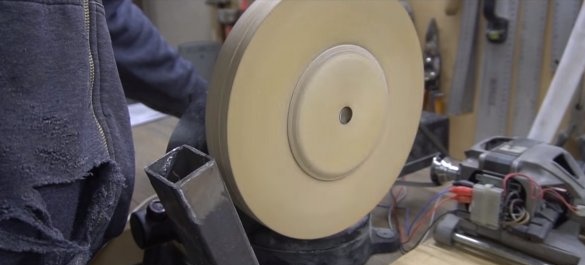
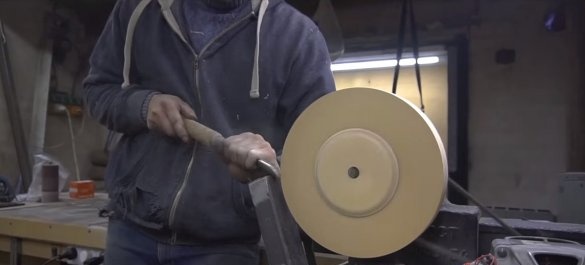
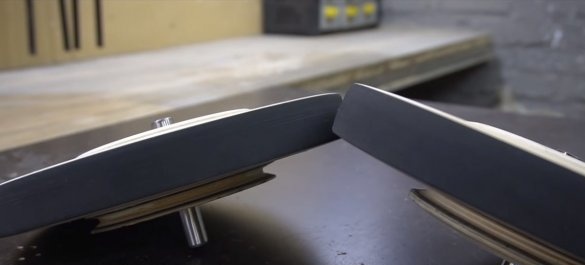
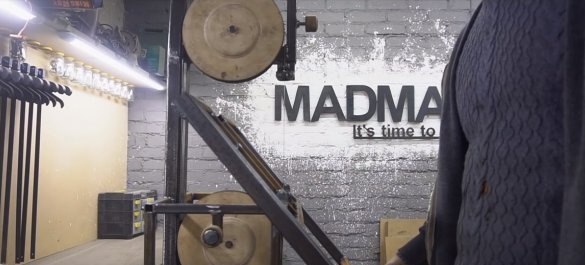
First of all, we will make the wheels on which the cutting blade will rotate. This is the most important part of the machine, so the process must be approached very carefully. We will make the wheels of plywood, to begin with, we cut circles from material, the author used a milling machine for cutting. Further, these circles are glued together and pulled together with self-tapping screws, as a result, we get the wheels of the desired thickness.
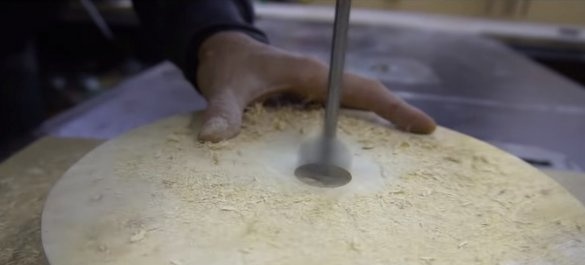
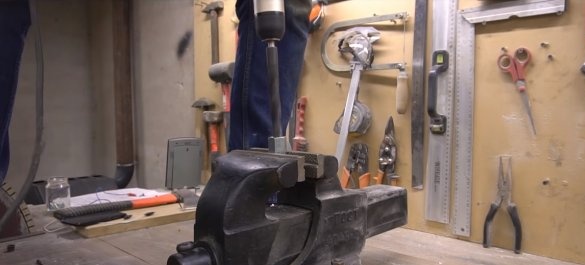
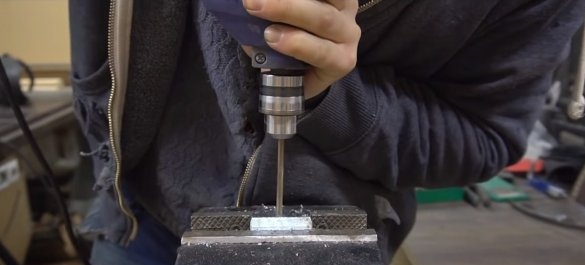
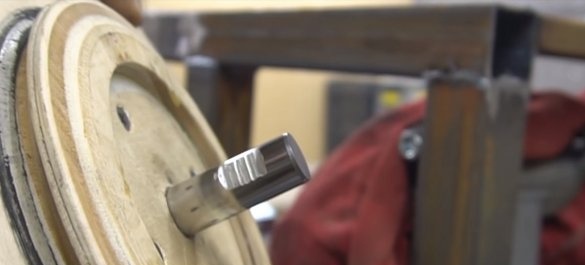
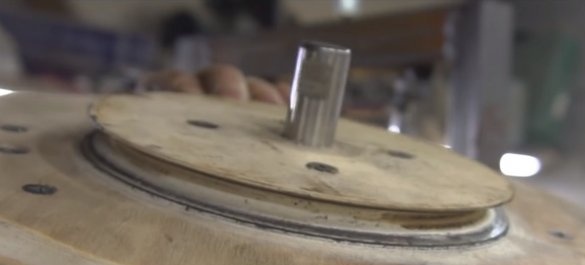
Of course, such wheels should rotate on reliable axles, for such purposes the author used axles with bearings from automobile pumps VAZ-2101 and VAZ-2108. We drill holes in the wheels with a pen drill and press in the axles with bearings.
Step Two Pulleys and other parts
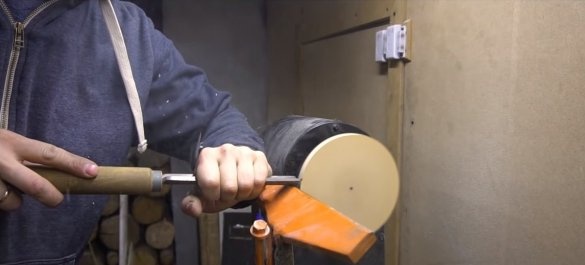
On the lower drive wheel we need to install a pulley that will receive torque from the engine. We also make this pulley from plywood, cut out a circle and then on the lathe we make a groove under it for the pulley. The author made the groove with the help of a specially made tool under the wedge.
We fasten the pulley with screws to the wheel and glue it, it will also additionally fix the axle with bearings.On the other hand, the author also made a plywood pad on the wheel.
Step Three Modify the wheels
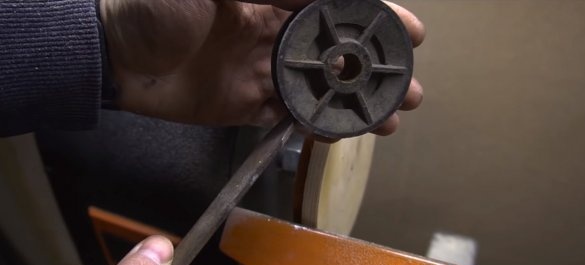
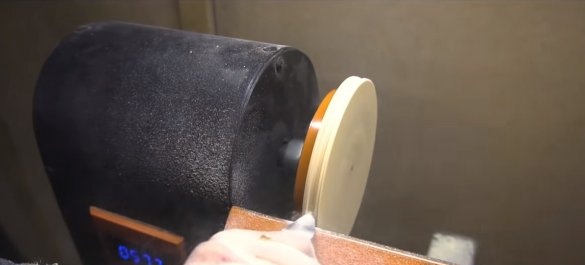
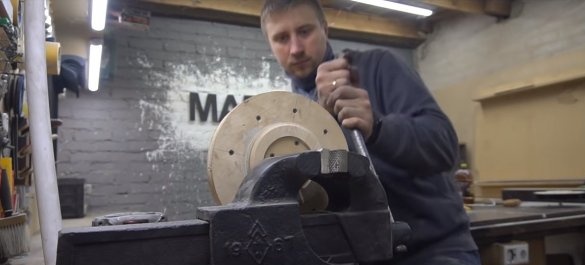
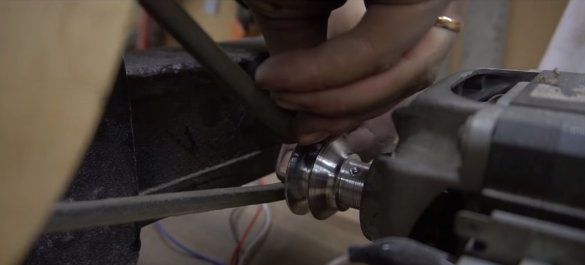
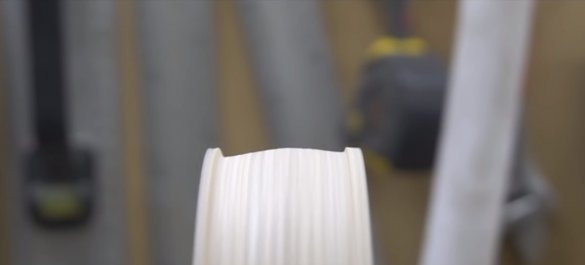
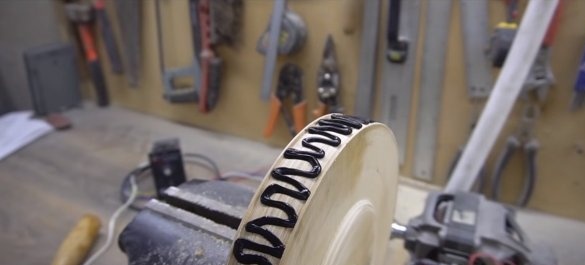
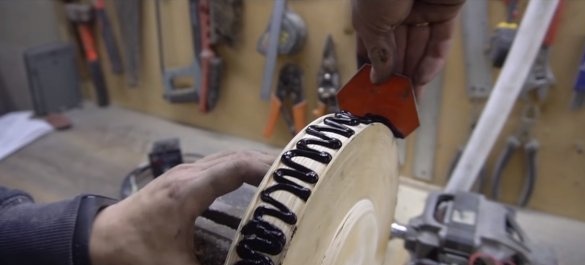
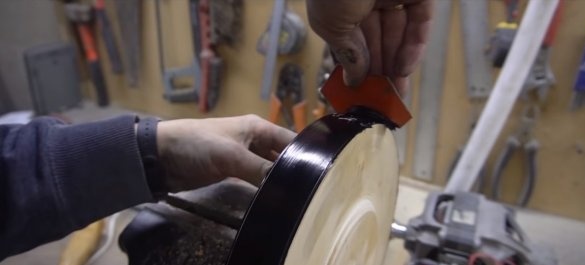
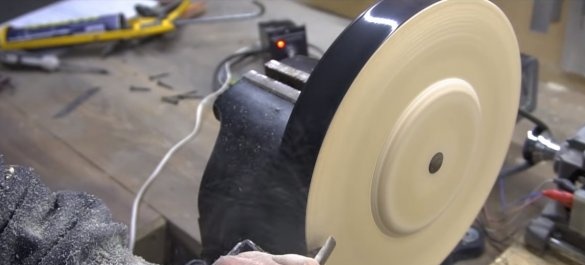
Now we are finalizing the wheels, more precisely, the areas that will be in contact with the cutting blade. We clamp the wheel by the axis in a vice, connect the engine from the washing machine and form the desired profile. Then the author applies polyurethane glue to the wheels, as a result, a strong, wear-resistant coating is formed on which the cutting blade will not slip. Now a little more grinding and get two great wheels.
Step Four Frame and engine
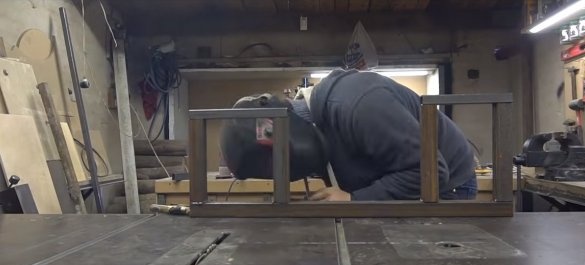
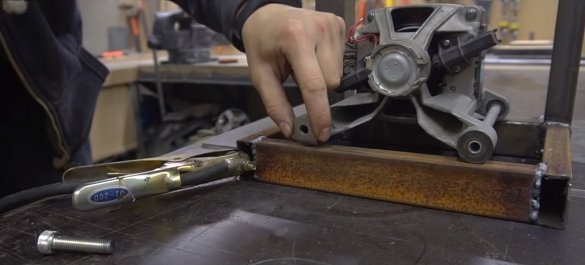
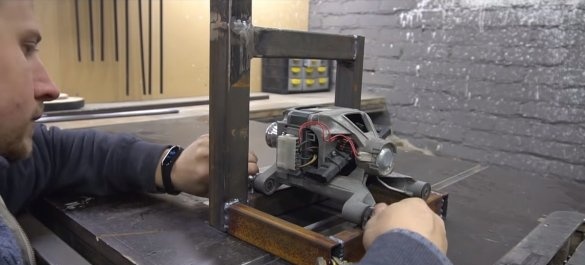
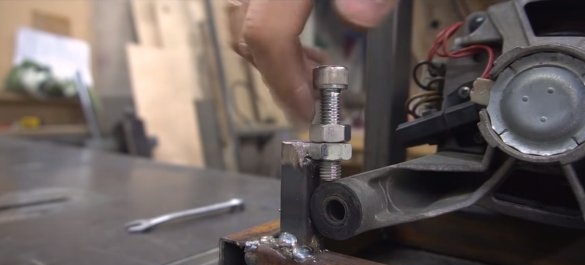
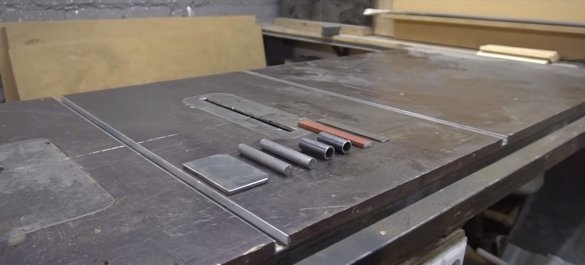
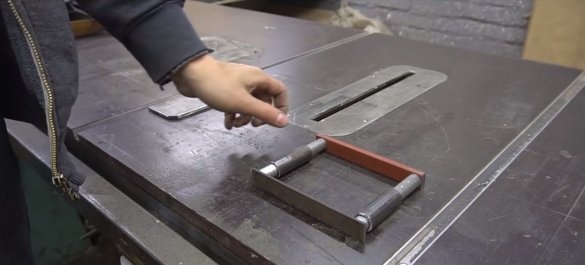
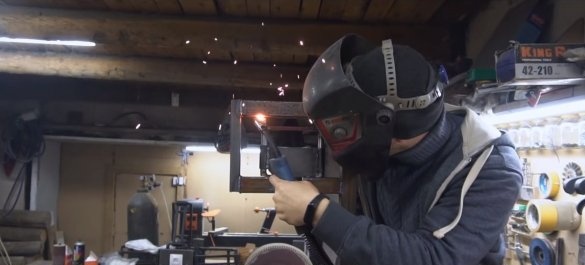
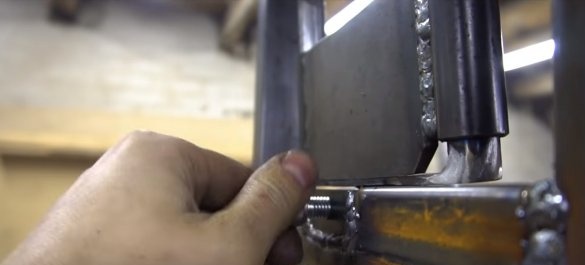
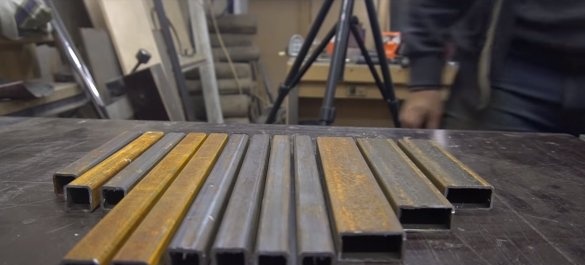
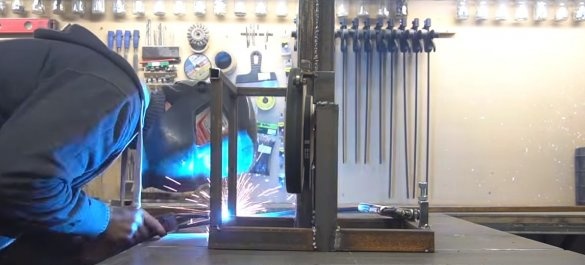
We weld the bottom of the frame for the machine, we use profile pipes as the material. To mount the engine, we weld two ears, it will hold on two screws, and one more screw will be needed in order to make the tensioner.
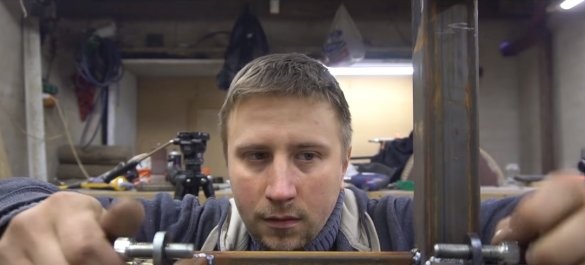
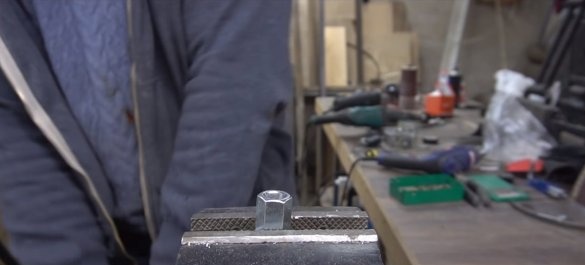
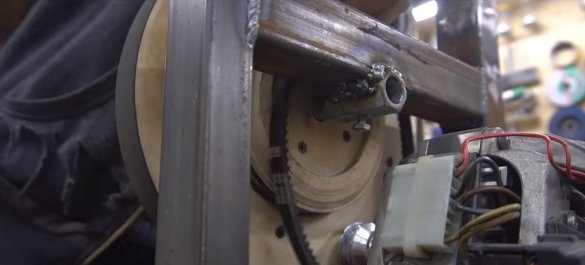
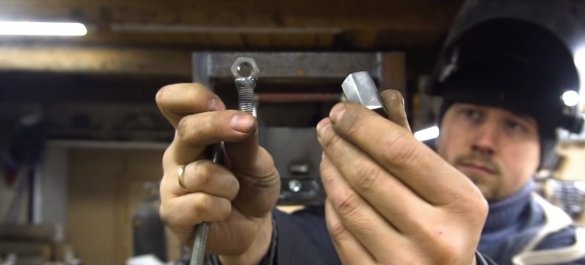
As for the drive wheel, we fix it by the axis to the frame using a welded elongated nut with a drilled thread. Everything is fixed with a bolt, the author specifically chose a metal on the axis with a grinder to make a slot. That's all, now you can put on and pull the belt.
Step Five Upper frame and driven wheel
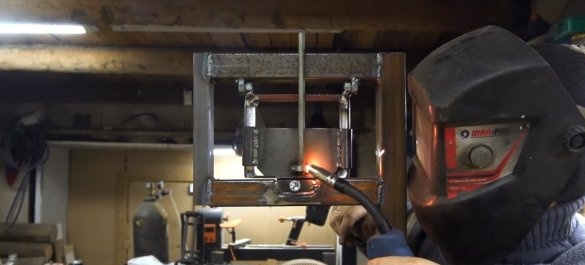
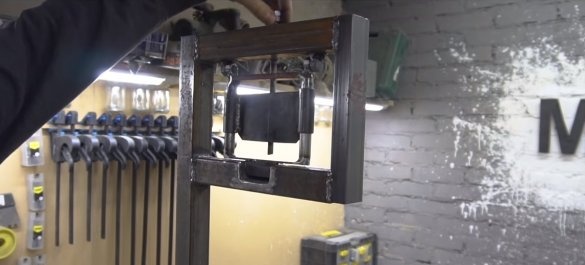
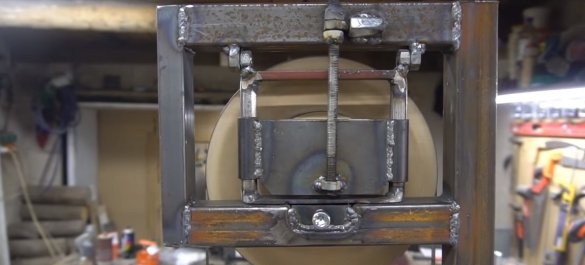
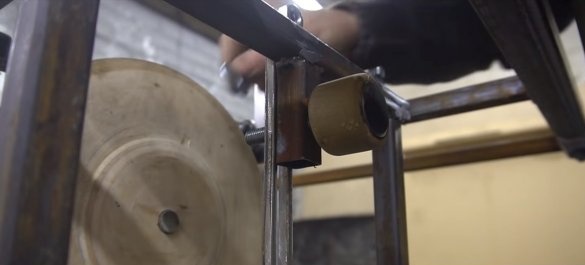
At the top of the frame is the adjustment unit. Its purpose is to tension the cutting blade and also center it on wheels. Everything is done simply, look in more detail at the photo.
Once the upper driven wheel is installed, you can install the tape and start the machine. But be careful and do not stand in front of the tape, it is life threatening if it flies!
Step Six Finishing touches
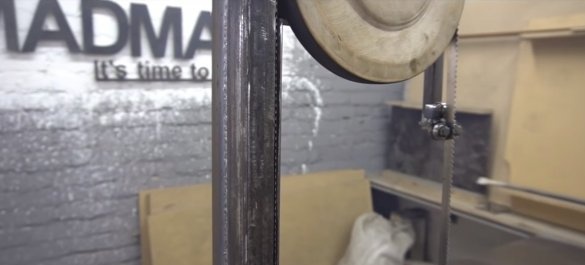
In the end, we set the rollers that will not allow the tape to shift during operation, this is a kind of emphasis. Such rollers are usually made of bearings. Two are located on the sides of the tape and one at the back, serving as a stop.
The tape must necessarily move in a protective casing of profile pipes, only a small part of it should be open. Otherwise, if the tape breaks or flies off, injuries incompatible with life can be obtained!
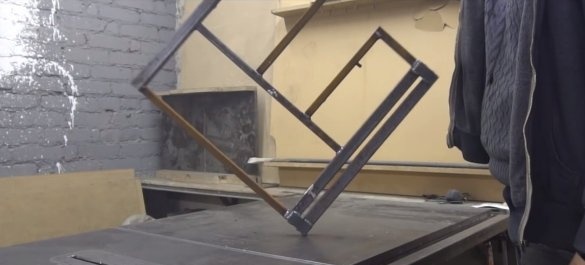
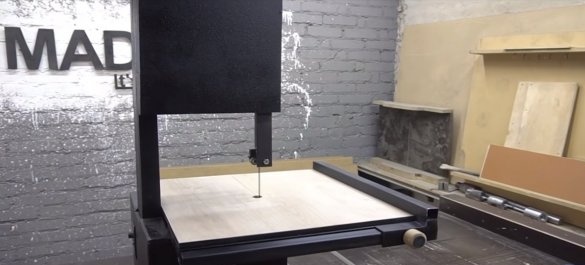
As a result, it will be necessary to assemble a table, it is set at the desired angle by the author. We weld it from profile pipes, and plywood, MDF or other similar material is suitable as a flooring. All metal parts must be painted so as not to rust.
We connect the engine through, it not only allows you to set the desired speed, but also maintains high torque at low speeds, in general, a great thing for the machine.
Seventh step. Test it!
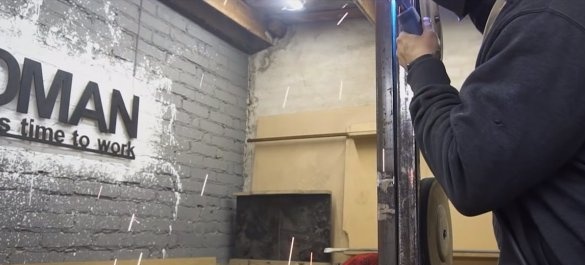
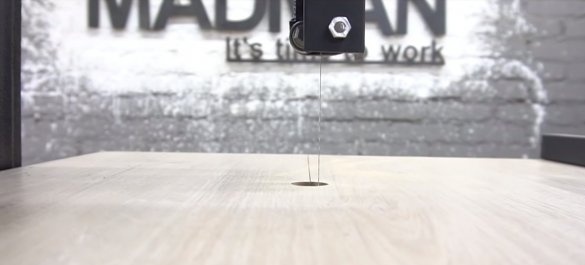
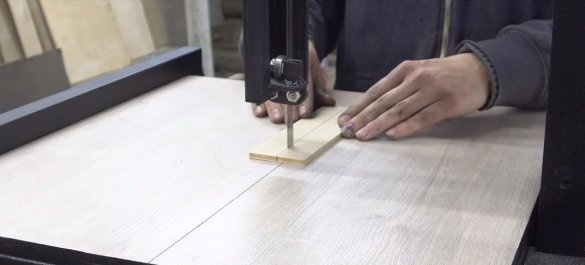
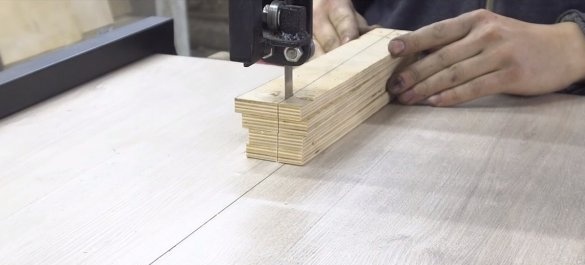
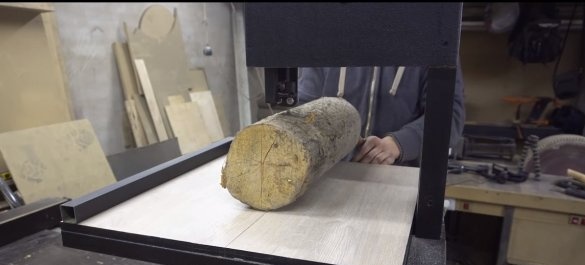
The machine is ready, you can test! To begin with, the author tries to cut thin plywood, her machine does not feel at all, like a thicker one or even a block of plywood sheets. The machine is ideally suited for cutting such materials. The most difficult task was to cut along a dry stump, but even the machine coped with such a difficult task. So if you use a motor more powerful than up to 500 watts, as the author, the machine will work very briskly.
That's all, I hope homemade you liked it and you found useful information for yourself. Good luck and creative inspiration, if you decide to repeat this. Do not forget to share with us your ideas and homemade products.

