
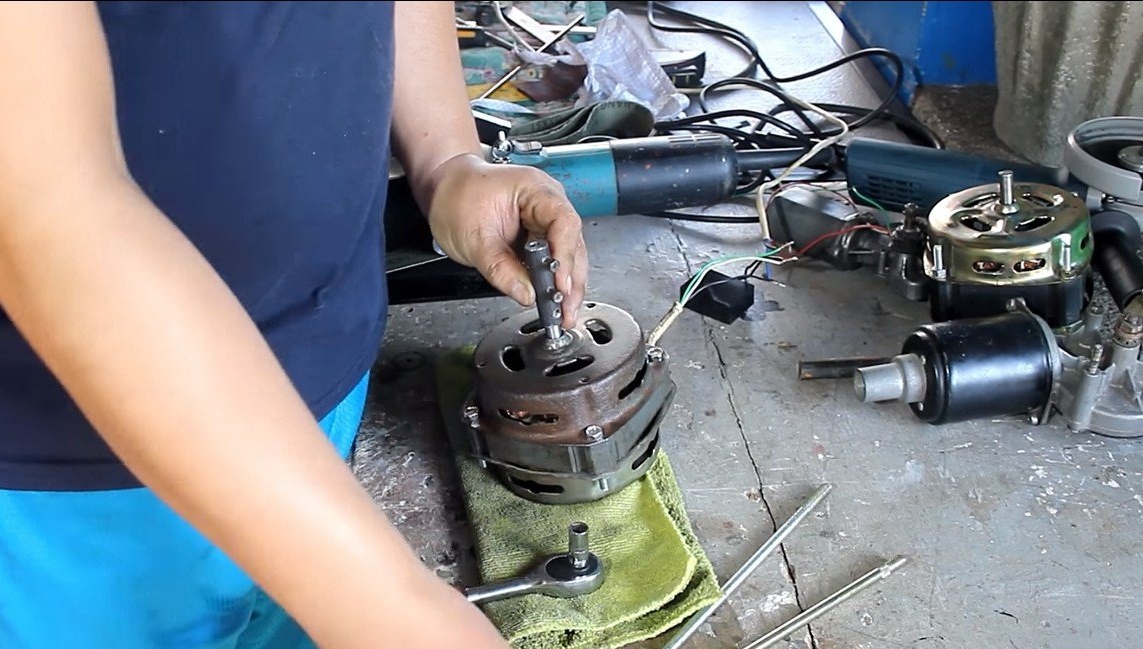
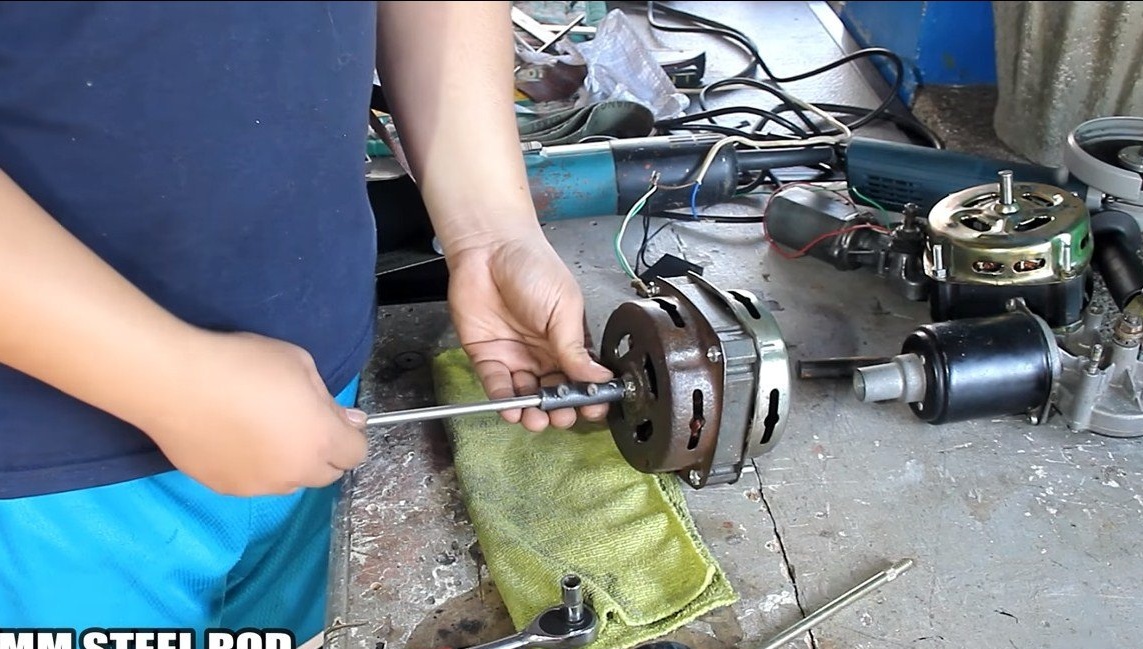
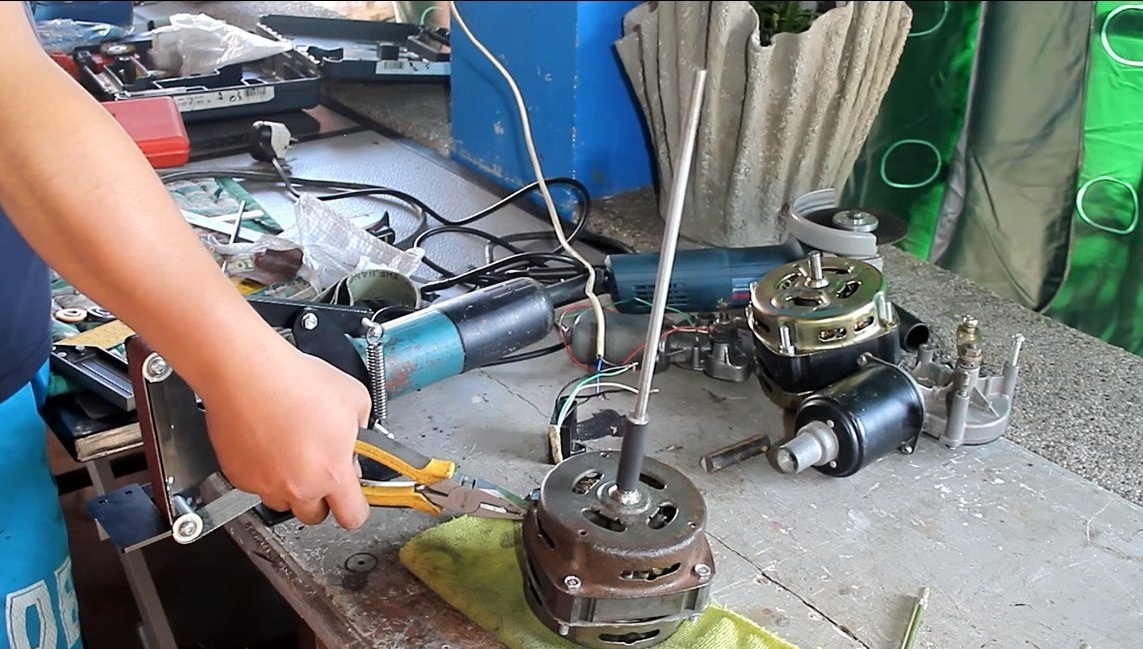
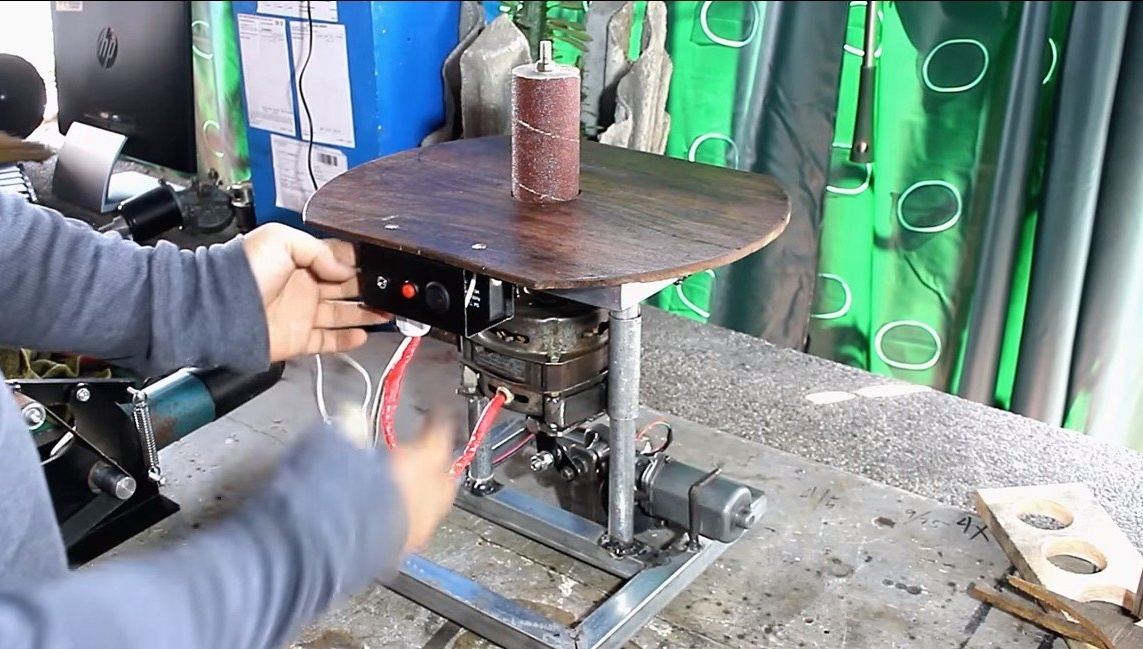
Hello everyone, in this instruction we will look at how to make such a necessary tool in the workshop as an oscillating spindle machine. With it, it is very convenient to process holes from the inside, various bends and other details that cannot be processed with a tape machine and other tools. Due to the fact that the grinding roller goes up / down, the productivity of the machine greatly increases, the nozzle is better cleaned of dust. Such a machine is assembled quite simply from available materials.
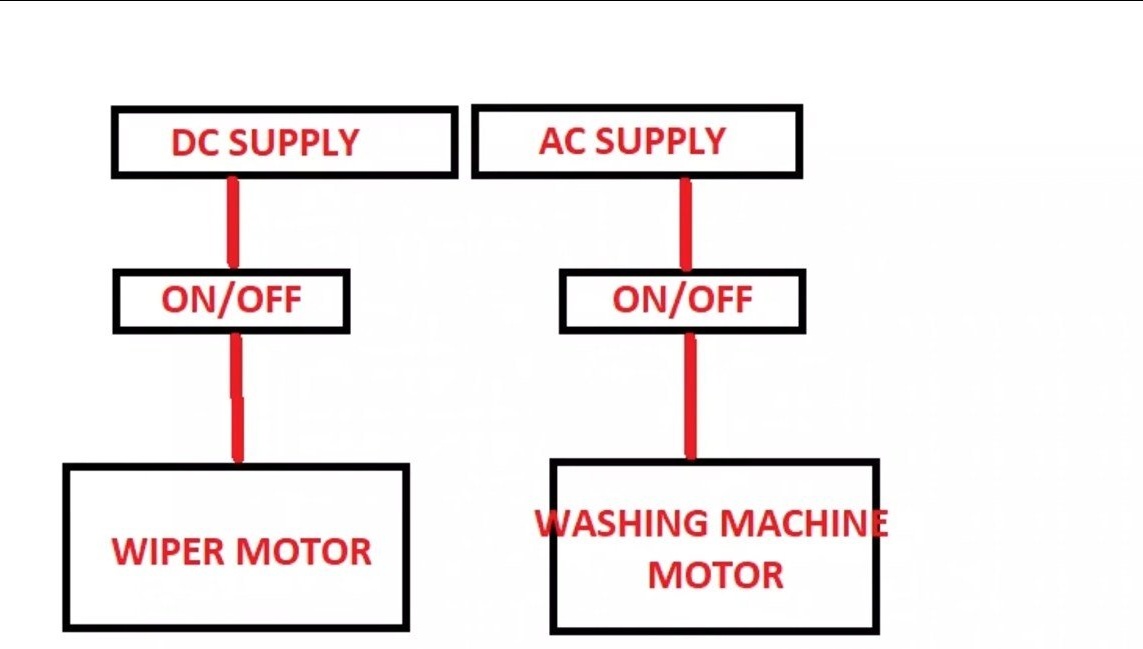
As the main power unit, a motor from a washing machine is used, which moves vertically on two pipe racks. A small gear motor from the car wipers is responsible for raising and lowering the engine. If the project interests you, consider it in more detail!
Materials and tools used by the author:
Material List:
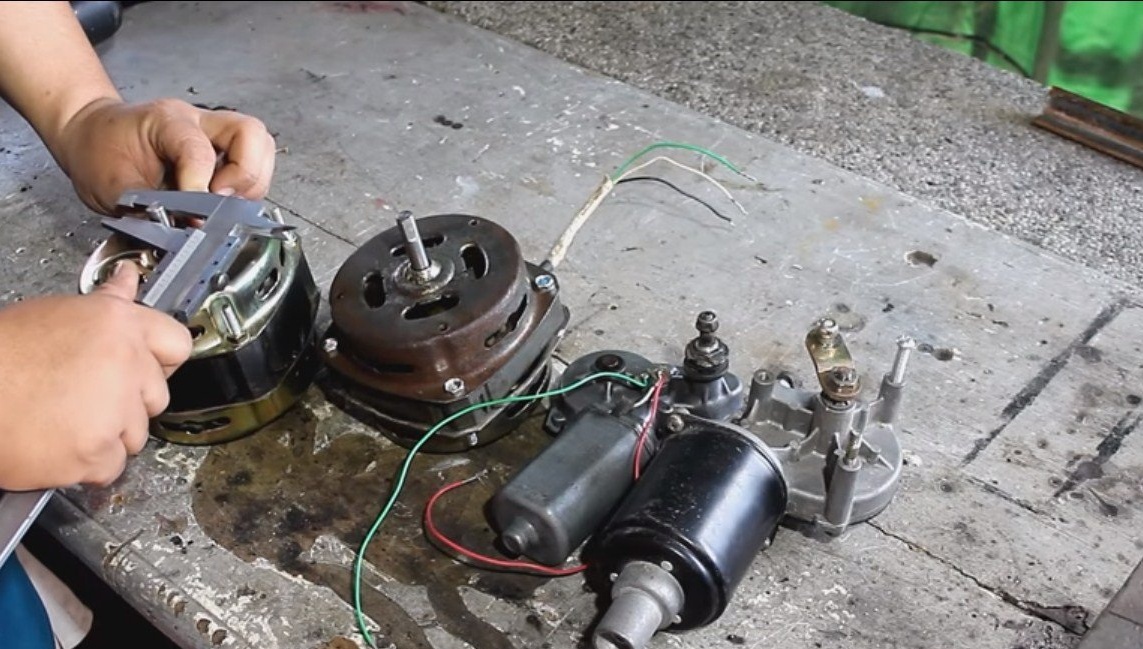
- the engine from the washing machine;
- engine with gearbox from the wipers;
- profile pipes;
- plywood;
- carpentry glue;
- round pipes;
- ;
- two switches;
- a speed regulator for a 12V engine (optional);
- sandpaper;
- steel rod with thread;
- round timber;
- screws, nuts and other little things.
Tool List:
- drilling machine;
- vise;
- taps for threading;
- grinder;
- welding machine;
- belt sander;
- drill;
- vernier caliper, marker, tape measure, etc.
Machine manufacturing process:
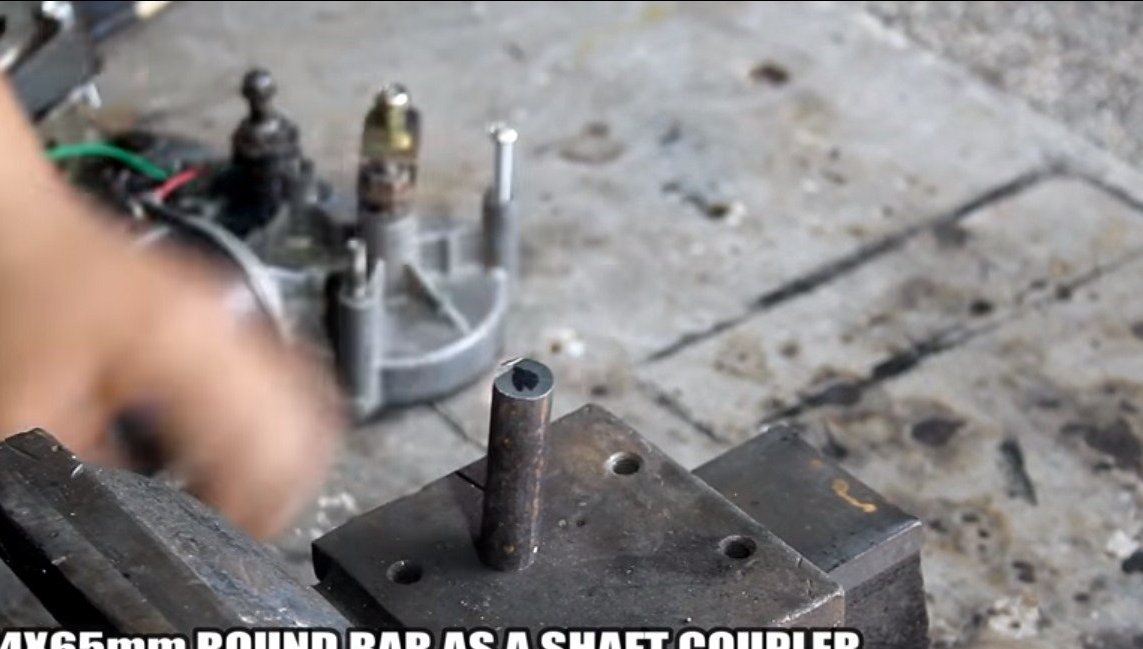
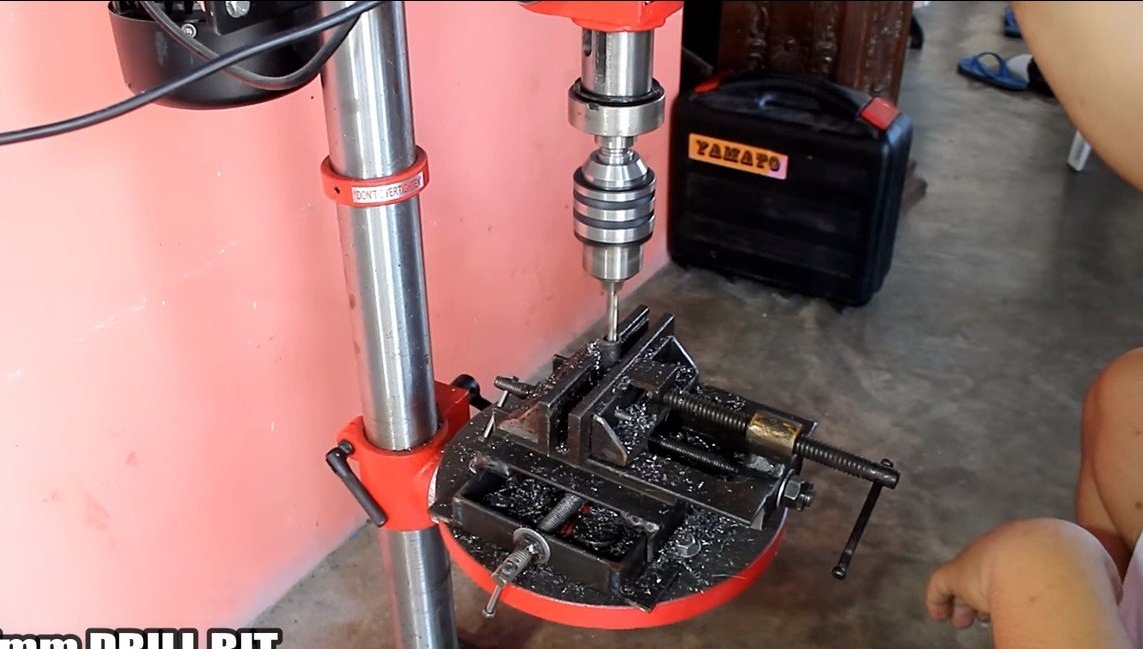
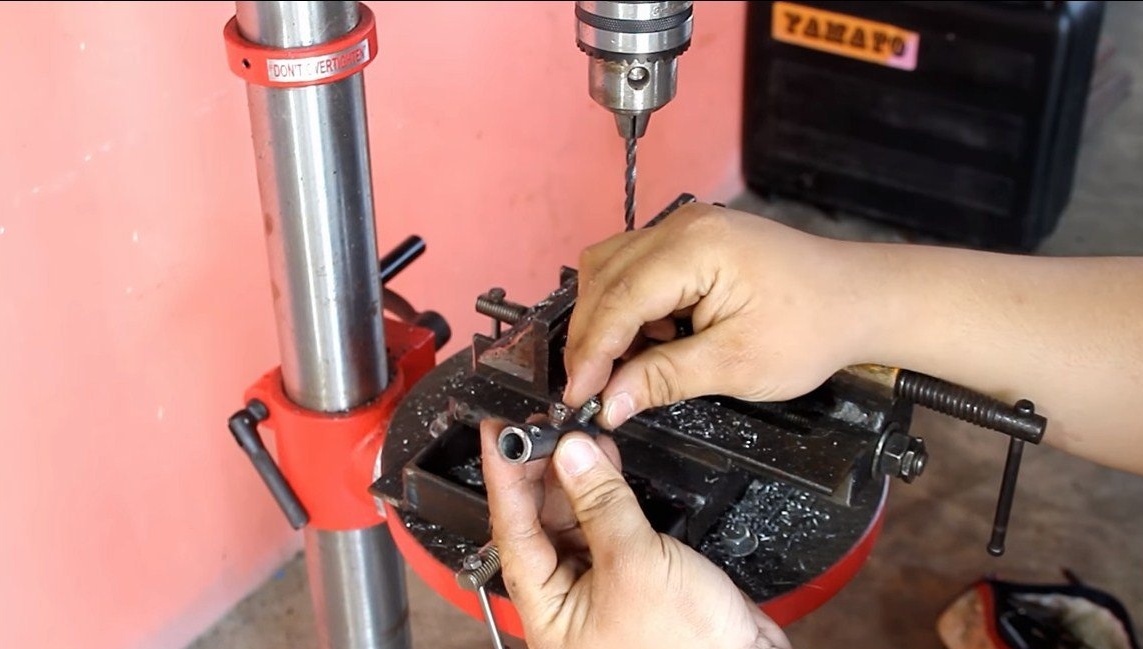
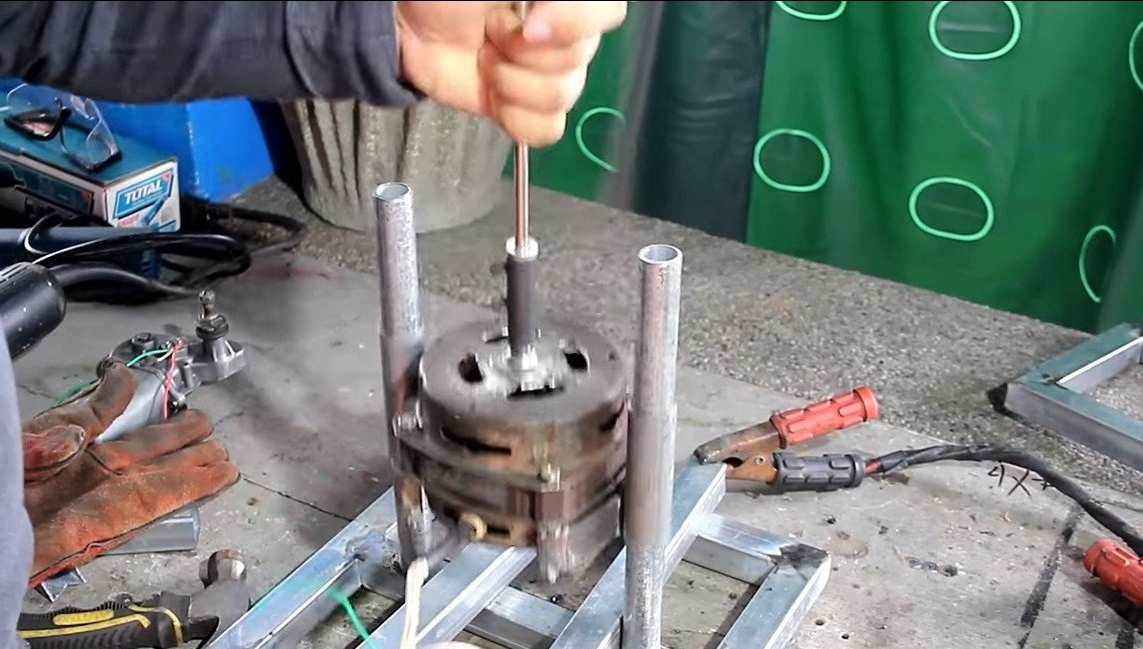
Step one. Production of a working shaft
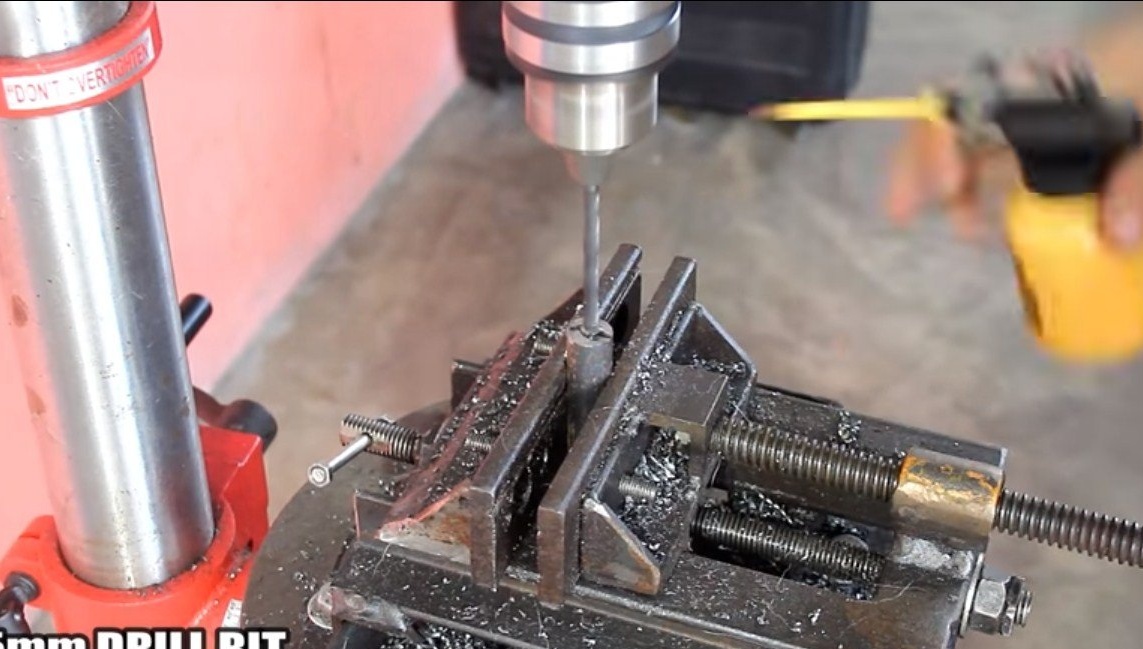
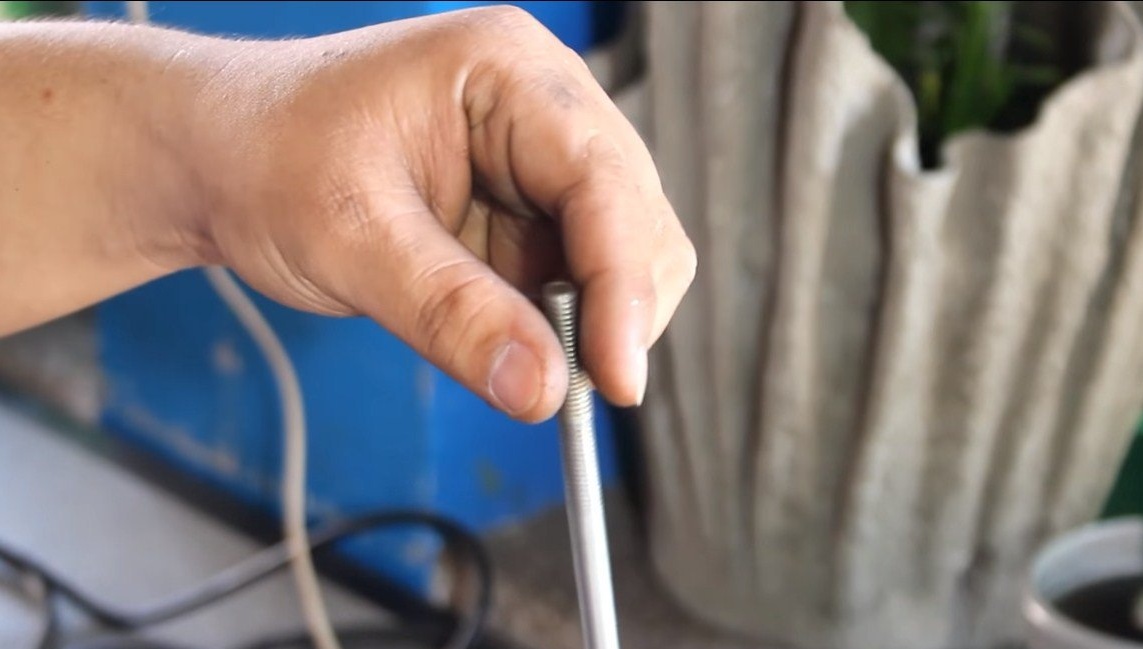
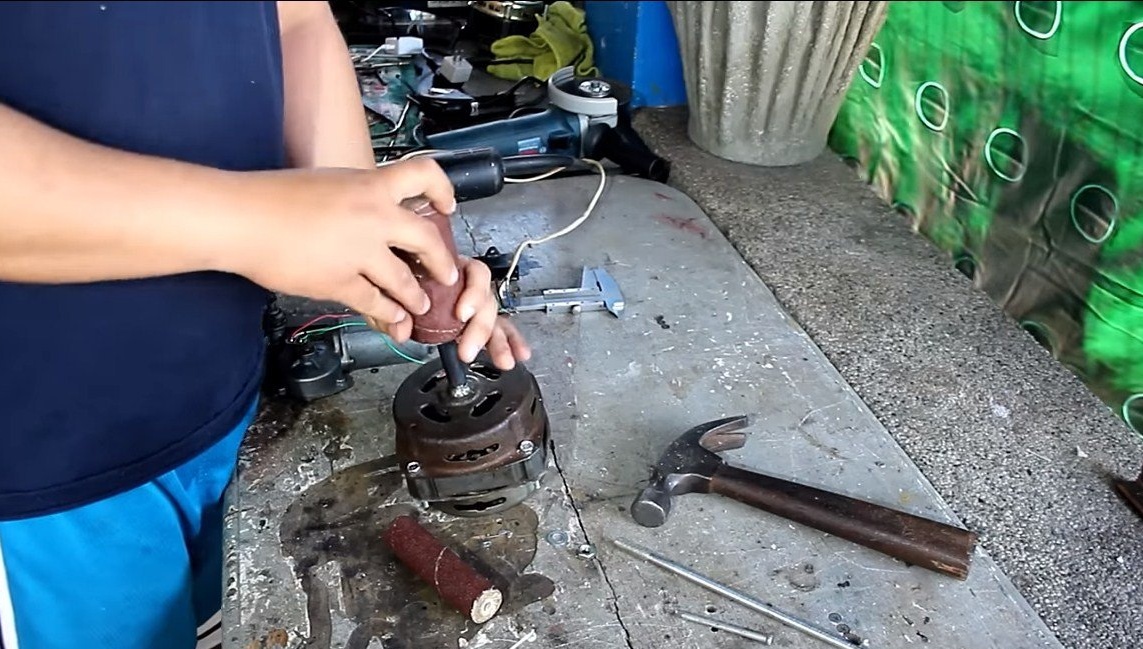
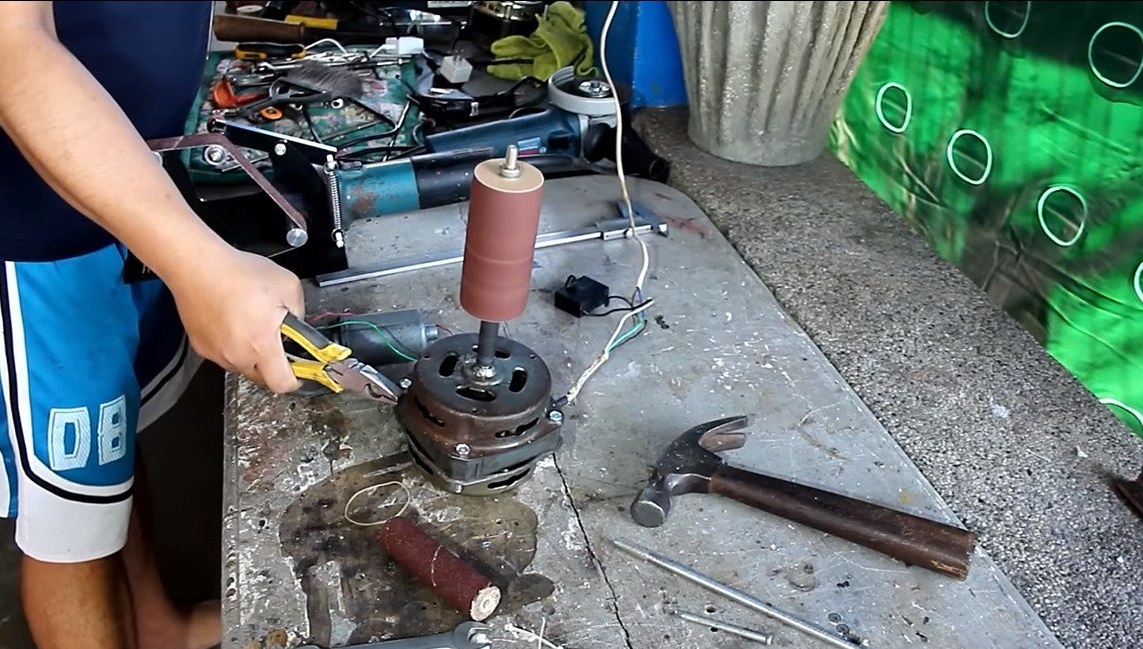
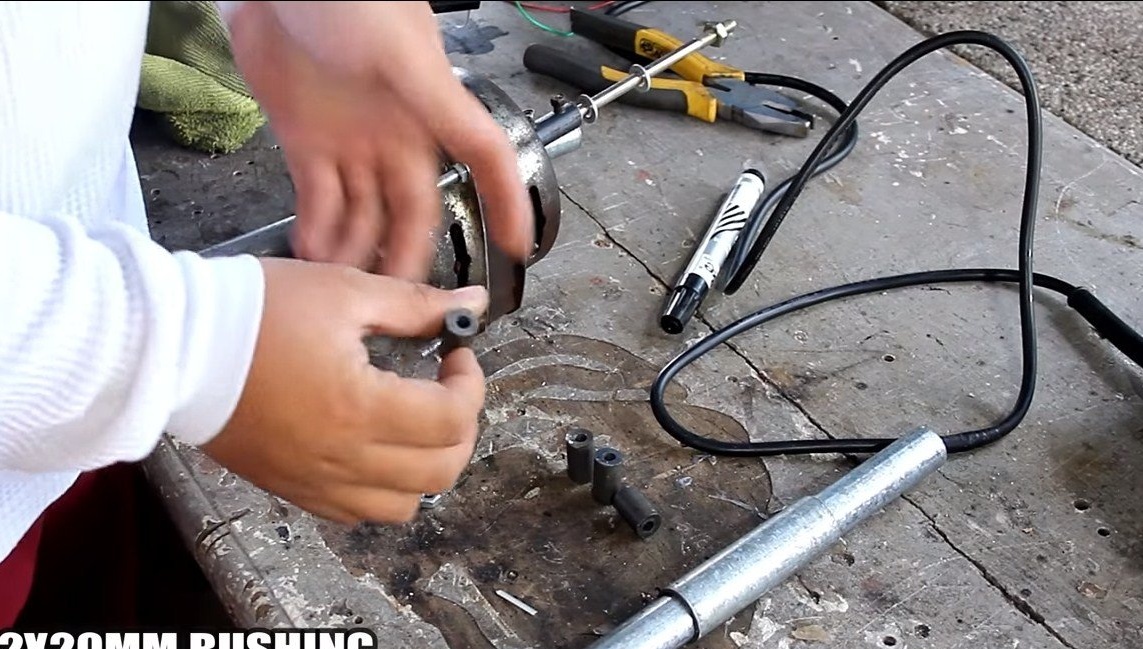
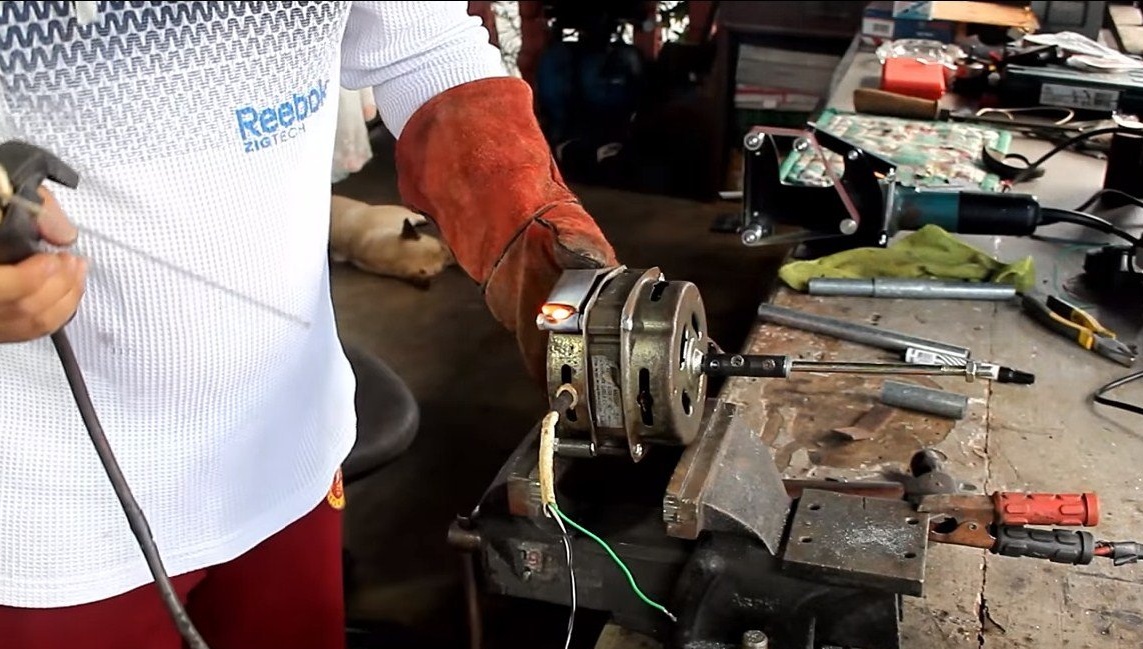
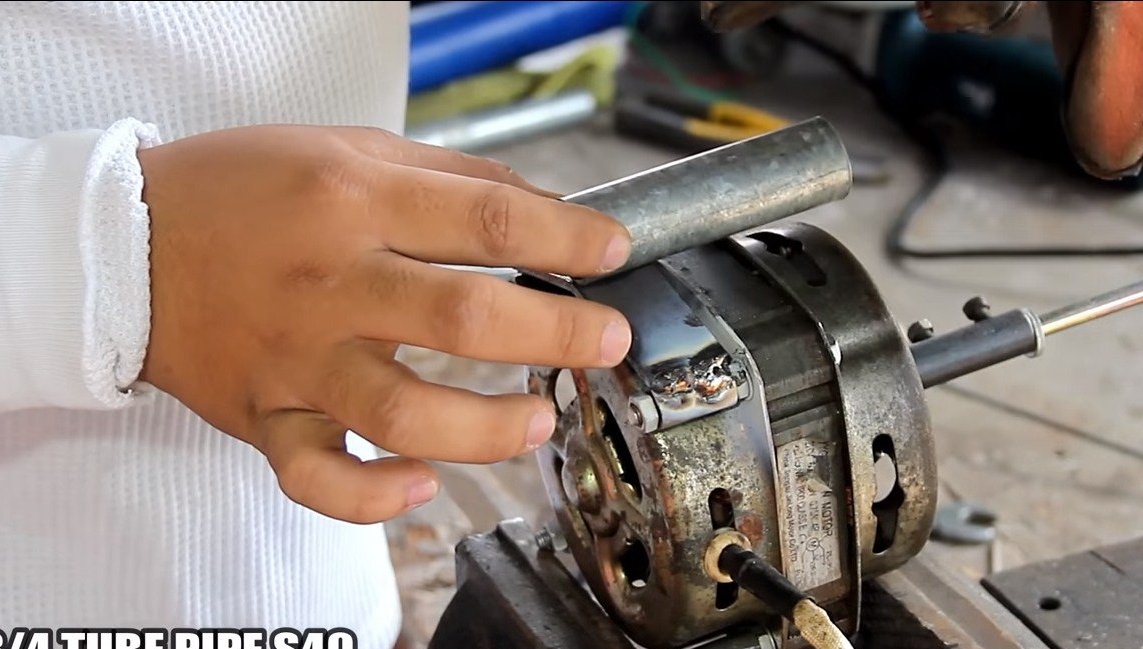
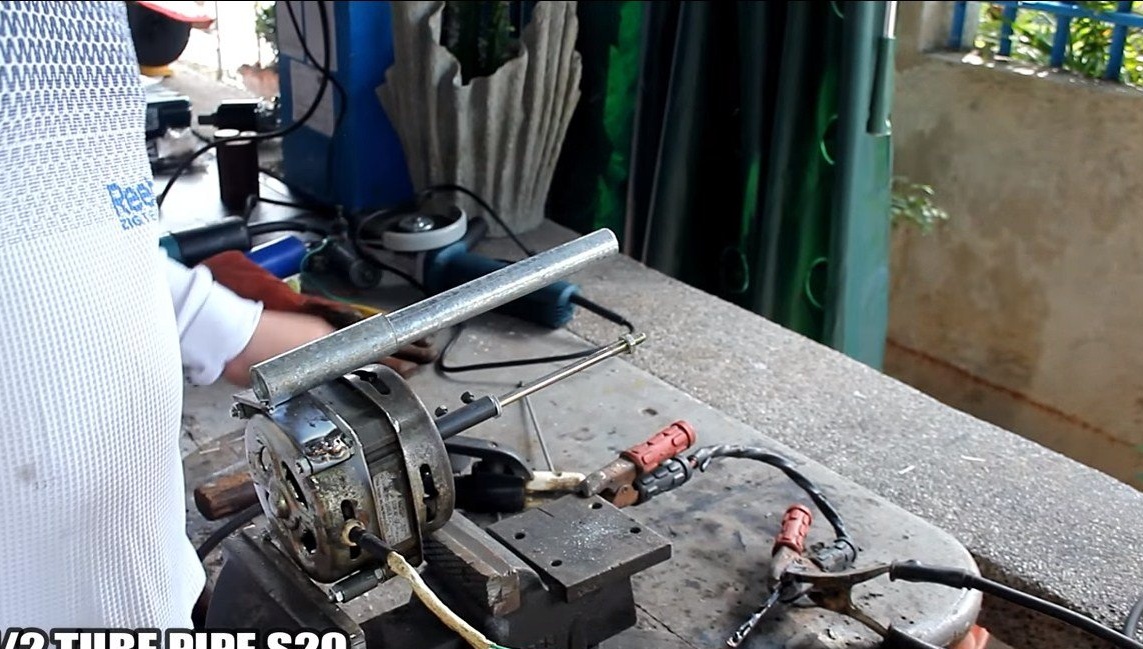
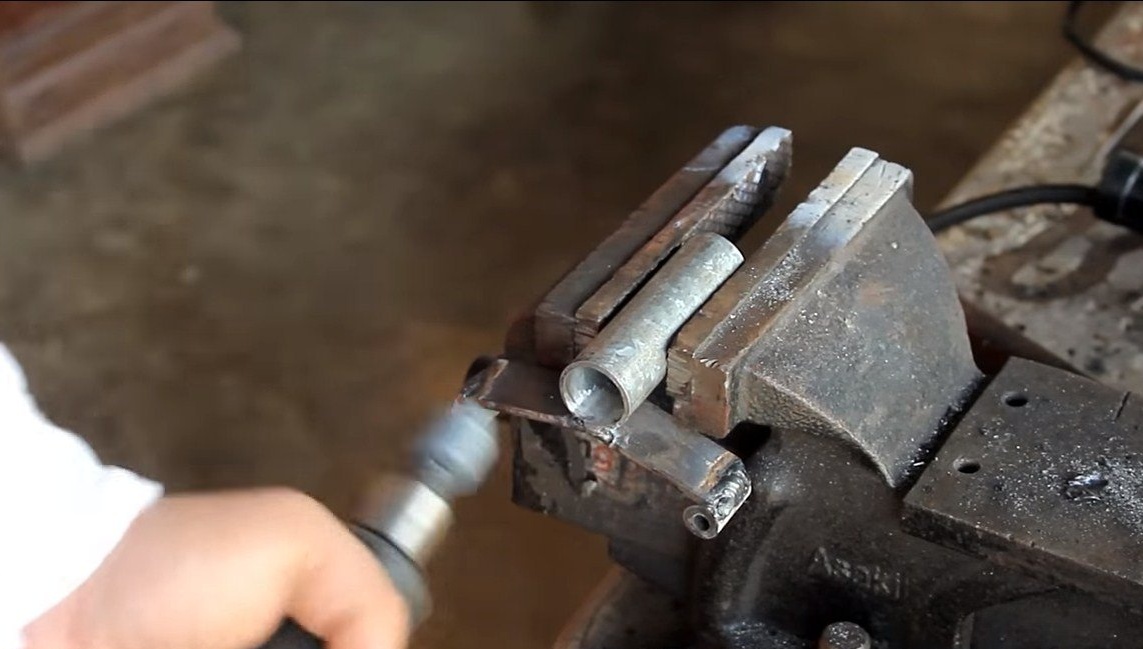
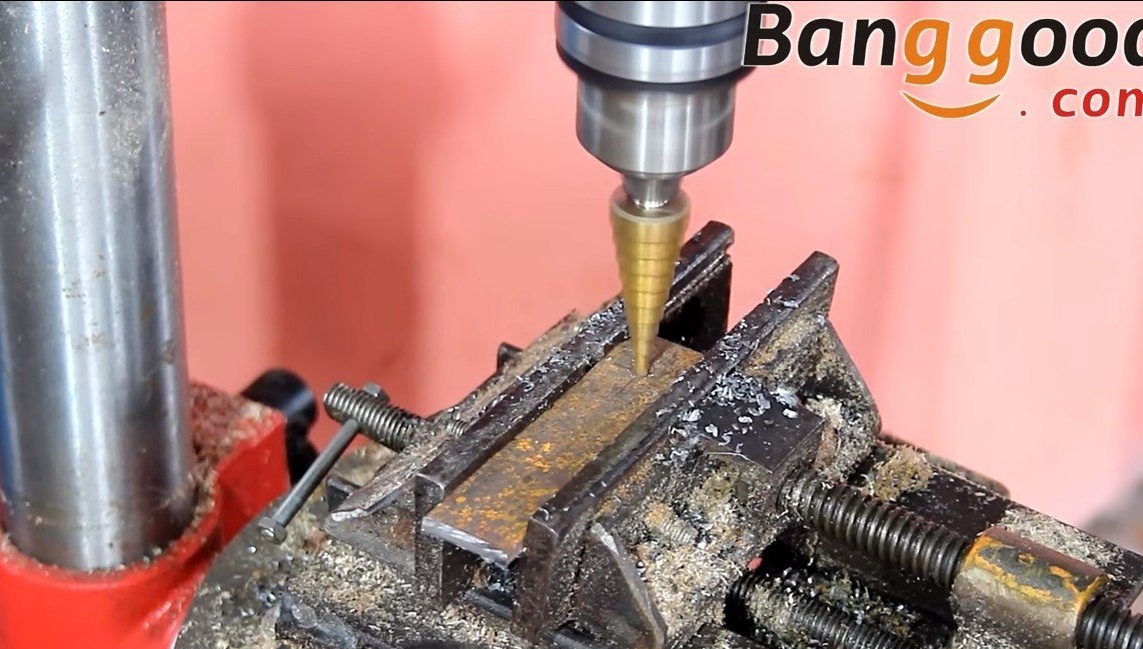
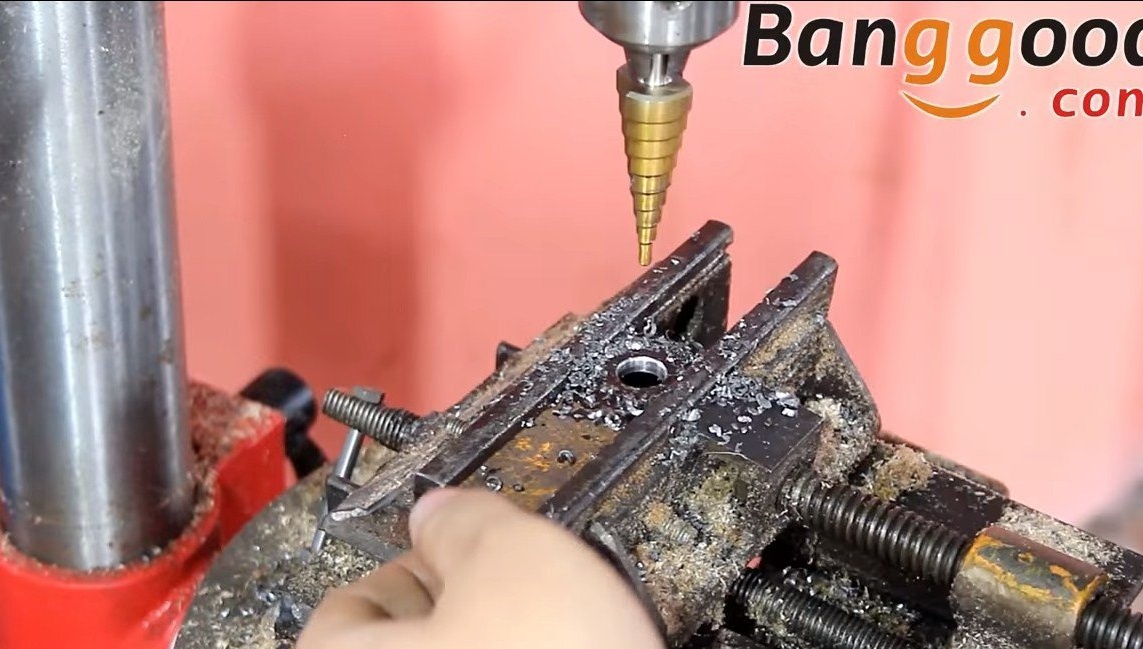
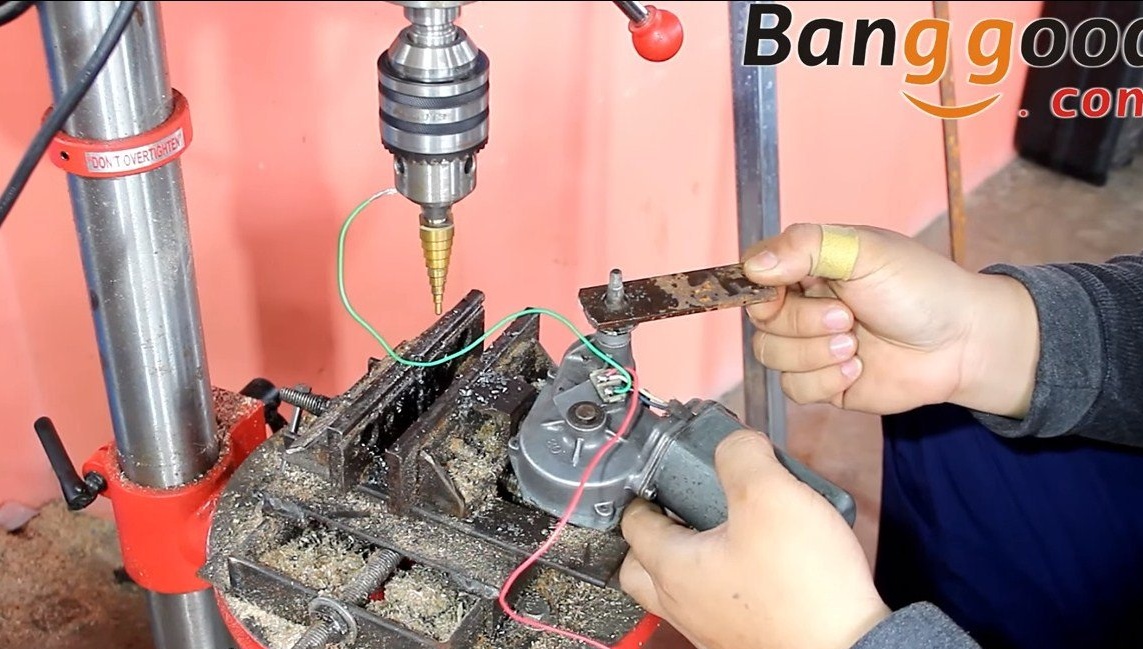
First of all, it is necessary to lengthen the motor shaft so that the grinding roller can be fixed on it. Here we need a long axis with a thread on the end or just a threaded rod. We need to connect this part with the motor shaft, for this we need to make an adapter. We measure the diameter of the motor shaft and drill a hole of the same diameter in the round to the middle. From the other end we drill a hole for the diameter of the working shaft. The adapter is almost ready, it remains to drill holes and thread the fastening screws. We turn on the engine and see if there are strong beats of the shaft.
Step Two Making nozzles
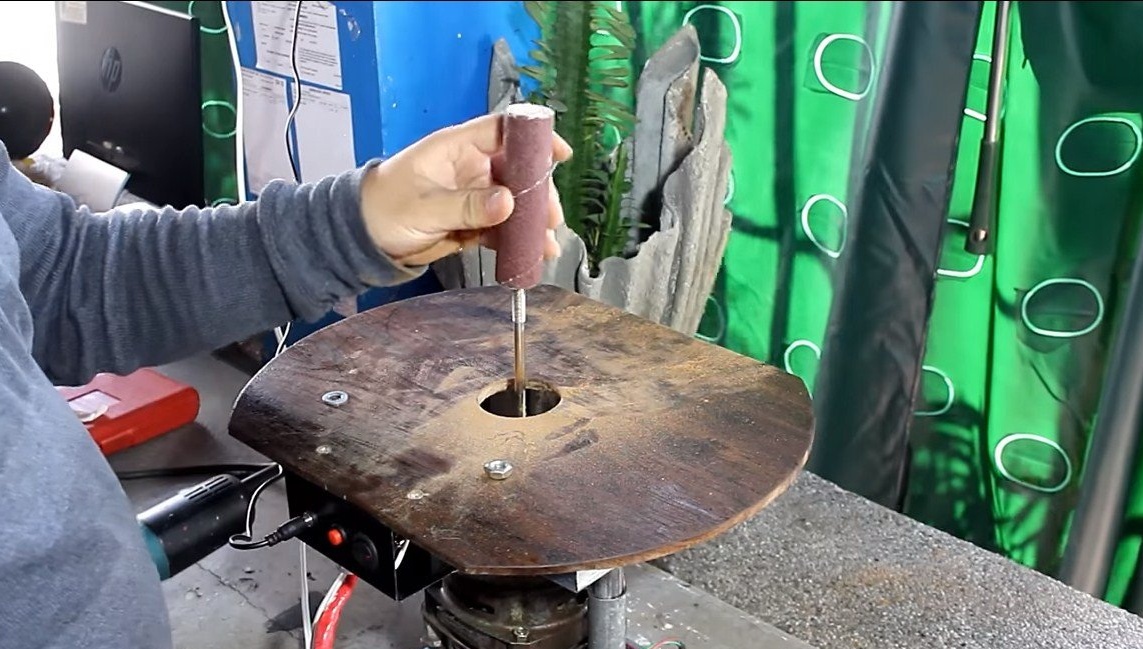
We need to make several nozzles for the machine so that we do not have to stick sandpaper every time in case of damage to the nozzle. In addition, nozzles can be made several different diameters for different jobs.
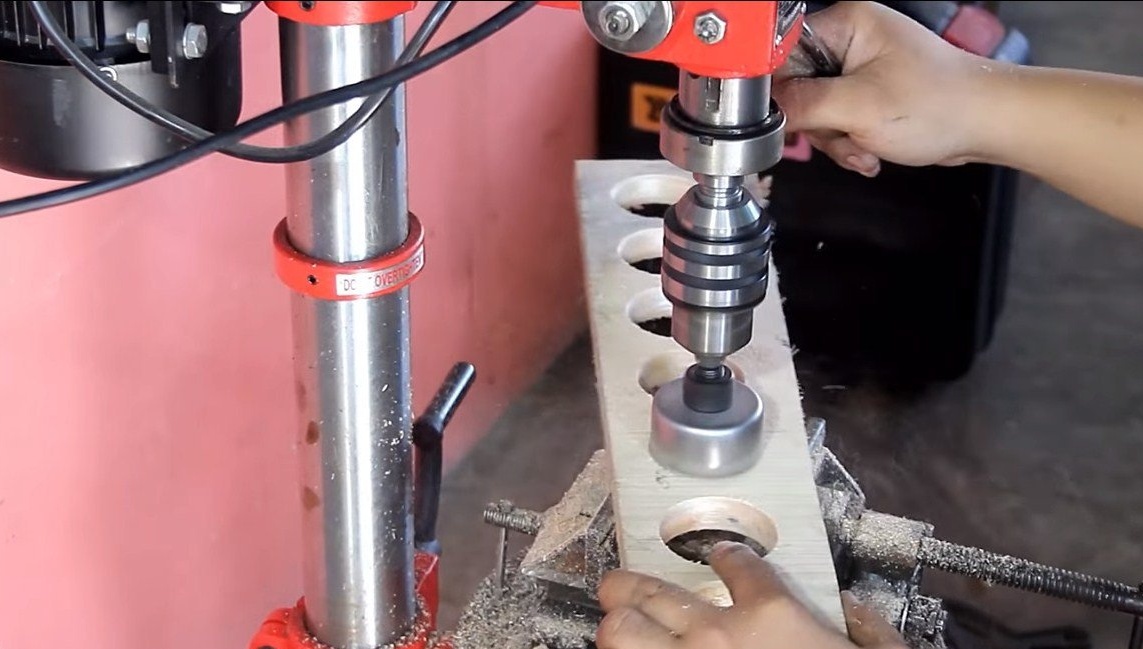
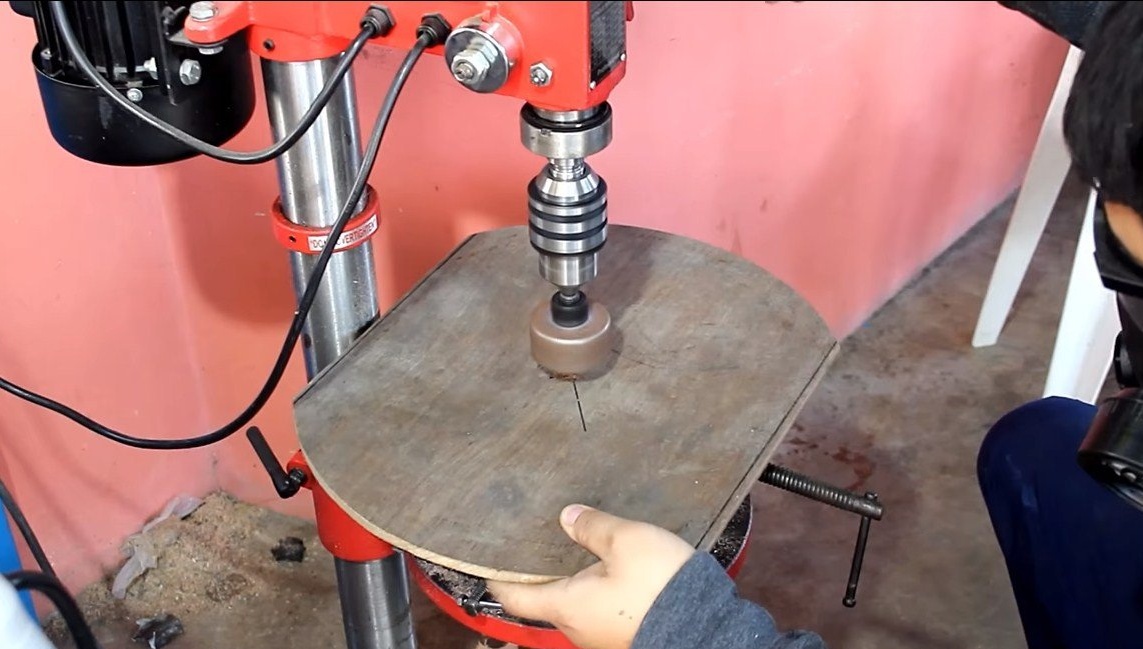
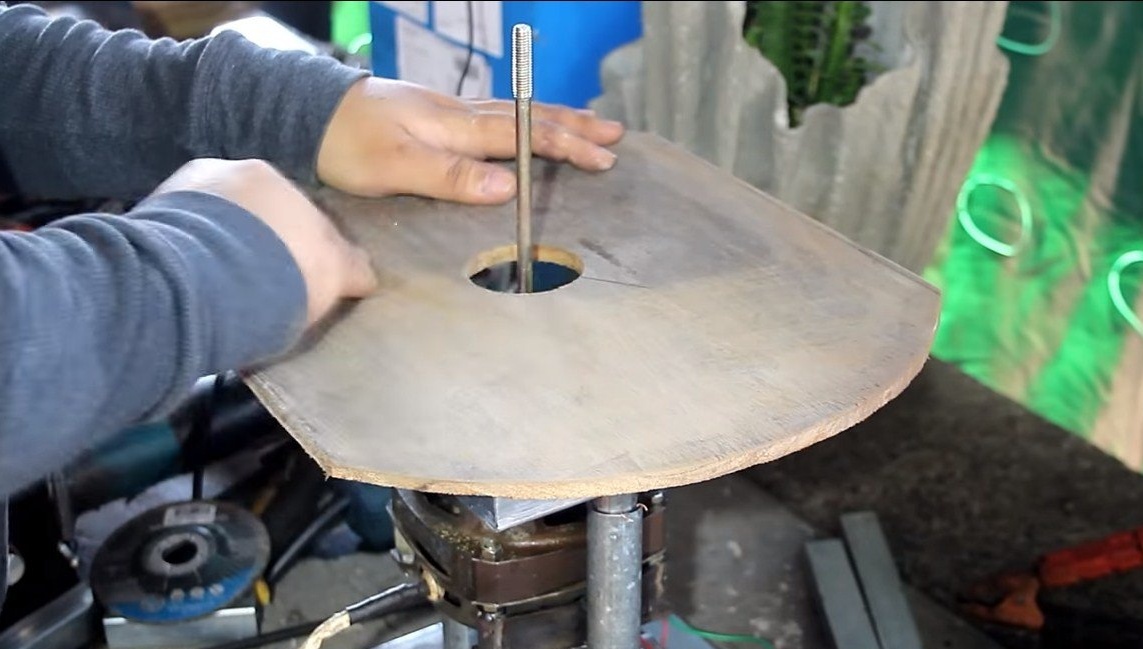
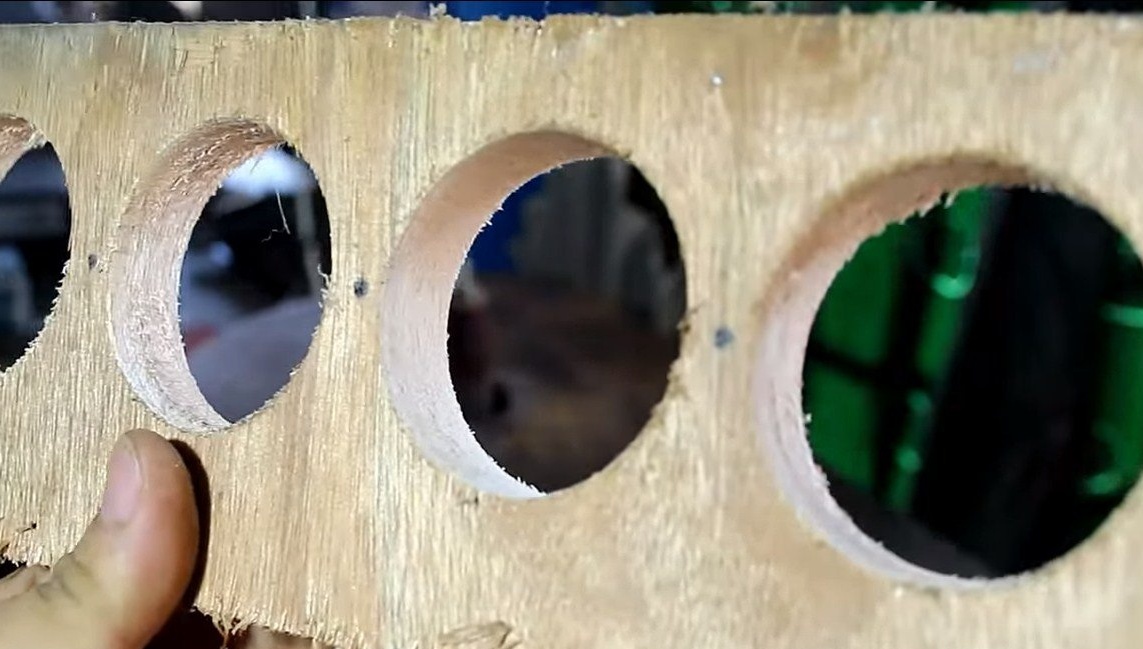
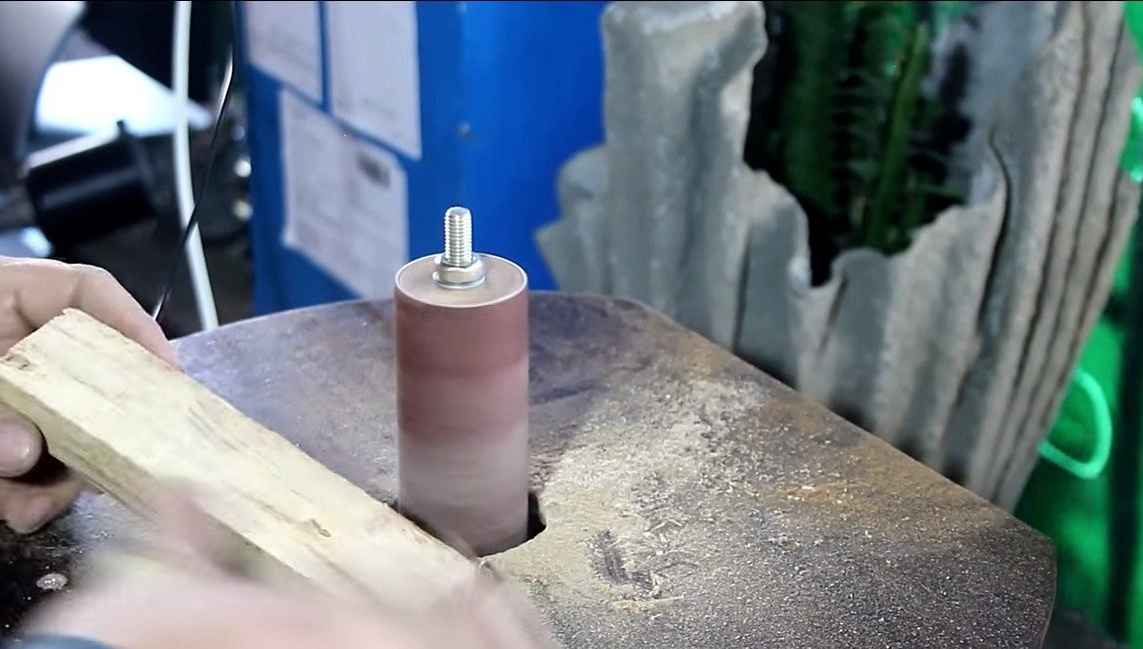
To begin with, we cut out circles from plywood with a crown, and then glue them into rollers on steel rods. We tighten everything well with clamps, the glue will fit carpentry.

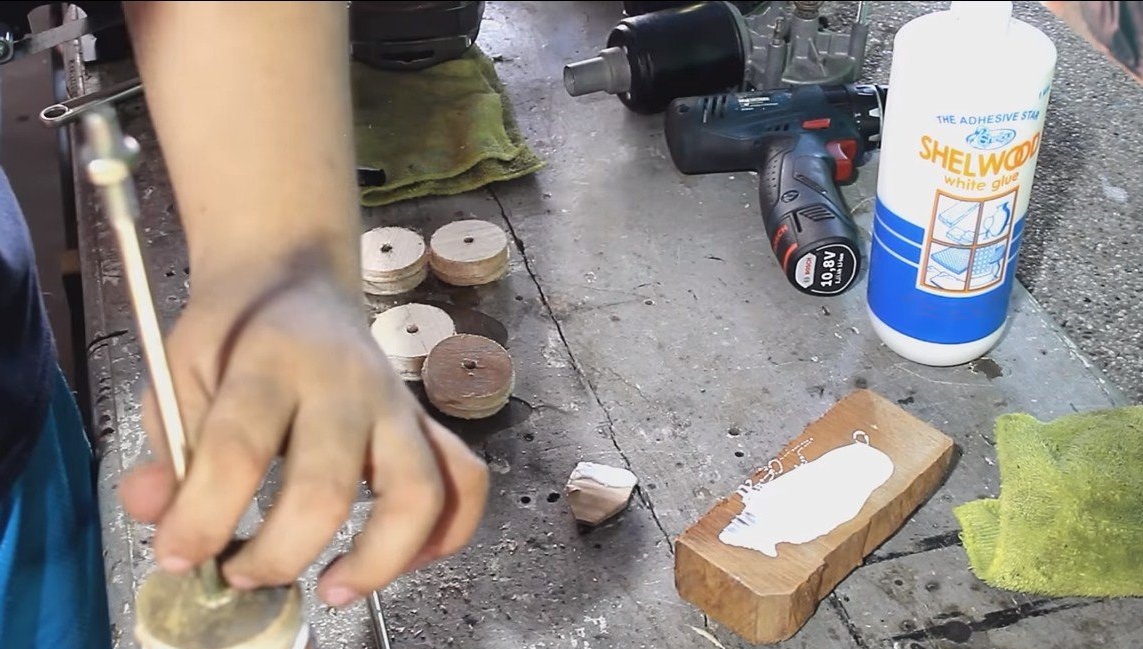
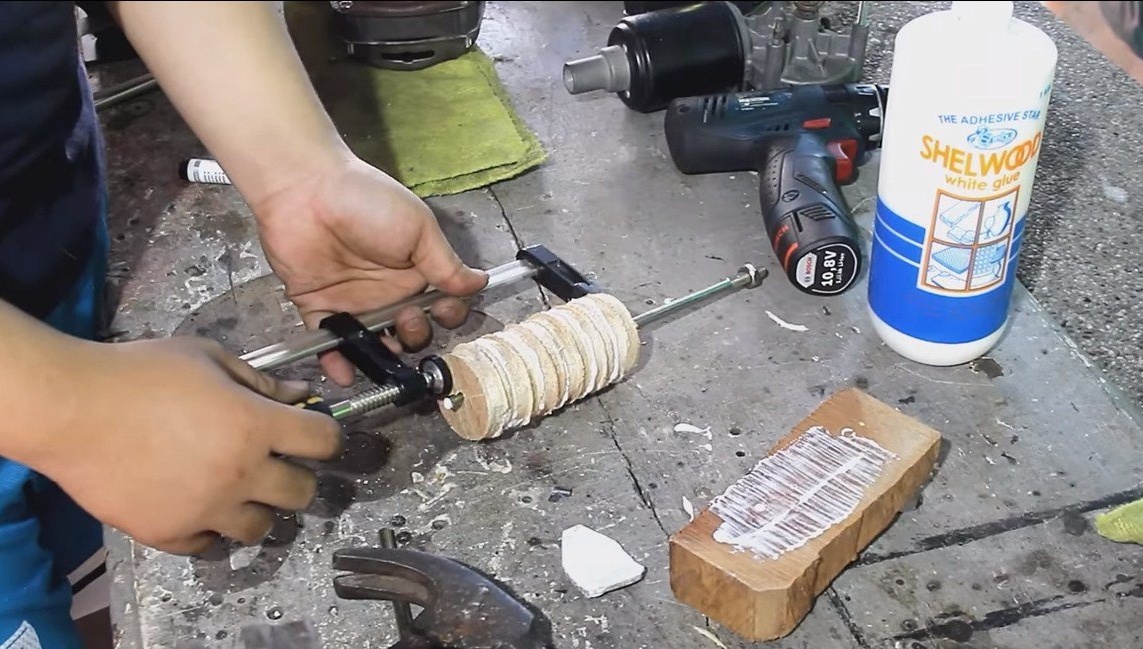
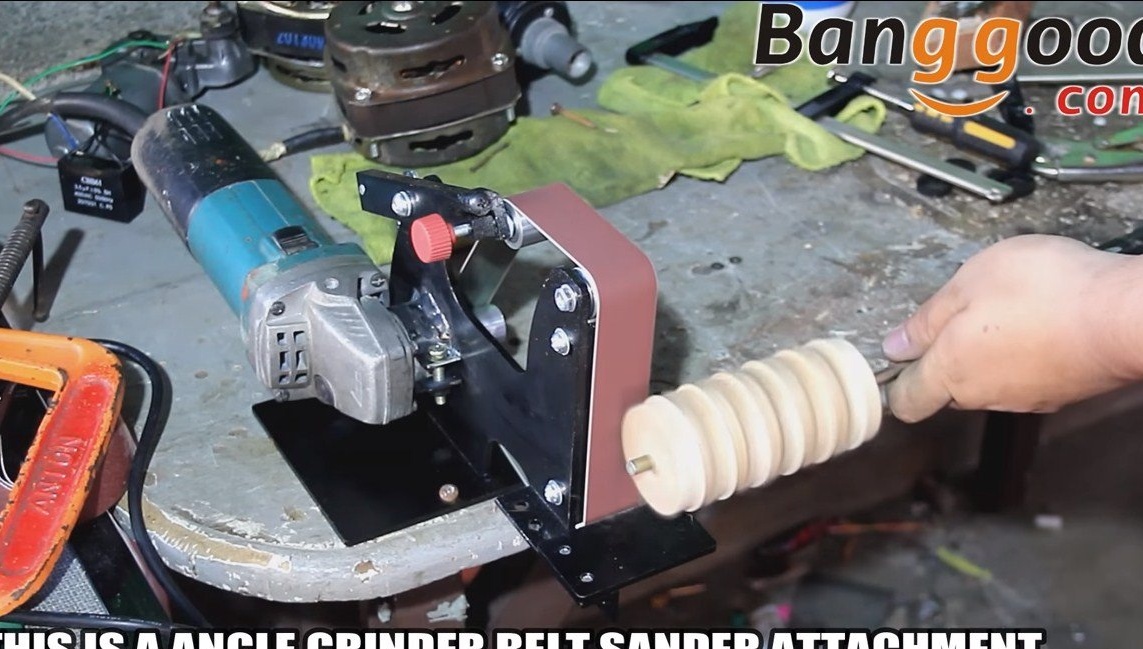
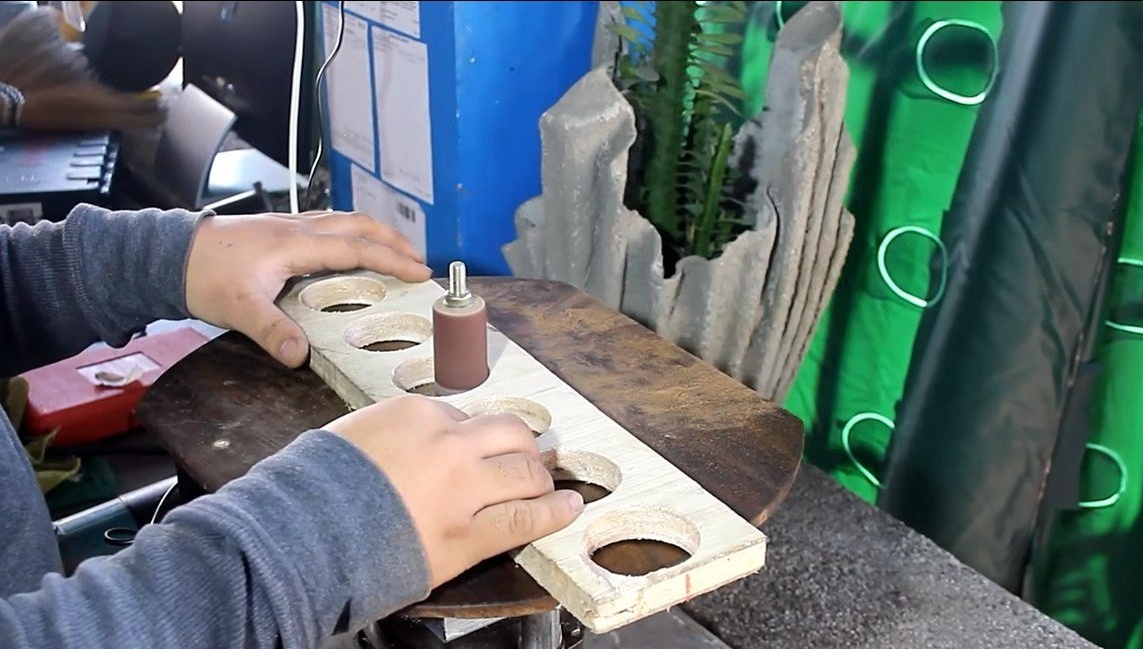
Next, the shape of the rollers must be brought to the ideal, for this we need a belt grinder and a drill. We fix the roller on the rod and clamp the axis in the drill chuck. Well, then we grind the rollers on a belt grinder, at the same time turning on the drill in the opposite direction.
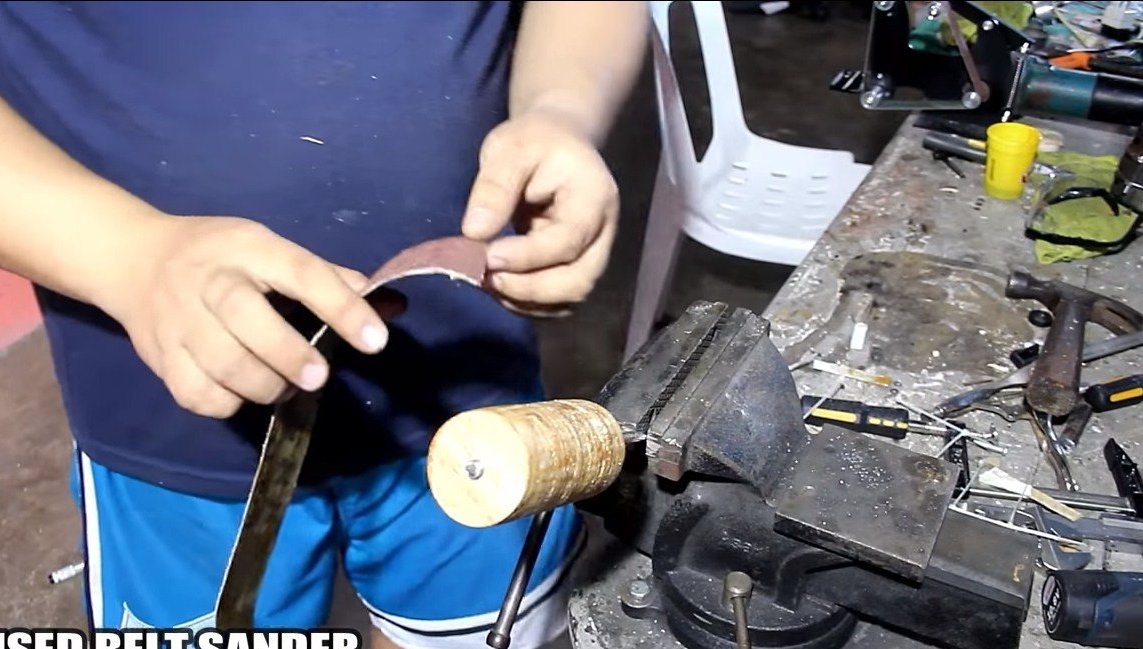
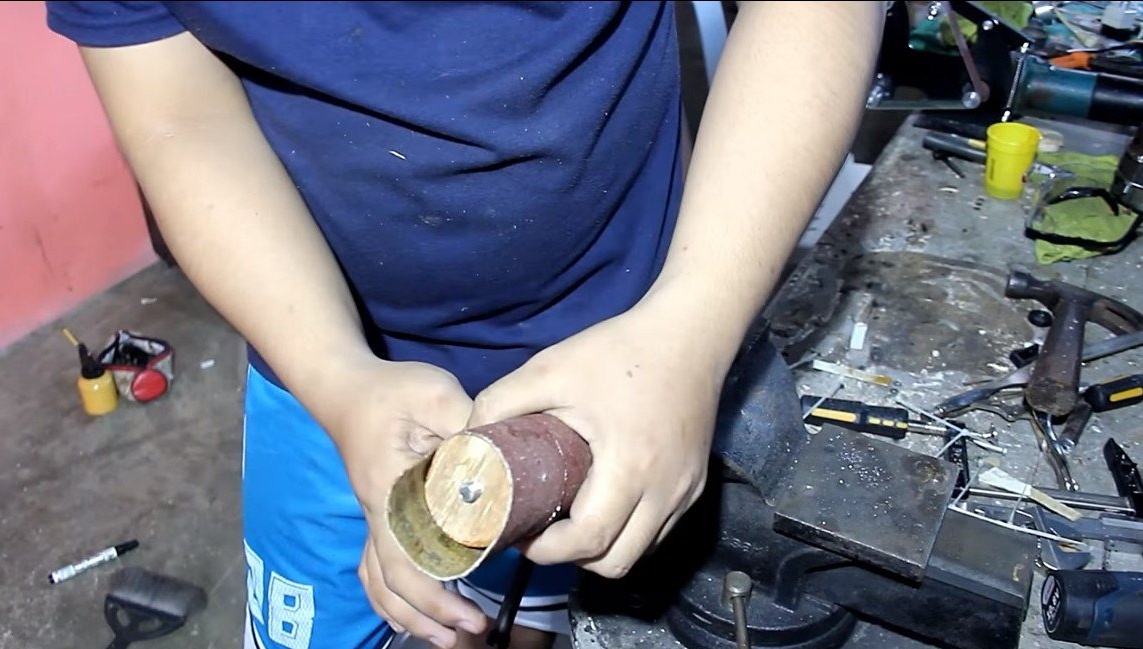
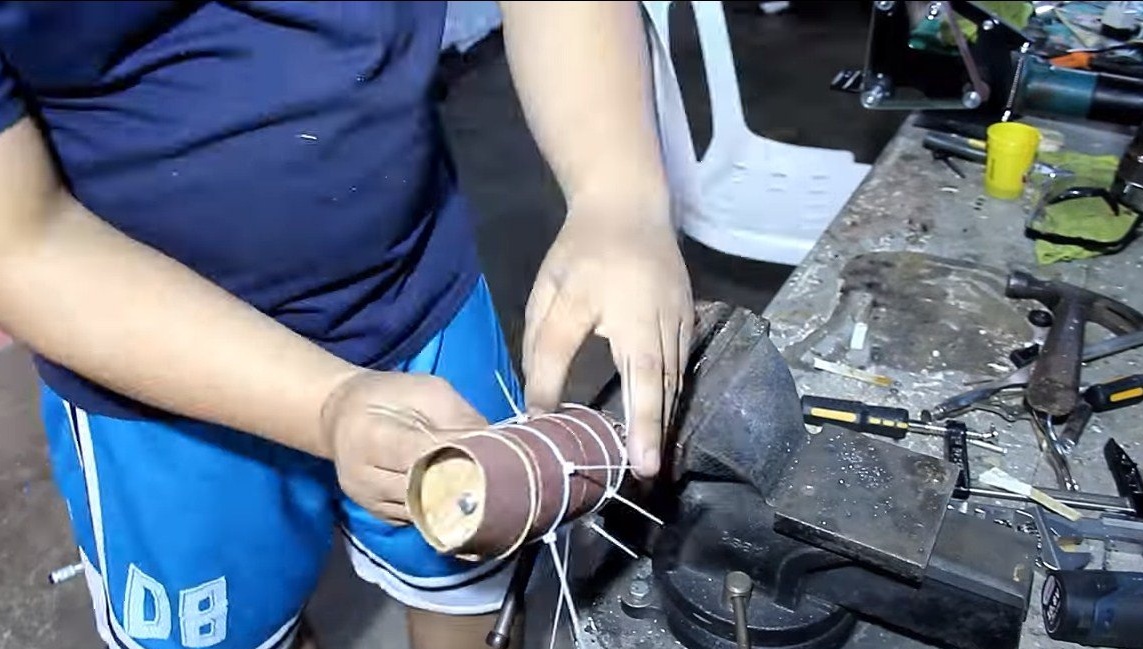
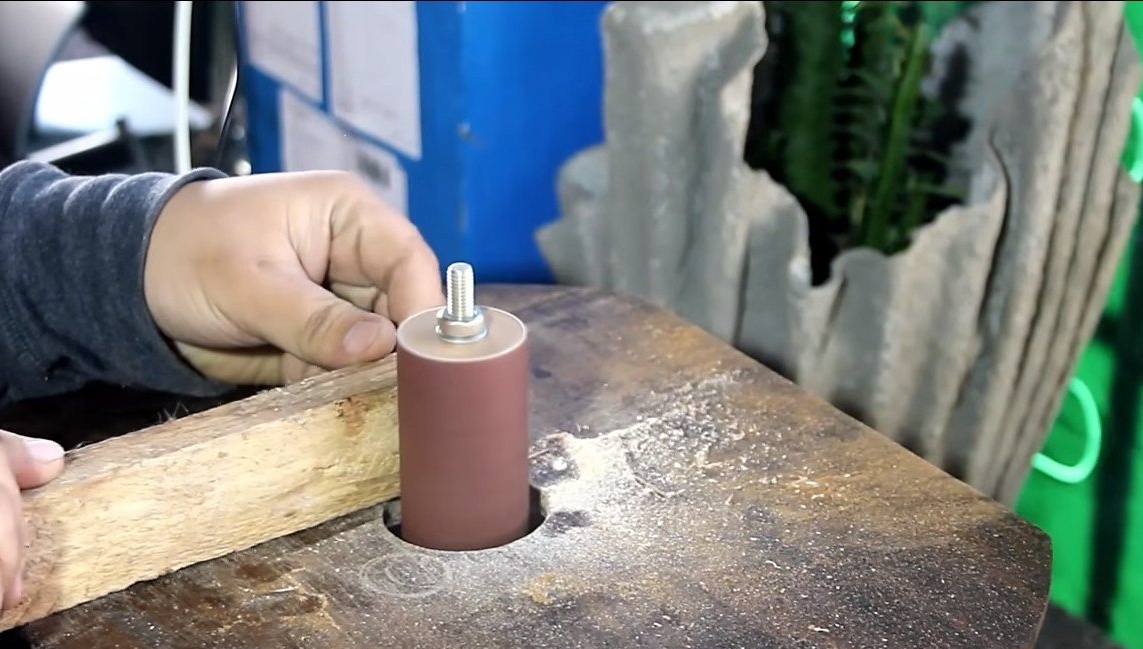
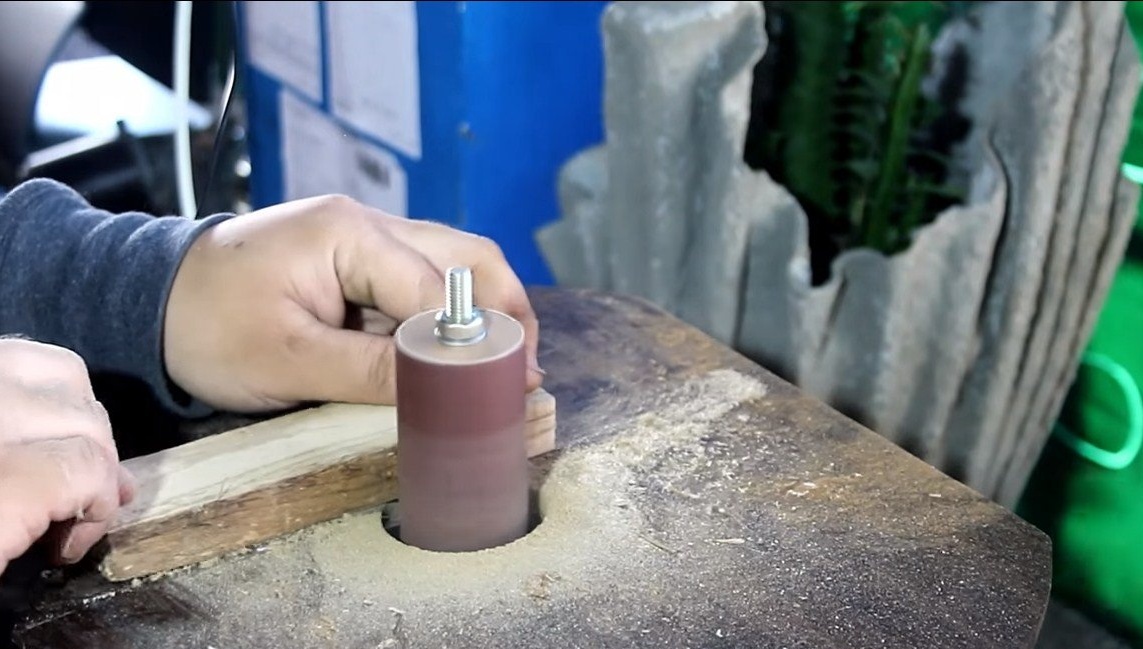
After grinding, you can stick sandpaper on the rollers. We cut it into ribbons and then wrap it on rollers. Well we tighten everything with plastic screeds for confident bonding.
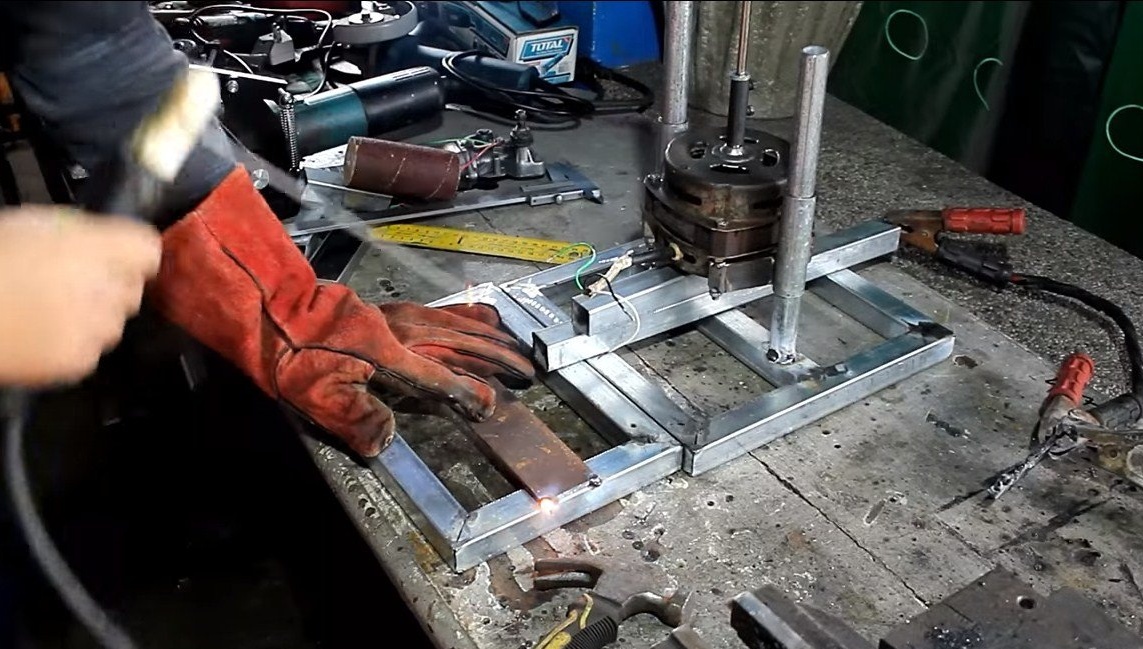
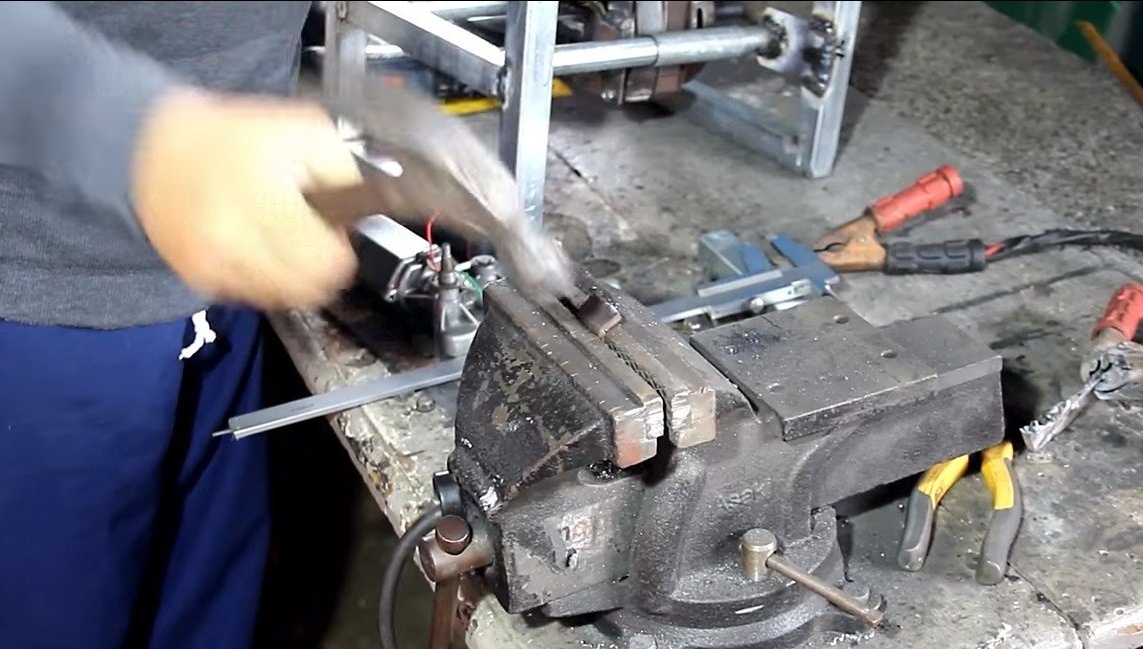
Step Three Frame manufacturing
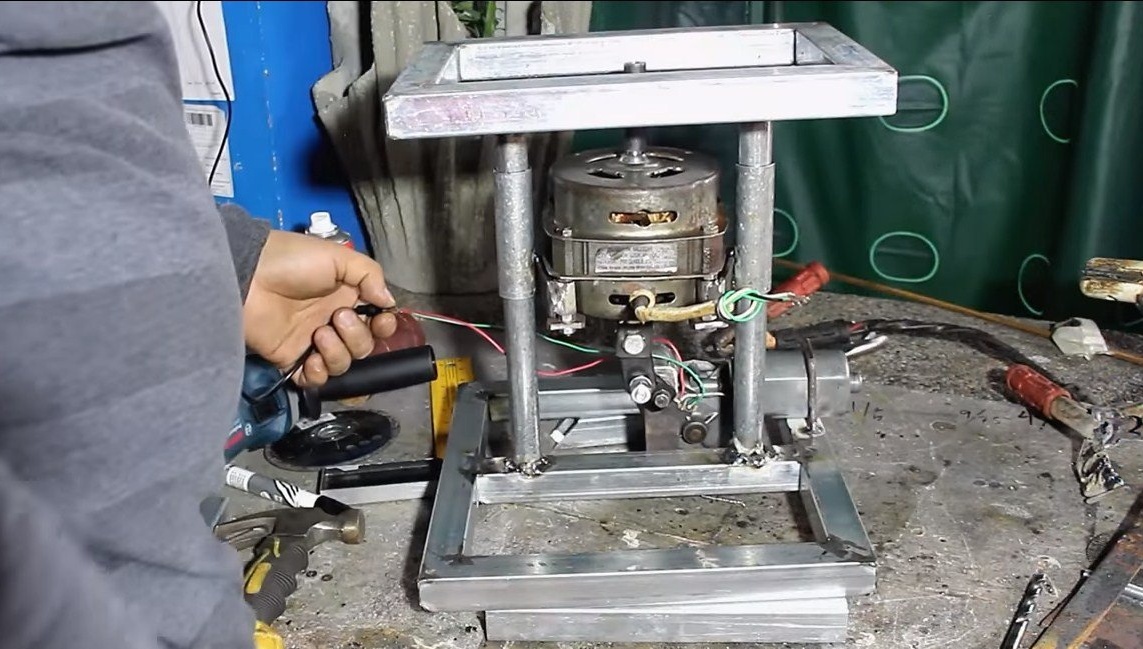
We weld the frame, first of all, we start from the base, it is welded from profile pipes. We weld two pipes vertically to the base, these will be the racks along which the engine will ride.
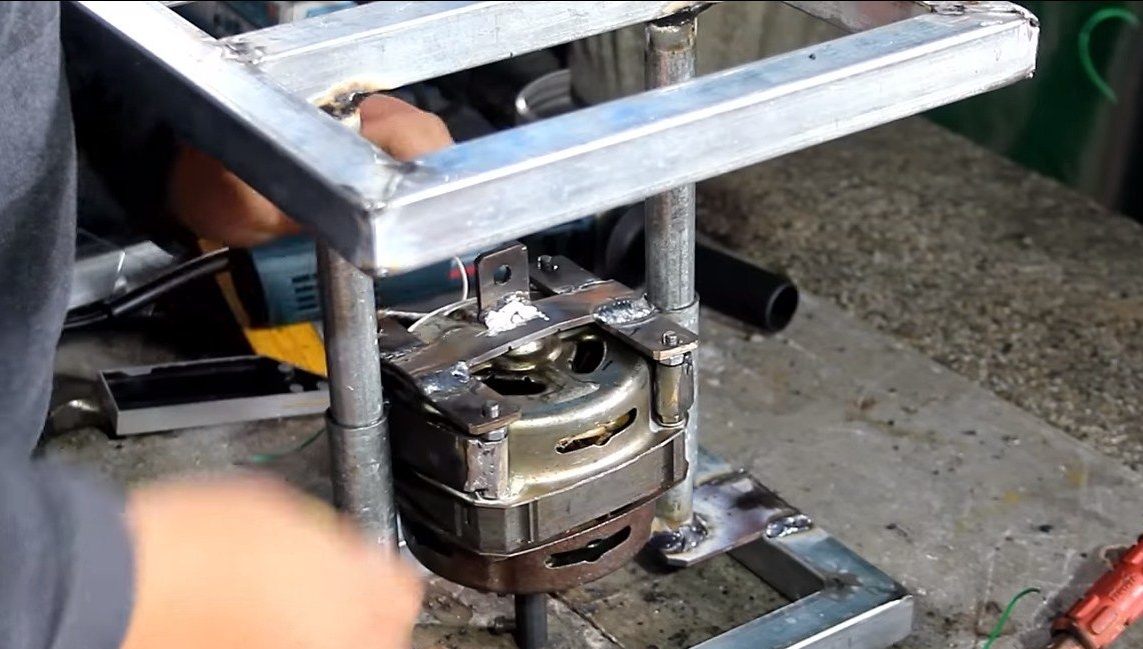
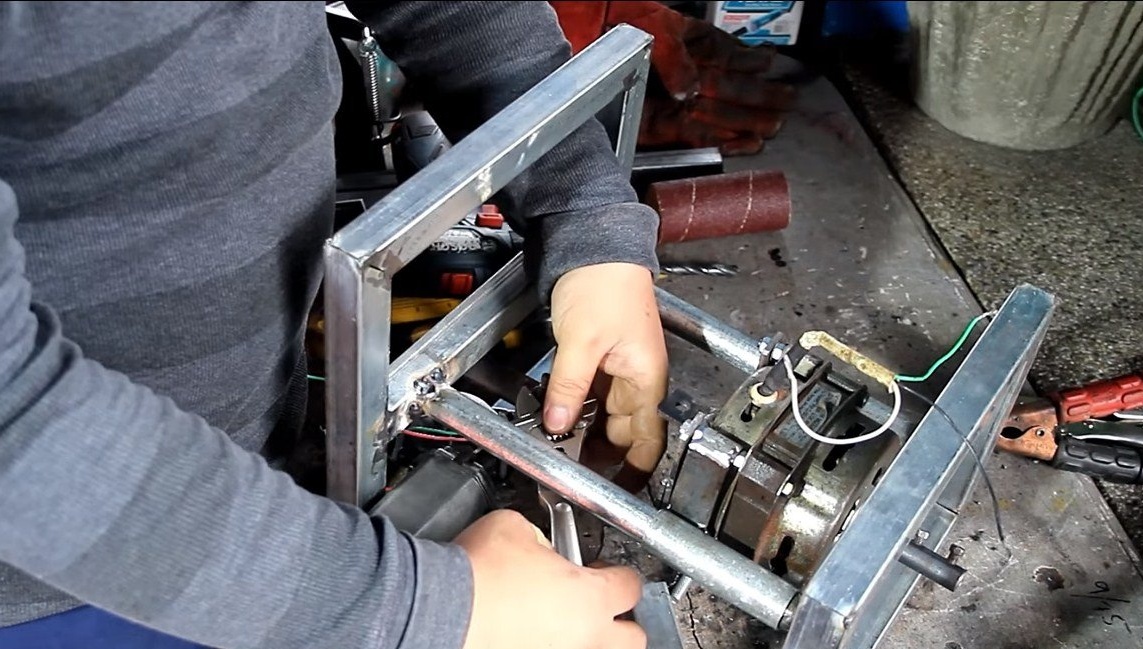
Under the engine screws we make ears and brackets to which we weld pieces of pipes of a slightly larger diameter than the racks. After that, the engine can be mounted on the frame and welded on to the top of the machine.


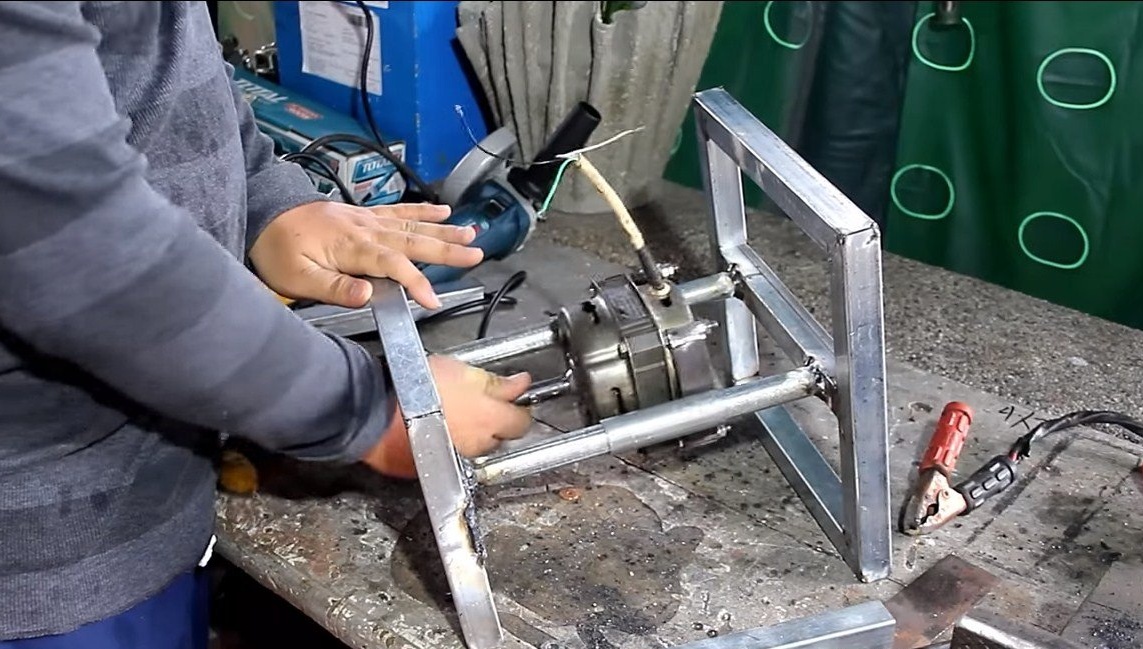
Step Four Wiper motor
We install a motor from the wipers, which will raise and lower the engine from the washing machine. The author’s engine is quite powerful, he copes not only with the weight of the engine from the washing machine, but even with the load when grinding. To facilitate the work of the engine, it is better to suspend the main engine on springs, so that it is a kind of “zero gravity”.
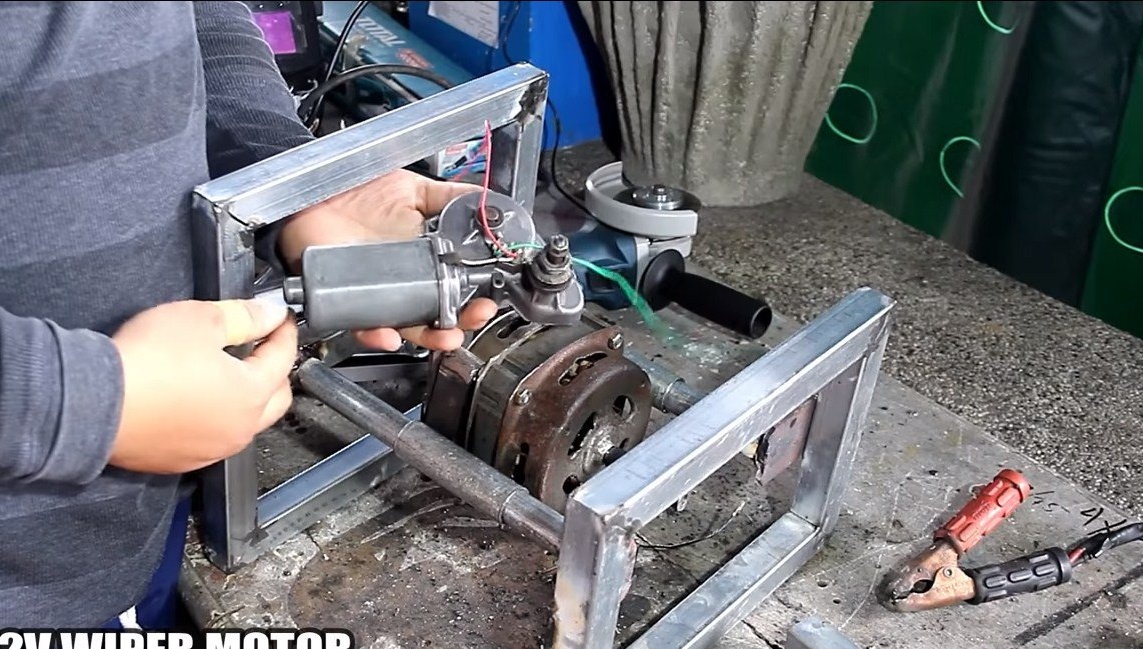

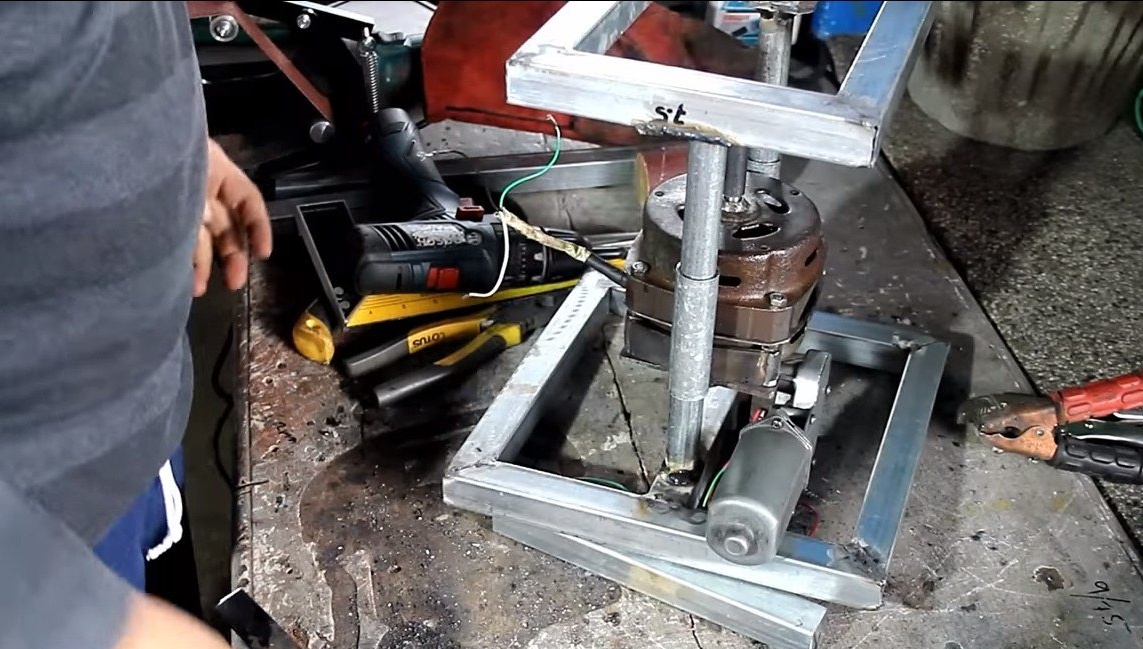
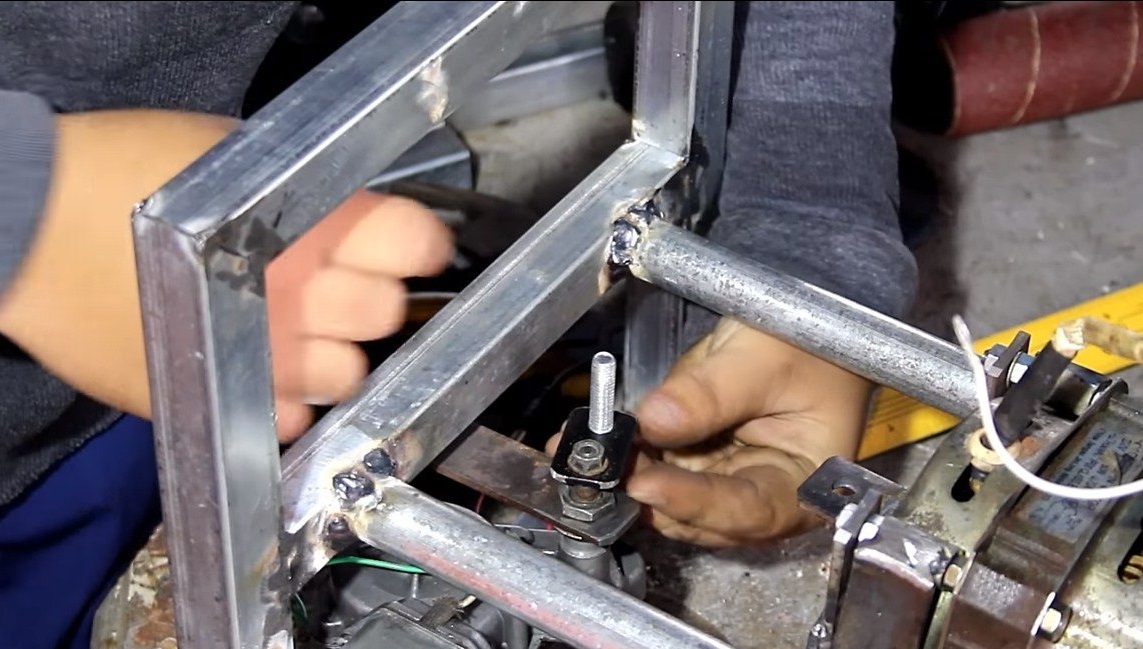
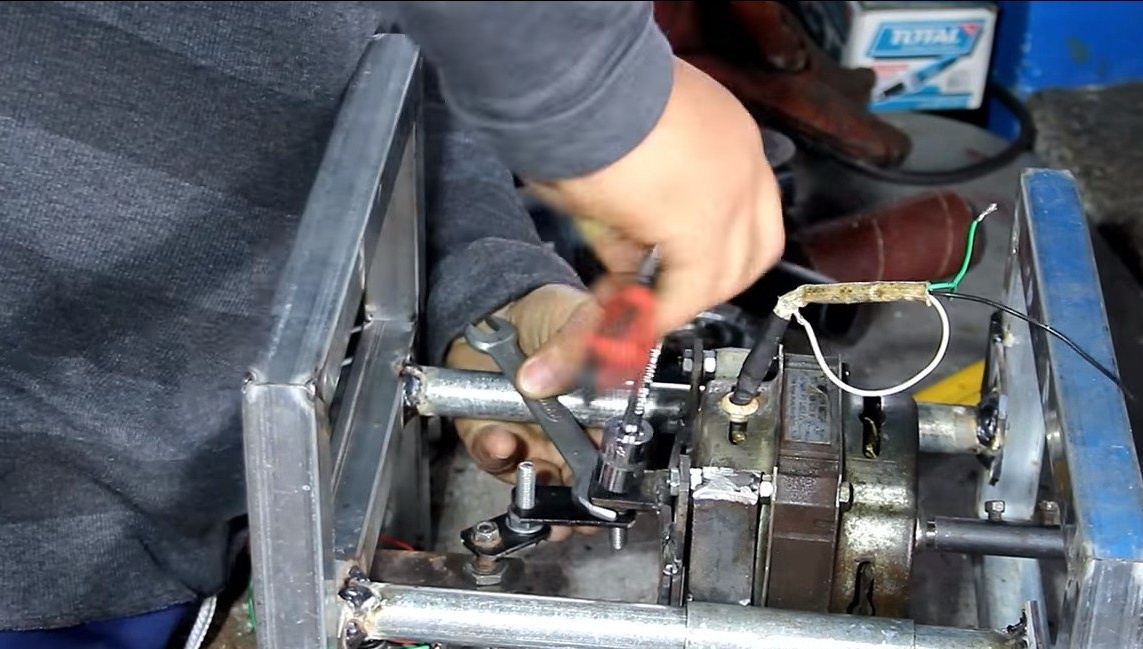
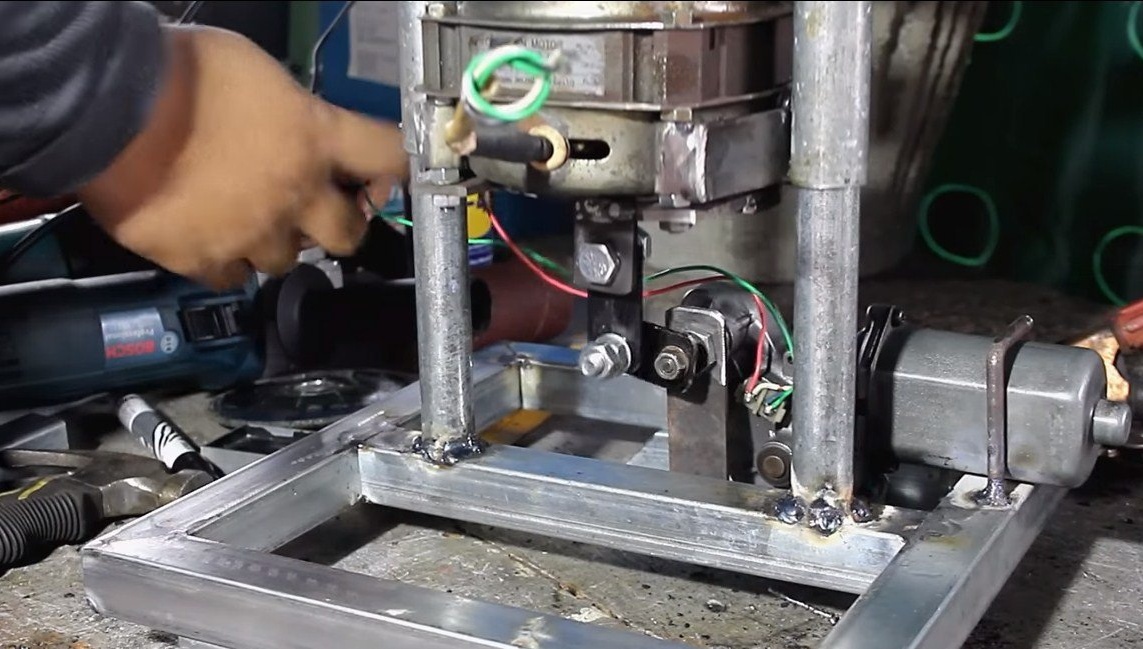
You need to install an “ear” on the engine, and a bracket for attaching the motor to the wipers is welded to the frame. As a result, it remains to use the connecting rod to connect the working shaft of the motor from the wipers with the ear mounted on the engine from the washer. The engine used by the wipers does not rotate the shaft in a circle, but rotates in different directions.
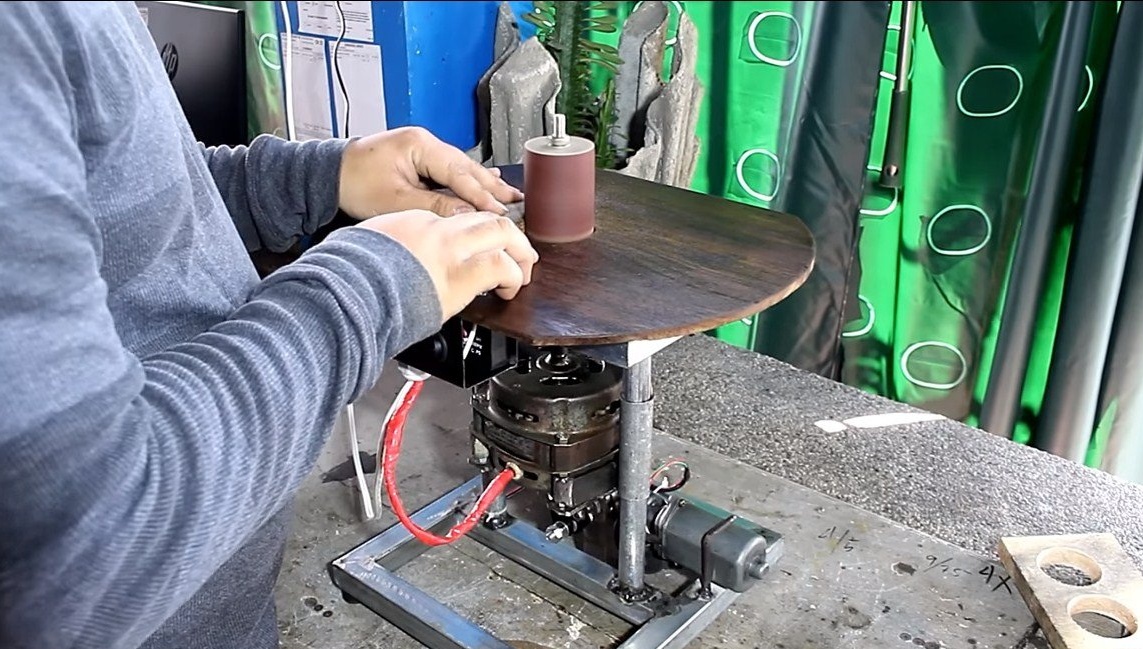
Step Five Final assembly
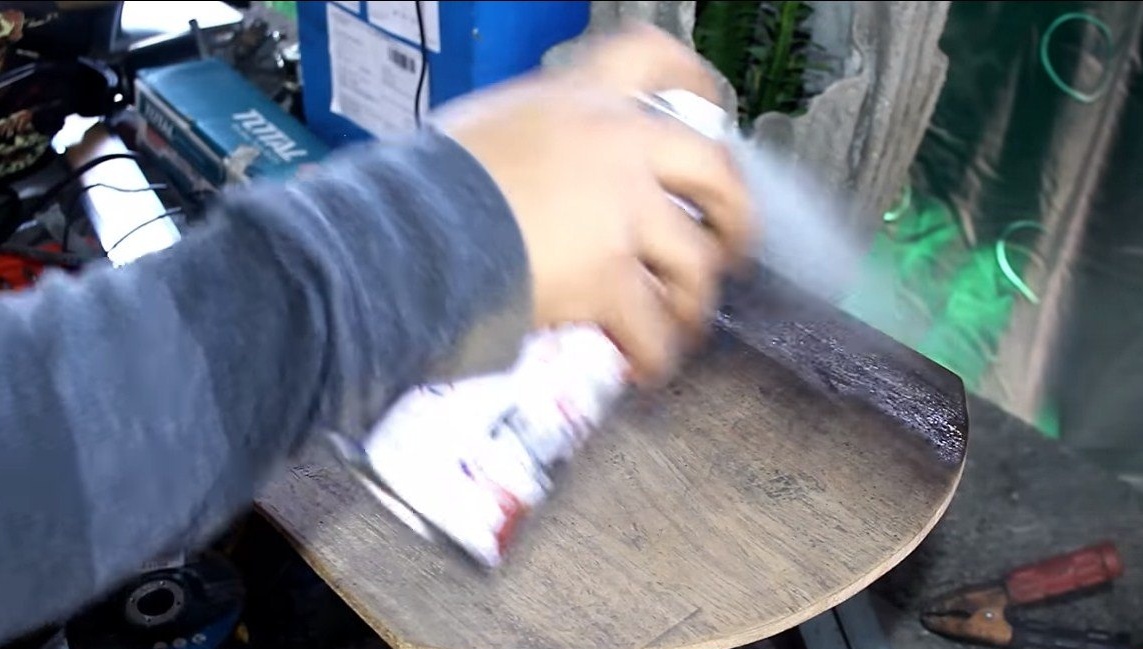
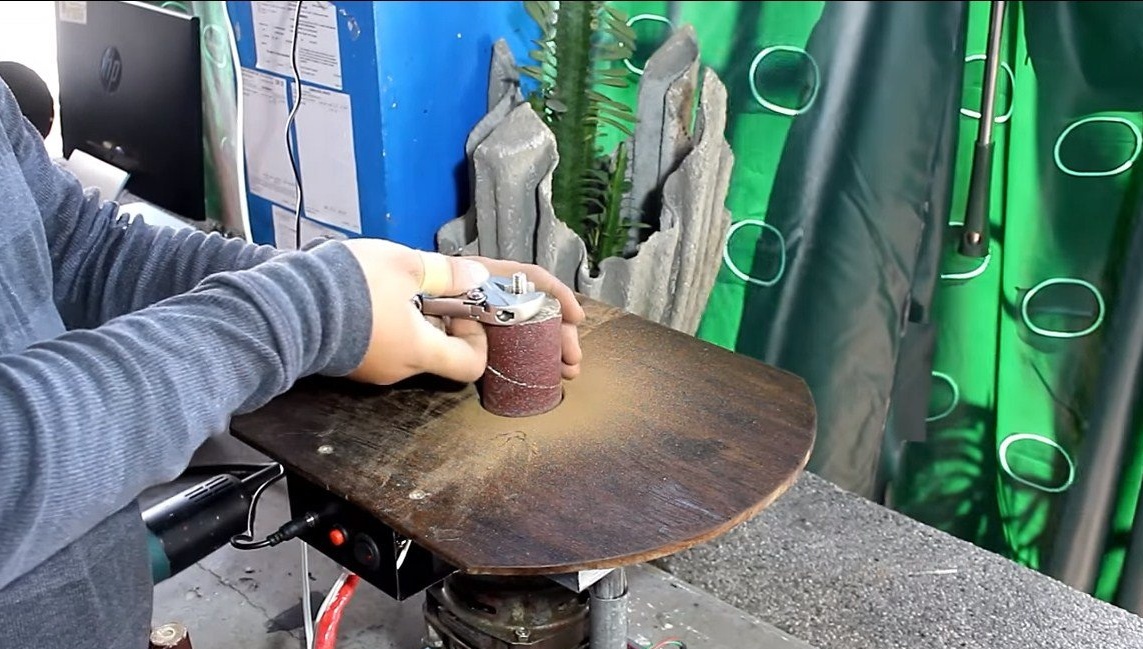
We install the working platform, it can be cut out of plywood or other suitable material. We grind the material and varnish it so that it is pleasant to put our hands on it. That's all, connect the wiring and try the machine in practice. The author controls the motor from the wipers with a separate switch and the machine itself starts separately.

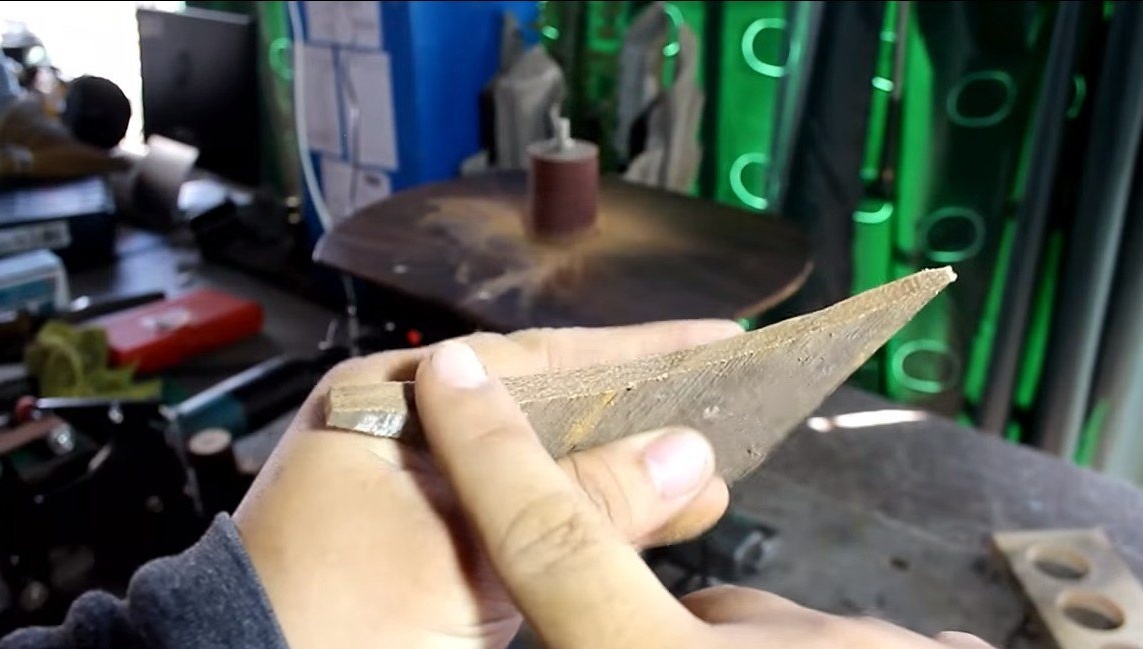
The machine works quite well, copes with the tasks. That's all, the project is over, I hope you liked it. Good luck and creative inspiration, if you decide to repeat this. Do not forget to share your ideas with us and homemade.