
Good day to all. In this article I want to tell you: how the author of the cemaL ALAR channel made such a mini oven do it yourself.

Materials:
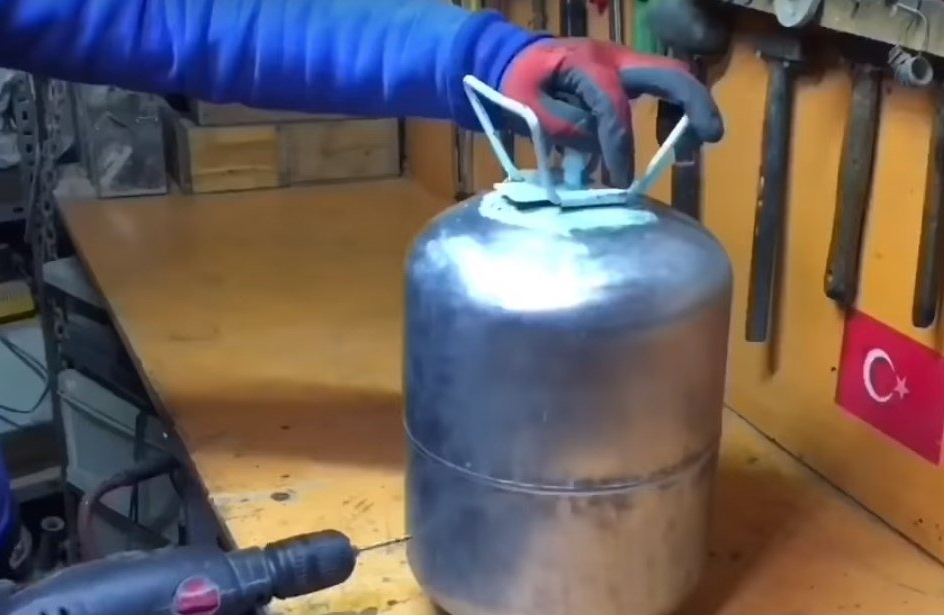
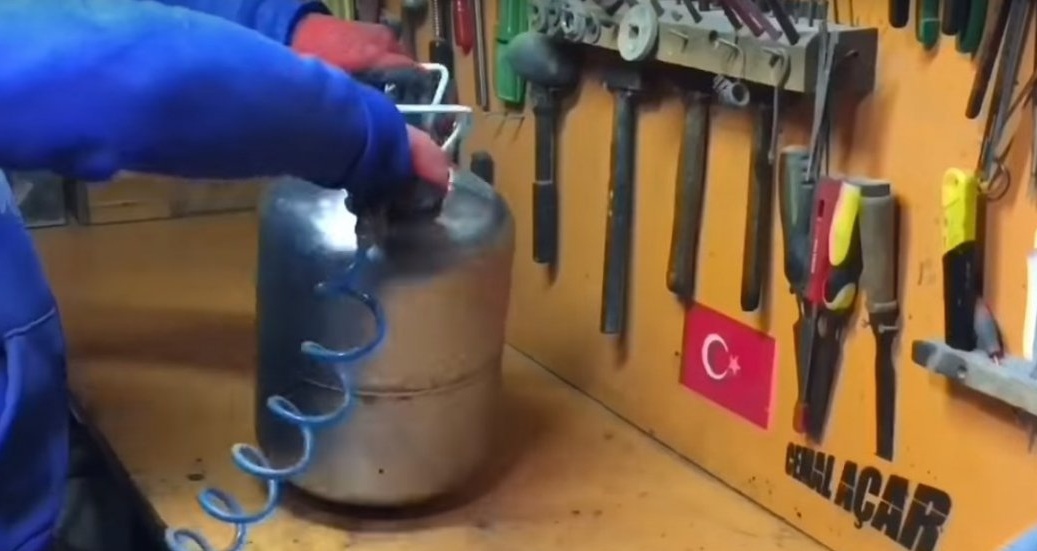
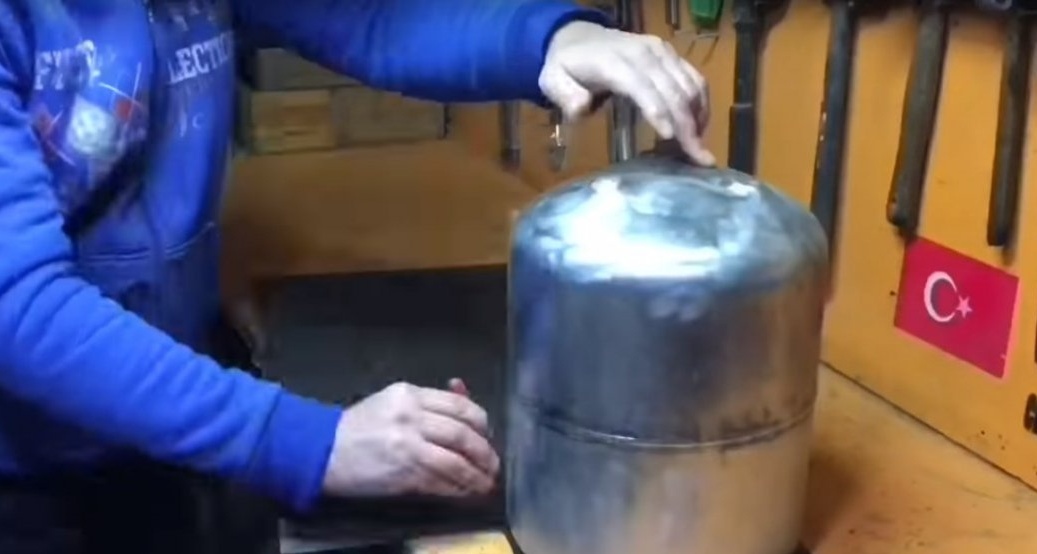
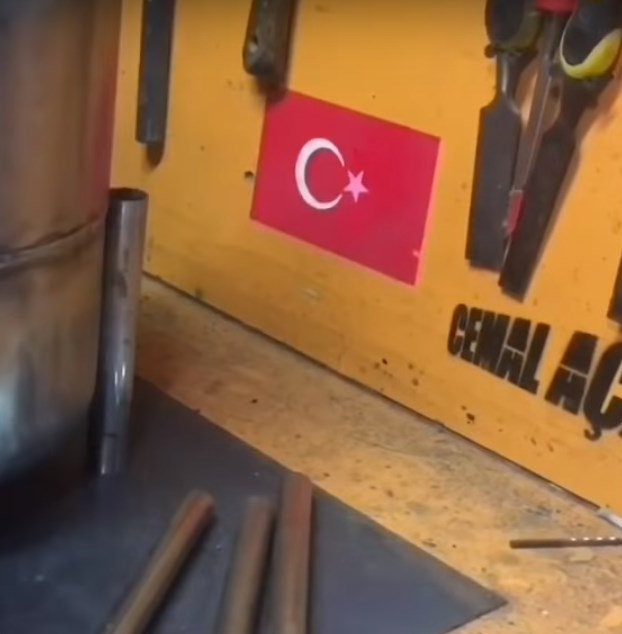
Empty Freon Cylinder
Sheet metal
Steel pipes of different diameters
Steel bars
Steel strip
Metal corner
Bolts with nuts
Washers
Steel wire
Heat resistant paint
Instruments:
Welding machine
Electrodes
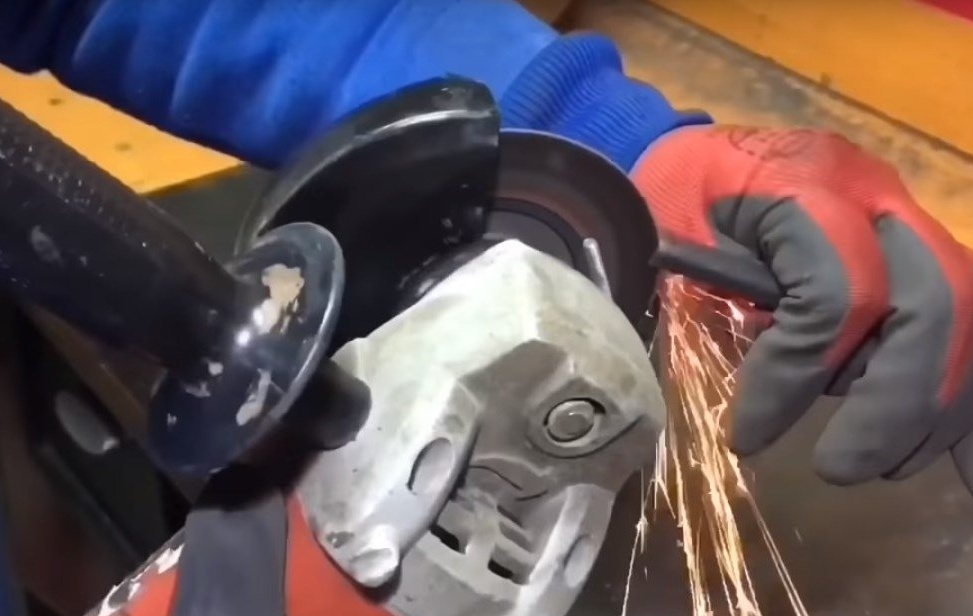
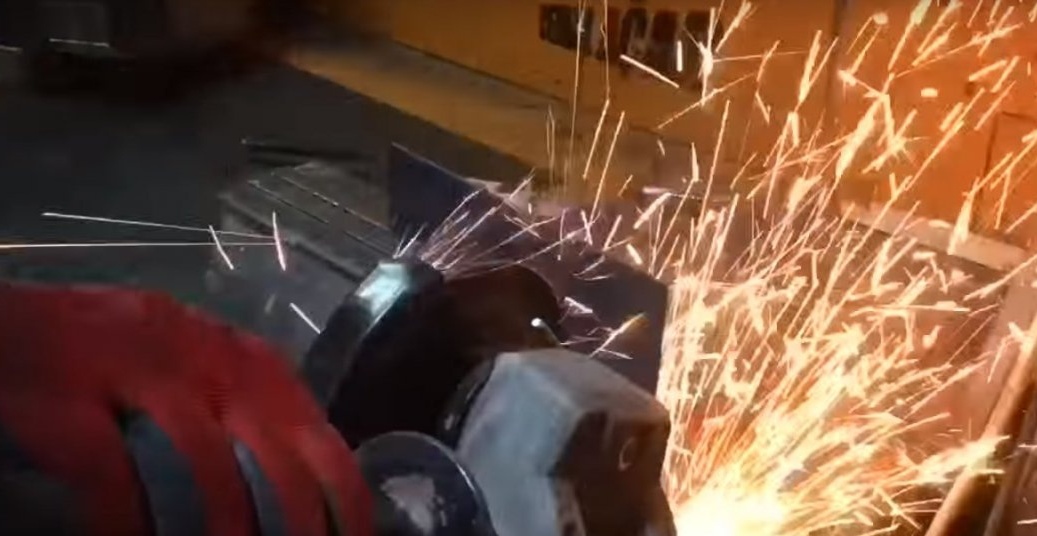
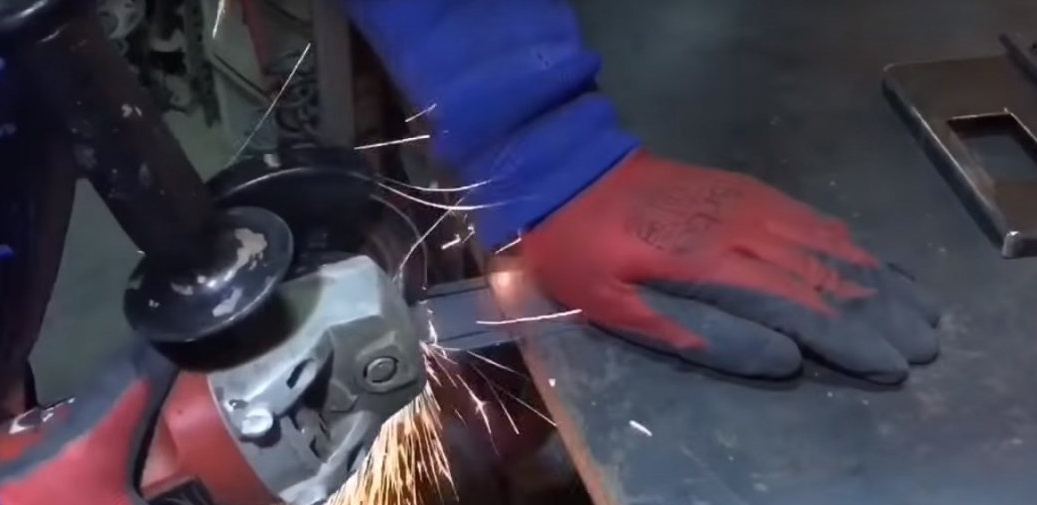
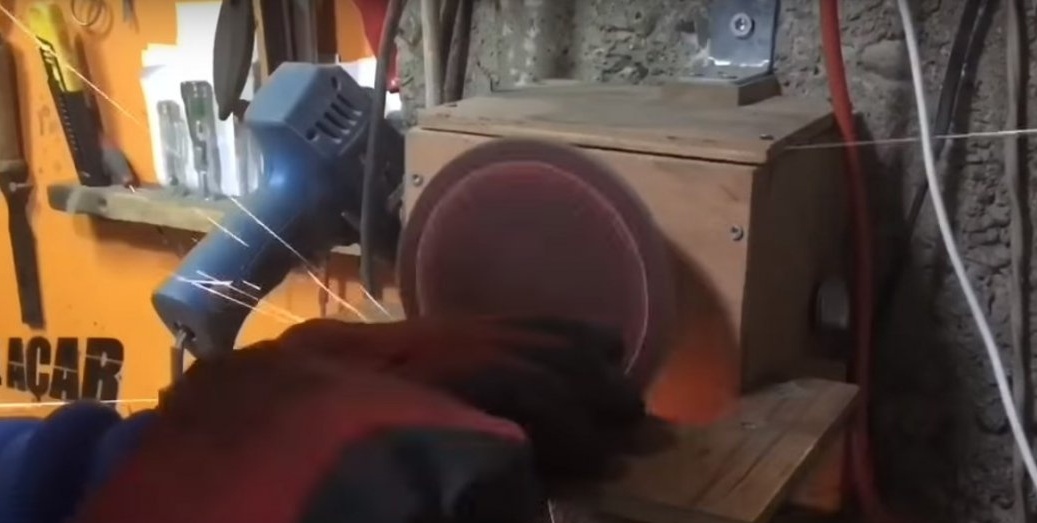
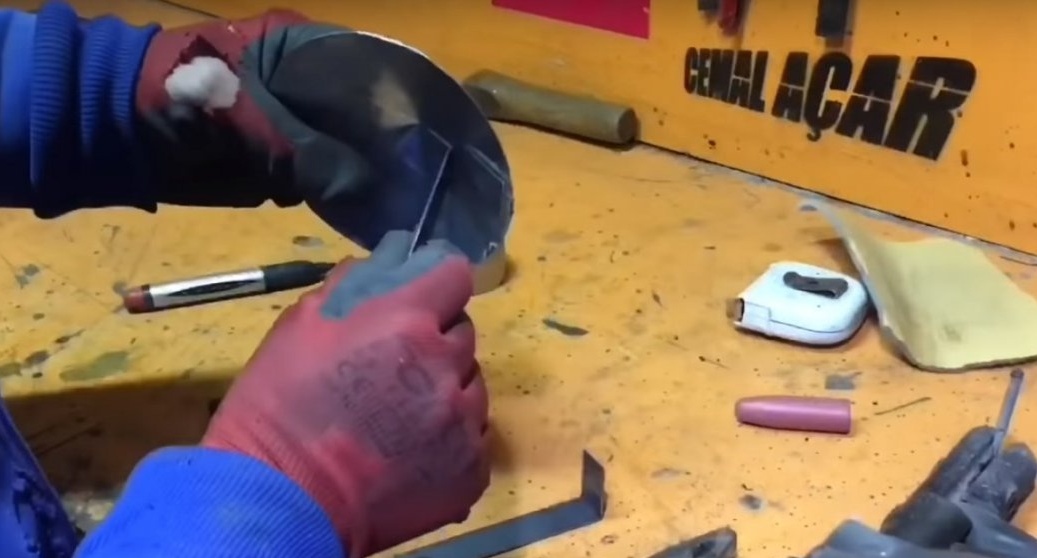
Angle grinder
Cutting wheel
Petal circle
Vise
Hammer
Clamps
Drill
Drill
Scissors for metal
Compressor
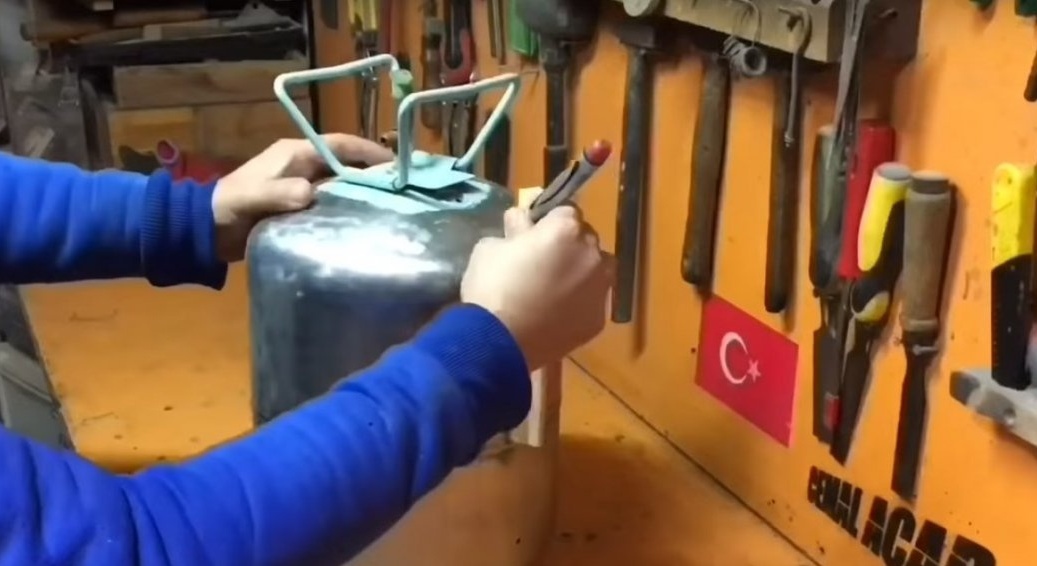
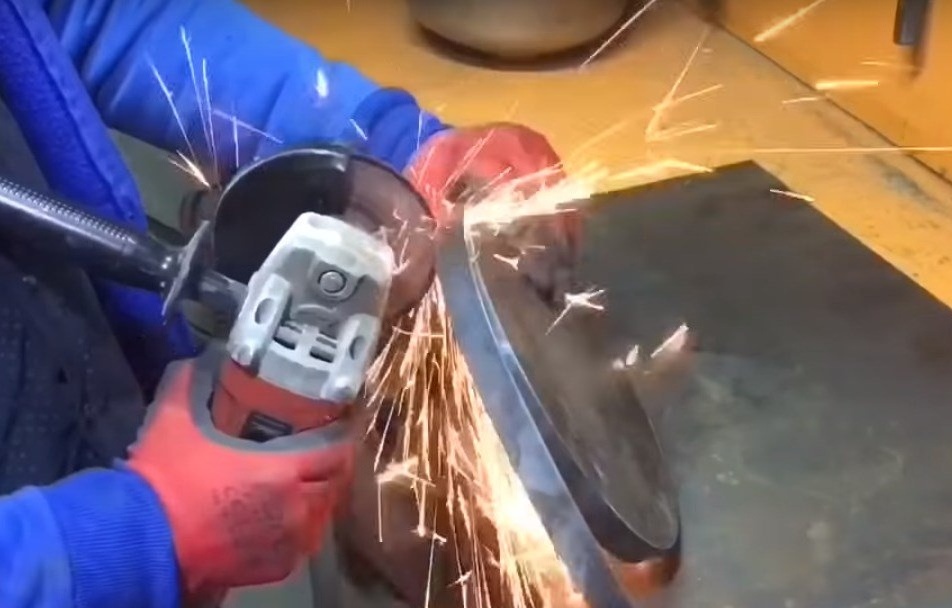
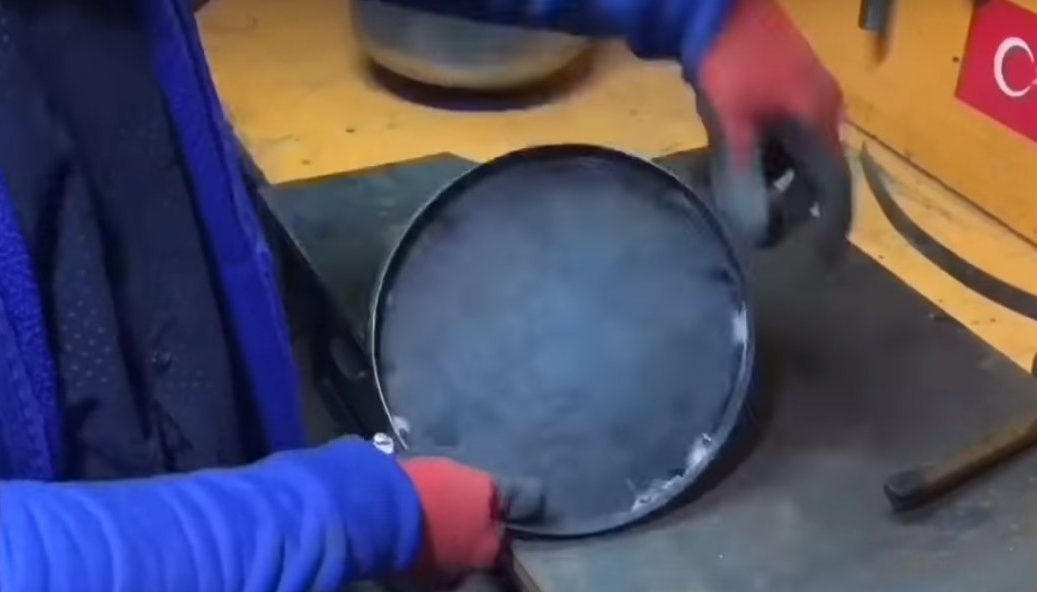
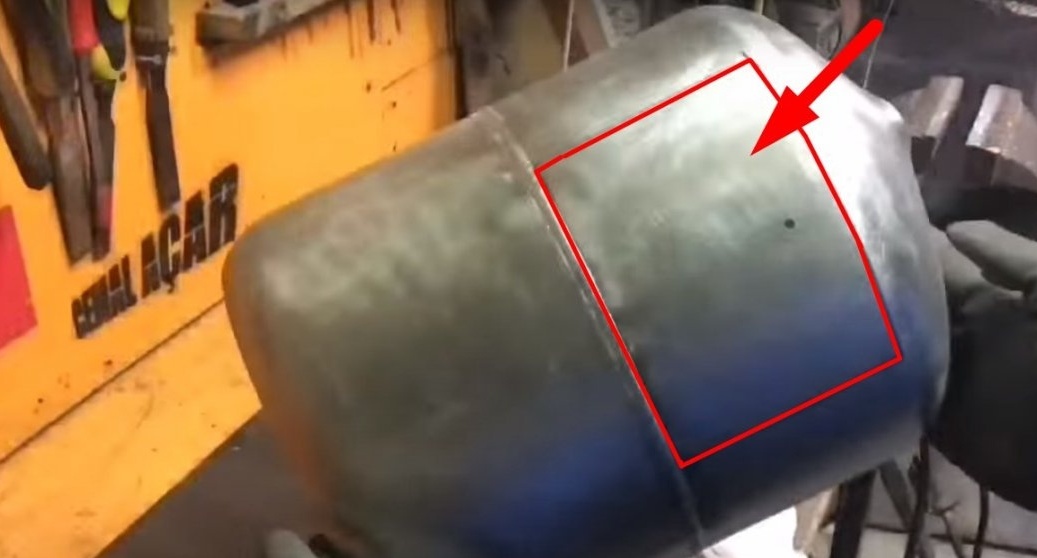
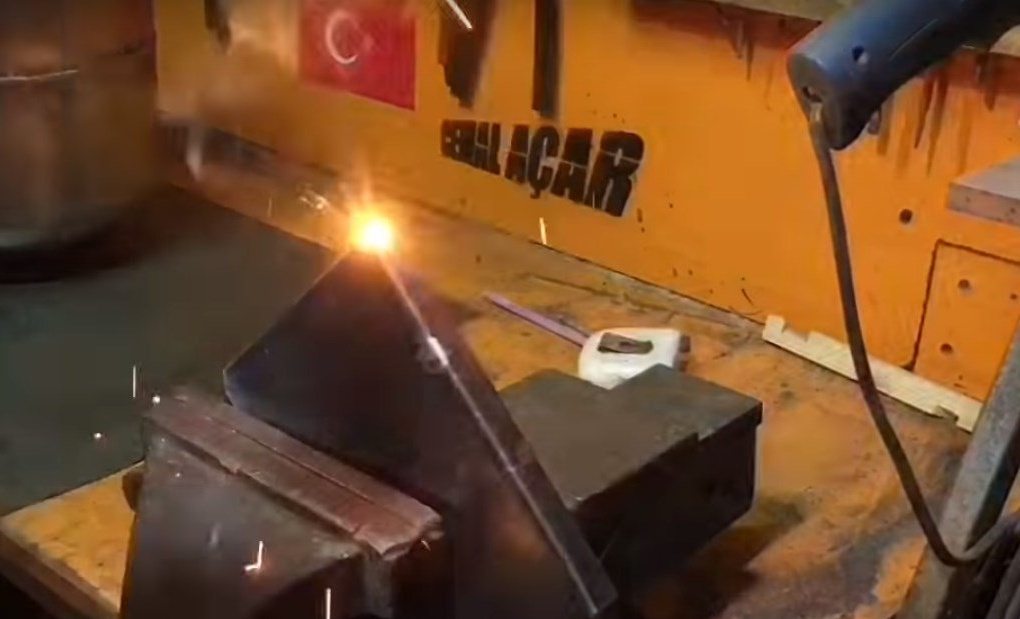
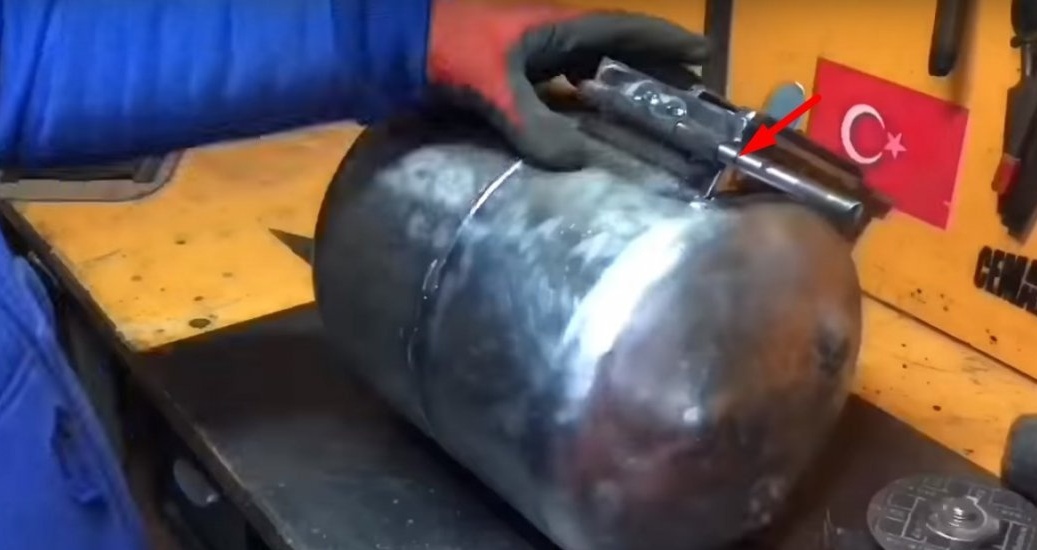
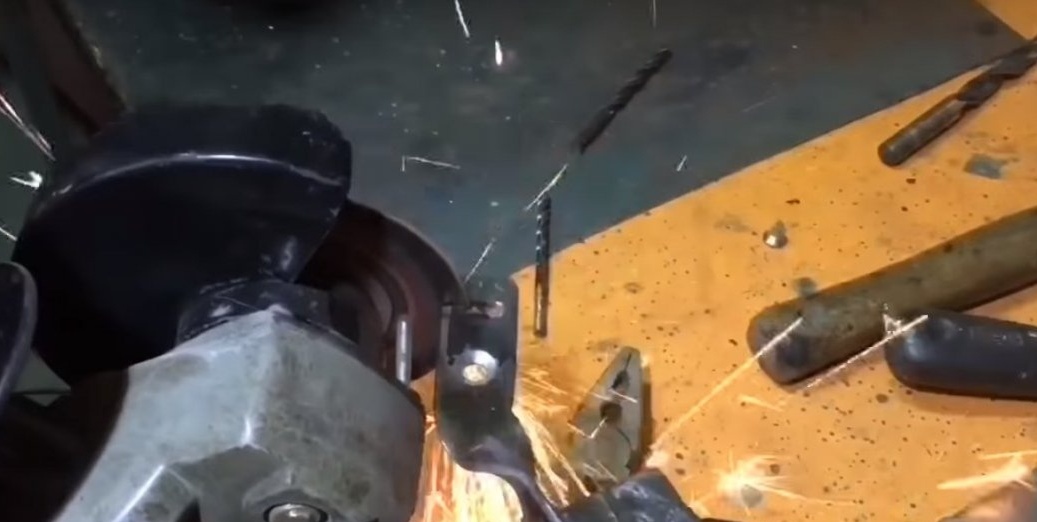
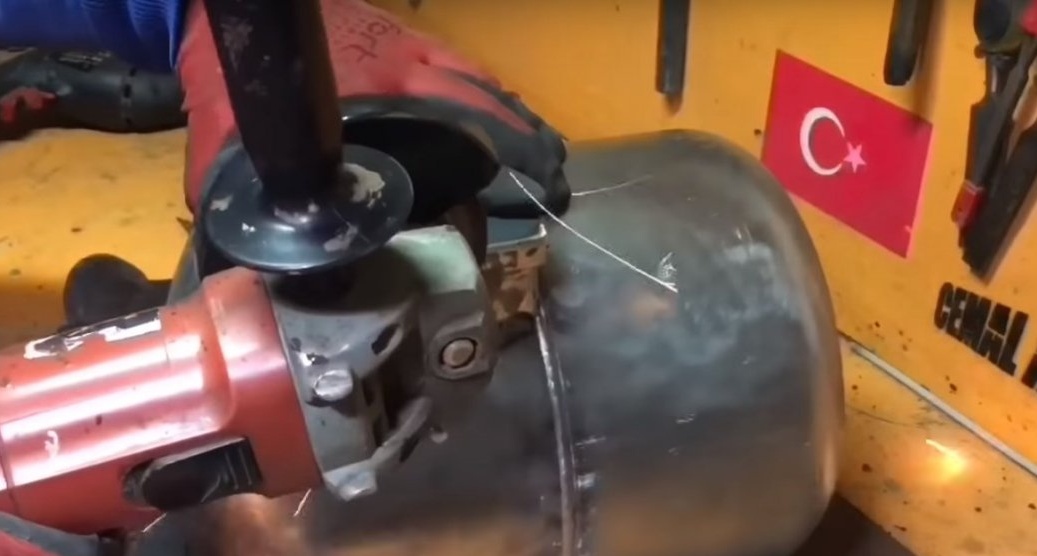
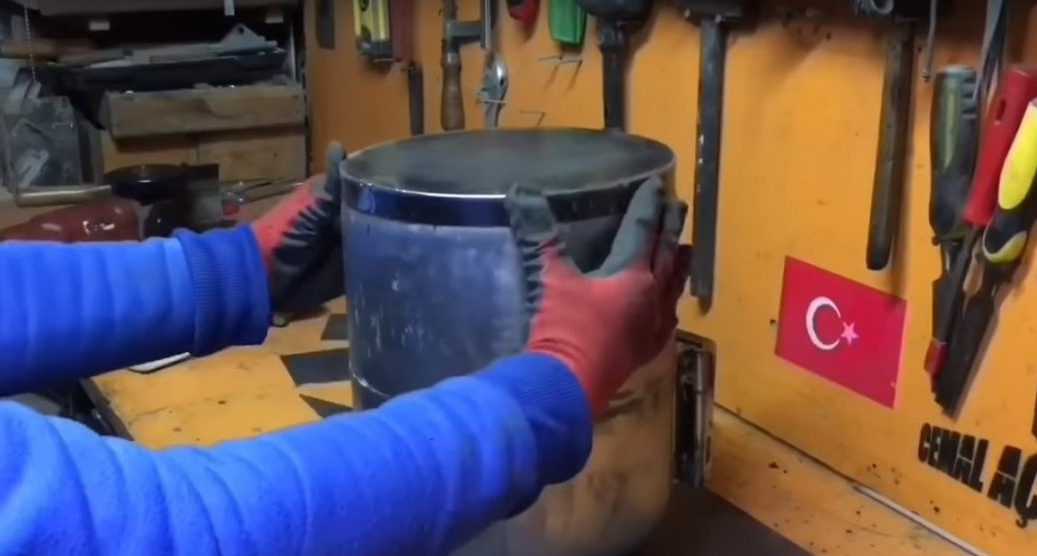
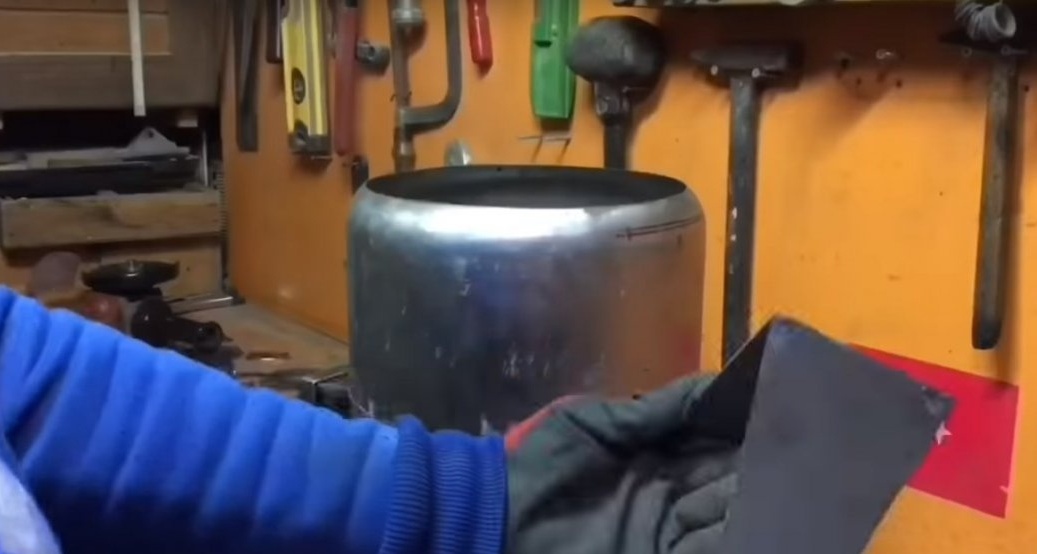
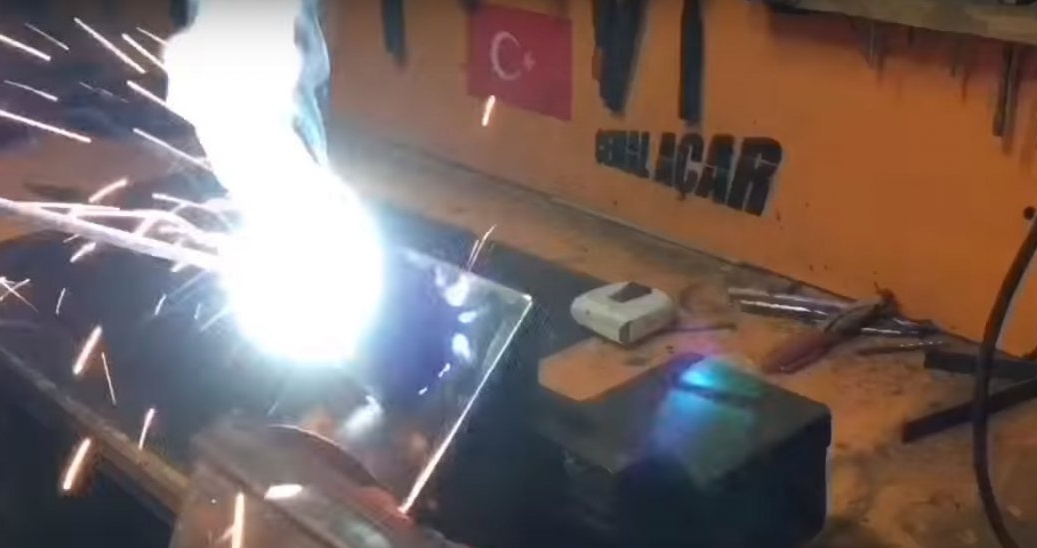
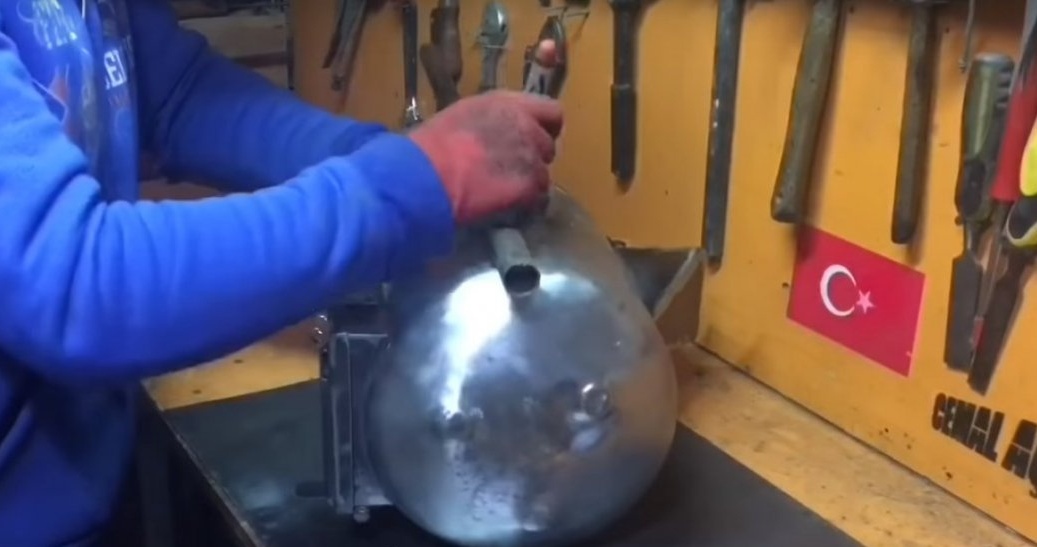
First of all, the author removed the paint from the balloon.
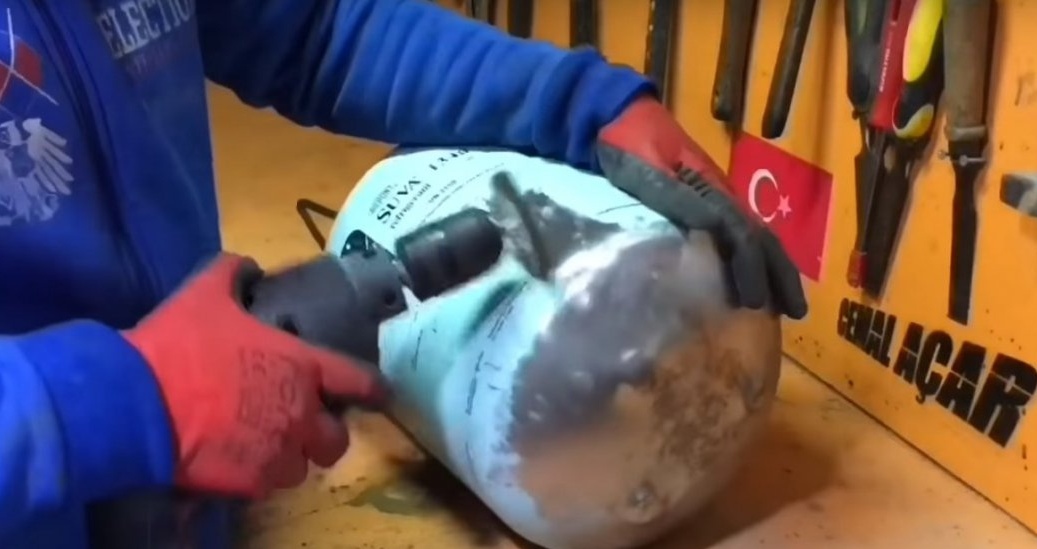
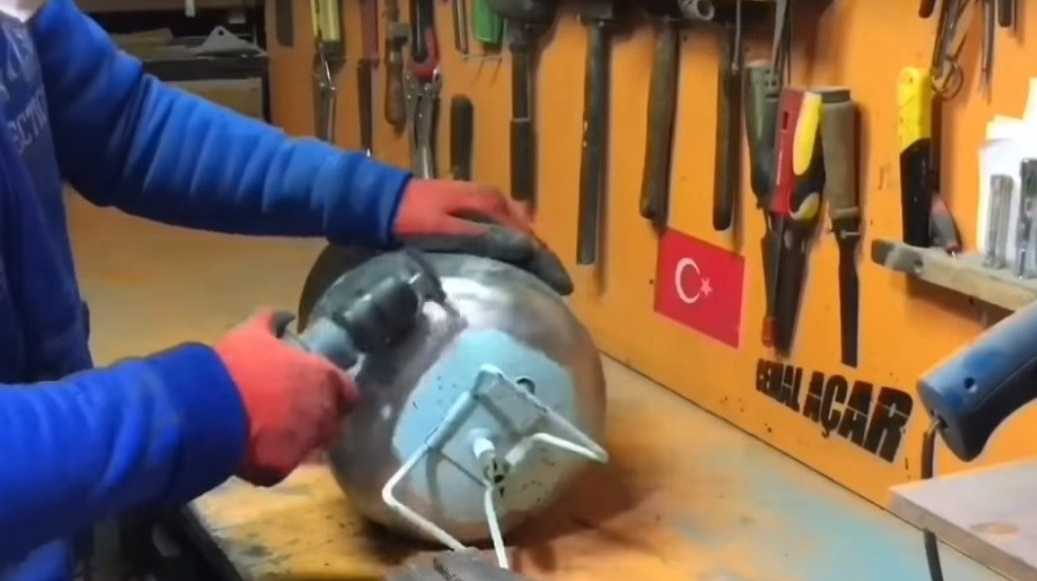
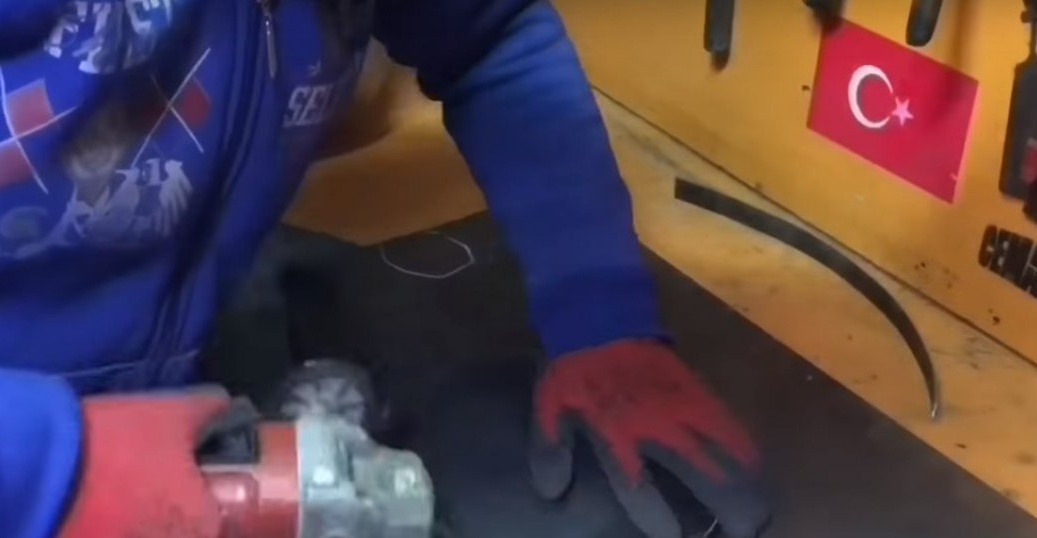
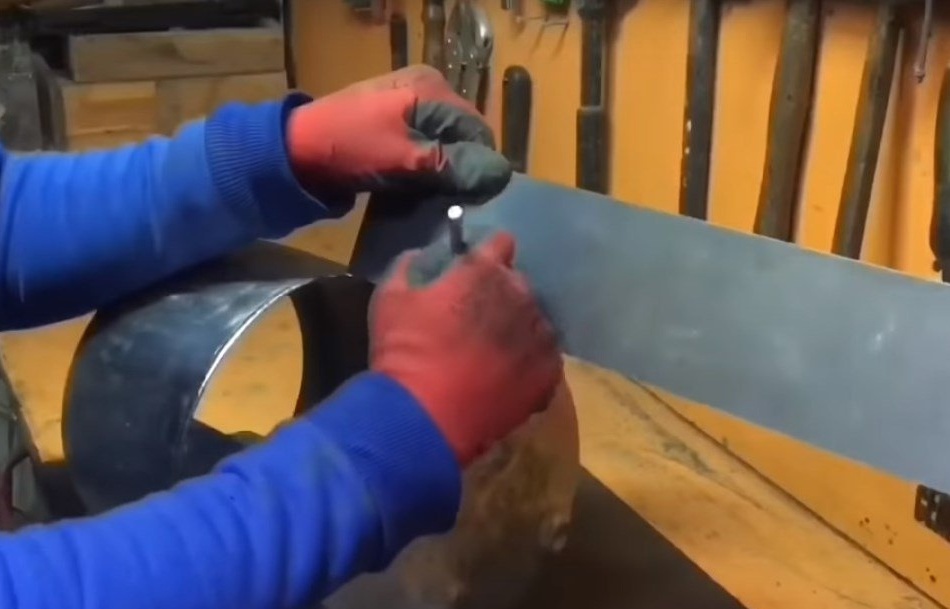
After he made a small hole at the bottom of the cylinder.
And the compressor blew all the remains of freon.
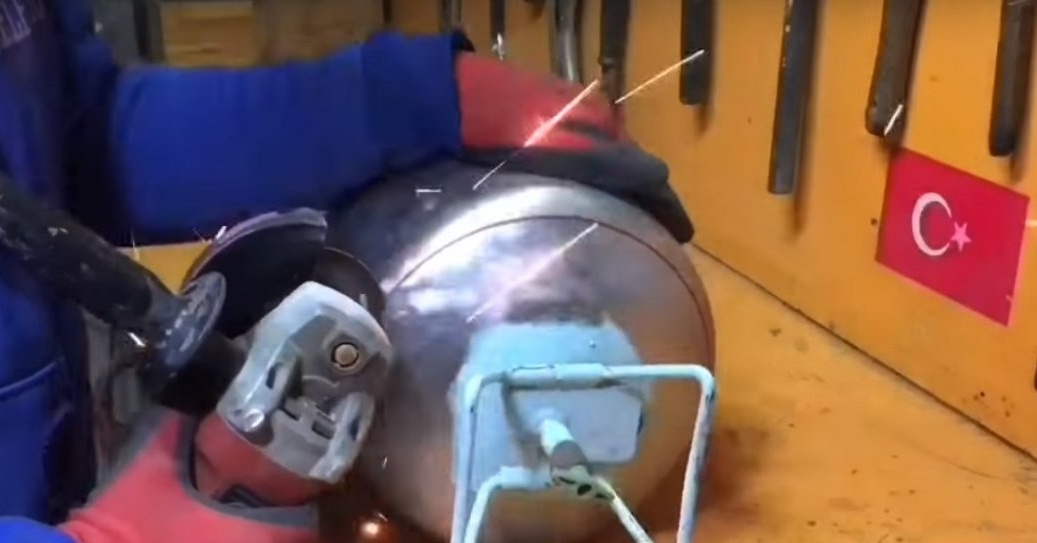
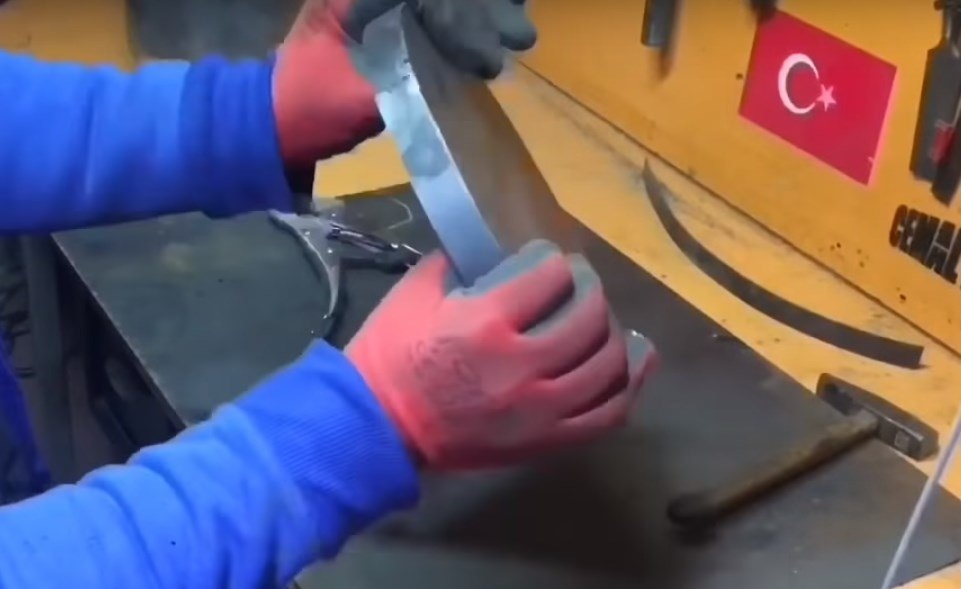
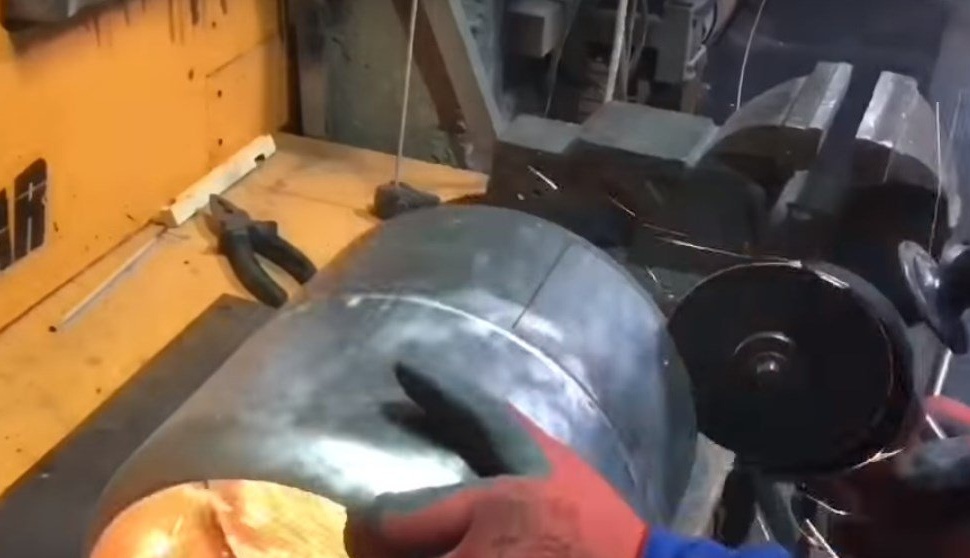
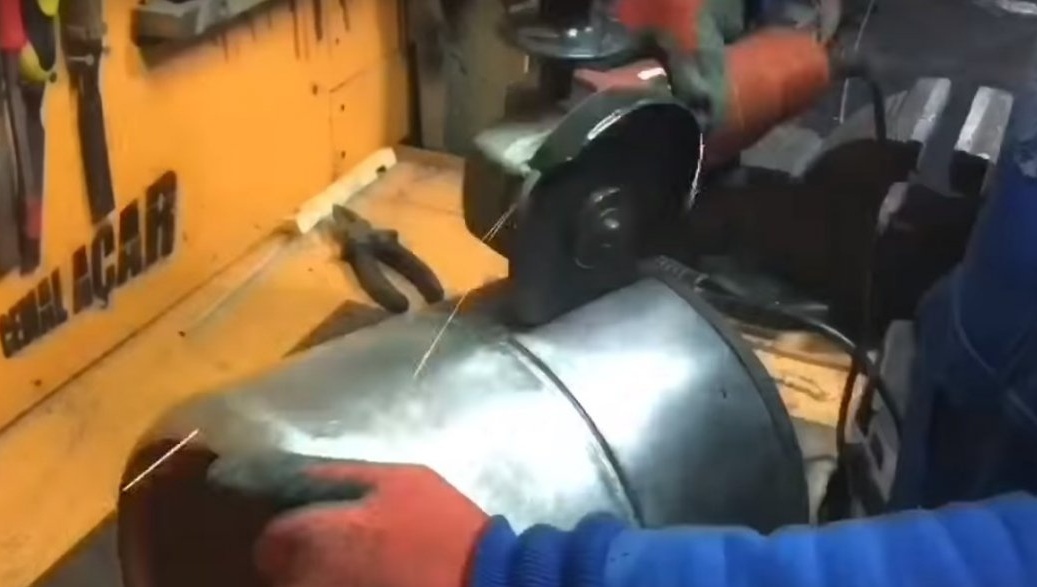
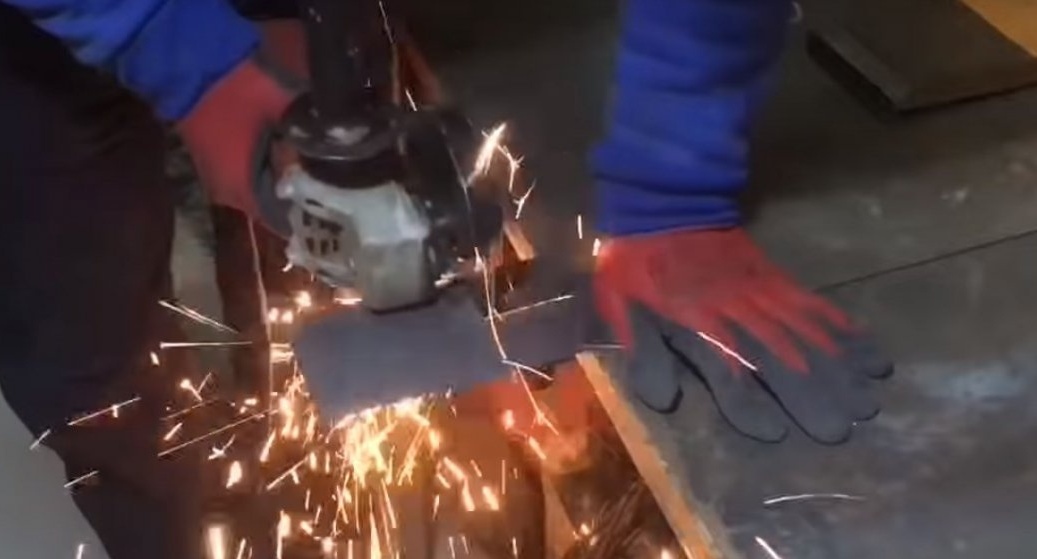
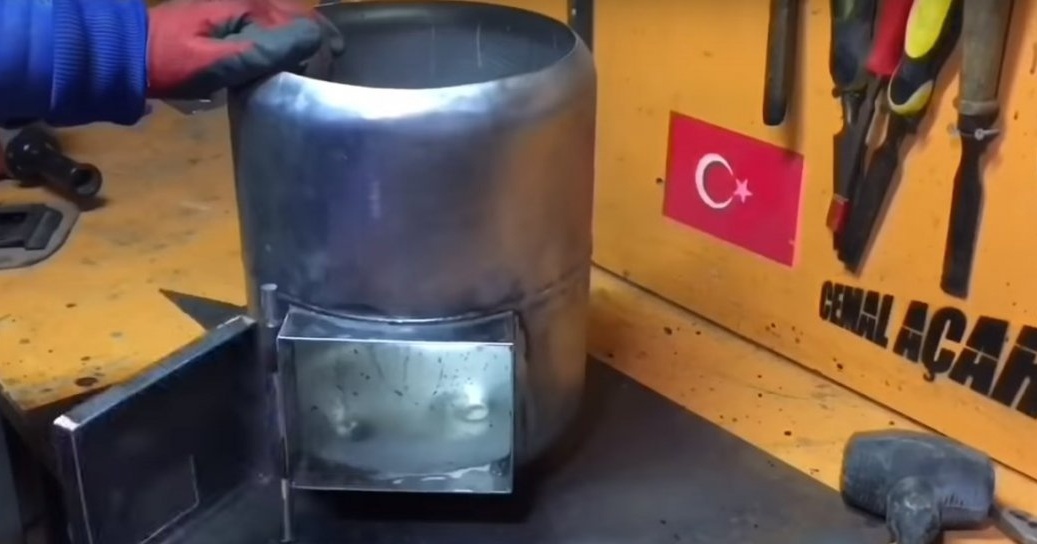
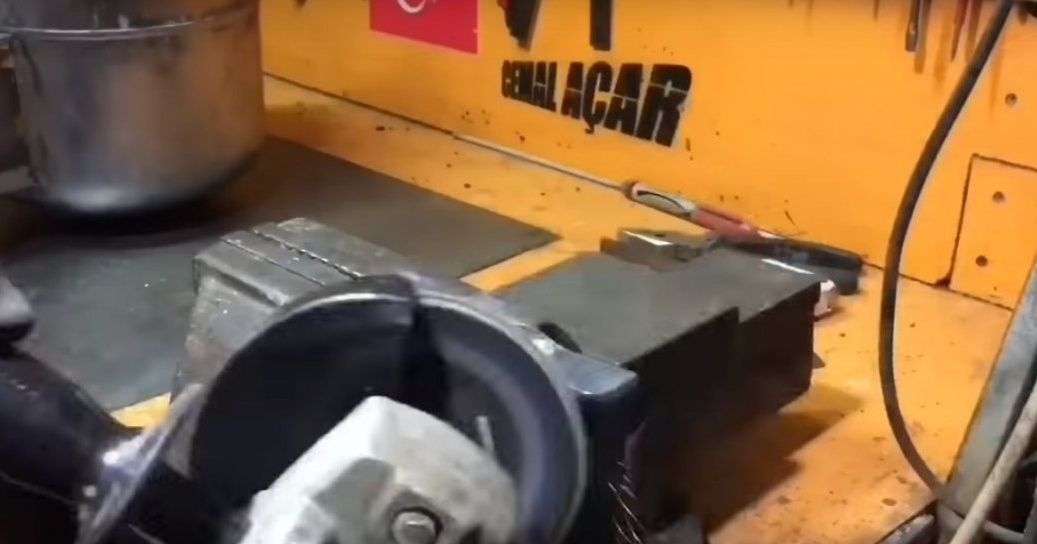
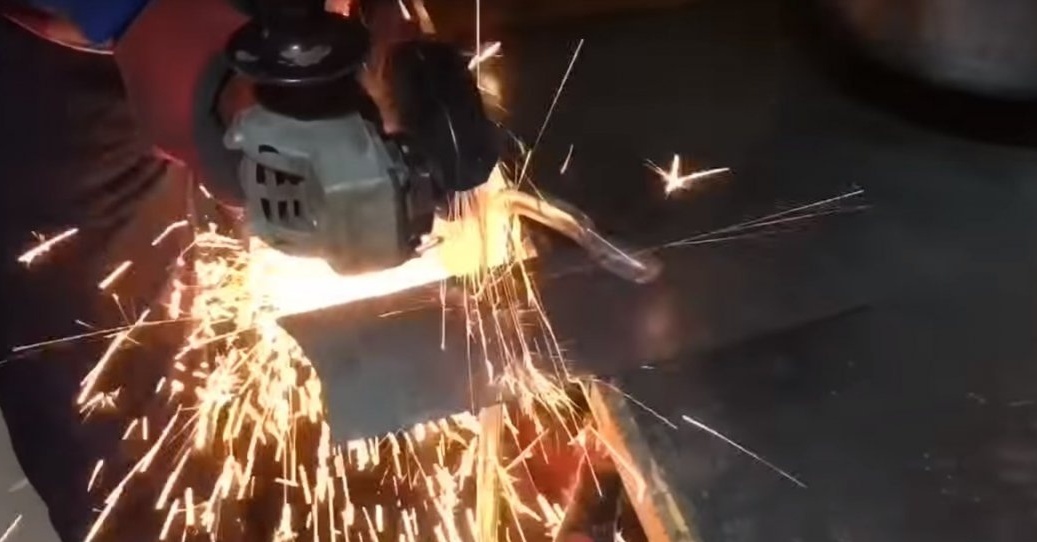
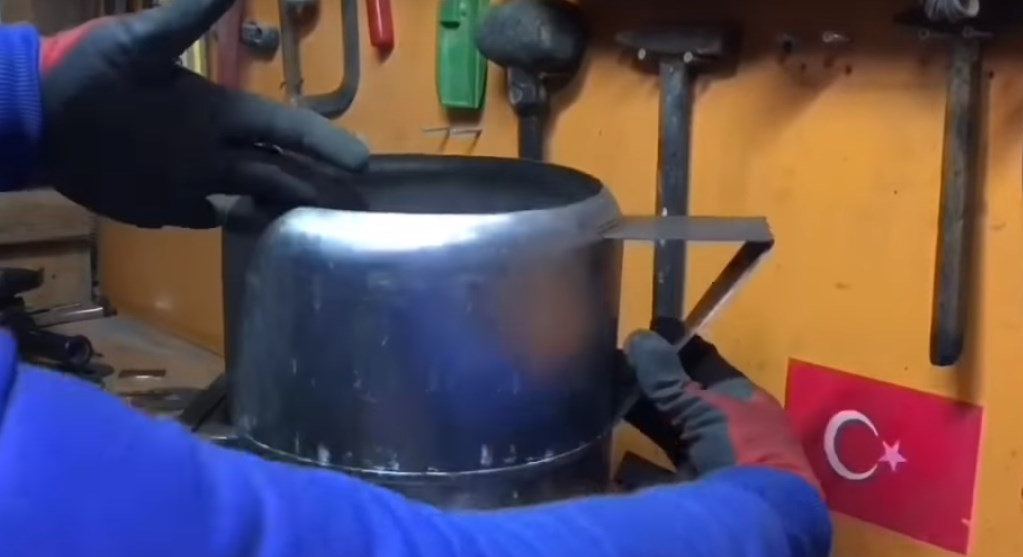
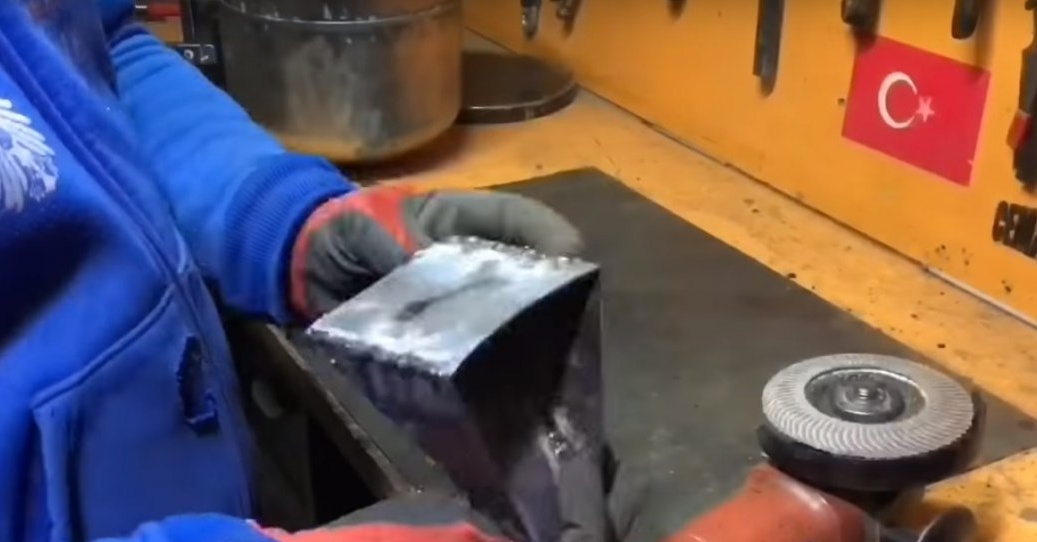
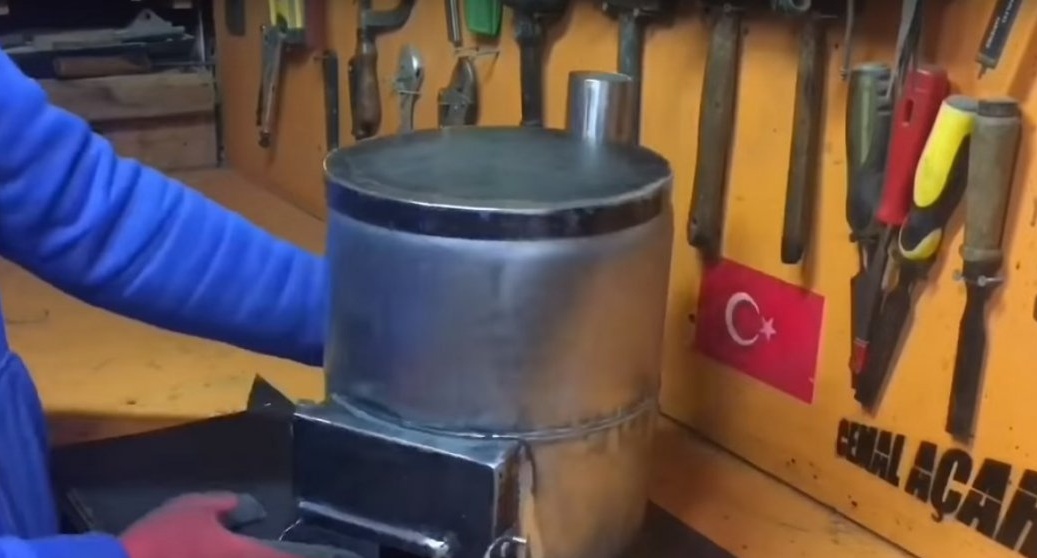
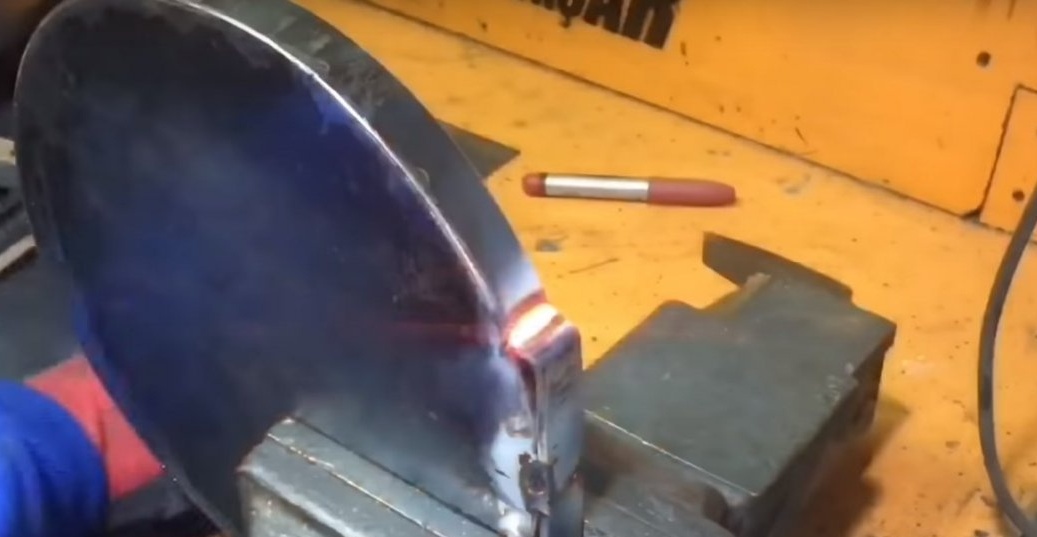
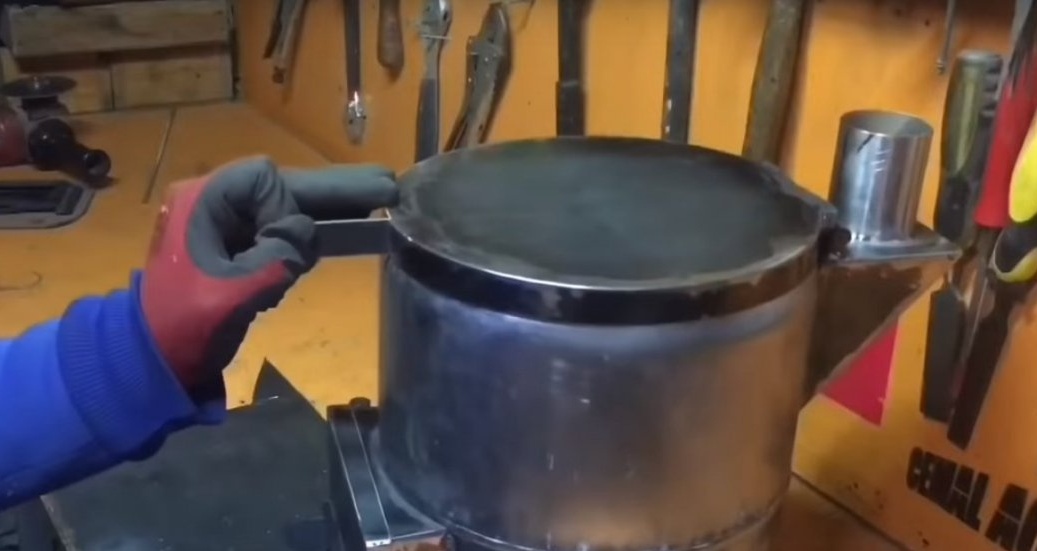
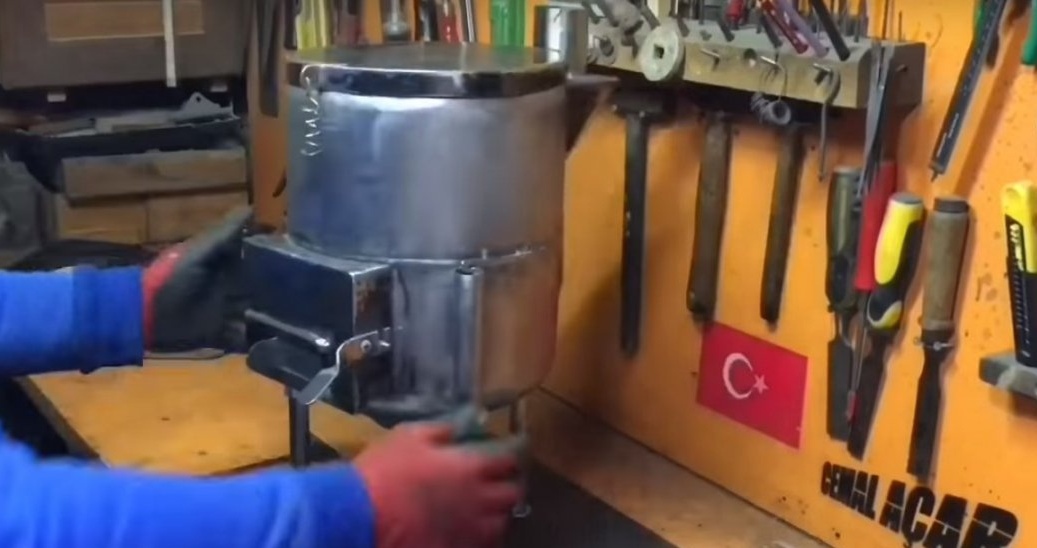
After cut off the top.
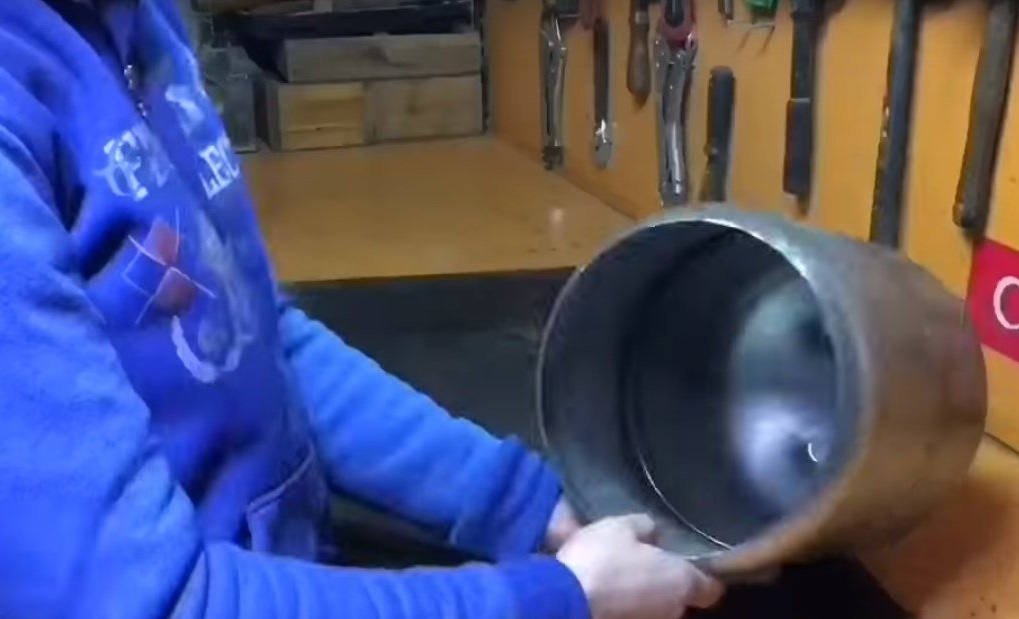
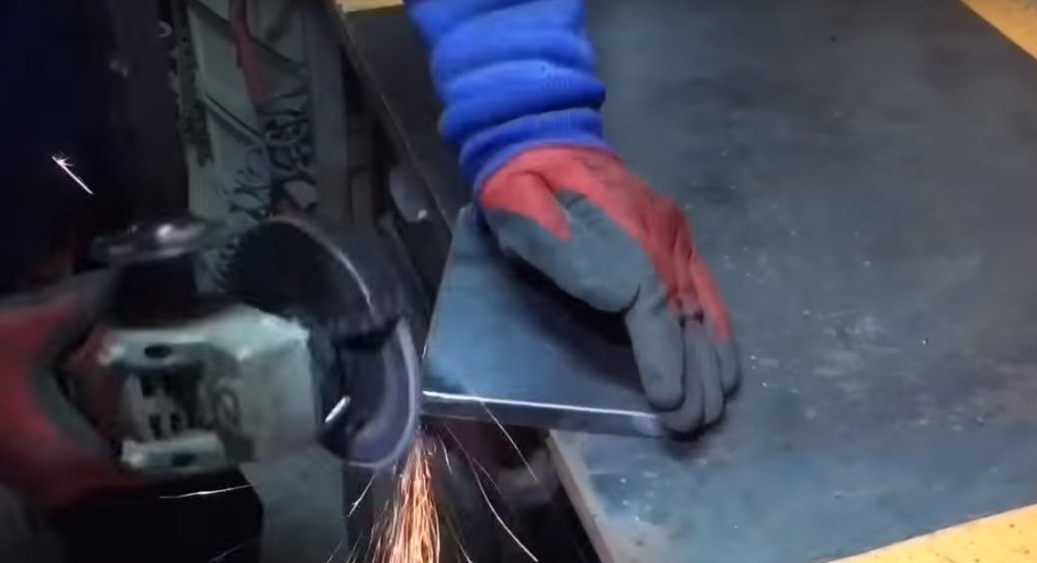
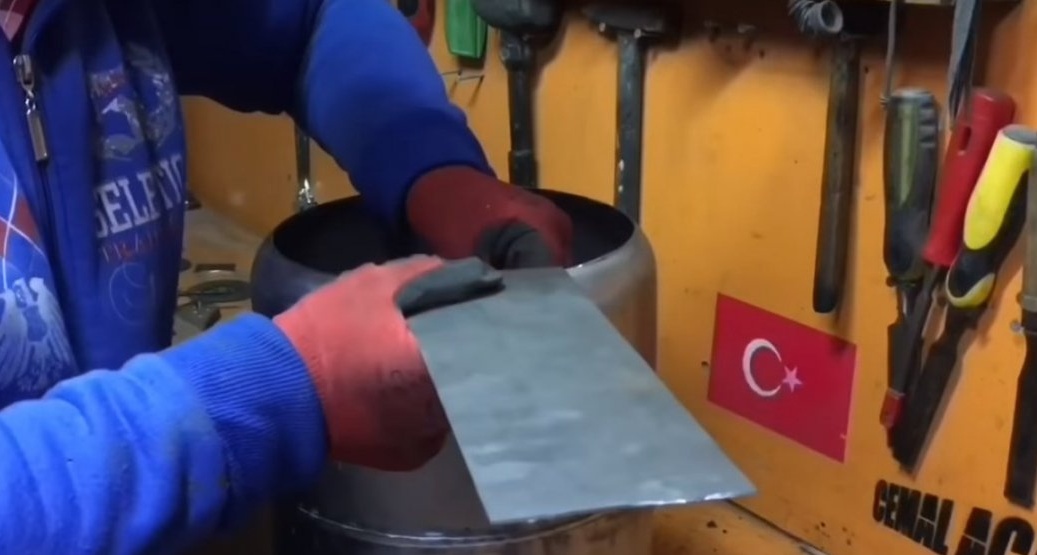
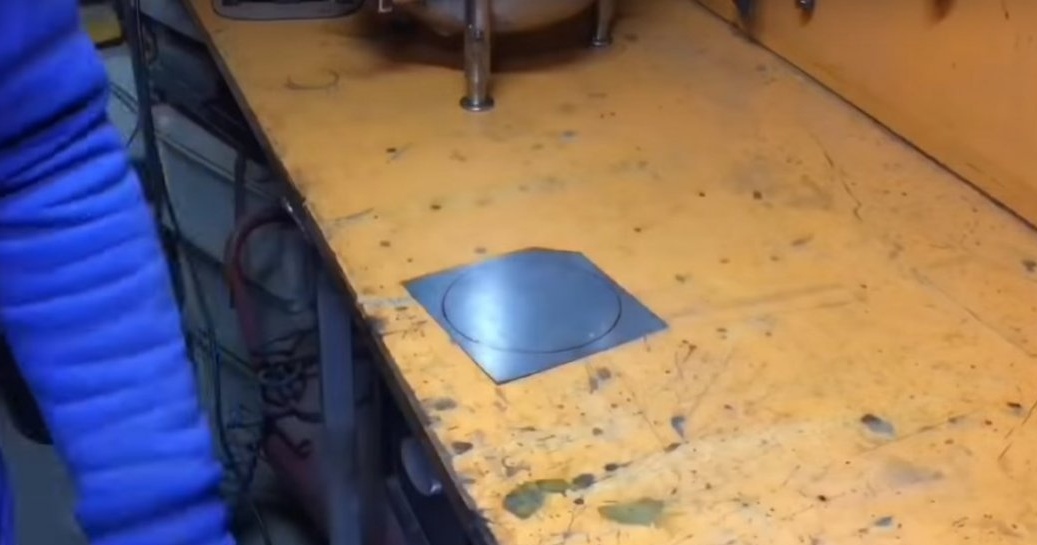
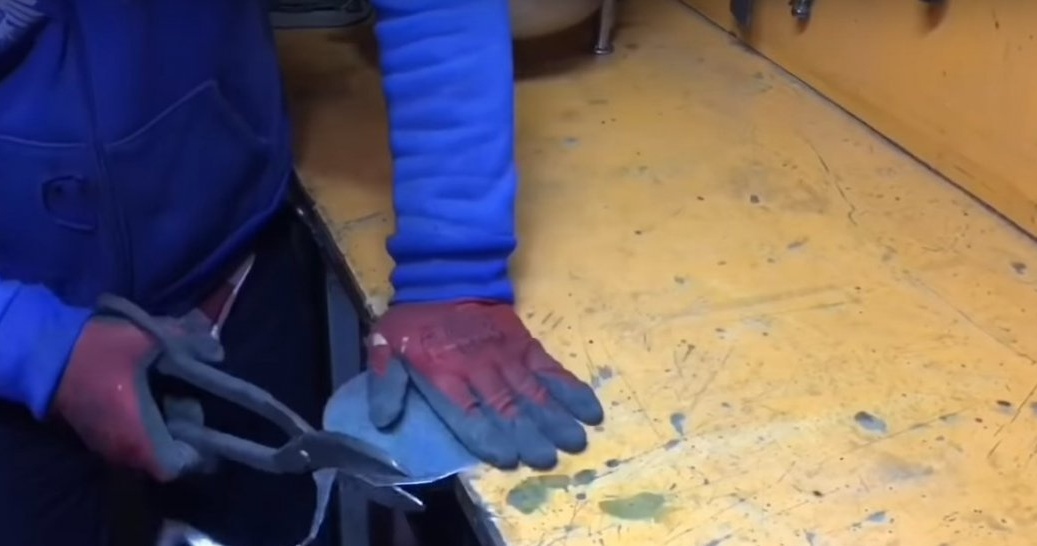
Then from sheet metal, cut a round billet according to the size of the container.
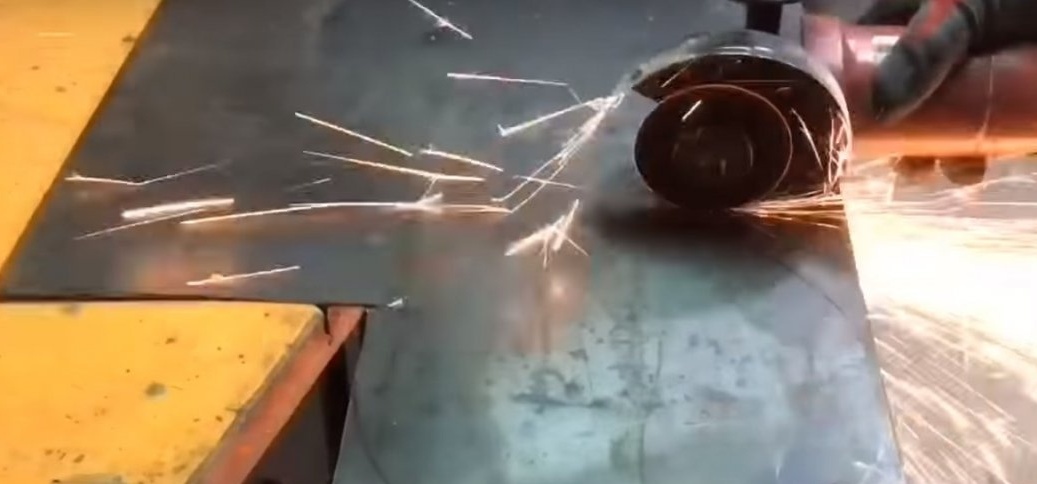
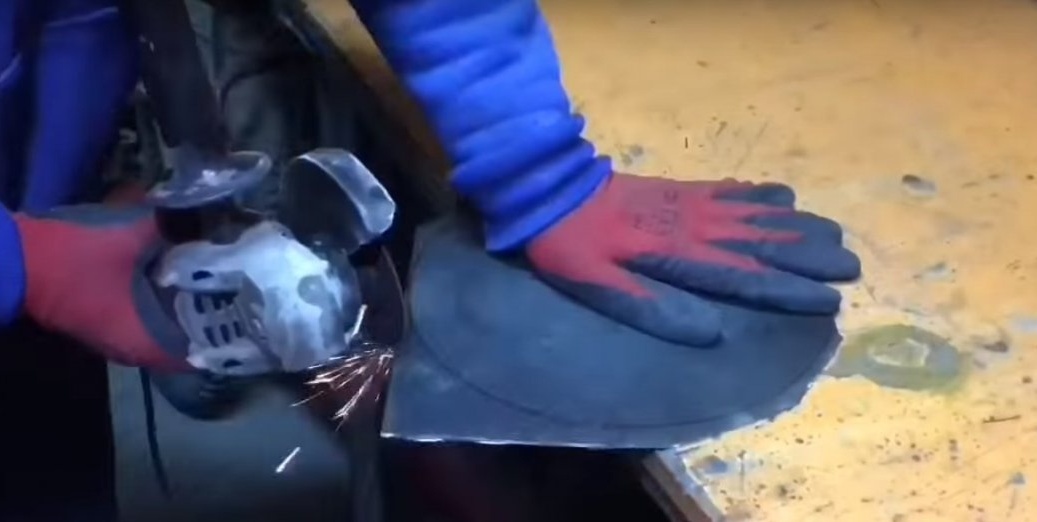
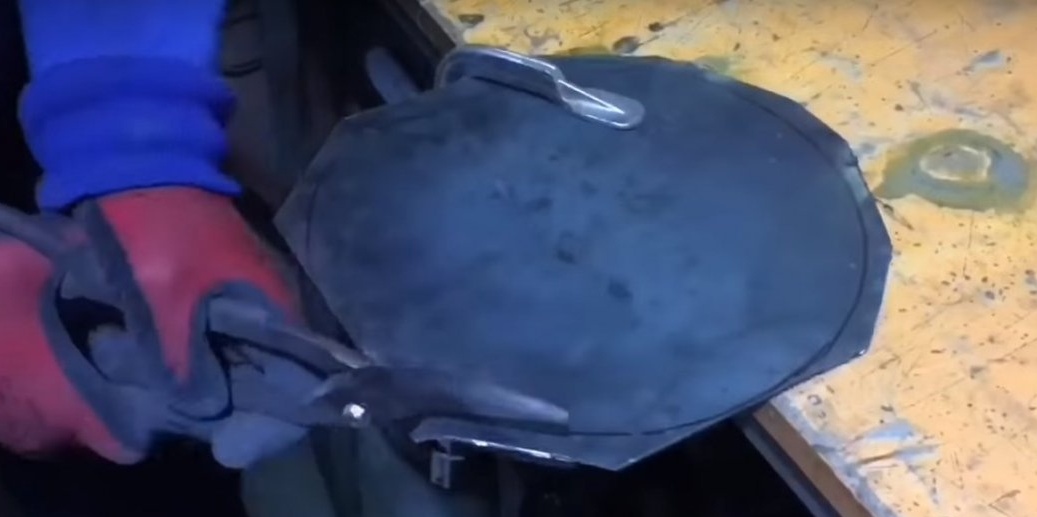
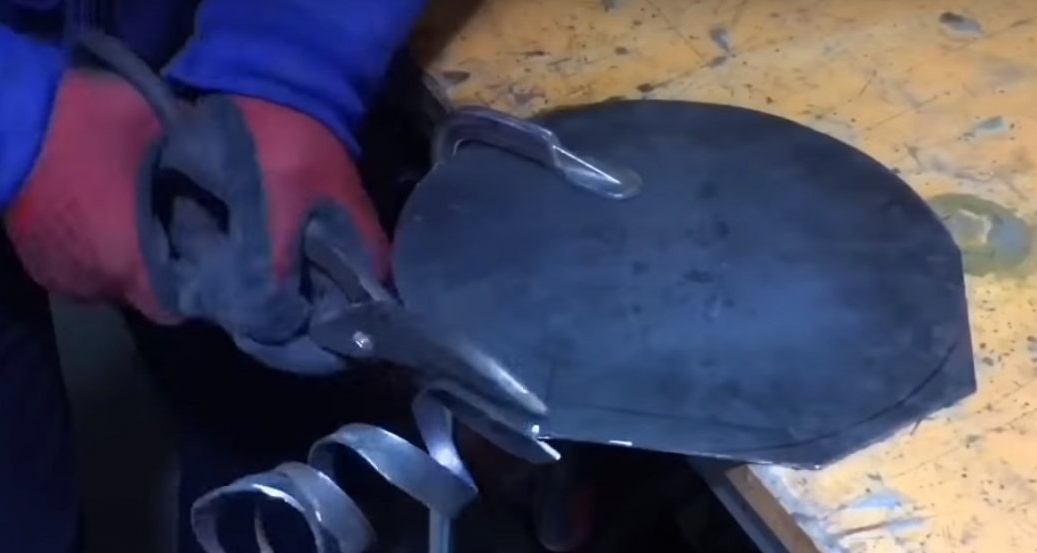
Fitting.
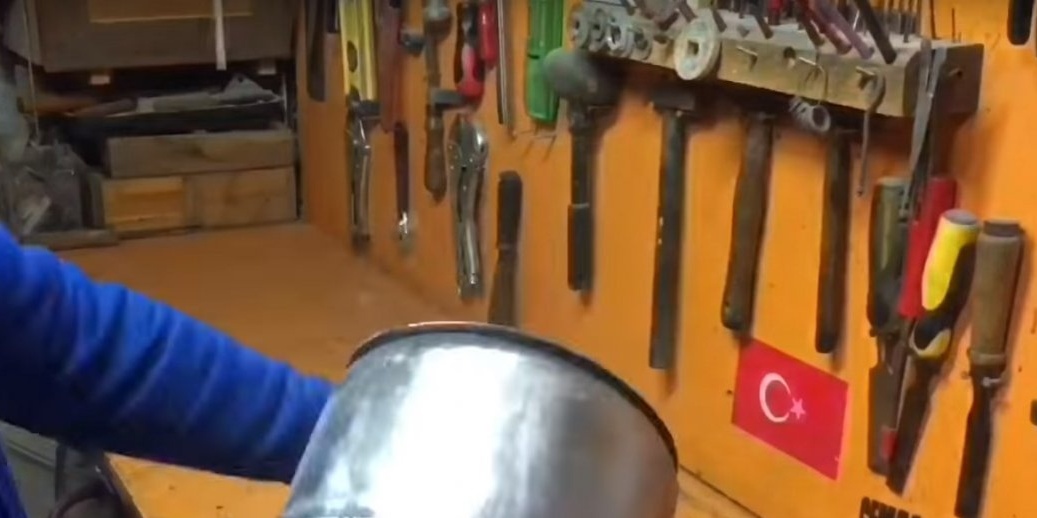
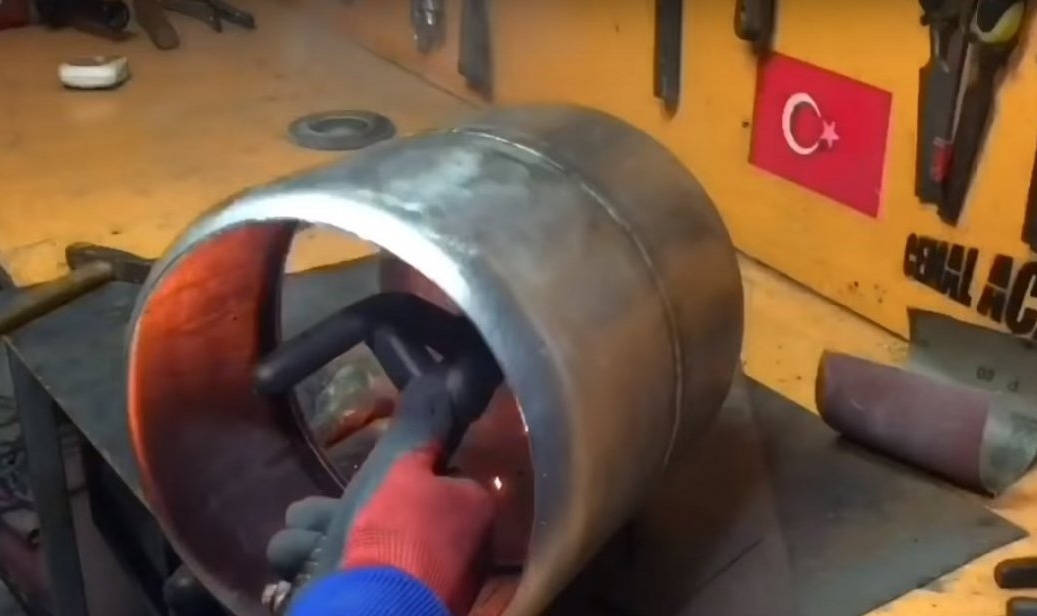
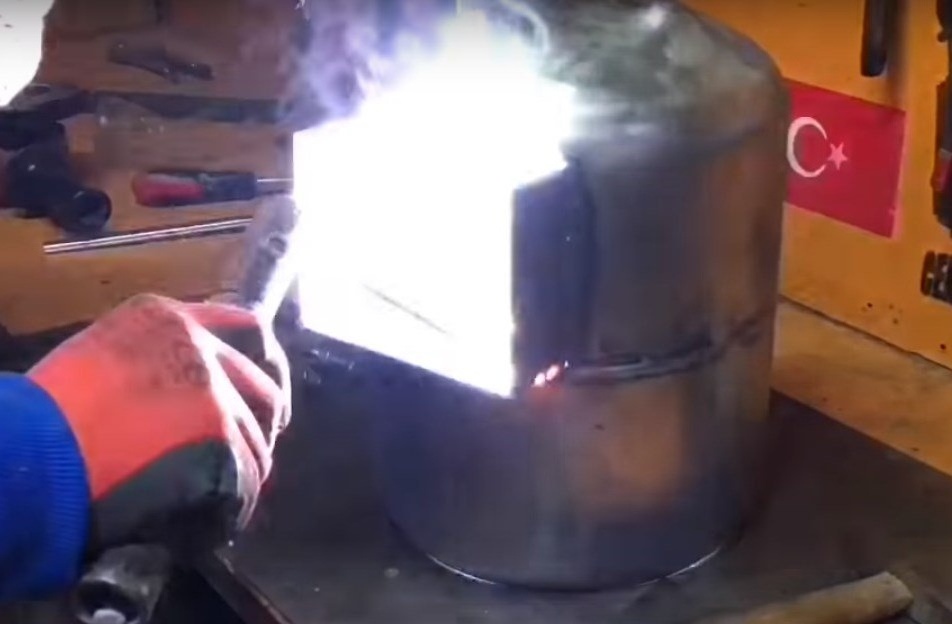
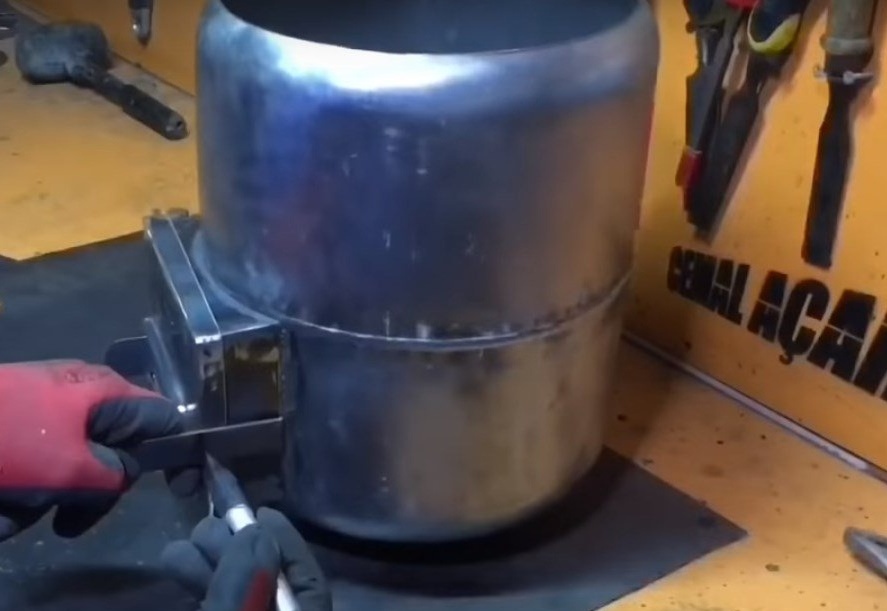
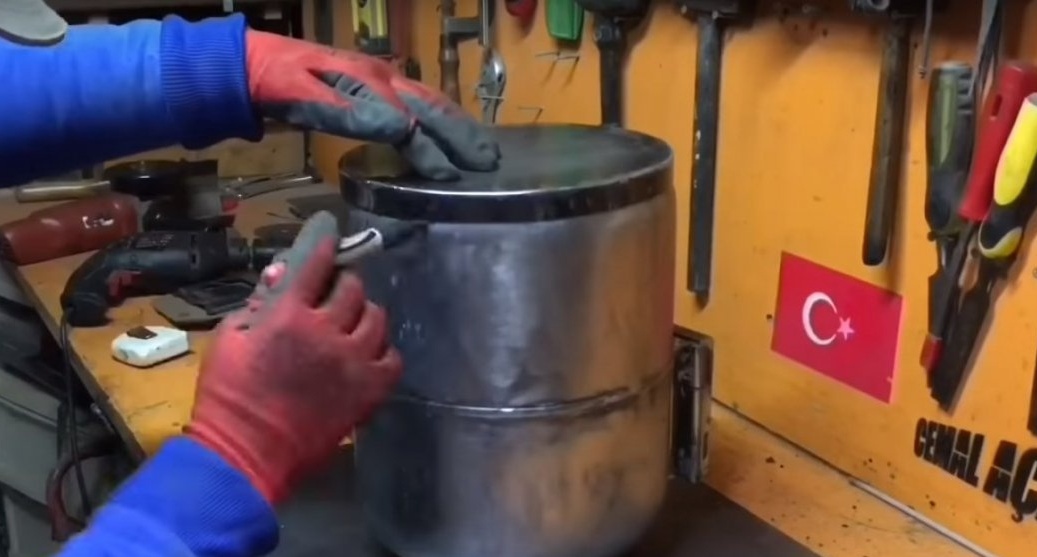
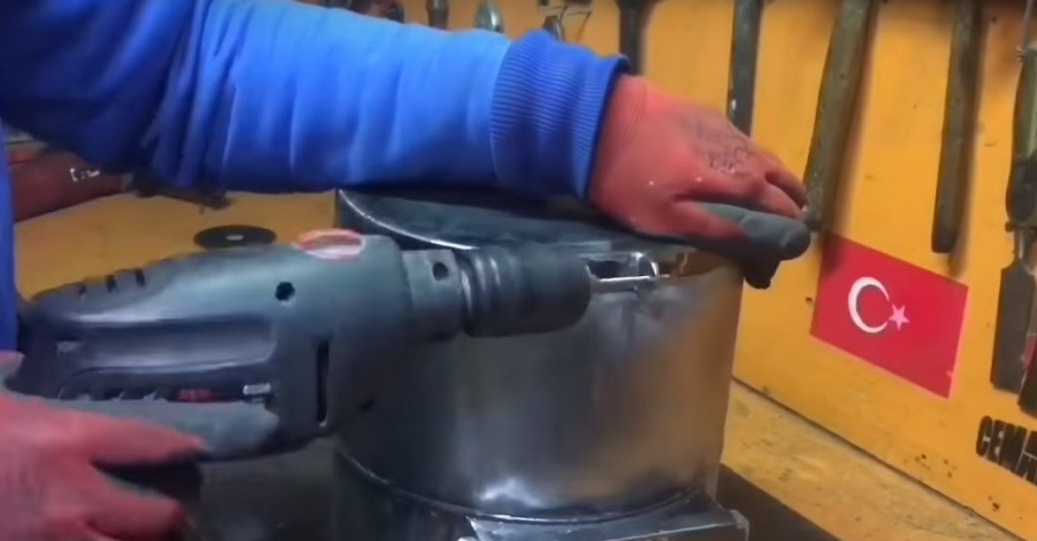
Then the steel strip is bent over the cylinder.

Welded it to a round billet.
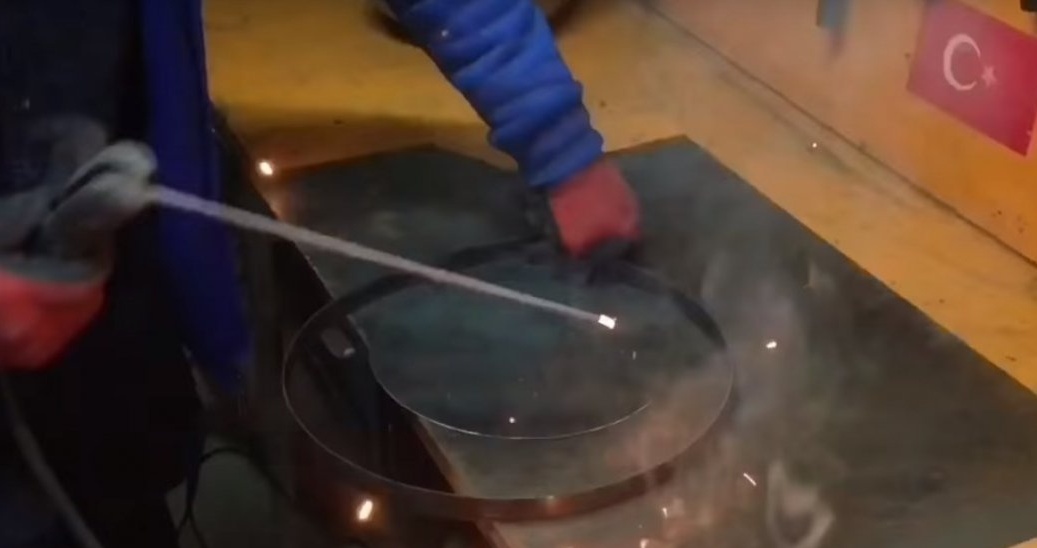
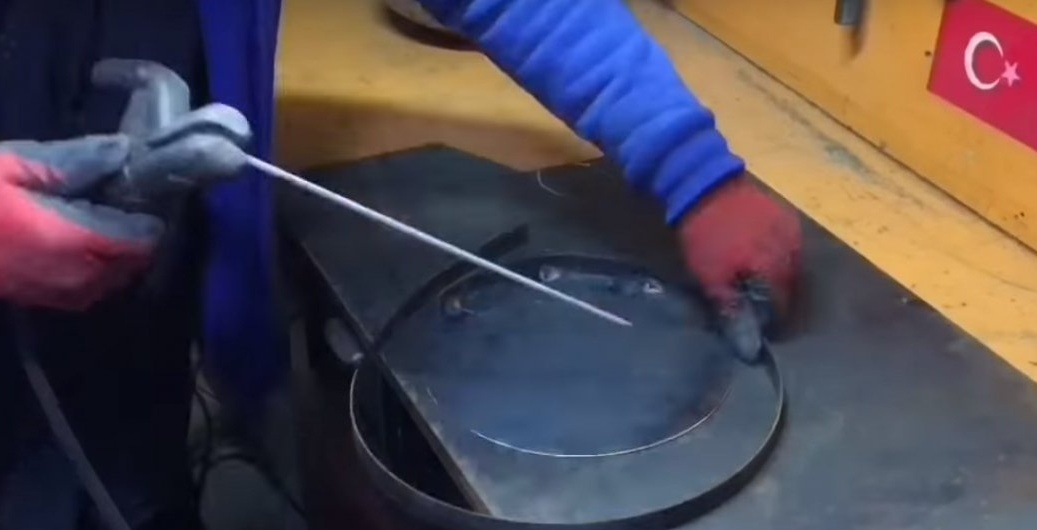
Like this.
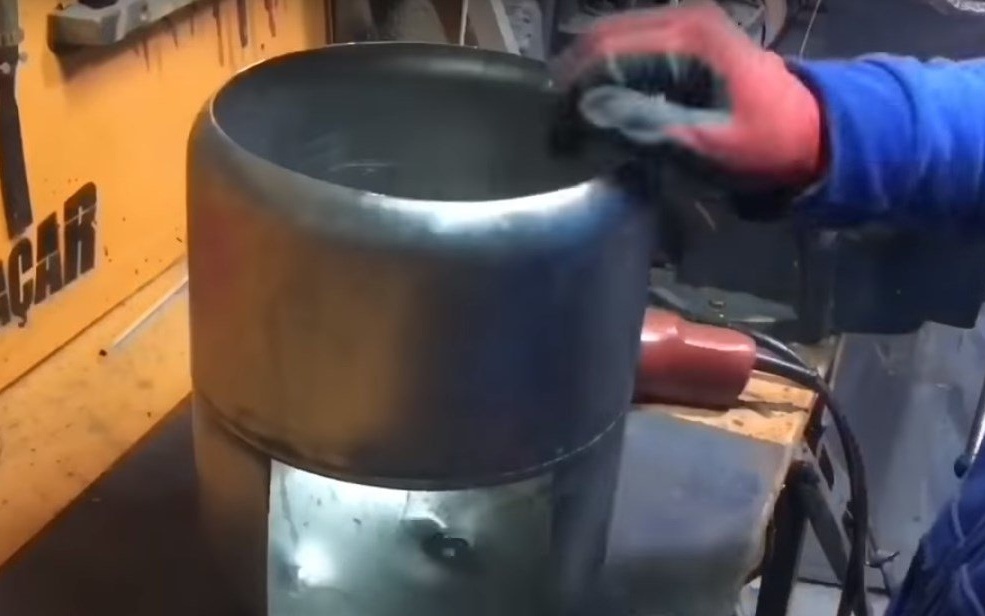
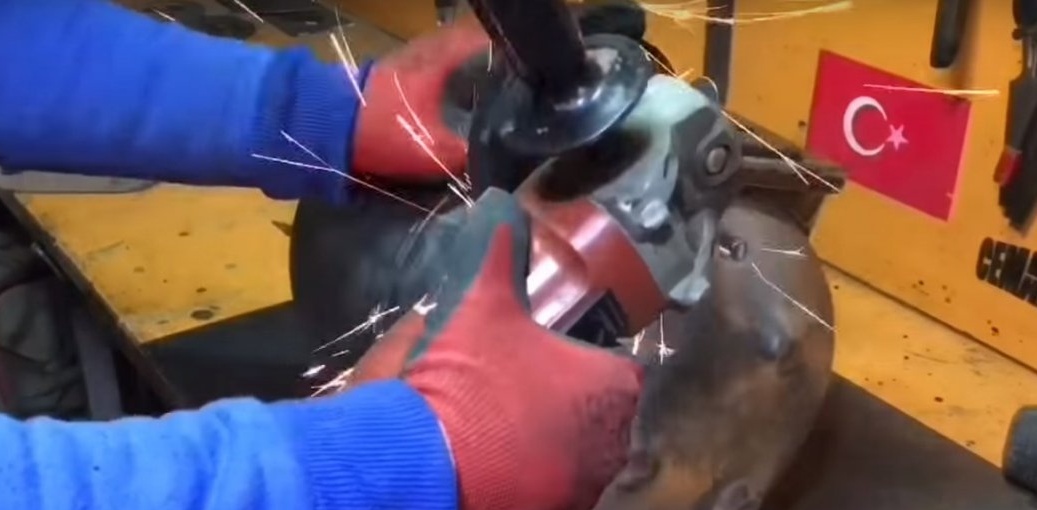
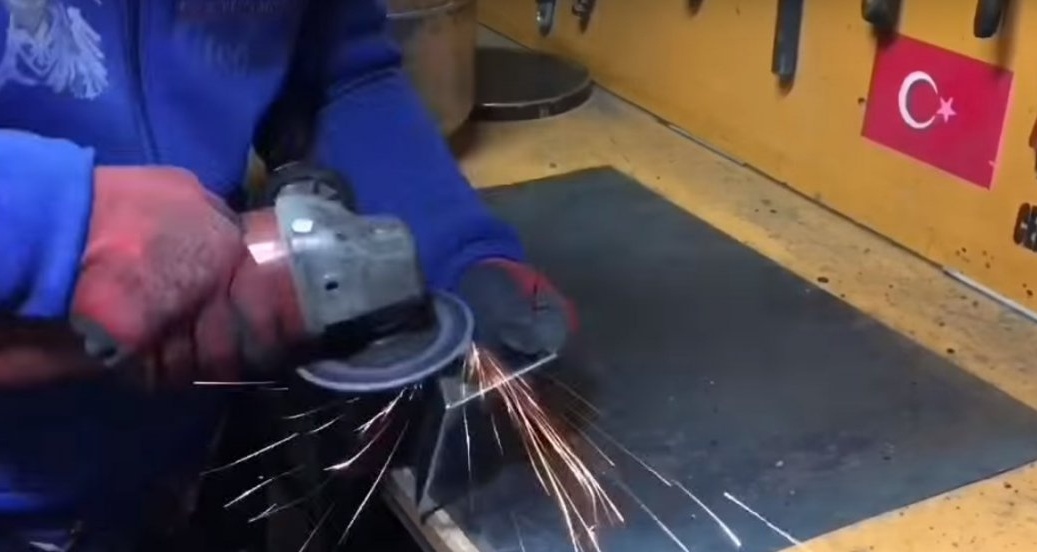
After processed all the seams.
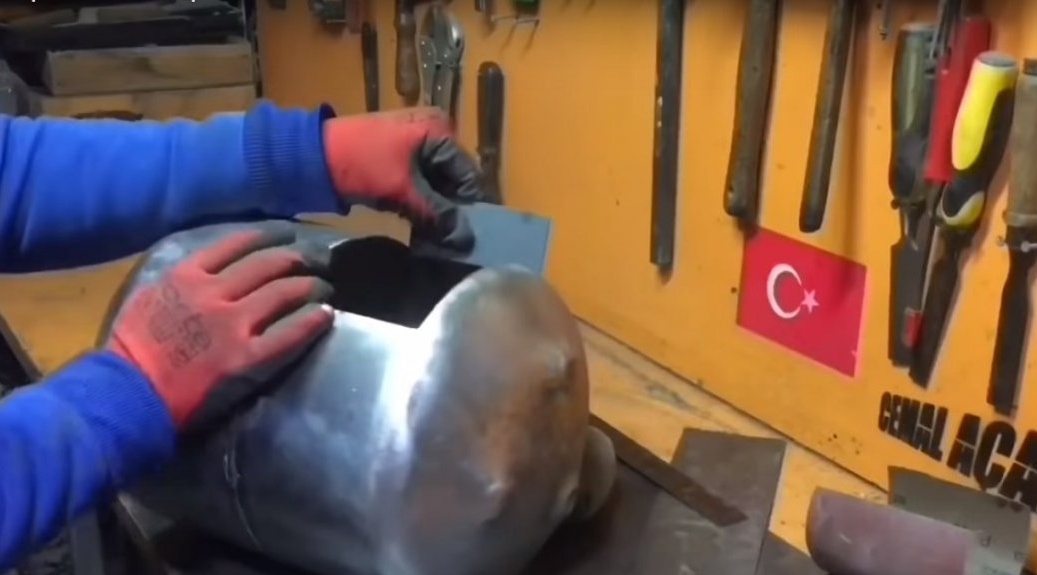
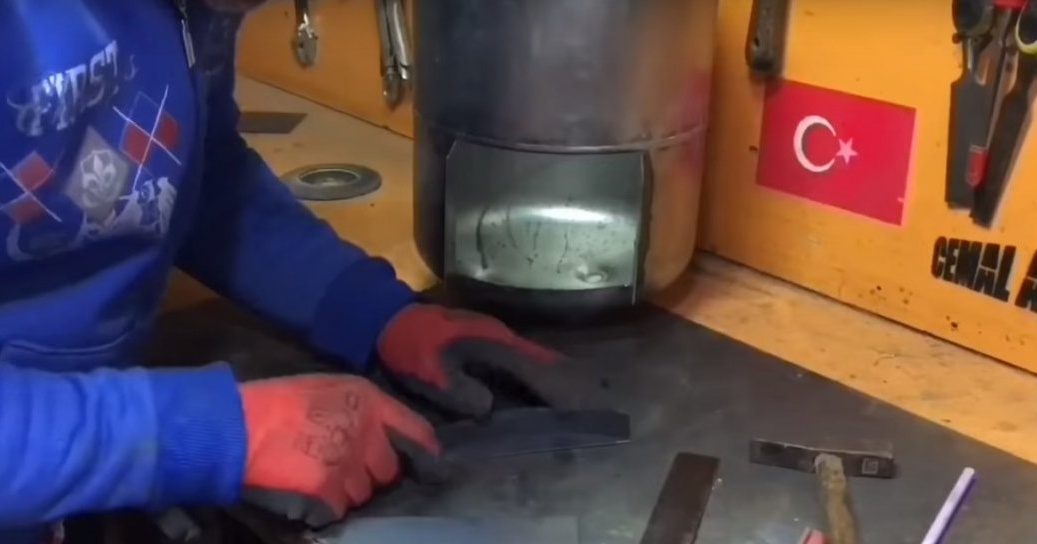
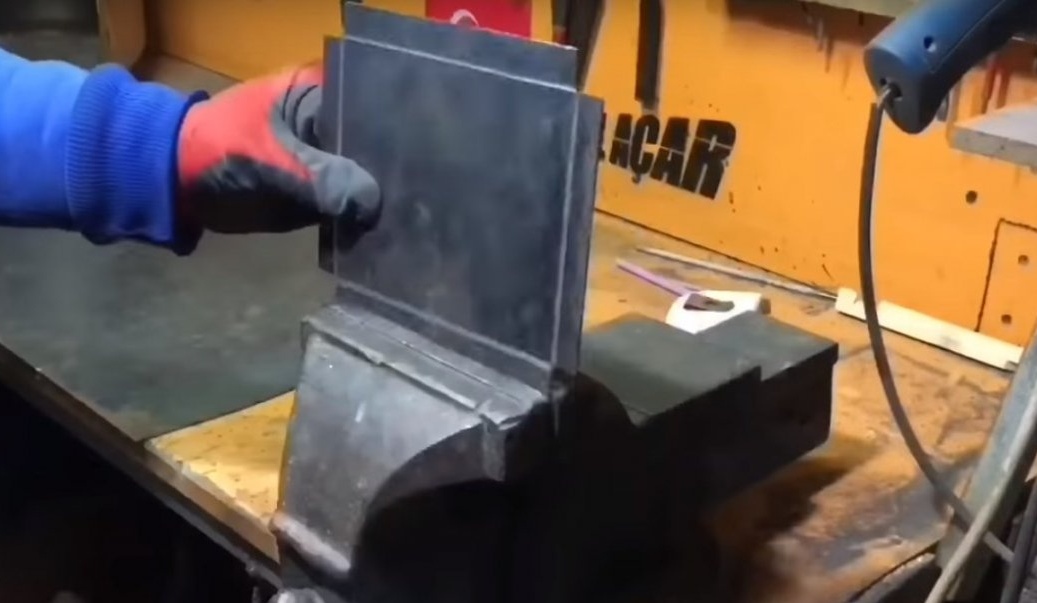
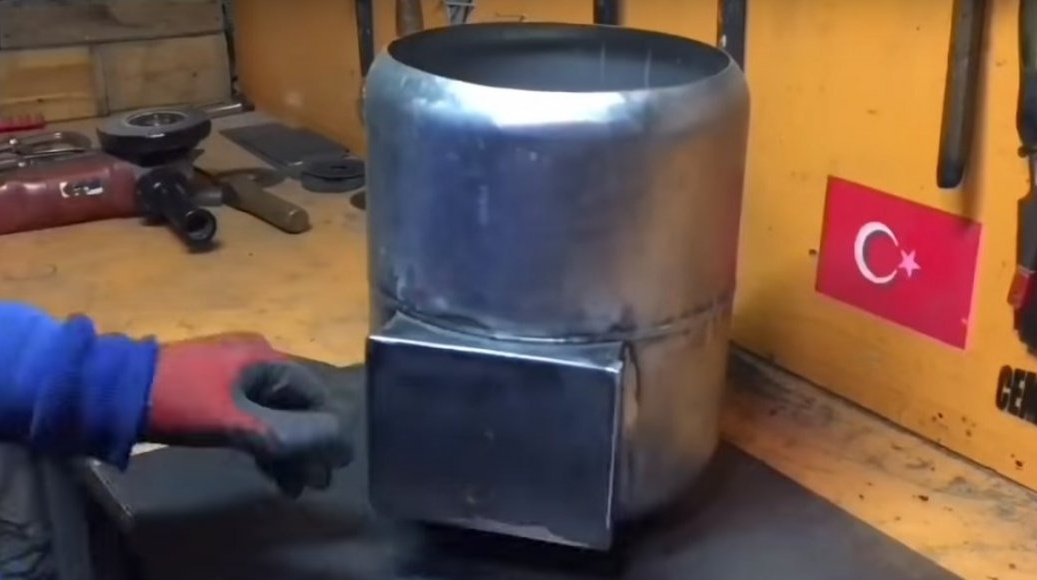
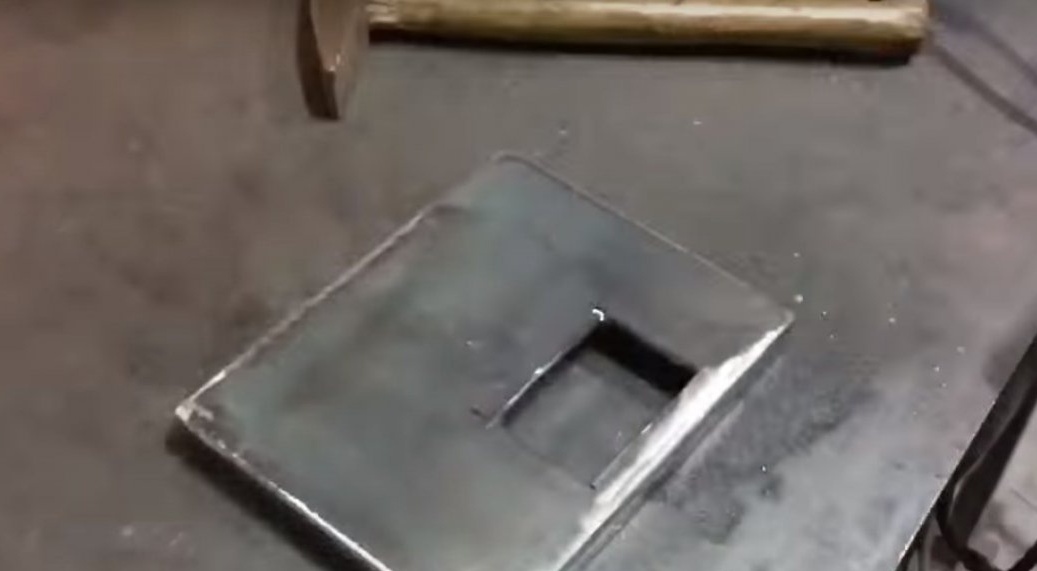
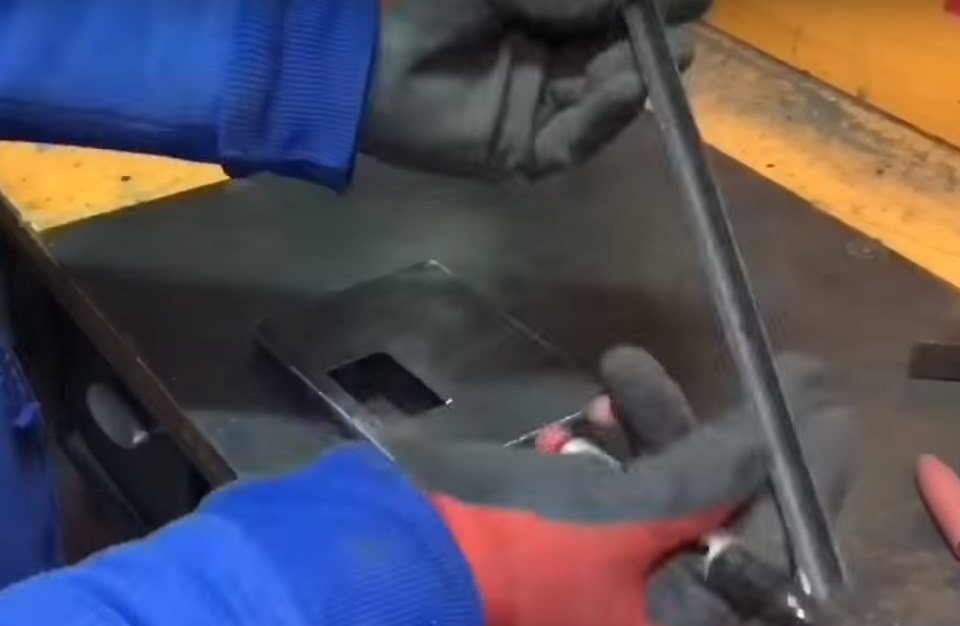
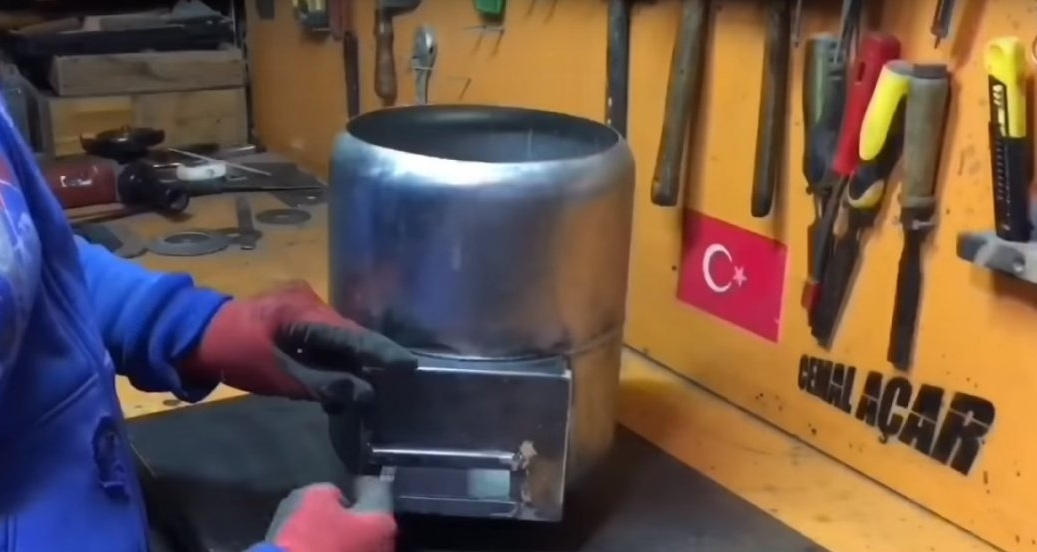
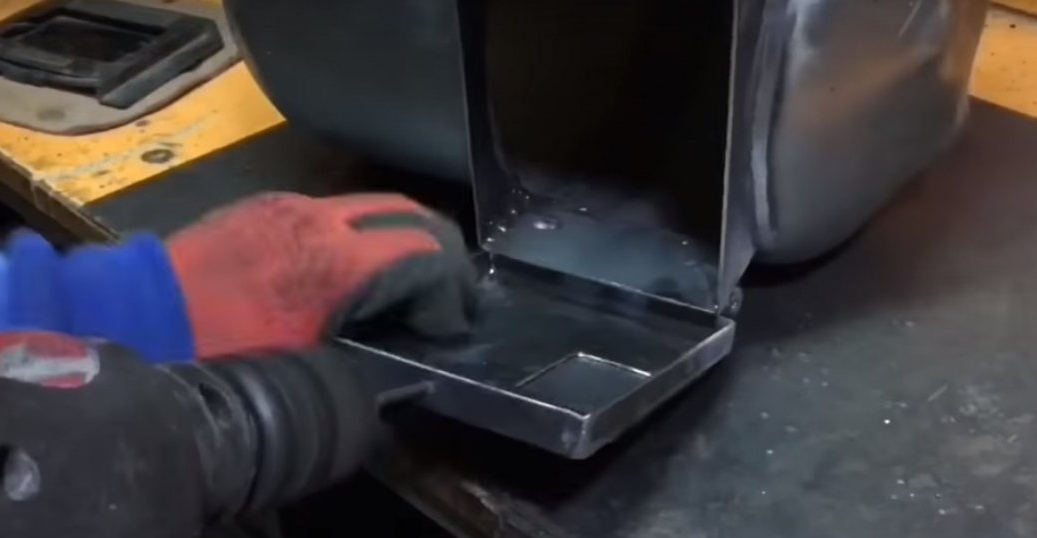
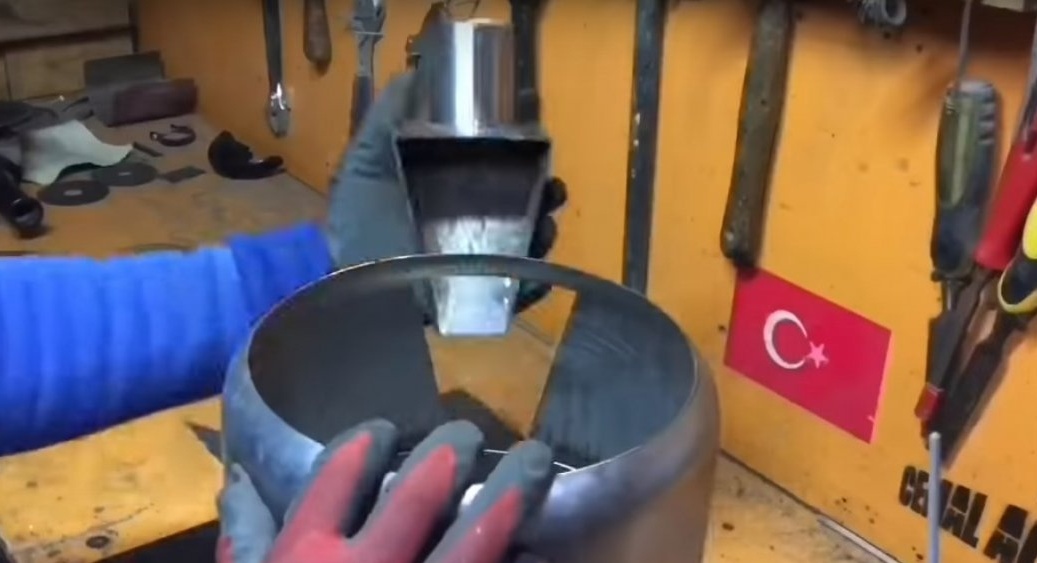
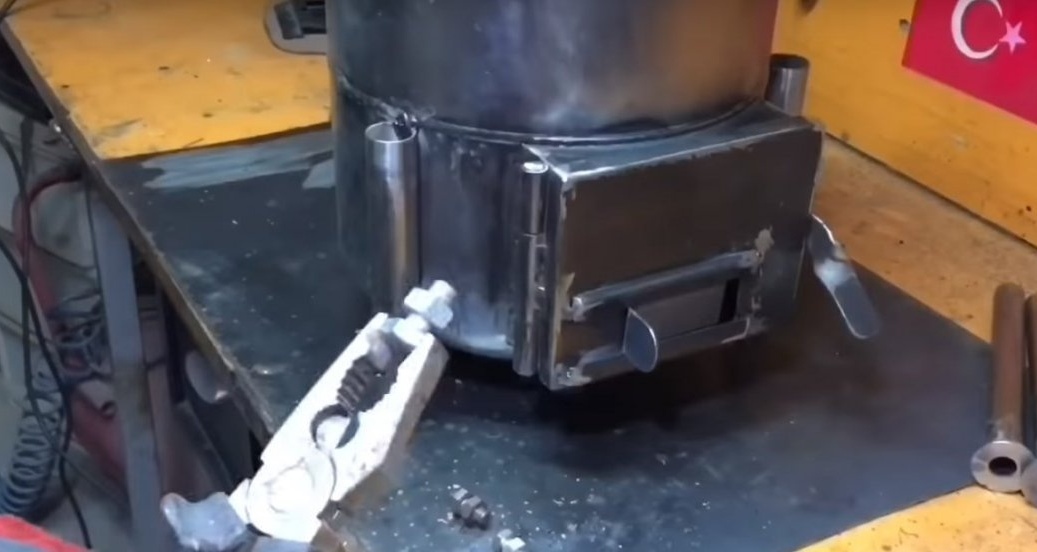
Then at the bottom, cut a rectangular hole under the firebox.
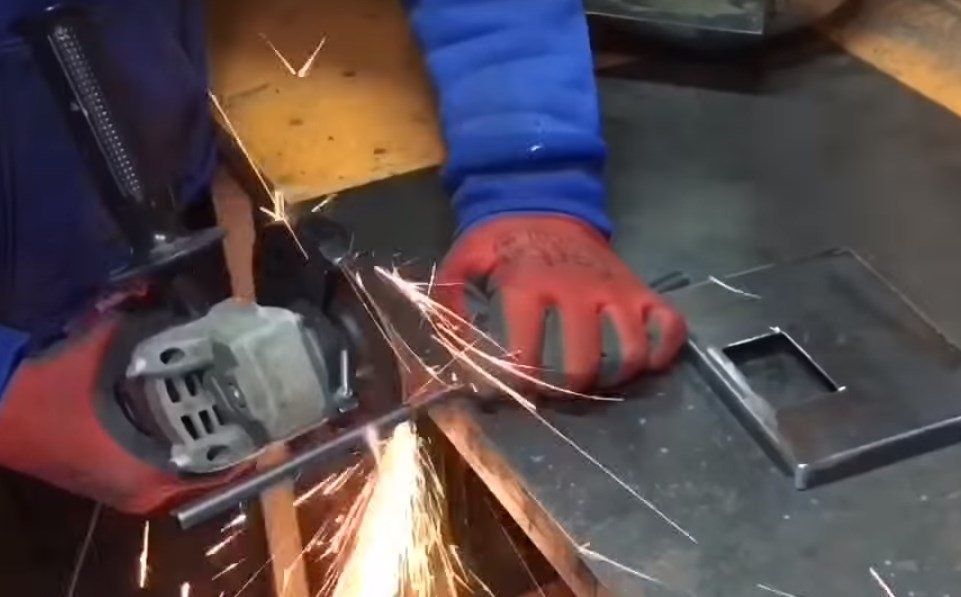
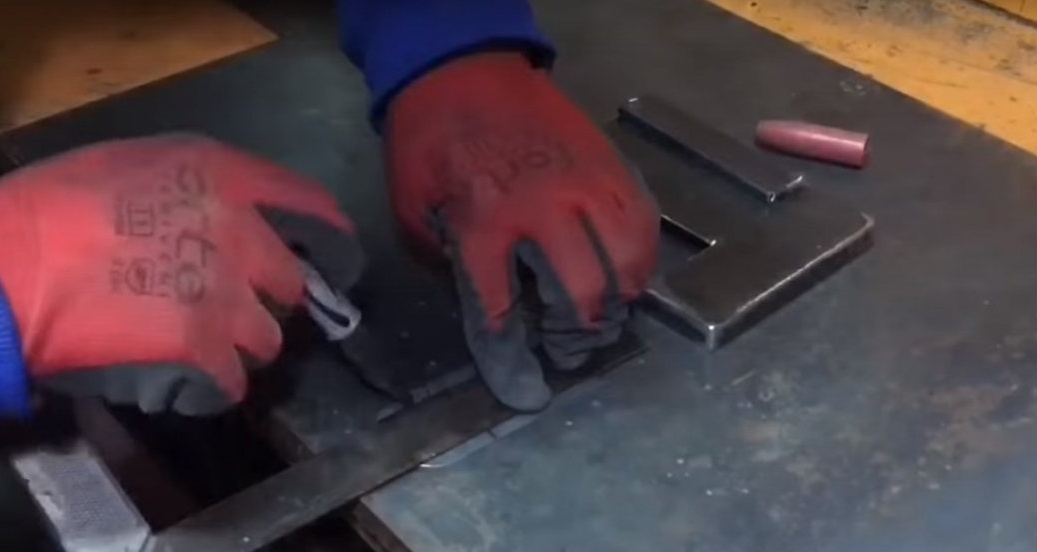
Then he cut four pieces from the strip.

And welded them to the tank.
It turns out the frame for the door.
After processed the seams.
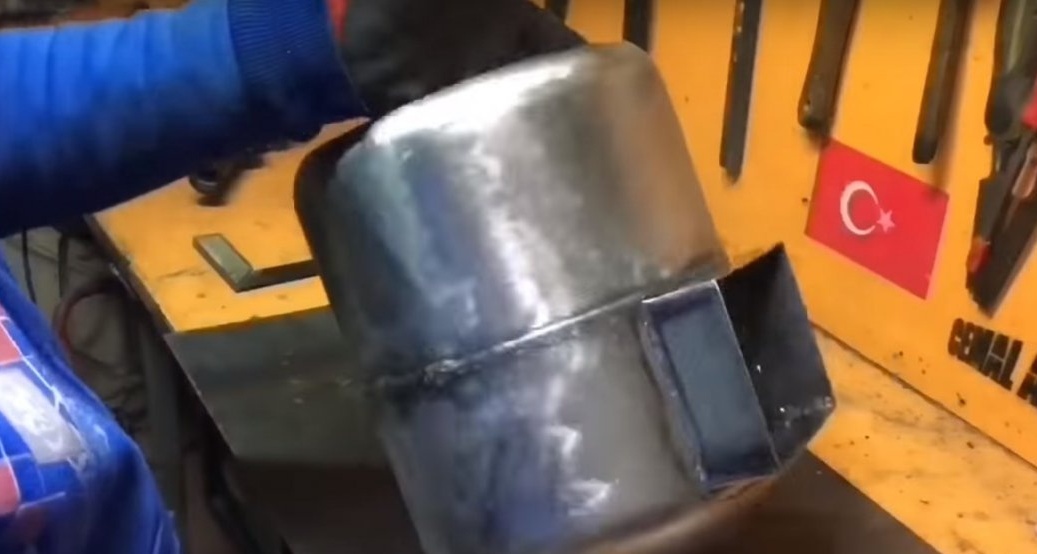
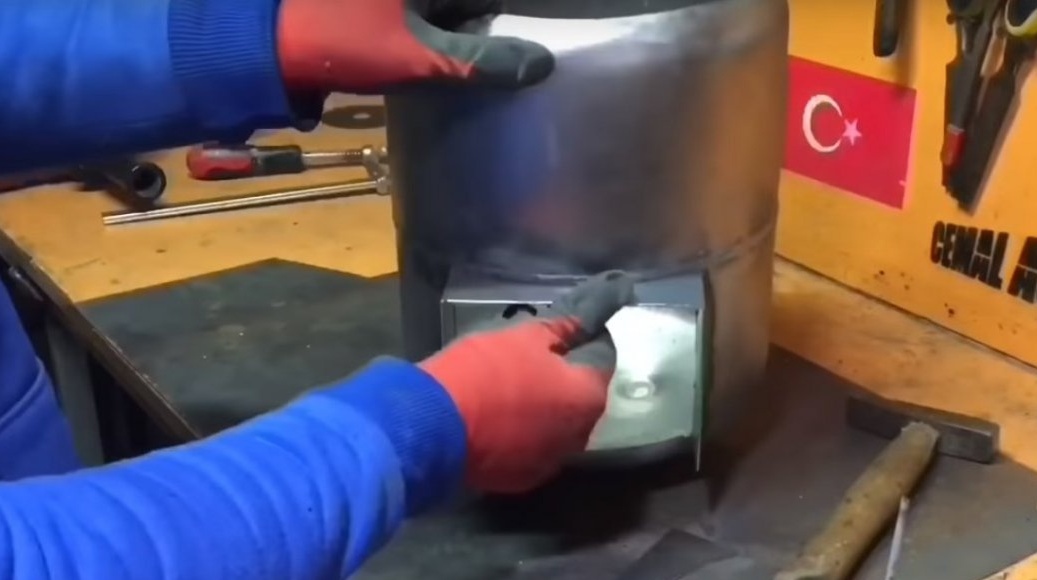
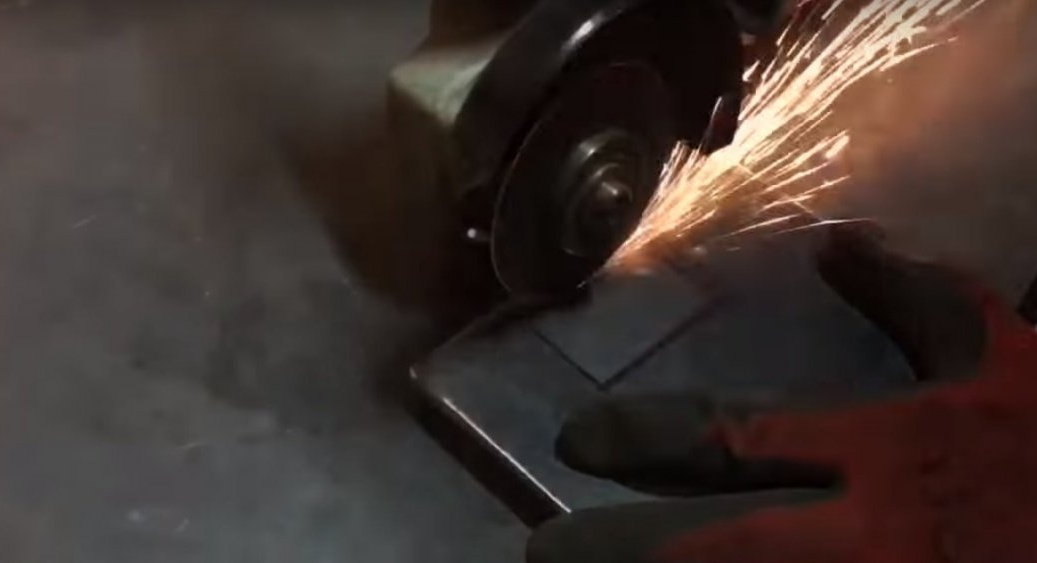
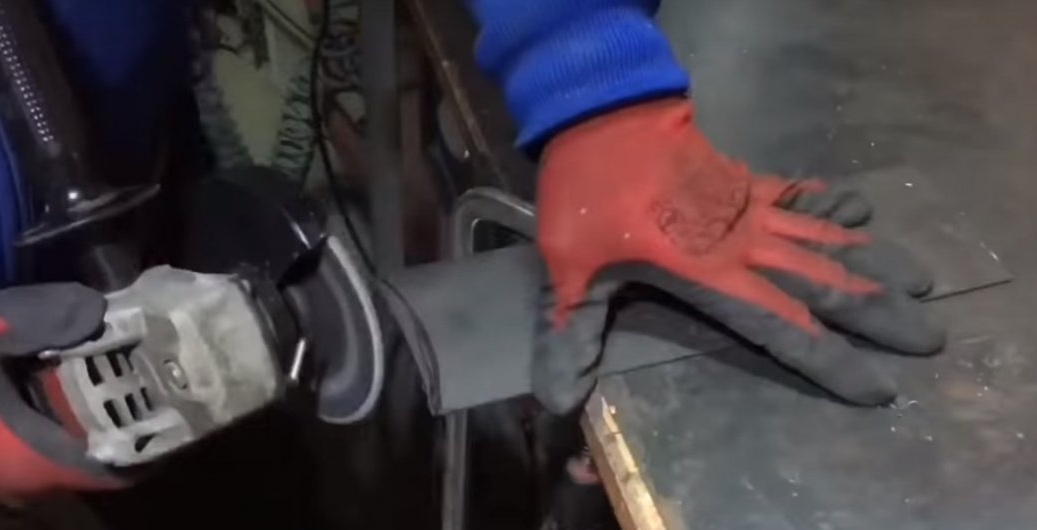
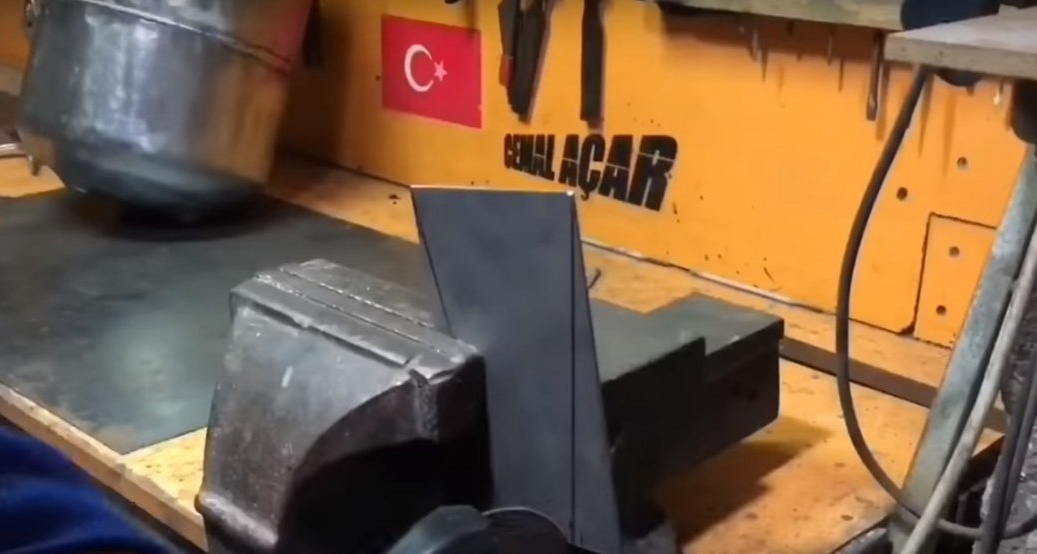
Further, a rectangular blank was cut from sheet metal.
And he made a door out of it.
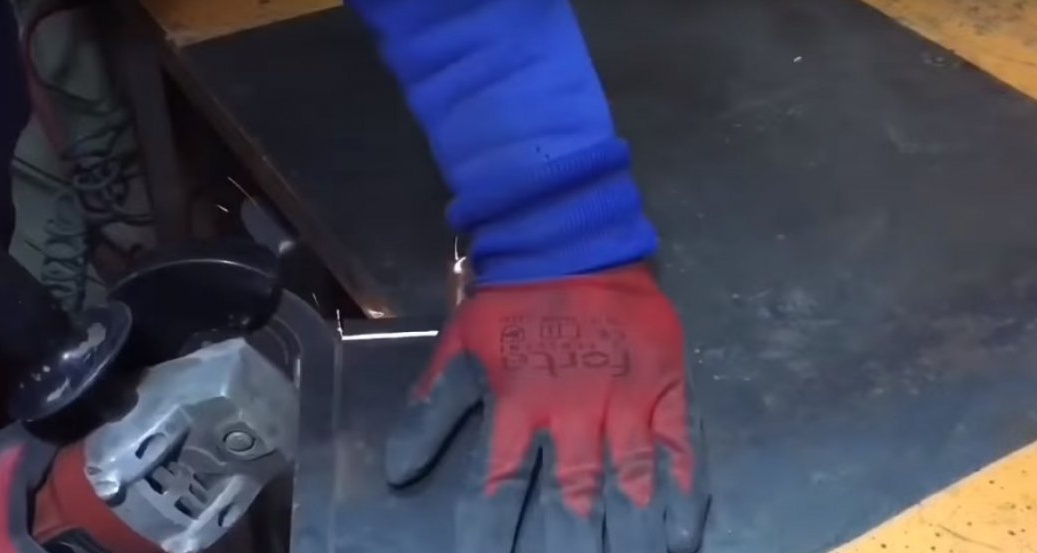
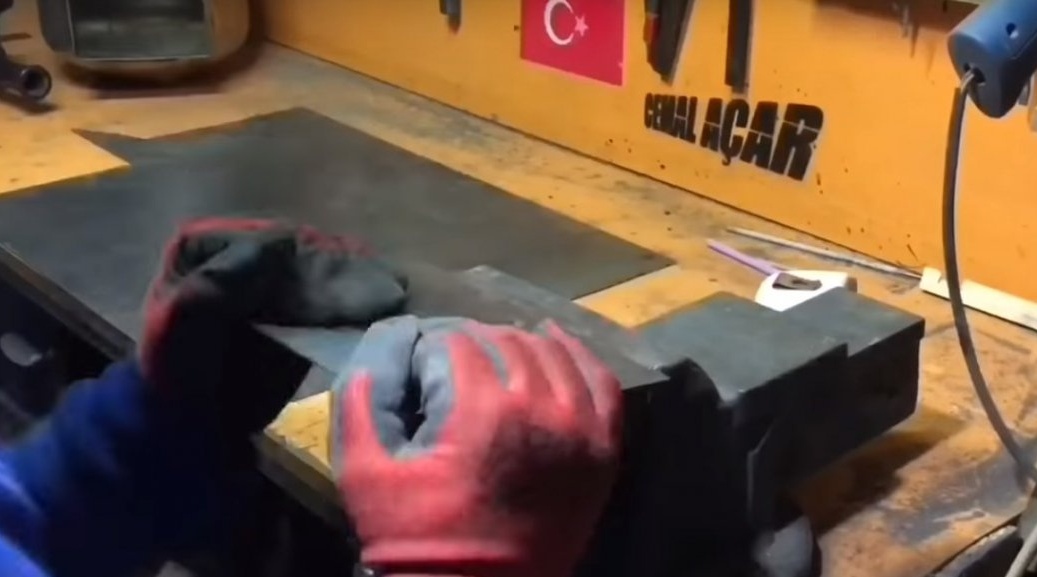
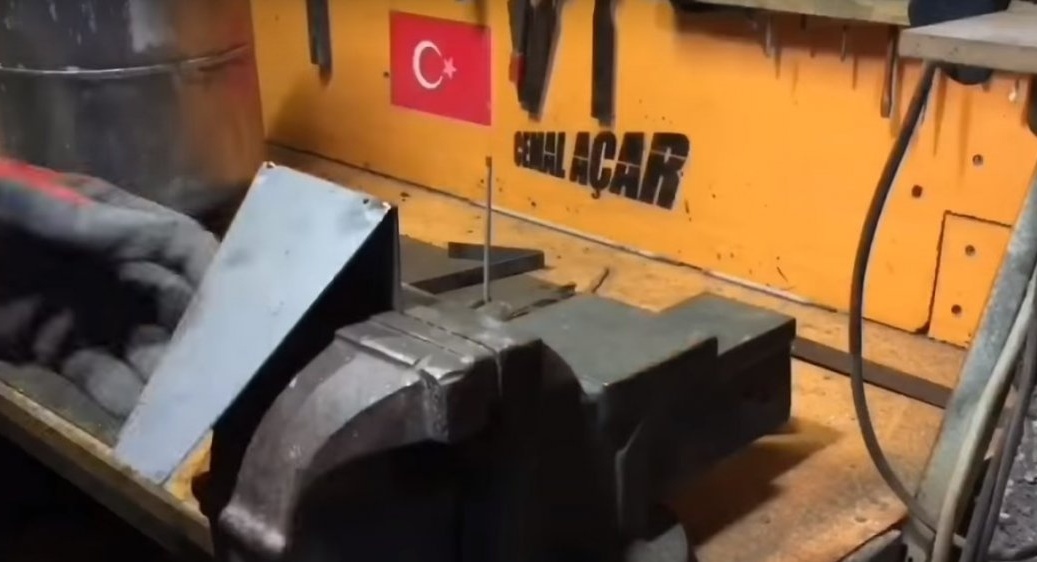
Fitting.
Then on this door I made a cutout for the bolt.
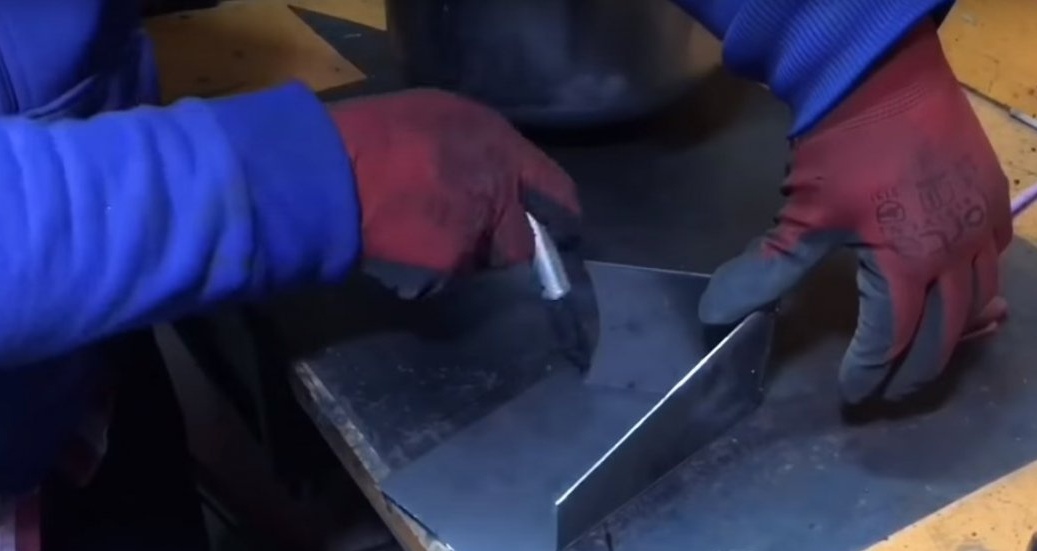
Then he made a couple of such parts from the corner.
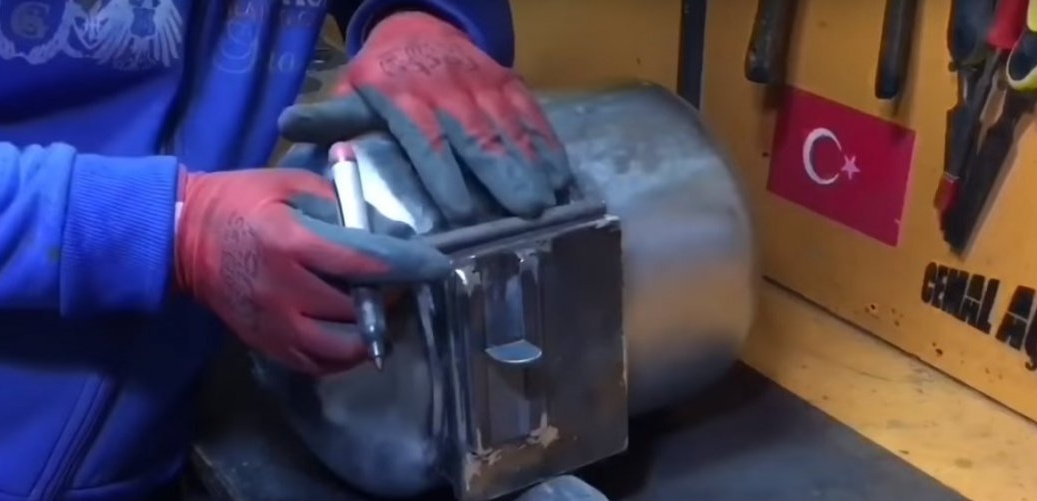
Then, from sheet metal, the author made the valve itself.


The finished valve.
Next, welded one part from the corner to the door.
After installing the valve and welded the second part from the corner.
The valve works.
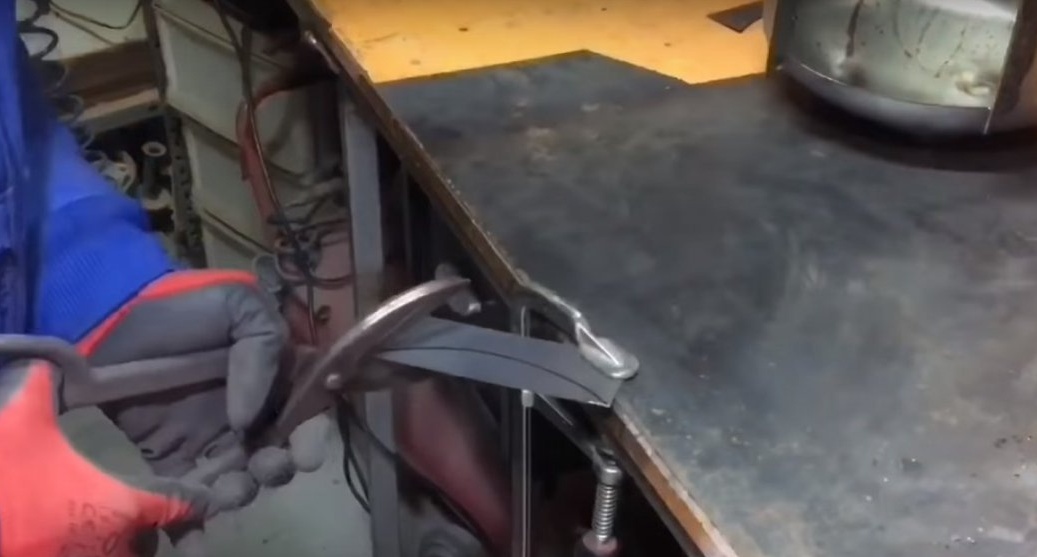
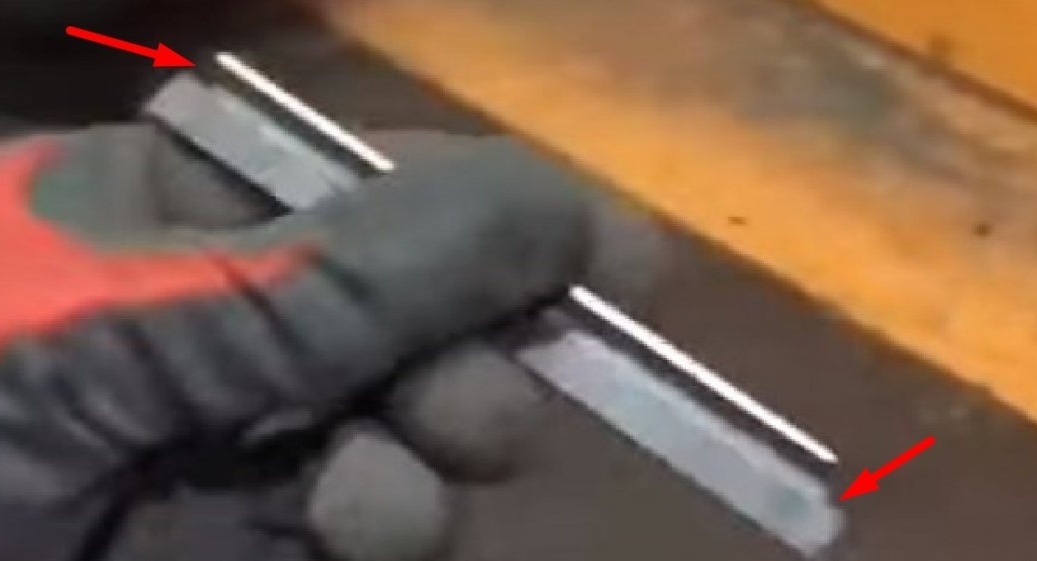
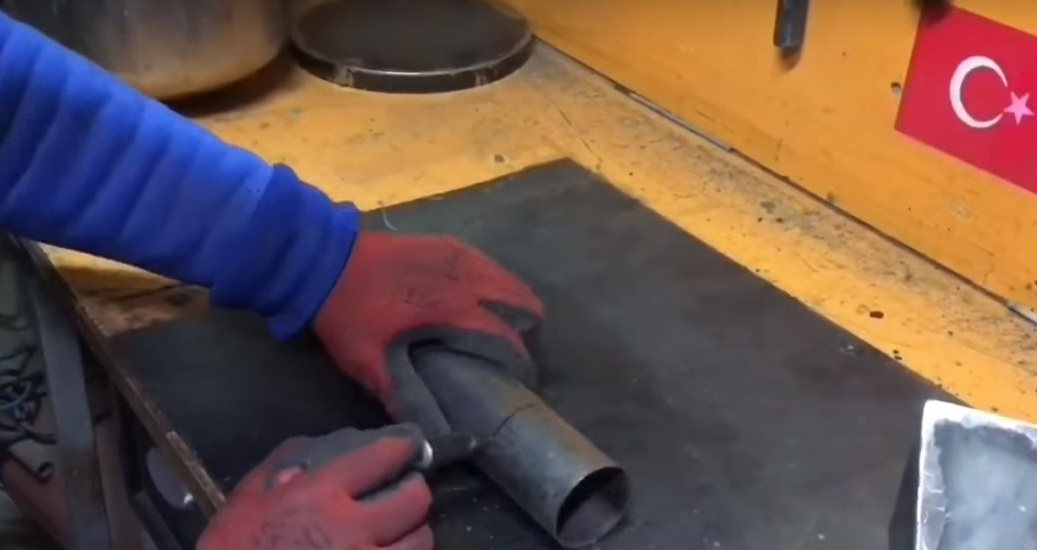
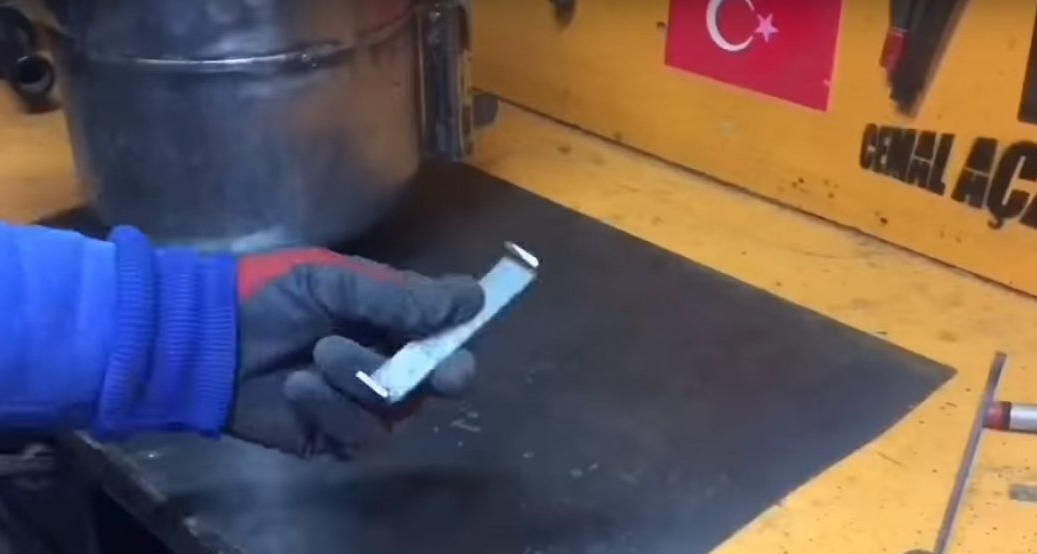
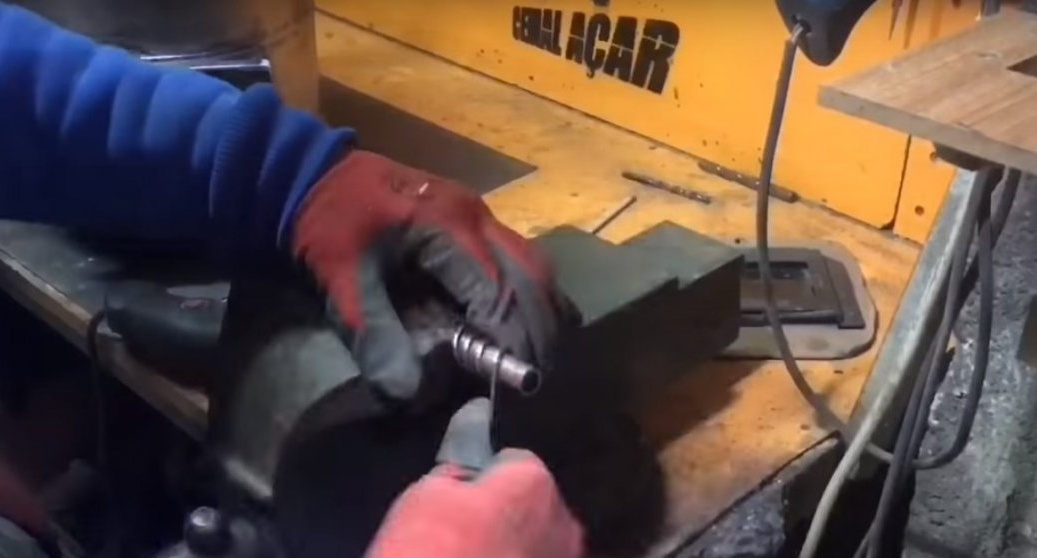
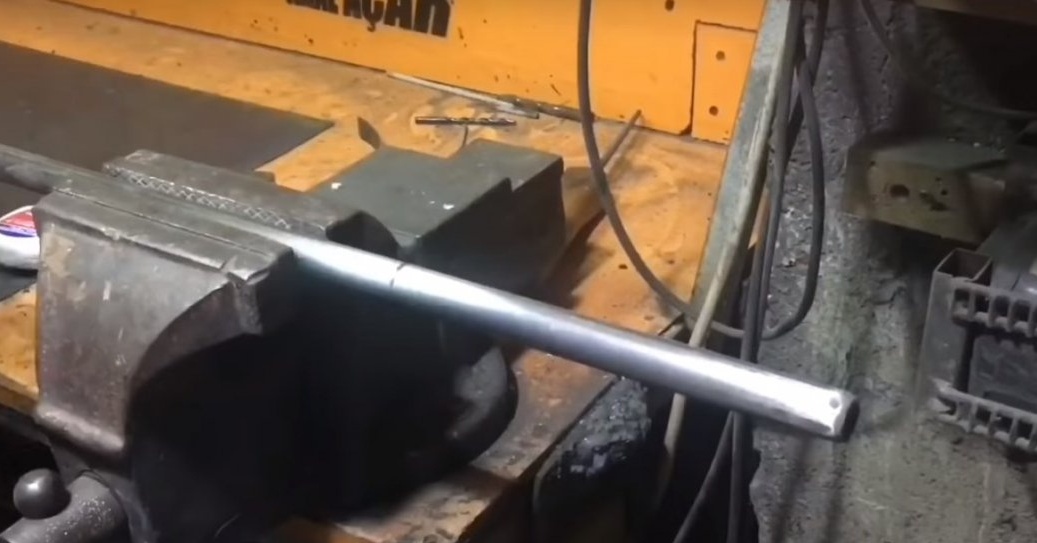
After that, from a steel bar and a metal tube, the master made a hinge for the door.
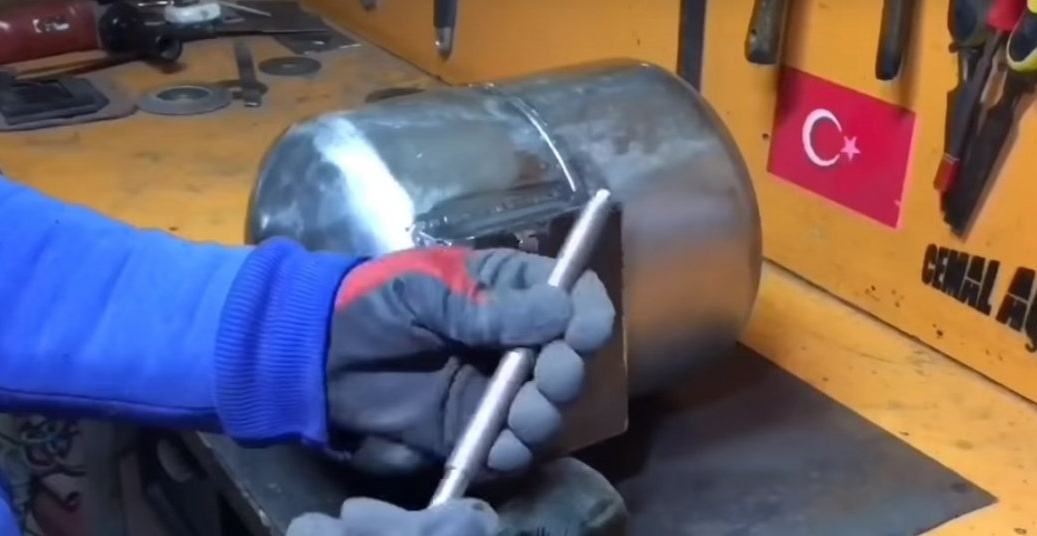
Noting the desired size.
Cut off three pieces from the tube.
After putting the tube on the rod.
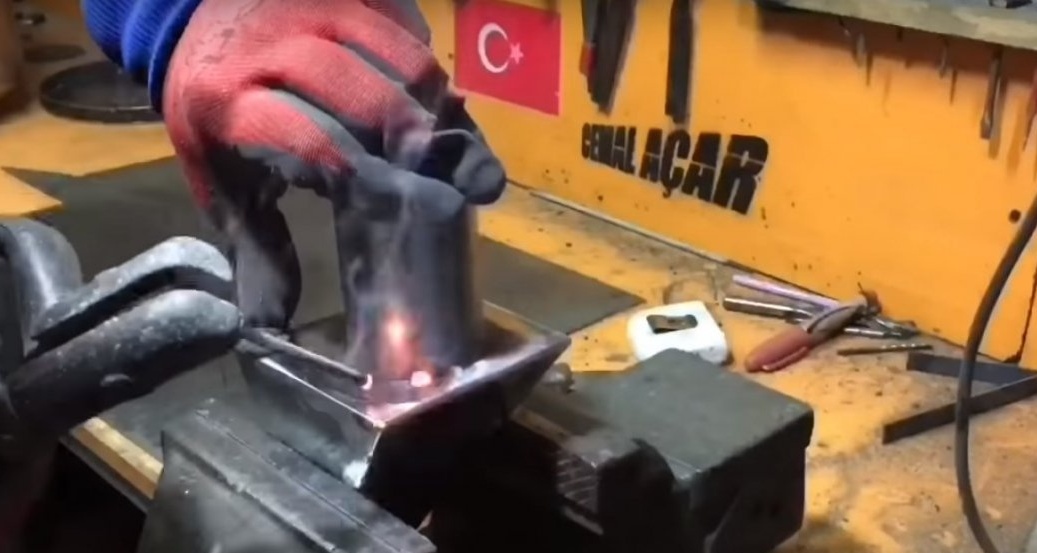
And I welded tubes: one to the door, and two extreme to the frame.

Verification
After shortened the rod to the desired size.
And welded it to the bottom of the loop.
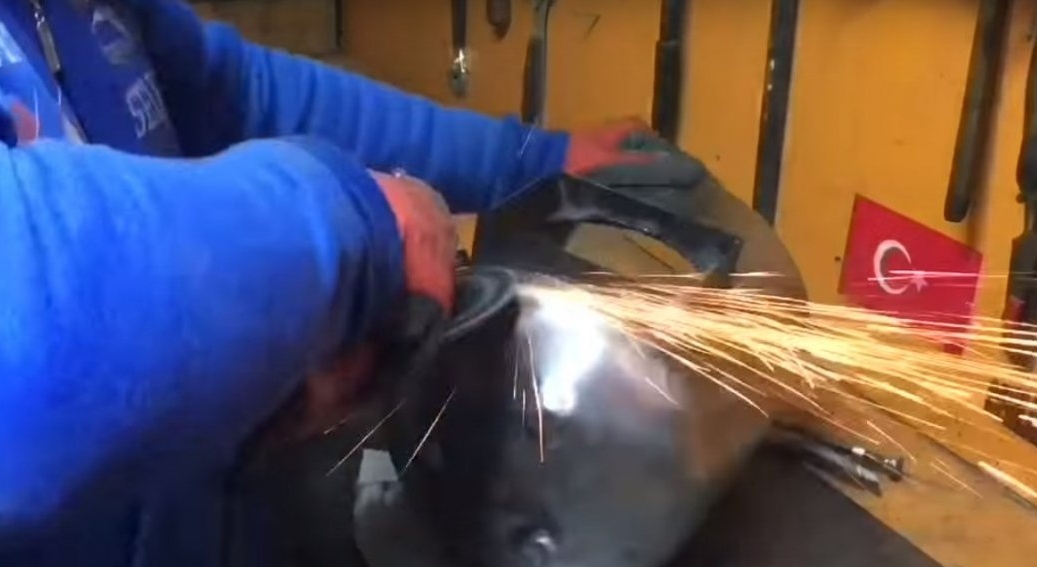
He cleaned the seams again.

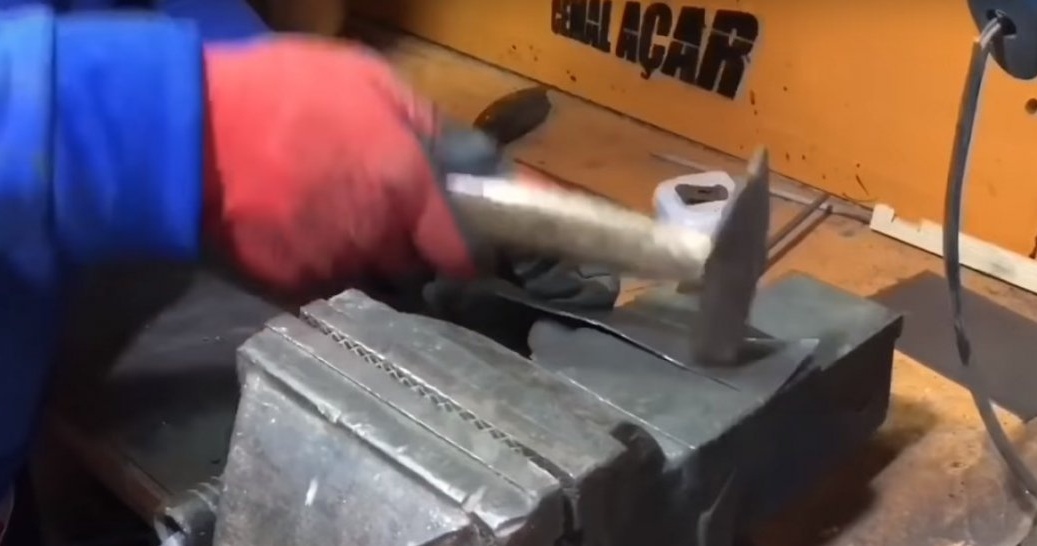
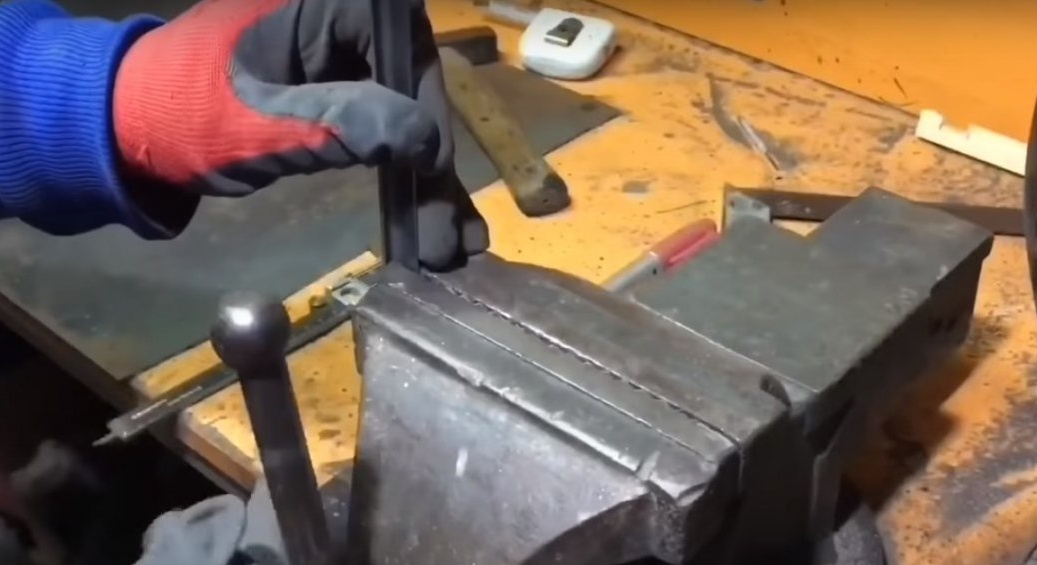
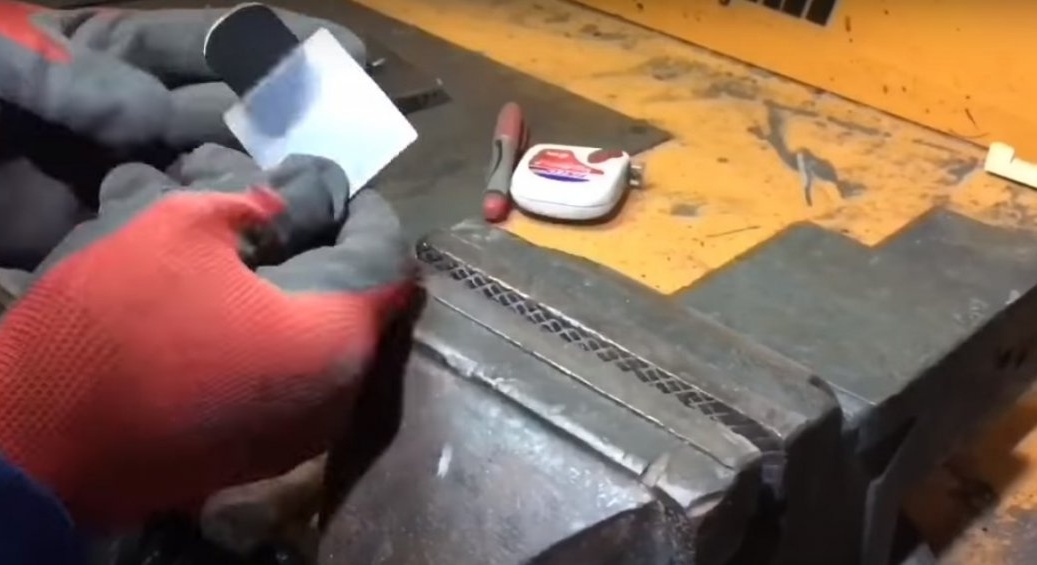
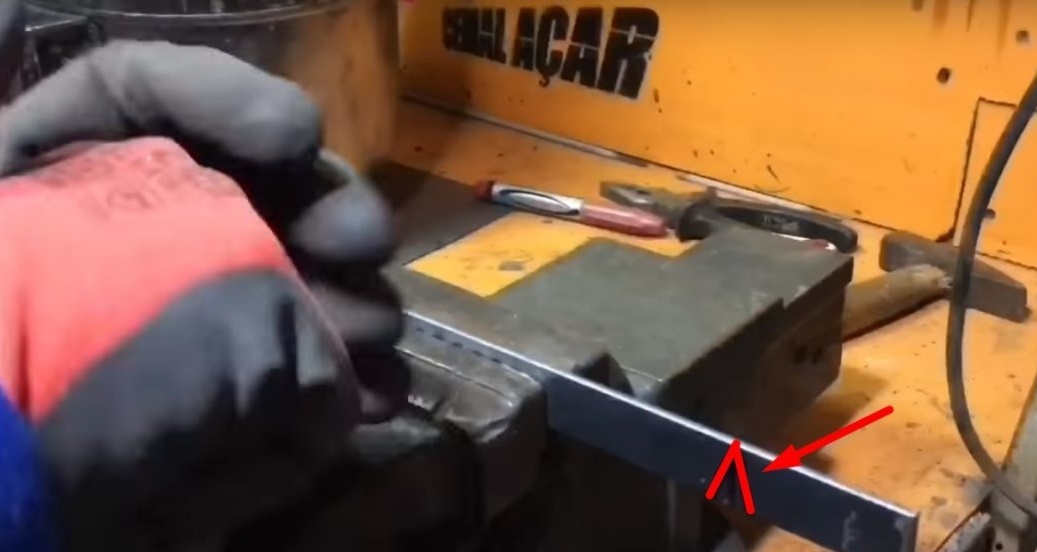
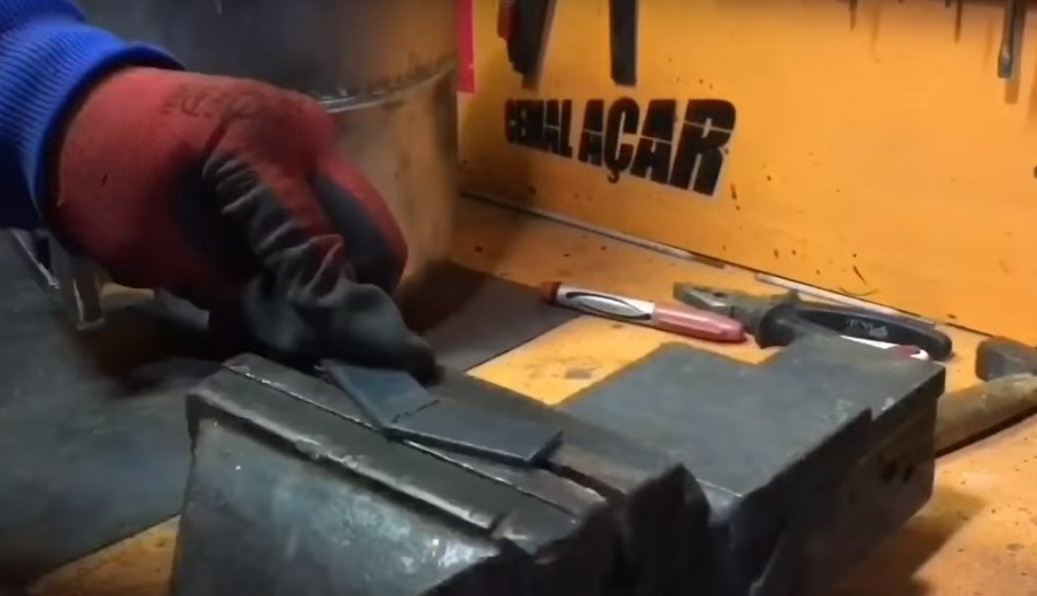
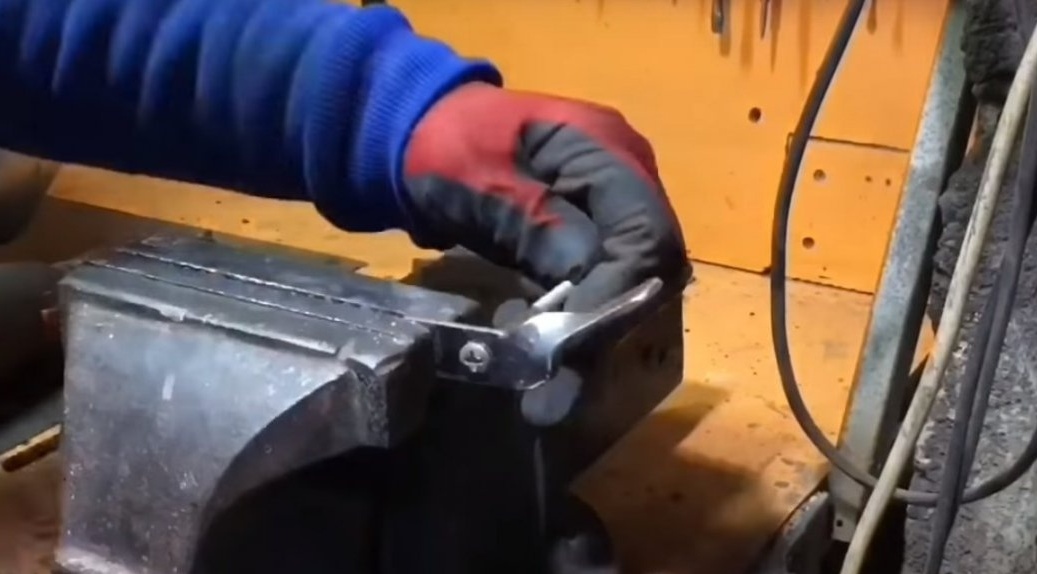
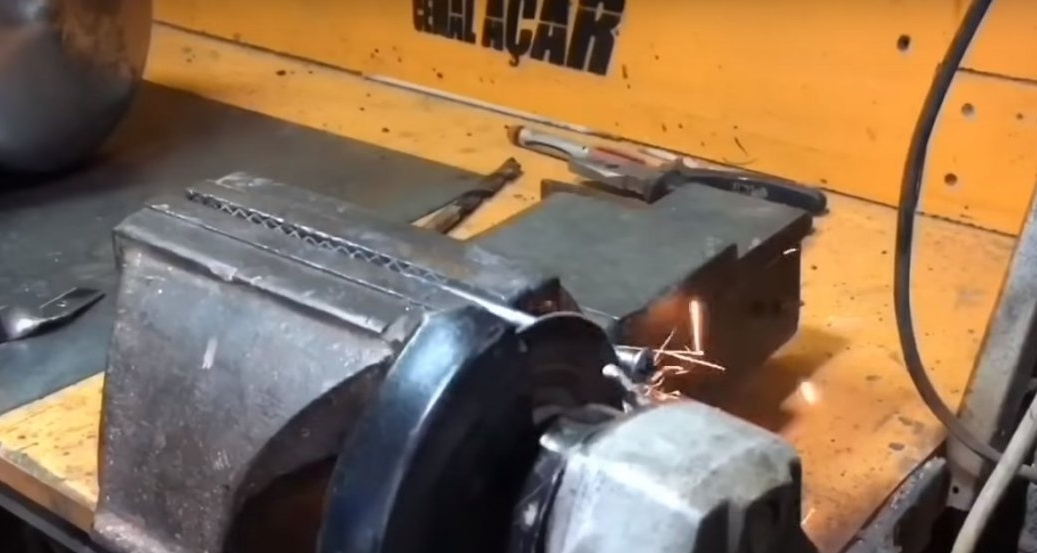
Now, from the strip, the author will make a latch that will hold the door in the closed position.
Cut the strip at an angle.
After boil it, at the same angle.
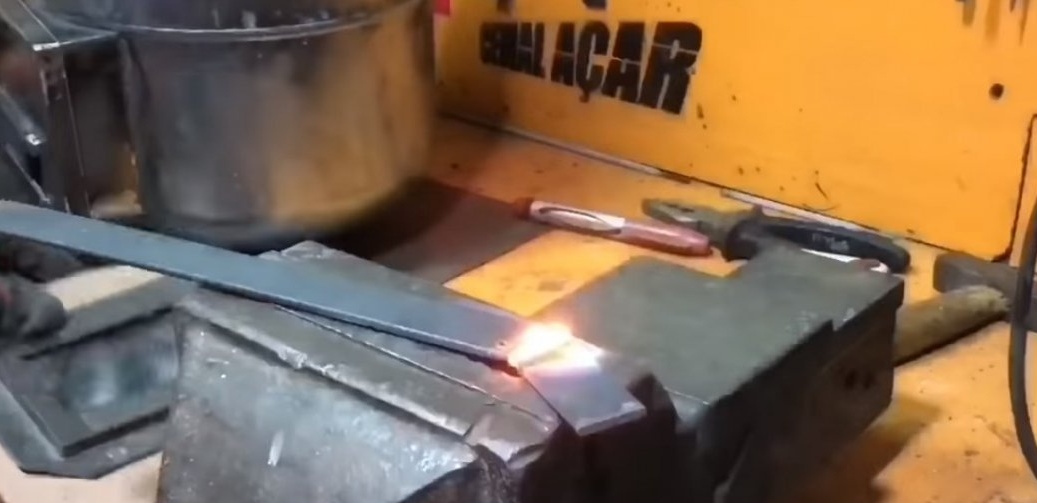
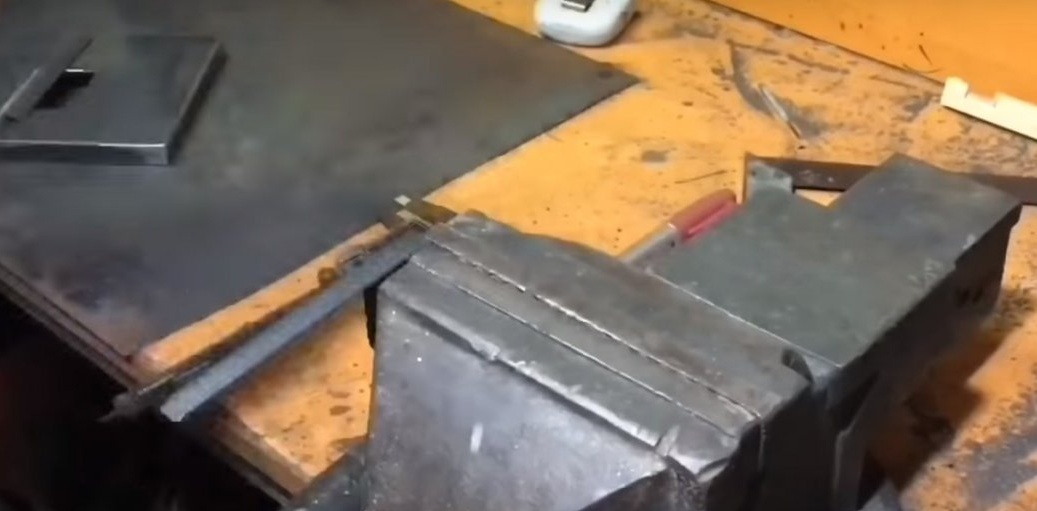
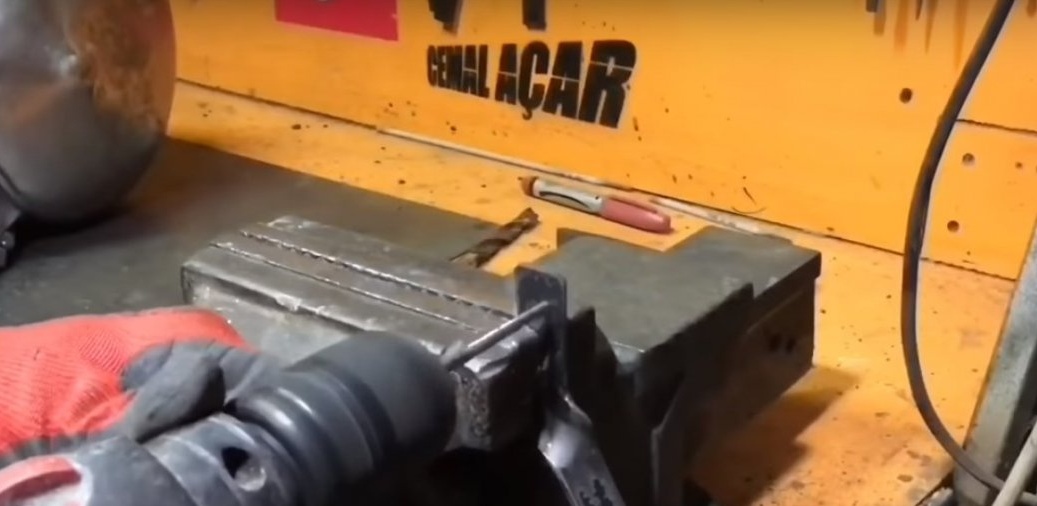
Will clean the seams.

Further bend it.

And cut off the excess.
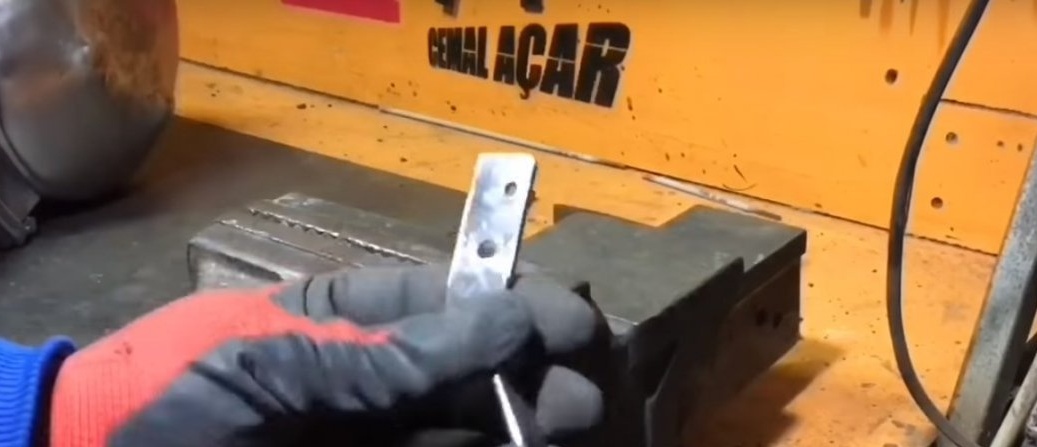
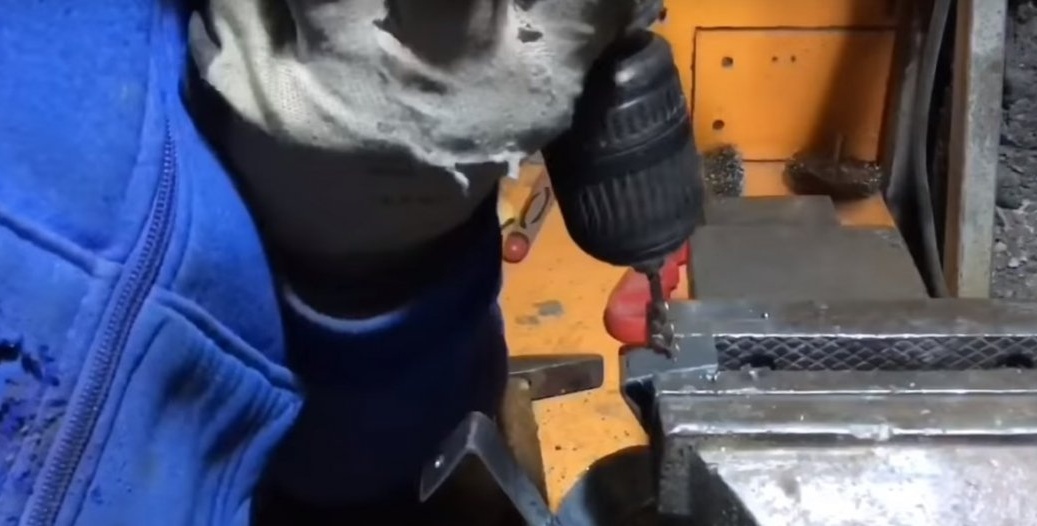
Then make a hole.

Under the bolt.
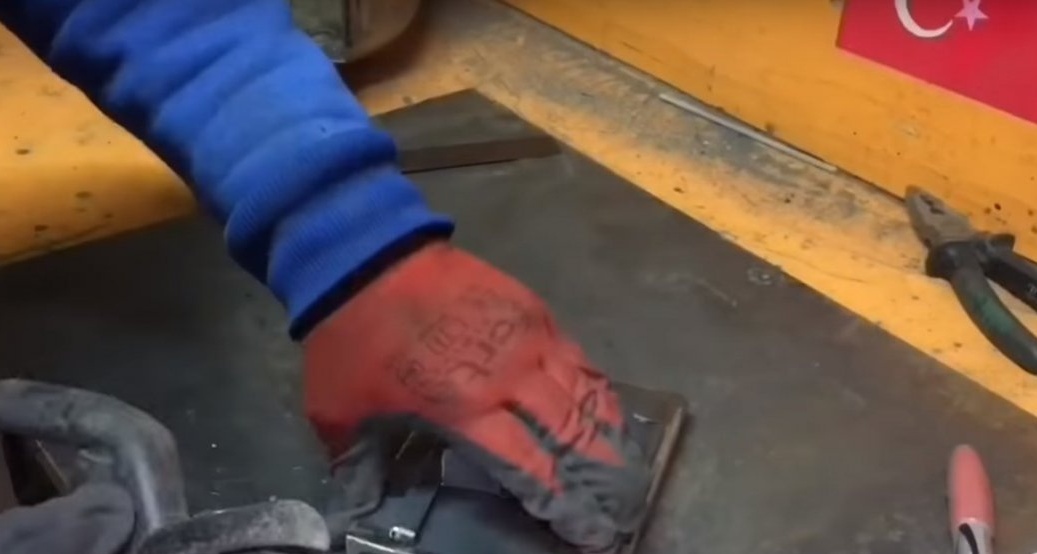
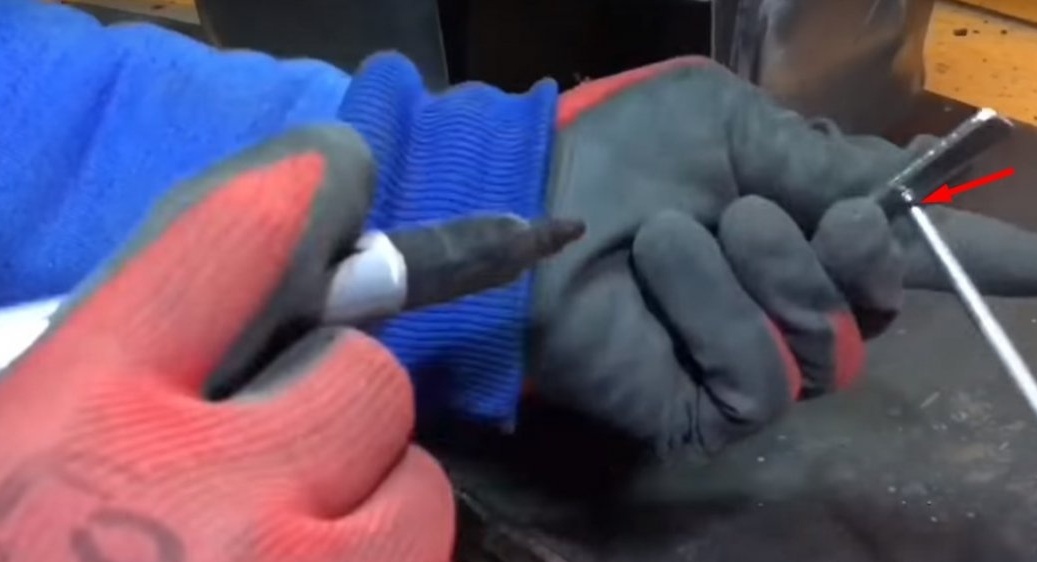
Then he made a hole in the side of the door.
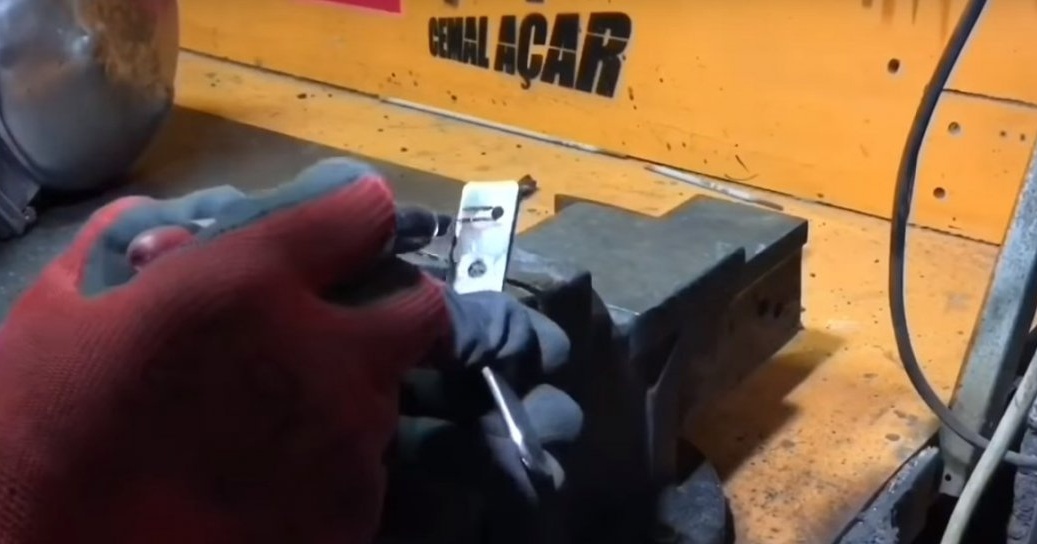
I installed the bolt in the retainer and cut back about 5 mm.
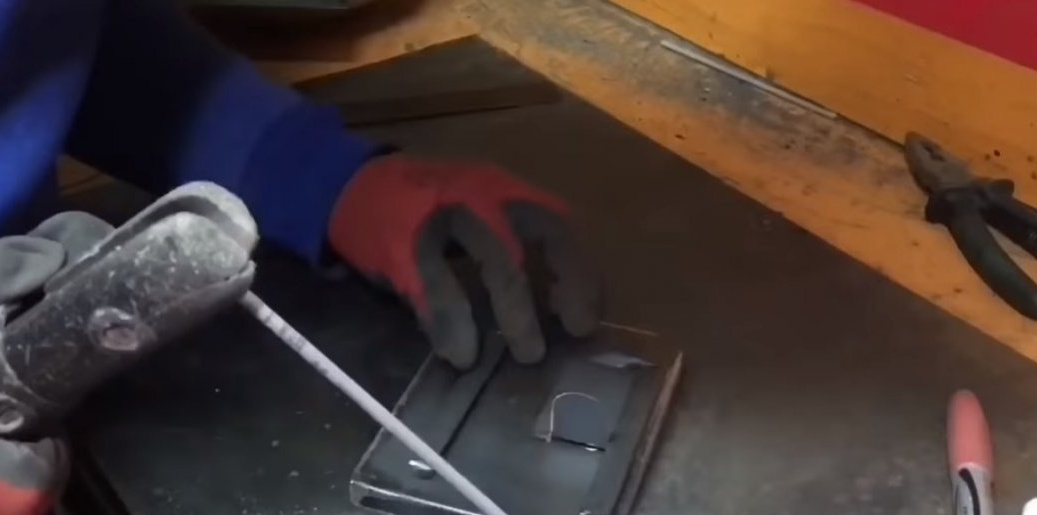
Then he made another hole in the latch.
And then he made such a slot.
After made a hole in the frame.

I installed a cut off part of the bolt in it, without a hat, and welded it from the inside.
Then he shortened this bolt.
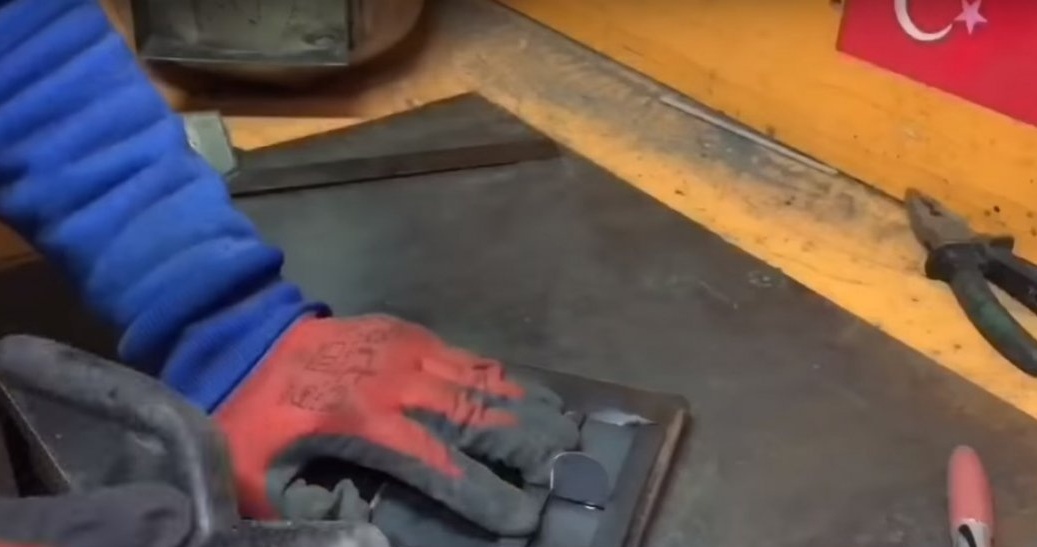
He installed part of the bolt with the cap into the latch.
After installed in the hole on the door, and also welded. (So that there is a small gap between the door and the latch).
Something like this.
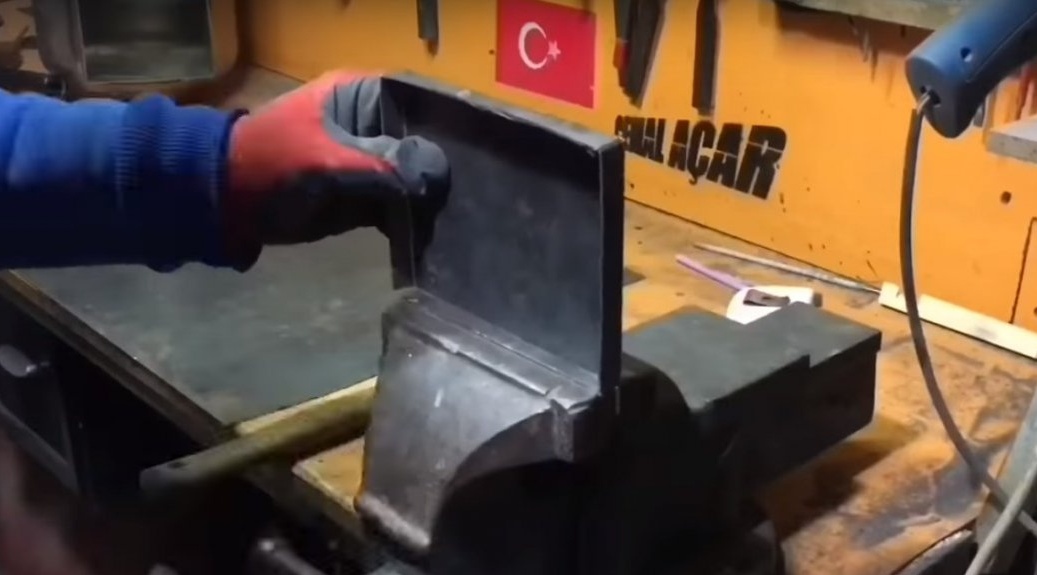
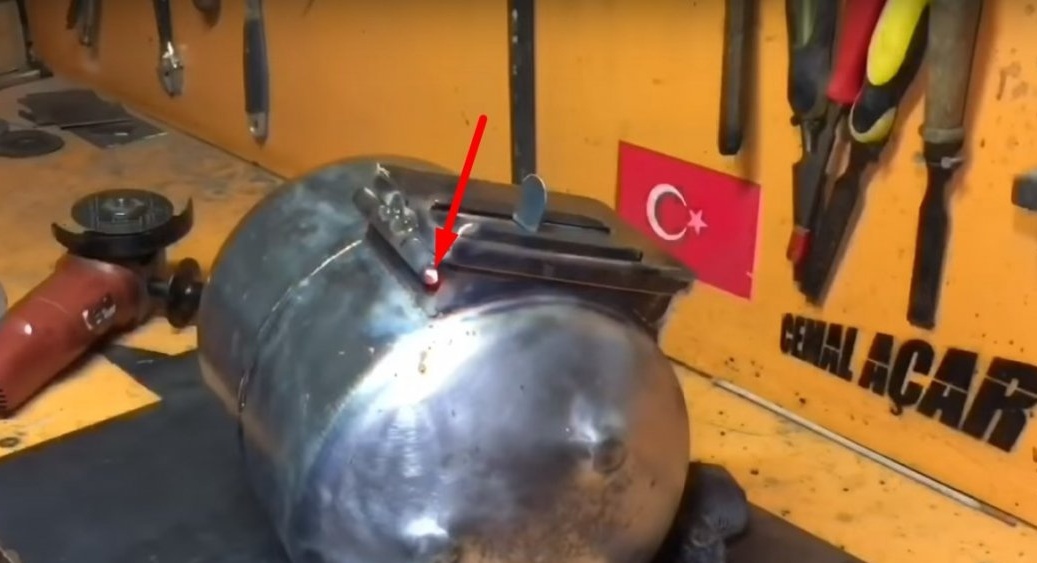
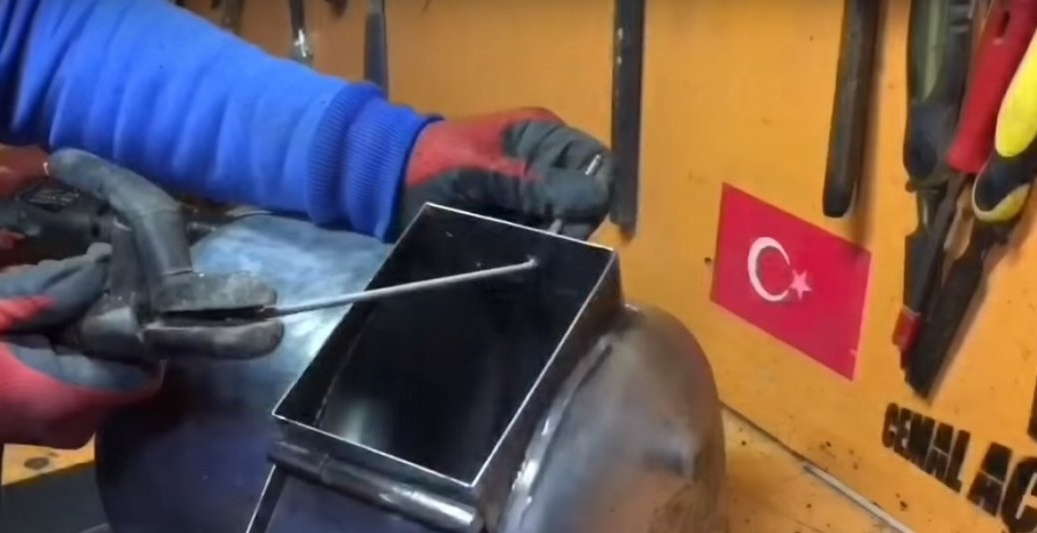
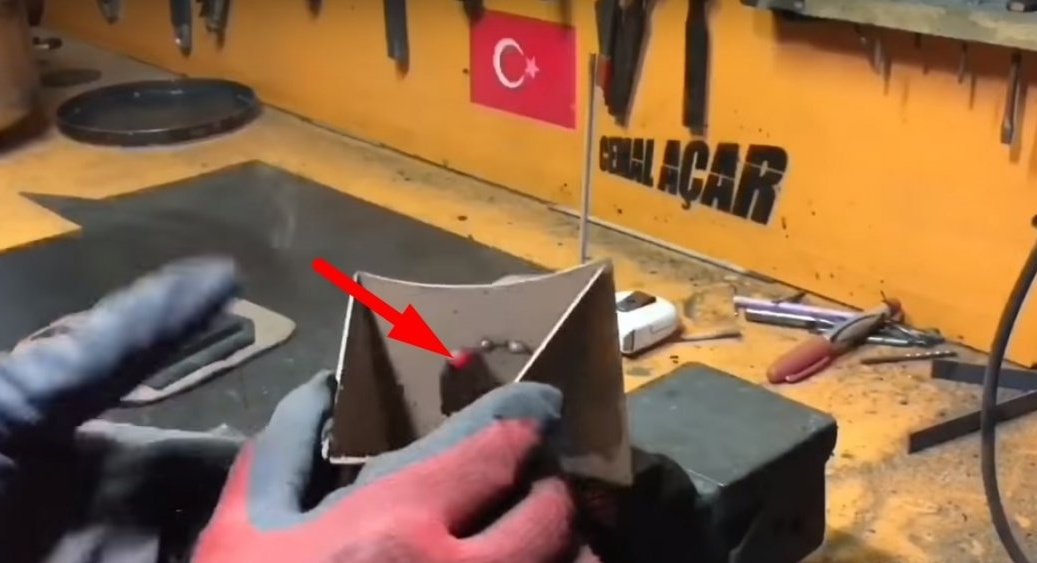
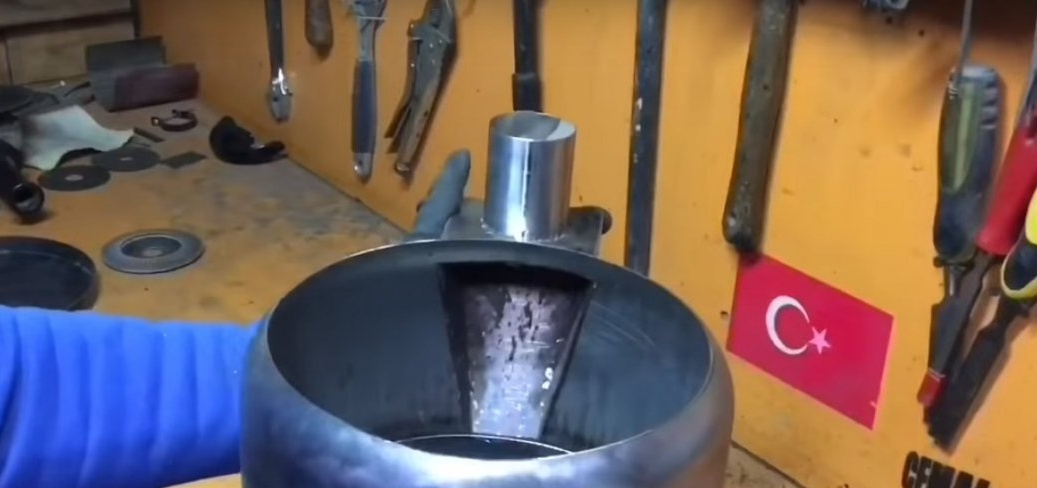
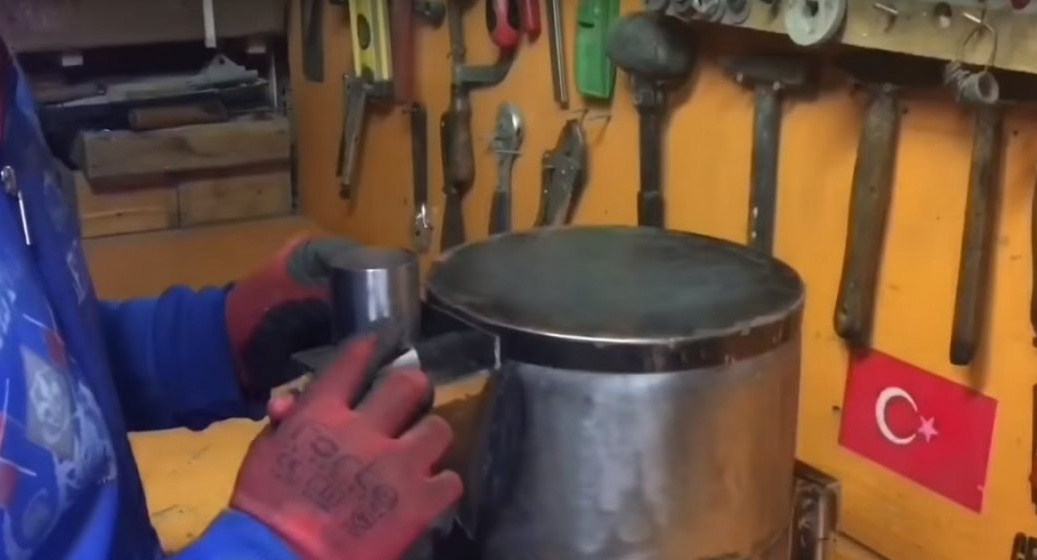
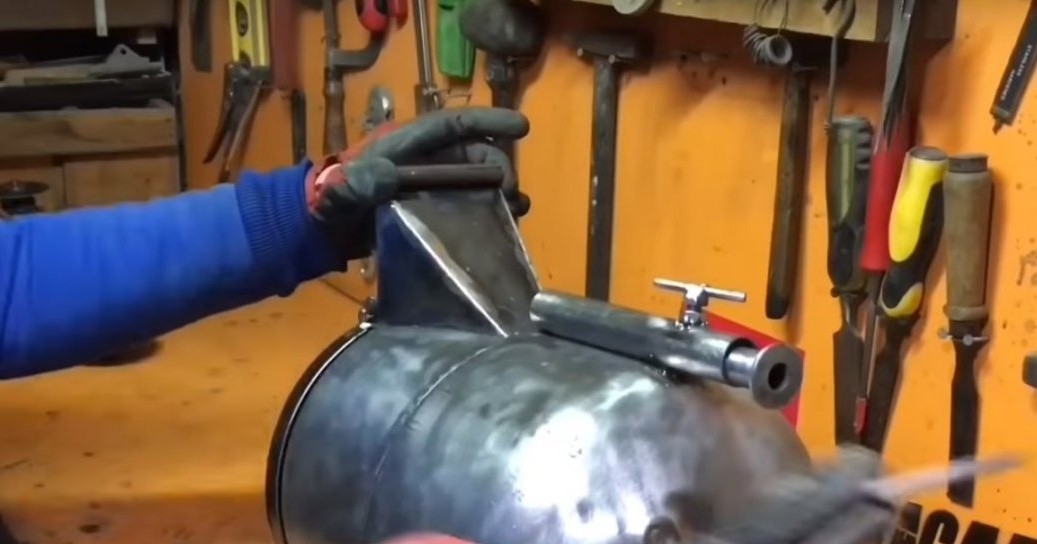
After decided on a place for the chimney.
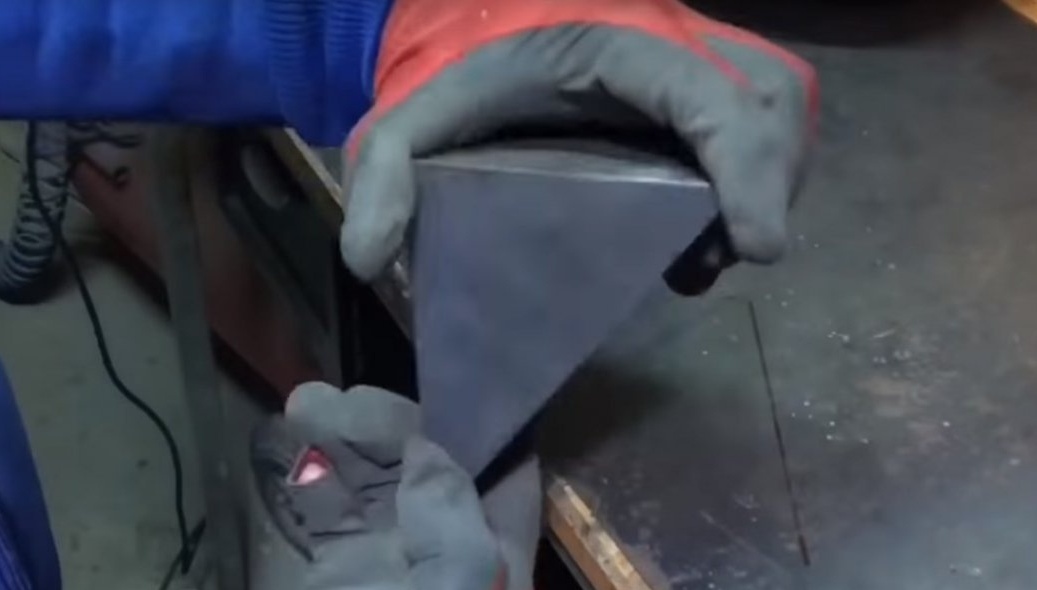
From the strip made the first two parts of the chimney.
And cooked them.
Fitting.
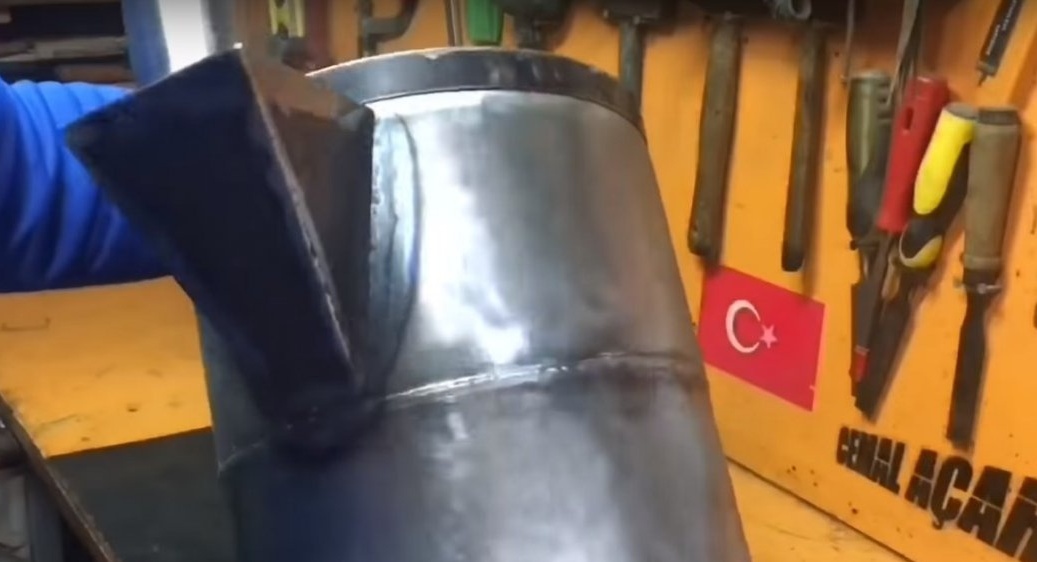
Then he made the side walls of the chimney.
And welded them into place.
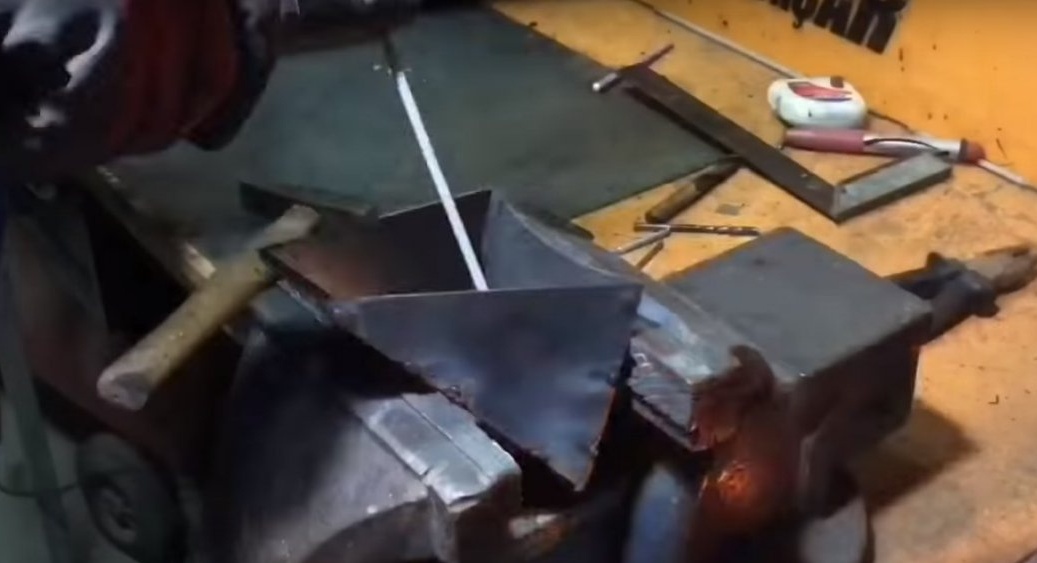
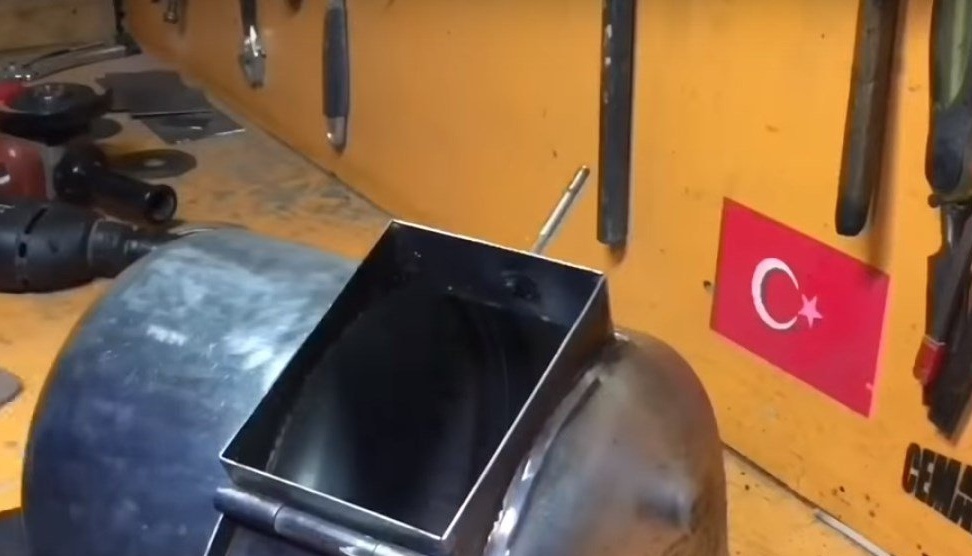
After processed the seams.
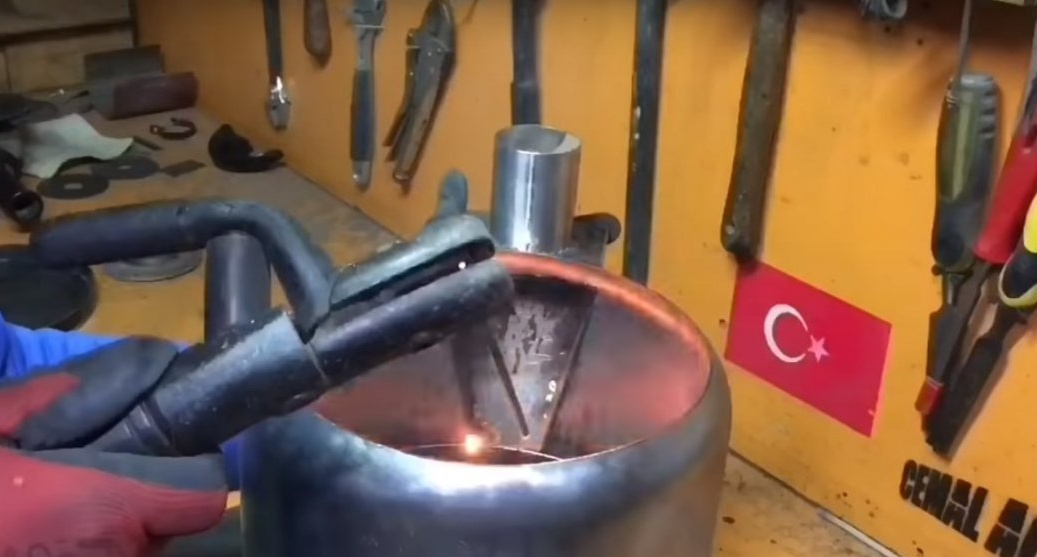
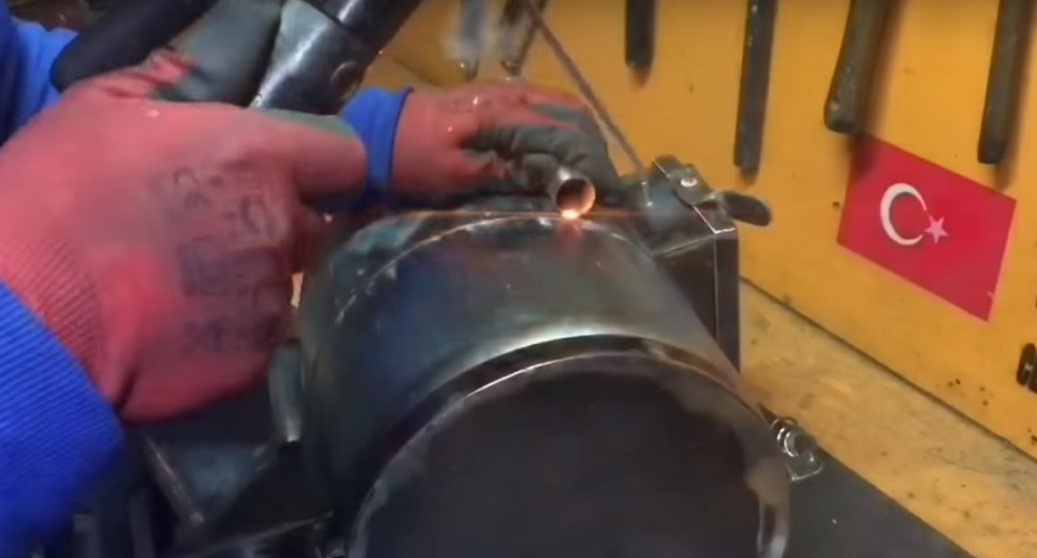
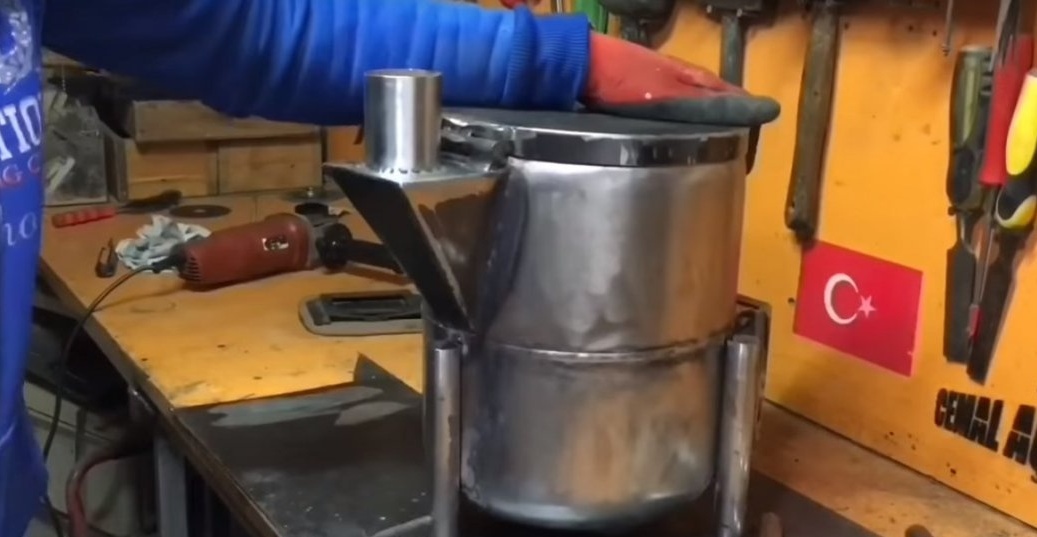
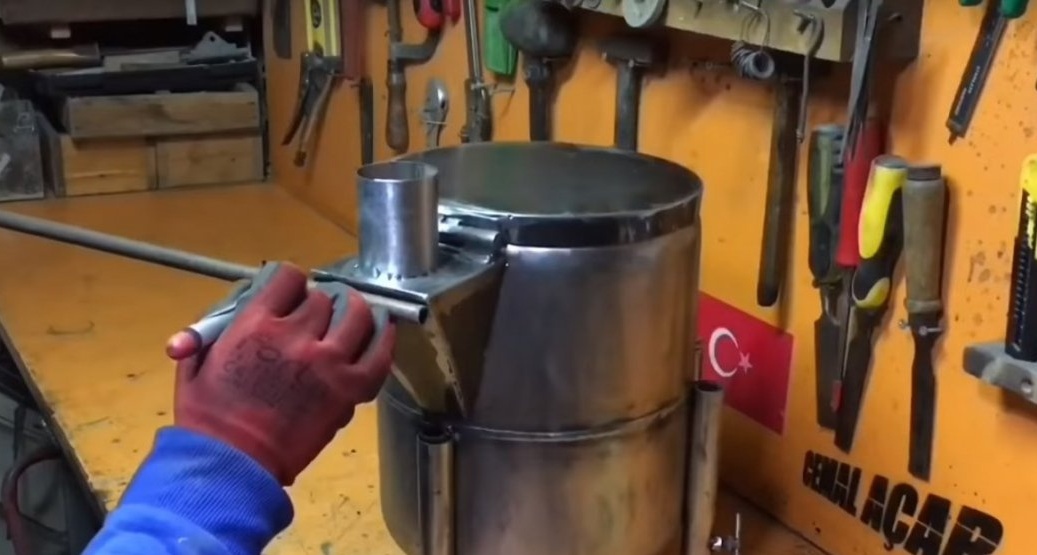
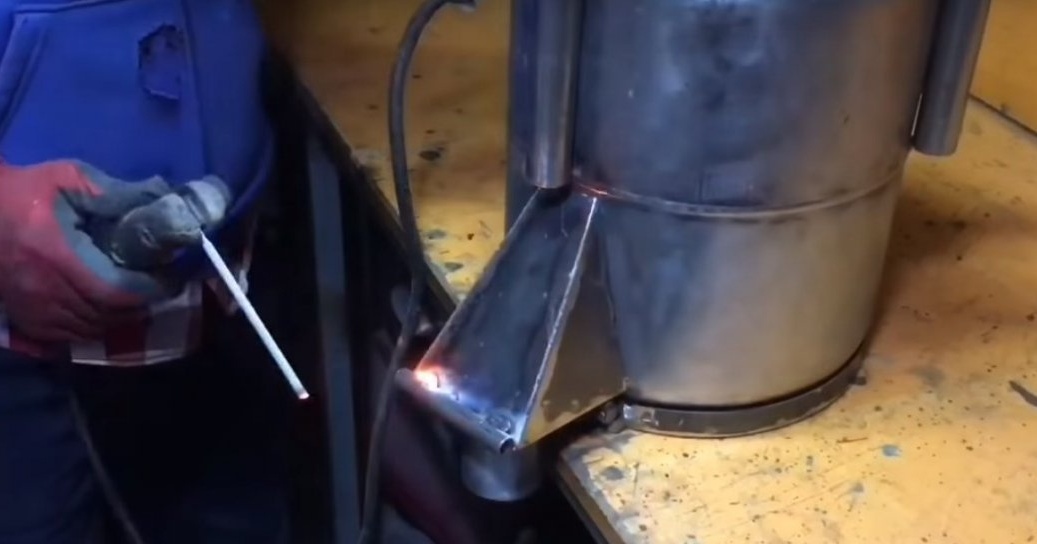
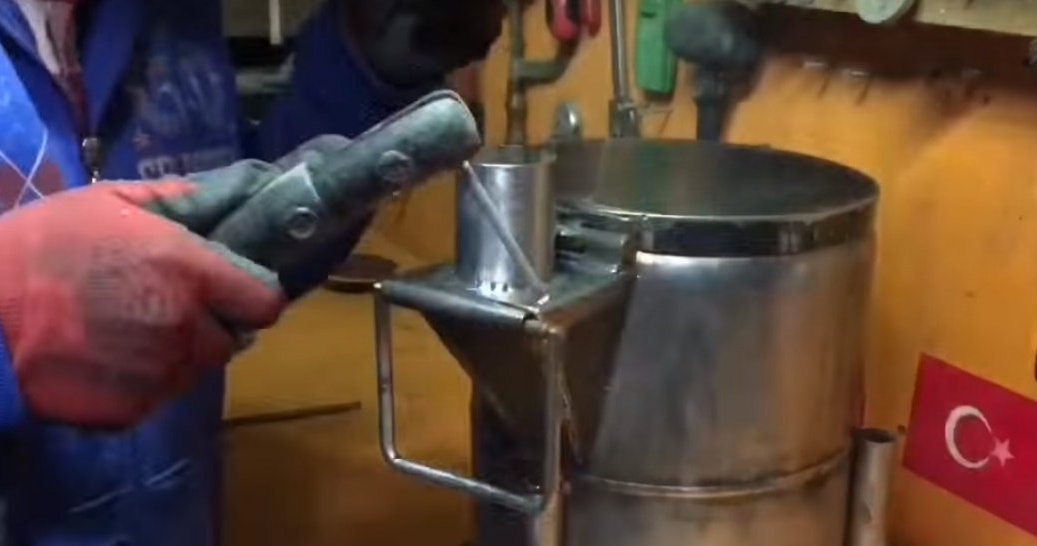
Then, cutting a small piece from the pipe, welded it to the upper wall of the chimney.
After made a hole in the wall of the chimney.
Then he made a cutout in the stove under the chimney.
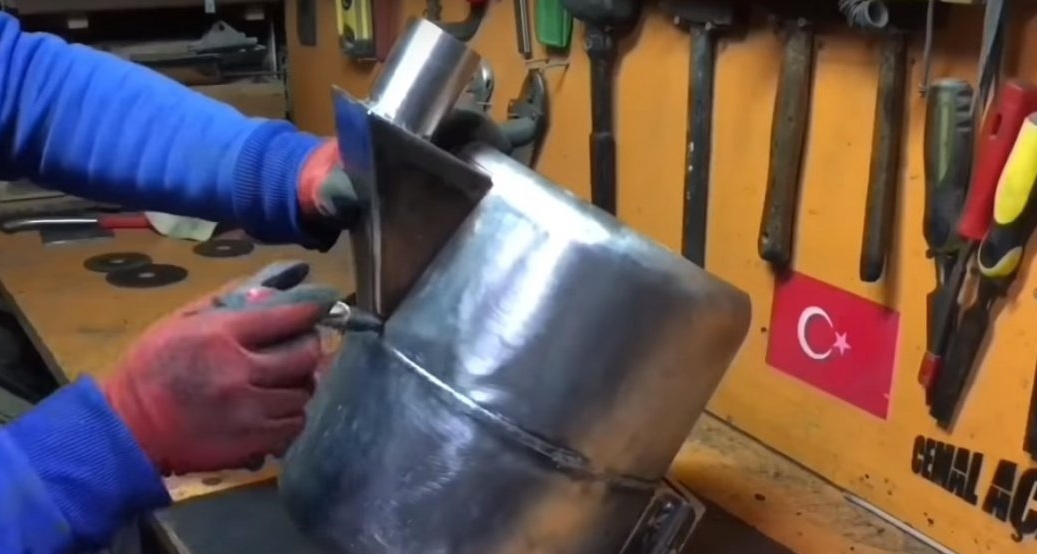
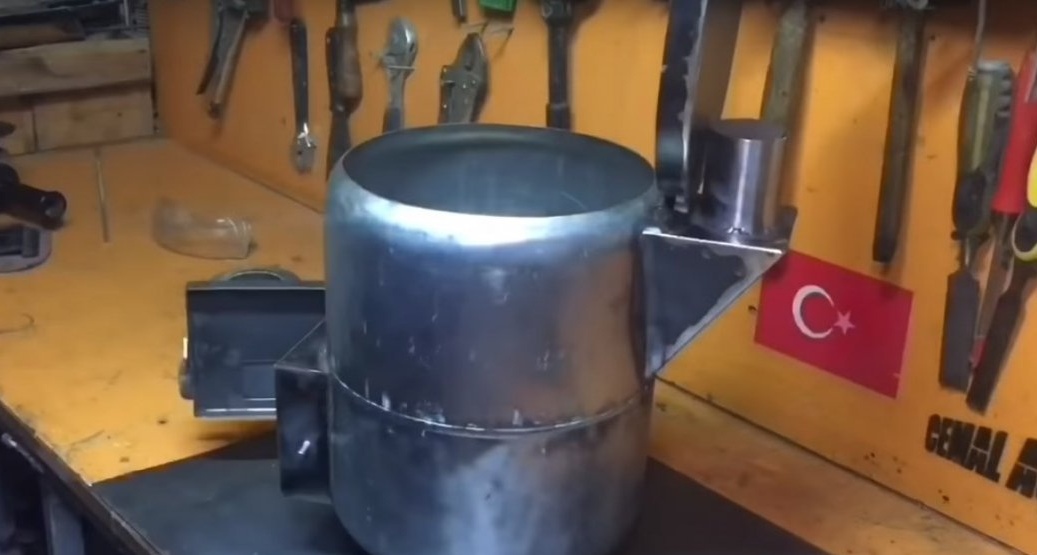
And setting the chimney, welded it to the stove.
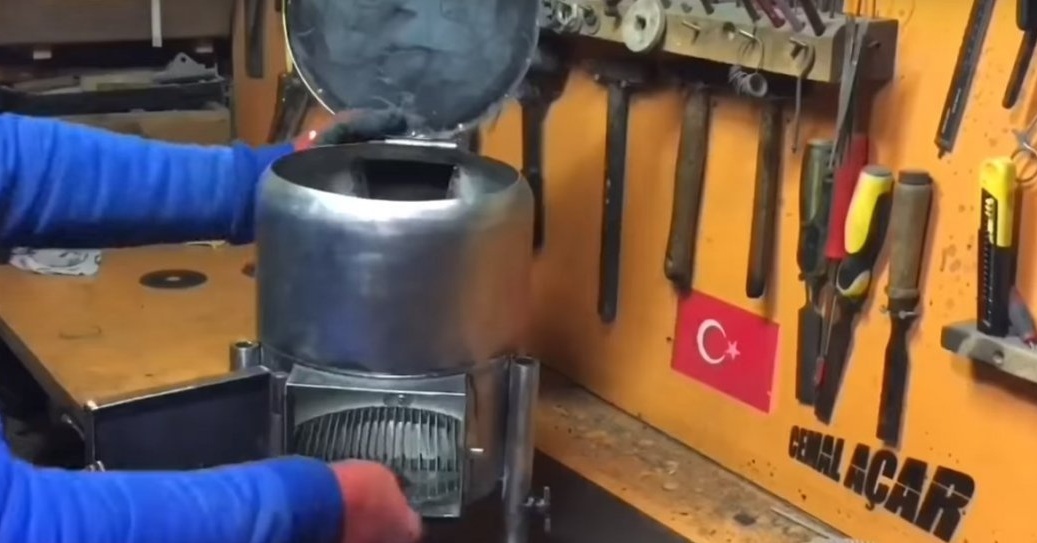
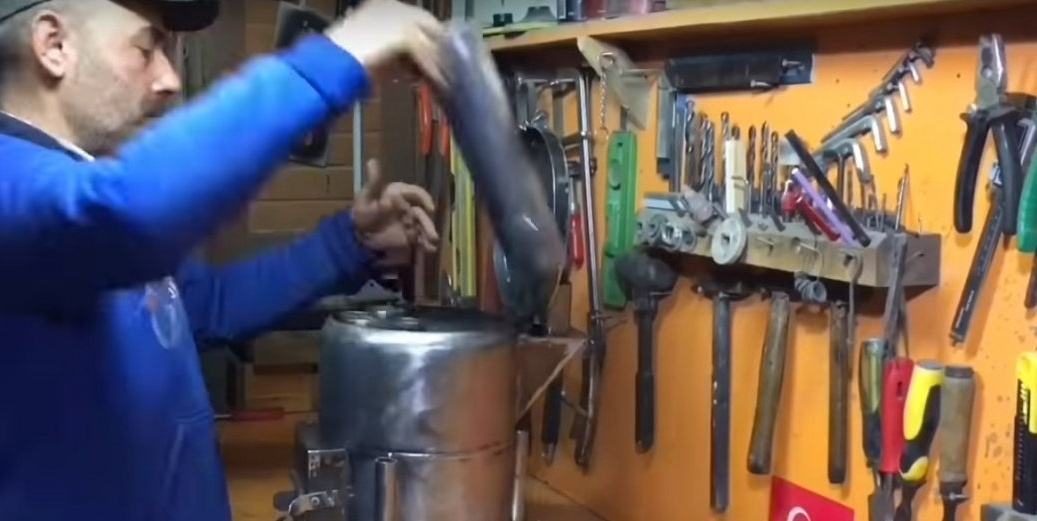
Then, to attach the hinge to the cover, the author made such a detail.
And welded it to the lid.
And then he made the loop itself.
Then secured the finished loop by welding.

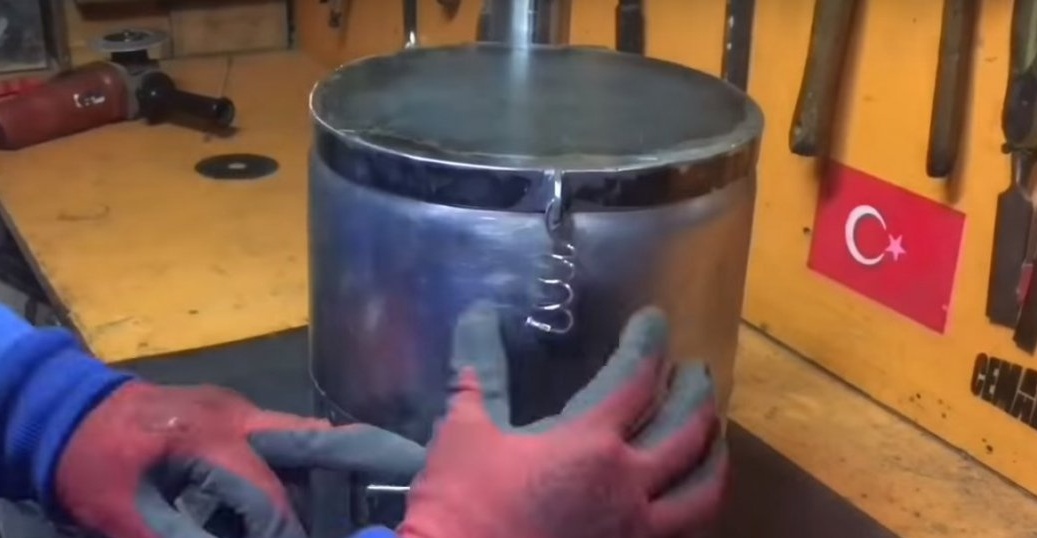
On the front of the lid, the master welded a small piece of a narrow strip.
And made a hole.
Then he made a spring out of wire and installed it in the hole of the previous part.
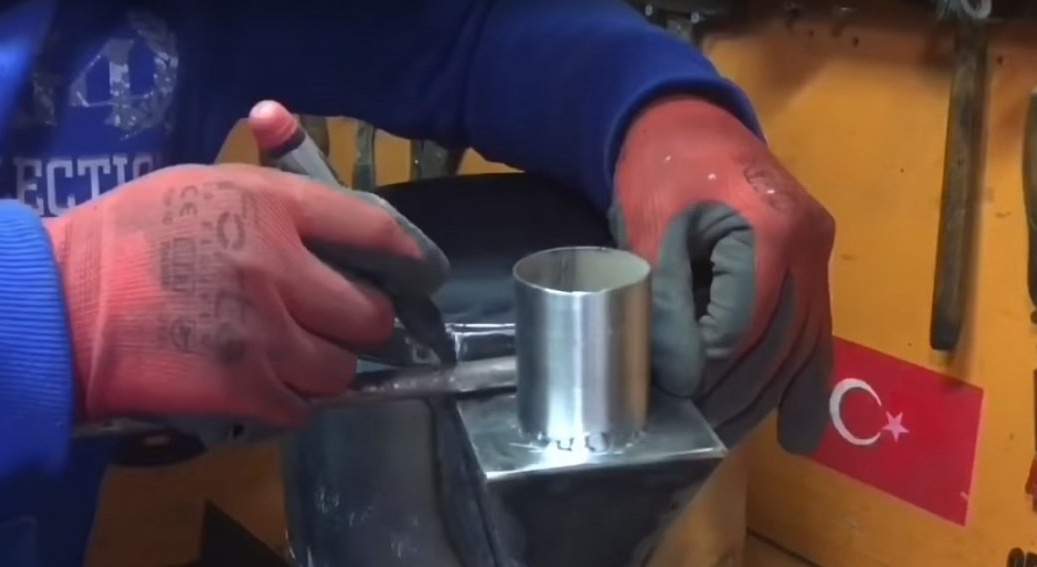
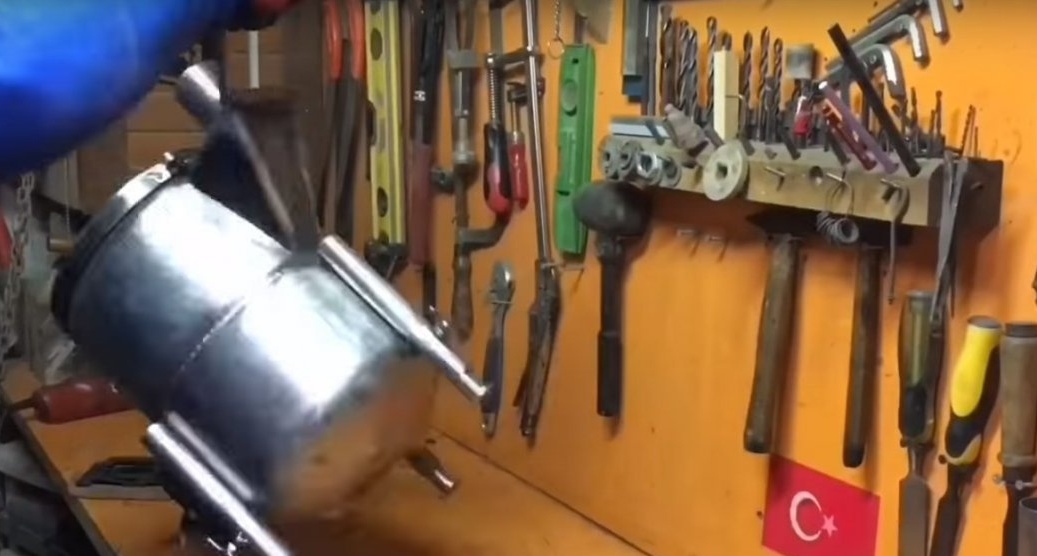
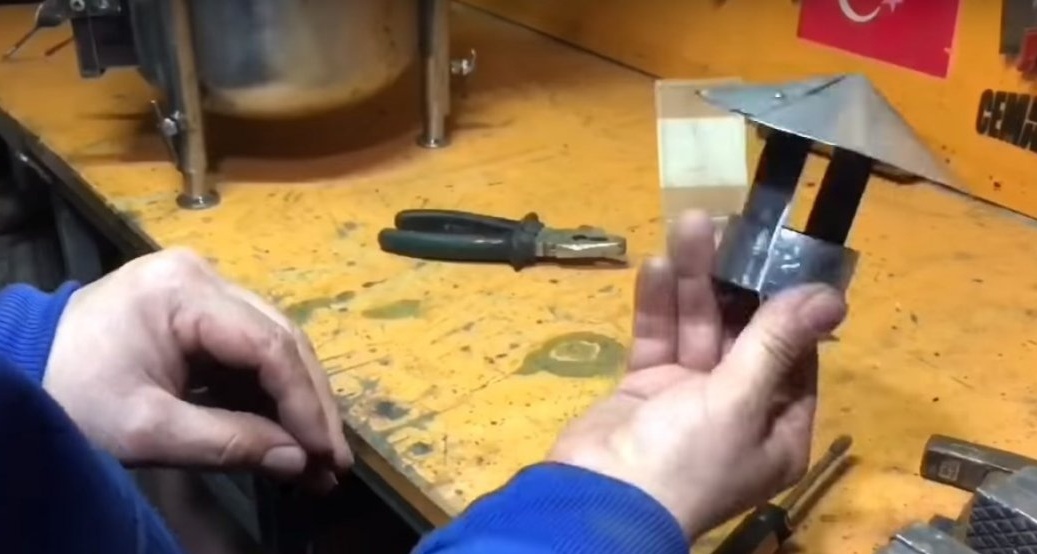
Then the author made the fastening of the legs from the pipe.
And welded them to the stove.
After the smaller pipe, he made the legs themselves.

In the fastening, the author made a hole for the bolt
Then he took a bolt with a nut.
And installing a bolt in the hole, welded a nut.
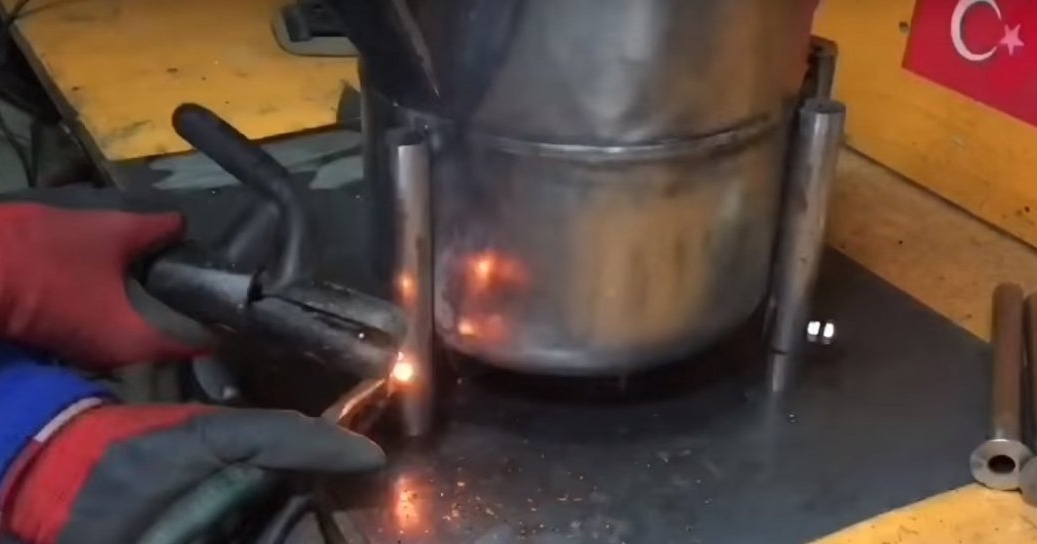
Then, cutting off small pieces from the steel bar, welded them to the caps of the bolts.
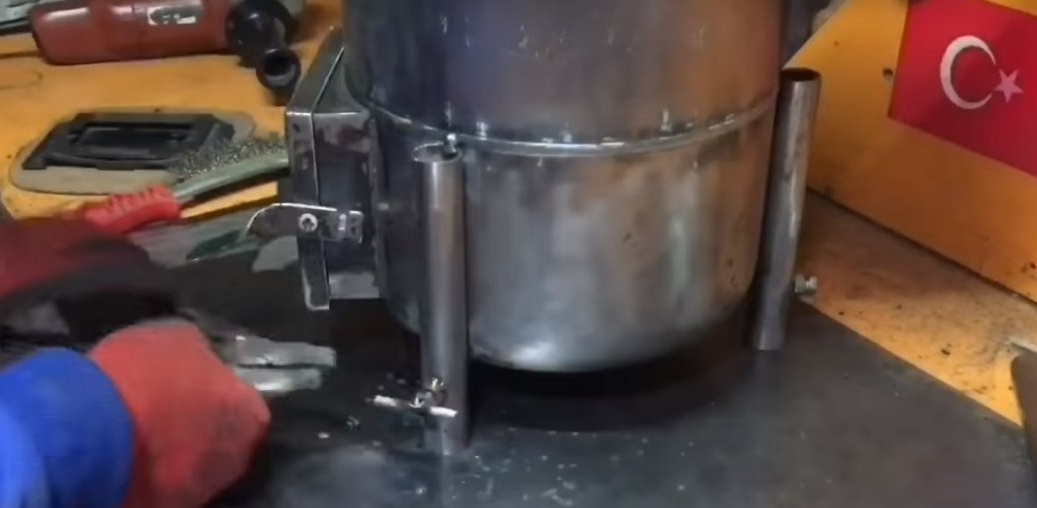
After installing the legs, pressing them with bolts.
Thus, it is possible to adjust the height of the stove.
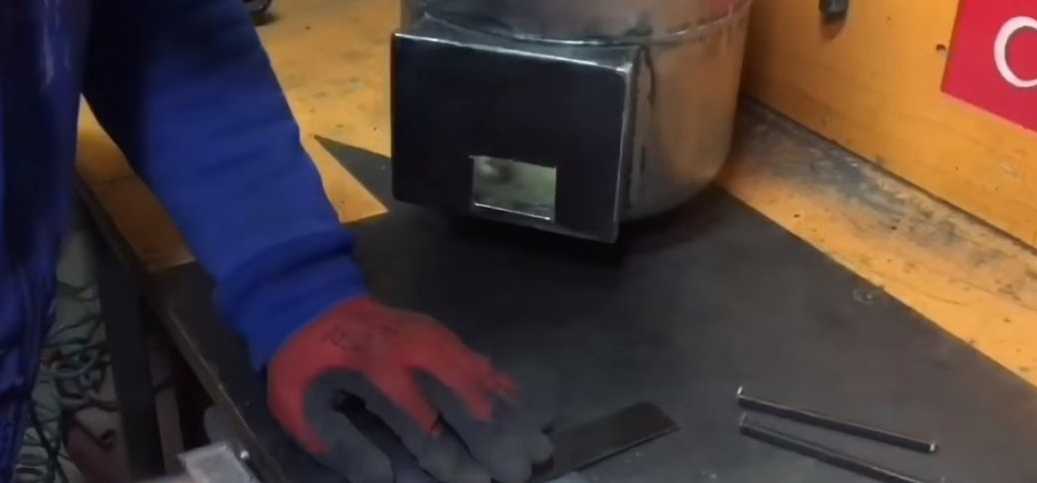
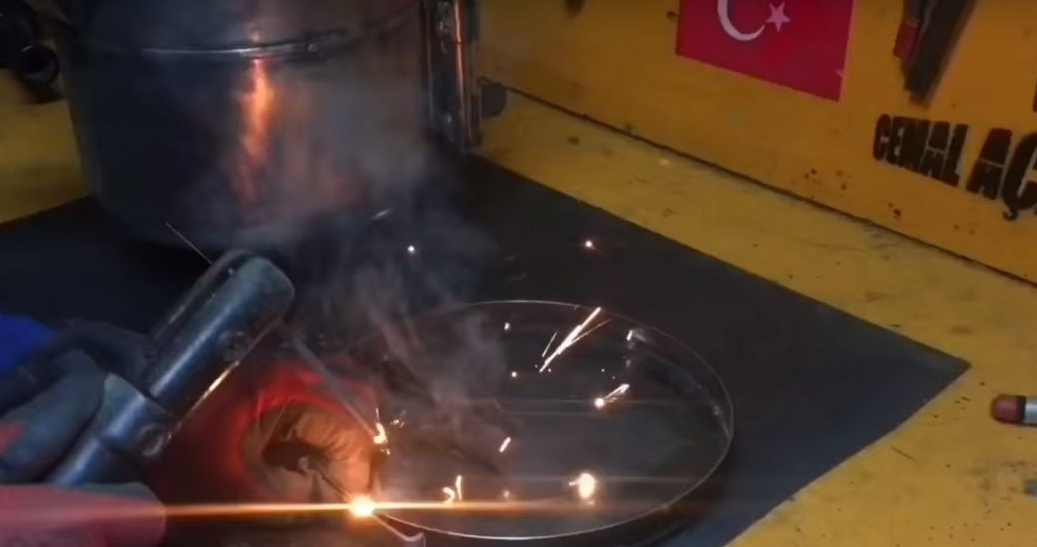
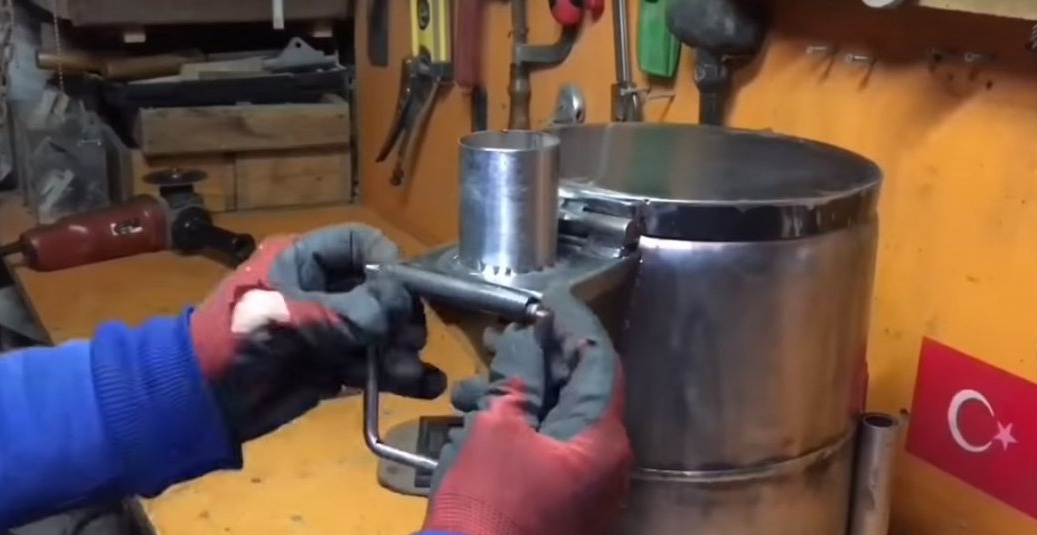
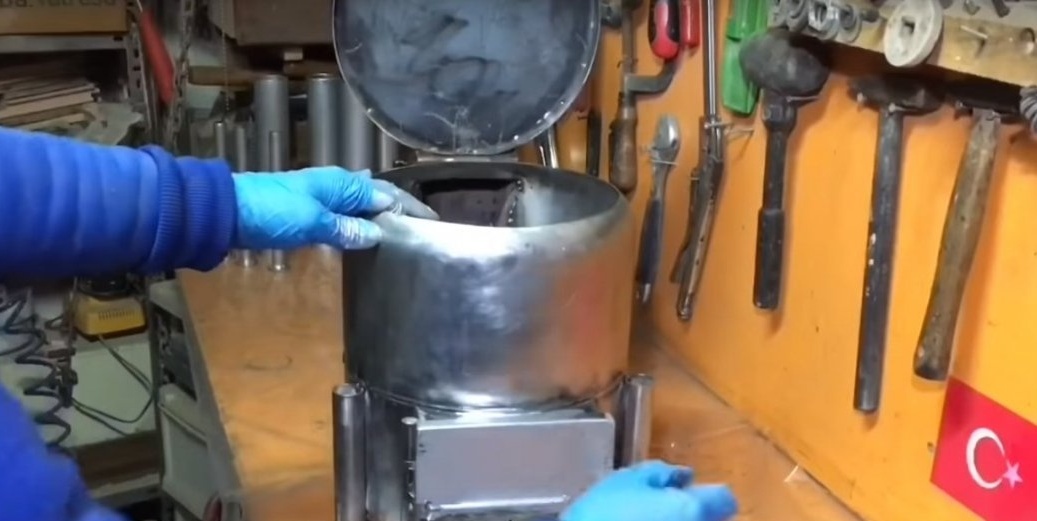
After he made the grate from a narrow steel strip, the size of the upper part of the cylinder.
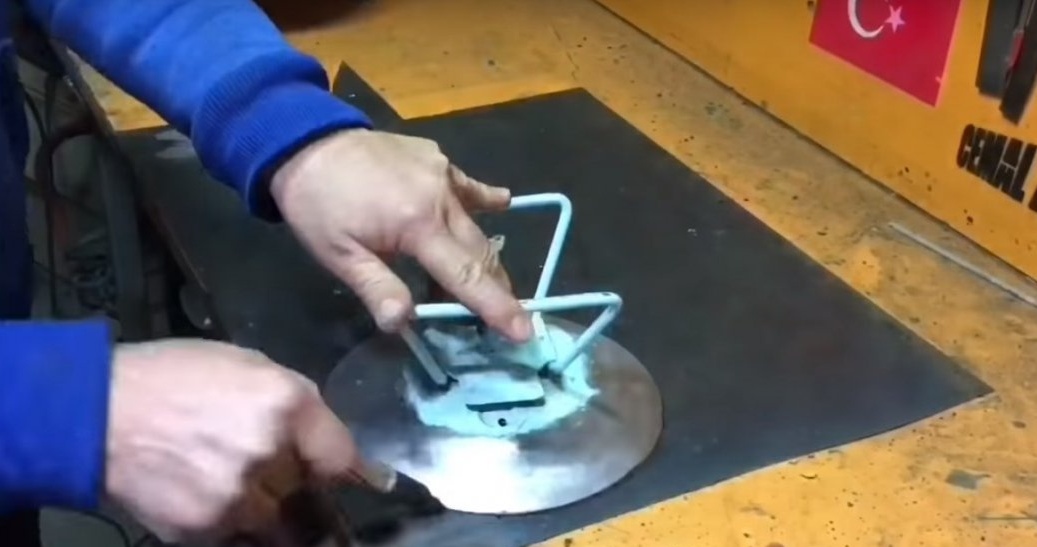
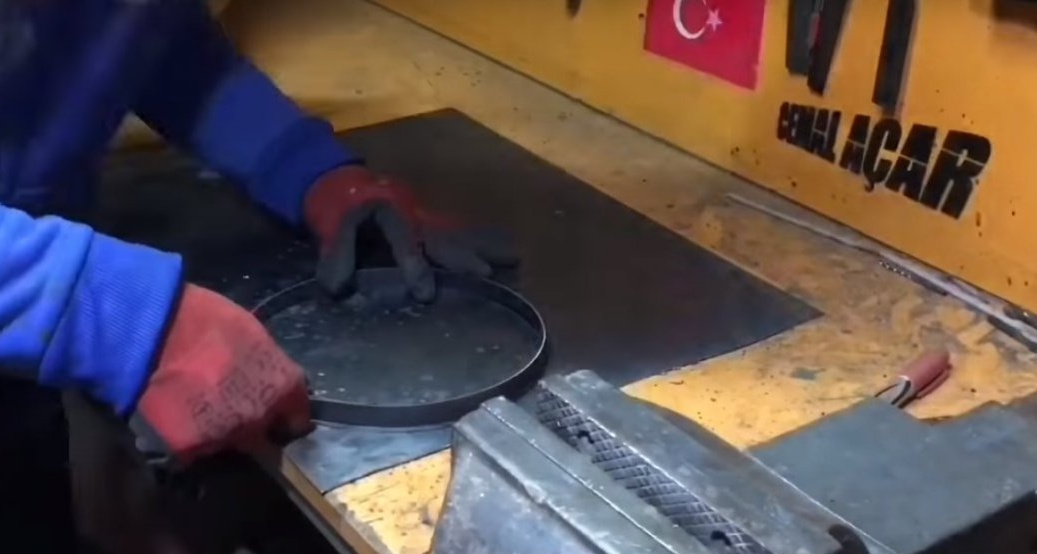
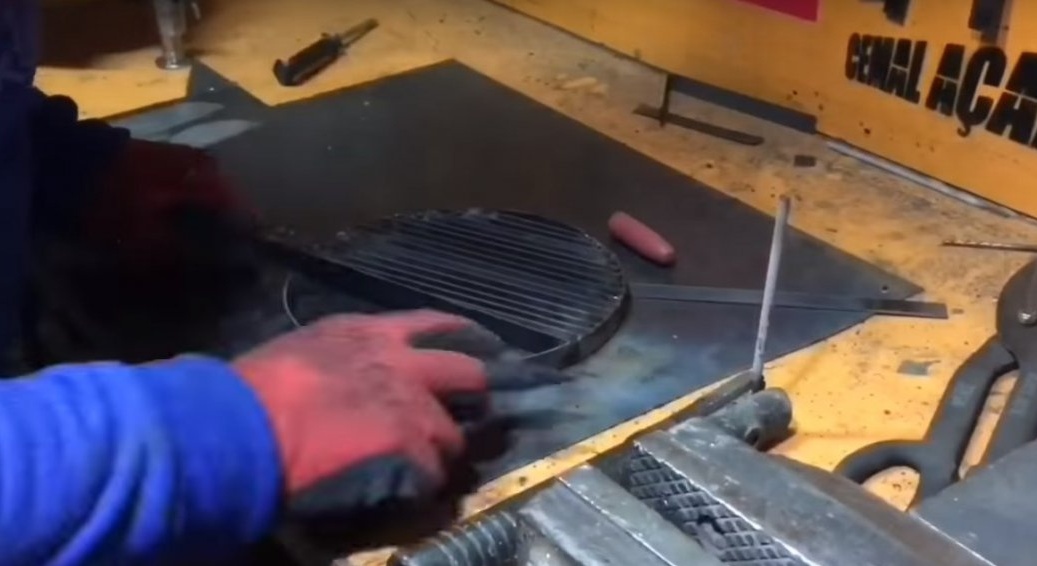

To strengthen, the author additionally welded a piece of strip to the finished grate.
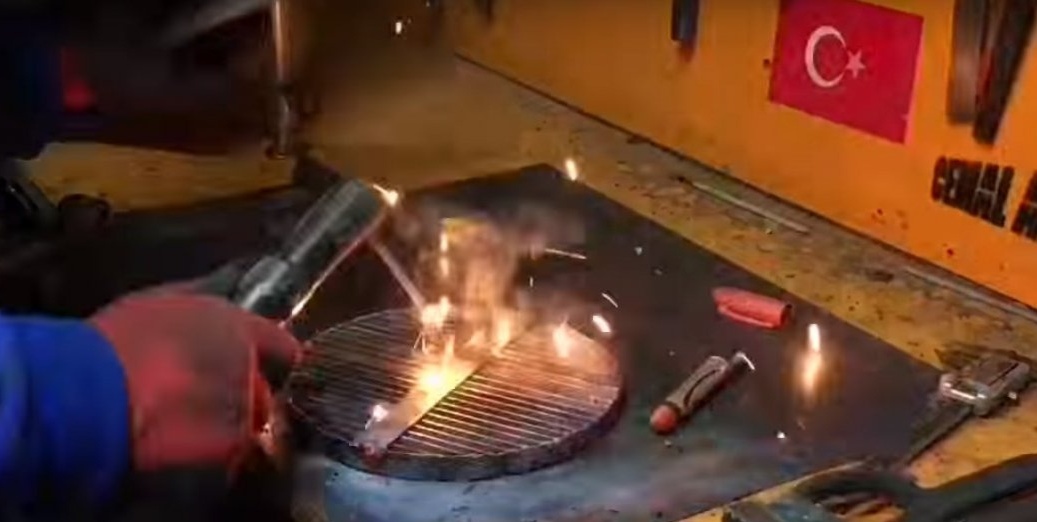
Next, set the grate.
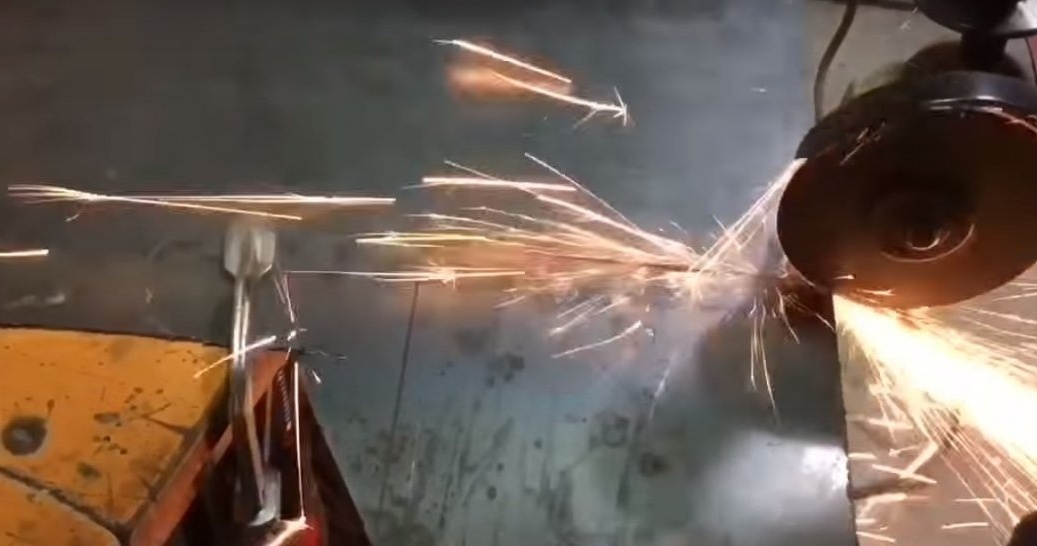
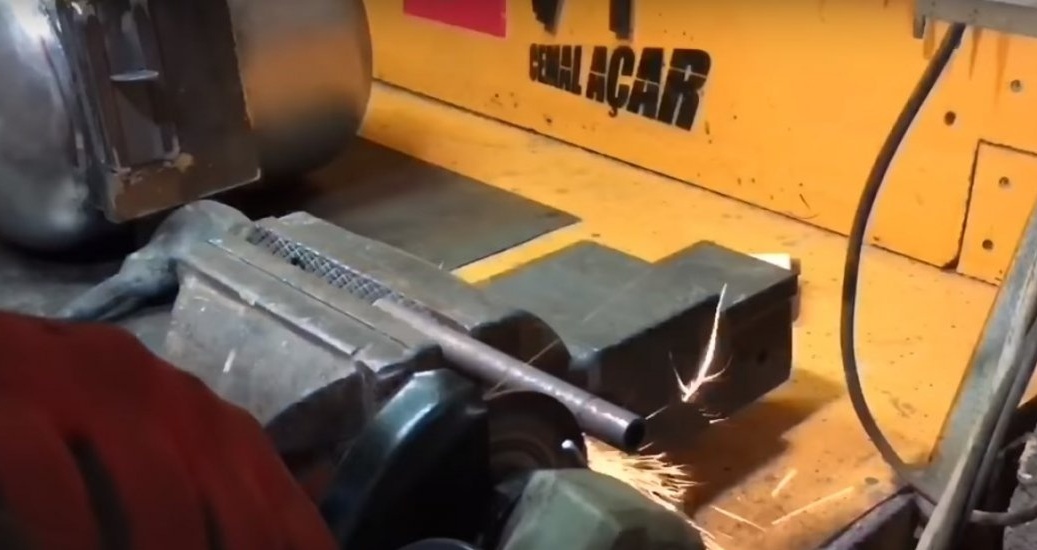
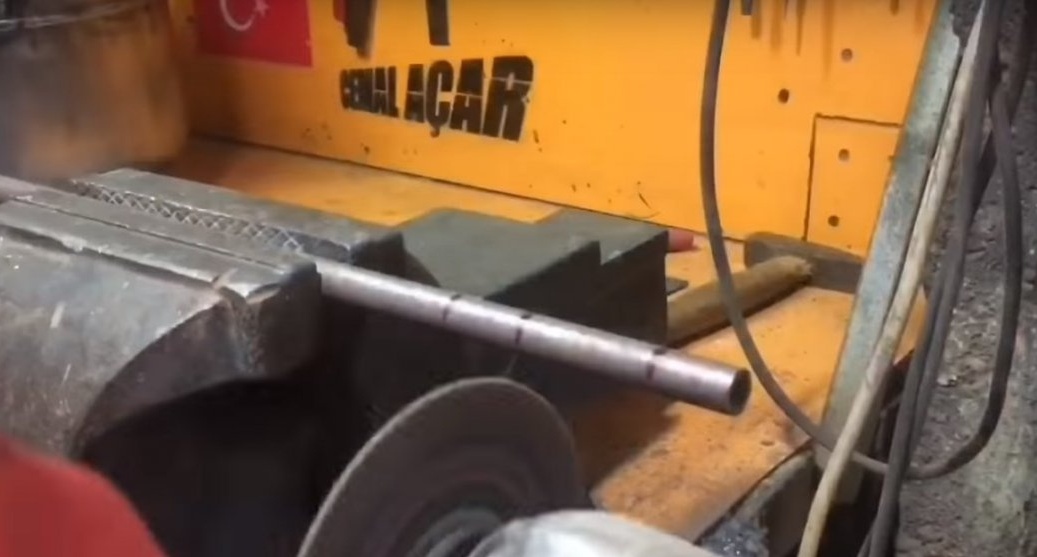
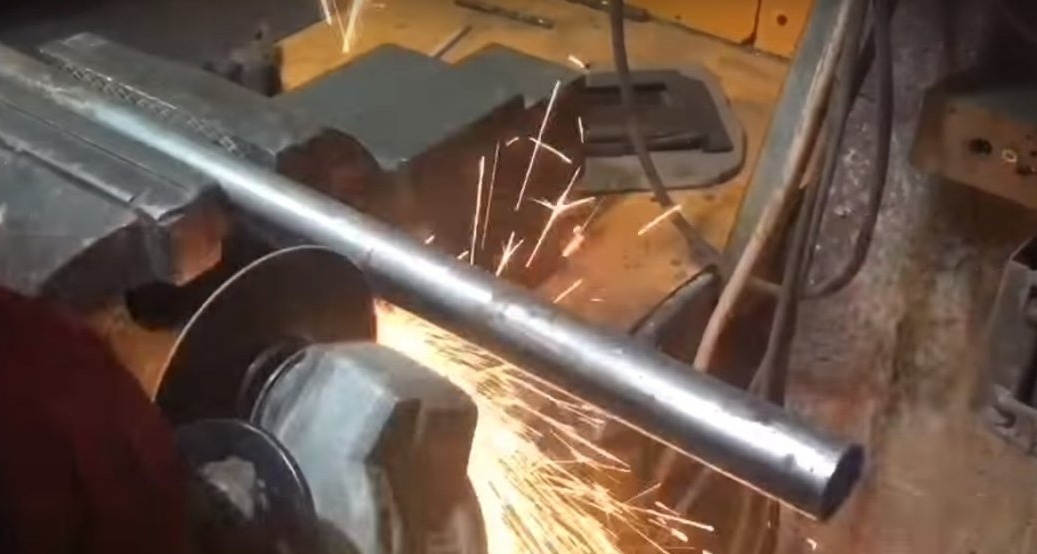
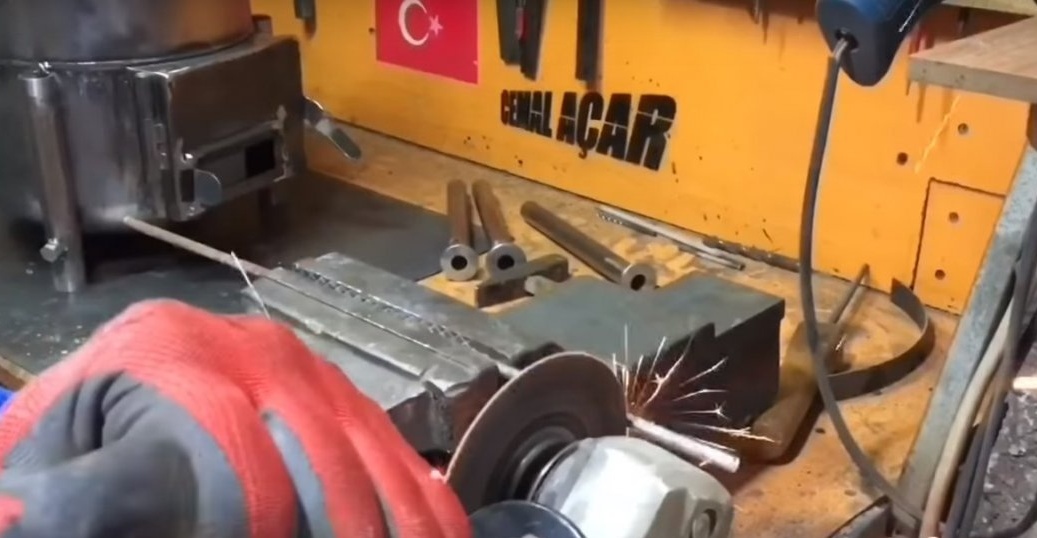
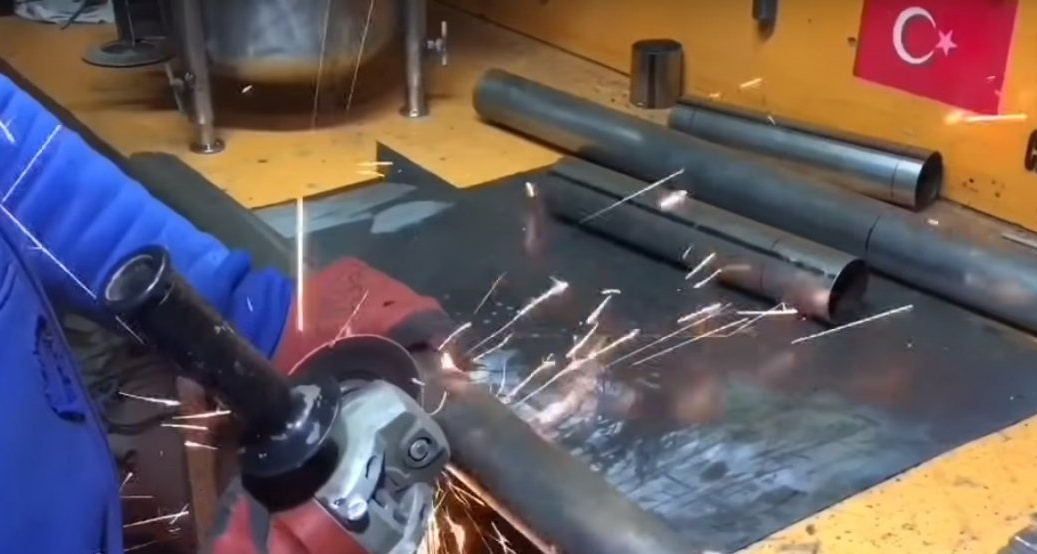
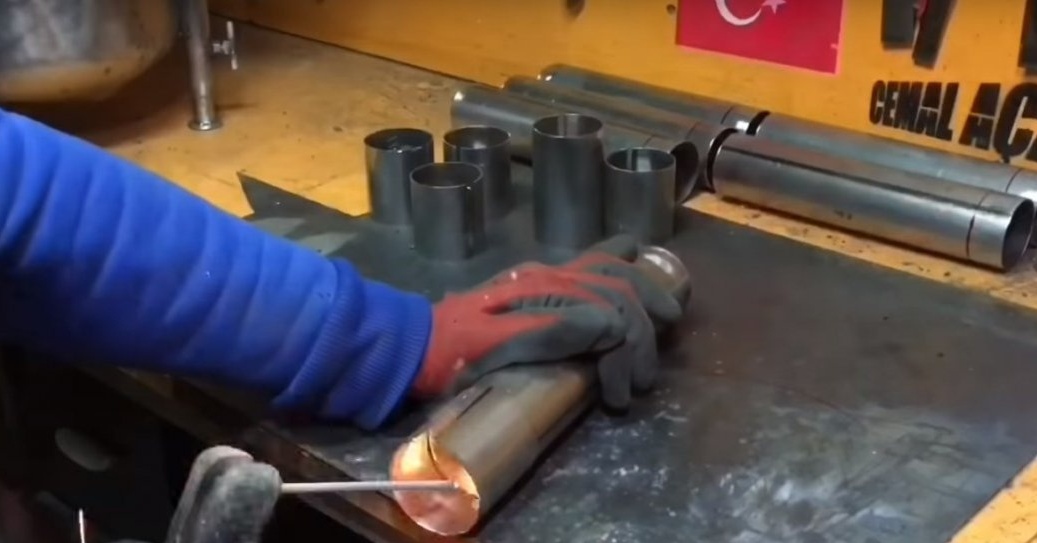
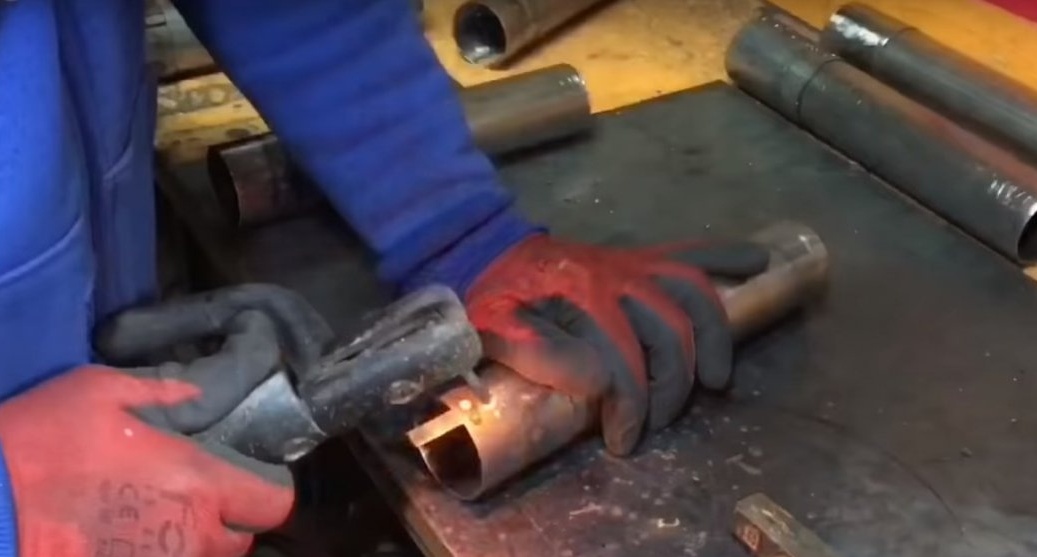
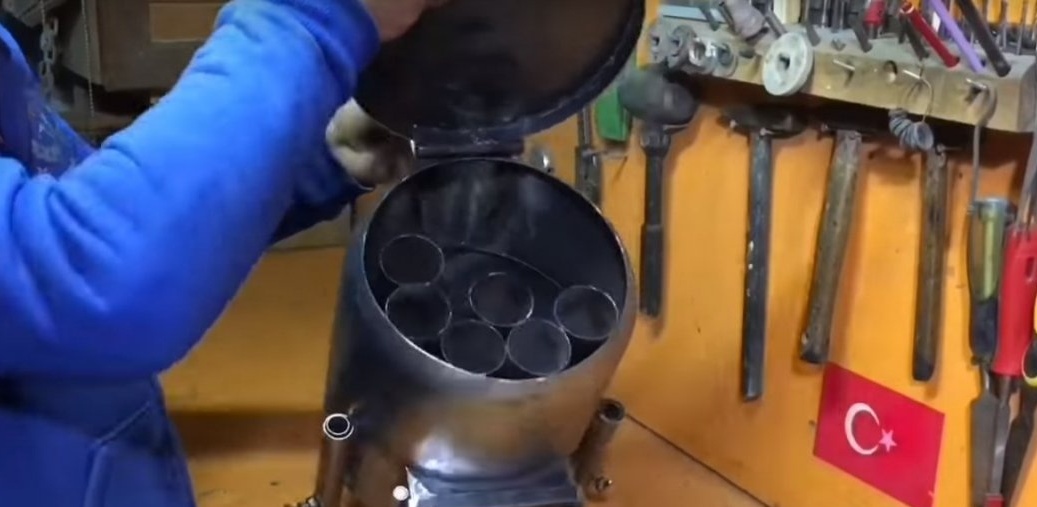
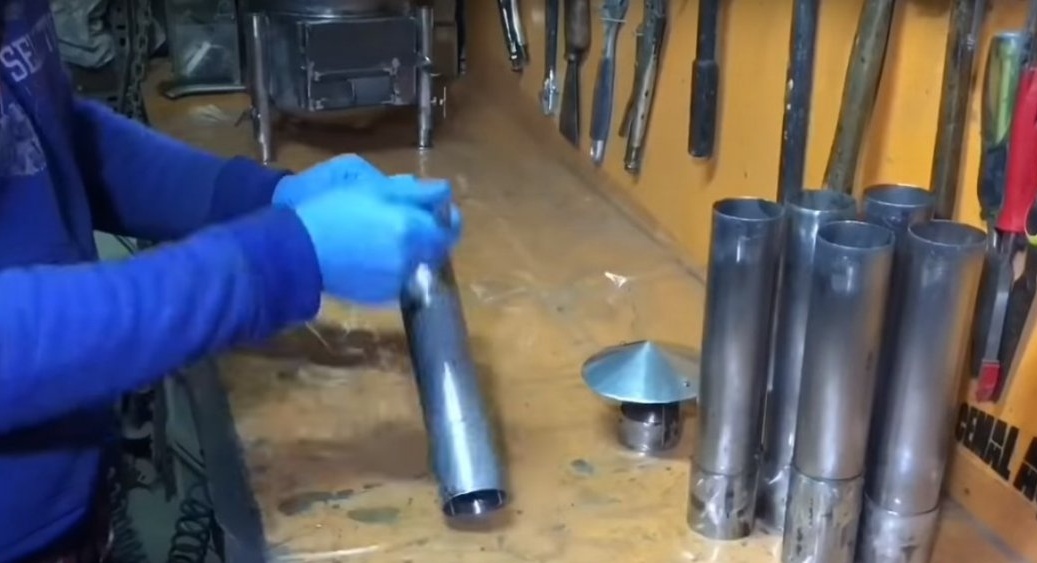
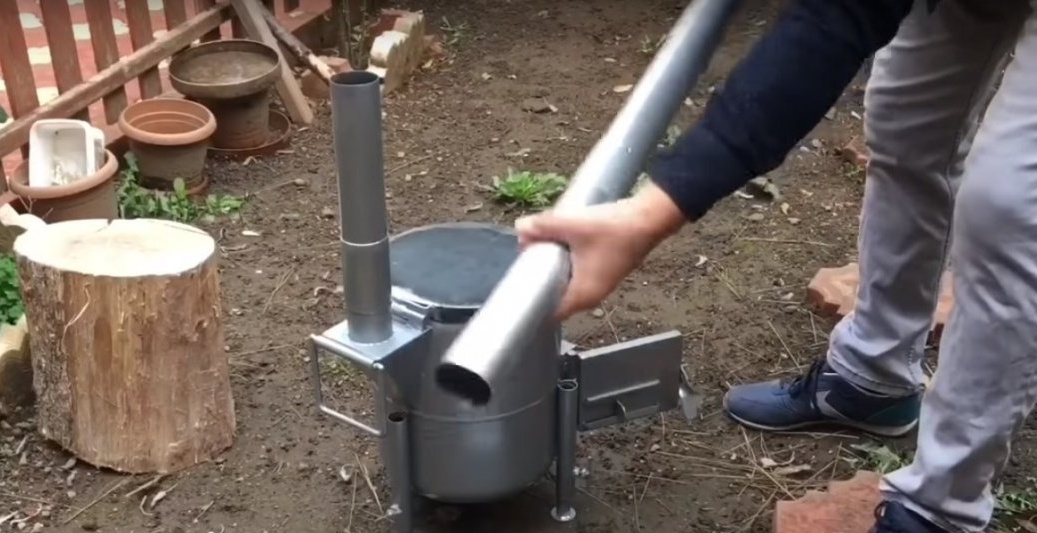
And he began to manufacture the pipe. To do this, he cut the pipe into six pieces, the length of the workpieces is equal to the height of the furnace from the grates and the lid.
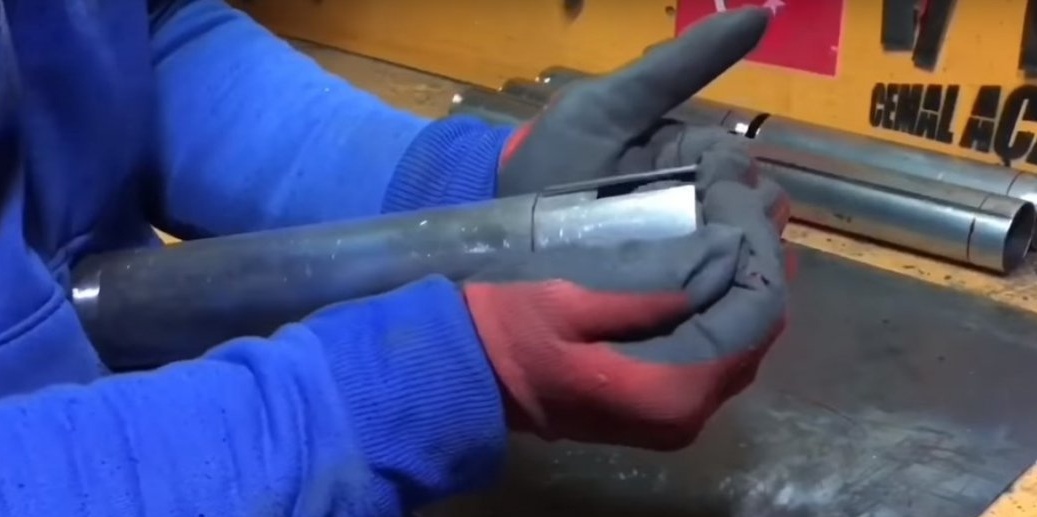
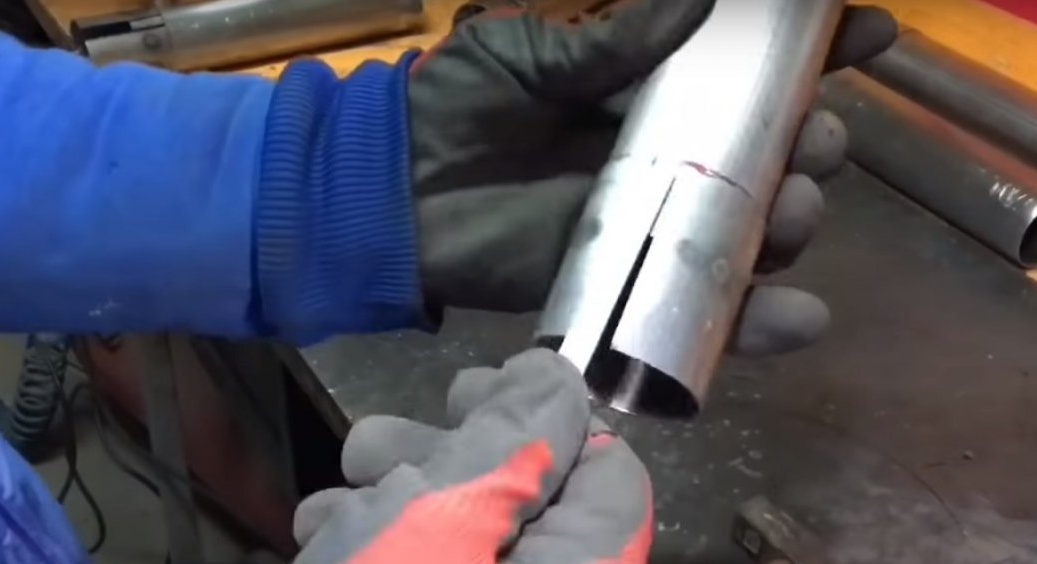
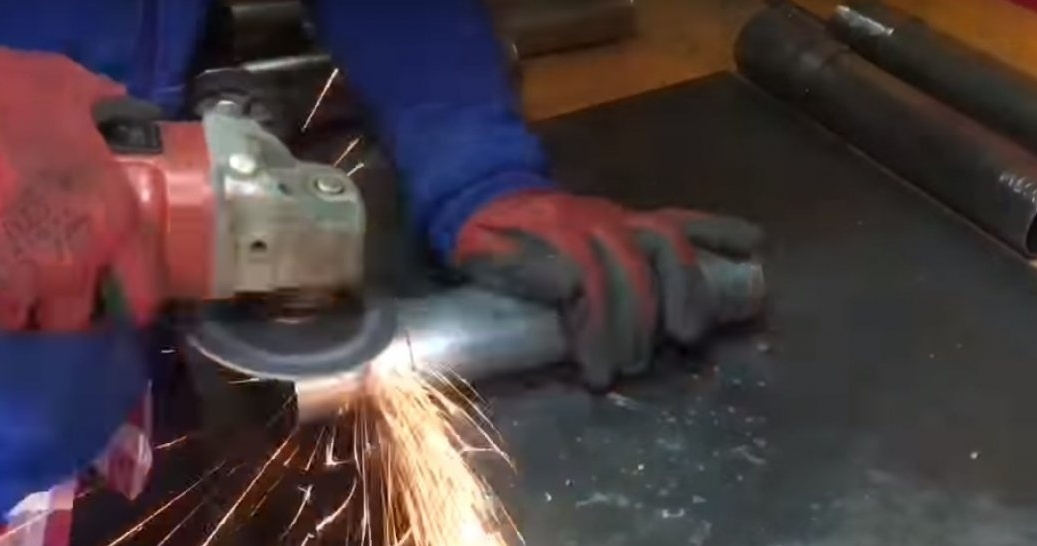
Then, pieces of approximately 100 mm were cut from each of the six blanks.
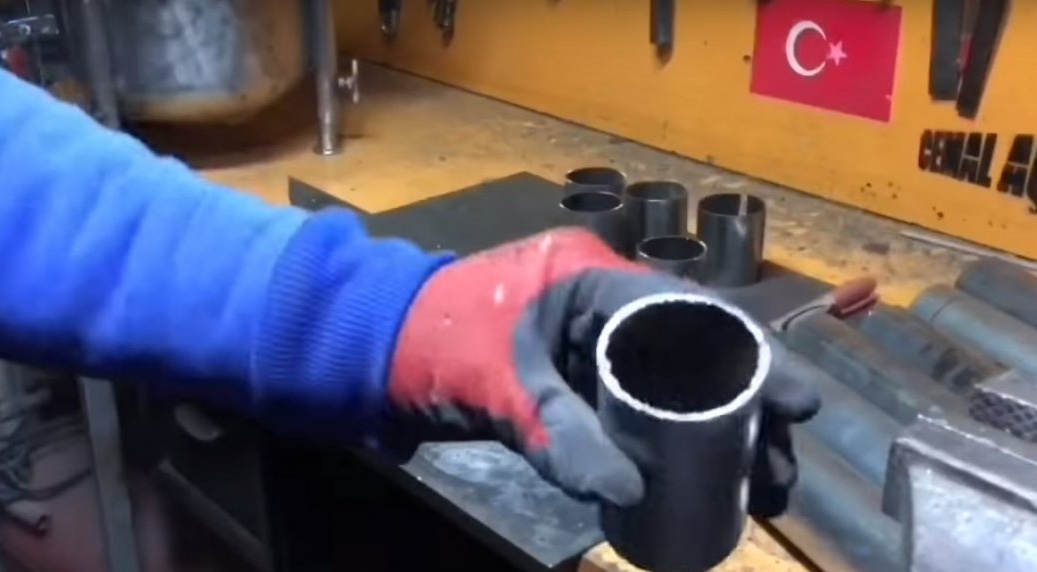
And cut them along.
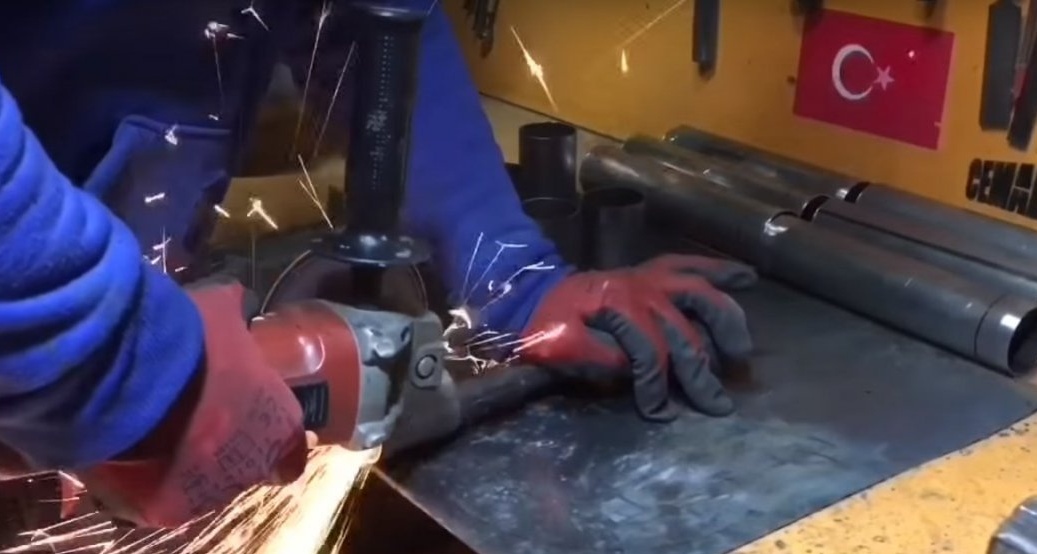
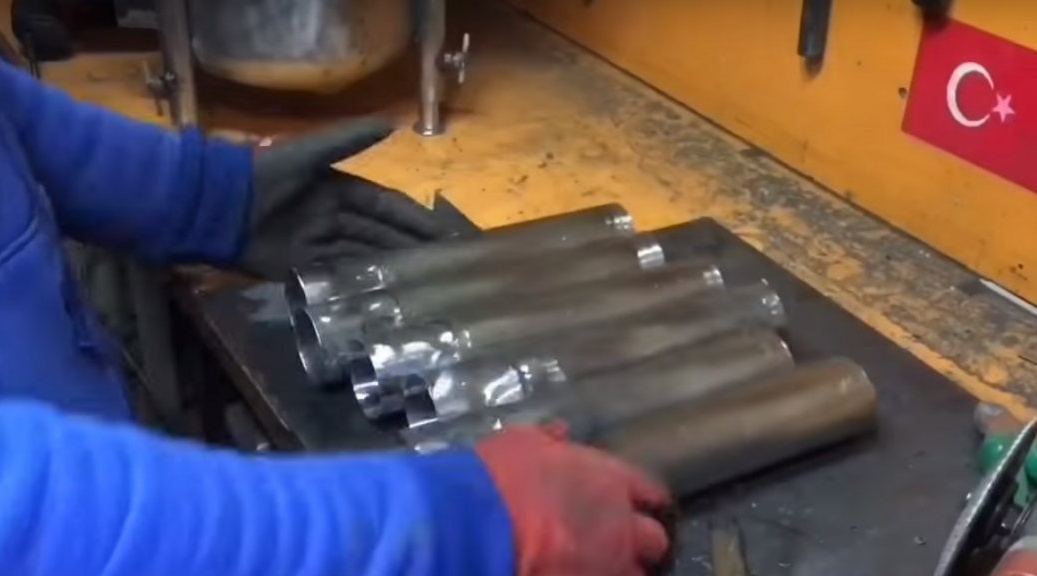
Then he installed them on the pipes and welded.
The author brewed gaps with pieces of stripes.
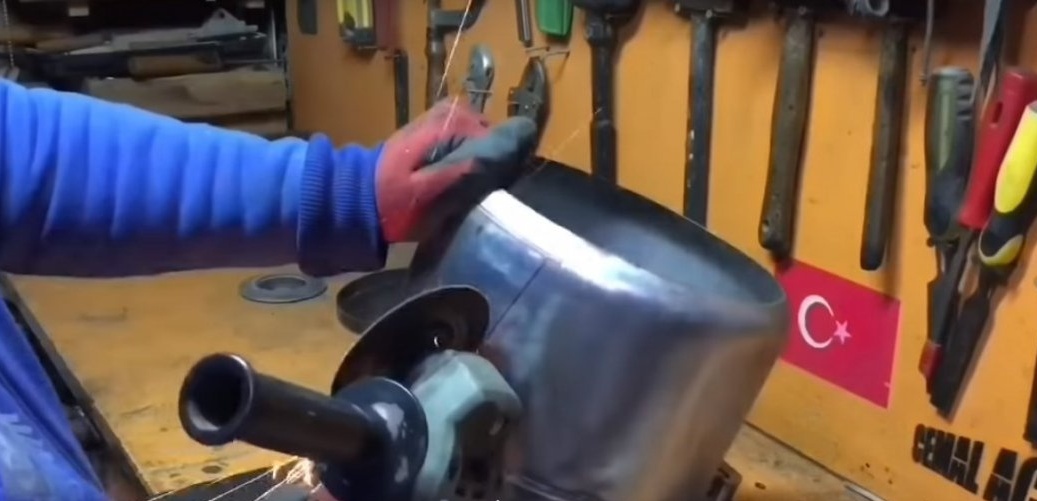
Then he worked all the seams well.
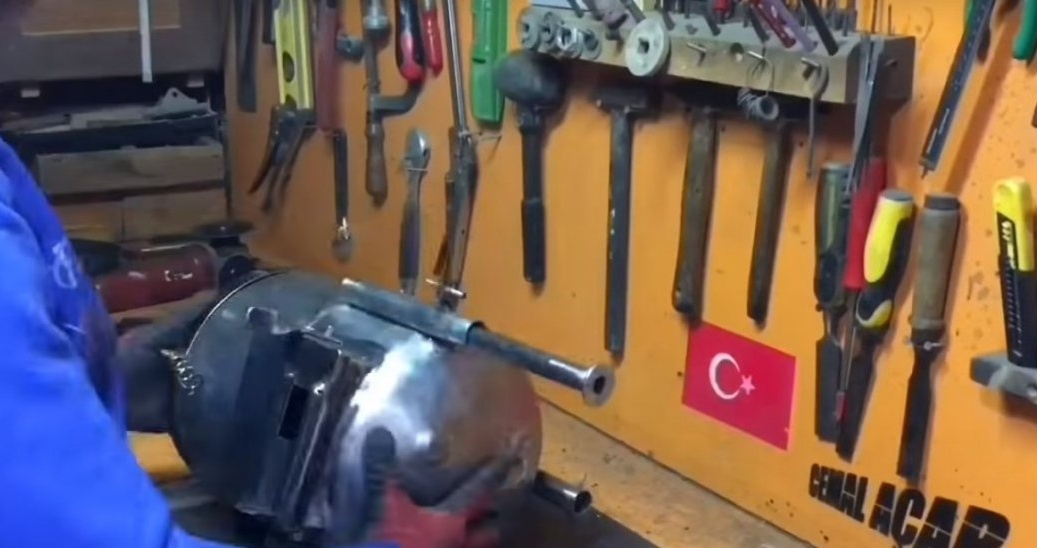
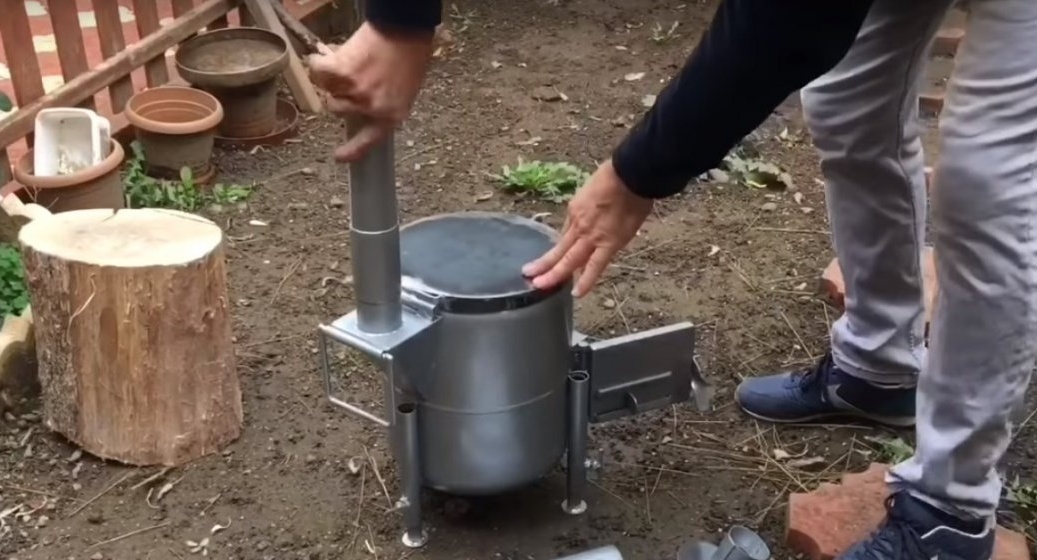
Then he made a handle from a tube and a rod, for more convenient transportation of the furnace.
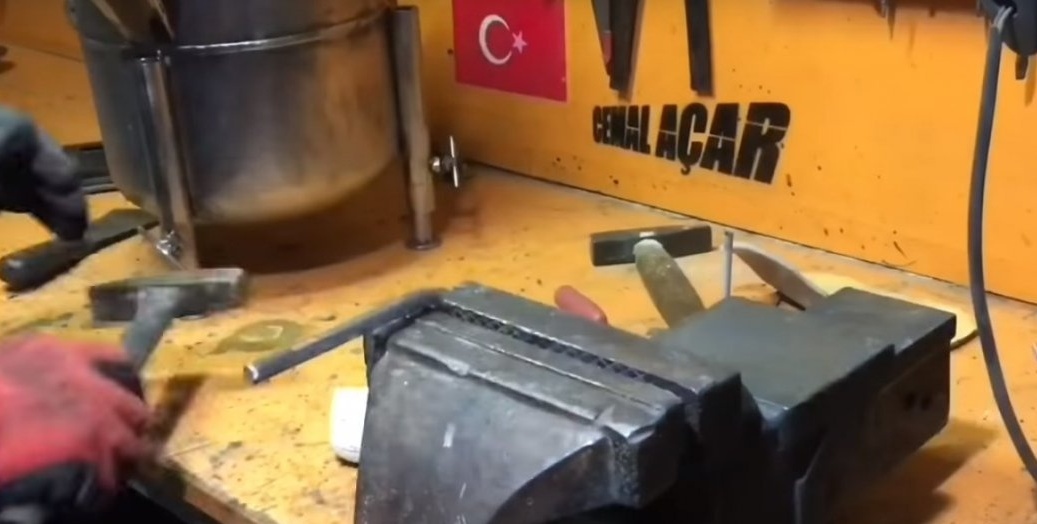
And welded it to the chimney.
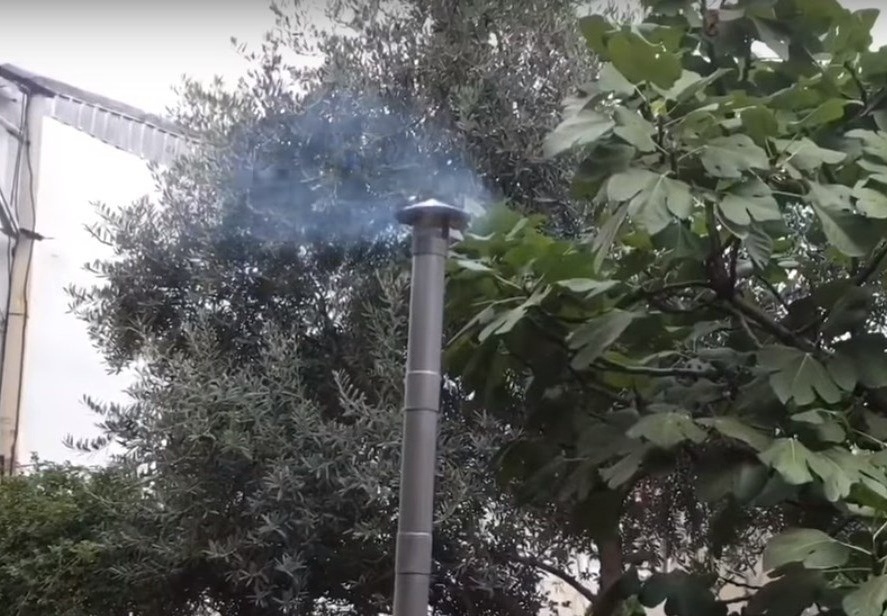
In conclusion, the author made a fungus for the pipe.


Set it on one of the pieces of pipe.
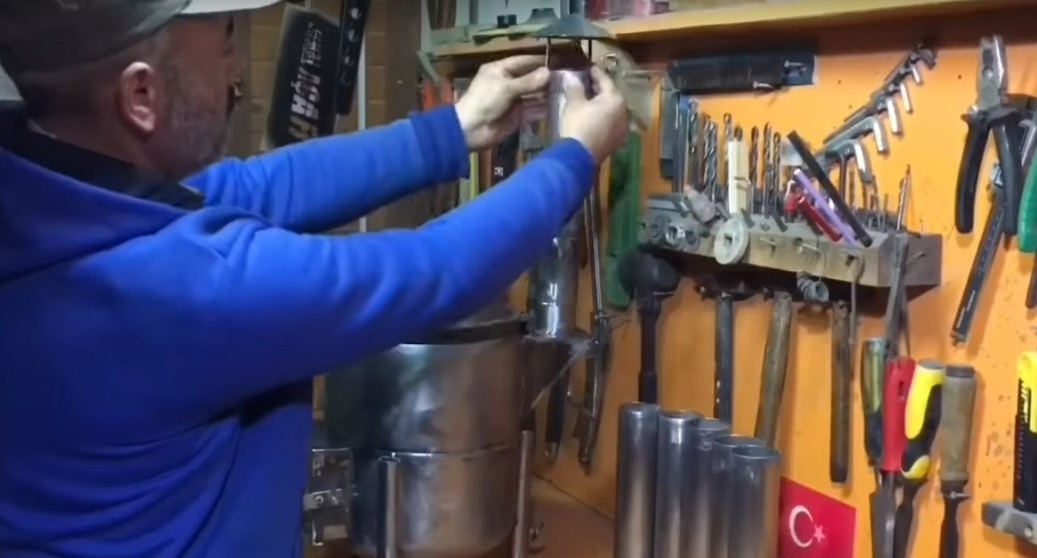
All removable parts during transportation fit perfectly in the oven.
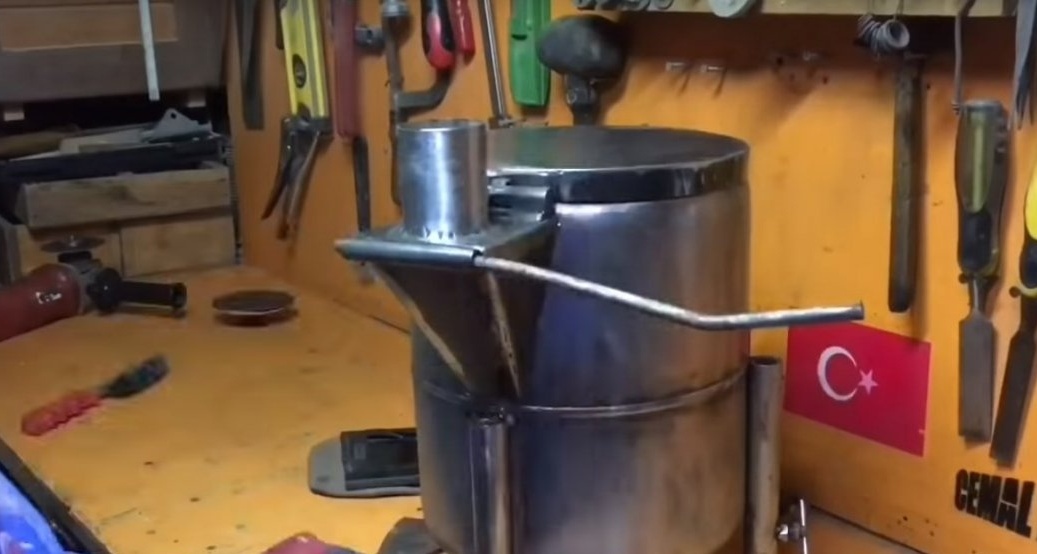
The final stage, the author painted the oven and all the details.
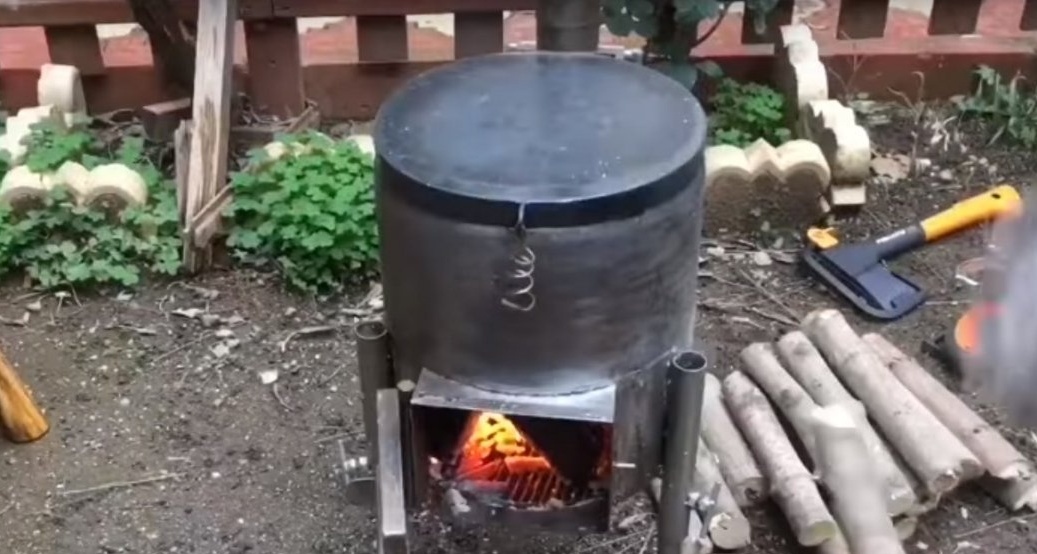
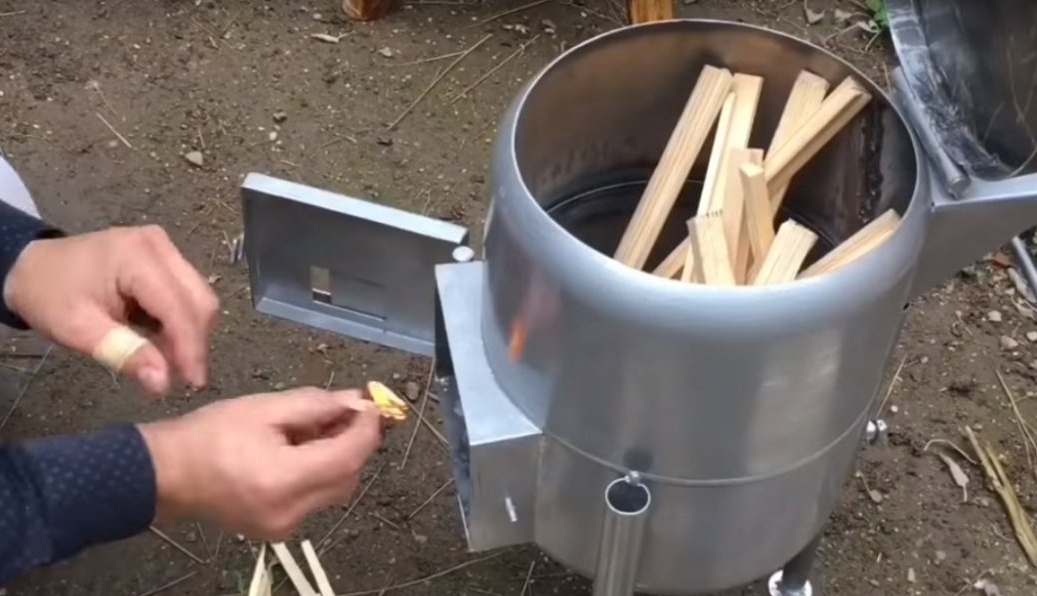
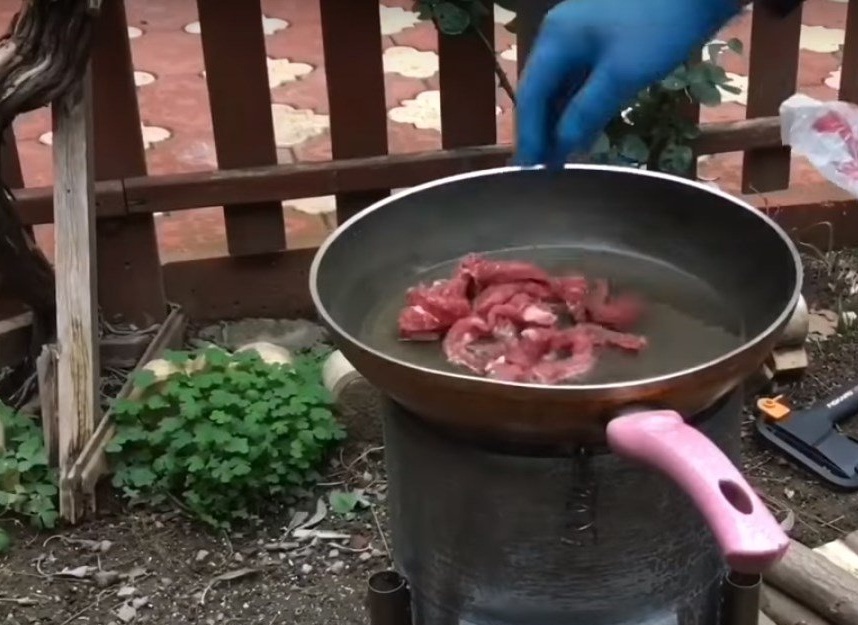
Well, now, the long-awaited test.
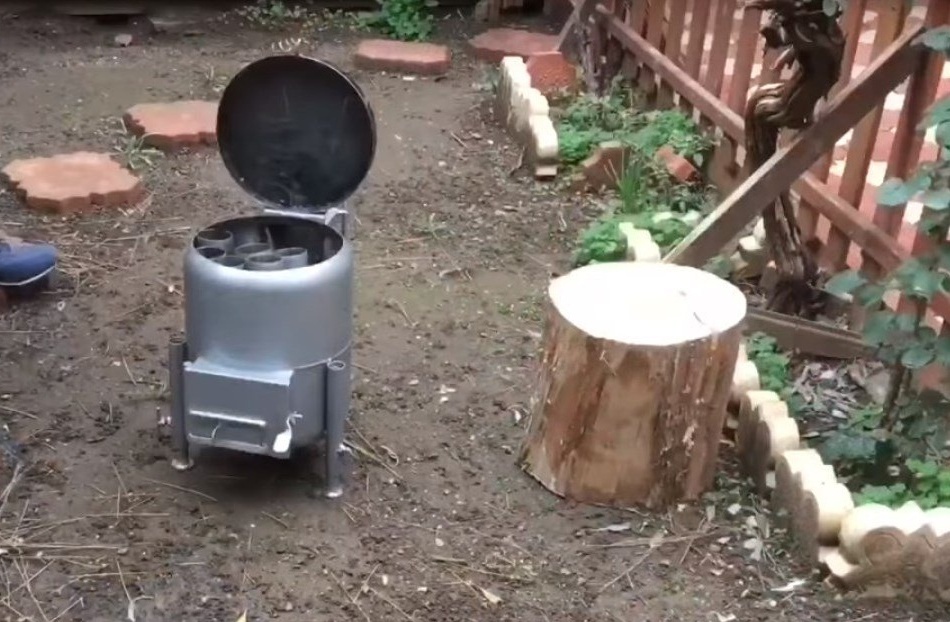
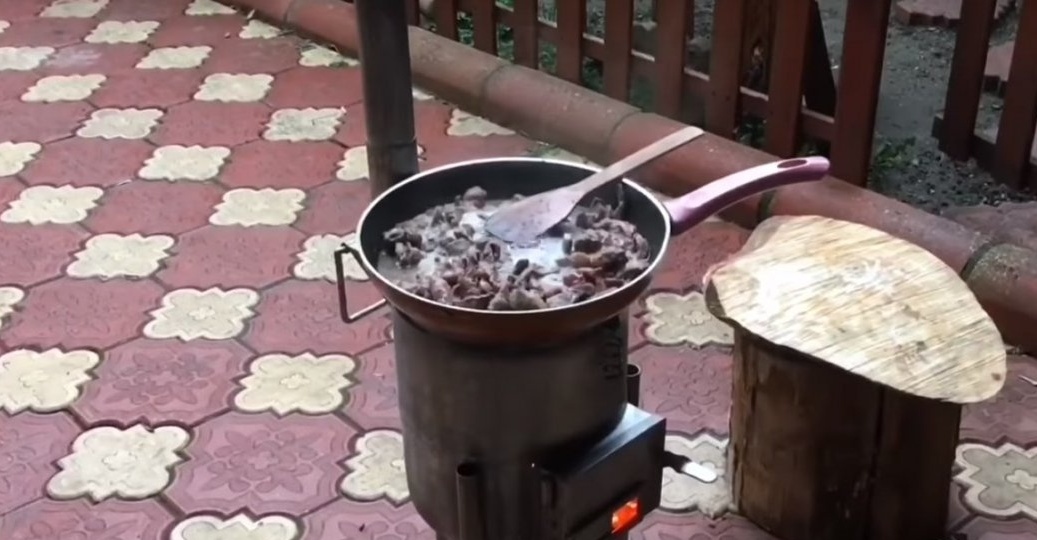
Assembly of the furnace takes only a couple of minutes of time.
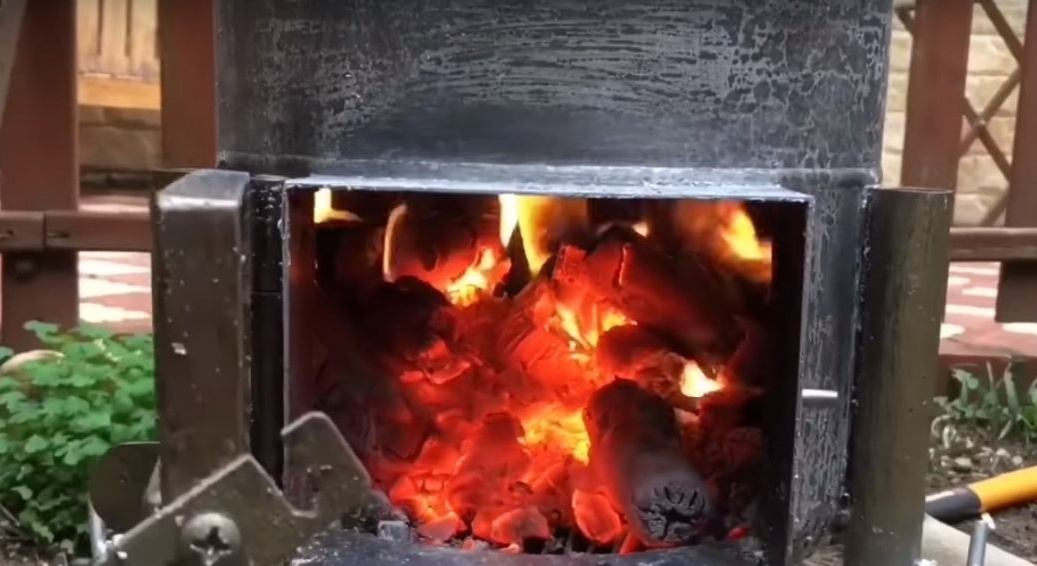
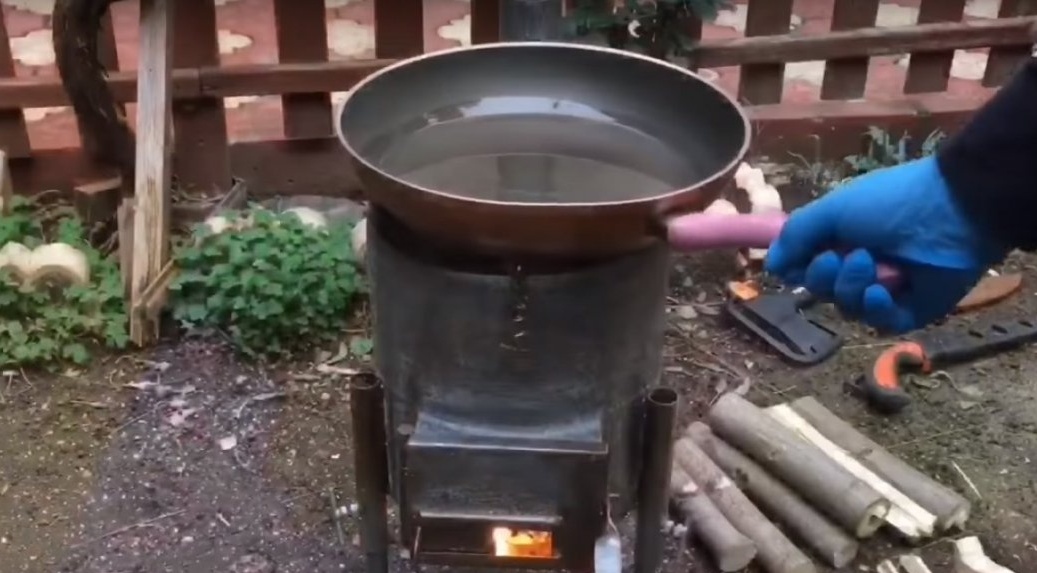
I think this stove is useful to many lovers to relax in nature.
I want to thank the author for such a good homemade.
And that’s all for me. Thank you all, good luck and see you soon!