

Good day to all. Today, the author of the YouTube channel "Home Master" will share with us how he built a chicken coop for layers do it yourself in 4 days.
Materials:
Two meter board 25x150. Qty 135 pcs
Bar 50x50. Length 2 m. Qty 50 pcs
Board 50x100. Length 2 m., 2 pcs. Length 1.5 m 3 pcs. (Strapping.)
Profile pipe 60 to 60. Four pcs. 1.5 m each
The steel strip is 4 mm thick. About 1 m
Ruberoid 1 m
Penoplex 19 sheets
C21 decking two sheets two-meter, and two sheets of 1.5 m.
Skate, galvanized 200mm length 2 m
70 pieces of roofing screws 28 mm and 10 pieces for the ridge 40-50 mm
Oil processing
Screws 50 mm and 90 mm
Old window
Hinges. Pens. Hooks Espagnolette
Reinforced corners 50 to 50 20 pieces
Polyurethane foam 1 cylinder
OSB sheet 2000 mm by 600 mm. Can be replaced with six boards 25 to 150
Nails
Instruments:
Screwdriver
Miter saw
Jigsaw
Clamp
Square
Magnetic square
Welding machine
Circular Saw
Vise
Electrodes
Pillar drill
Laser level
Angle grinder
Metal cutting wheel
Drill
Hammer
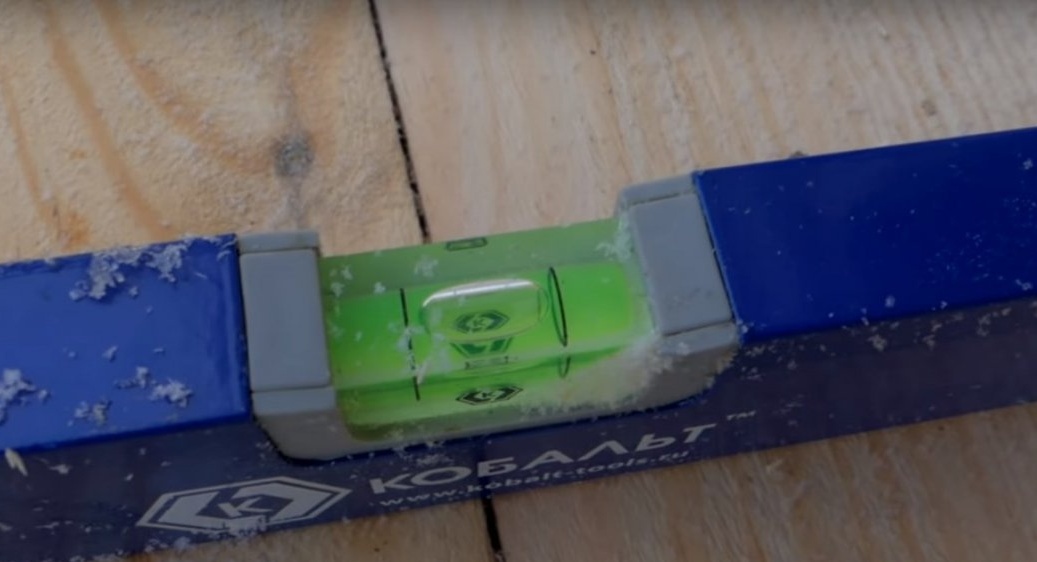
Manual bubble level.
The first day. The author made holes under the pillars (piles.) The master chose this type of foundation because in this place there is a bias, and there is also water nearby.


The size of the future chicken house is 2000cm by 1500 cm.


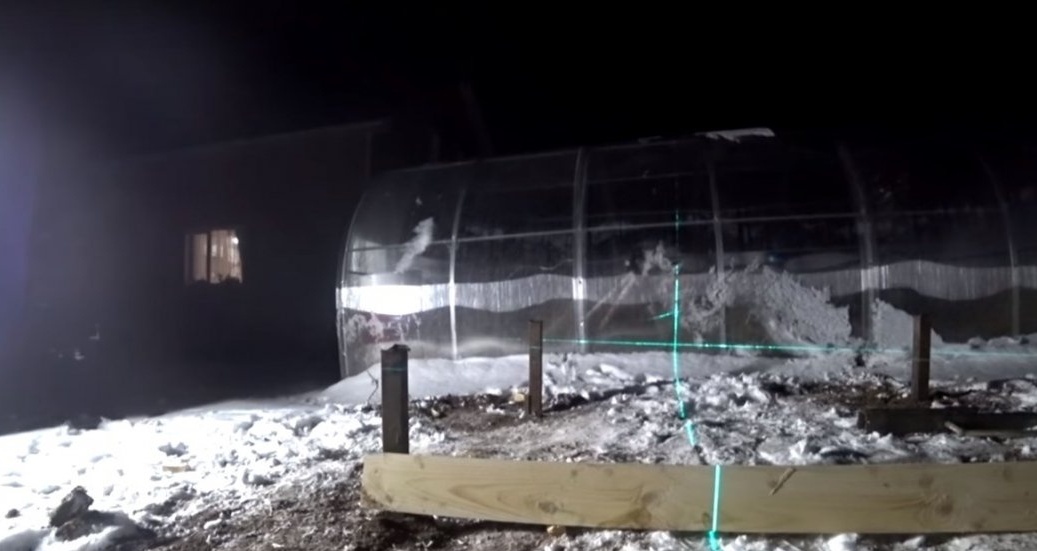
Then, using the laser level, he set the plane and made marks.
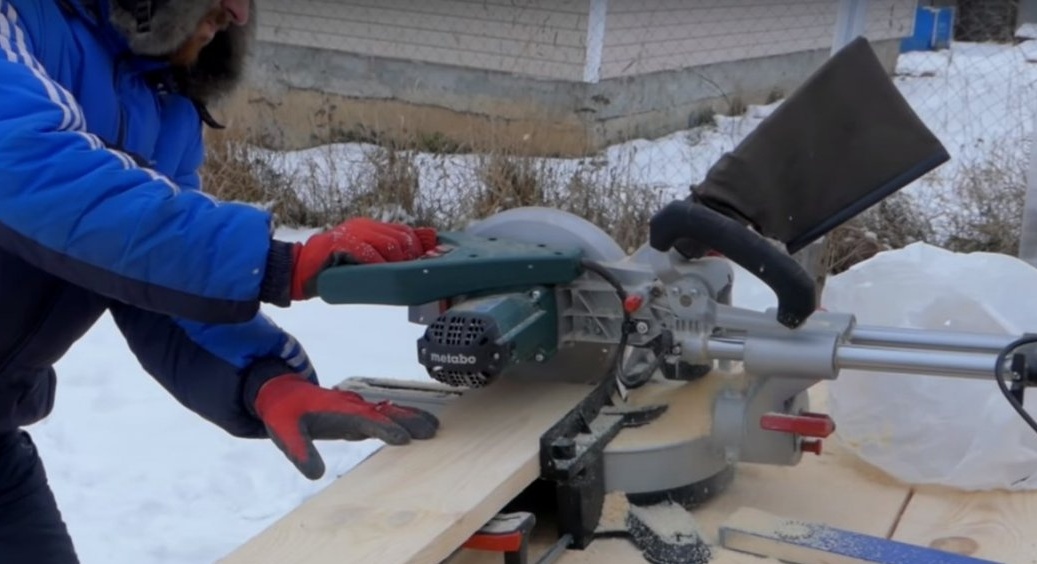
Second day. I cut off all the posts according to the marking.
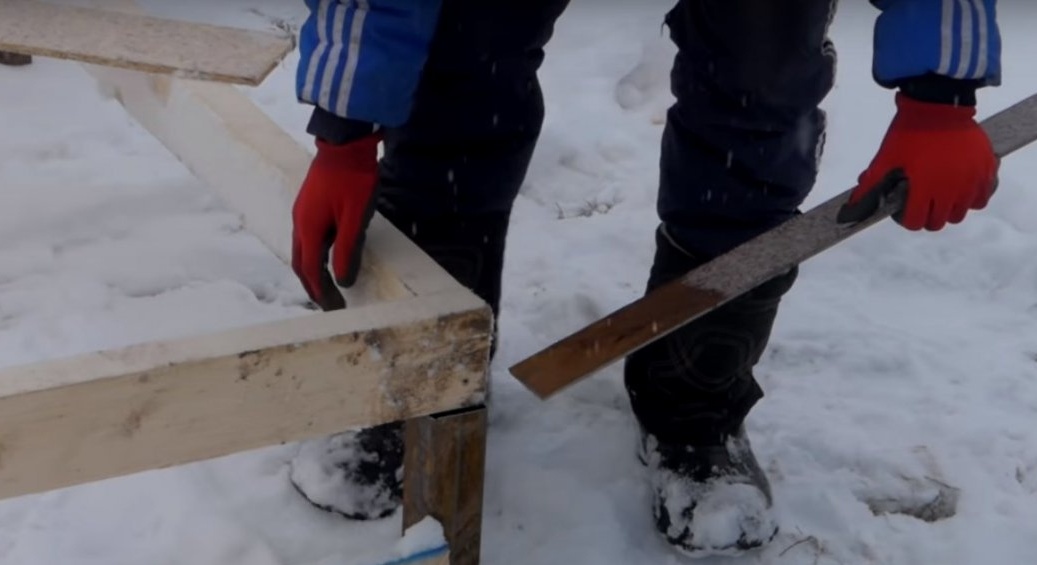
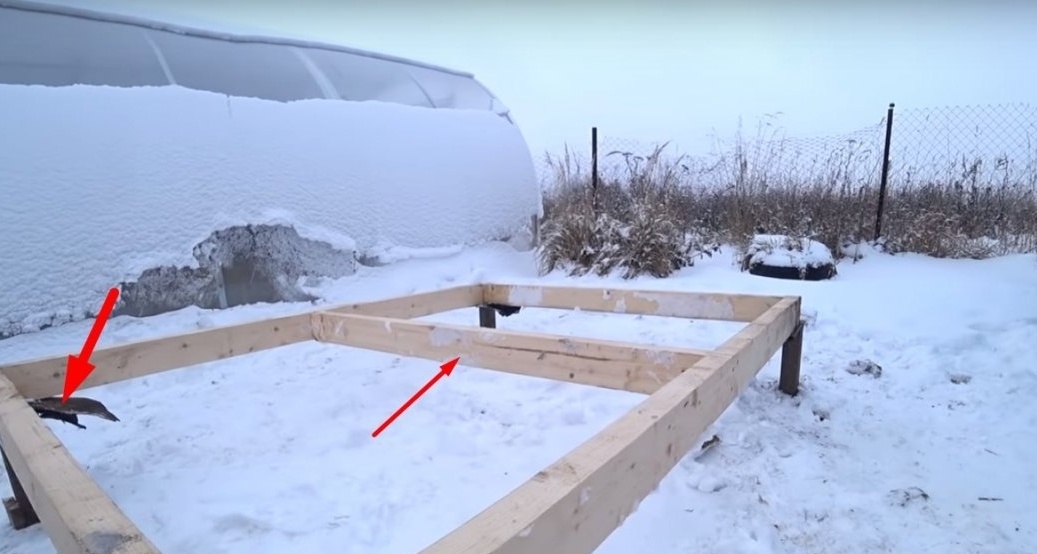
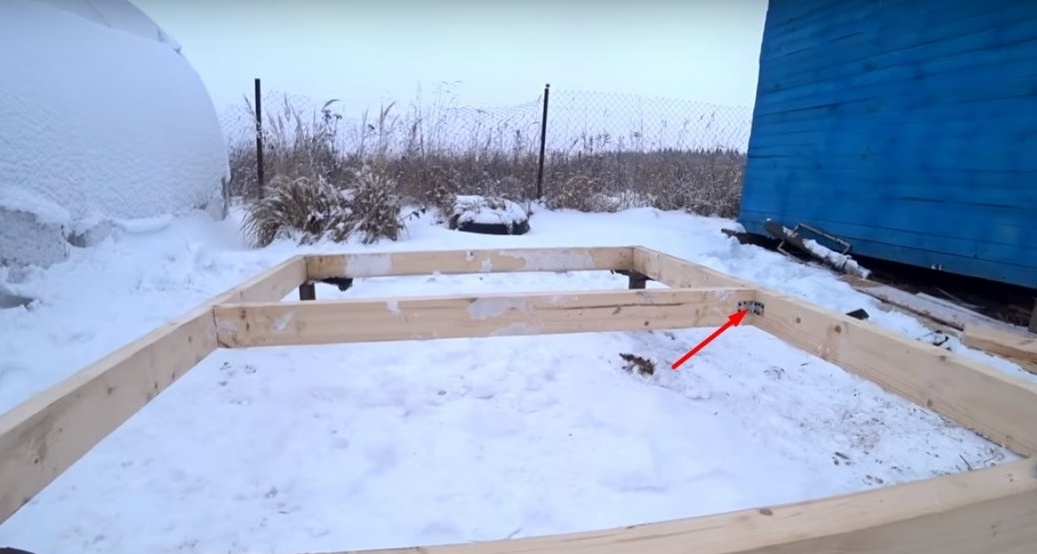
Then he began to collect the harness.
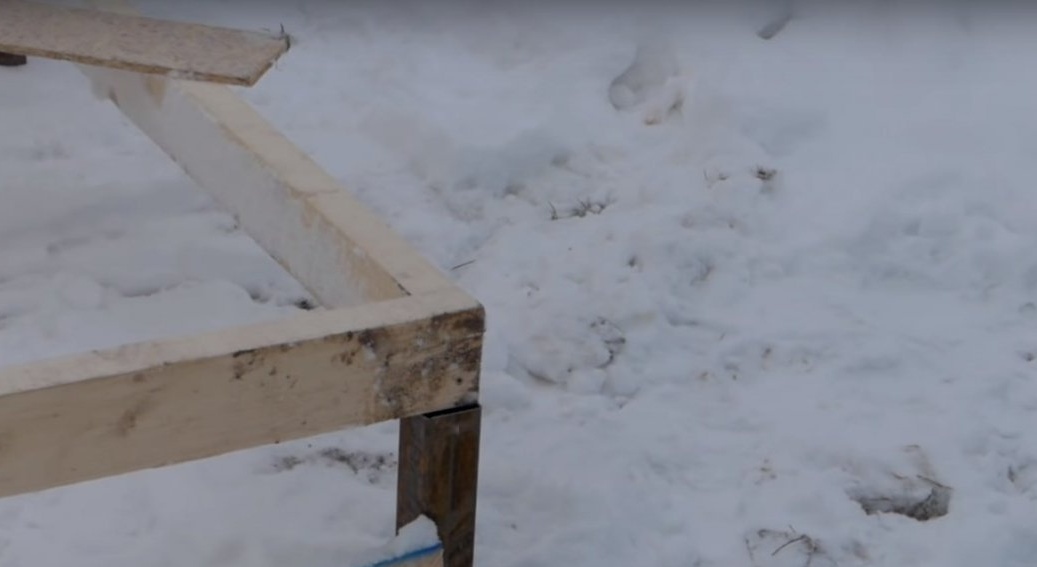
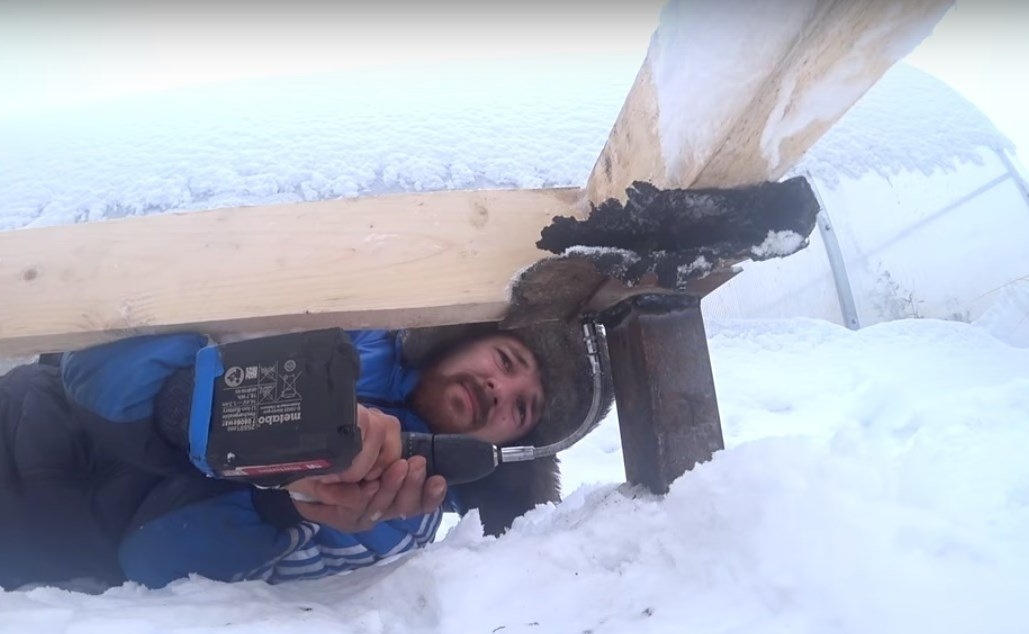
Further under each corner, the author planted a strip of metal.
And cut out on each pillar rectangular workpieces 10 cm by 15 cm.
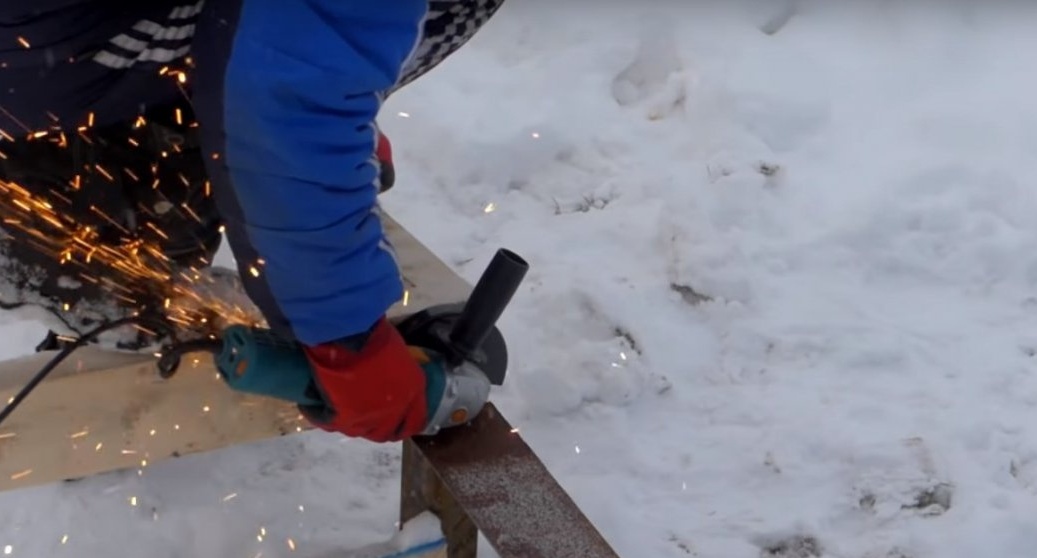
After welded them to the pipes.
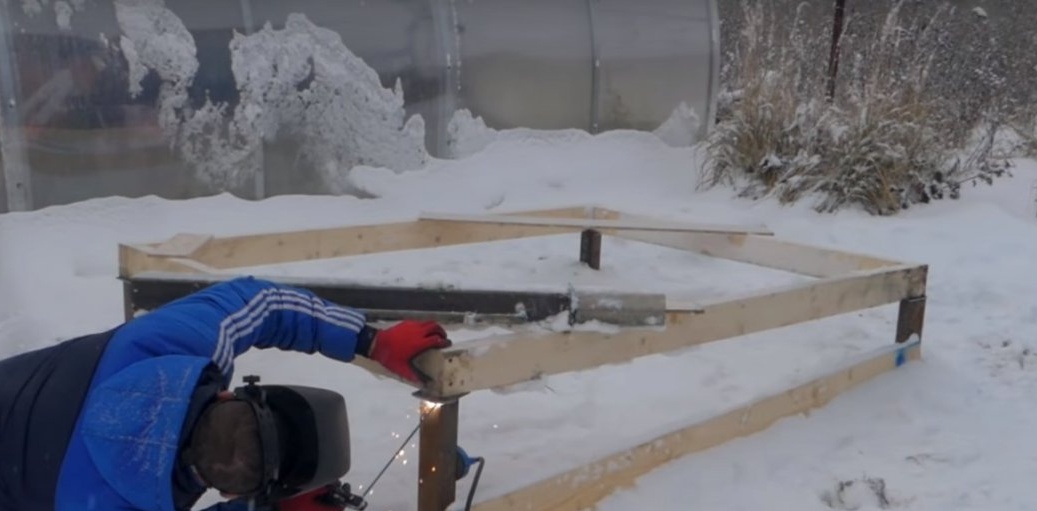
It turned out piles with heads.

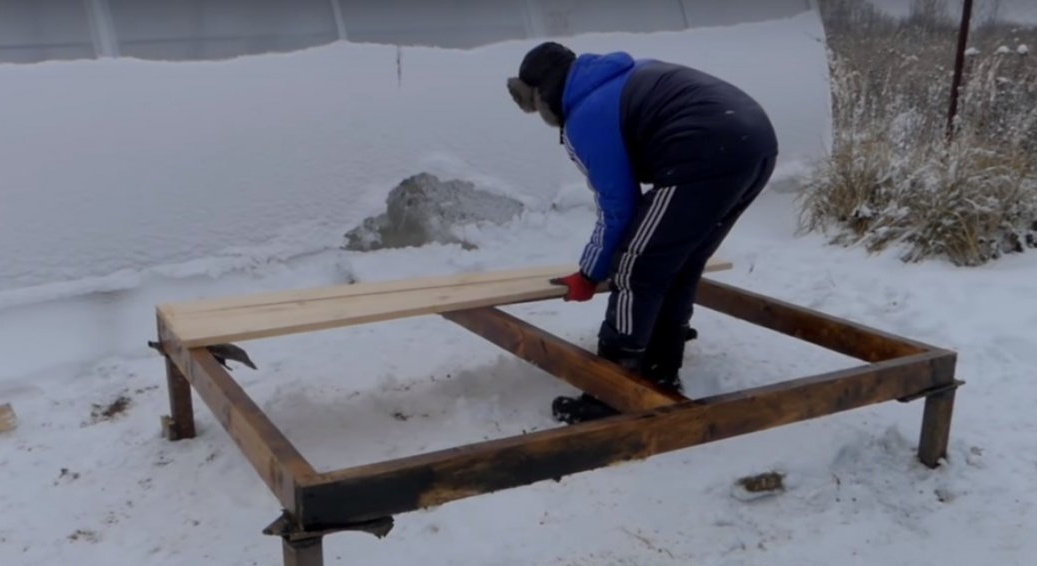
Then he made holes in the plates. And he fixed the harness with screws.
Pre-laying pieces of roofing material. And setting the crossbar in the center for structural rigidity.
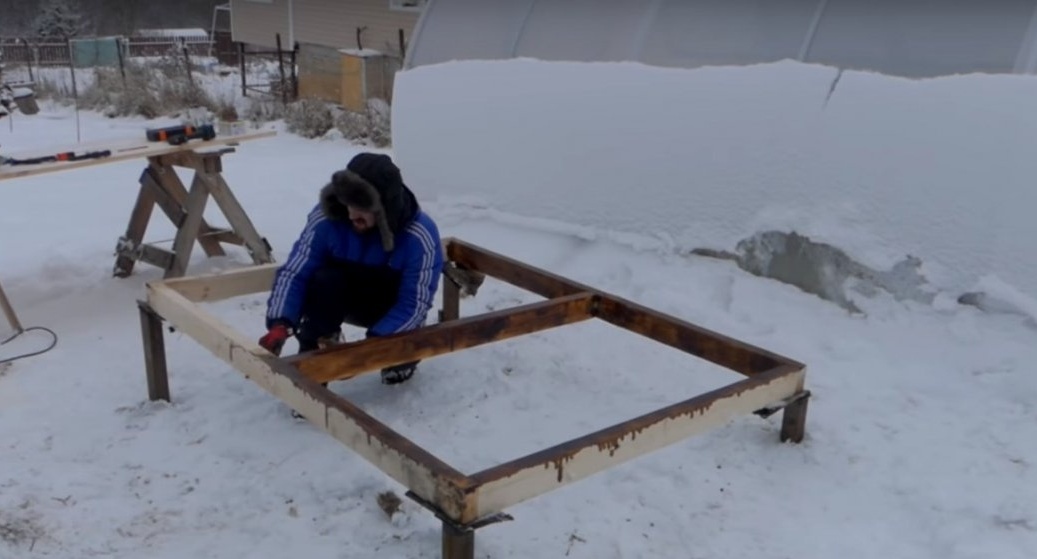
Then he treated the wood with used oil.
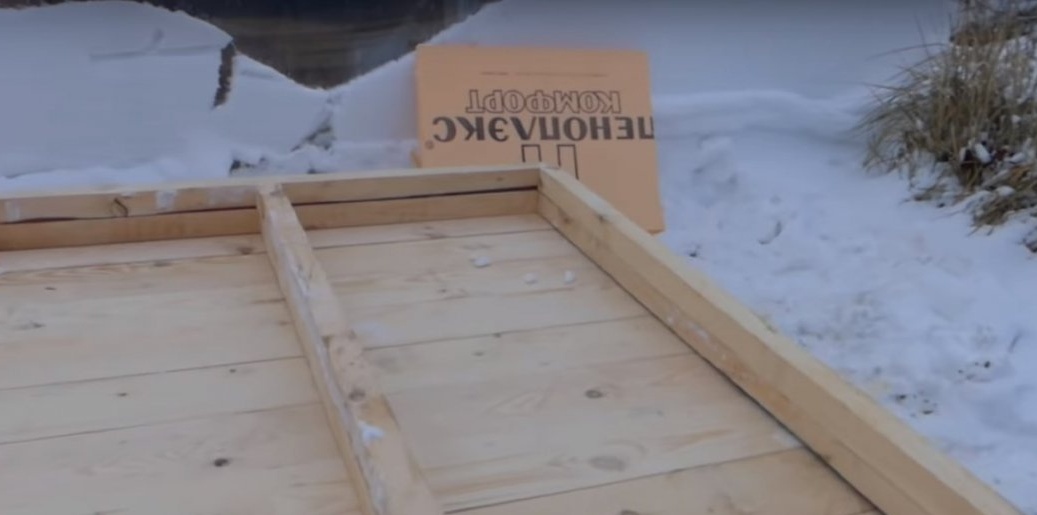
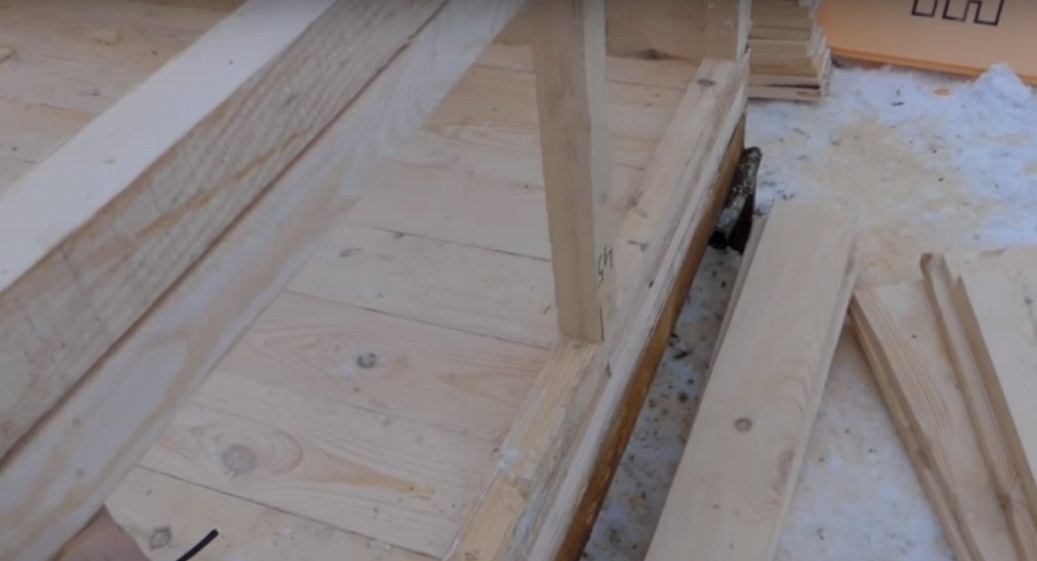
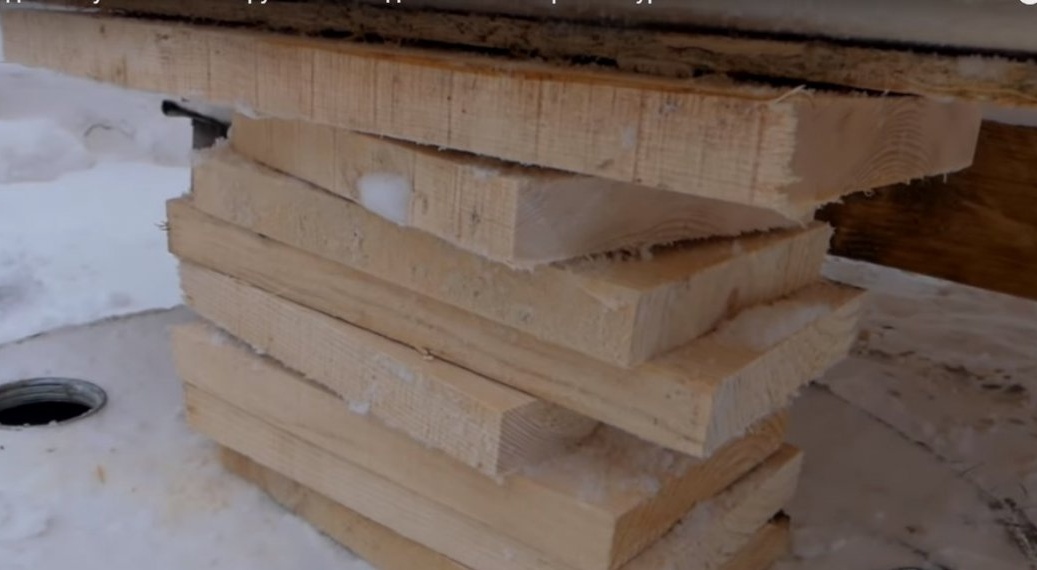
After he made the rough floor from the board 25 to 150.
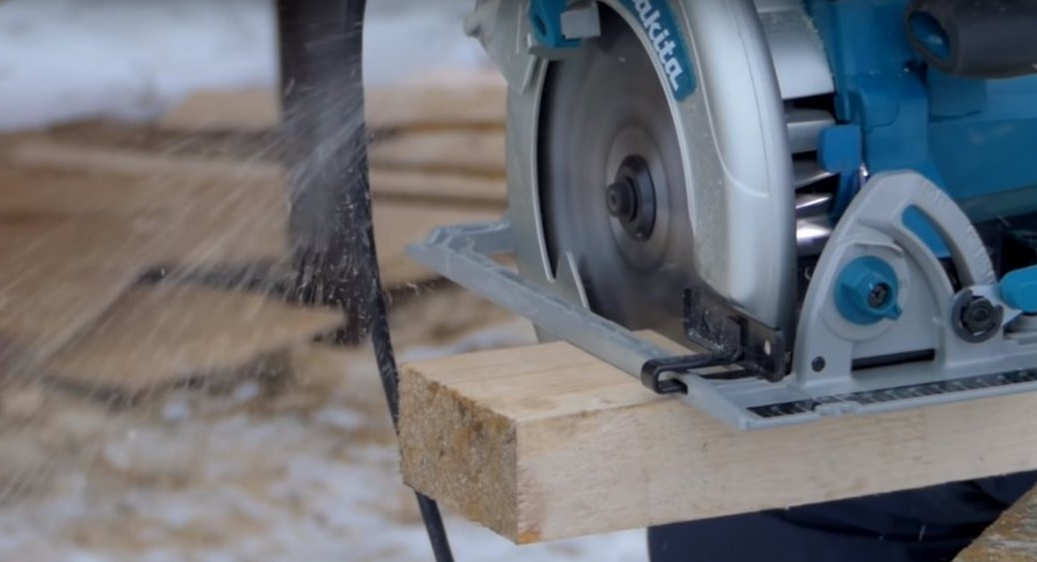
Edges leveled with a circular saw.
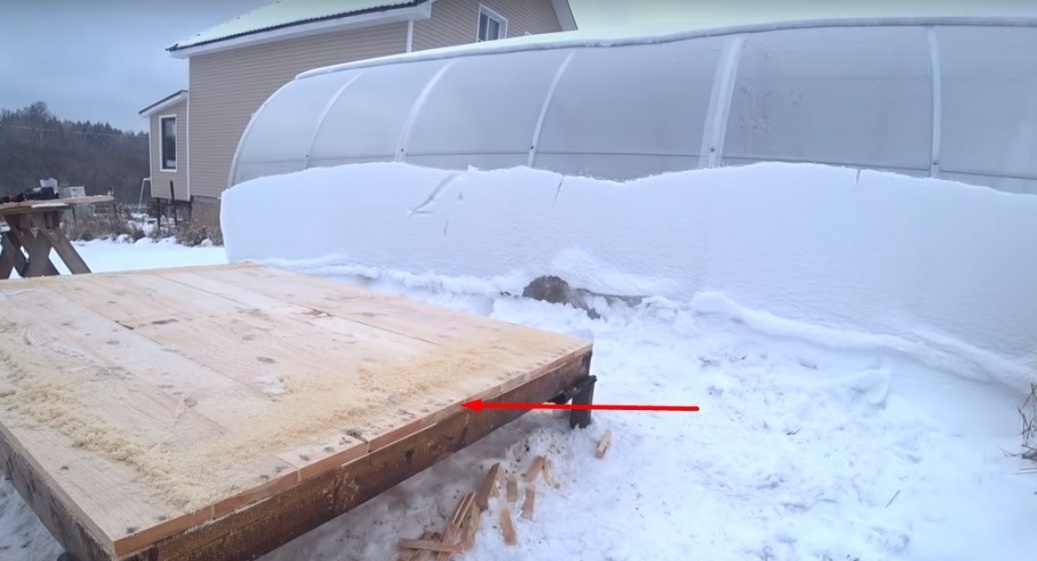
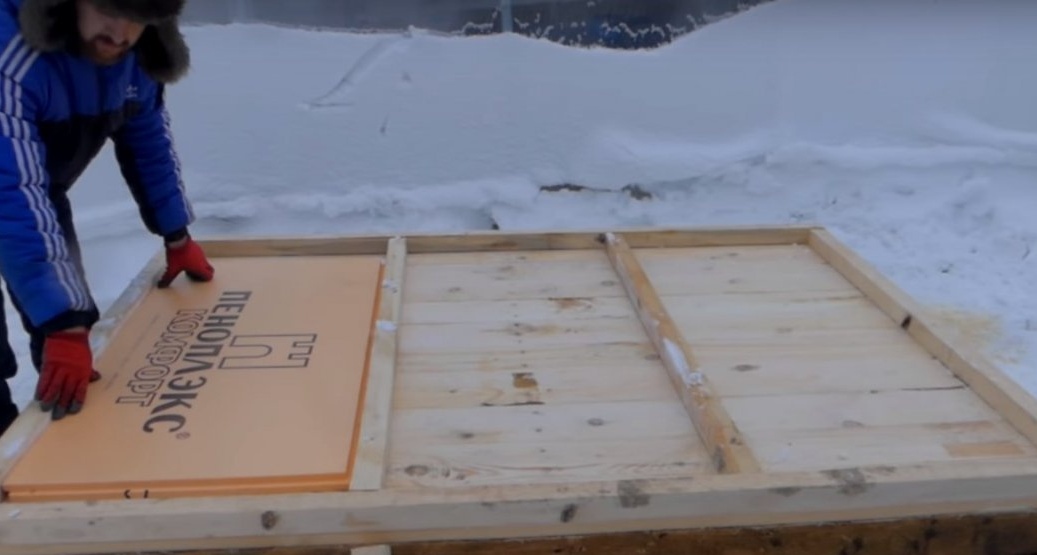
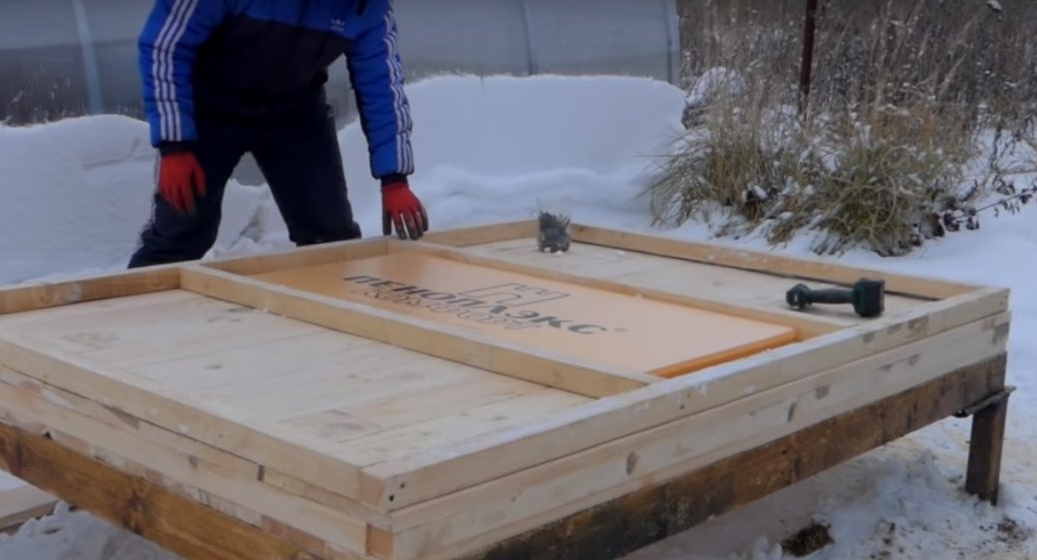
After the board, the author secured the beam 50 to 50 mm, as shown in the photo.
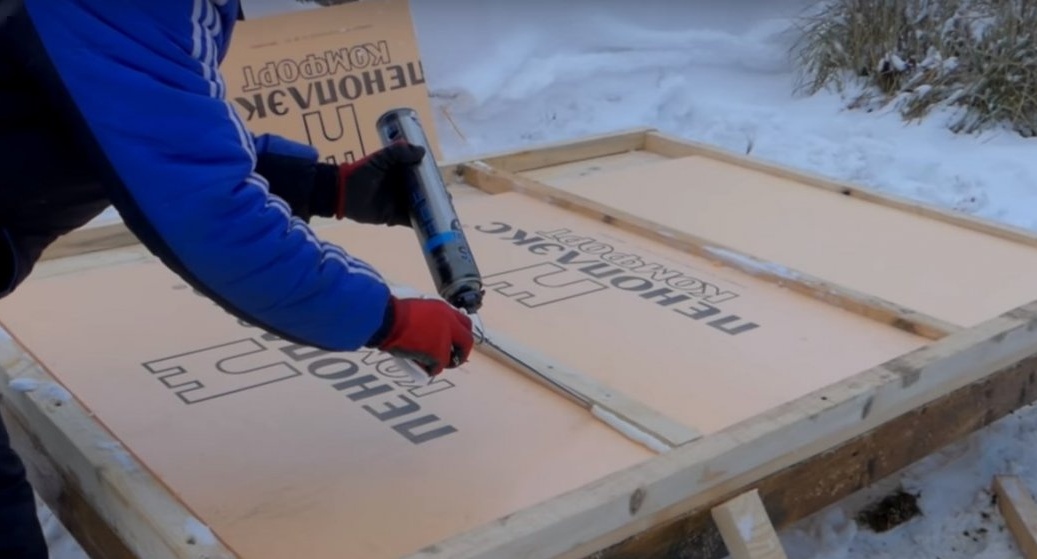
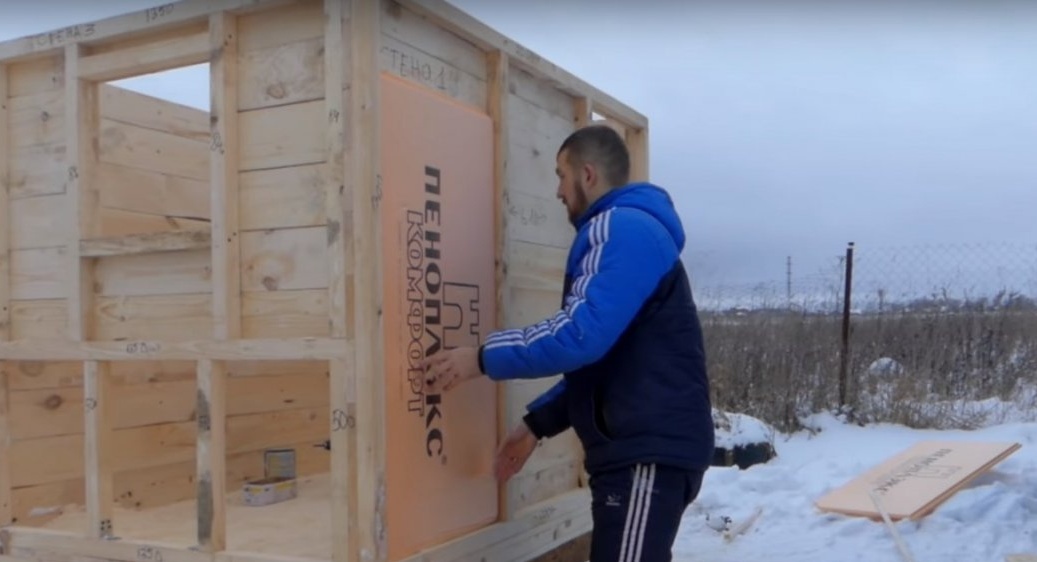
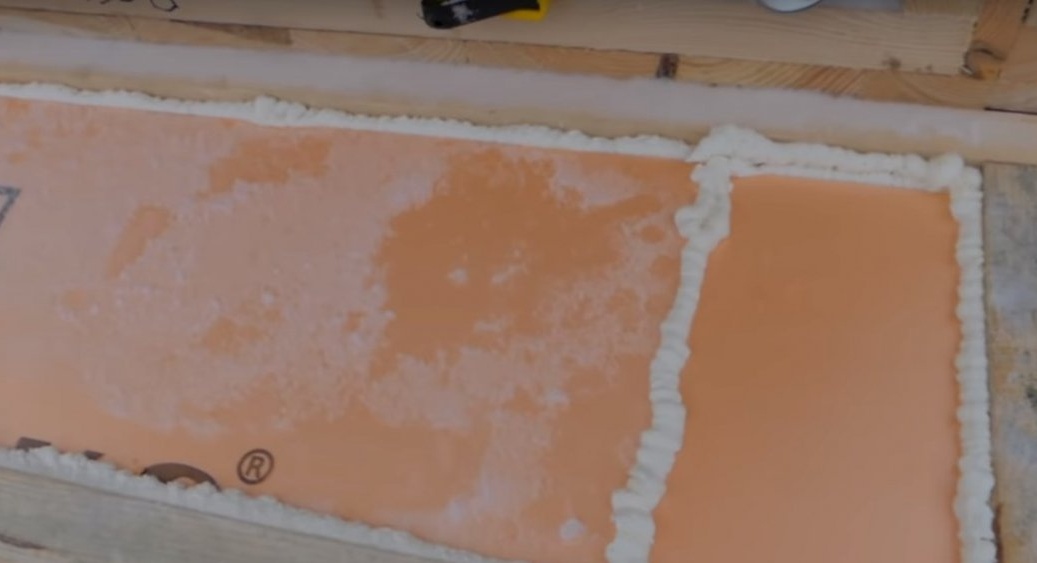
Then he laid the sheets of penoplex.
And sealed the seams.


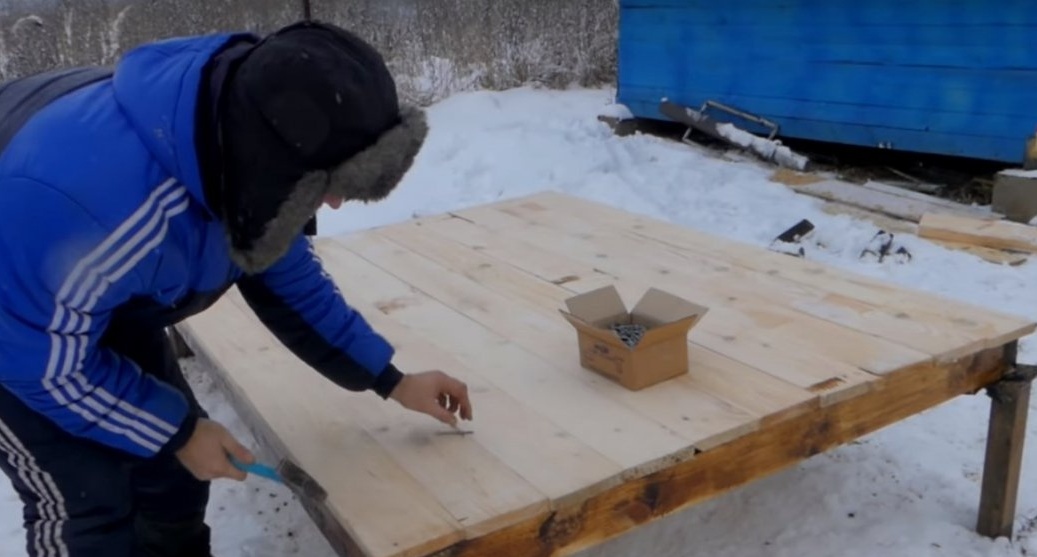
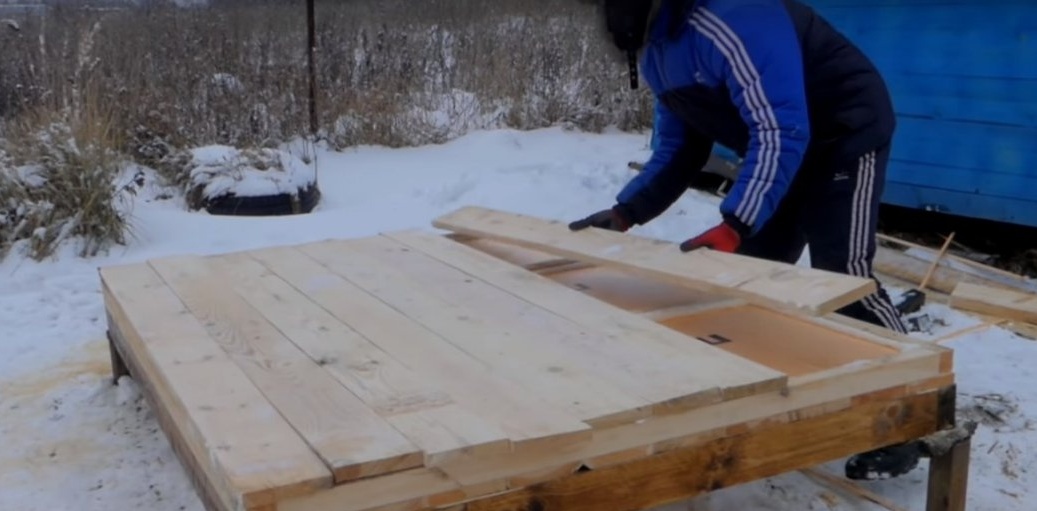
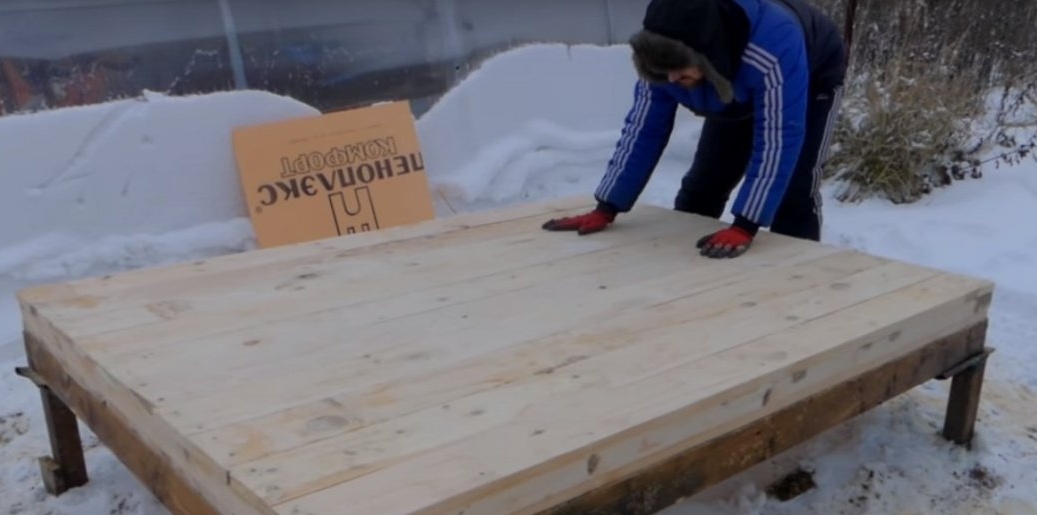
Then she covered everything with a board.
After the author assembled from a beam, two frames. With dimensions, like the floor.
These will be two walls of the future chicken coop.
Having established the frames in their places according to the level, the author temporarily fixed them with jibs.
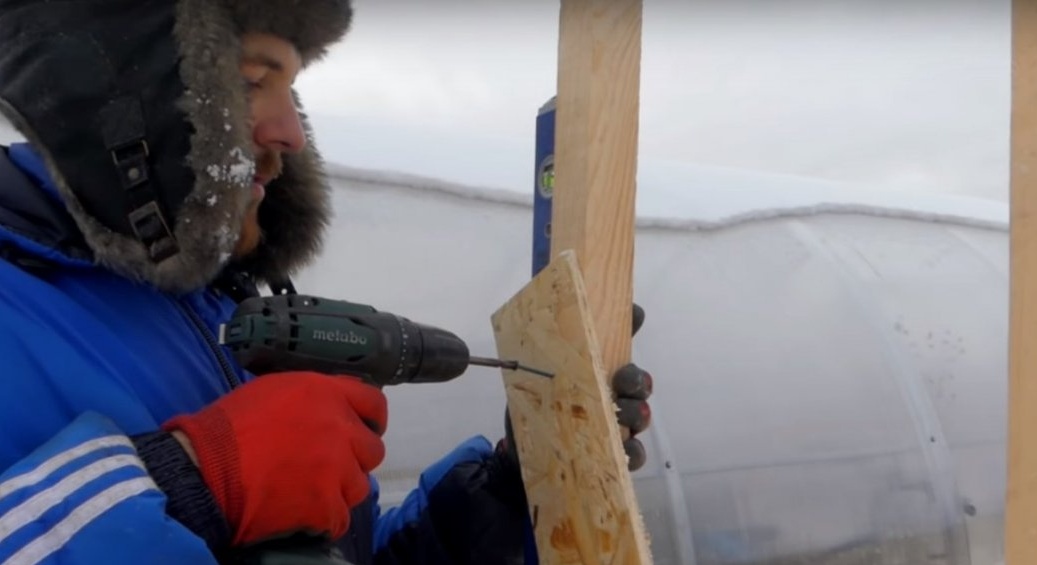
Then he prepared the boards for the inner lining.
And fixed them to the frames of the walls.

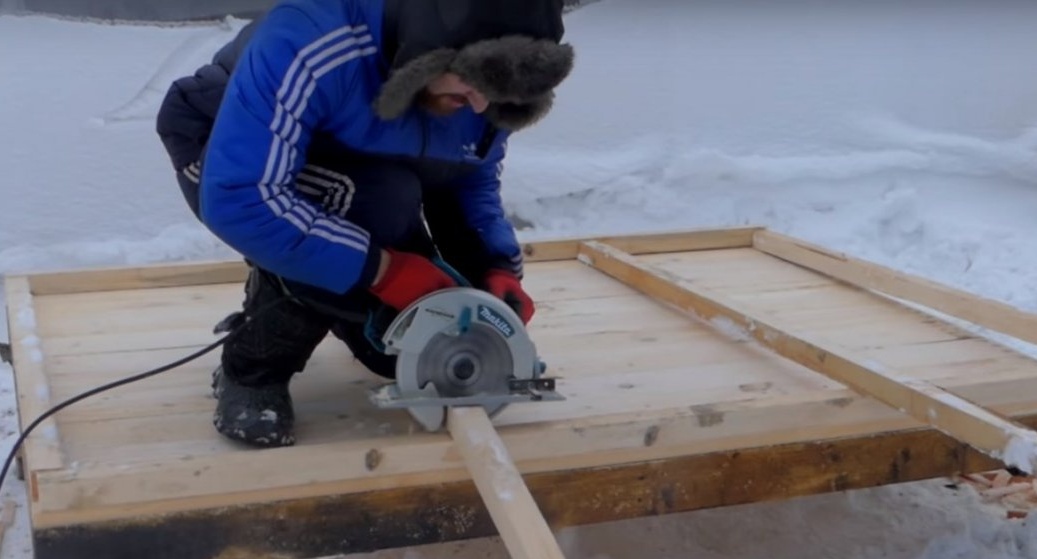
The author leveled the top with a circular saw.

Two walls turned out, on one of the walls, the author left an opening under the door.
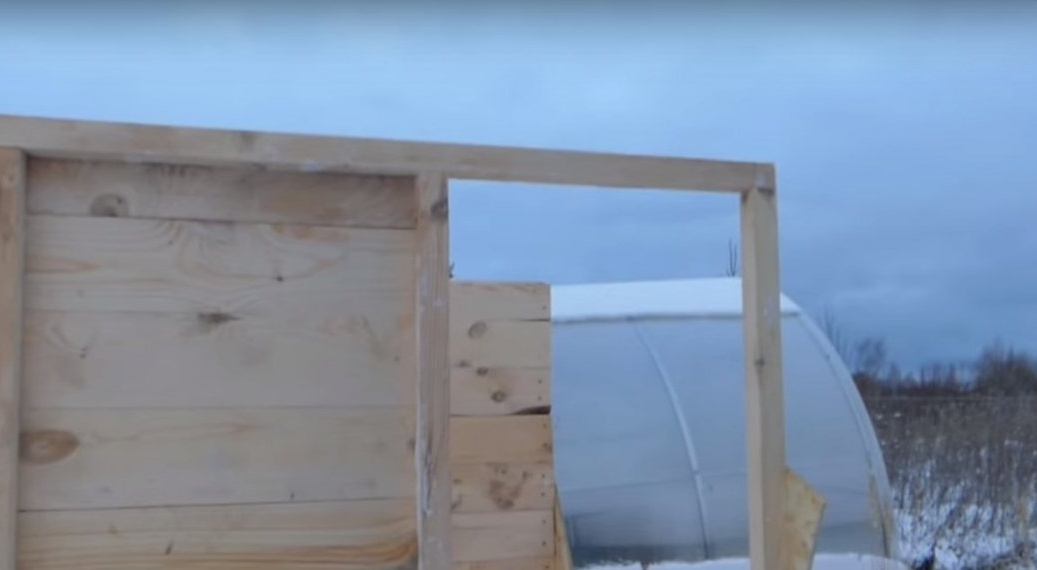
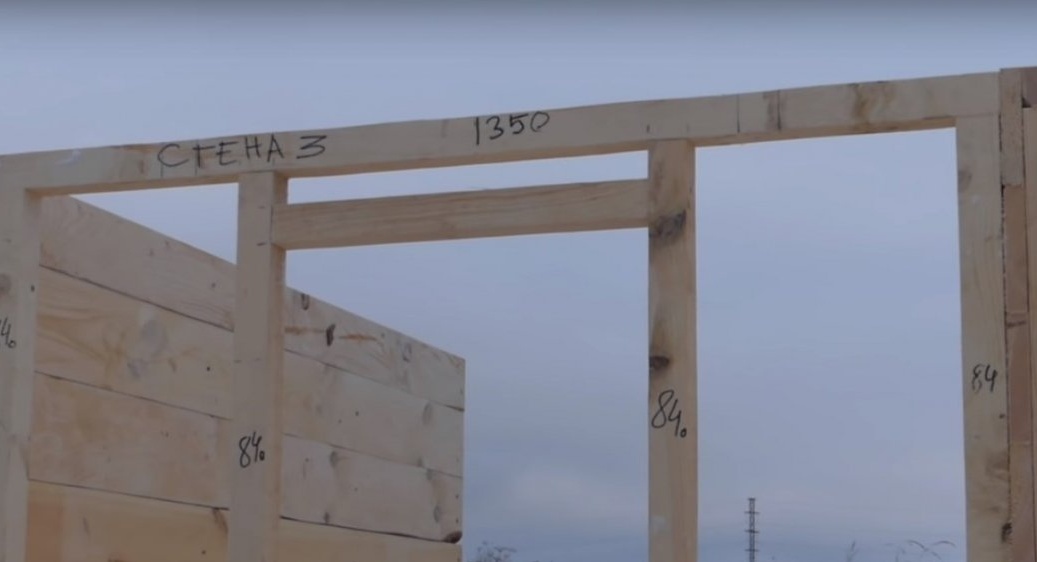
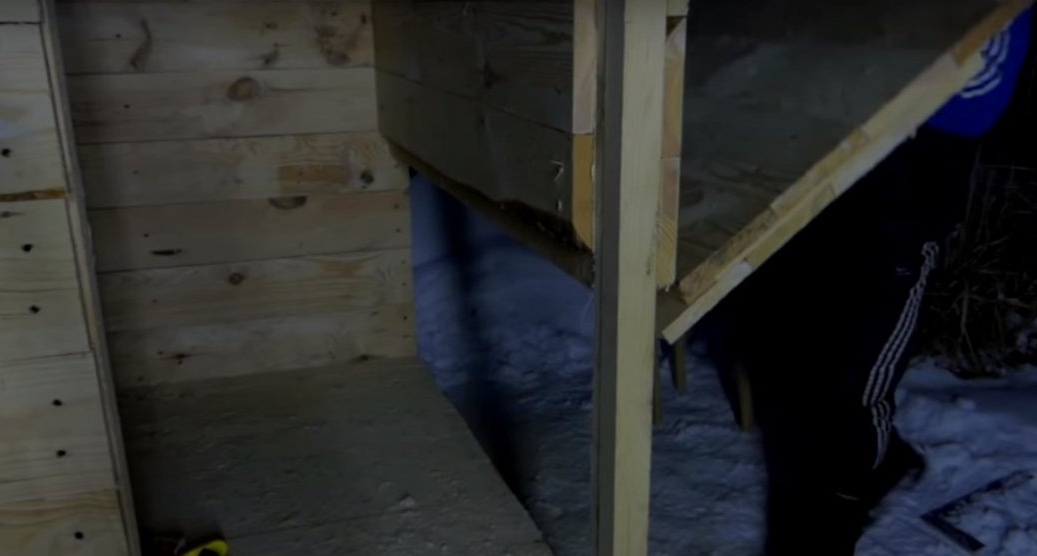
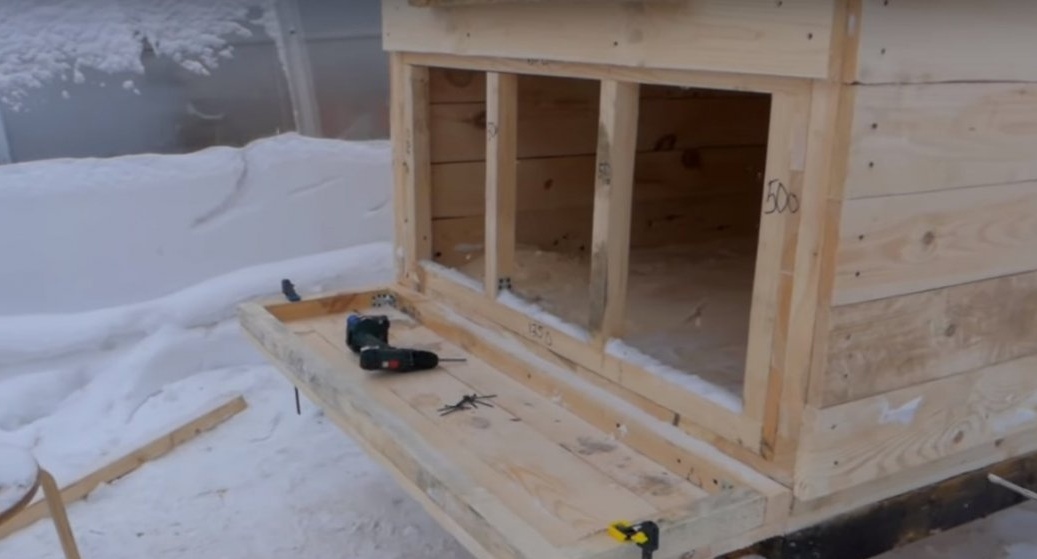
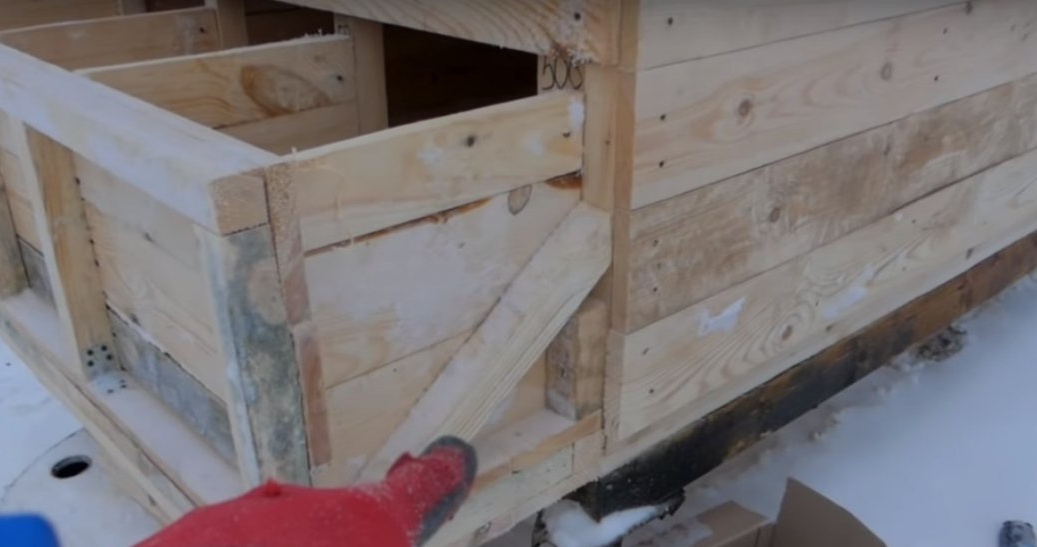
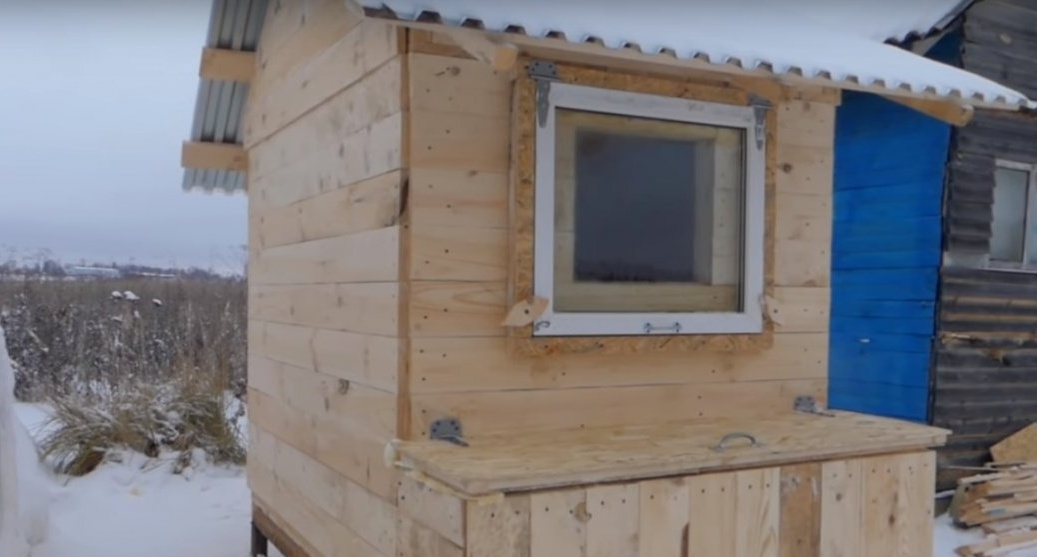
Then the master began assembling the frame of the third wall, on which there will be: a window and boxes for layers. All sizes are clearly visible in the photo.
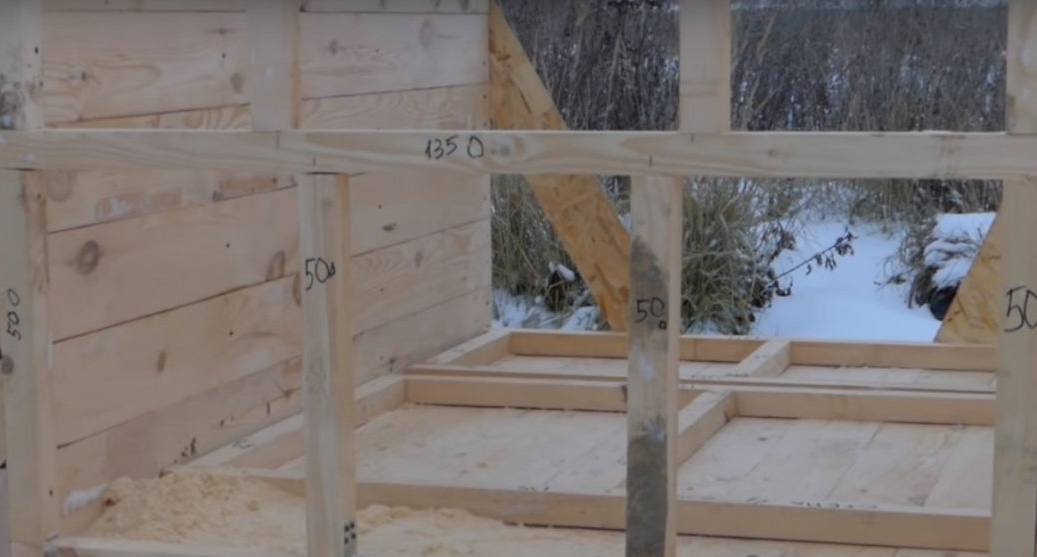
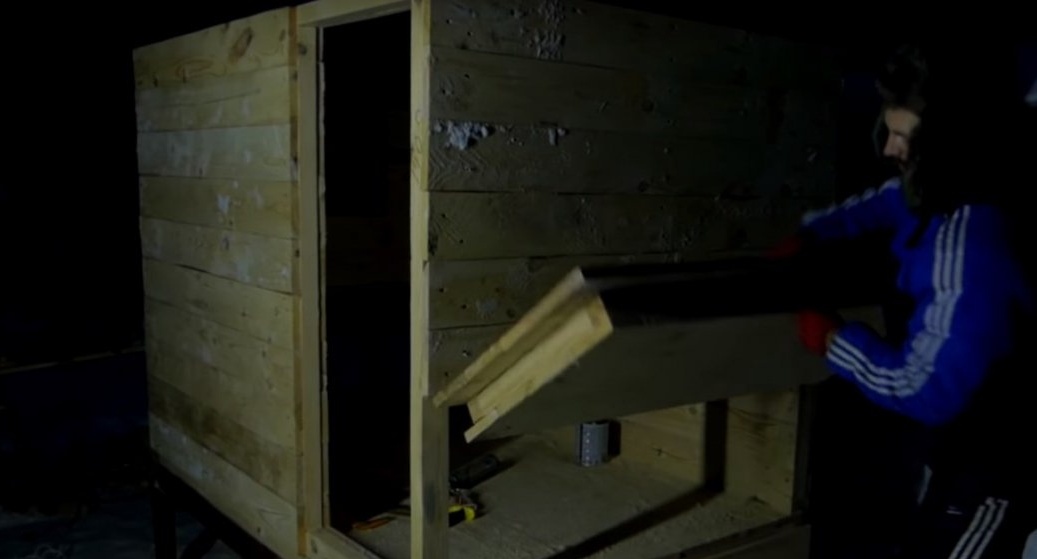
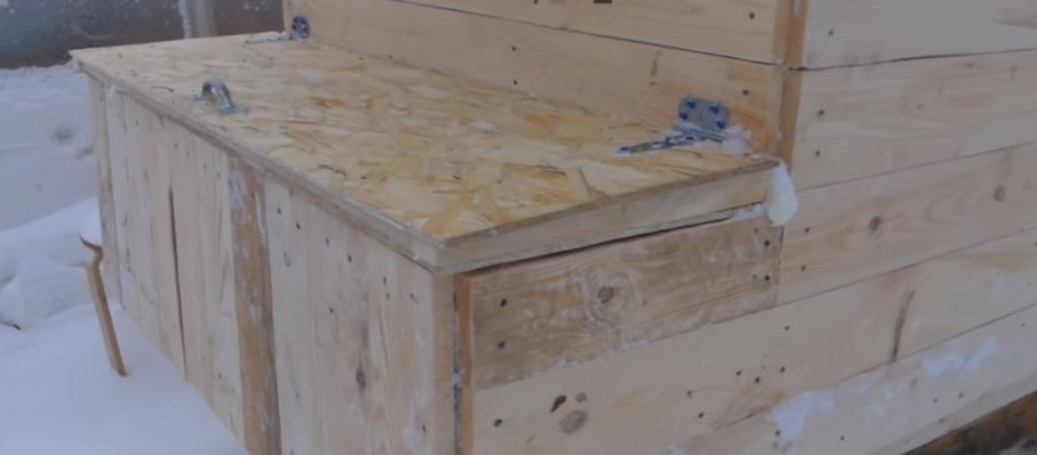
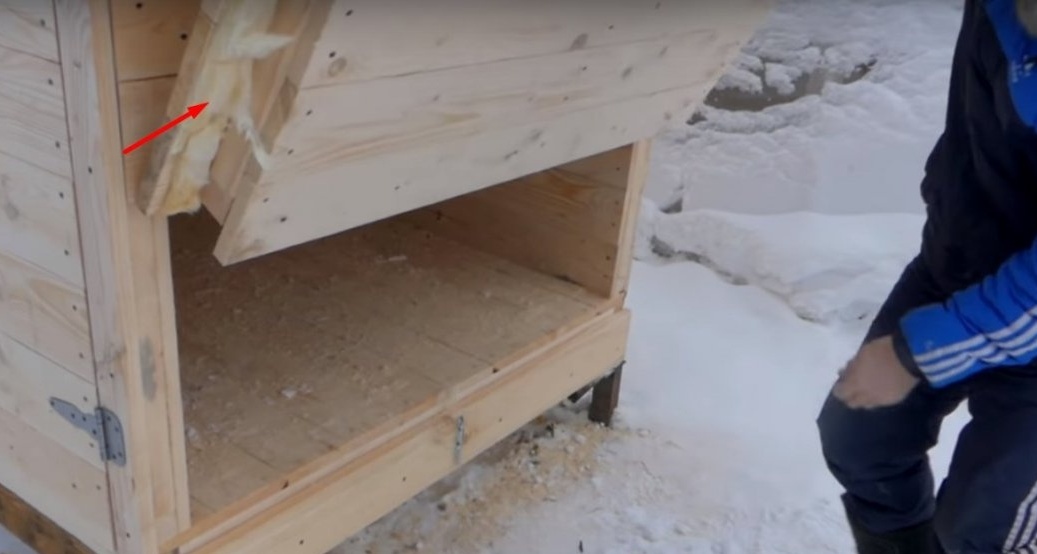
Then he assembled the frame of the last wall. Which, the author made of two sections. He fixed the upper section with screws tightly, and the lower one will be attached to the hinges so that it opens.
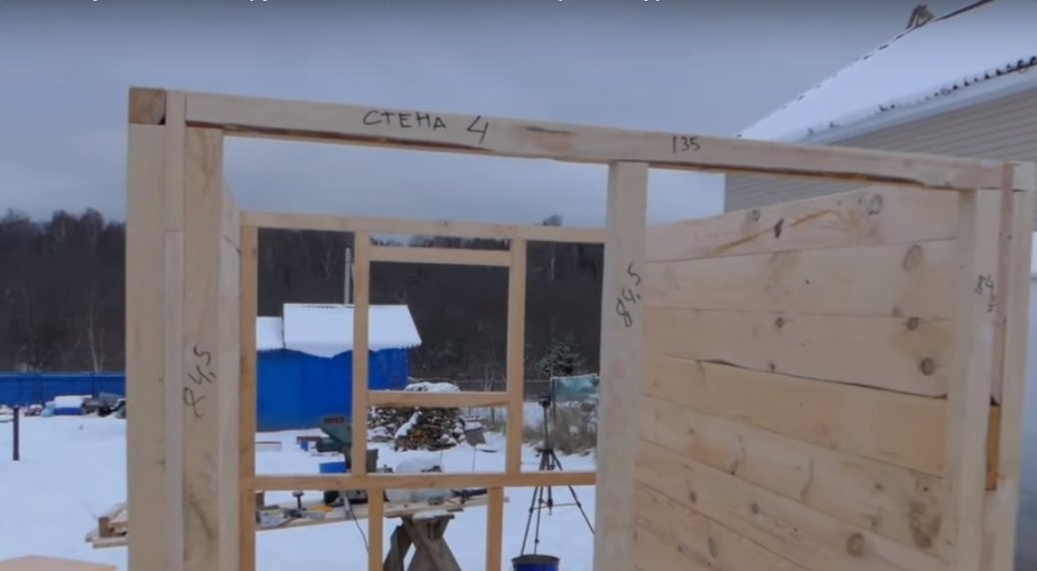
The idea of the author is that by opening the section you can clean the chicken coop without going into it.

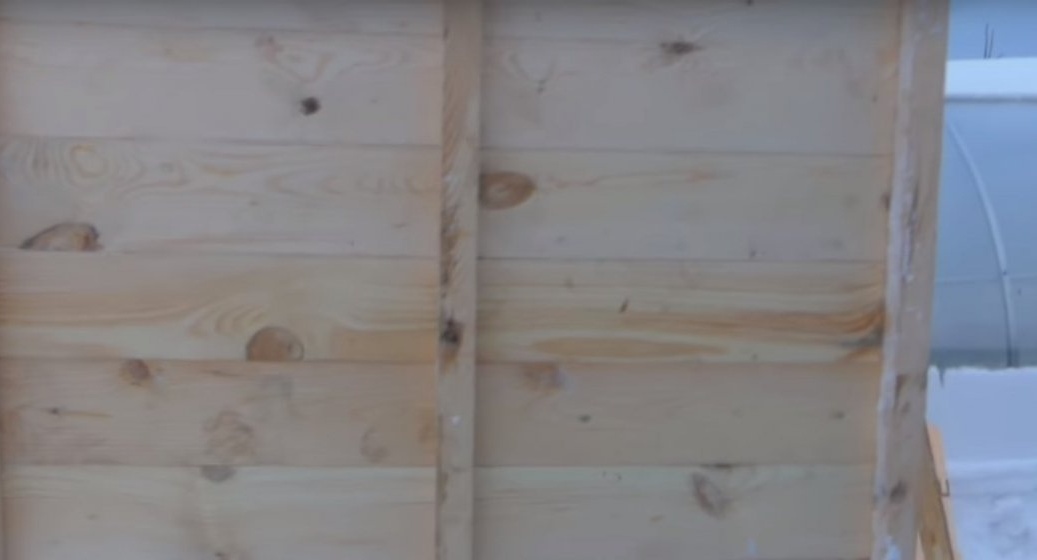
After and these frameworks sheathed a board inside.
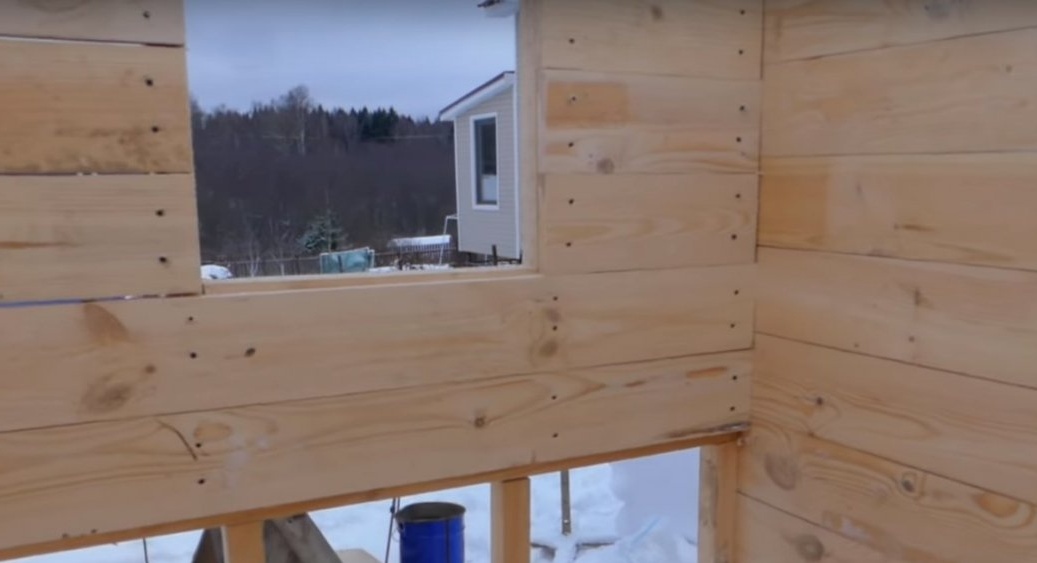
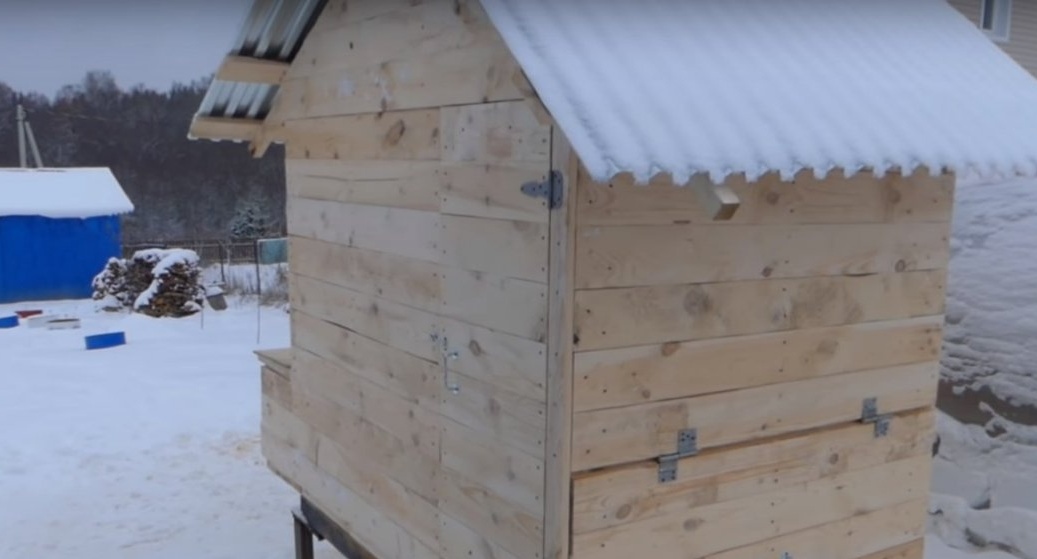
View of the chicken coop from the outside, at this stage.
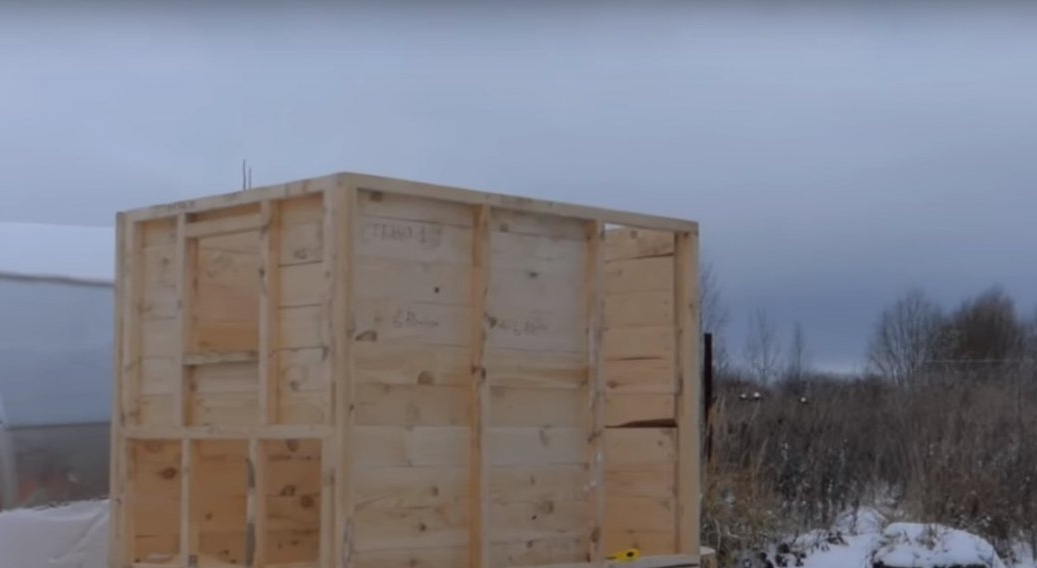
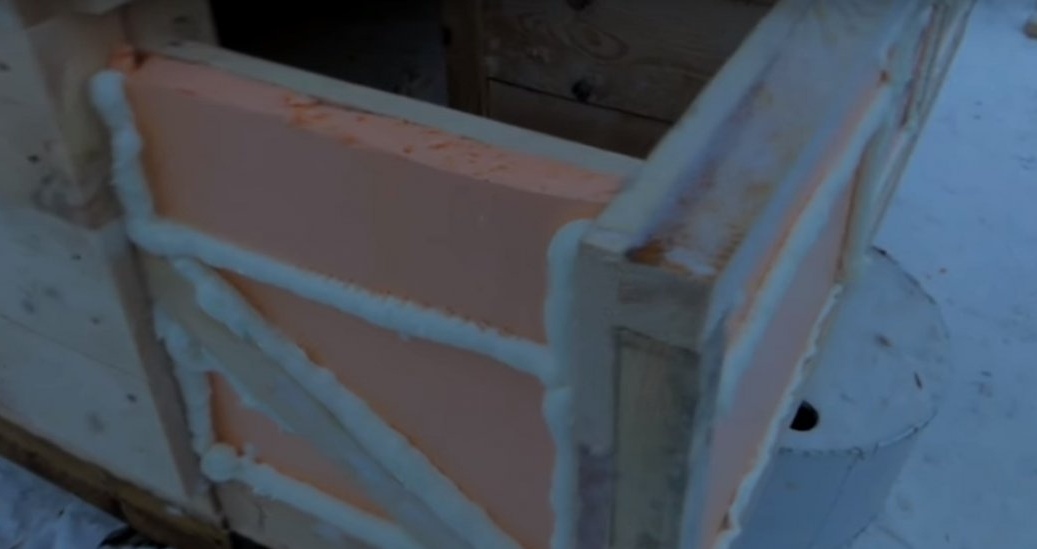
After he insulated all the walls with foam plastic and went through all the seams with mounting foam.
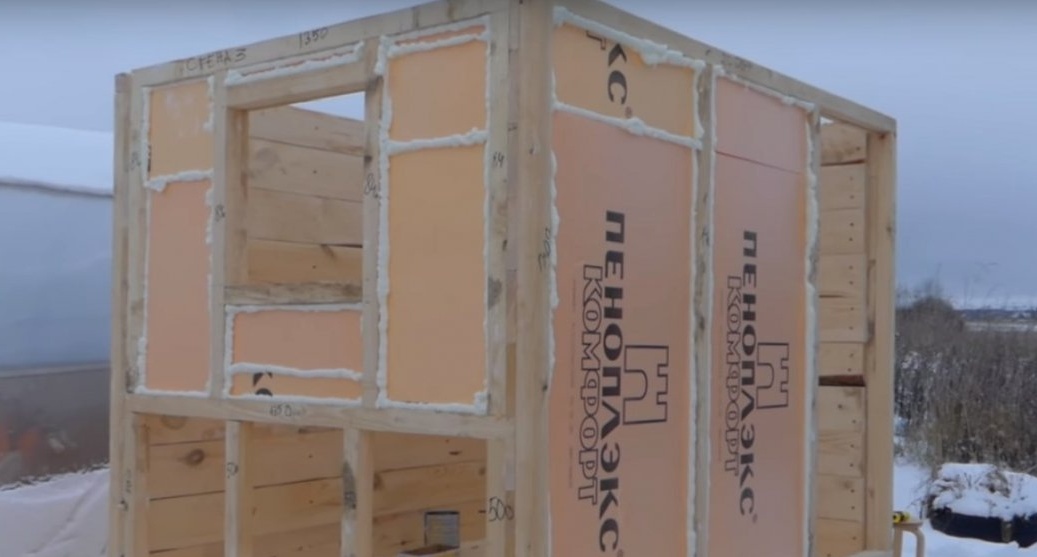
Further, the outer skin.


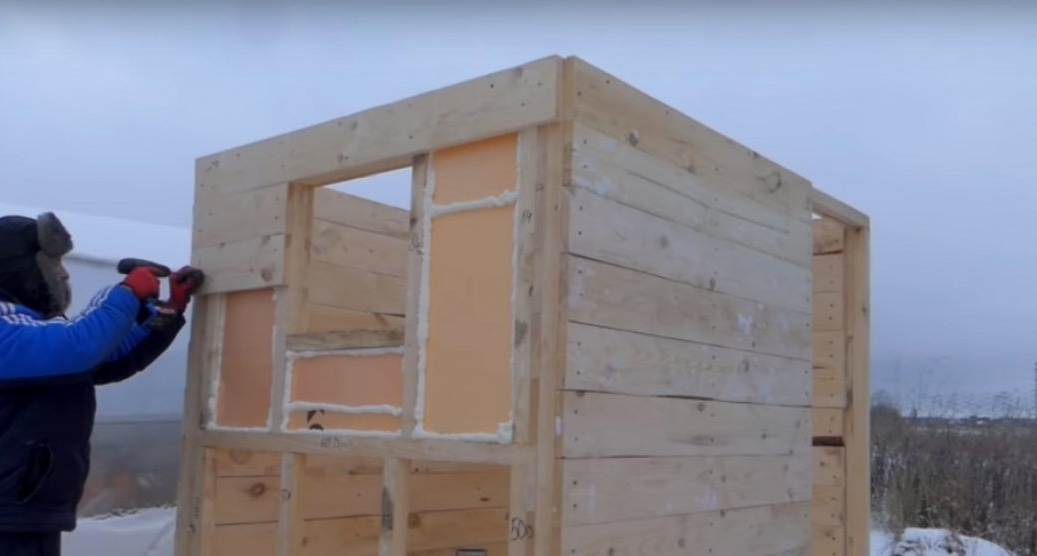
The opening section, the master also sheathed the board first, then penoplex and foam, and again the board. After sheathing, the author installed this section on the hinges.
Verification
On this day, the master still managed to make a draft ceiling.
Day Three He assembled the frame, insulated with penoplex.
And she planked the board from above.
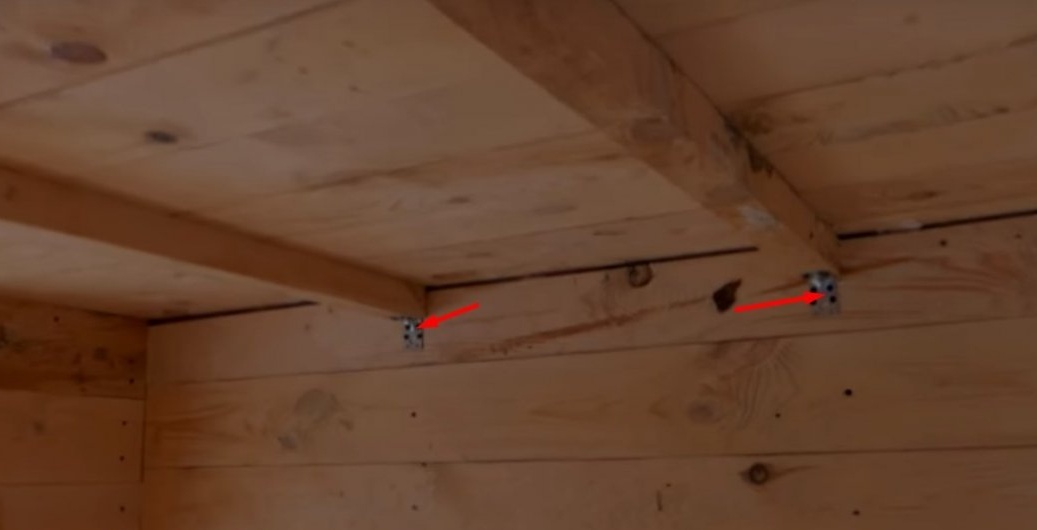
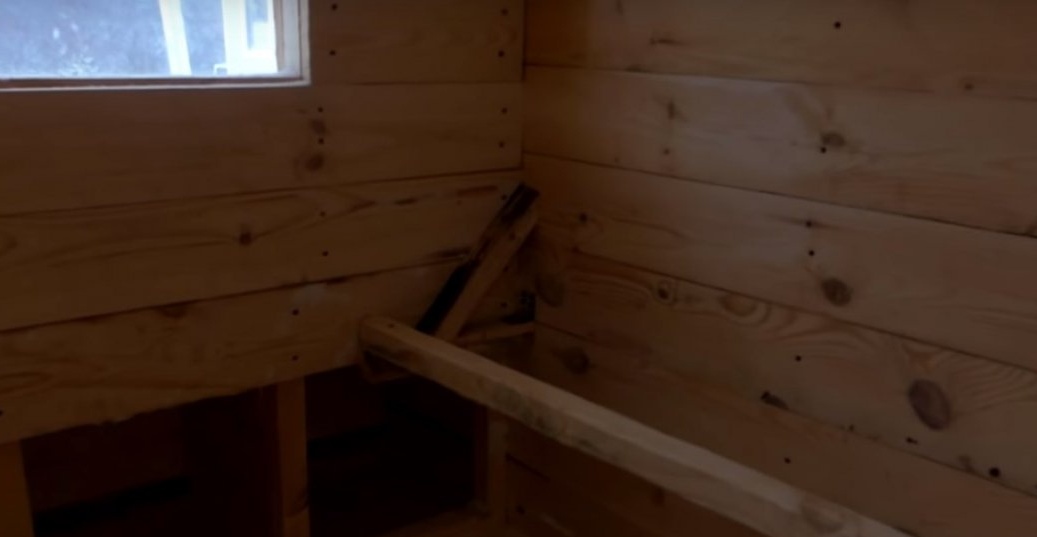
For reliability, the author installed a pair of bars inside the chicken coop, and secured them with corners.
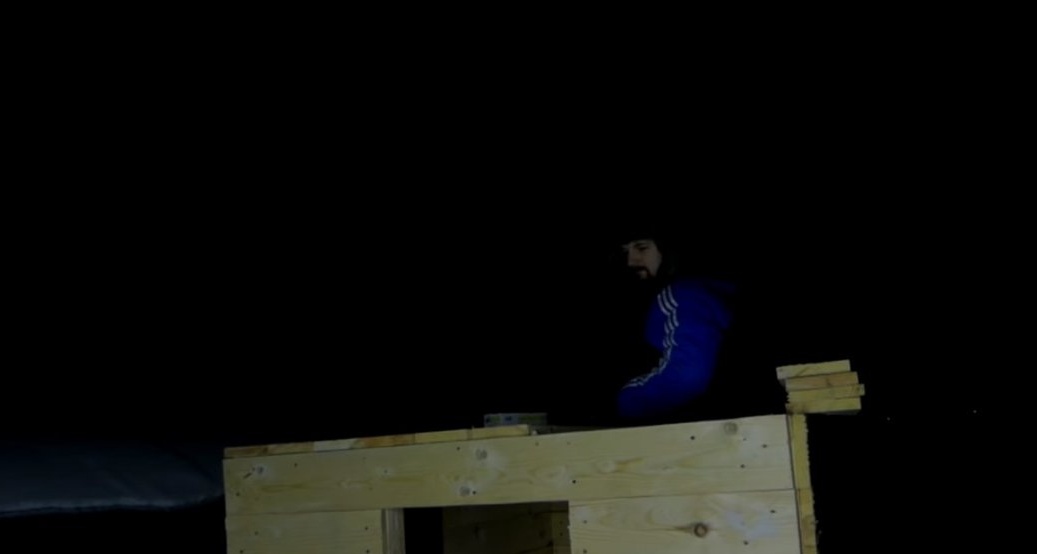
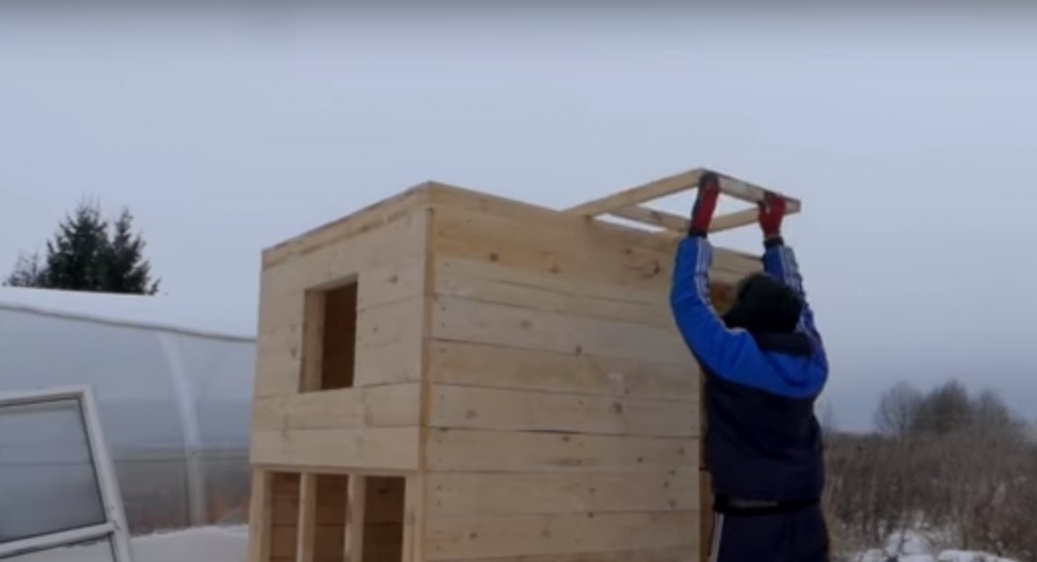
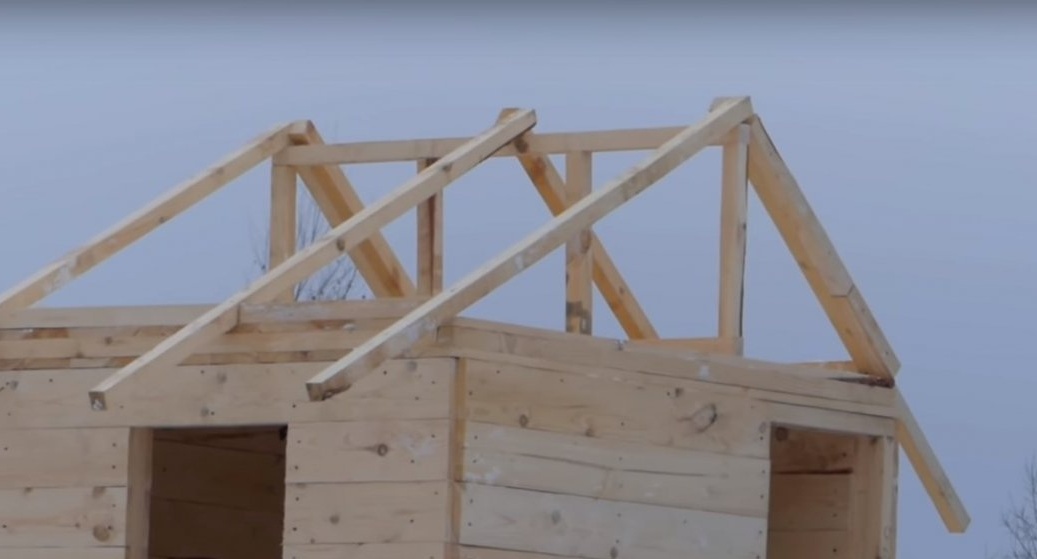
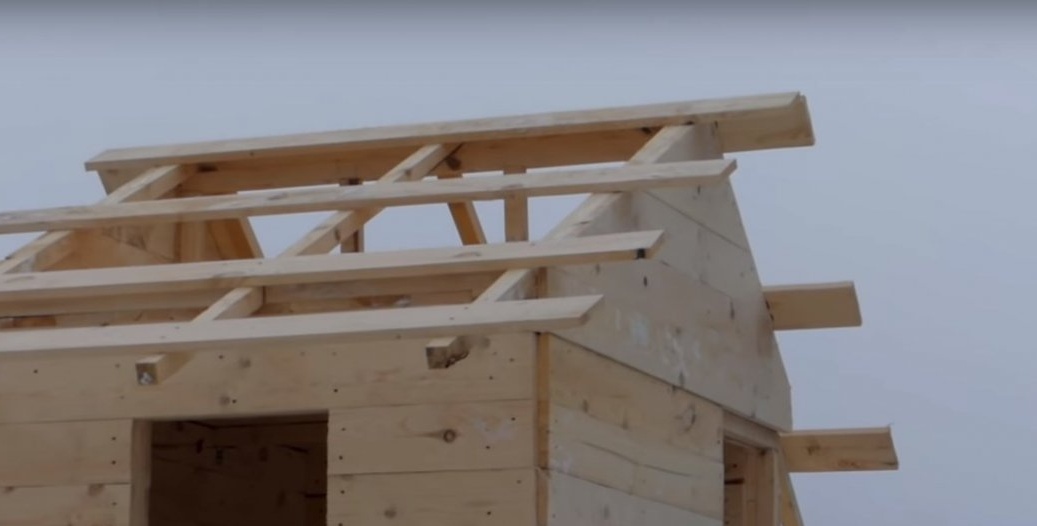
Then the author proceeded to the roof frame. Assembly of the middle part, from two bars of 2000 mm and four bars of 400 mm. For a total height of half a meter.
I leveled this part in level and fixed it.

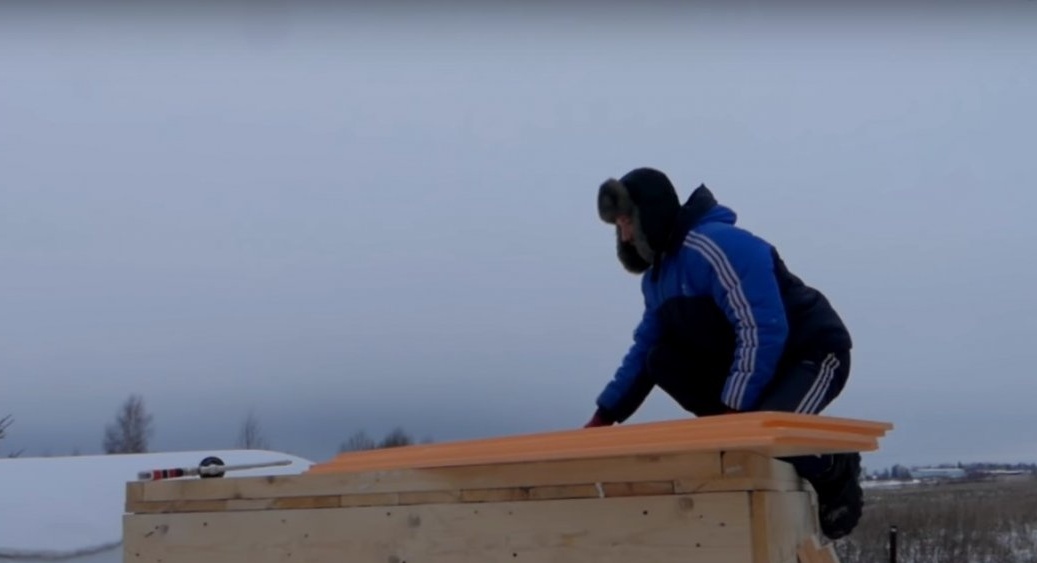
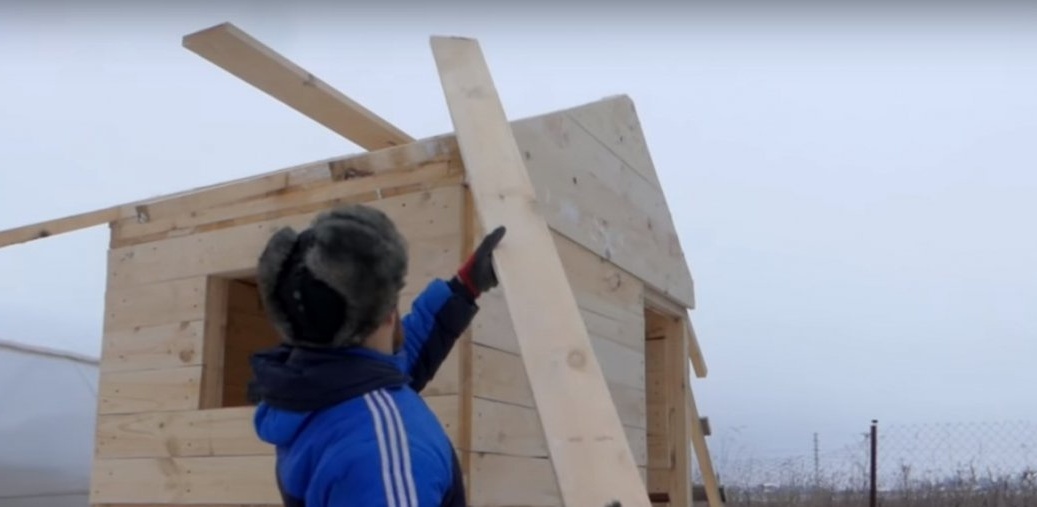
Then he made a rafter from a bar.
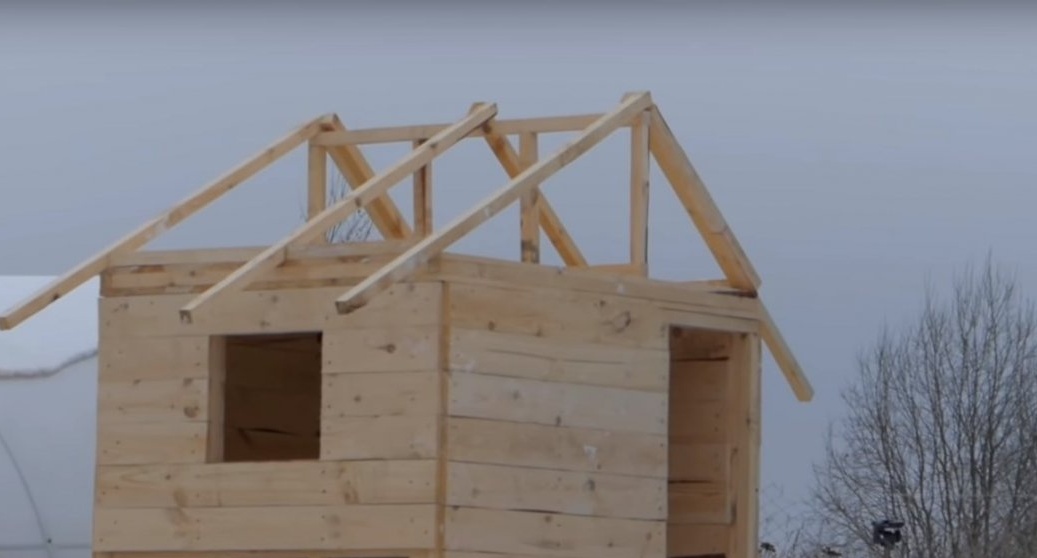
The slope of the roof from the side of the wall, where the boxes under the nests will be, will be - 2000 mm, and from the opposite side - 1500 mm.
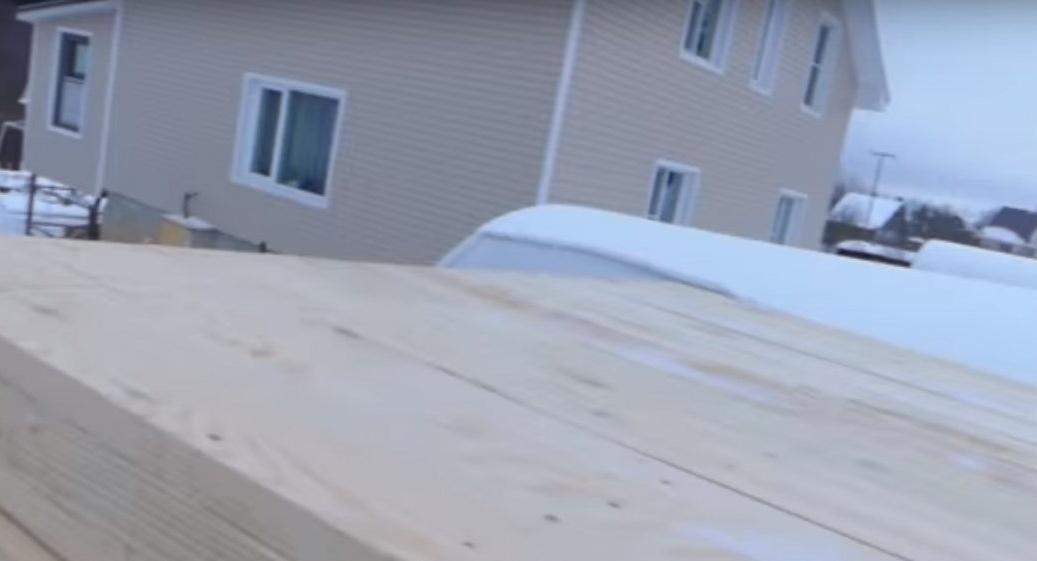
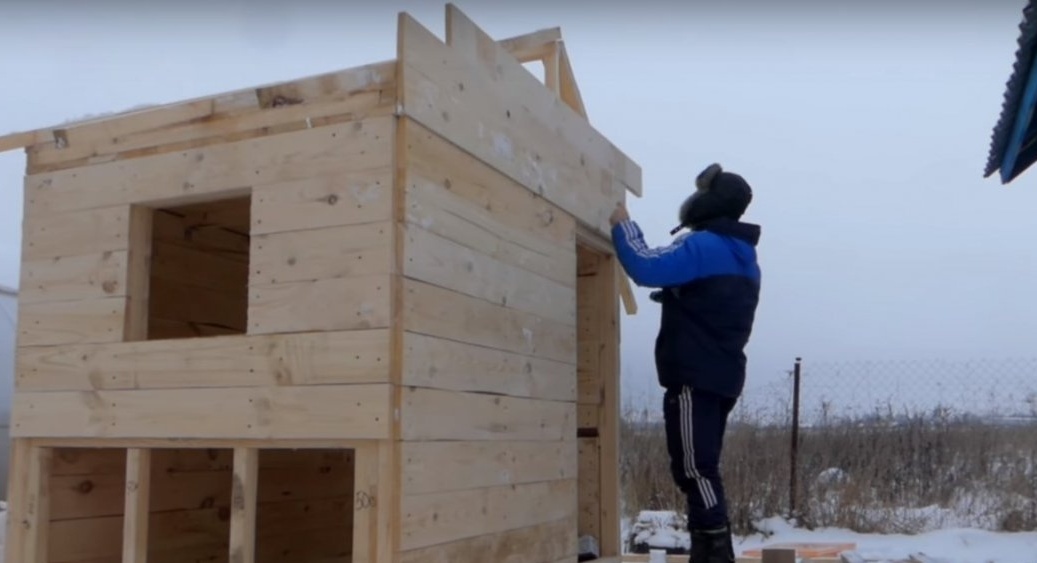
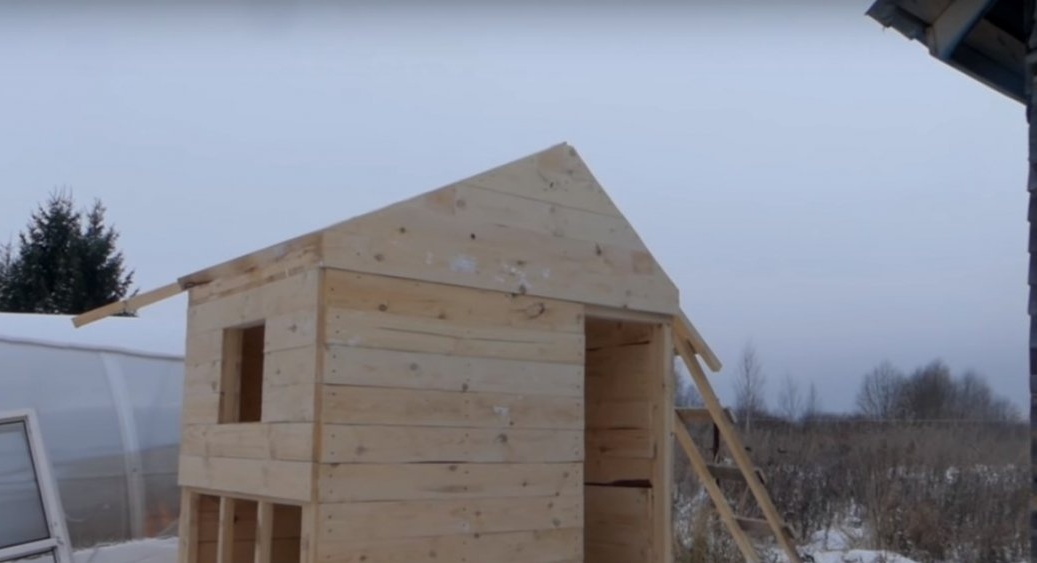
Then I sewed up a pediment board.
Then he made the crate.
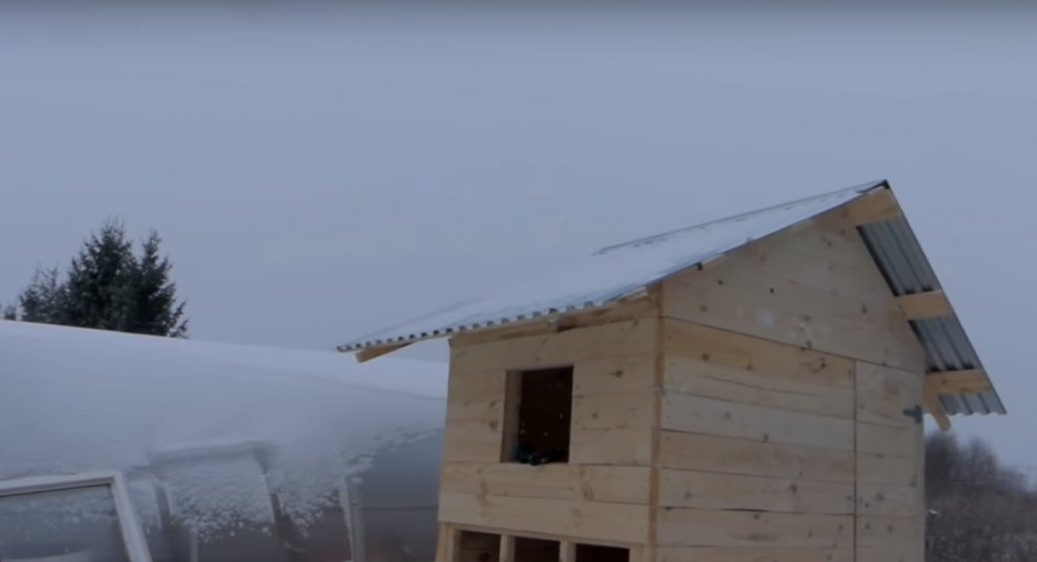
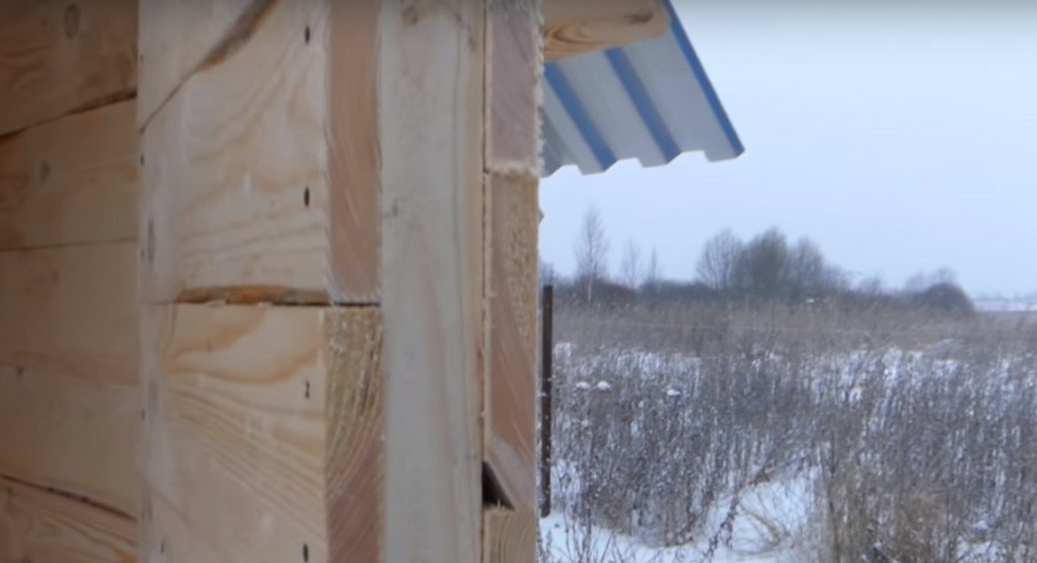
After secured corrugated board and skate.
Then he made and installed the door.
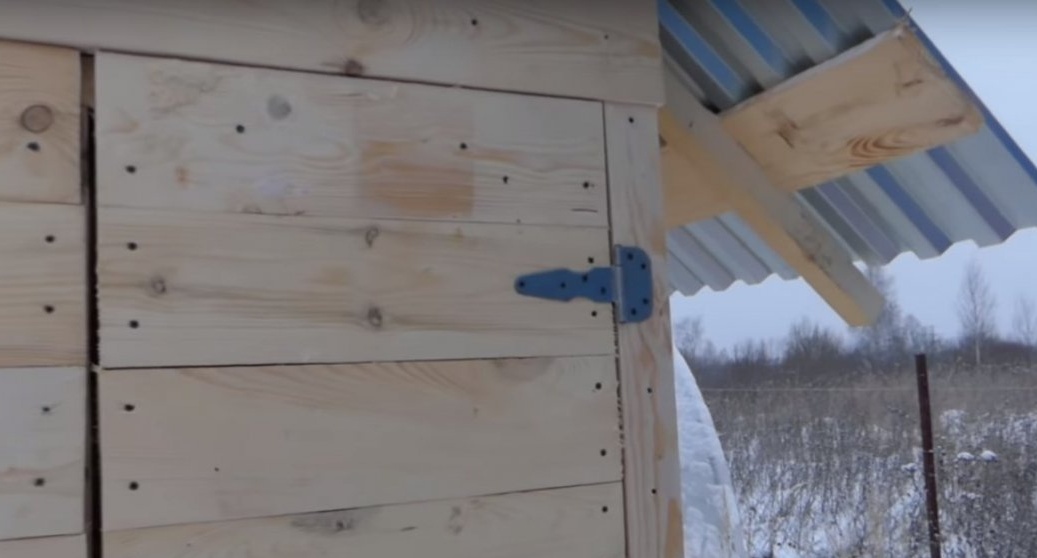
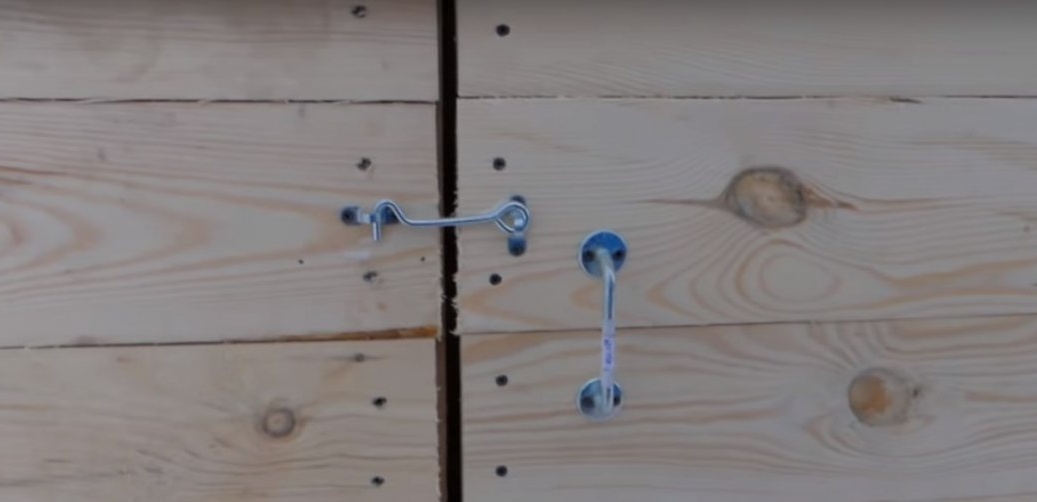
Set the handle and hook.
The door was also insulated during assembly, as was the entire chicken coop.
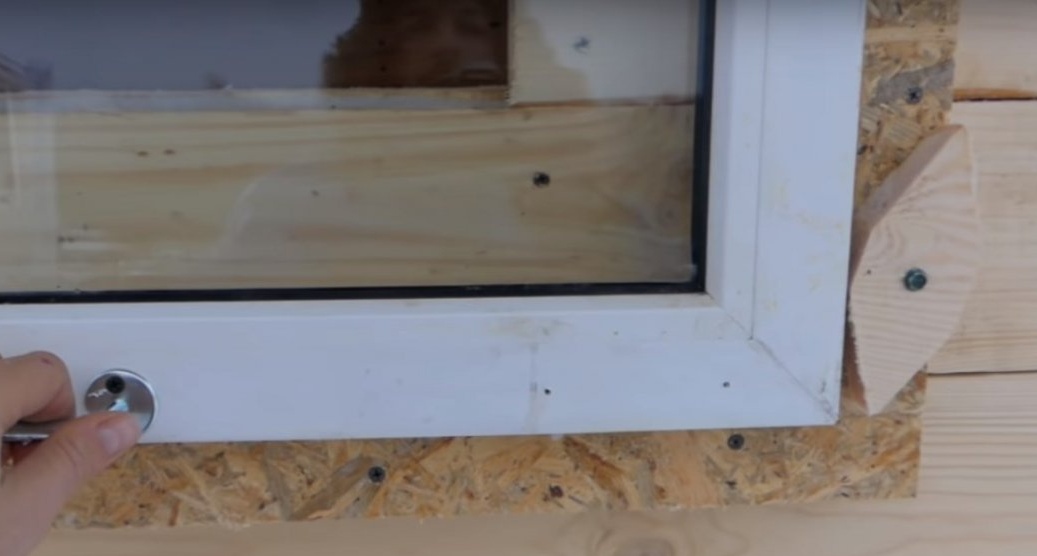
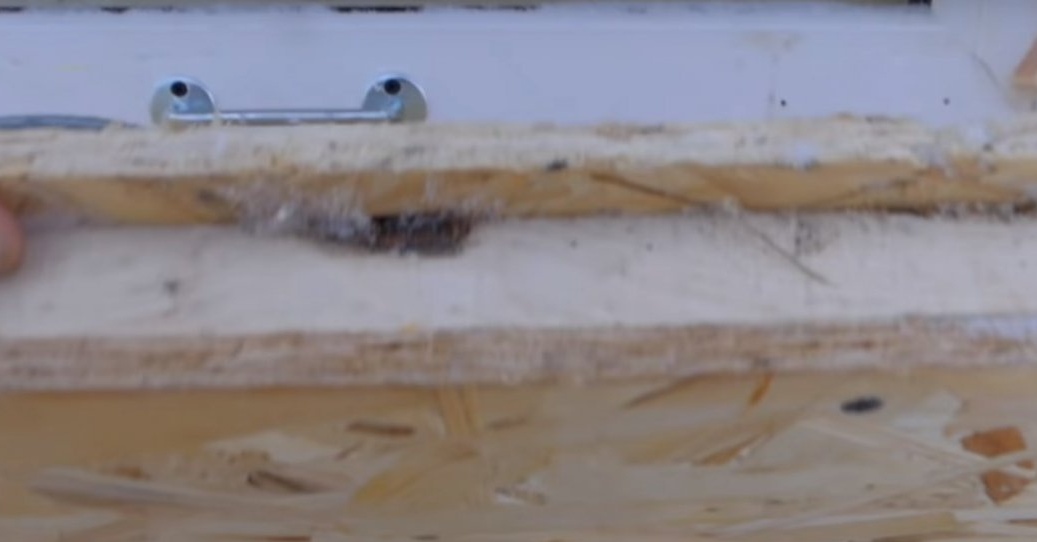
After preparing the window.
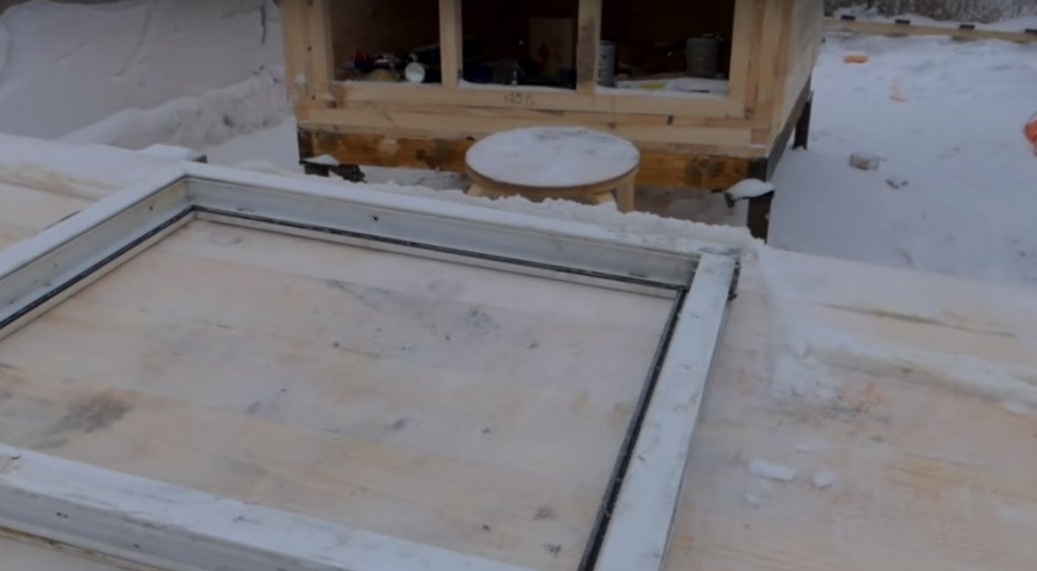
The author made the edging of the window out of timber and OSB strips. Thus created the height of the window. Then set the window.
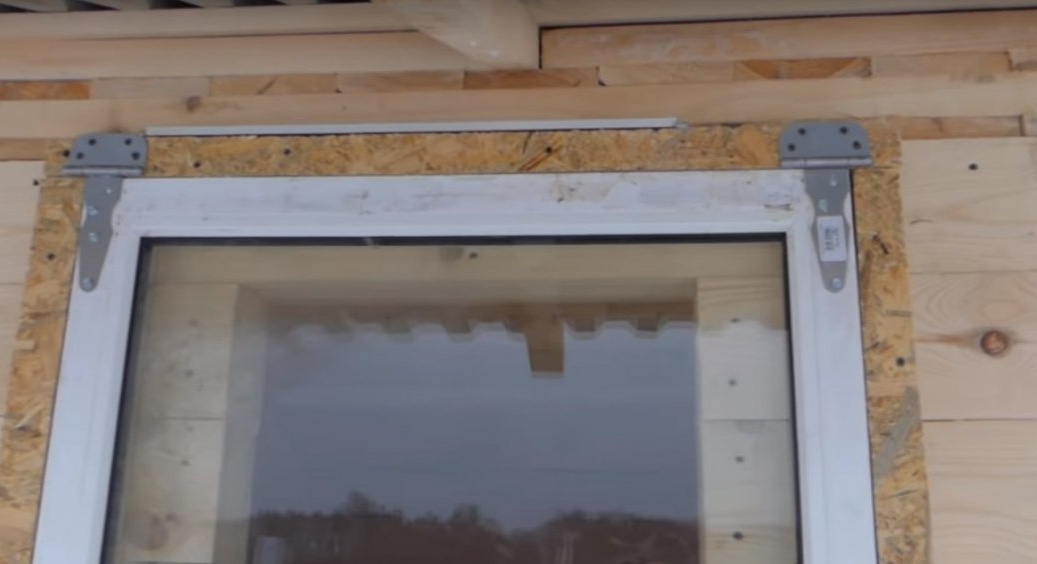
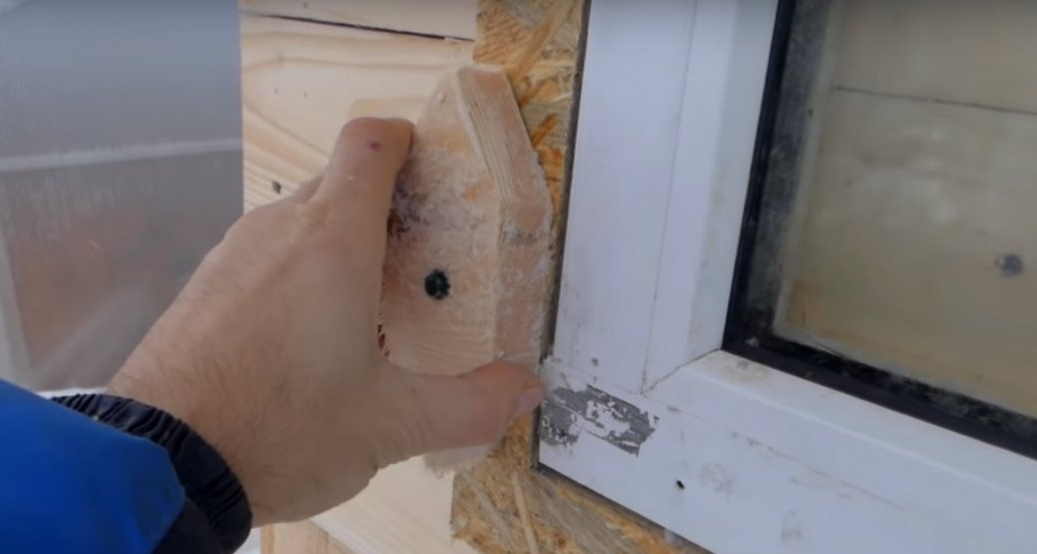
To fix the window, the author made wooden turntables.
And set the pen.

Now the master has started assembling the nests.
Warming.
Temporary backup.
Sheathing.

After assembling the walls.

Heater again.
Day four. External sheathing and cover installation.
He made a perch from a bar, having rounded all corners on it.

All adjacent parts are punched with a sealant.

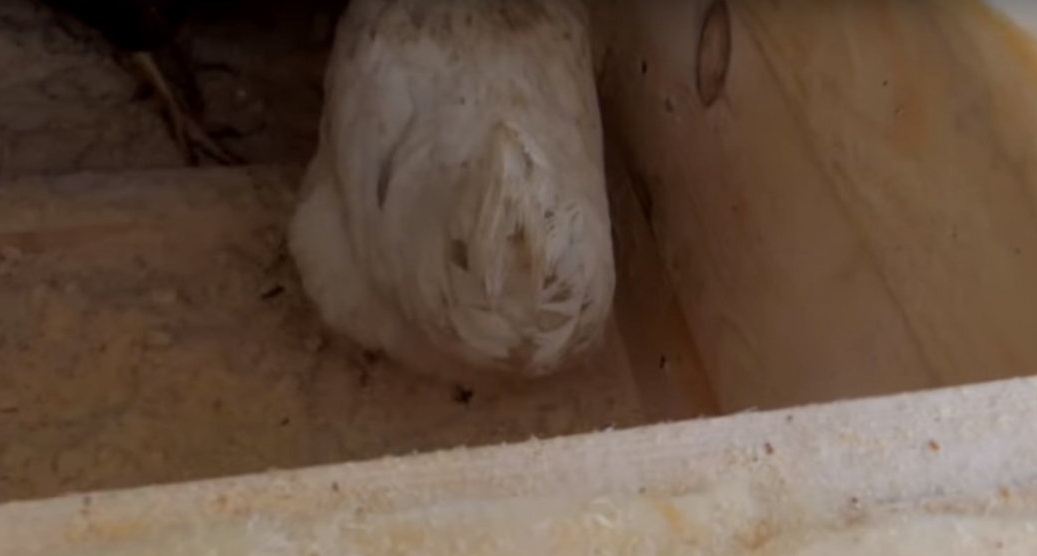
And settled the chickens.
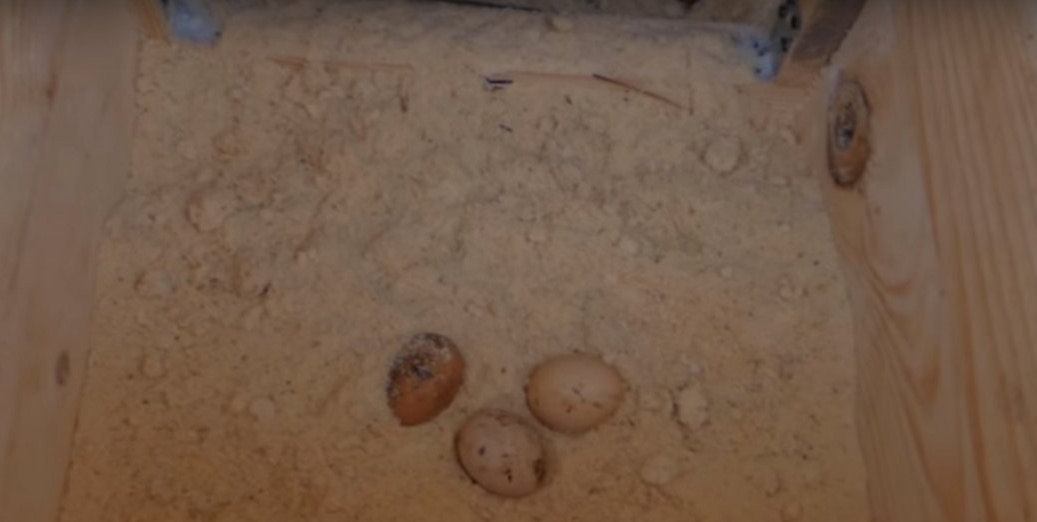
In the future, the author will conduct lighting, make feeders with drinking bowls and natural ventilation.

And that’s all for me. Thank you all and see you soon!