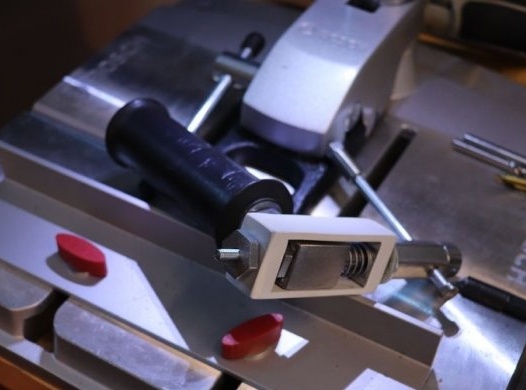
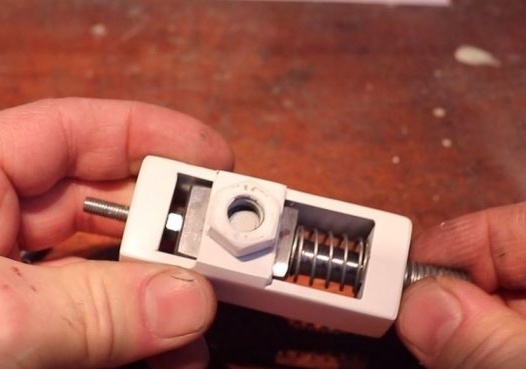
In this article, we will consider the option of self-manufacturing a rivet for threaded rivets. What does the industrial rivet machine not suit the master? According to him, good models of such an instrument are expensive, and, the second reason, they are relatively large. Copyright model it is easy to manufacture and compact, and the rivets installed with it are firmly seated in the socket. The craftsman spent about an hour and about $ 5 on the manufacture of the tool.
Let's see how the tool works.
So, for the manufacture of a rivet, the master needed the following
Tools and materials:
- Metal bar 20mm x 3mm x 70 - 2 pcs;
- Metal bar 20mm x 3mm x 30 - 1 pc;
- Metal bar 20mm x 30mm x 10mm - 2 pcs;
- Metal bar 20mm x 20mm x 30mm -1 pc;
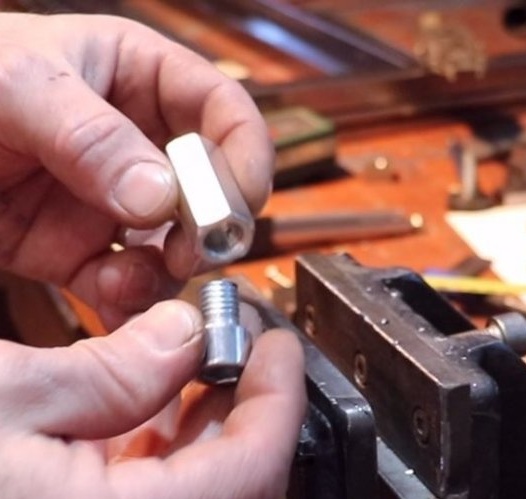
- Extension nut M12, length 40 mm;
- Hexagonal slot M12;
-M6 threaded rod 110 mm long;
-M6 extension nut 25 mm long;
-30 mm spring (inner diameter 12 mm);
- Washer 12 mm;
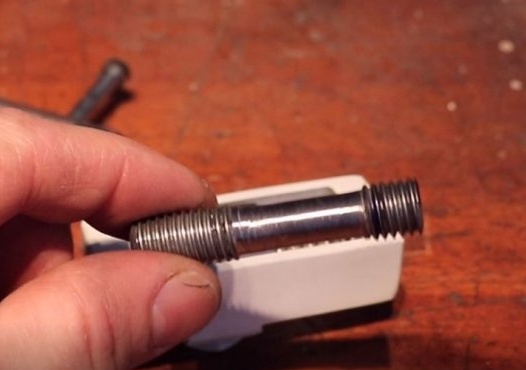
- Threaded rod M12 55 mm long;
-USHM;
-Drilling machine;
-Mechik;
-Welding machine;
- Handle (from a drill or Ushm-ki);
- Metalwork keys;
- Hex keys;
Step One: Moving Part
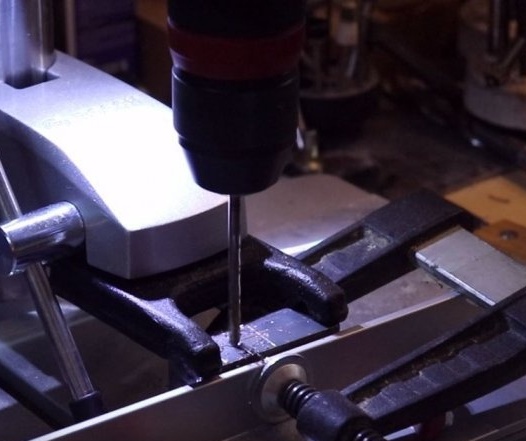
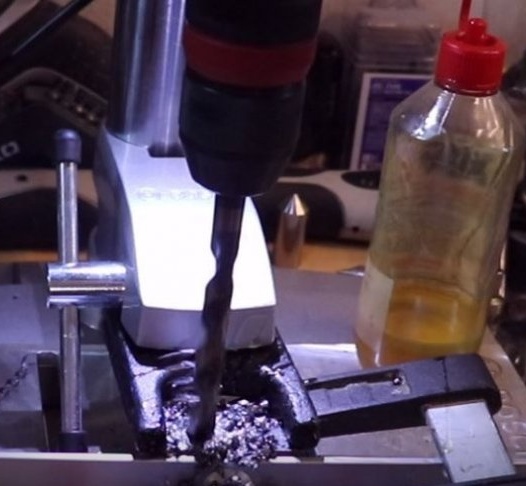
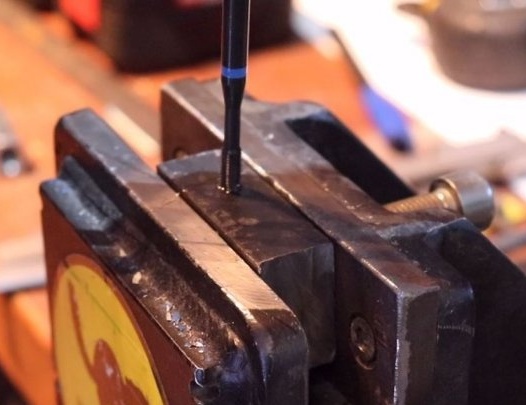
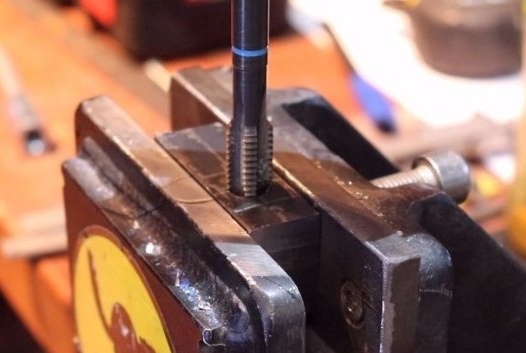
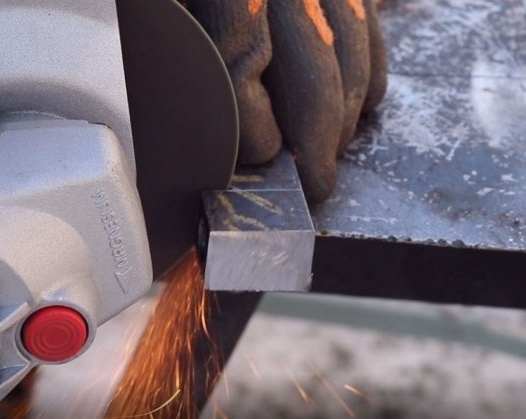
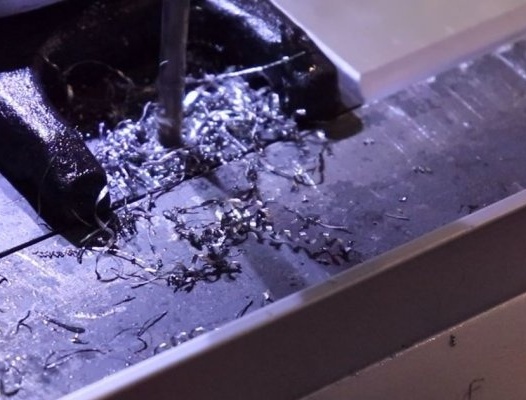
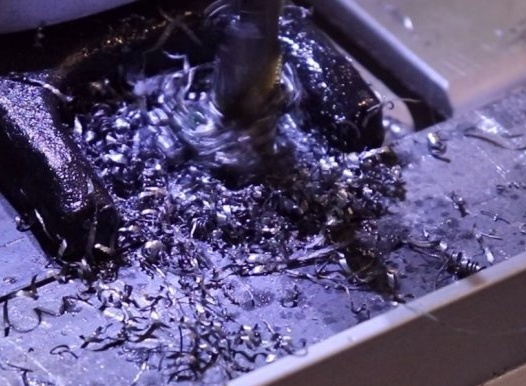
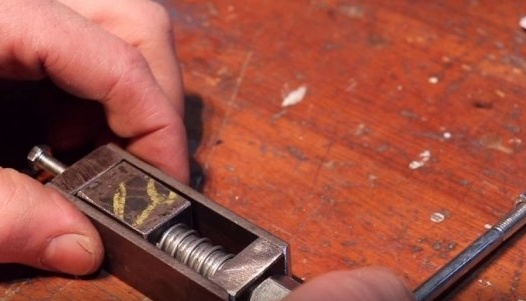
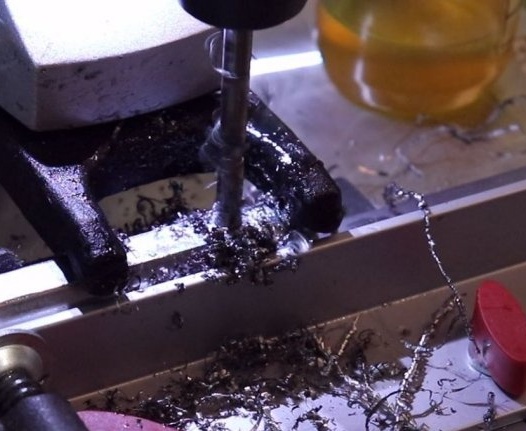
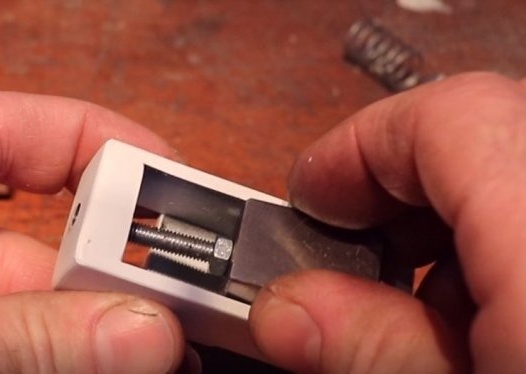
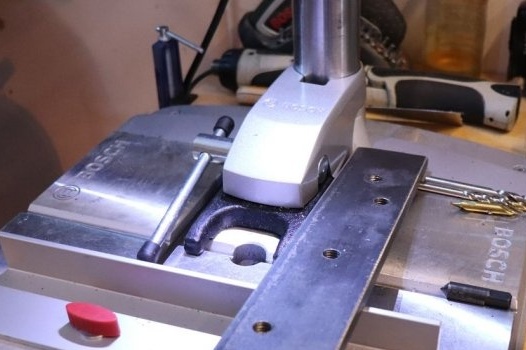
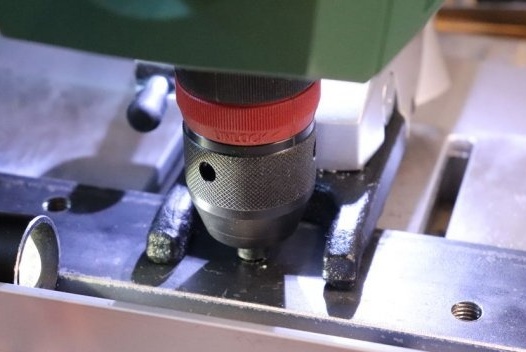
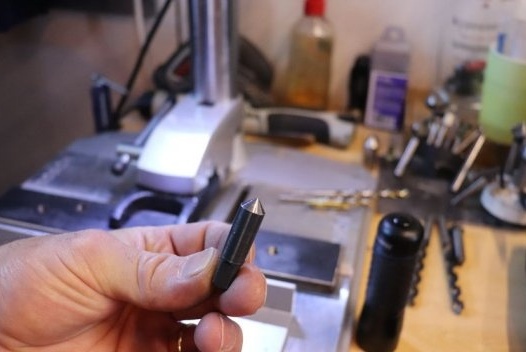
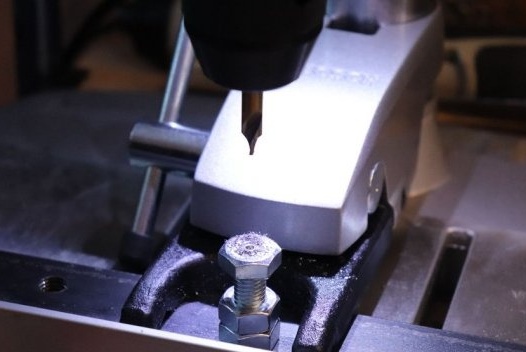
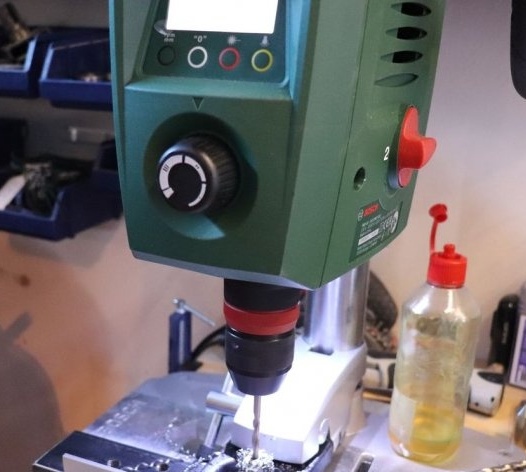
Unfortunately, the master did not provide the drawing, but the tool is quite simple and, I think, will not cause difficulties in manufacturing. The tool body consists of a rectangular frame. Inside the frame is a metal bar with a through threaded hole, a spring and adapter nuts and studs. First, the master makes a moving block. Cuts to size, drills holes, cuts threads. Initially, the master made the tool for rivets M5, but later on he drilled a hole and cut a new thread M10. This modification allows the use of rivets of different diameters, you only need to change the adapter nuts.
Step Two: Case
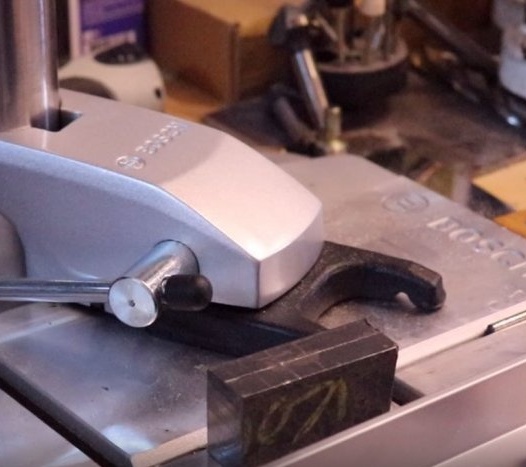
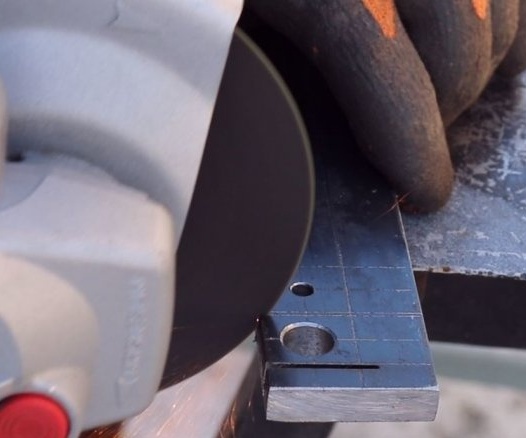
In the bars located at the end of the case, it is also necessary to drill holes coaxial with the hole in the moving part.
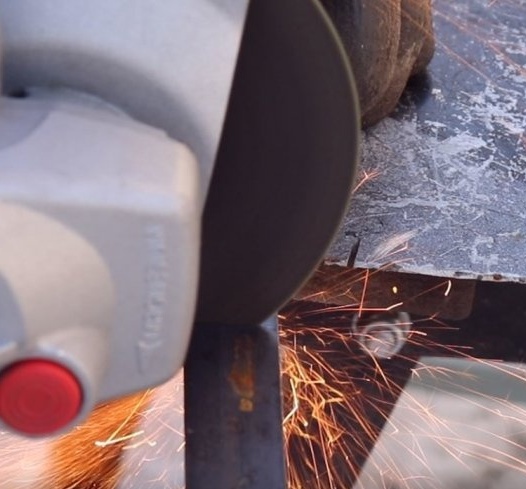
Then you need to weld the parts of the body.From above, across the body, on the one hand, plates are welded and a nut is attached to it. A handle will be installed here.
Step Three: Thrust Nut
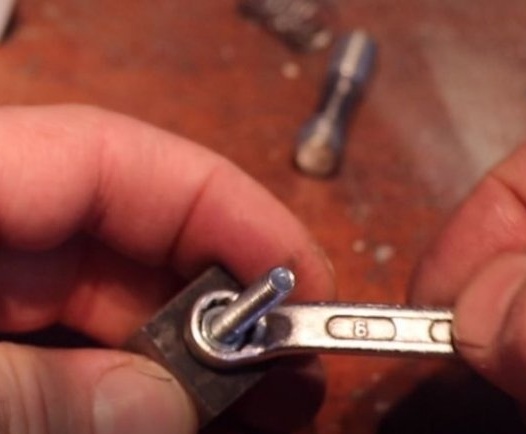
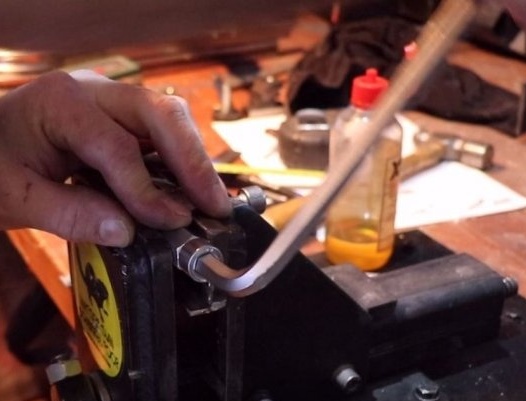
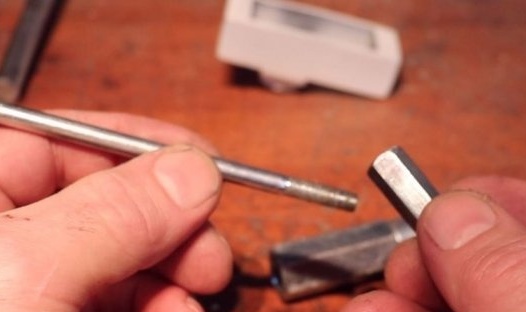
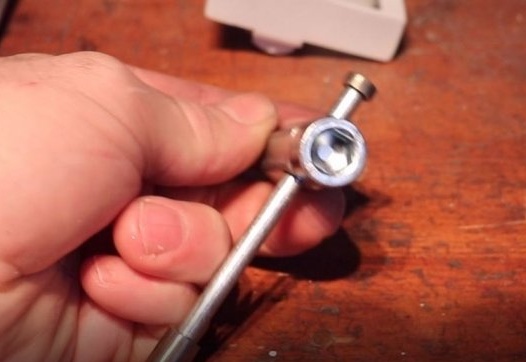
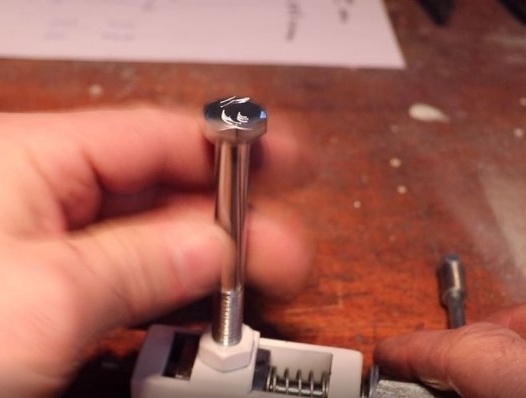
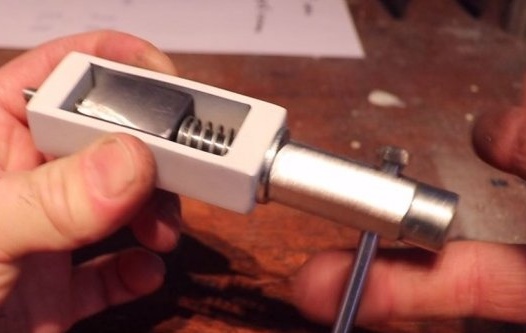
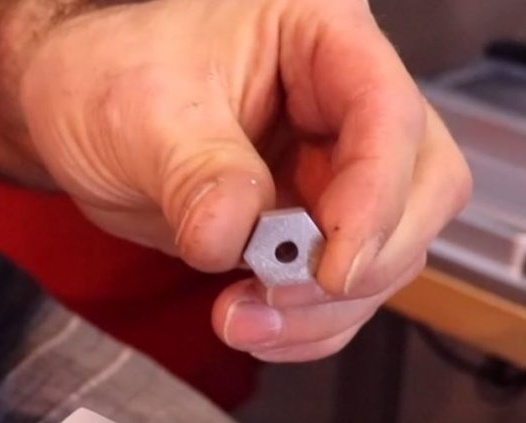
The master screws a hexagonal slot into the connecting nut. In the nut itself on the side, it drills a hole. A hole is installed in the hole. In this way, the tool can be operated behind the collar, with a metal wrench or a hex key.
Step Four: Build
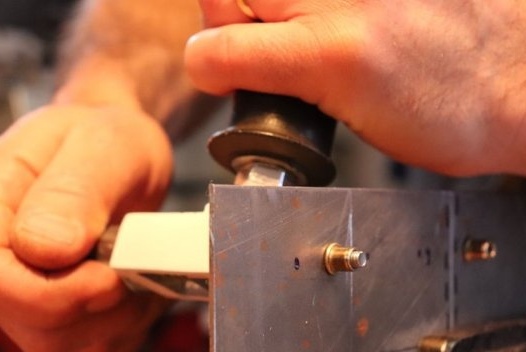
To bring the tool to working condition is quite simple, we watch photos and videos.
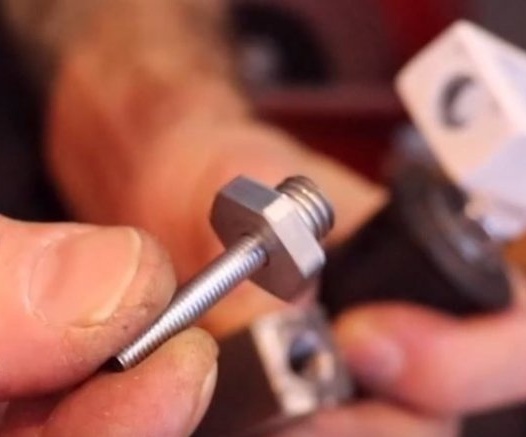
In the future, the master slightly modified the riveter, as mentioned earlier, cut the M10 thread.
Made adapter nuts for rivets of different diameters.
All is ready.
The rivet manufacturing process can be seen in the video.

