

This is a sequel previous article in which I showed how and from what you can make a budget version of a portable mini drill. Power was then supplied by two 18650 batteries connected in series. They were placed on the case and they had to be charged individually, which was not very convenient.
In this article I will show how to use one 18650 battery in conjunction with a step-up voltage converter and a battery charge module, which will simplify the charging process, reduce the weight of the structure and compactly place all this inside the case of a homemade mini drill.
Video recording of battery refinement for review
What is needed:
1. 18650 battery ()
2. Step-up voltage converter ()
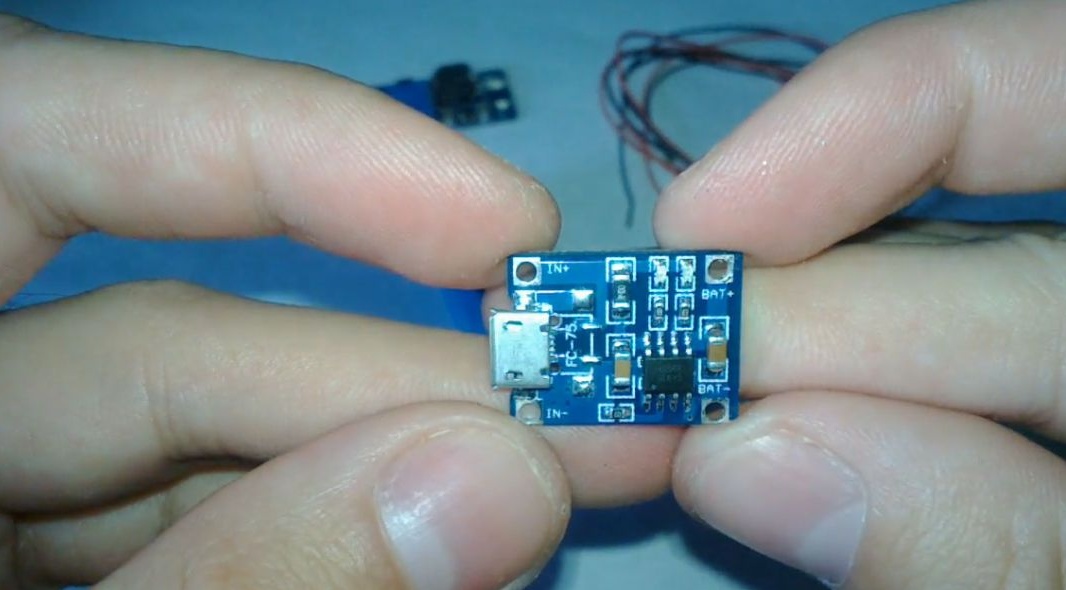
3. 18650 battery charge module ()
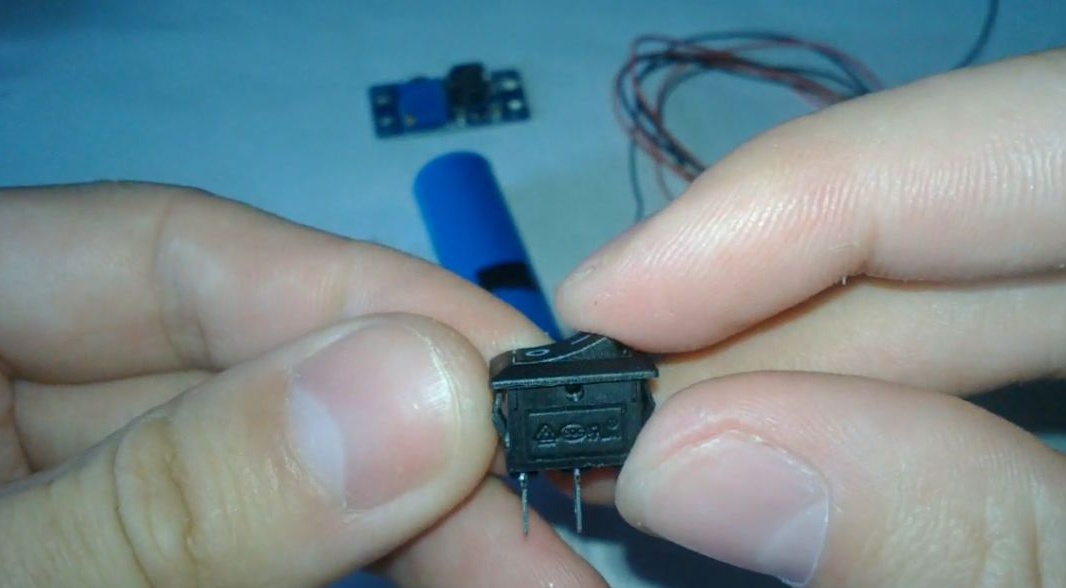
4. Switch ()
5. Voltmeter optional ()
6. Copper wiring
7. 2 screws for a voltmeter
8. Electrical tape
9. Double-sided tape
10. Heat Shrink
From the tools:
1. Long nose pliers or pliers
2. Stationery knife
3. Soldering iron (very convenient)
4. Third hand (homemade link)
5. Scissors
We will use a cheap and simple voltage conversion module () with manual adjustment of 1.5-35V input voltage and 3-40V output voltage. A 18650 battery with 4.2V through the converter raises to 10-20V without load (with a connected load of 6.5-16V, it depends on the battery and load), which is enough to power this mini drill.

Simple and reliable switch ().
18650 Battery Charge Module ().
Step 1
We unwind the mini drill and pull out the motor and connector for connecting the power supply.
We try on the future location of the battery in the handle of a mini drill. Just fit in size.
We cut out with a clerical knife or break off the excess parts inside the case with long-nose pliers to make room for the battery.
It is important to maintain the fastening of the two parts of the case with a self-tapping screw at the bottom of the handle, for good battery fixation.
Step 2
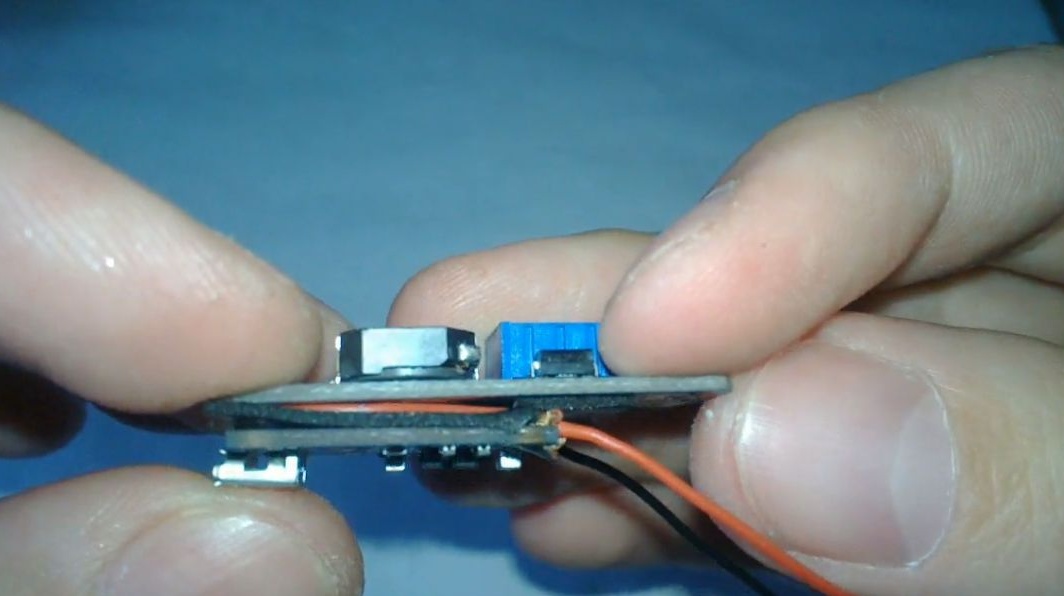
The charge module and the voltage converter are arranged flat sides to each other for compact placement in the housing.
Let us estimate the future arrangement of elements inside the case. The charge module and voltage converter will stick out a little from the back, where the plug for connecting the power supply was installed, but this will not affect the convenience and operation of the mini drill.

Step 3
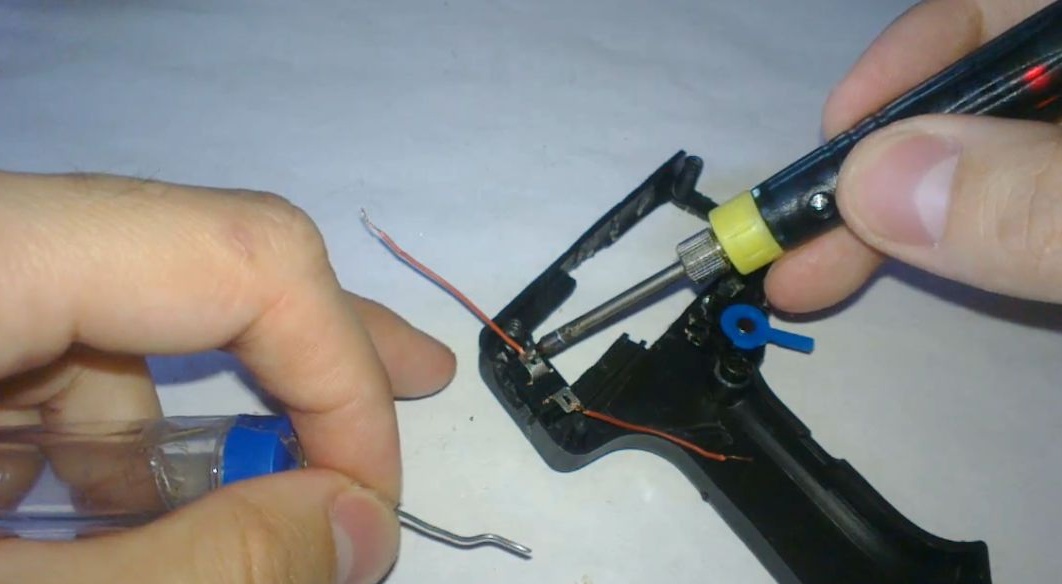
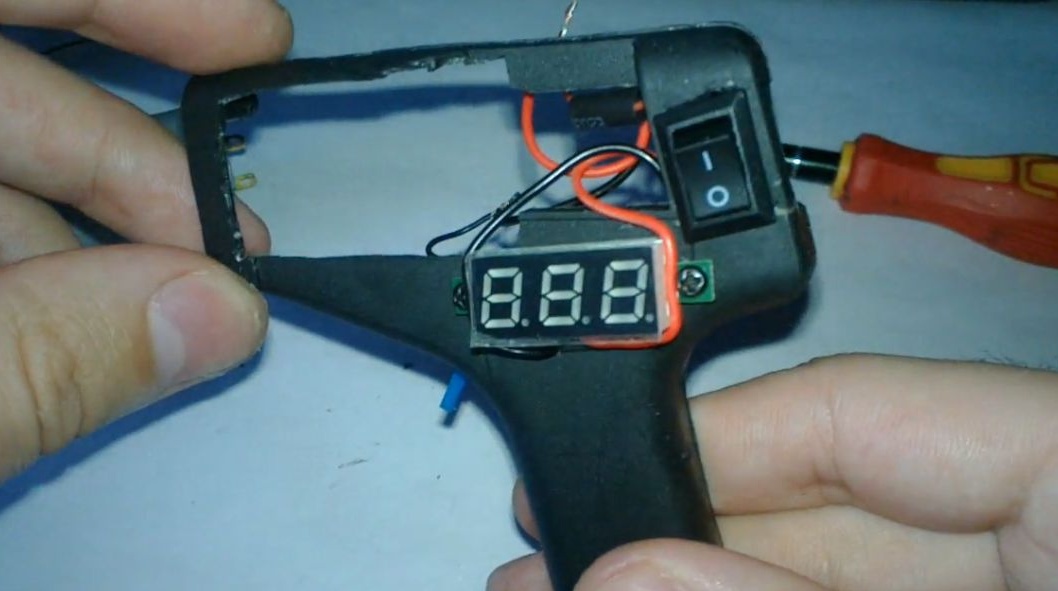
We cut out the place for the switch and install it in a place convenient for switching with the thumb.
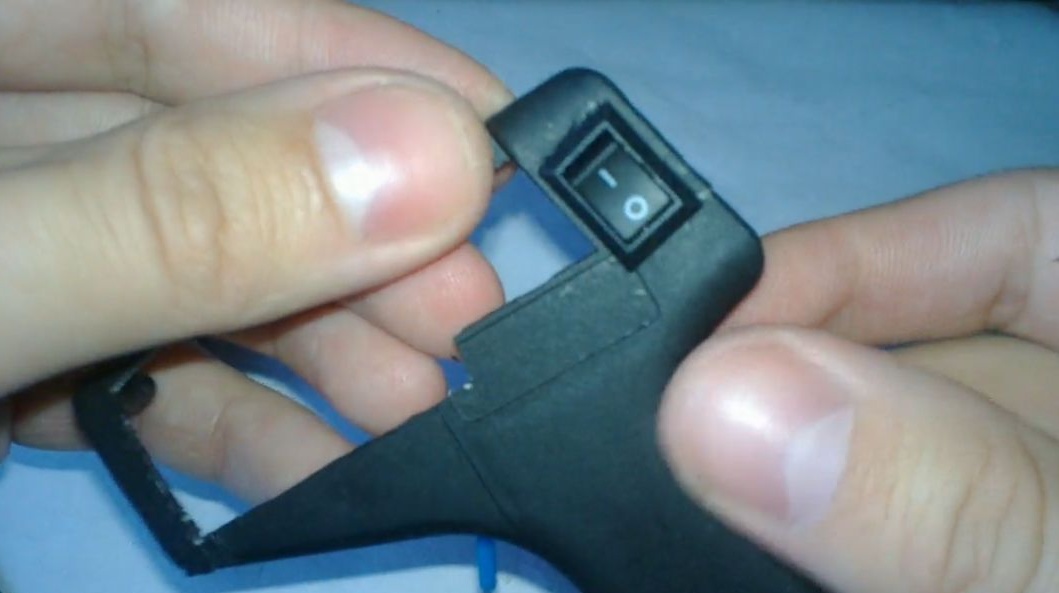
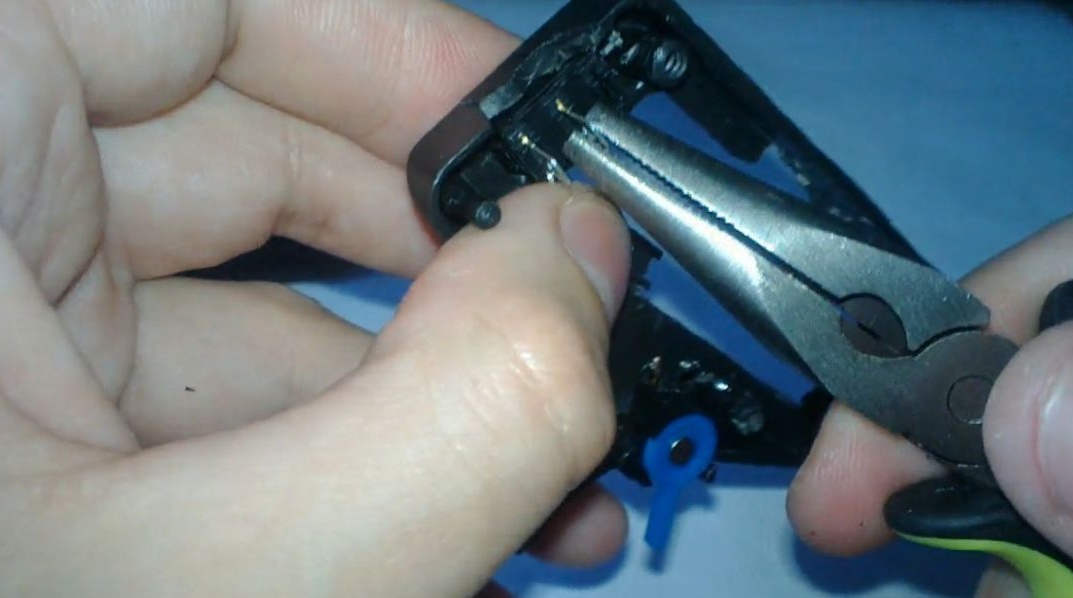
We bend the contacts of the switch to save space.
Step 4
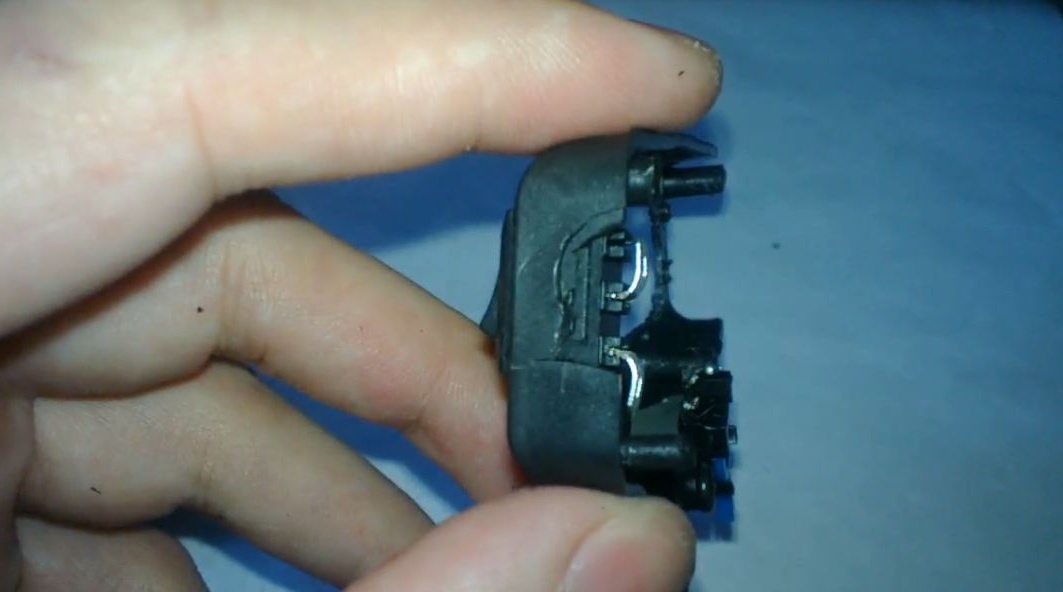
On the other half, on the contrary, we cut out a place under the protruding parts of the voltage converter.
The voltage regulator will be in a place accessible to the screwdriver, or you can stick a scrap from the ear stick (well suited) for adjustment without a screwdriver.

Step 5
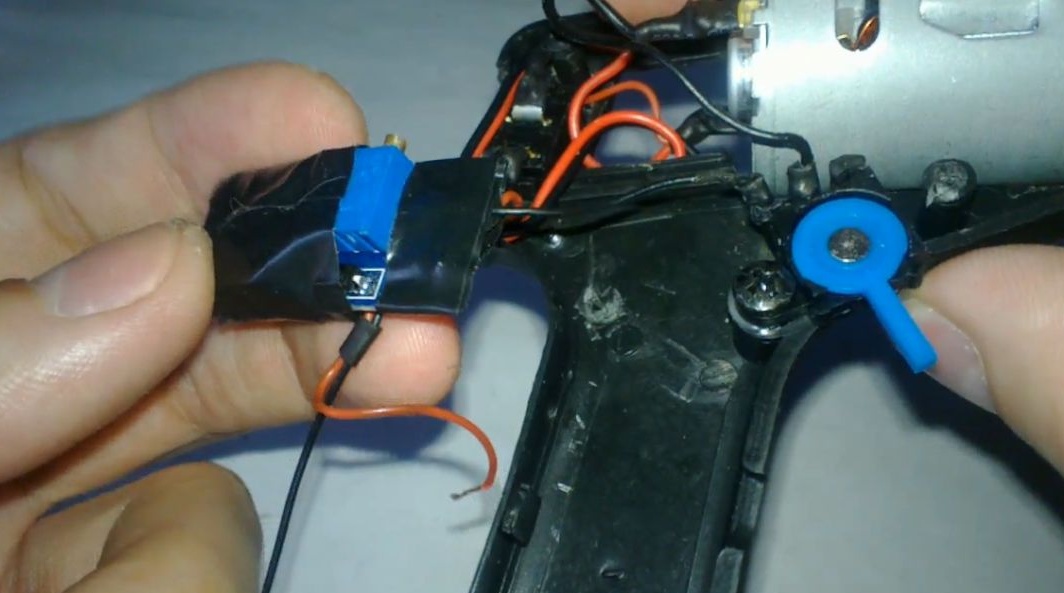
Solder 2 pairs of wires per charge module.
One pair will go to the battery, and the second to connect the voltage converter to the input voltage terminals. Observe the polarity!
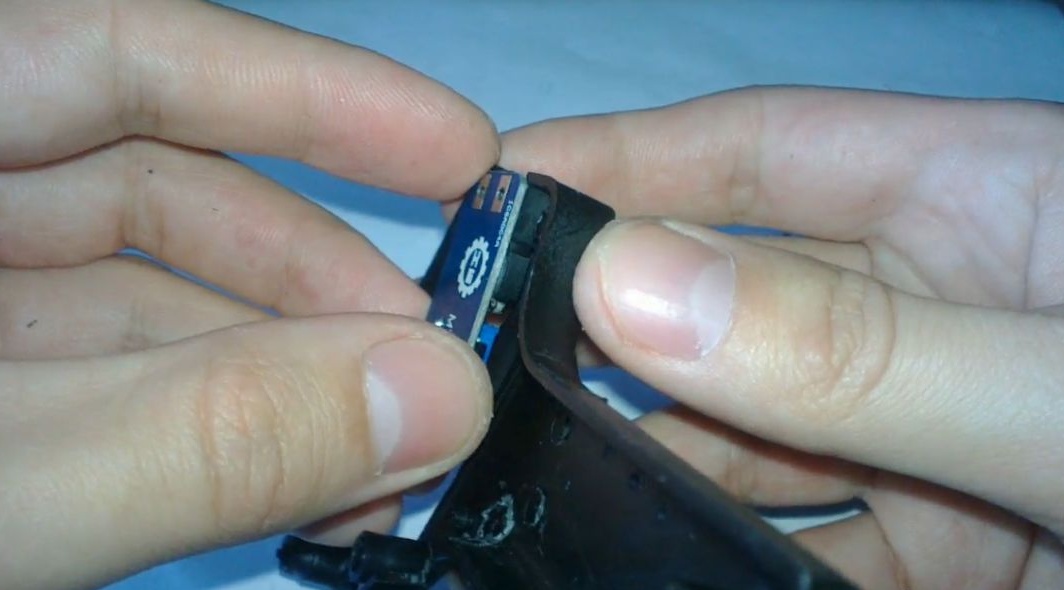
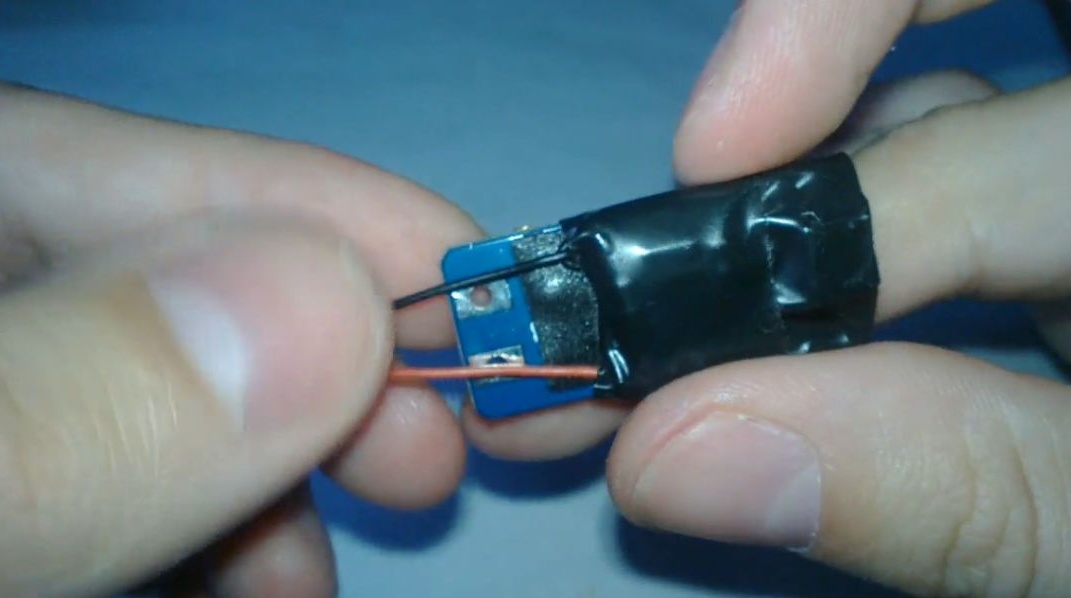
Cut off a piece of soft double-sided tape (3M or another brand), fold the modules as shown in the photo and glue them by fixing the wires.
We wrap with electrical tape to fix and protect module elements.
Step 6
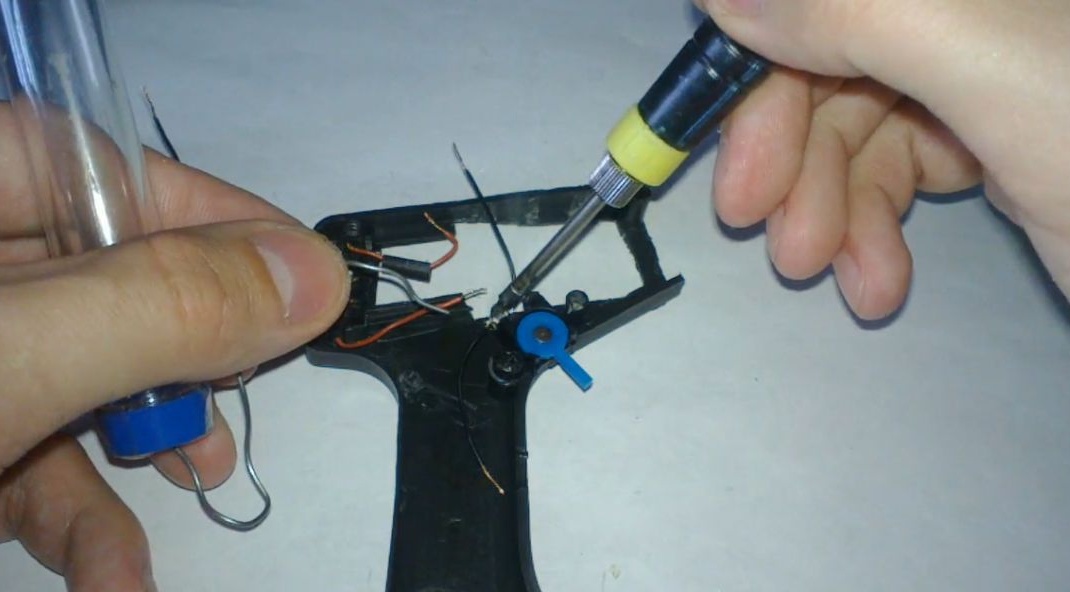
Solder the wiring to the switch. It will connect the positive contact of the motor and the positive output voltage contact of the converter. Do not forget about insulation with heat shrink or electrical tape.
And solder the wiring to the switch. It will connect the negative terminal of the motor and the negative output terminal of the inverter voltage.
Step 7
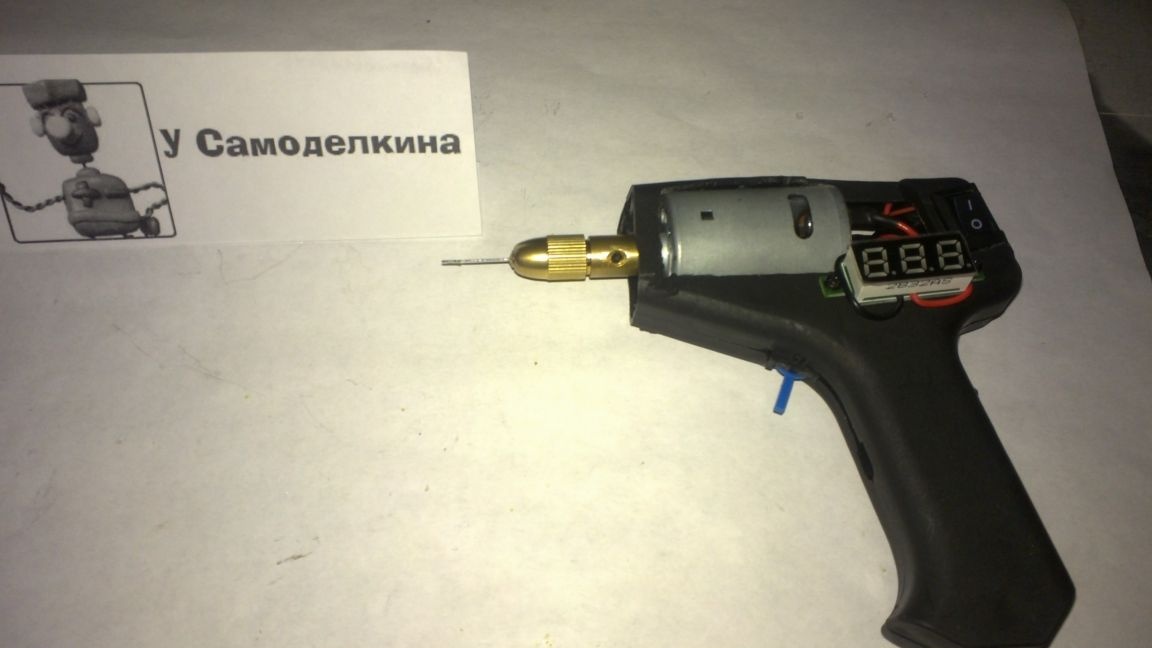
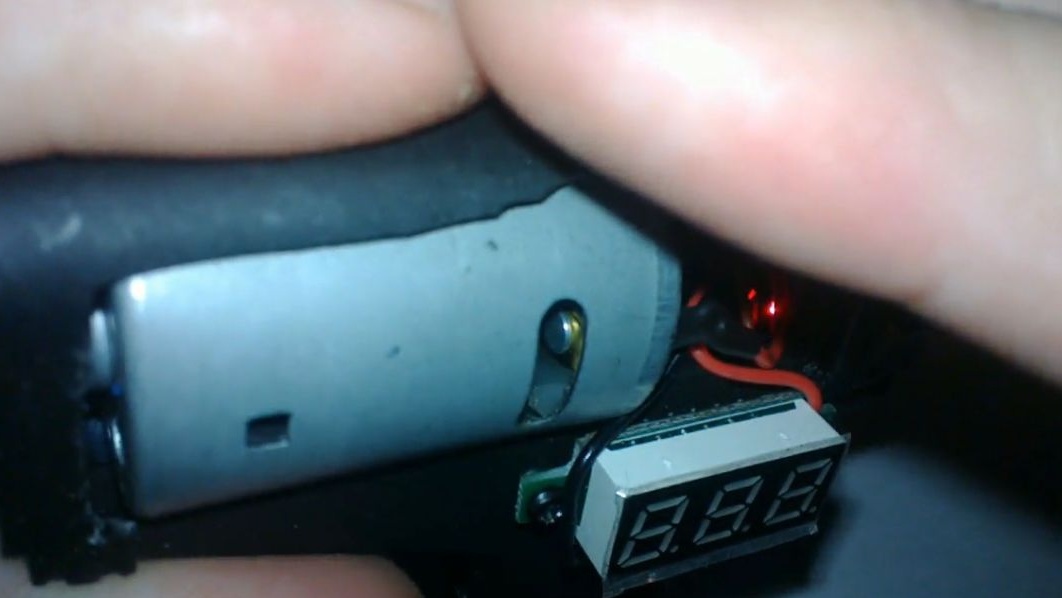
I used a compact voltmeter to monitor the load voltage.
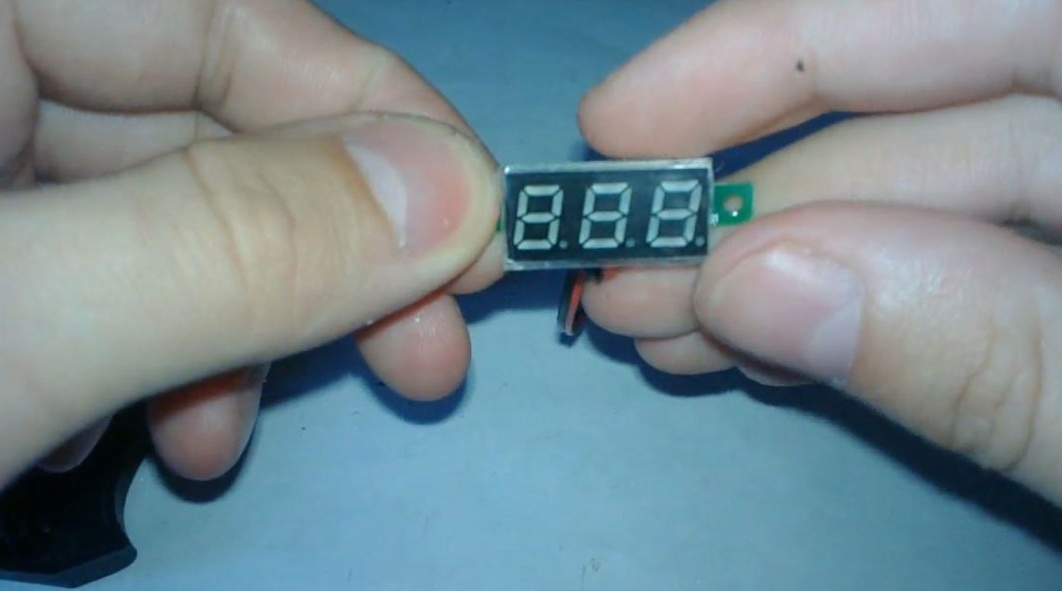

Screwed it to the wiring, which I will solder to the motor.

So you can find out when it is time to charge the battery and visually observe the manual adjustment of the voltage on the converter and set the desired value. And the battery charge from the constantly switched on voltmeter will not be consumed, it works when the power supply switch to the motor is clamped.
Step 8
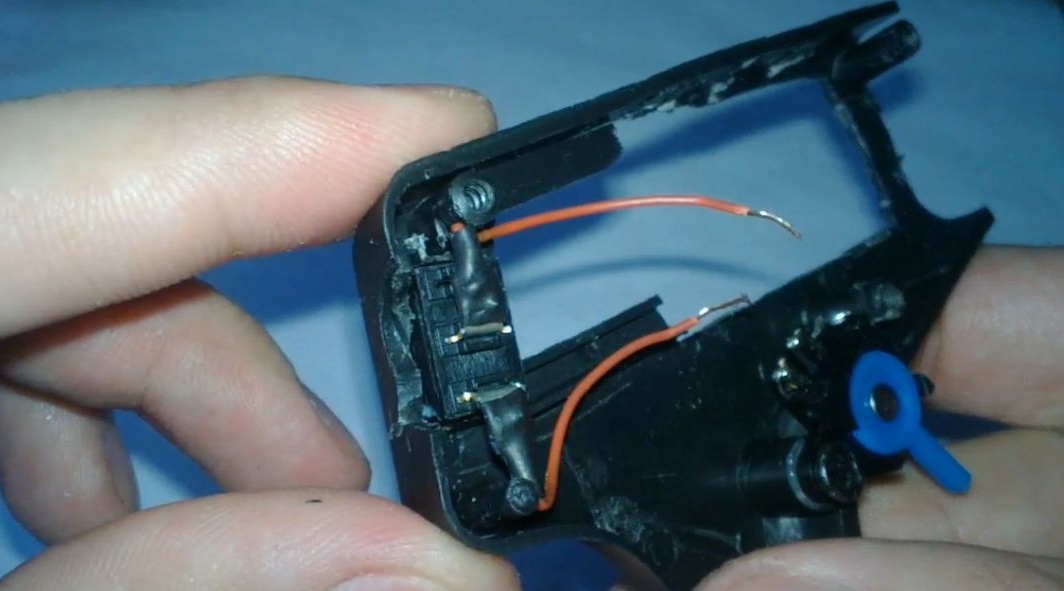
Observing the polarity, solder the wiring from the switch and switch to the motor.

Insulate with heat shrink.

We solder the second wiring from the switch and switch to the contacts of the converter output voltage. Observe the polarity!
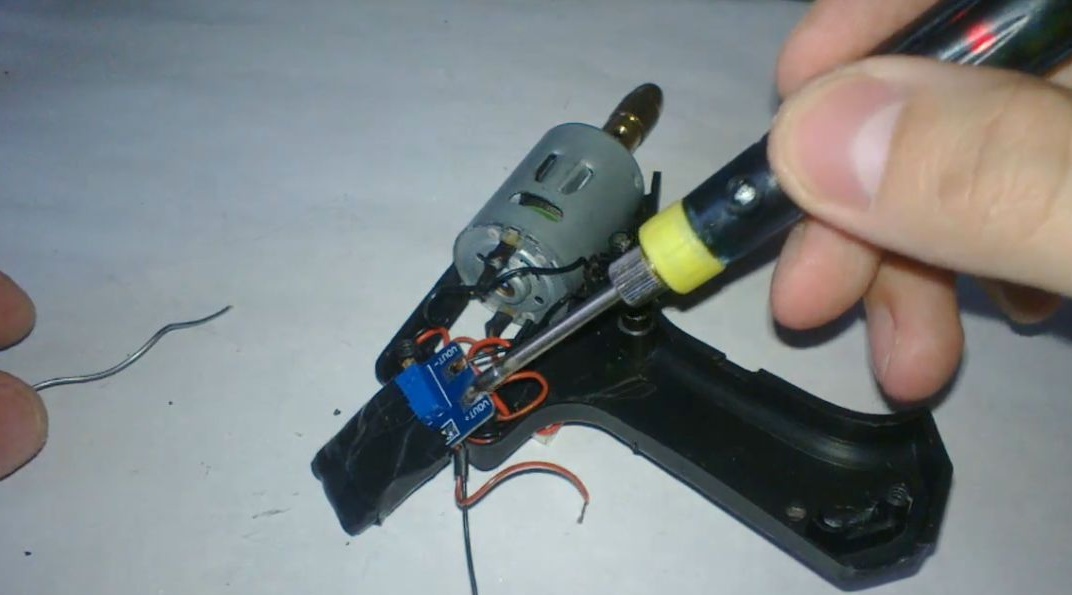
We wrap the place of soldering with electrical tape.
Step 9
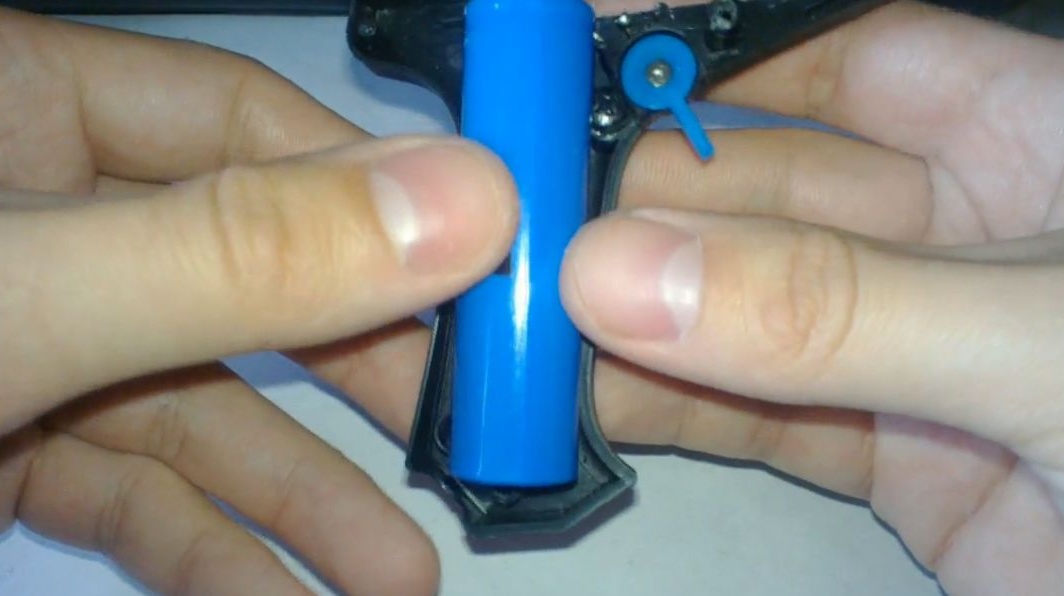
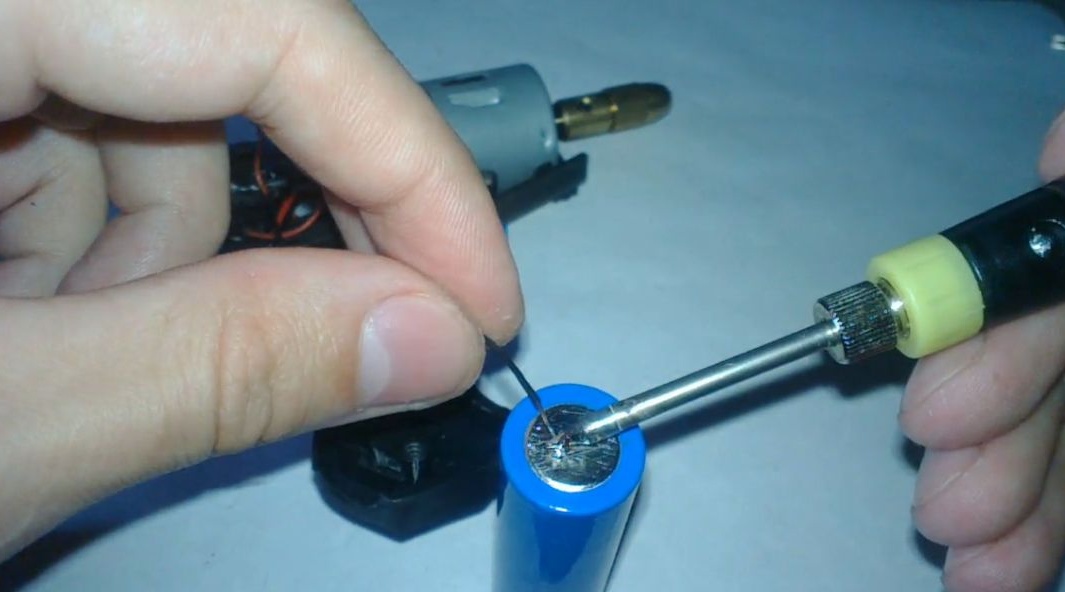
Solder the second pair of wires from the charge module to the battery according to the polarity.
We place the battery in the handle.
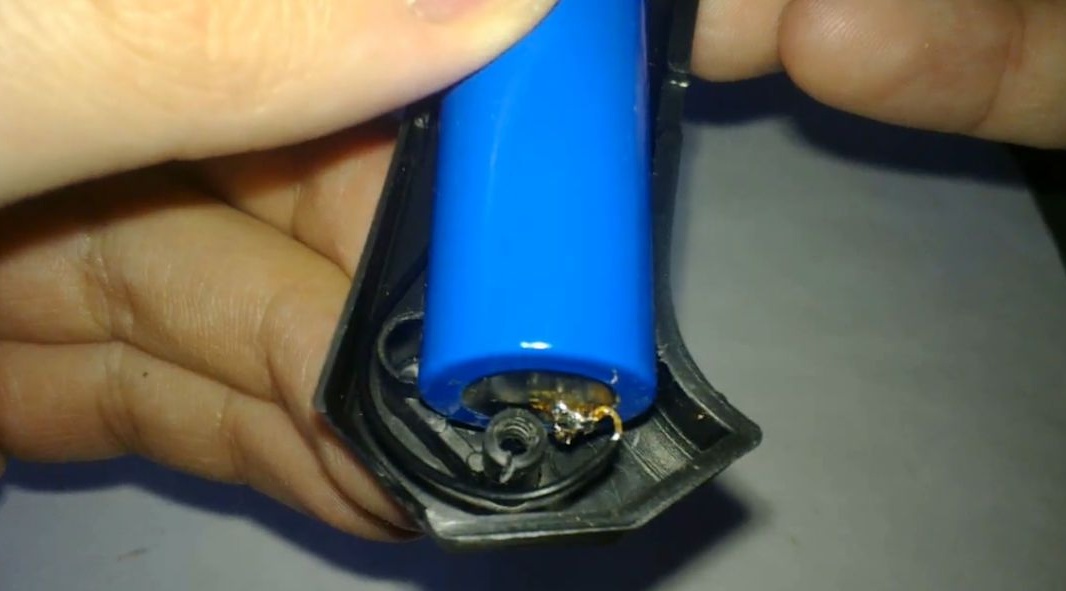
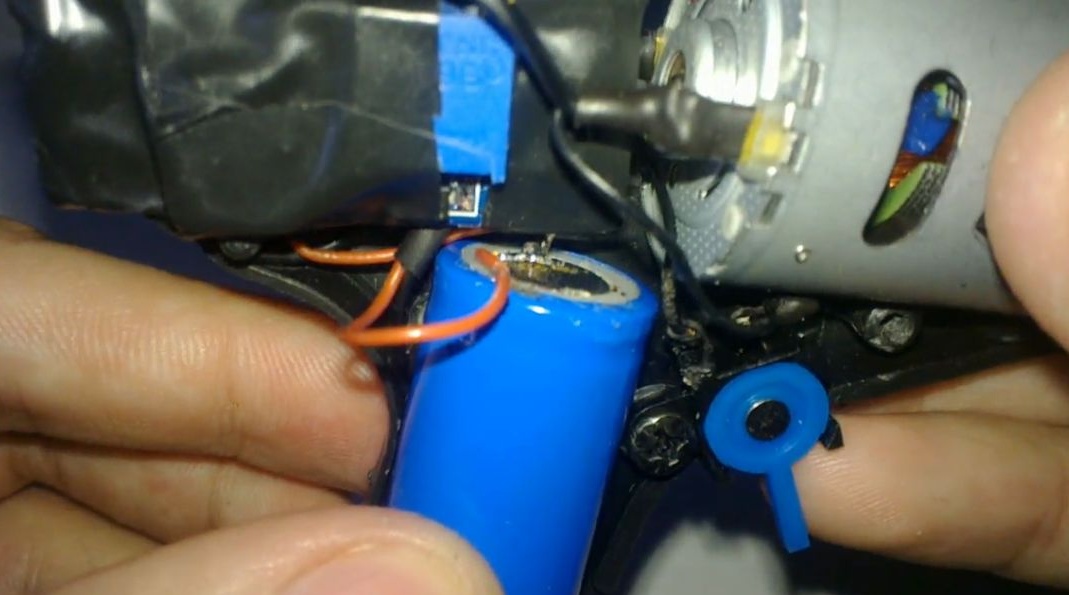
If it hangs, then you can additionally fix it with hot glue. In my case, I sat down well, did not hang out.
Now you can start the test.
I decided to try in practice very small drills with a diameter of 0.5mm (). There is also a set of different 1 / 1.5 / 2 / 2.5 / 3mm 50pcs ()
pros
Exterior and weight have changed significantly. Instead of two cans of batteries, now one is hidden in the handle, it became convenient to charge, you can adjust the power of the mini drill, it became convenient to monitor the voltage during adjustment, it is well balanced and more convenient to work with, you can work with the connected charging, convenient placement of the power button, the battery charge indication is visible .

Minuses
Power dropped a bit. This is a charge for increasing voltage, the flow increases.
When using high-quality batteries, there will be no such drawback or there will be a very slight difference.
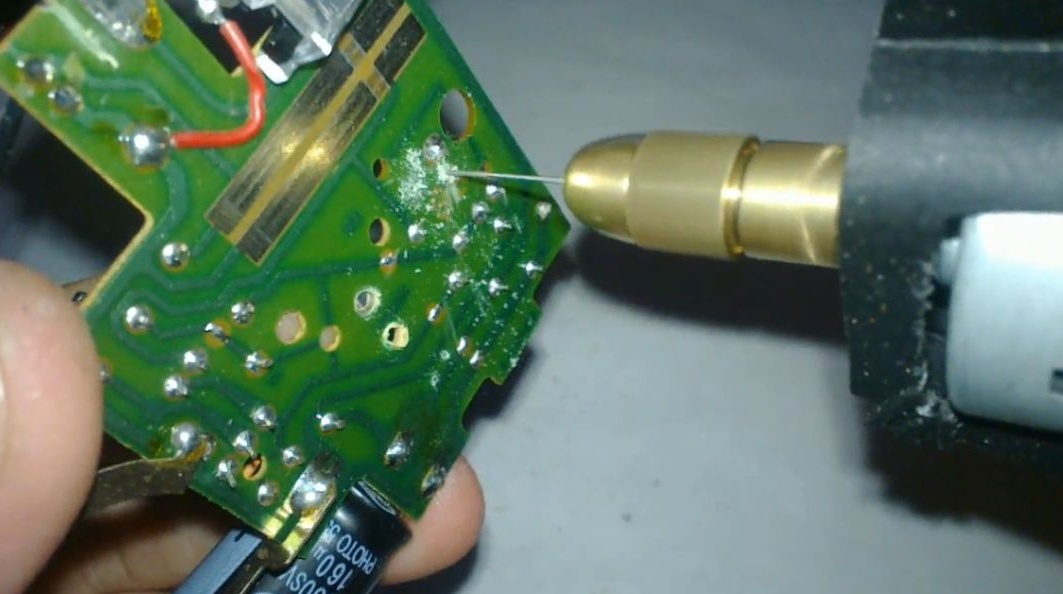
The circuit board is easy to drill
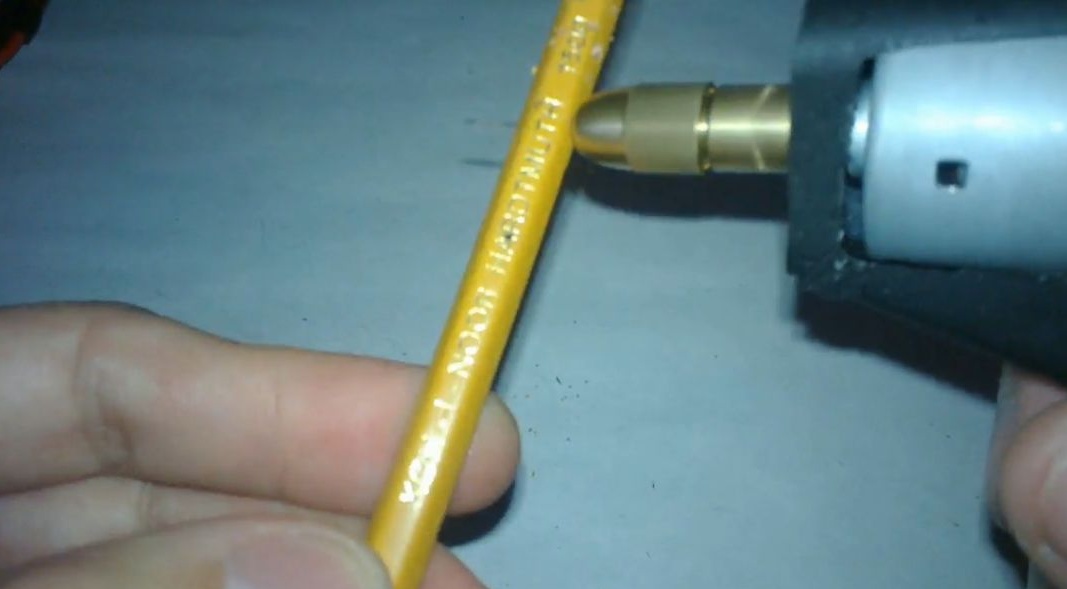
There are no problems with the tree

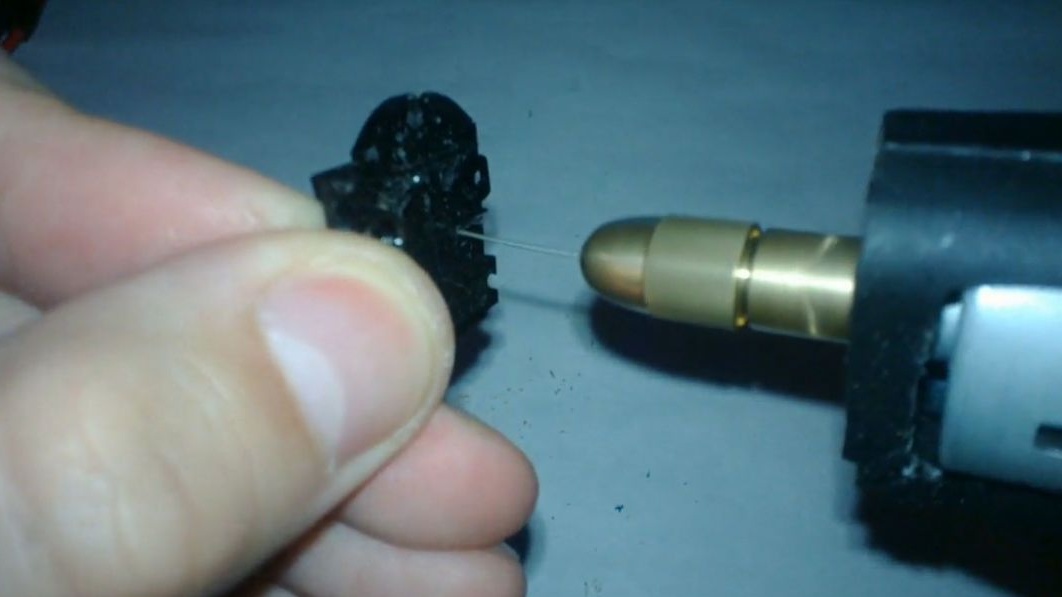
The same goes for plastic.
In general, I am pleased with the result. I did as planned and a little even more (using a voltmeter).