
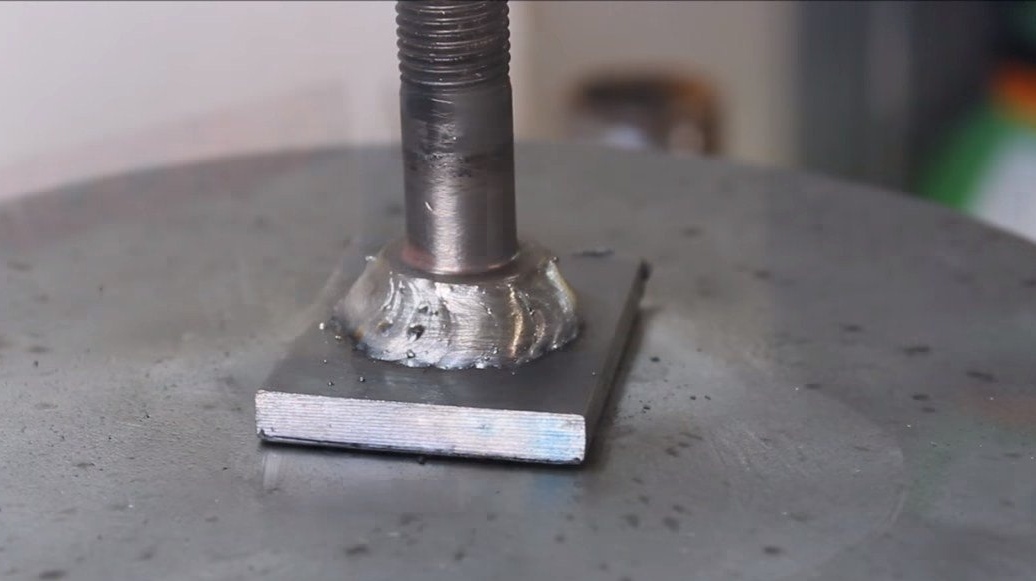
Hello everyone, I propose to consider useful homemade for the welder. It will be about a rotating table, on it you can install and scald various details. First of all, it is welding of pipes and various other cylindrical parts. You only need to maintain an optimal welding arc, and welding will occur on its own, due to the rotation of the product. Of course, the rotation speed of the platform is adjustable, so you yourself can set the optimal welding mode. Homemade assembly is going quite simply, as a power element a small gear motor is used, which can be powered with a voltage of 12-24V. If the project interests you, I propose to study it in more detail!
Materials and tools used by the author:
Material List:
- (motor 775 or motor from wipers is suitable);
- ;
- gear from the grinder;
- Sheet steel;
- screws, bolts, nuts;
- a round log for a working axis;
- fiberboard or plywood;
- power supply 12-24V;
- sheet metal for sheathing;
- profile pipe;
- steel corner.
Tool List:
- vise;
- grinder;
- welding machine;
- drill;
- tape measure, marker.
Homemade manufacturing process:
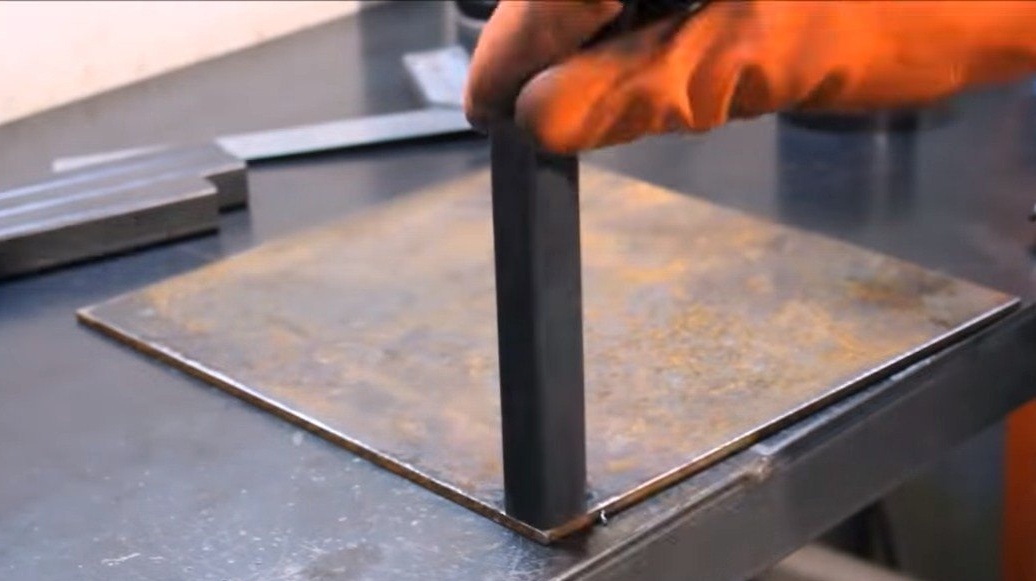
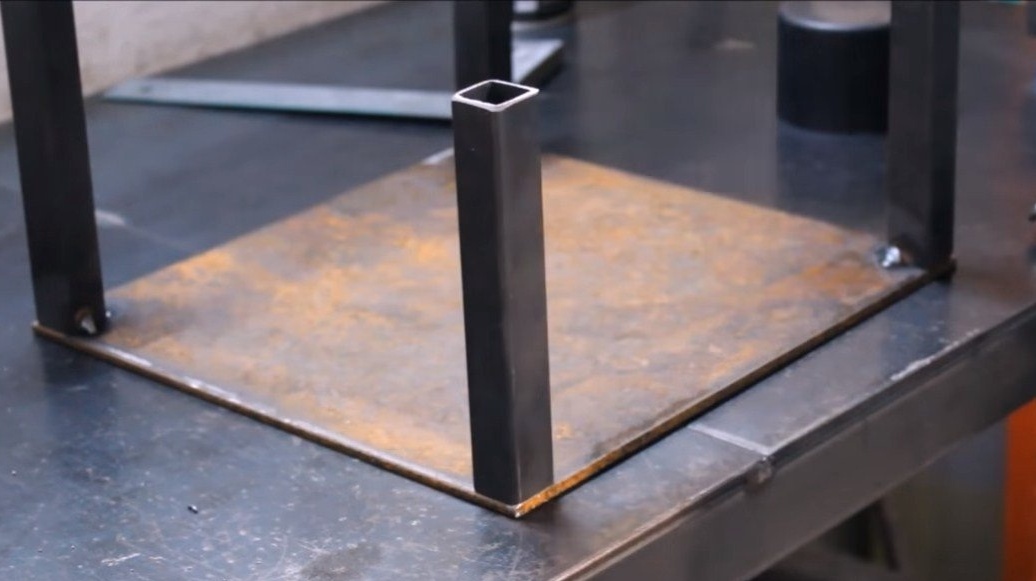
Step one. Base manufacture
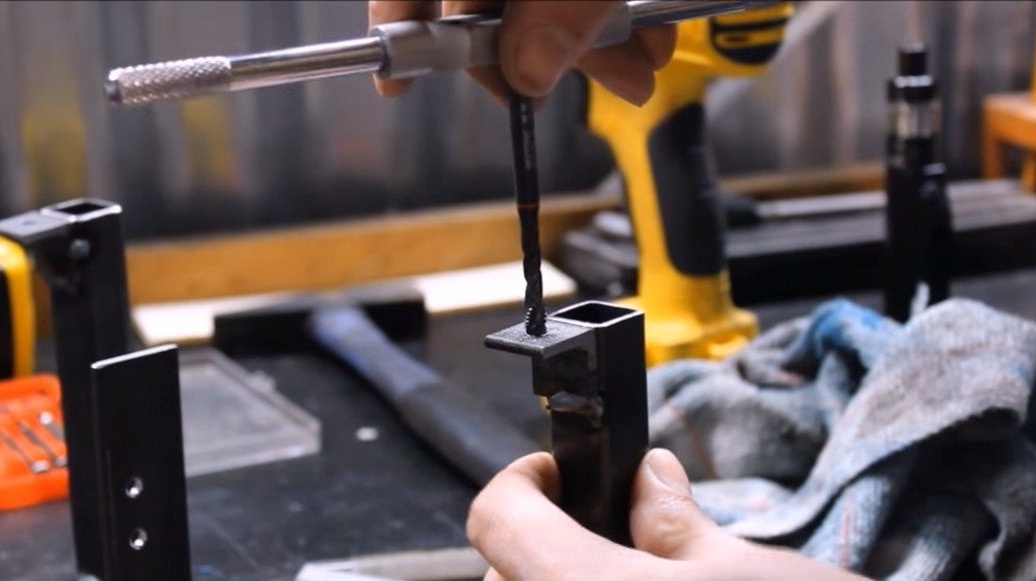
First of all, we will make the basis for the machine, then we need a piece of sheet steel, we cut off the excess with a grinder. Next, we weld racks to the sheet, there are four of them in total, the countertop will lie on them. As racks, the author used profile pipes.

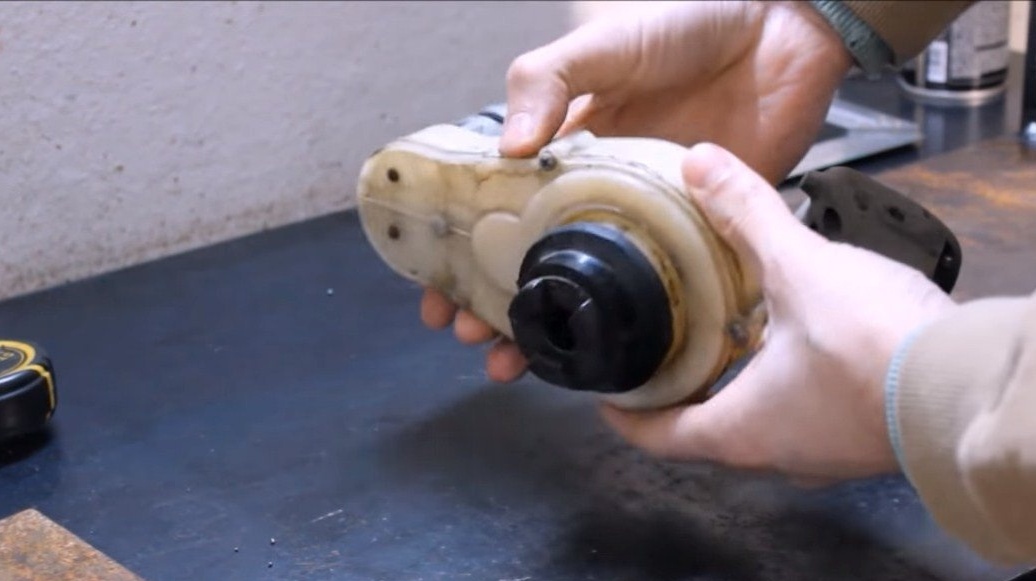
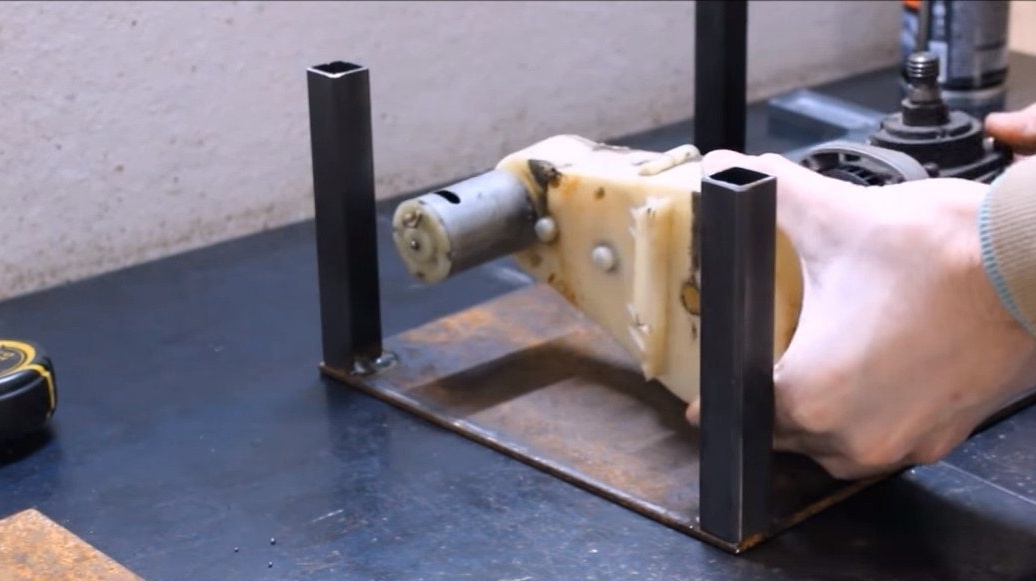
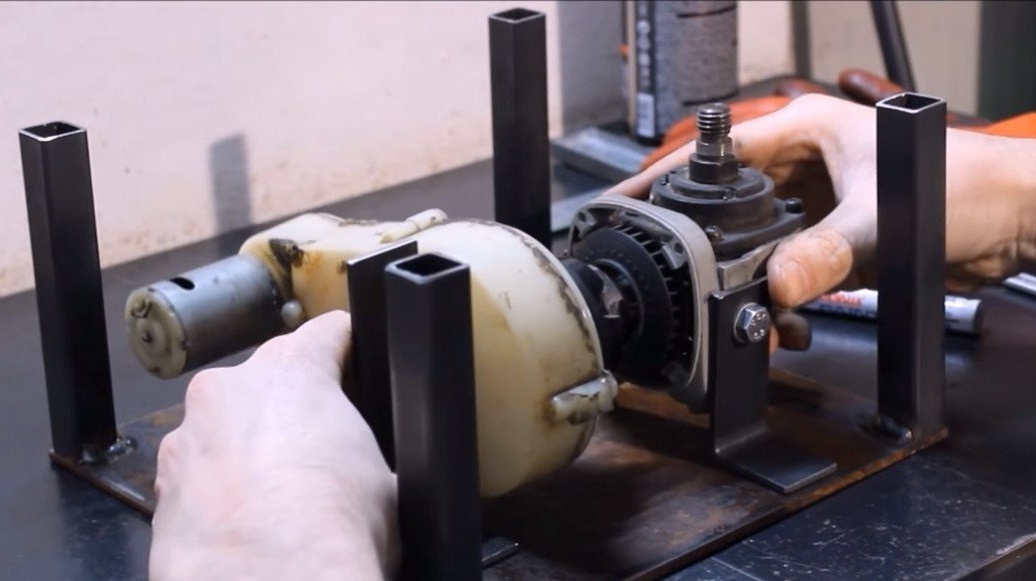
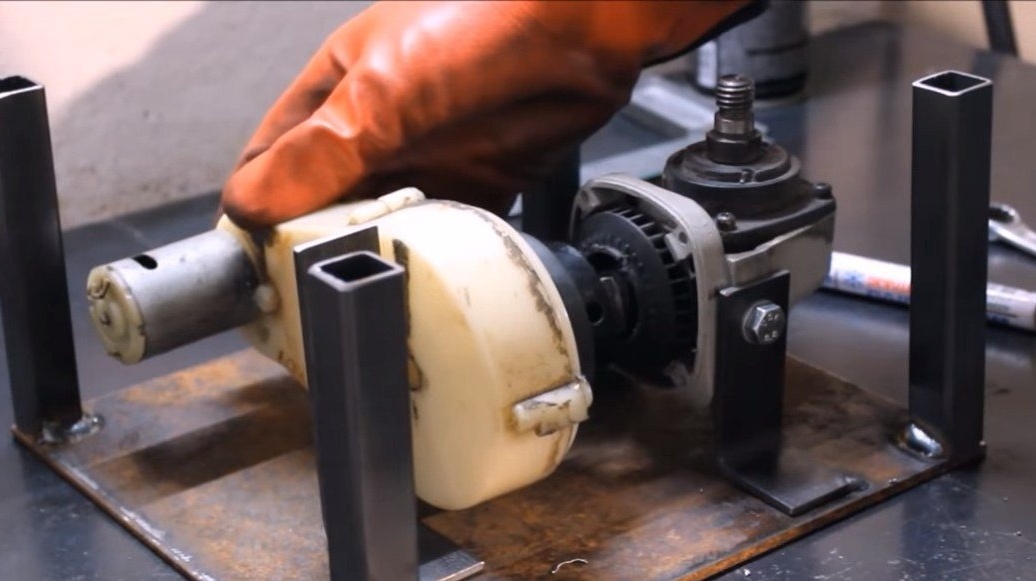
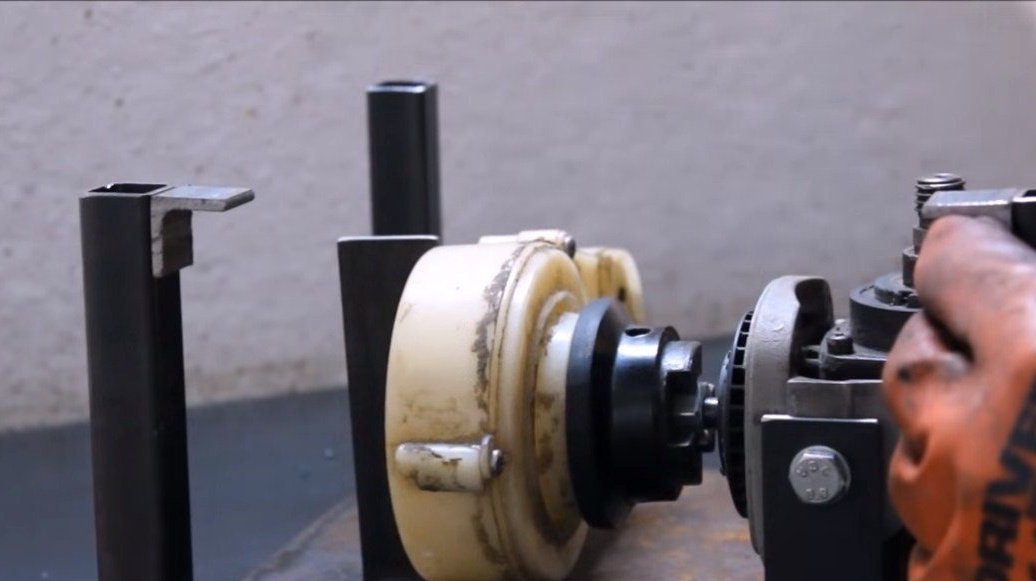
Step Two Motor and gearbox installation
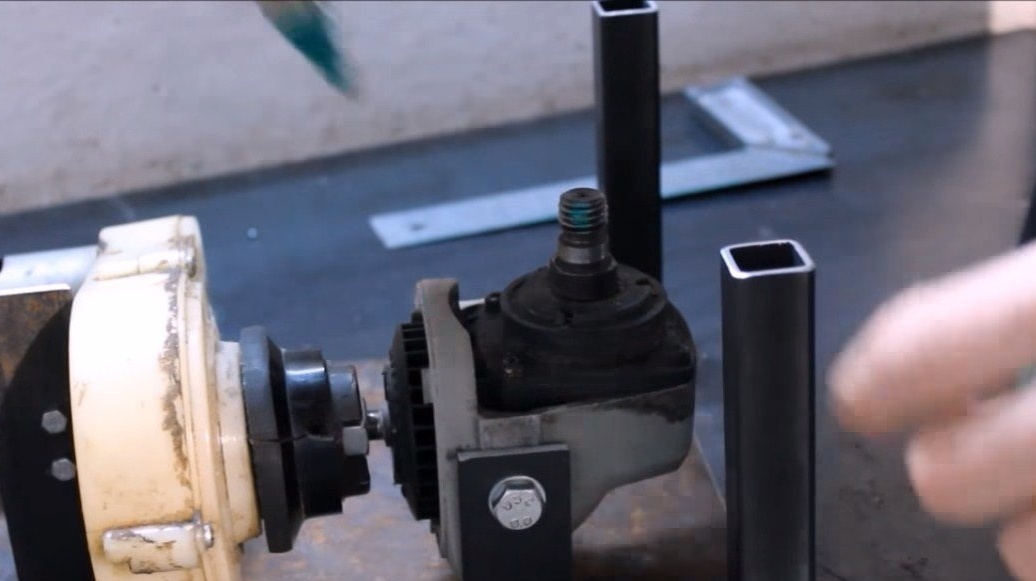
The base is ready, now you can install the gearbox and motor. We need to transfer torque from the engine from horizontal to vertical. The grinder reducer is suitable for such purposes, besides, this is a great way to increase the torque.
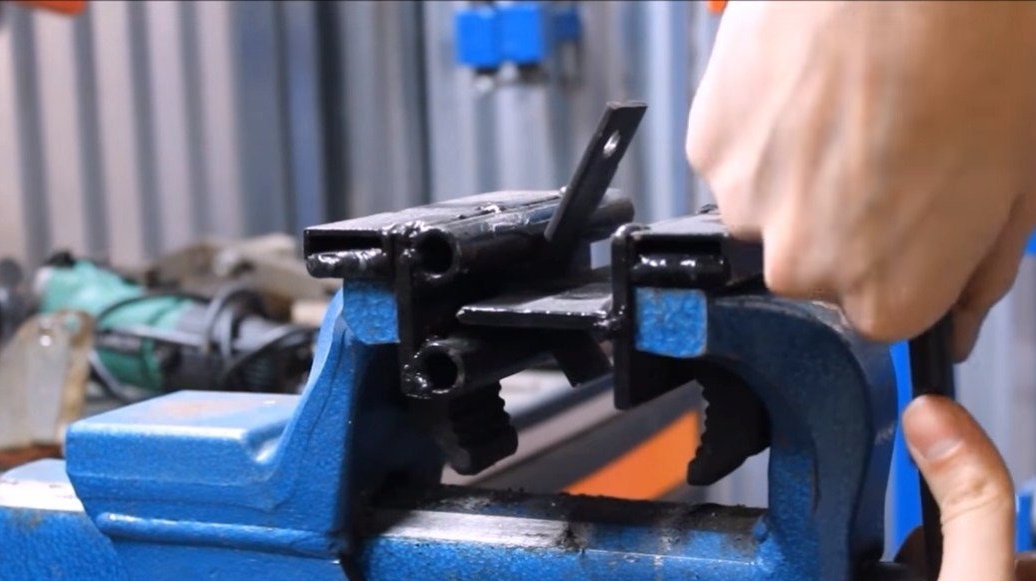
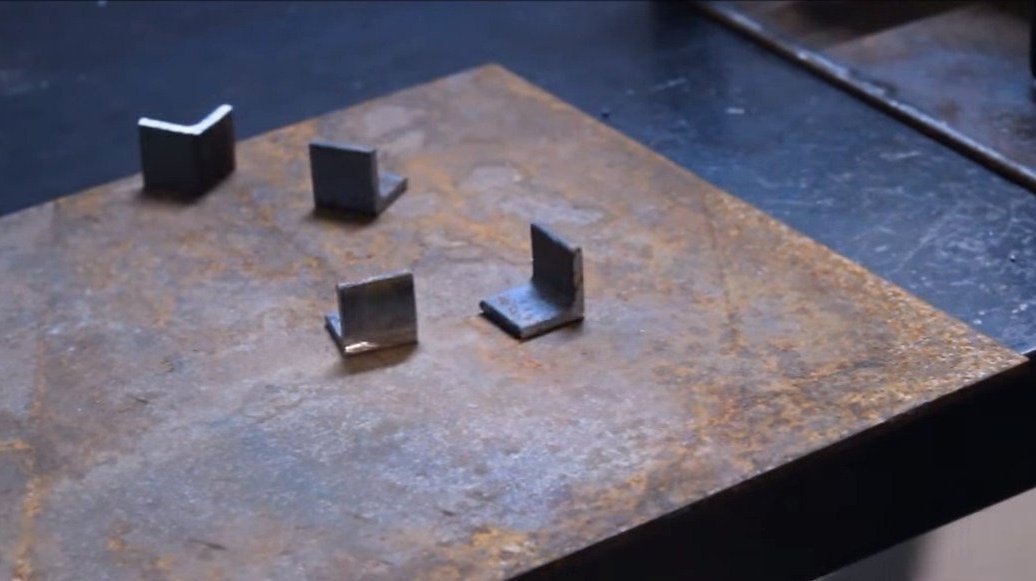
As for the engine, a small motor of 12-24V is used here, but the engine works in tandem with a reduction gear, so that in the end we get a rather high torque so that the platform can easily rotate a rather weighty product.As a similar engine, you can use a motor from car wipers. We connect the gearbox axis to the gearbox axis from the grinder and fix all the components to the base. For fastening, the author bent corners from metal plates and welded to the base in the right places.


Step Three Countertop and shaft
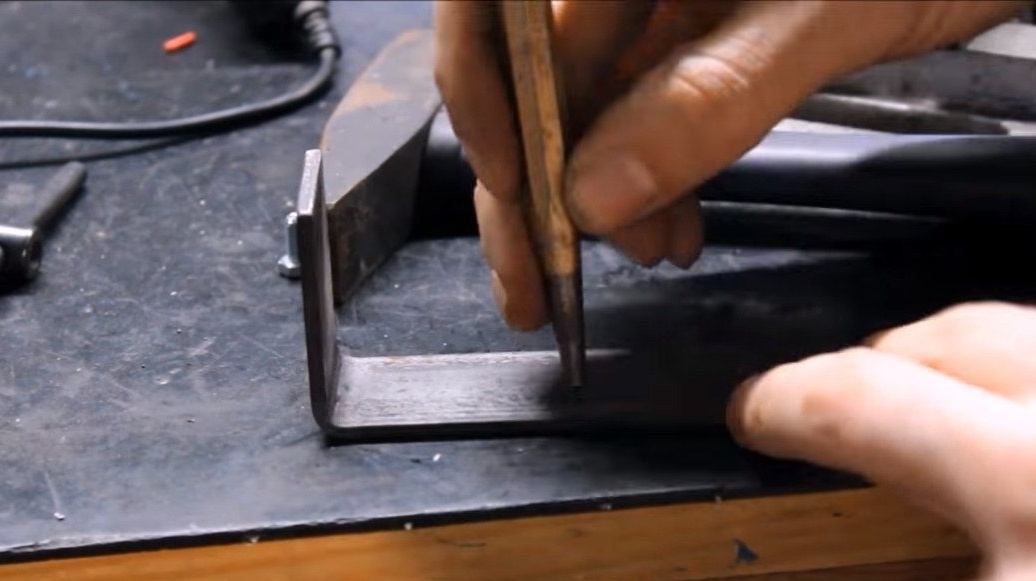
We make the upper part for the body, that is, the "countertop". Its author decided to make it removable; it will be fastened with screws or bolts. We weld corners to the top of the racks, drill holes and cut the threads. Well, then we cut out the tabletop from metal and you can screw it on.
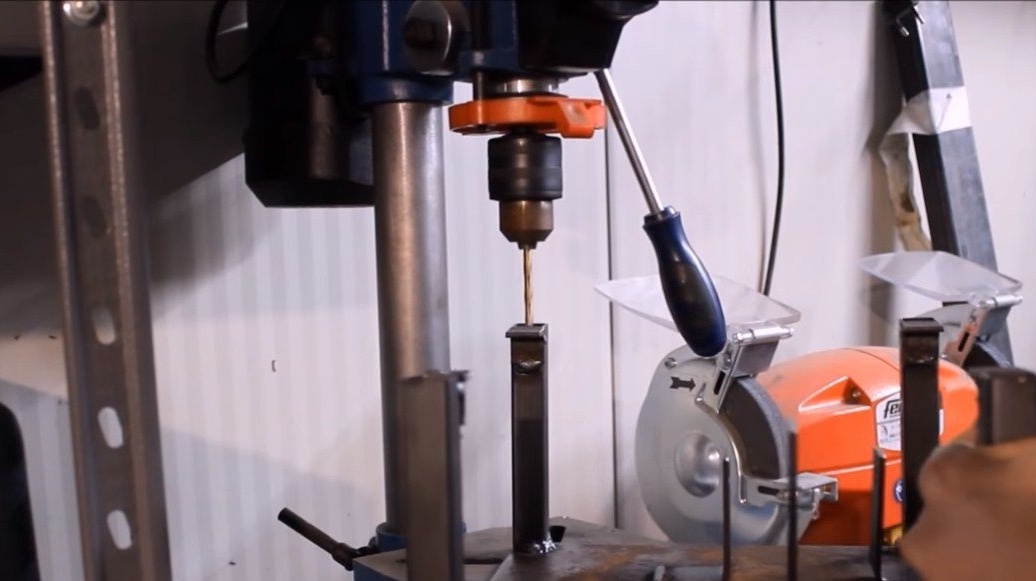
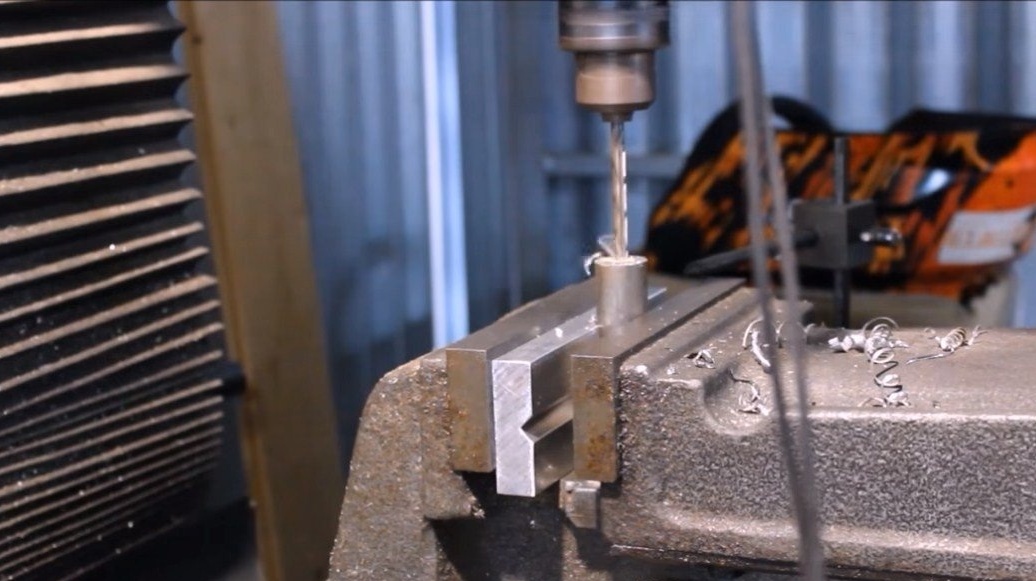
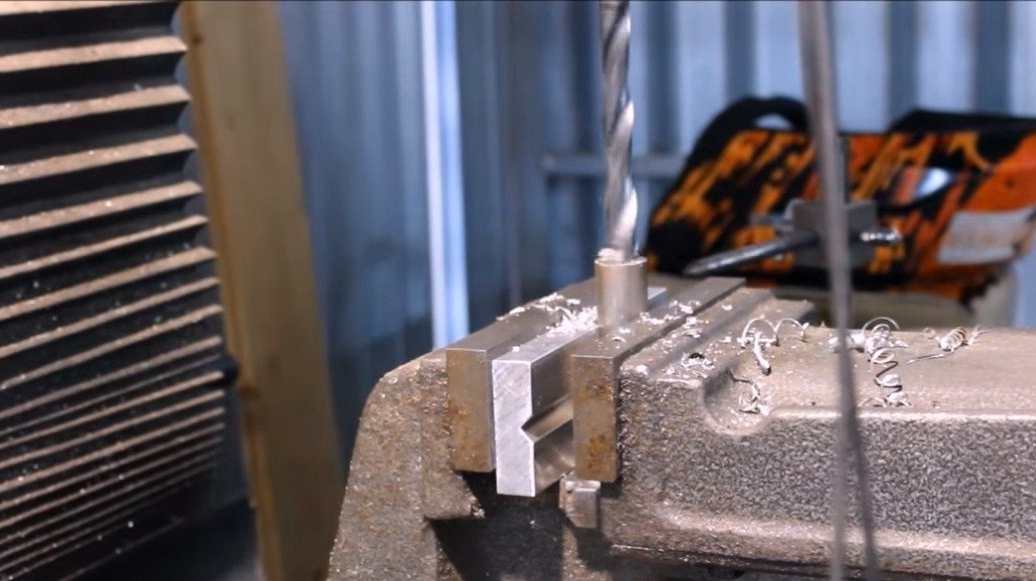
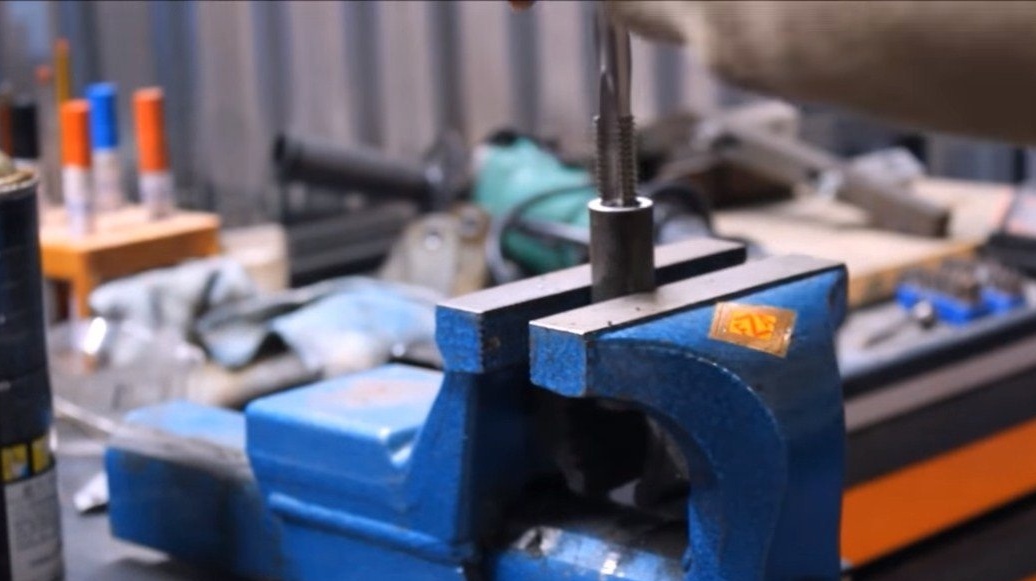
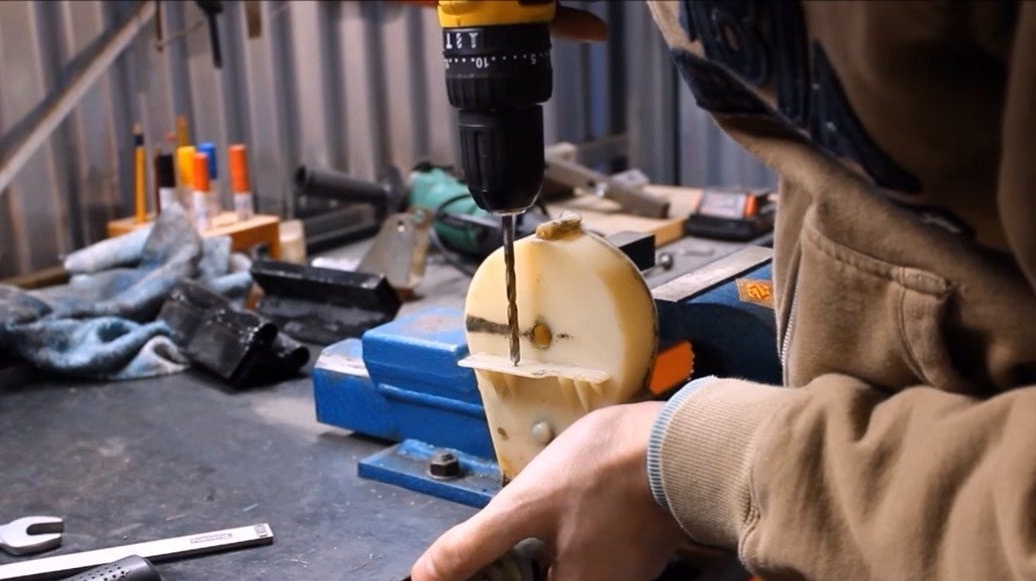
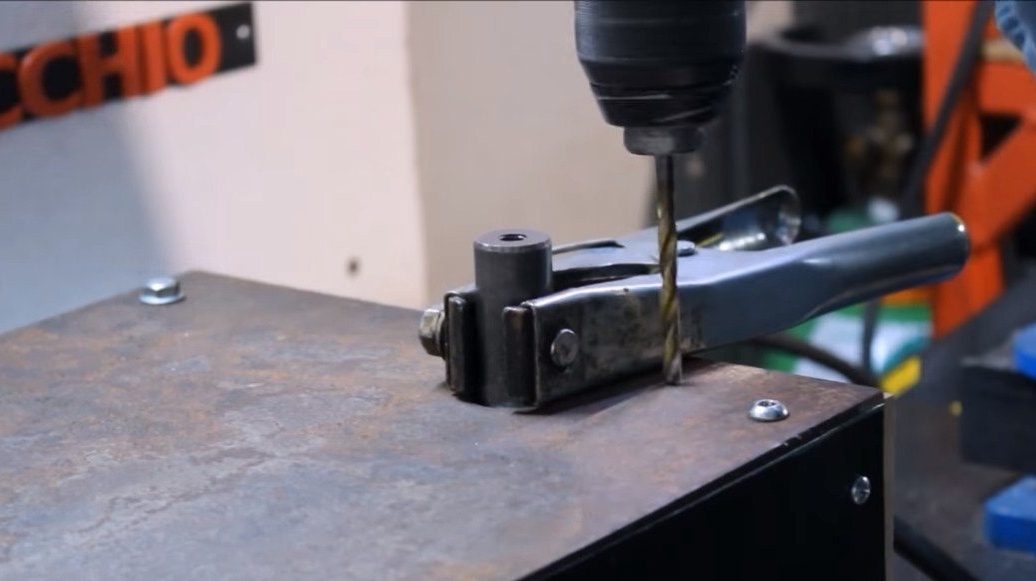
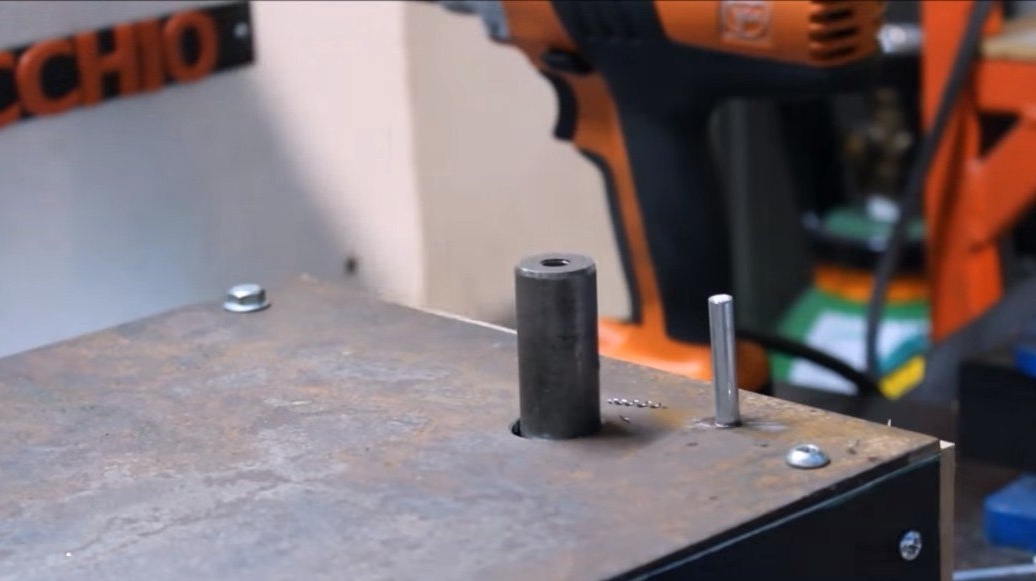
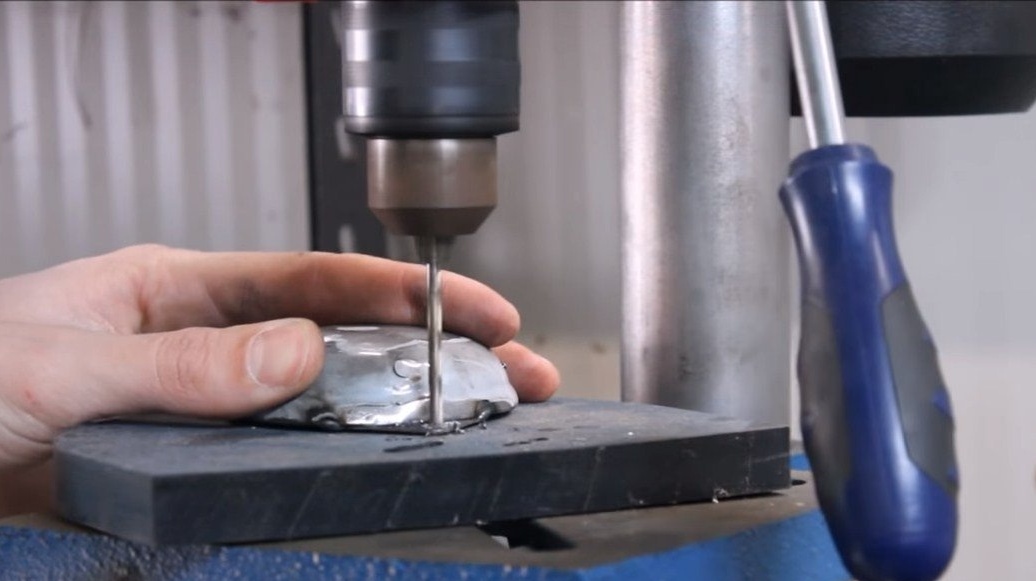
You also need to make a shaft to which we will mount the rotating platform. For the manufacture of this shaft itself you will need a round log, clamp it in a vise using a special tool and drill holes. On the one hand, we drill a hole for the bolt with which we will mount the rotary platform, although it can also be welded. And on the other hand we drill a hole and cut the thread so that the part can be screwed onto the gear shaft from the grinder.
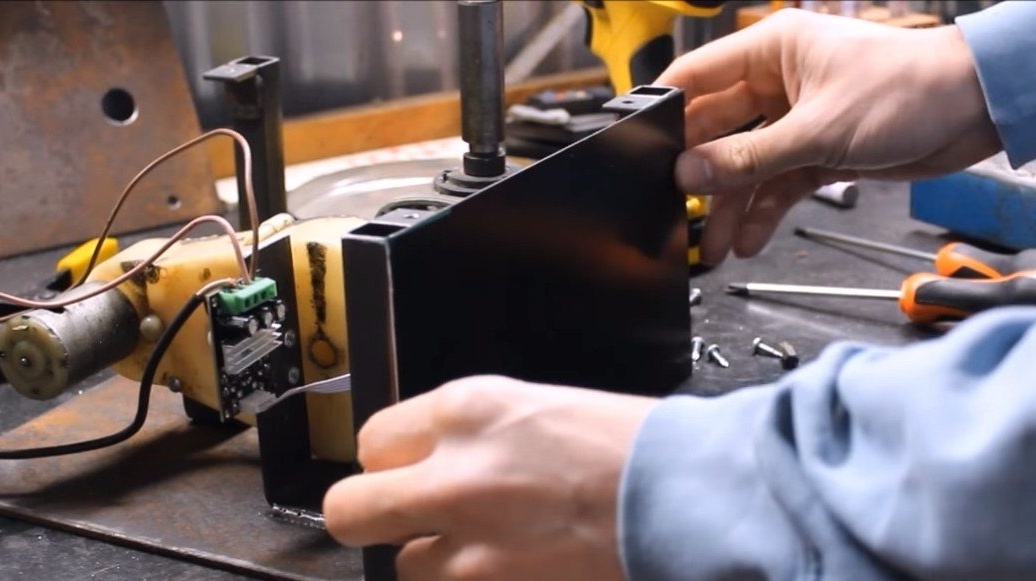
Step Four Sheathing
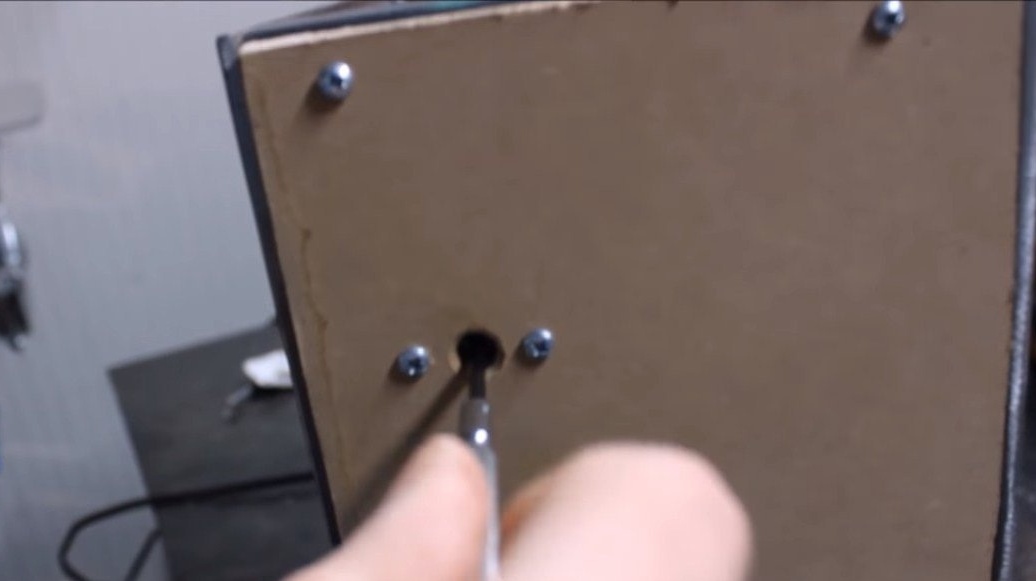
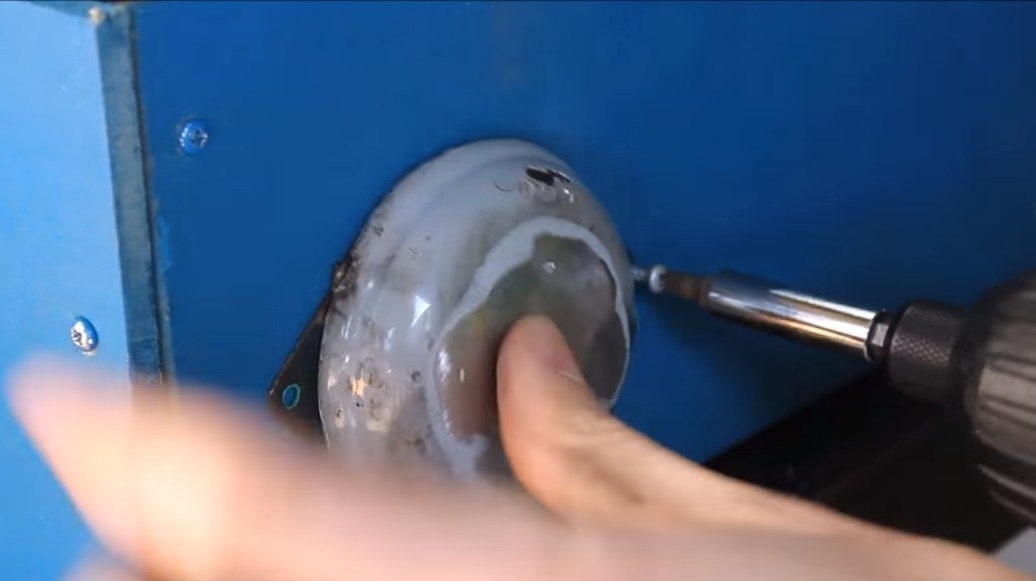
We sheathe the body of the machine, all we need is 4 pieces of sheet metal or plywood, we fasten it to the posts with screws.
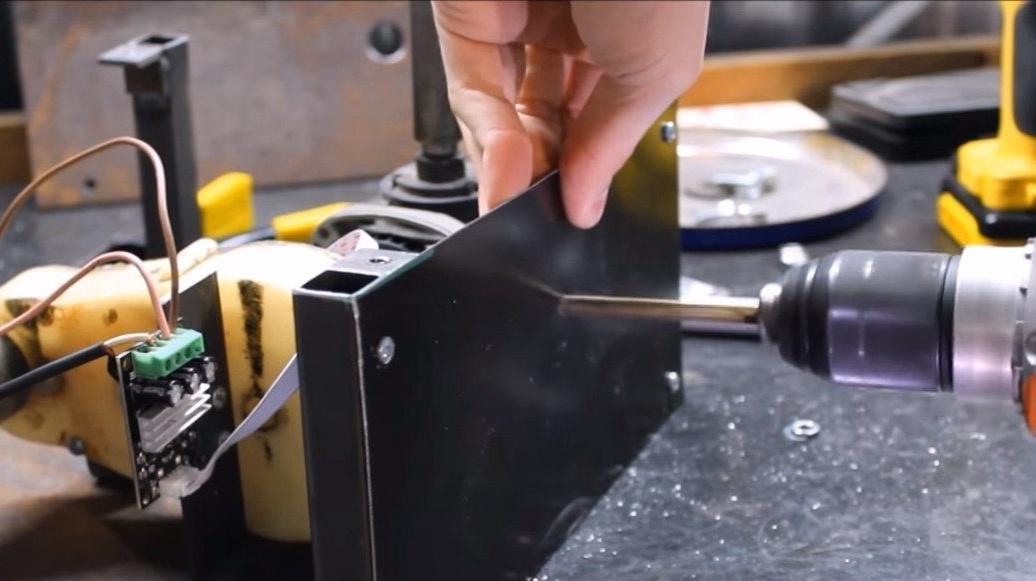
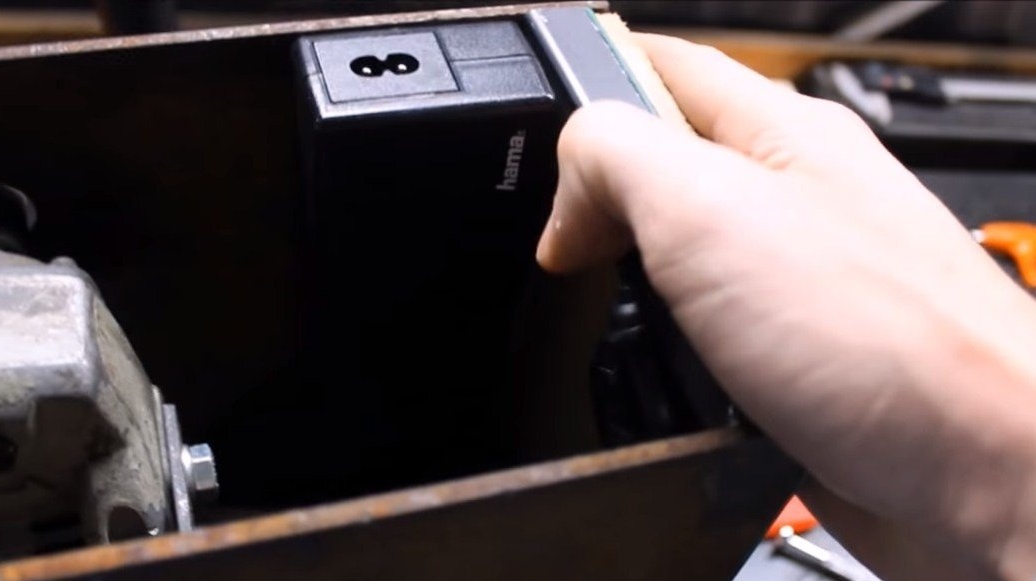
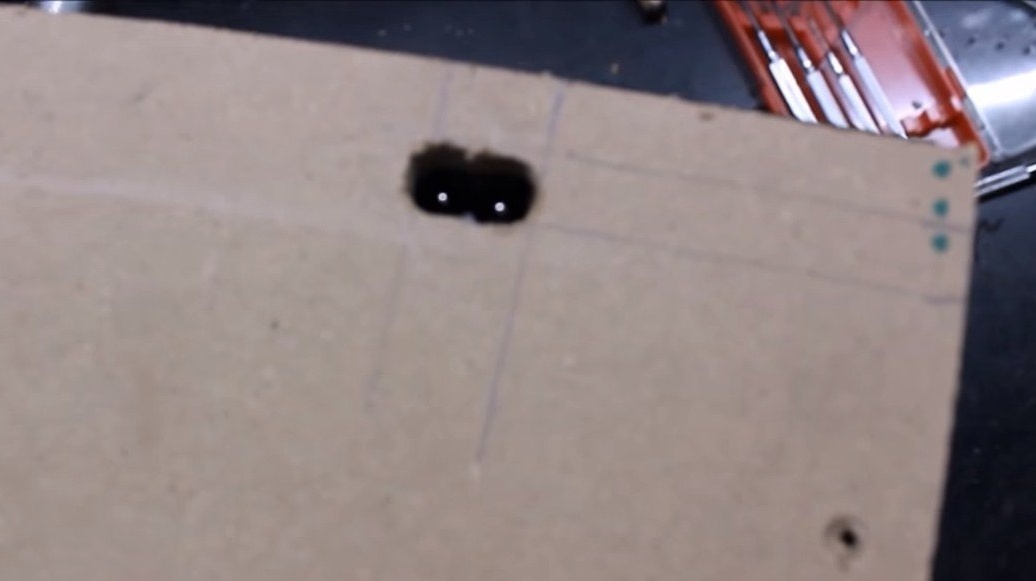
In the right place we install the power supply, as well as the speed controller, cut out the windows for connecting the power supply and install the knob. The author immediately has the handle and turns on the machine, so that an additional switch is not needed.

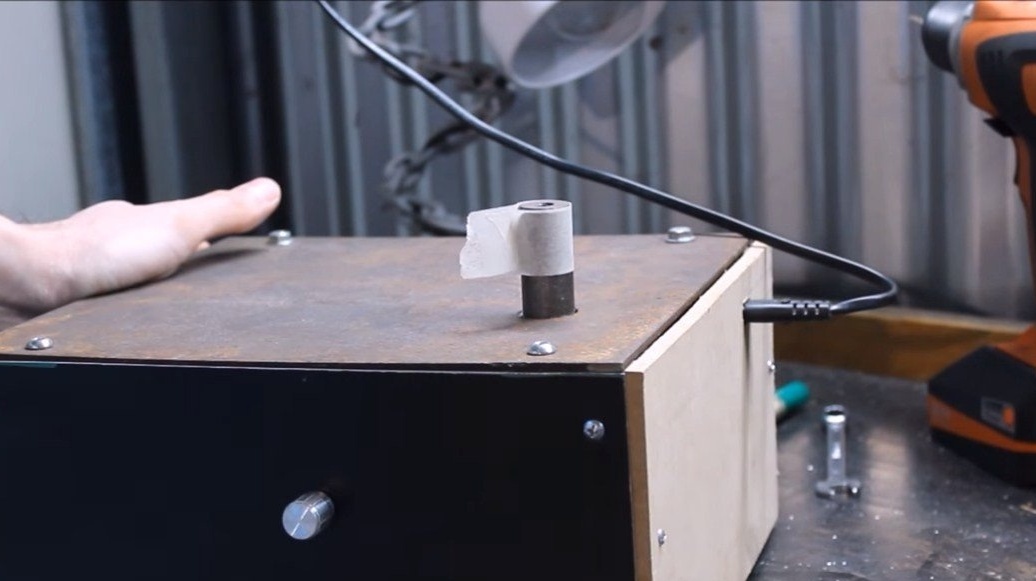
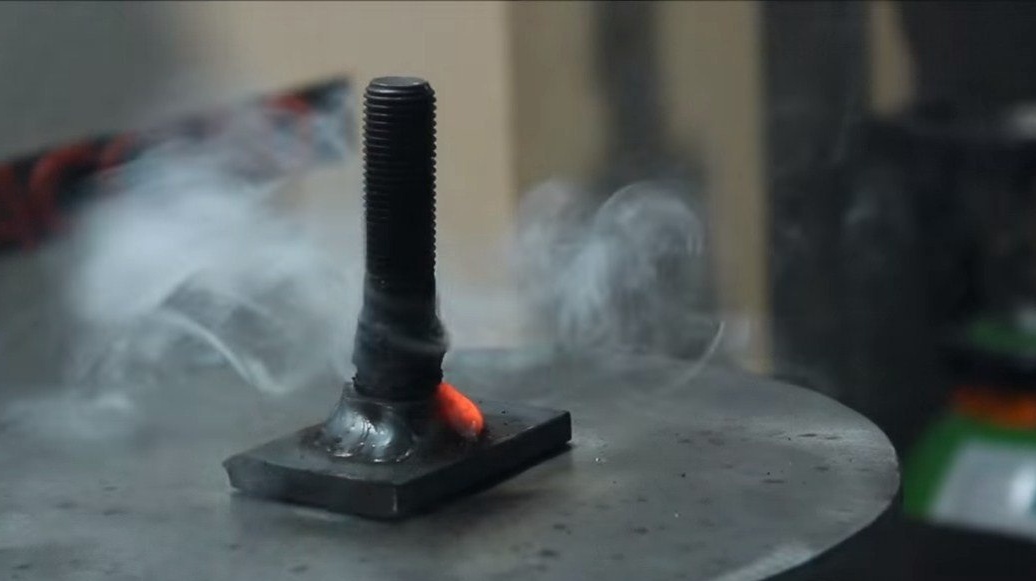
Step Five Weight
It is necessary to make the mass for the machine, it is used as a standard - this is a clamp from the welding machine. It is mounted on a working shaft, to which a rotary platform is attached. When the shaft rotates, the handle simply slides over it, resting against the stop. The screwed stud acts as an emphasis, a bolt and so on will do.


Step Six Finishing touches
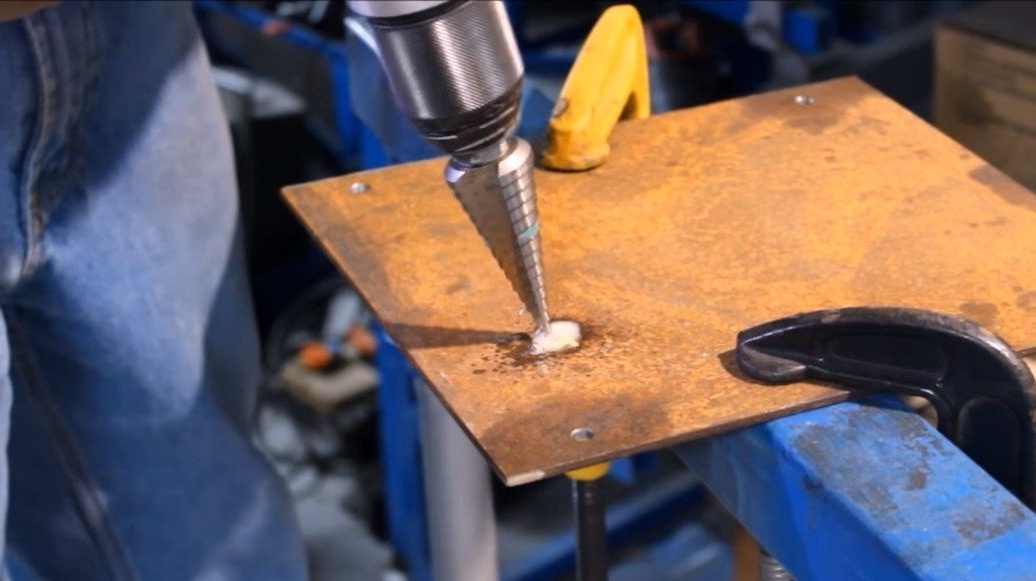
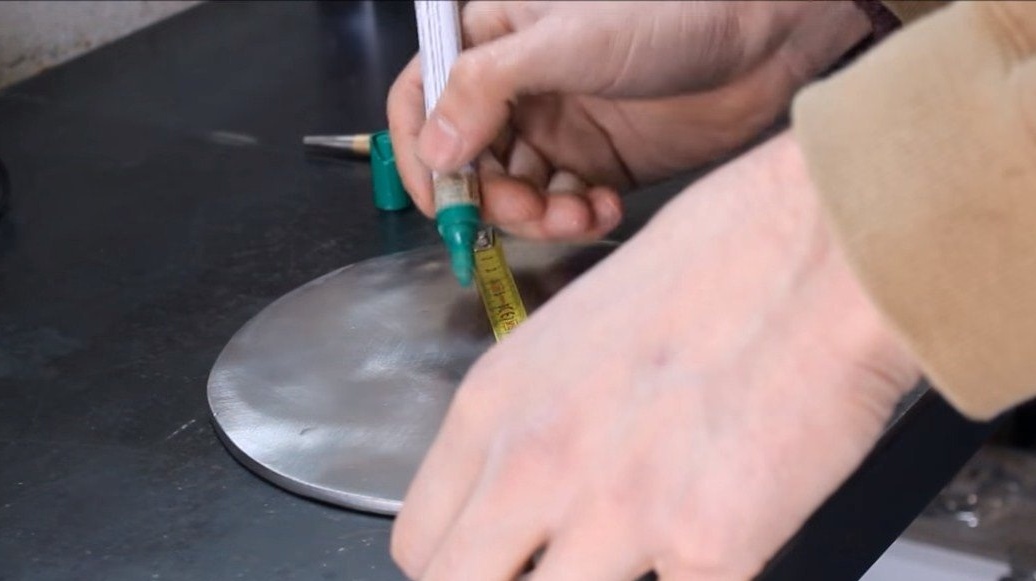
At the end, we cut out the rotary platform from thick sheet metal, it is round with the author, we fasten it with a countersunk screw to the working shaft of the machine. The lining and other details of the machine can be painted so that everything looks beautiful and does not rust.
Just do not paint the upper part of the rotating platform, as you need good contact with the base during welding. It is better to make a stainless steel platform.

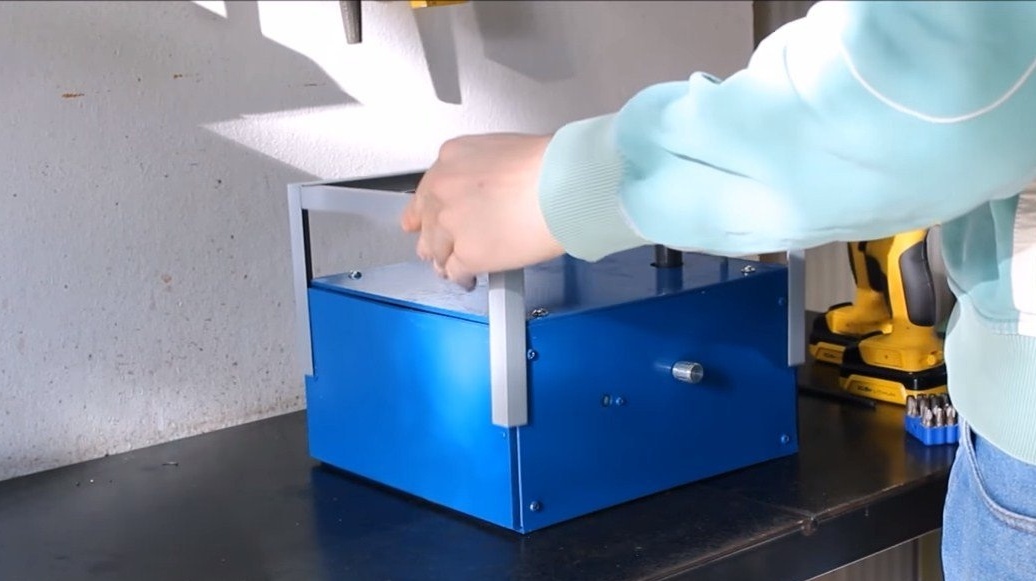

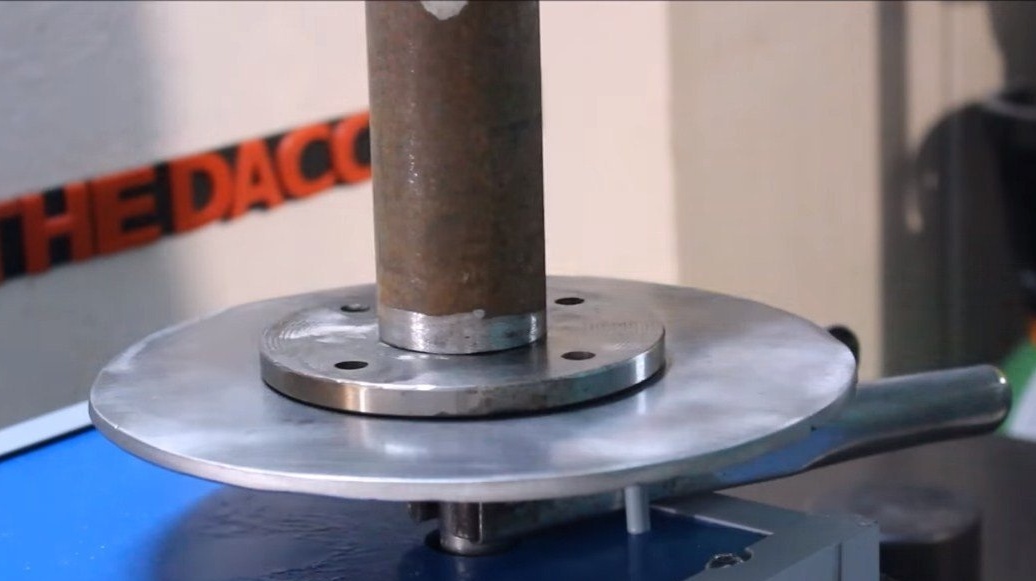
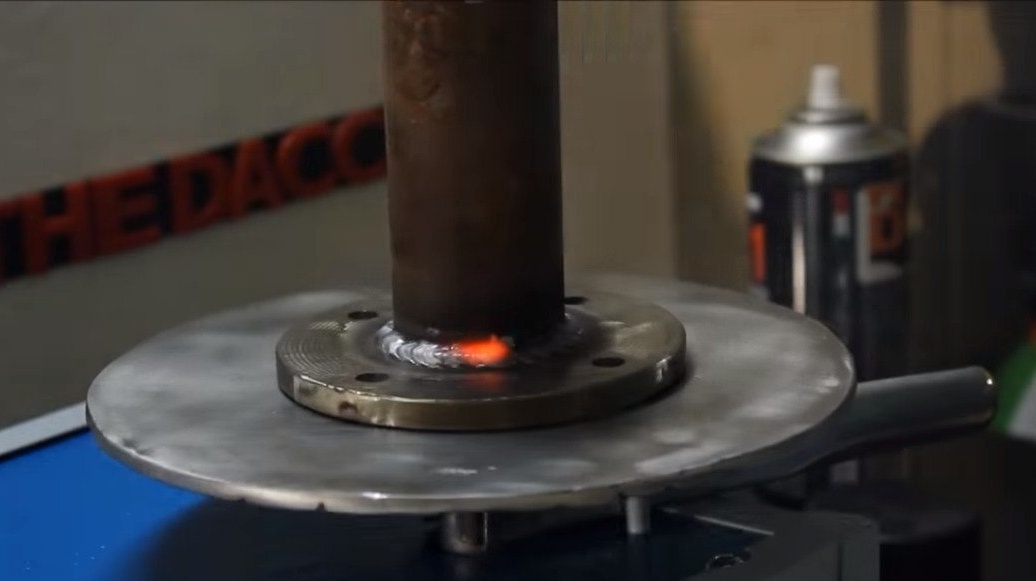
The car is ready, you can test. We install the product on the platform and set the desired speed for welding. The author succeeds quickly, beautifully and efficiently. That's all. The project is over, I hope you liked the homemade. Good luck and creative inspiration, if you decide to repeat this. Do not forget to share your ideas and homemade things with us!