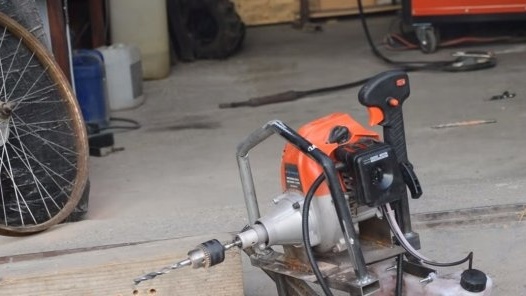
Hello to the fans of the craftsmen, in this instruction we will discuss how to make a gas drill. Such homemade It can be useful where there is no electricity, for example, in the construction of a country house and so on. The homemade product is quite powerful, the power is doubled, and in the end it is more than in a conventional drill, so that drills can be put thicker and more authentic here. The author easily drills metal, wood, and also a concrete wall with such a drill. The device turns out to be fundamentally new, so for homemade work you will need an engine from a trimmer, as the device will not work as a brushcutter. If you are interested in the project, I propose to study it in more detail.
Materials and tools used by the author:
Material List:
- gas trimmer;
- profile pipe;
- Sheet steel;
- round pipes;
- hoses (for lengthening the gas pipeline);
- a cartridge from a drill;
- screws with nuts.
Tool List:
- ;
- ;
- ;
- tape measure, marker.
Homemade manufacturing process:
Step one. Frame manufacturing
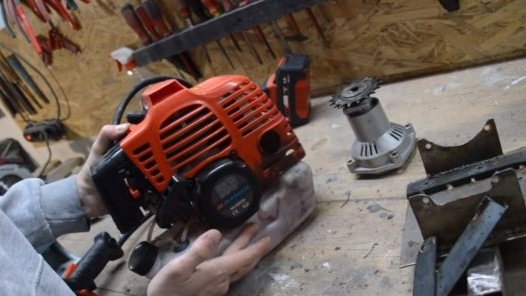
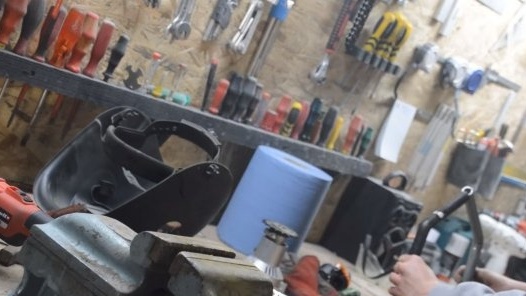
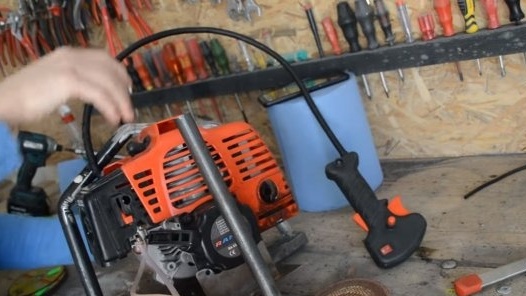
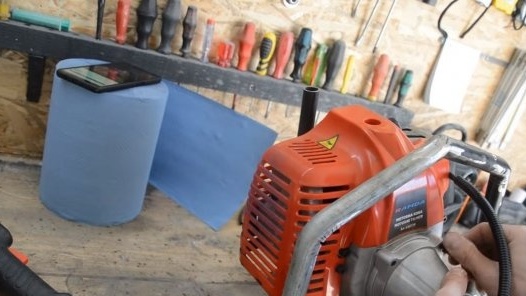
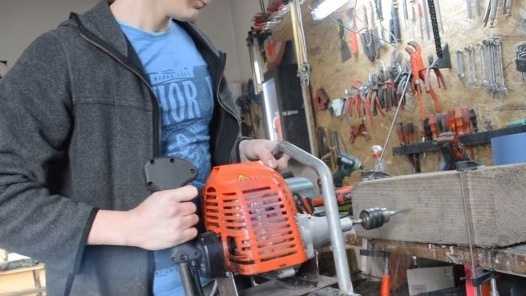
The main essence of the alteration is to make a frame with handles for the engine, for which you can conveniently hold the tool. The frame is assembled quite simply, we disassemble the engine, you need to unscrew the gas tank from it, it will be installed separately. We will fasten the engine with the screws that hold the front part, as well as the manual starter.
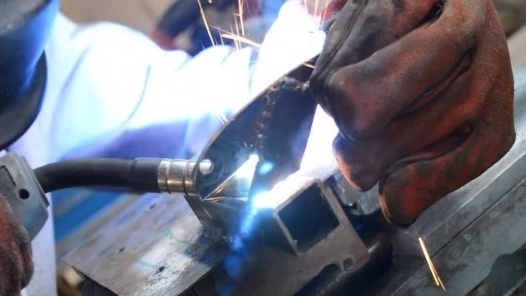
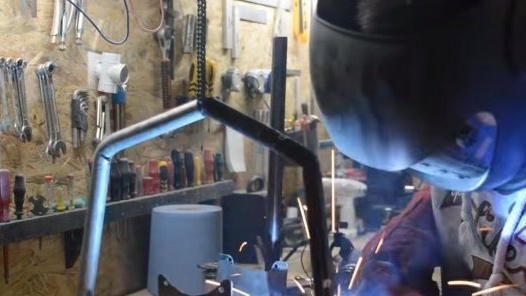
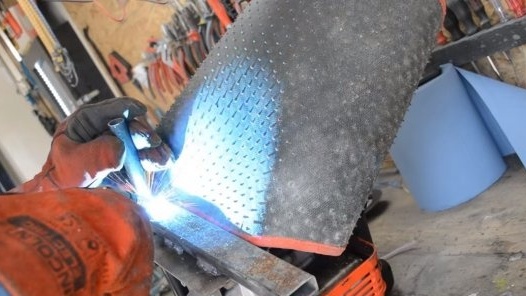
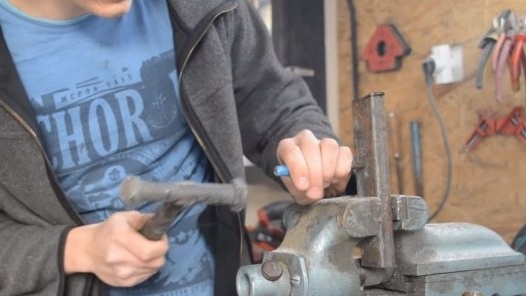
As a basis we use a piece of sheet steel, we weld on it brackets for mounting the motor, which are also made of sheet steel.
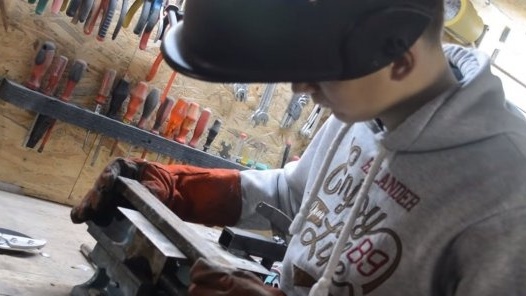
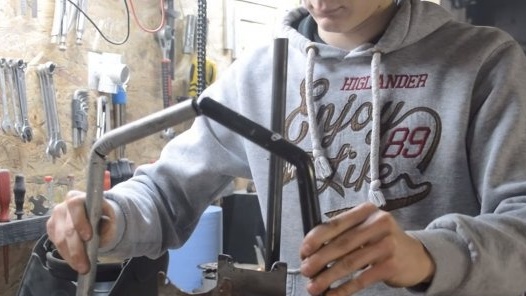
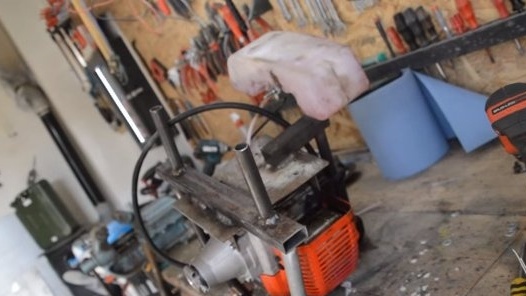
We weld a piece of a profile pipe to the front of the frame, the author welds a handle and legs to it. The legs are made of pieces of a round pipe.
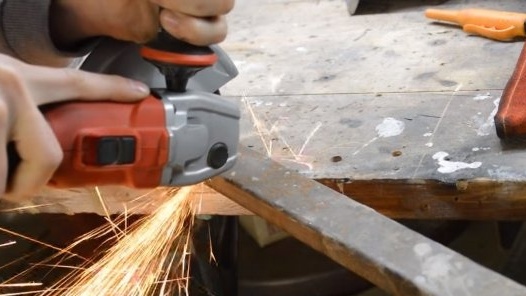
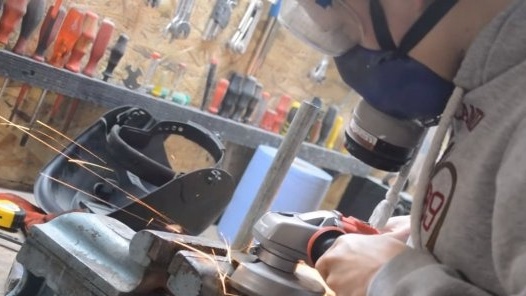
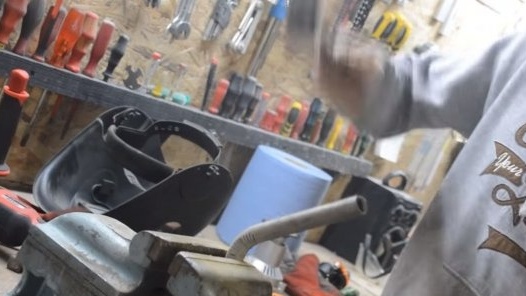
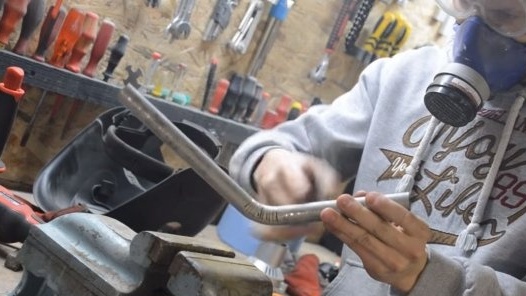
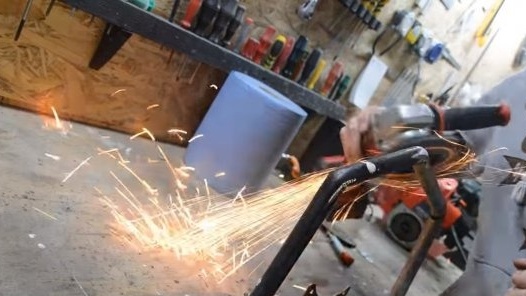
We also make a handle from round pipes so that they can be easily bent, the author makes a number of cuts on the grinder in the area that needs to be bent.
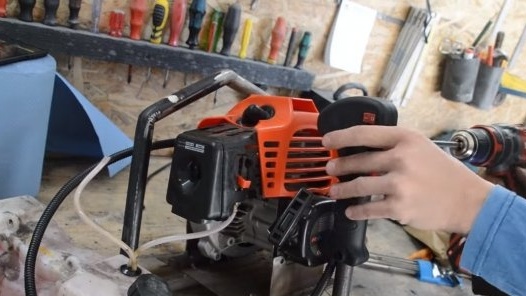
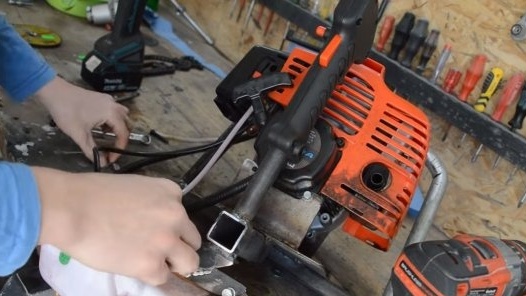
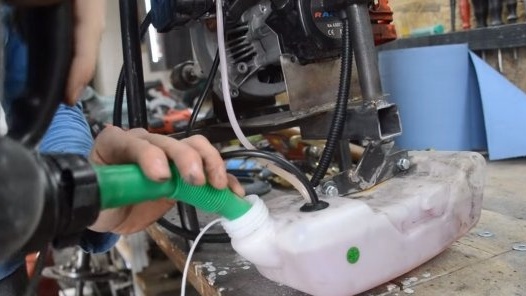
In the back of the frame we weld one more pipe, this will be the second handle on which the “trigger” of the engine control will be mounted. We install the gas tank on the bracket at the bottom of the frame, this will be the third fulcrum on which the homemade product will stand.
Step Two Engine and cartridge installation
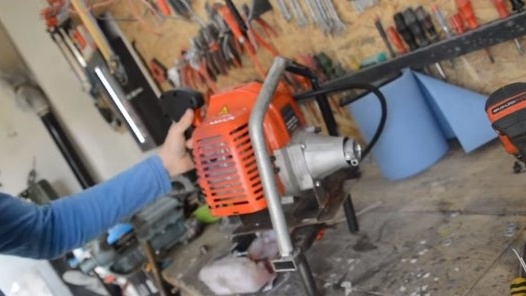
We install the engine on the base, fasten it with two screws in front and two behind. We also install the handle and fasten the gas tank with screws and nuts.
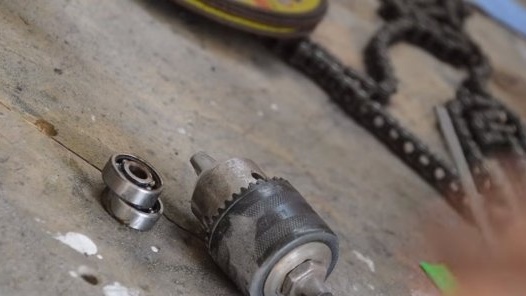
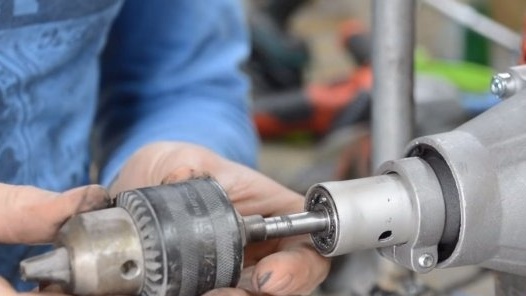
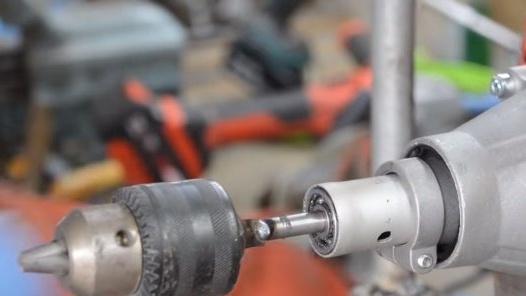
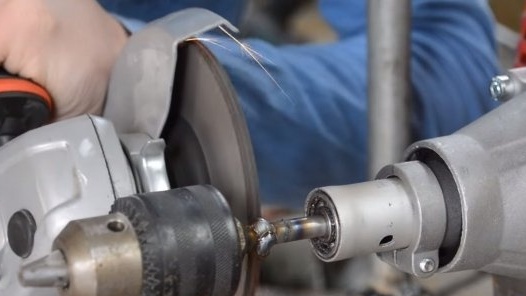
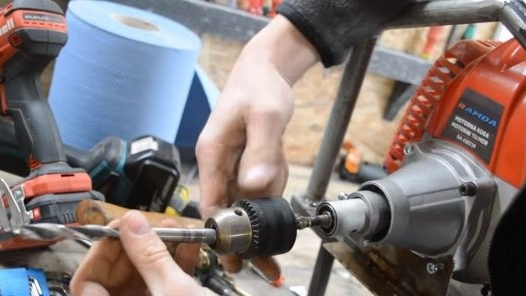
The homemade product is almost ready, it remains to install the cartridge from the drill. The author used a cartridge with a piece of the axis from the drill, and a piece of the axis from the trimmer shaft was installed on the engine. As a result, the author welds two axes, centering the cartridge on the eye. Of course, beats will still be here, but for rough work it’s quite suitable.
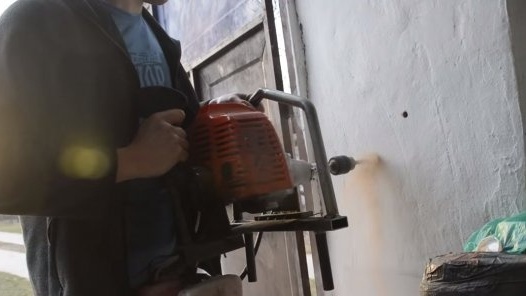
That's all, you can experience homemade work, pour a mixture of gasoline with oil and start the engine. The machine easily drills wood, concrete and metal. It is important when assembling such a homemade product to see in advance in which direction the motor shaft rotates.
That's all, the project is over, I hope you liked the home-made. Good luck and creative inspiration, if you decide to repeat this. Do not forget to share with us your ideas and homemade products.

