

Hello everybody! This portable barbecue was made in a couple of hours, and most importantly, with a zero budget. To make this homemade the weather pushed me, namely, the first warm spring days. I wanted shish kebabs, and the old barbecue rests, somewhere under a large snowdrift. There is no desire at all for search work, but to make another brazier, practically out of junk and in haste, is much more interesting.
For the manufacture of required:
Old metal street lamp
Hairpin M10 - 4 pcs. 10 cm and 8 nuts
Steel tube 12 mm - 4 pcs. 50 cm each
4 M12 nuts (any metal object of the same size can be used)
Tool:
Welding machine
Bulgarian
Drill
Drill
Sandpaper
Hand tool
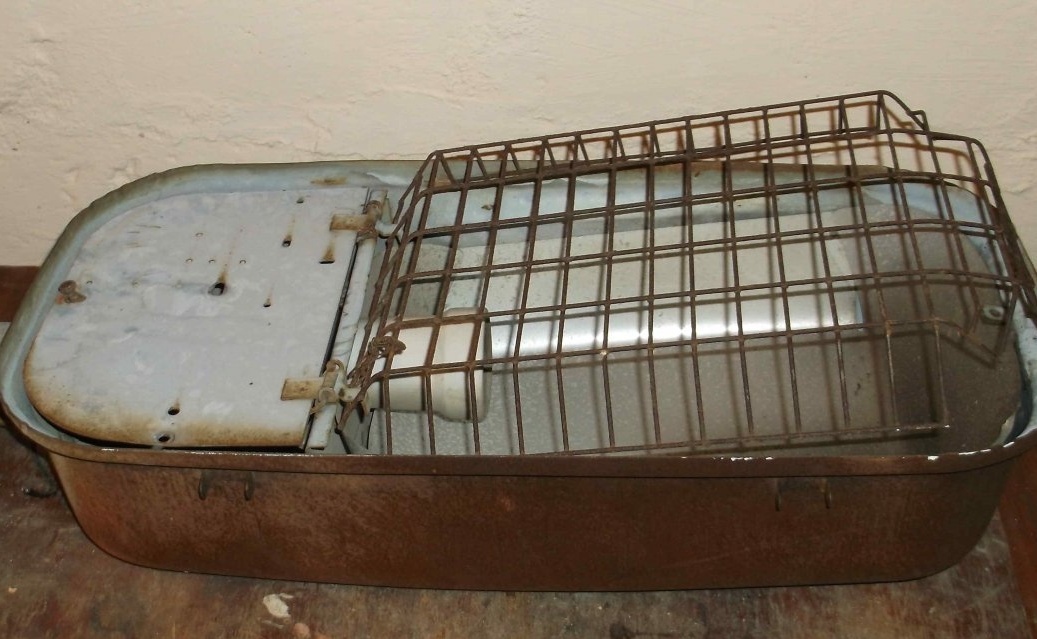
The basis for the manufacture of the brazier was the old streetlight, which was waiting for disposal in a pile of scrap metal. I want to note that many useful things can be made from unnecessary, at first glance, scrap metal, and this case is no exception.
As you may have guessed, from the flashlight I needed only a body - this is the basis of the barbecue.
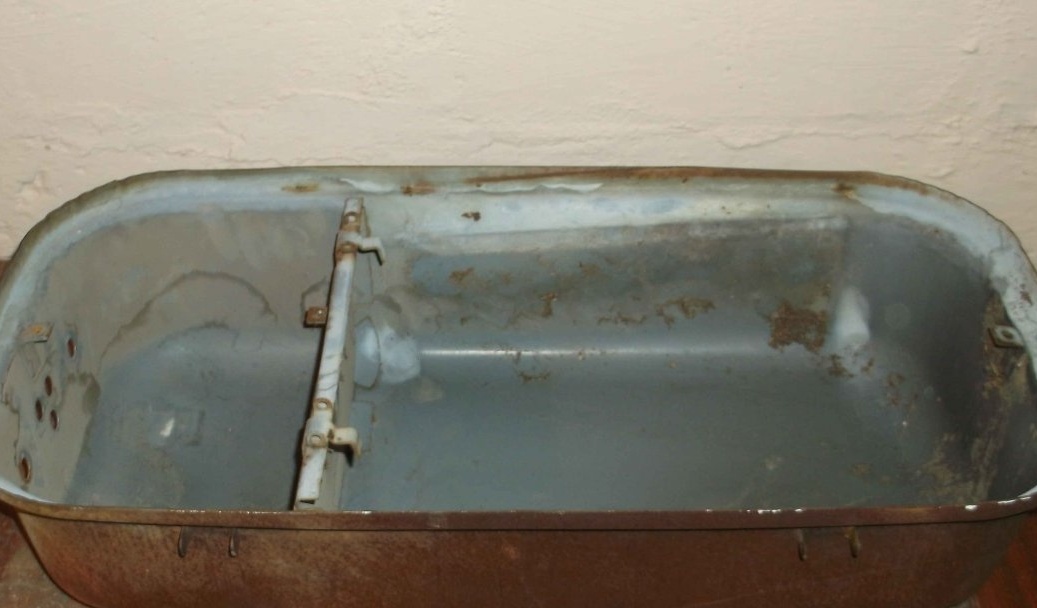
Removed all unnecessary, there was only a case with a partition. The partition is spot welded, but it should also be removed.
He removed the septum with a hammer - just gently knocked it out.
Although the flashlight is old, the paint on the case has been preserved and needs to be disposed of.
The easiest way, in my opinion, to get rid of the paint on the body is to light a bonfire right inside and burn it until all the paint burns out, which I did. He cleaned the remains of scale and slag with sandpaper.
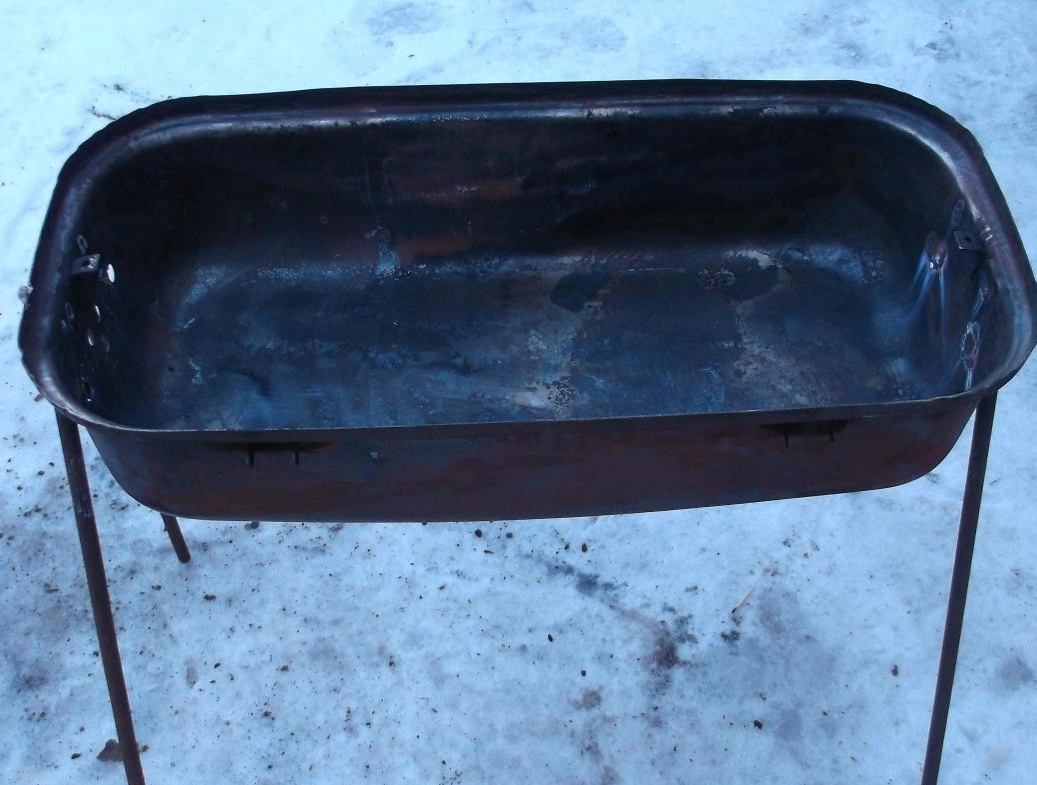
Half the battle is done - the basis of the barbecue is ready. It remains just to weld the legs and start cooking barbecue. But this option almost deprives the grill of mobility. A trip to nature for recreation is almost always accompanied by the preparation of barbecue, and in this situation, a light and compact barbecue is a good solution. And it’s much more convenient to store a folding barbecue.
I had to complicate the design a bit and make the legs removable, which greatly simplifies transportation and storage.
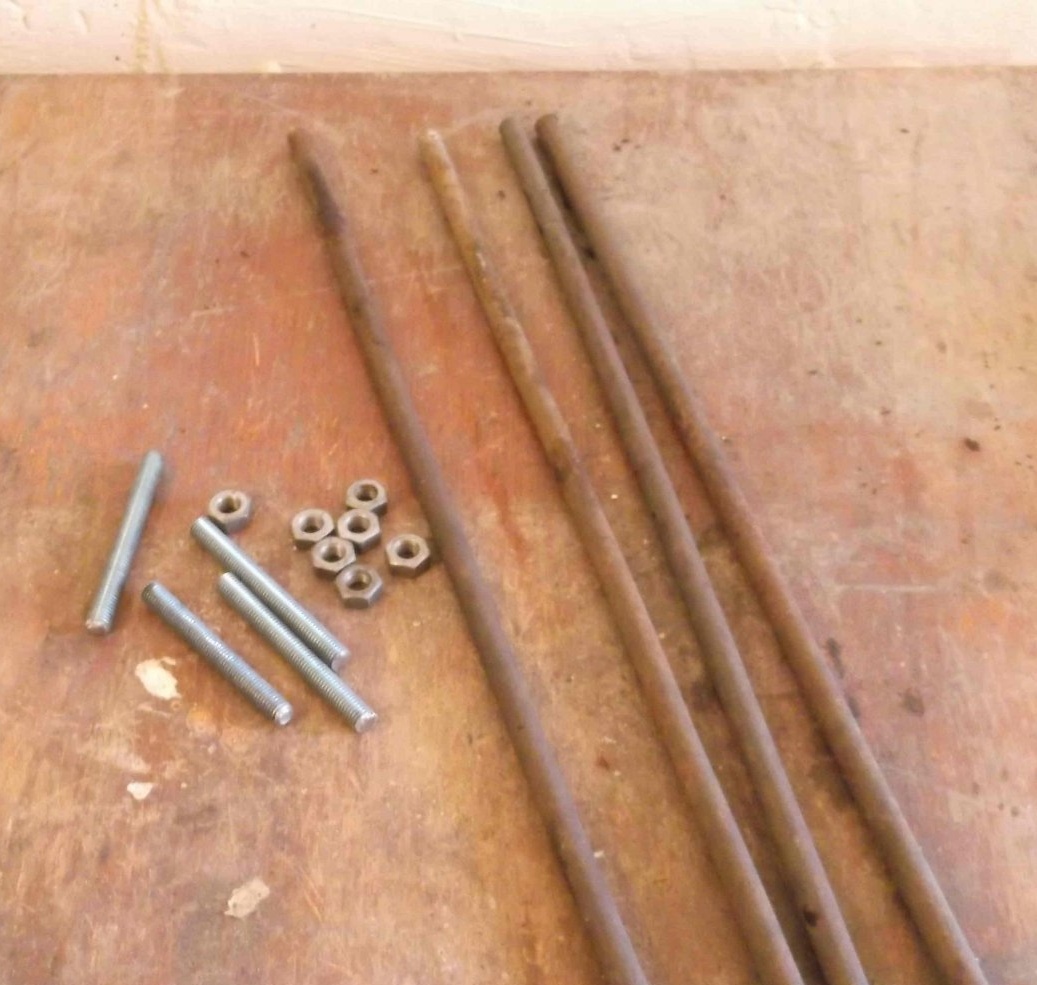
As the legs for the barbecue, I used pipe segments with a diameter of 12 mm and a length of about 50 cm. I chose the length of the legs based on the size of the barbecue itself, so that when folded, the legs fit inside the barbecue body for easy transportation. By the way, the tubes, like the lantern, were removed from the scrap metal, but the studs and nuts were found in the garagePerhaps these are the remains of other homemade products. To attach the legs to the brazier body, I used 10 cm long M10 hairpin segments and two nuts for each leg.
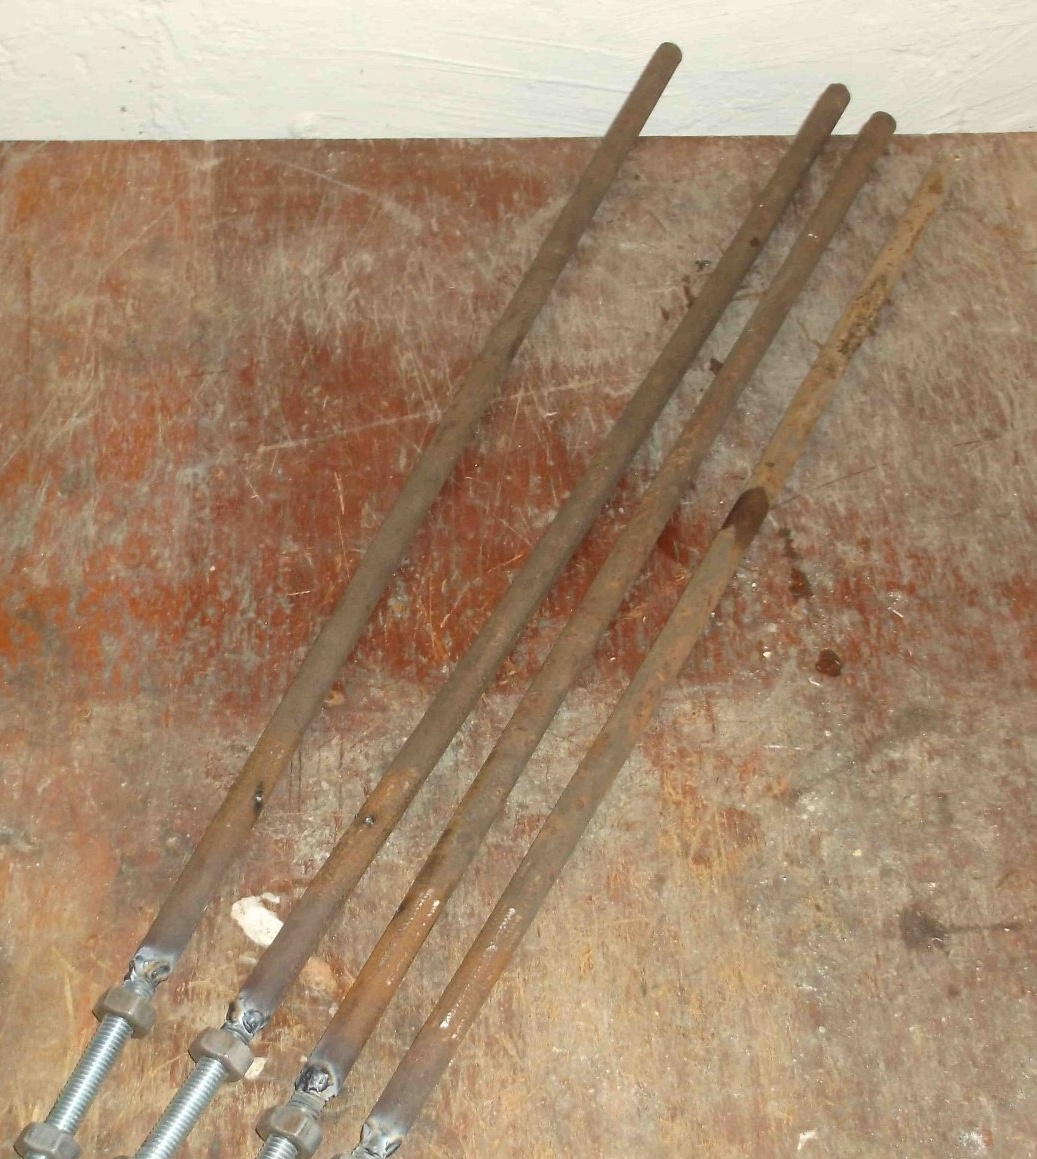
On the heels, he partially grind the thread with a grinder and inserted it into the tube about 3 cm each, then fixed it with a welding machine. I screwed two nuts on each stud, one at the beginning, the other at the end of the thread - as in the photo.
The next step is to weld the nuts to the body. This must be done complete with a stud so that the thread matches when screwing the legs into both nuts. Still need to calculate the same angle of inclination of the legs.
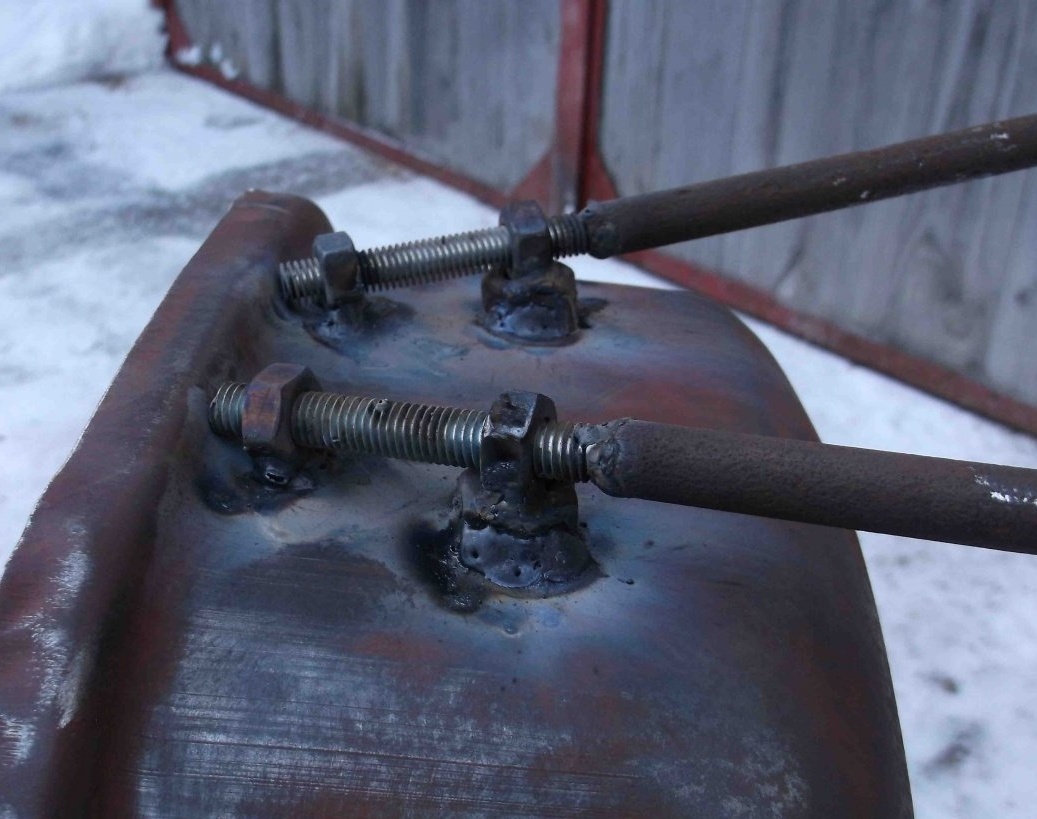
After marking, I welded the nuts to the body of the future barbecue. Under the lower nuts, I had to put linings from the M12 nuts so that the legs were in a more stable position.
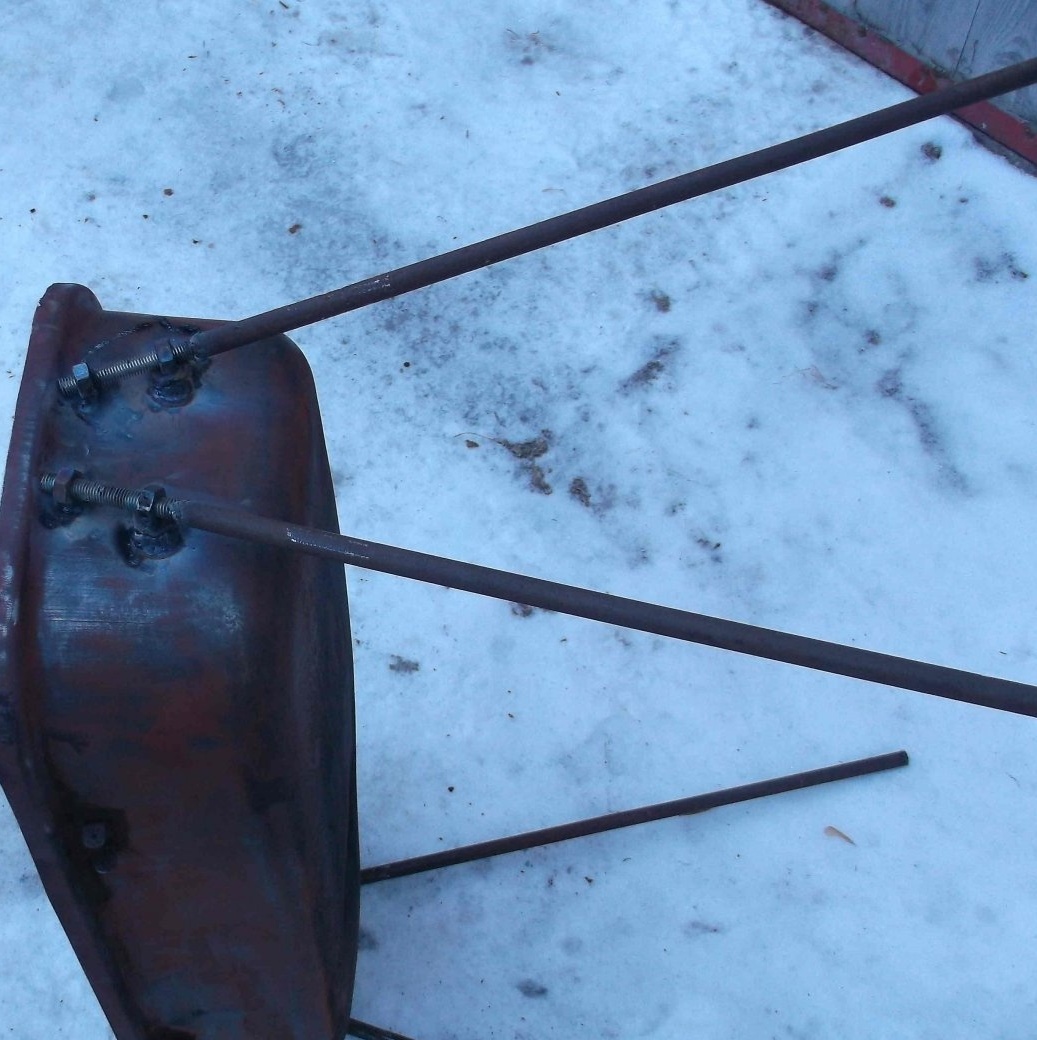
Left the bottom of the legs as is - just a cut. When installing on soft ground, you can slightly drown the legs for stability, and when installing on a hard surface, adjustment can be made using a threaded connection of the legs, silently twisting or unscrewing the desired leg. I want to immediately note that this type of attachment of the legs has a slight drawback during assembly and disassembly - it is a little tiring to screw and unscrew a long thread, but since this procedure is not frequent, you can close your eyes to this. In the comments I look forward to your more successful solutions for fixing the legs for quick assembly and disassembly of the structure.
After checking the stability of the entire structure, it remains to modify the brazier body itself.
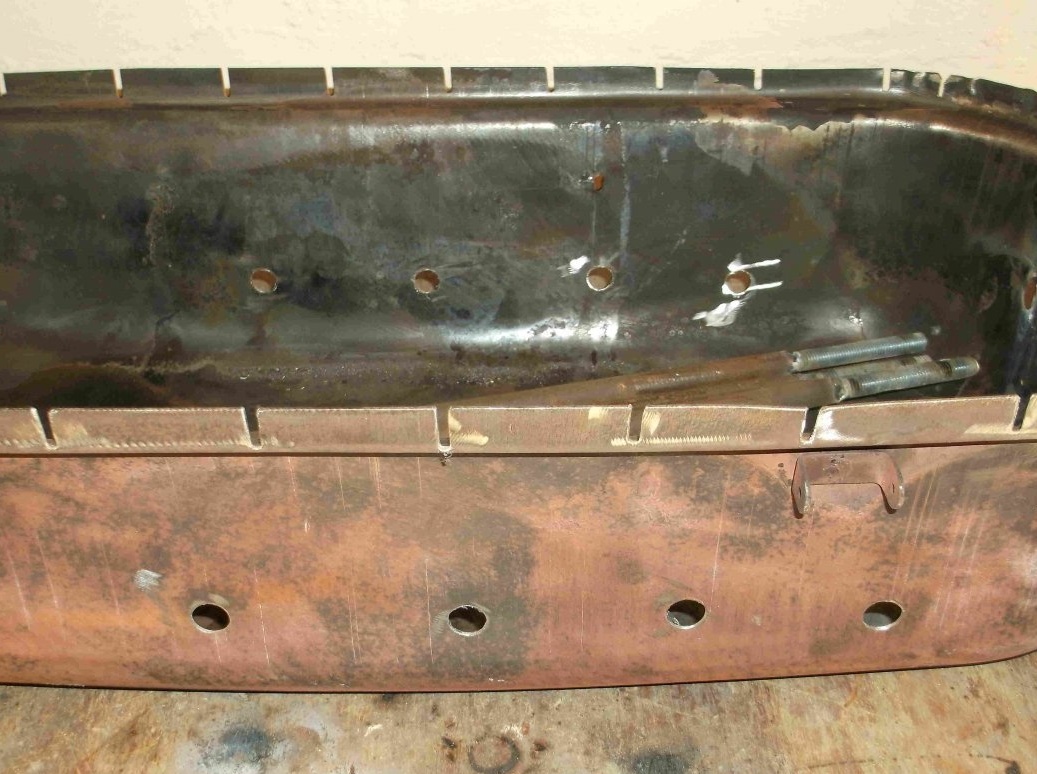
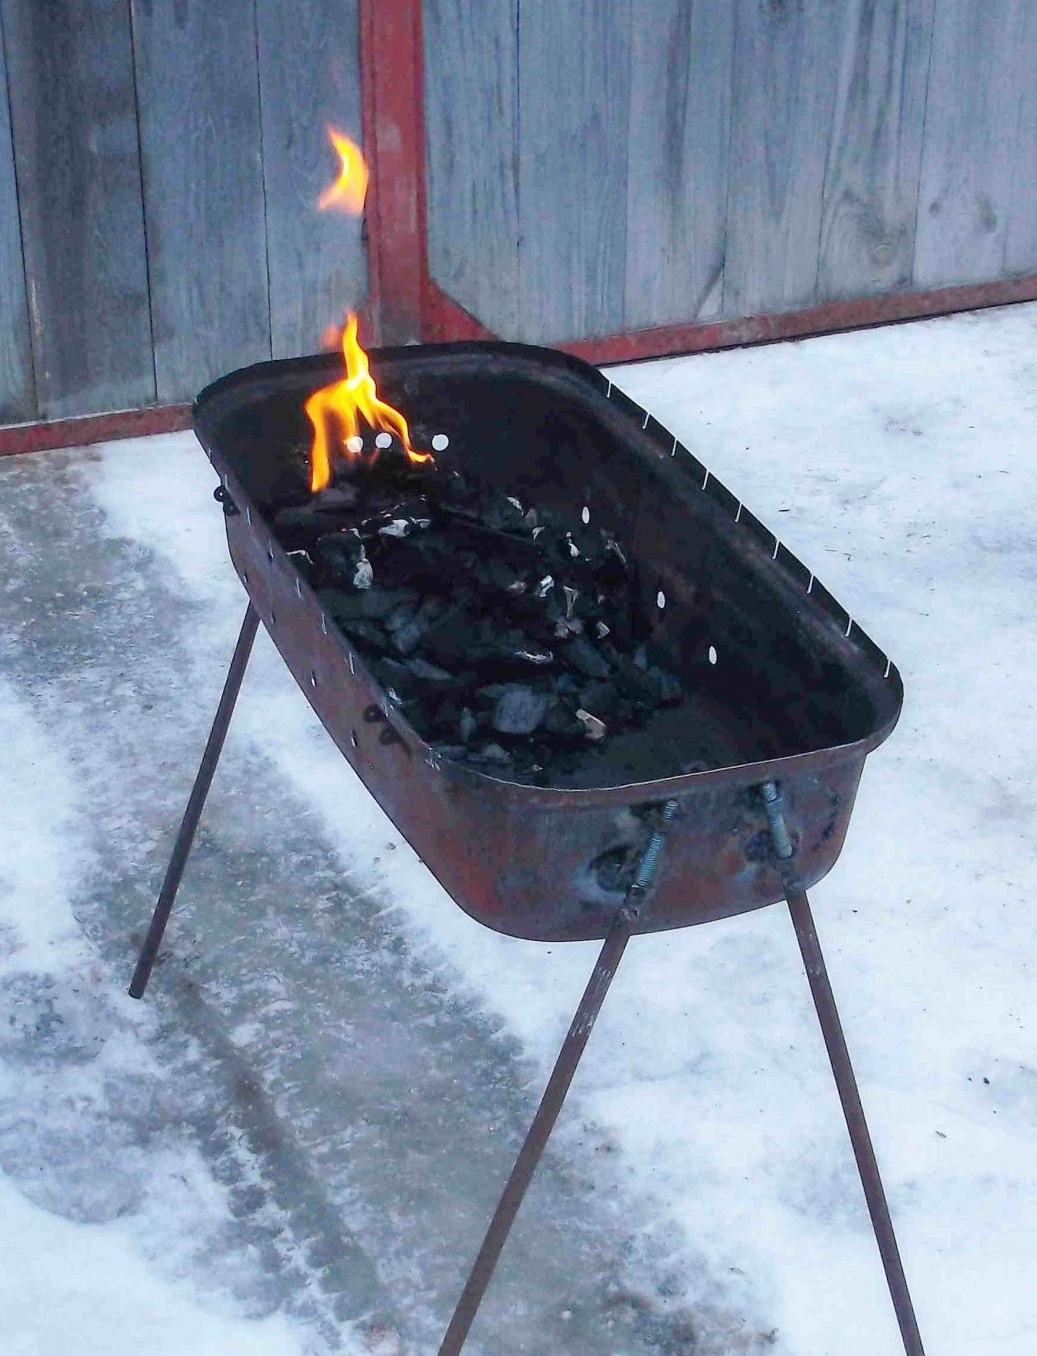
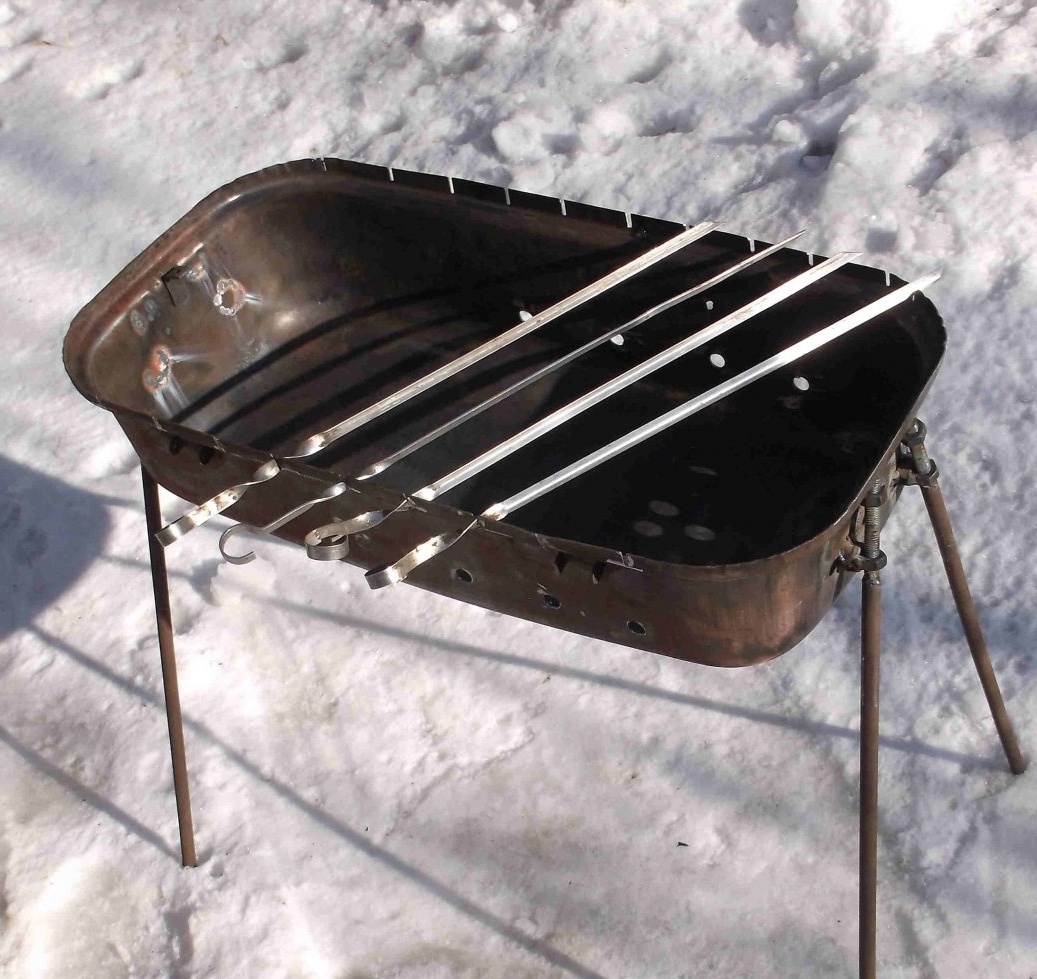
On the side walls closer to the bottom, I drilled several holes with a 12mm drill for air flow to the coals. On the upper faces with a step of 5 cm, I made incisions with a grinder to fix the skewers.
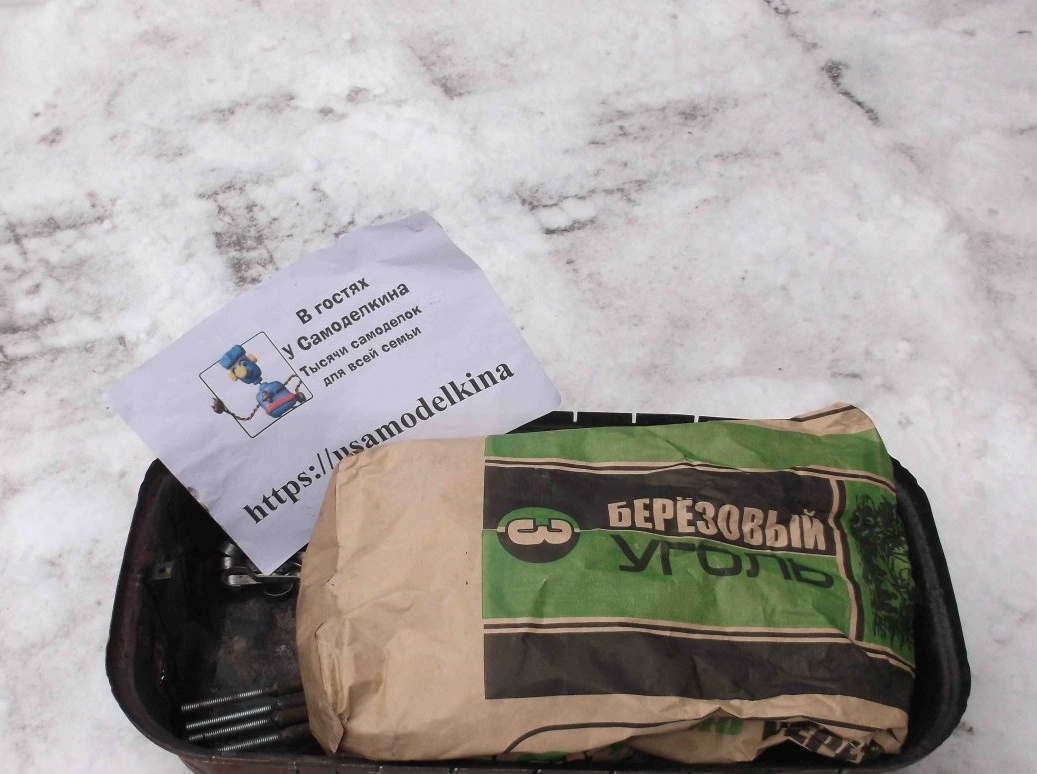
It seems to be all! The time for testing has come. In childhood, barbecue was cooked on homemade coals - now it is much more convenient to use ready-made coal for barbecue - and it smolders longer and the heat more evenly.
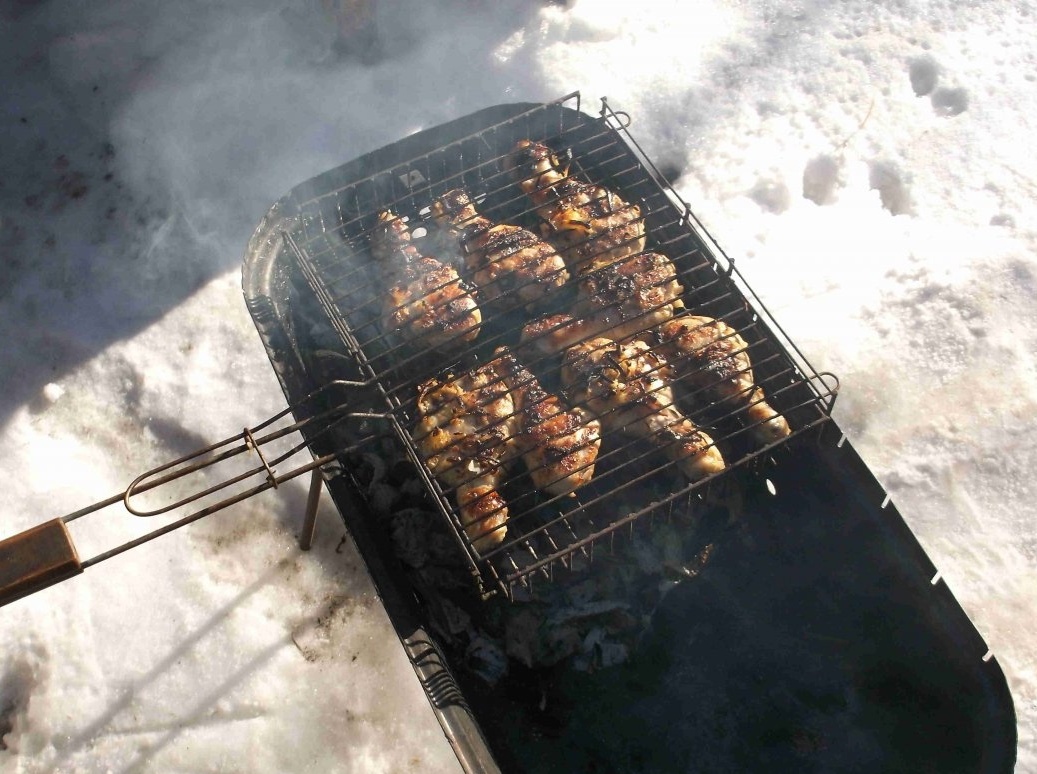
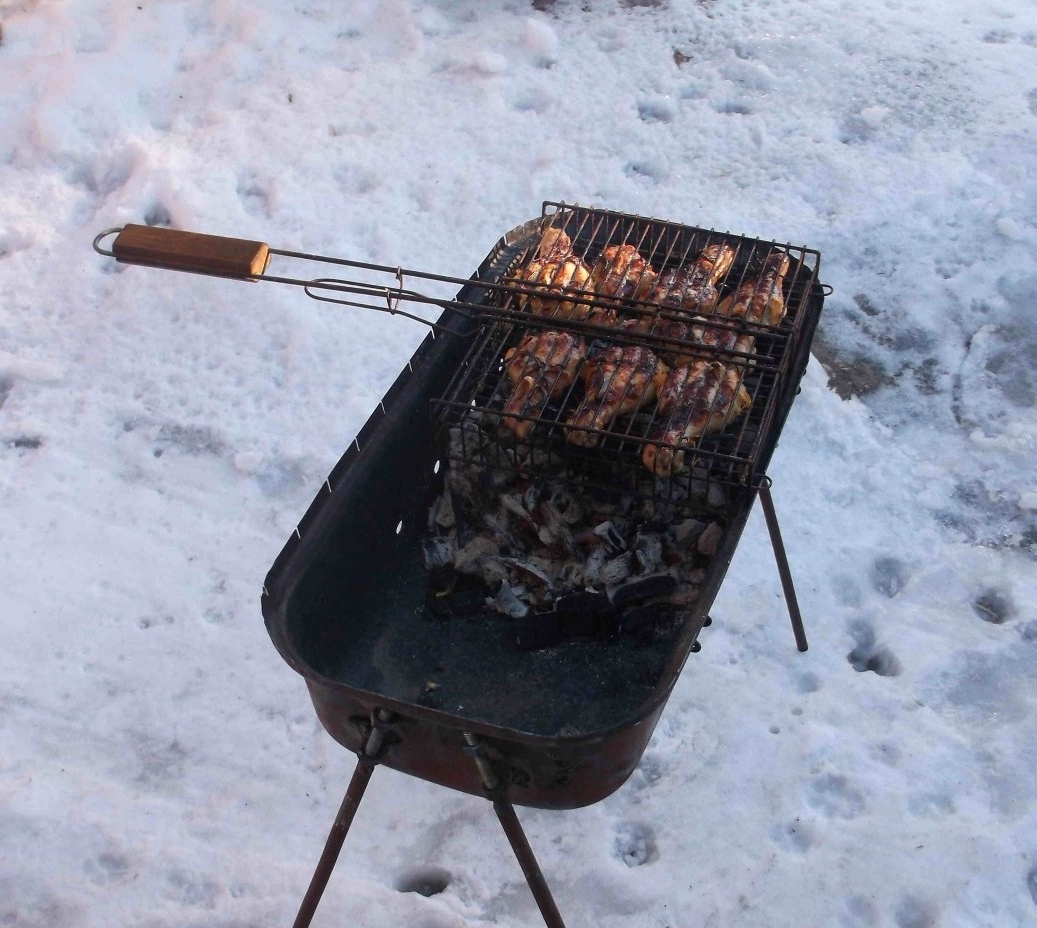
As can be seen from the photo, the kebab was made on the grill, and there was still a place where you can place several skewers with kebab or sausages.
I would be glad if anyone, then this homemade product was interested and I ask you not to judge strictly, since everything was done in haste and from waste material. Beauty and aesthetics are absent, but it turned out easy and practical brazier without financial costs.
Thanks to all!