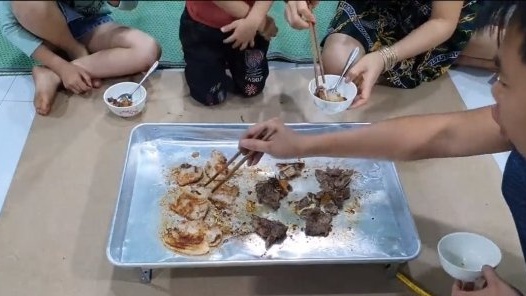
Hello fans to craft, this time we will consider such a simple homemade like an electric grill. After it, you can collectively cook food and then absorb it without leaving your home. This is a great option if you do not have the opportunity to light a bonfire in nature. Of course, there will be no smoke, no fire, no coals, but gathering in the family circle with children at such a grill will be quite interesting. The only drawback of the design is that it is powered by a voltage of 220V, so you need to do everything as safe as possible. If the homemade product interested you, I suggest studying it in more detail!
Materials and tools used by the author:
Material List:
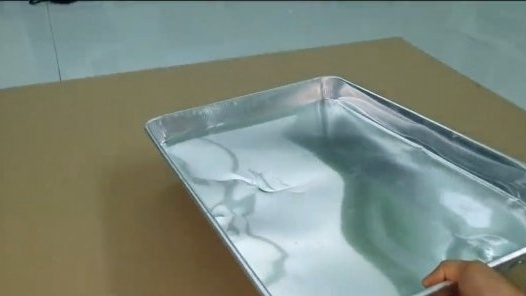
- a baking sheet, tray or similar container;
- cable with good insulation and plug;
- insulating tubes;
- screws with nuts;
- aluminum corners for legs;
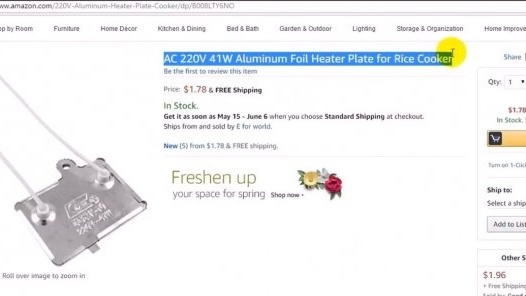
- heating elements from rice cookers (220V / 41 W each).
Tool List:
- ;
- drill;
- pliers.
Homemade manufacturing process:
Step one. Heating elements
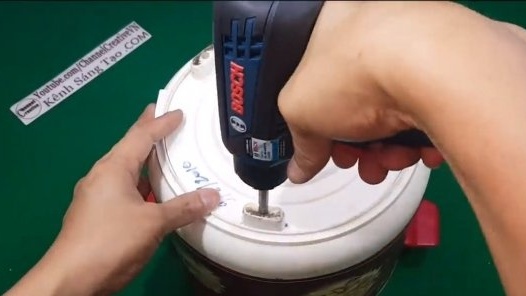
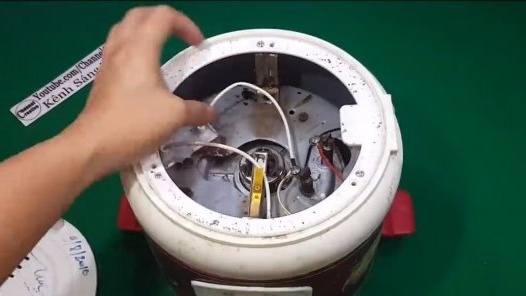
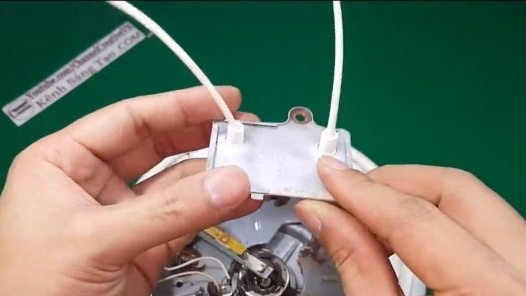
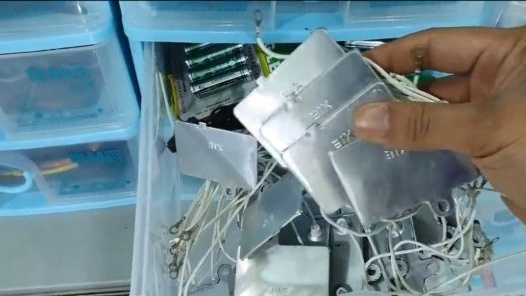
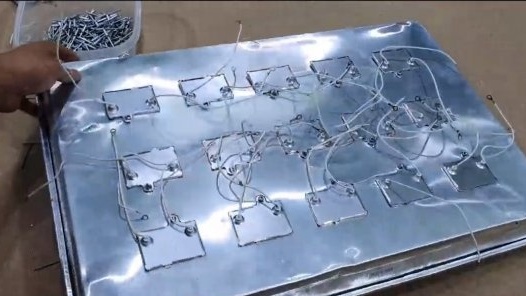
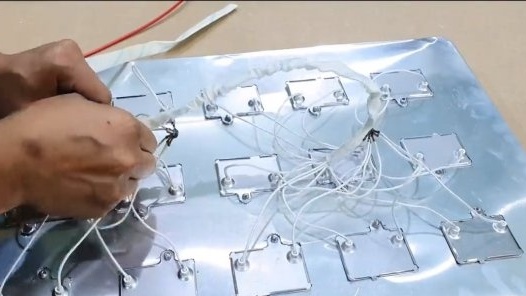
First of all, we select the appropriate heating elements for homemade, the author used a heating element from a rice cooker at 41 watts. It is an aluminum plate with two wires, and such an element is powered from a voltage of 220V. In total, the author used 15 such heating elements. As a result, the total power of the device is just over 600 watts.
Step Two Installation of heating elements and connection
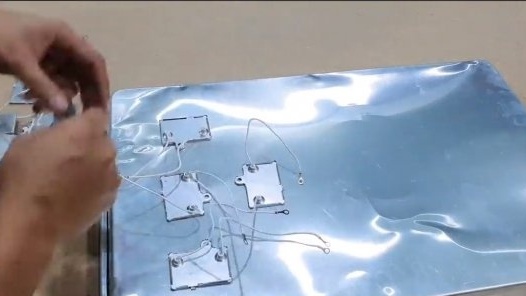
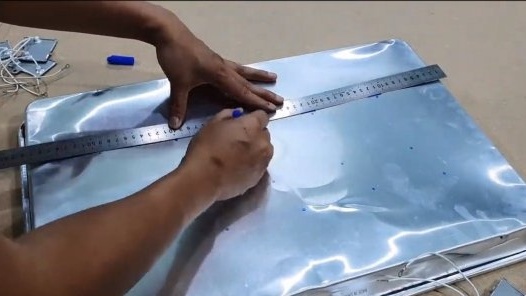
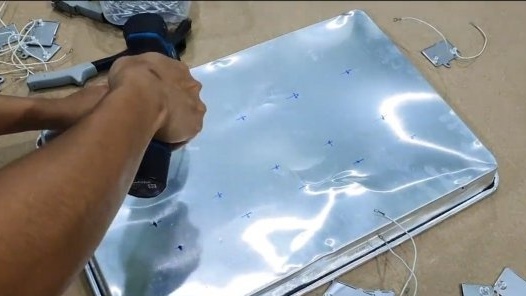
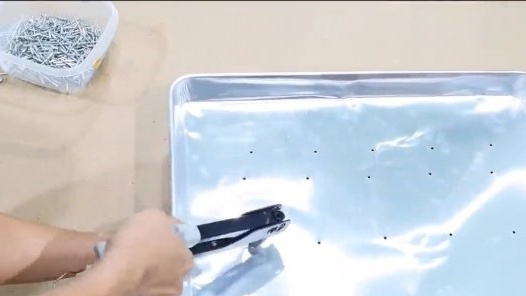
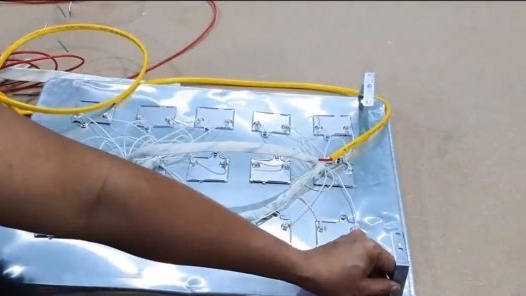
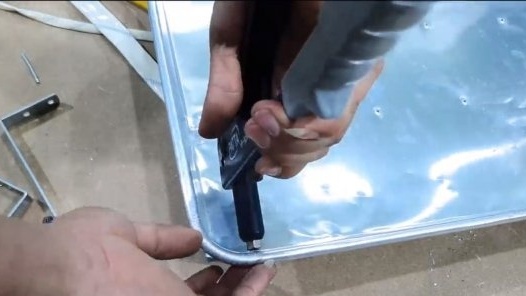
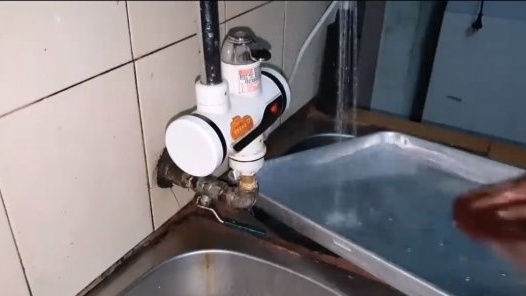
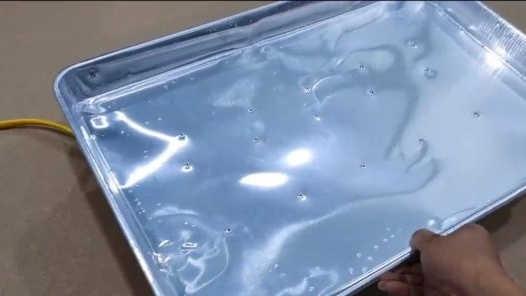
We install heating elements on a baking sheet, it is important that they are at the same distance from each other, so the entire area of the baking sheet will warm evenly. To fix the elements, the author used a rivet gun. Of course, this is not the best option, since aluminum is not good for health. It is also important to make sure that oil does not leak through rivets or other fasteners, on which we will fry.
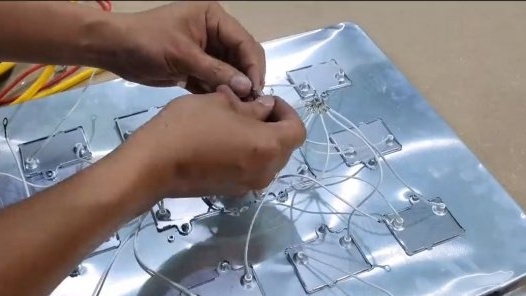
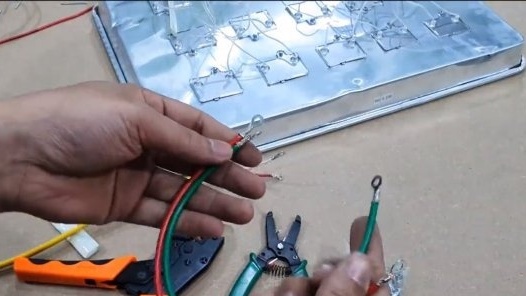
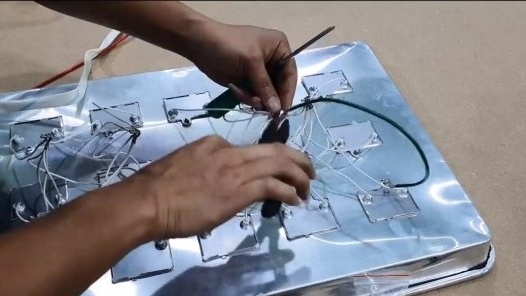
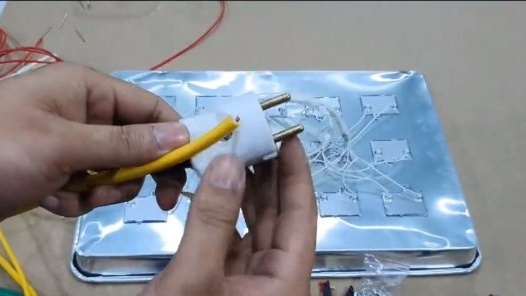
We turn to the connection, we connect all the elements in parallel, we make reliable contacts, the author has screws and nuts.It is important to take care of good insulation, since 220V is a danger to life. We put additional insulating tubes on the supply wires, which are not afraid of heating, and we use the cable with good insulation. As a result, it remains to install the plug on the other end of the cable.
Step Three Feet and Tests
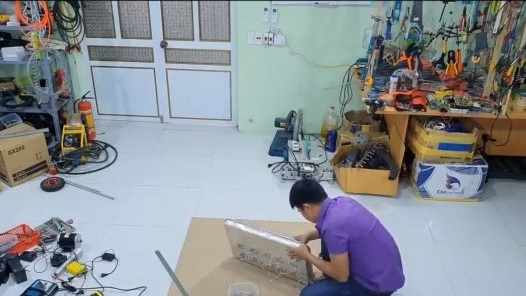
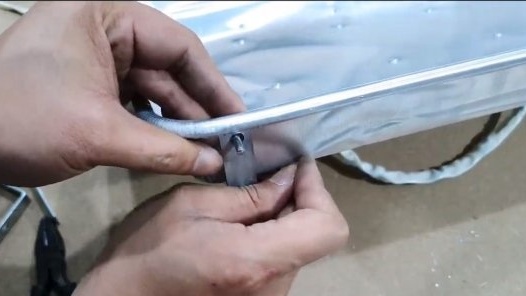
The homemade product is ready, it remains to make legs for the grill. The author uses aluminum corners as a material, we also fasten them with rivets.
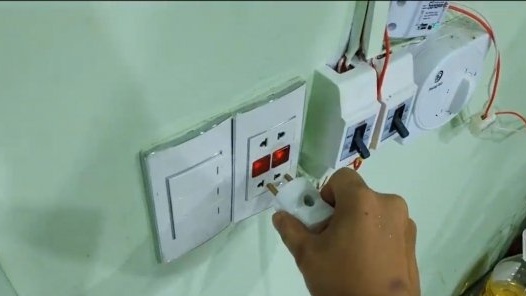
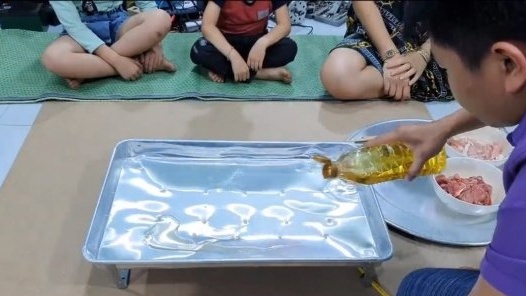
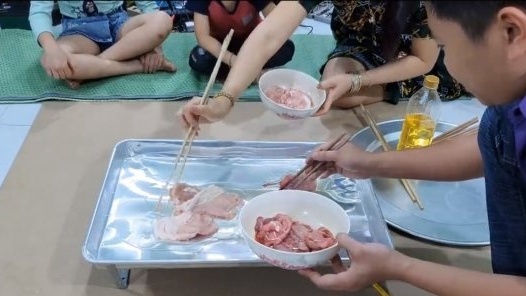
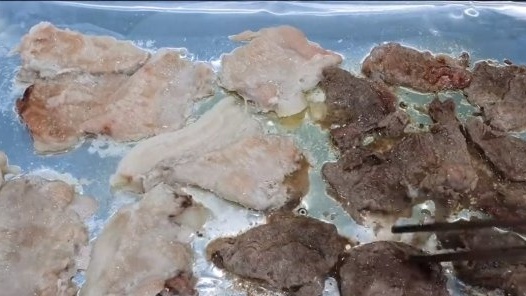
We plug the plug into the outlet and, waiting for the pan to warm up, pour oil. Well, then meat and other products for frying are already involved. The meat is fried without problems, no thermostat is provided in the system, since the heating elements do not heat up so much because of the low power.
I hope the project was useful to you, and you found interesting ideas for yourself. Good luck and creative inspiration, do not forget to share your ideas and homemade things with us!

