
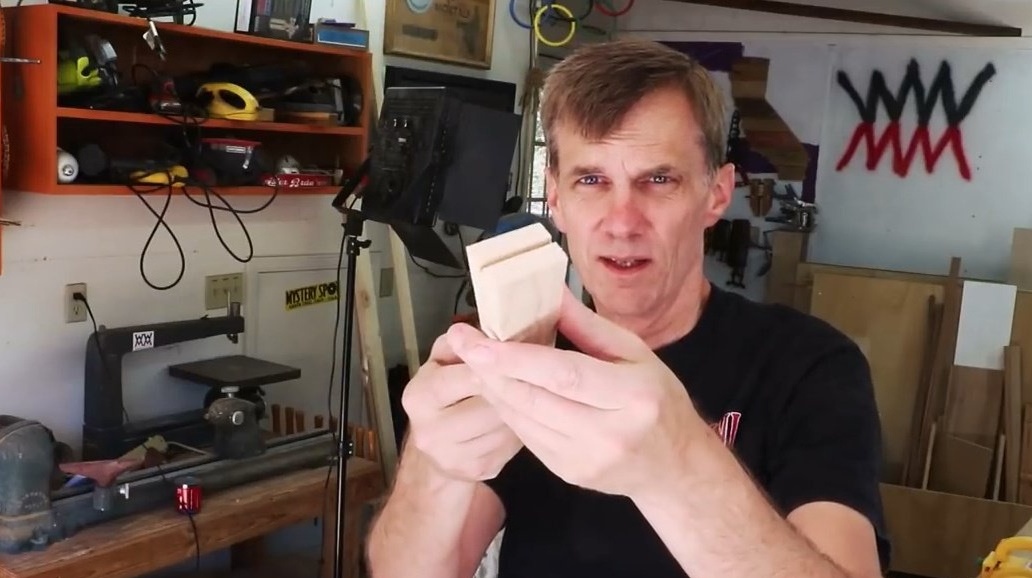
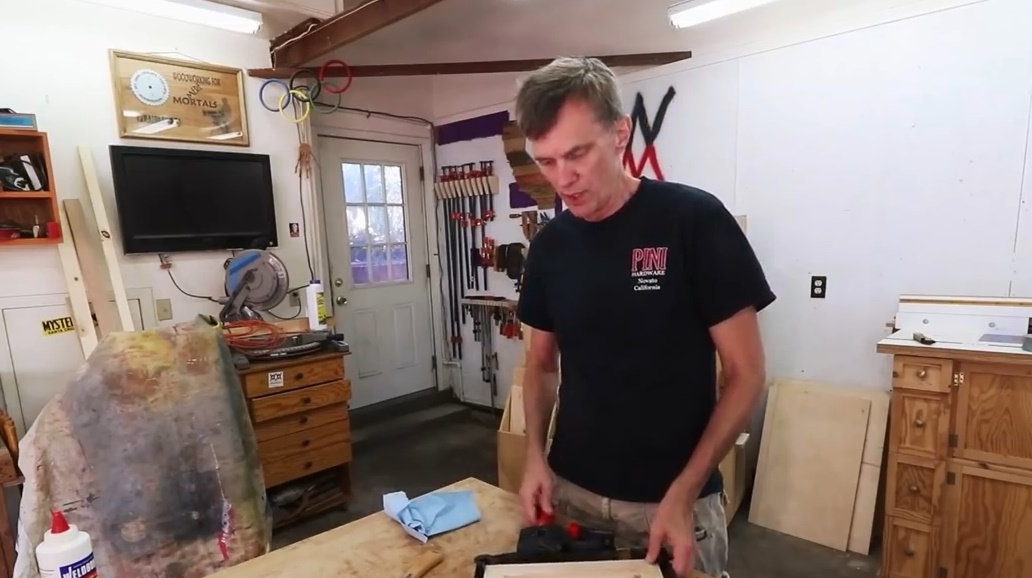
In this article, Steve, author of the YouTube channel "Steve Ramsey - Woodworking for Mere Mortals", will tell you how to strengthen corner joints with strong flat keys. For the prototype, he takes the usual frame for paintings. Usually, in order to fix the corners, they glue the frame, make angular cuts, and dowels are glued into these cuts. This increases labor costs because the gluing process takes place twice.
For this there is this device. With it, you can precisely cut the grooves for the dowels at the outer corners of the already glued frame.

Materials
- sheet plywood
- PVA glue
- Boards of various types of wood
- Wood screws.
Instruments, used by the author.
- Tape clamp
- A circular saw
- Screwdriver
- Hacksaw for wood
- Clamps.
Manufacturing process.
But there is another method that allows you to glue parts of the frame and the keys themselves at the same time. Everything is done with the help of such a simple device. It is an inverse copy of the previous one. Making it as easy as the first fixture.
The author picks up 18 mm MDF plywood. It is good in that it is quite heavy and inexpensive. Steve cuts the plywood on a circular saw so that the workpiece is slightly above the stop.

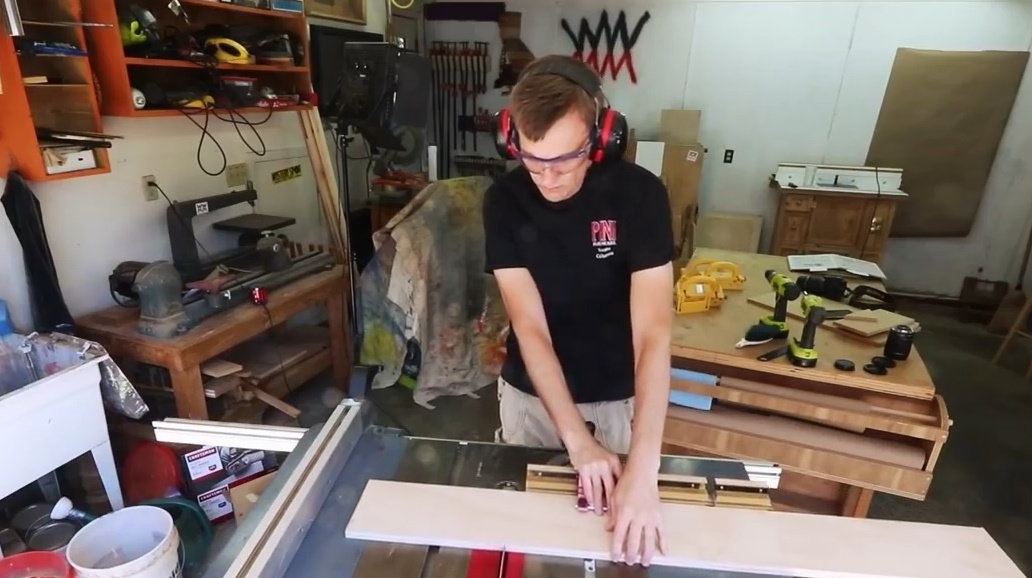
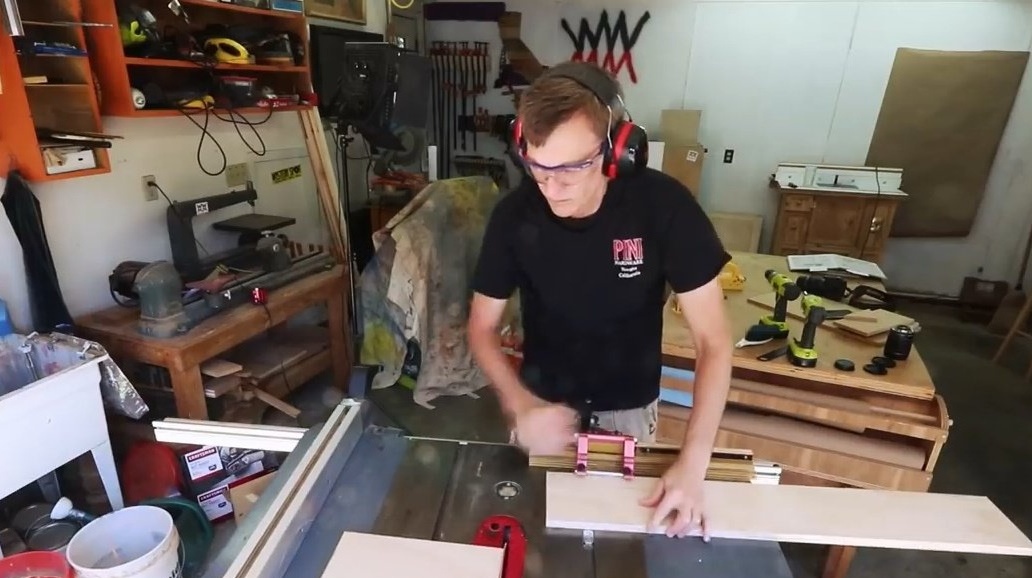

This piece will be square. It is very important that all angles are strictly 90 degrees.


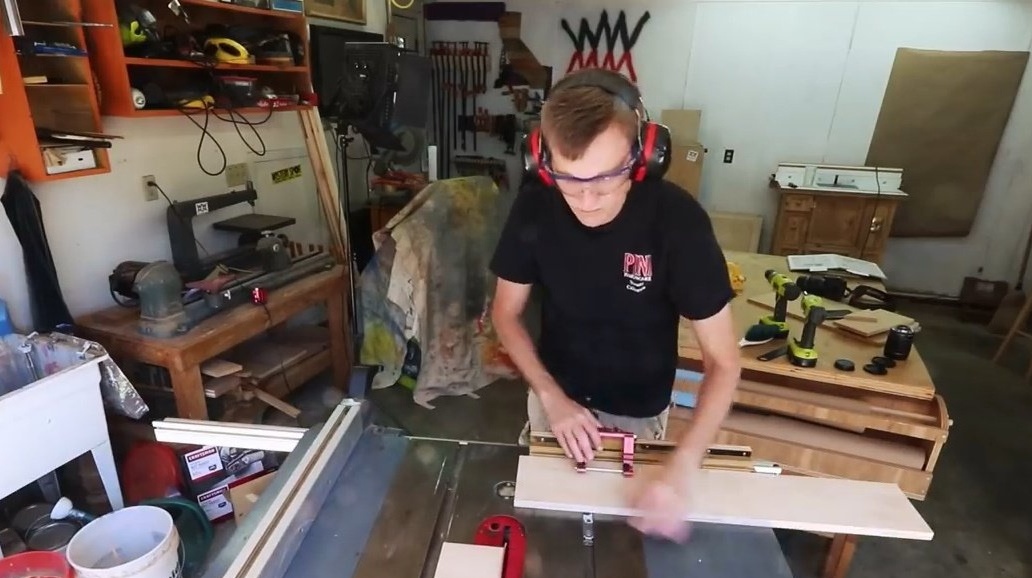
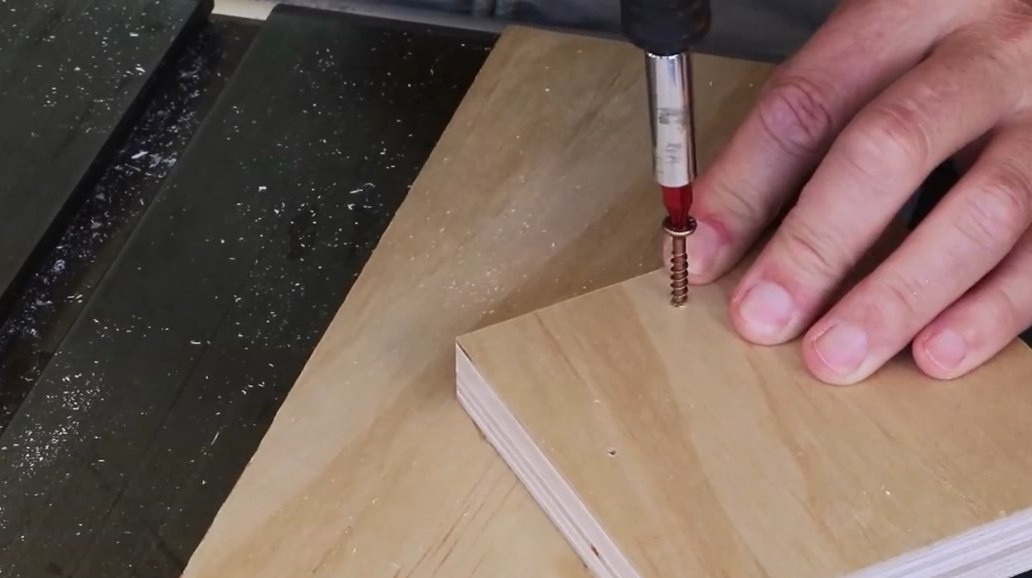
Now the master places the small square board in this way, against the corners of a long board, and glues it to this place, additionally securing it with screws.
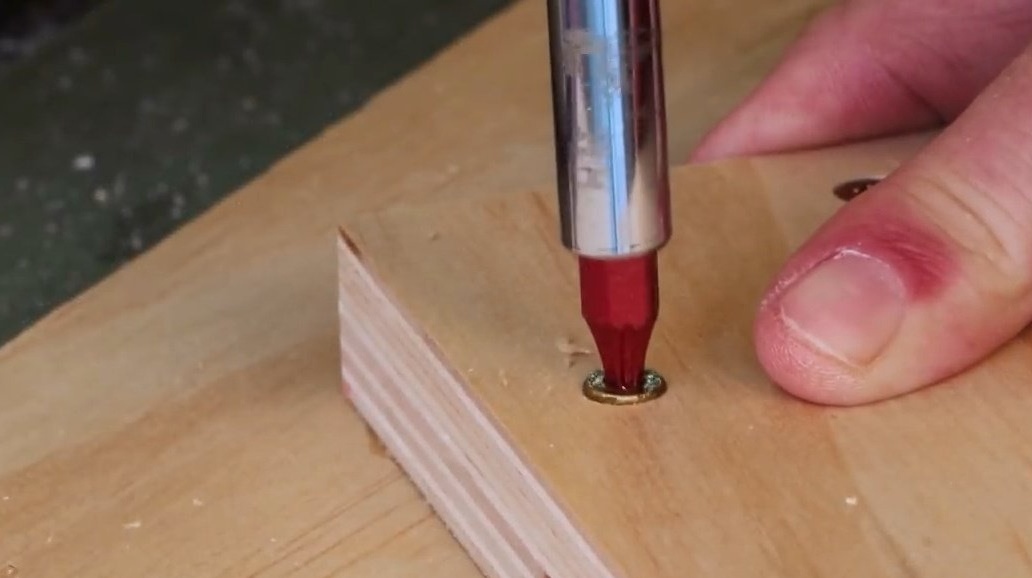
He waits until the glue has completely dried, after which he raises the blade of the circular disk and saws the whole structure to a rectangular shape. In this case, half of the square and a very small piece of the base itself are cut off.
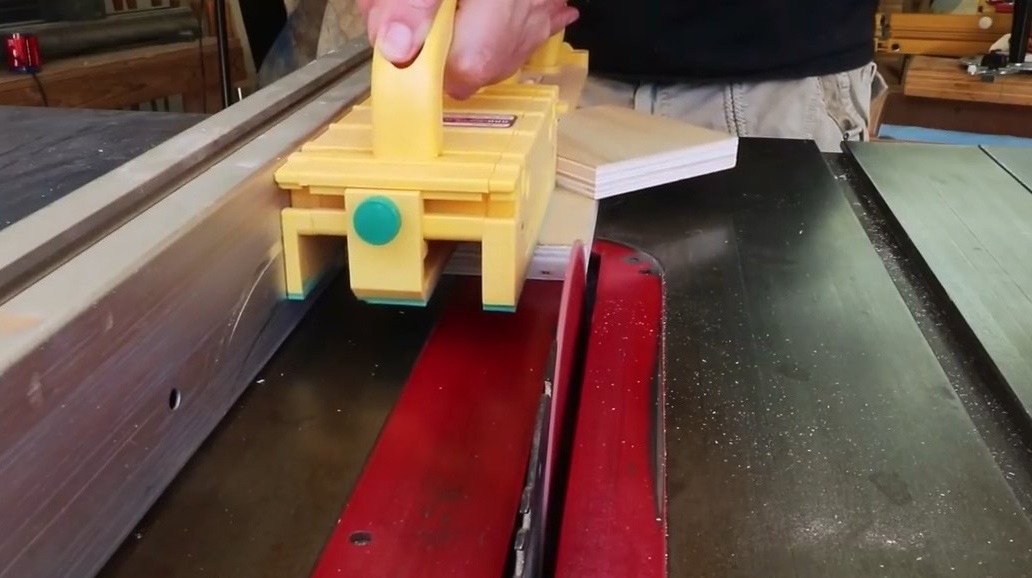
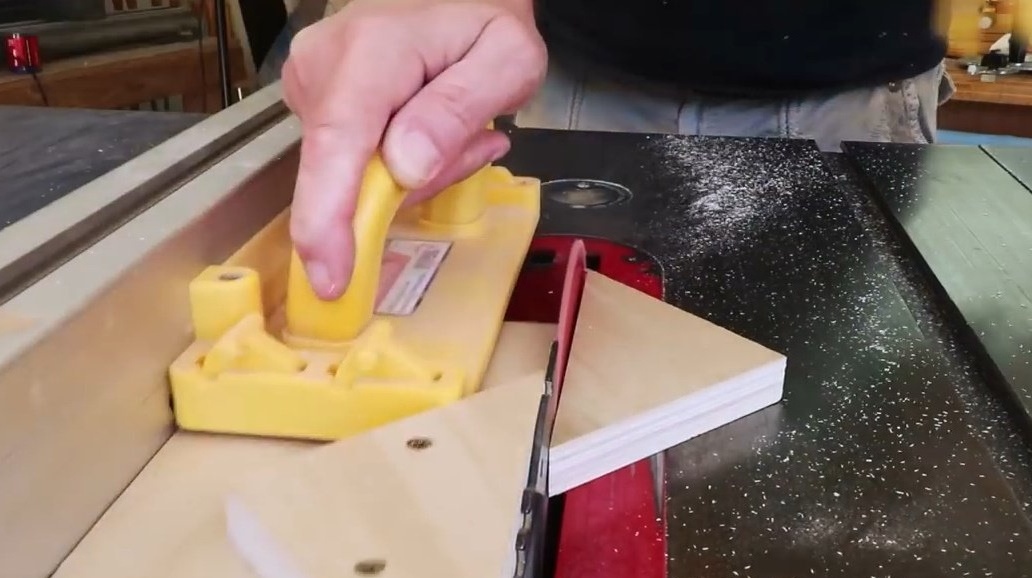
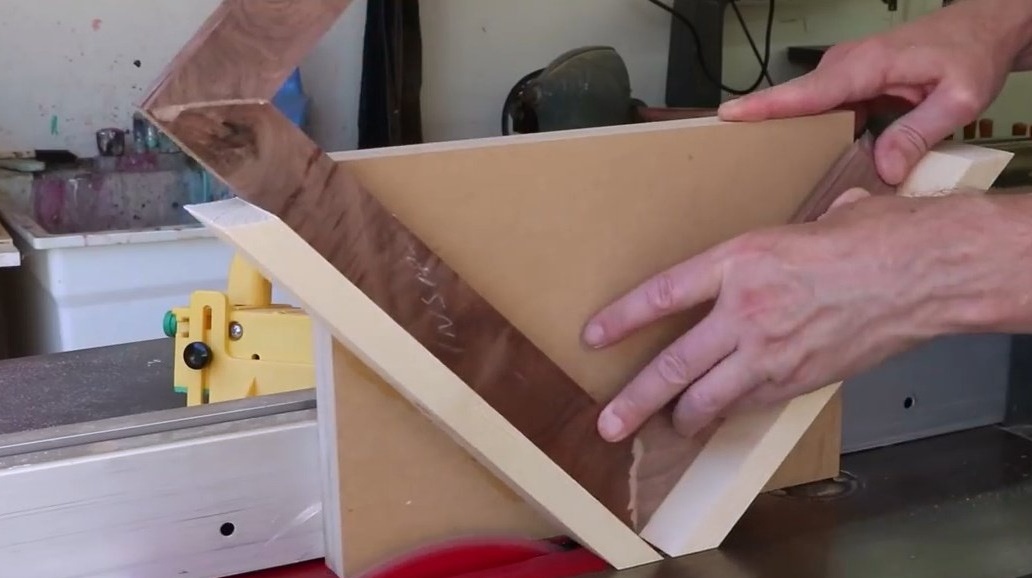
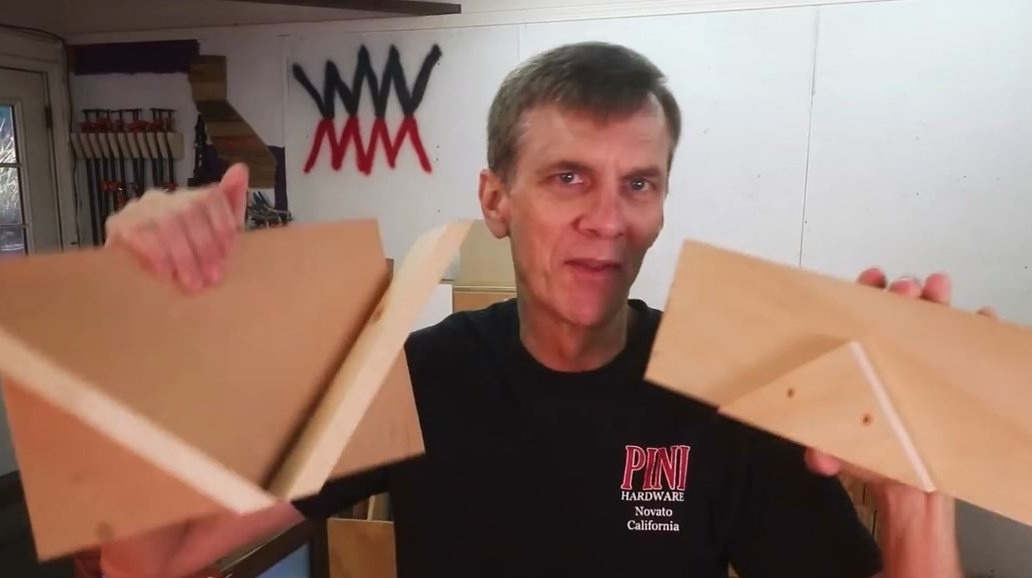
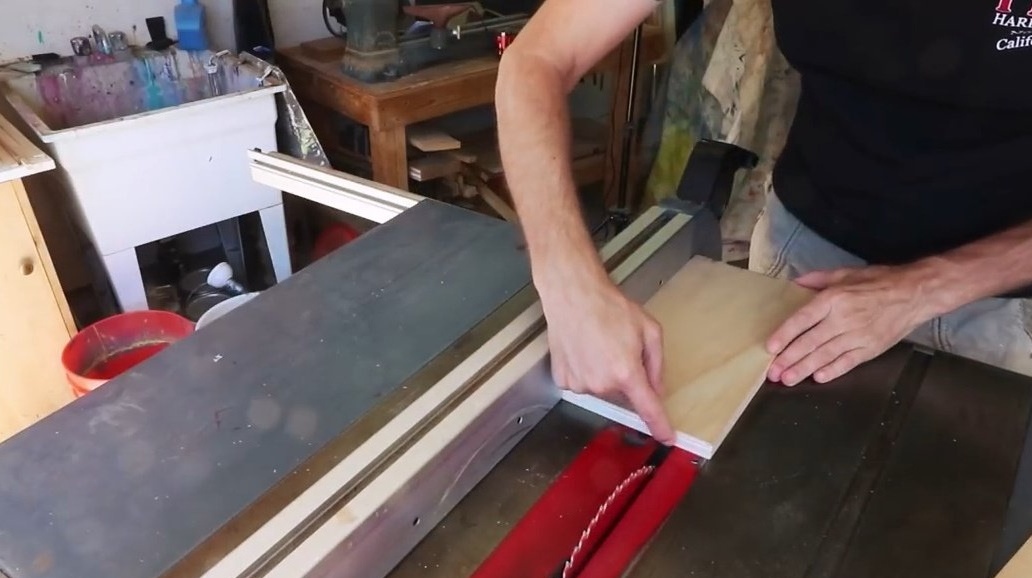
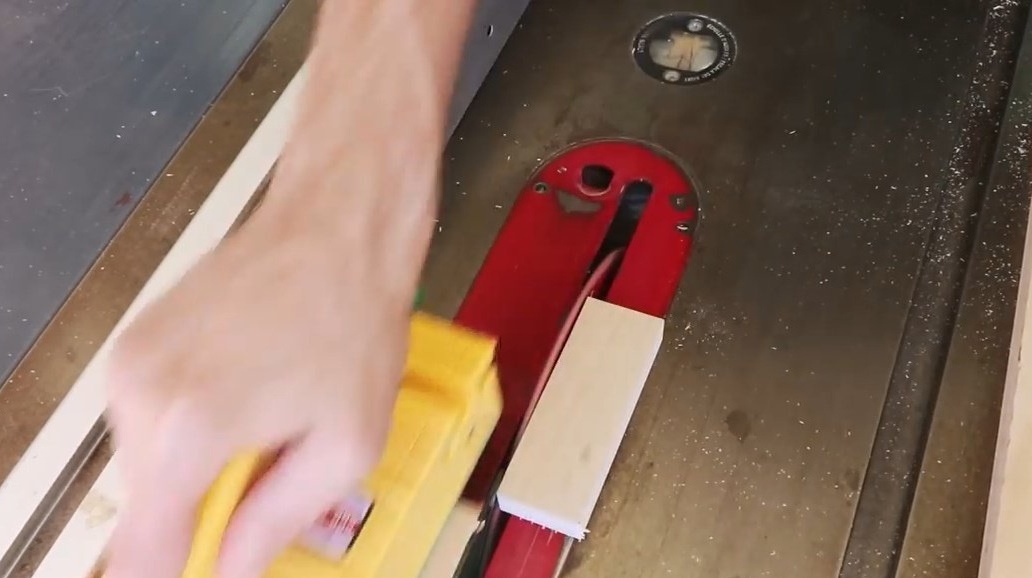
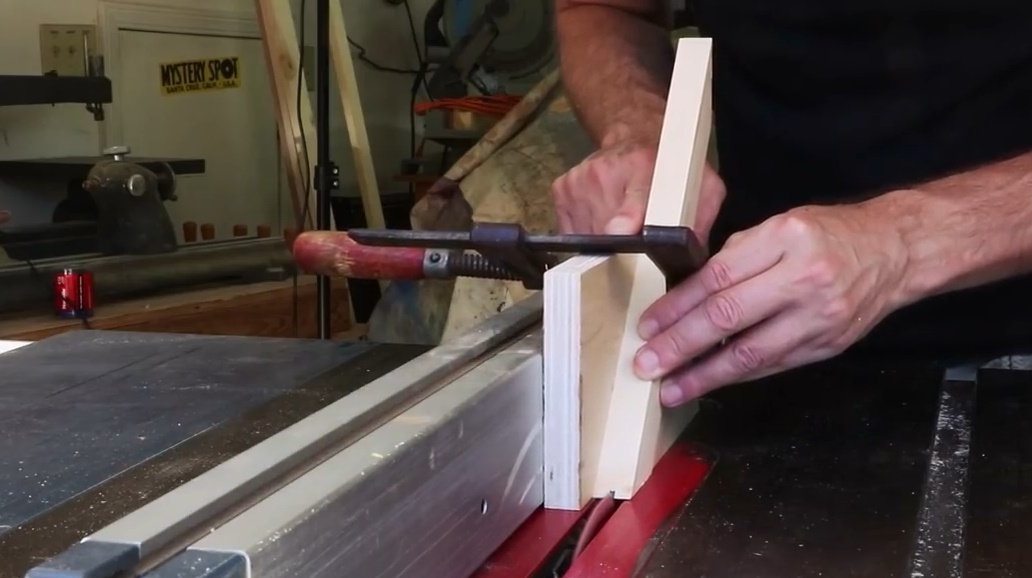
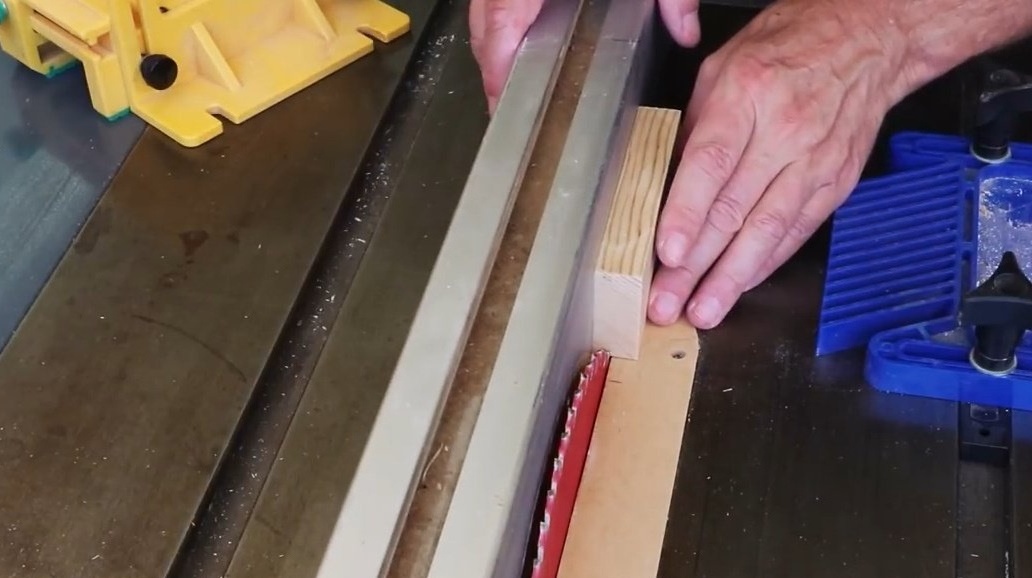
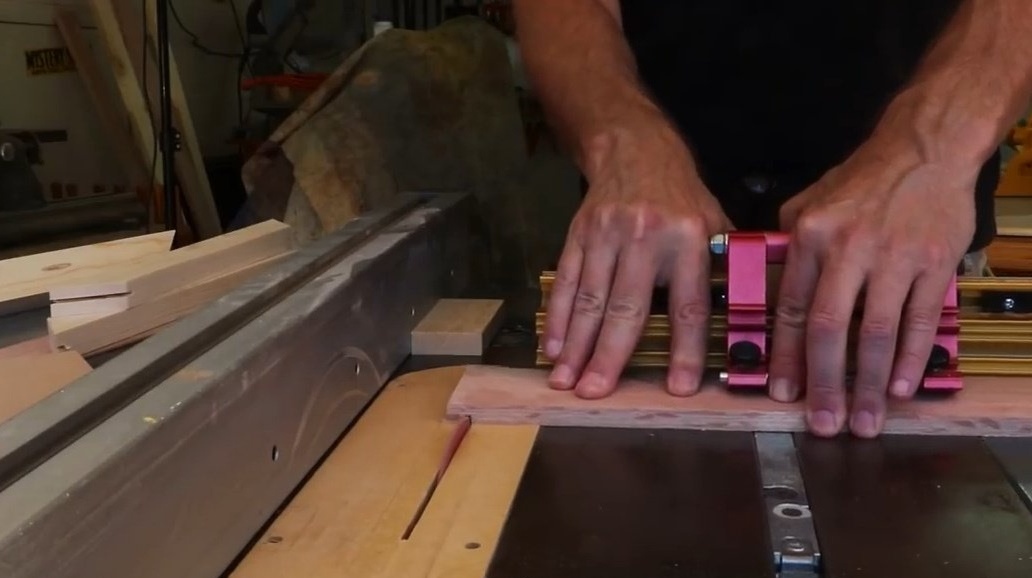
First of all, the author places his device along the stop so that the saw blade is in the middle of the thickness of the plywood triangle.
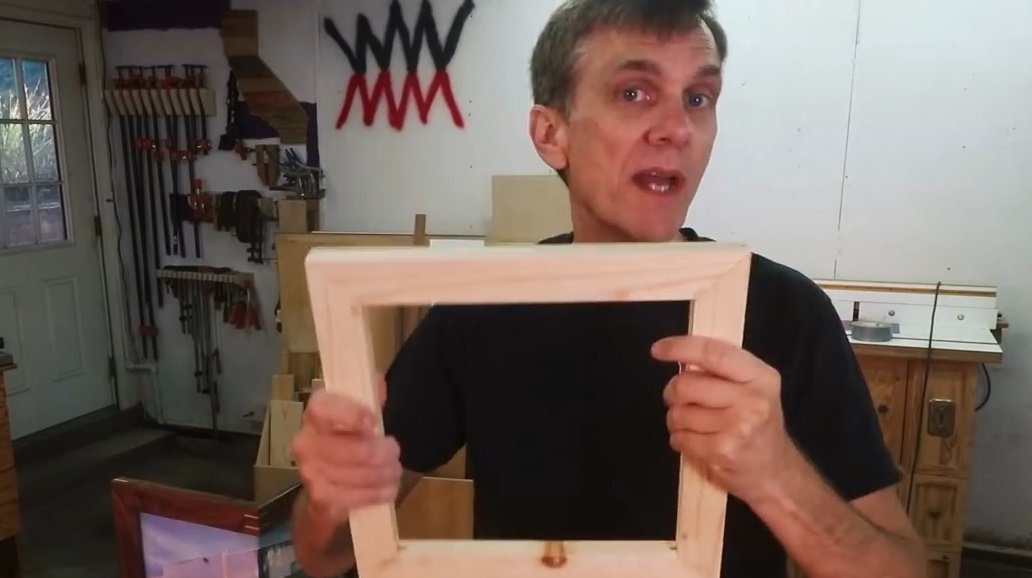
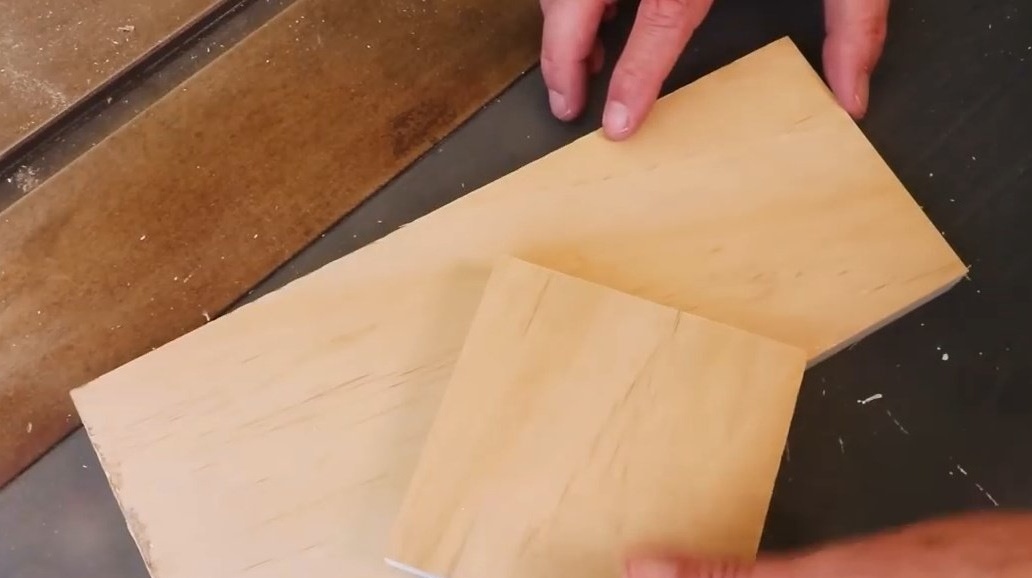
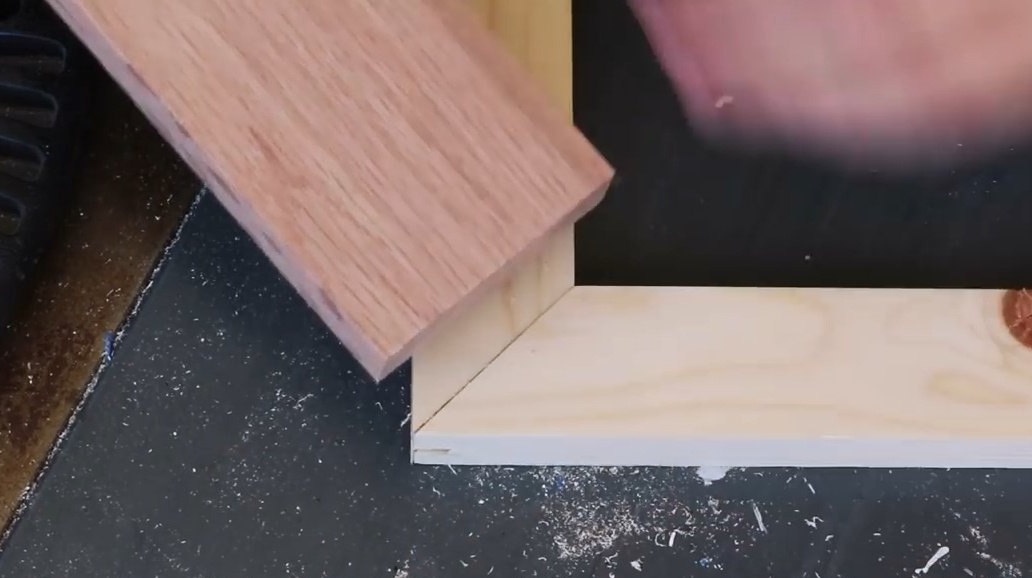
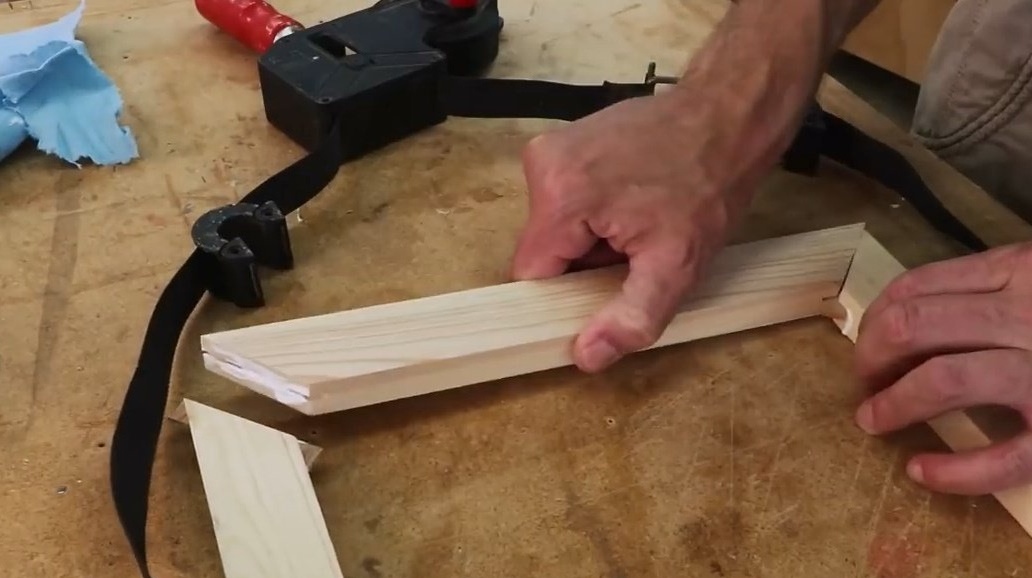
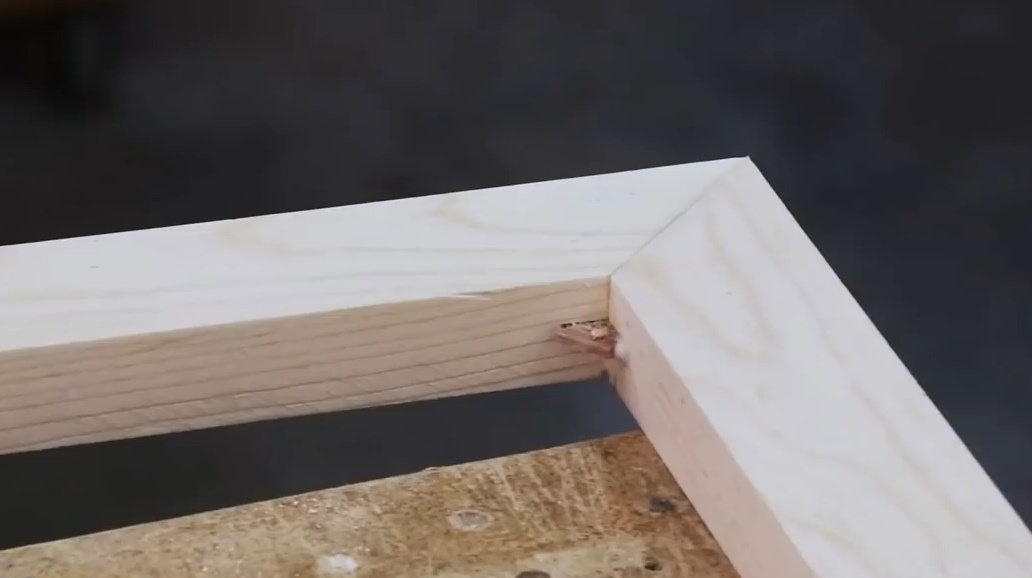
All elements of the picture frame are cut at an angle of 45 degrees from all edges.
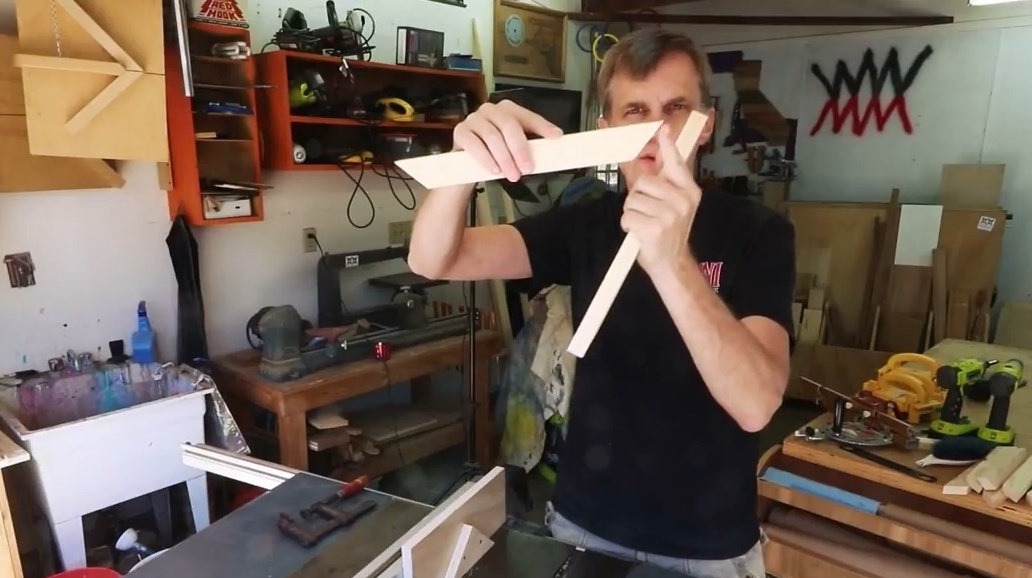
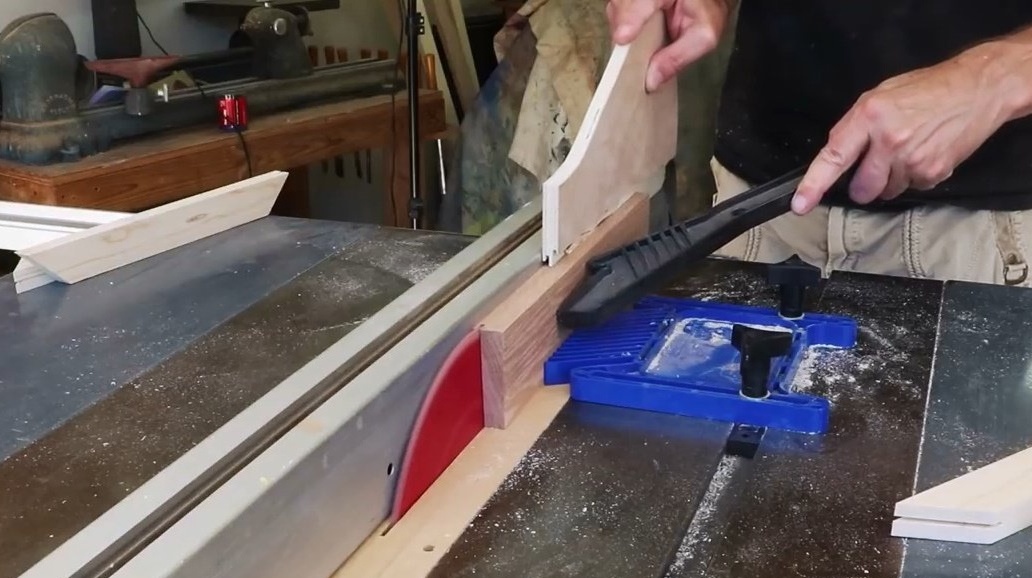
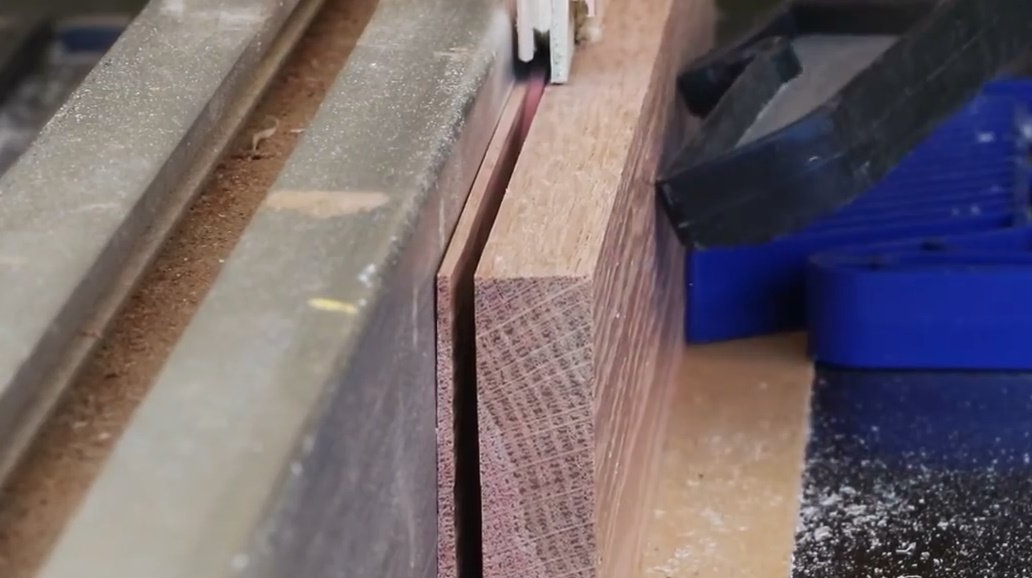
Steve takes one segment and presses it tightly against the triangle.And here is one very important point: when passing a plate through the disk, you need to keep it straight, without turning or tilting, so that the slot on the bottom of the part is even, and both grooves coincide. One section of the frame is pressed against the conductor with a clamp.

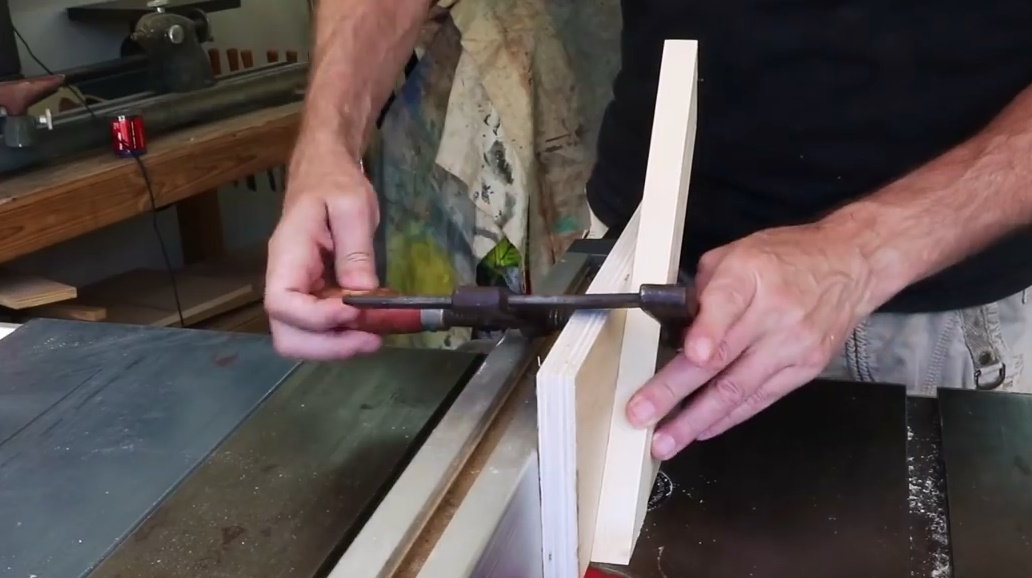
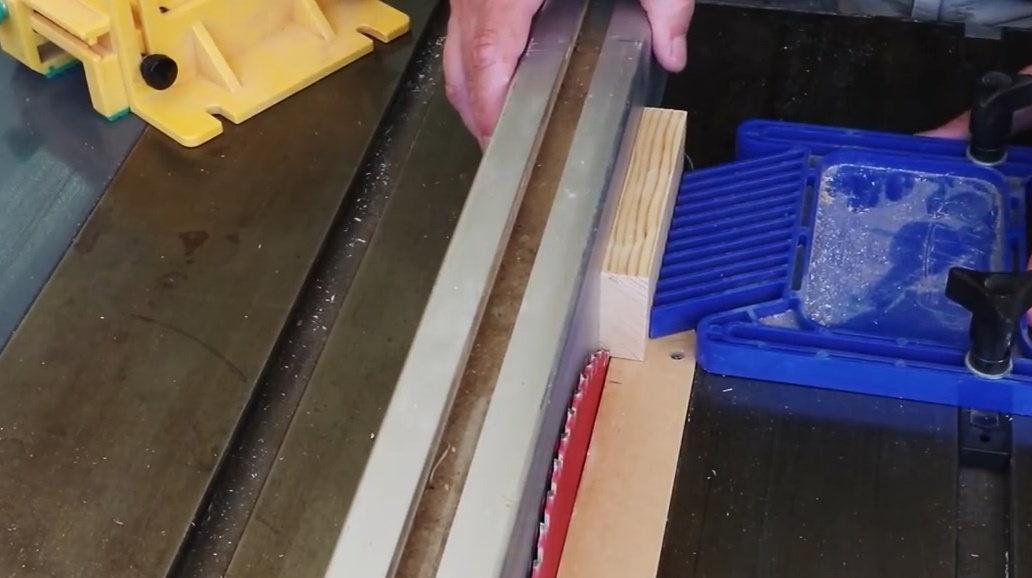
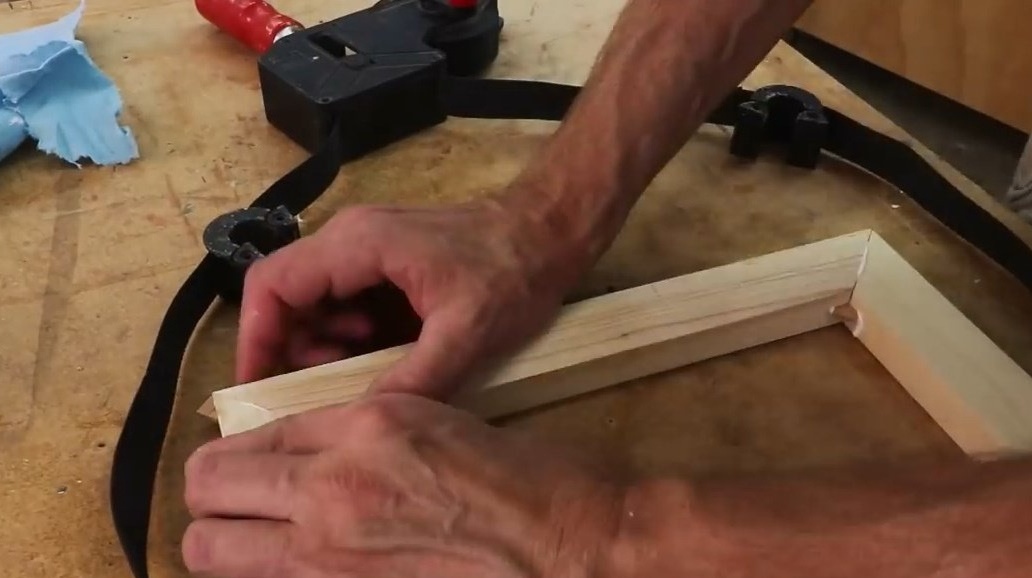
Then makes a cut under the key.
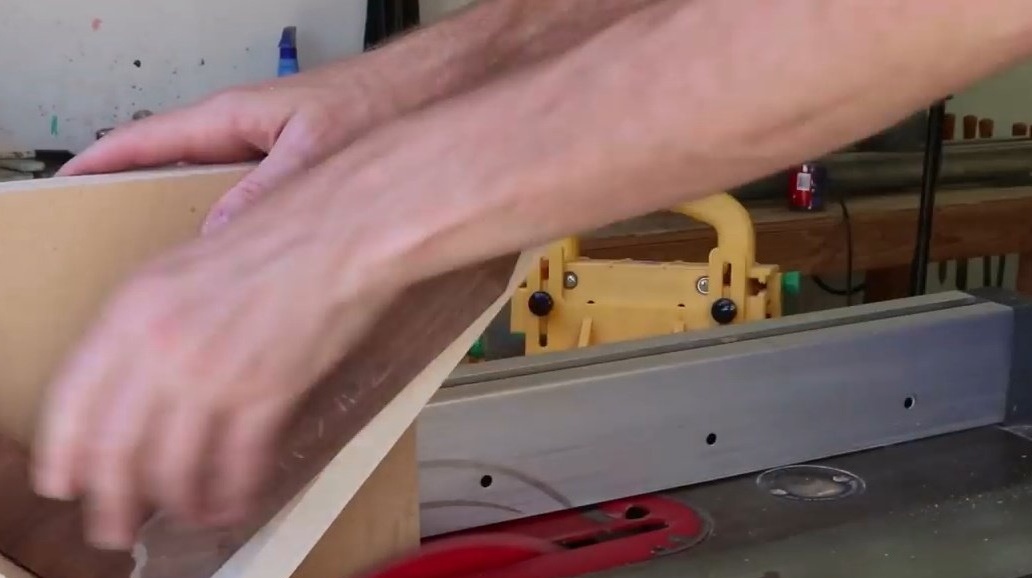
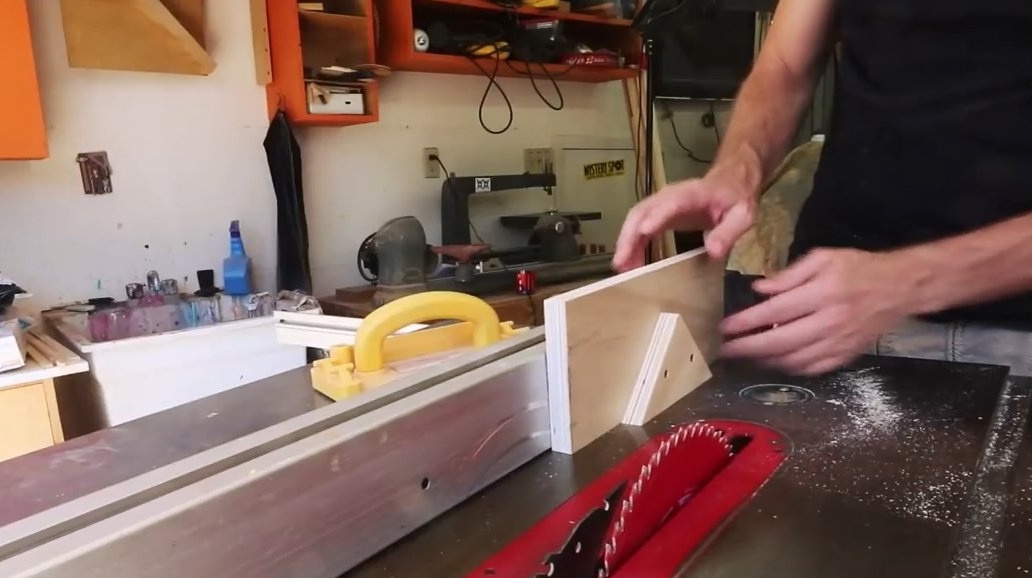
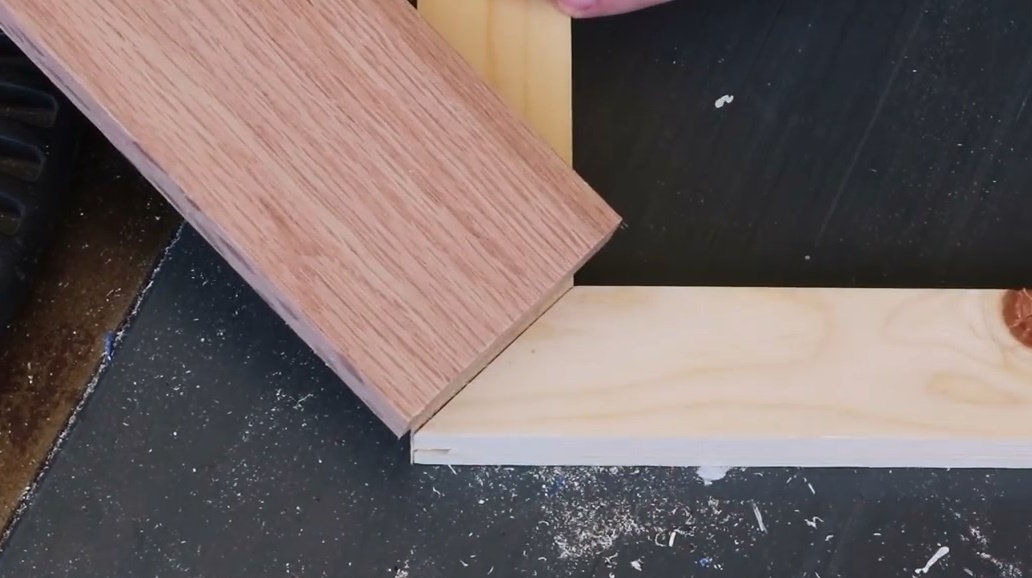
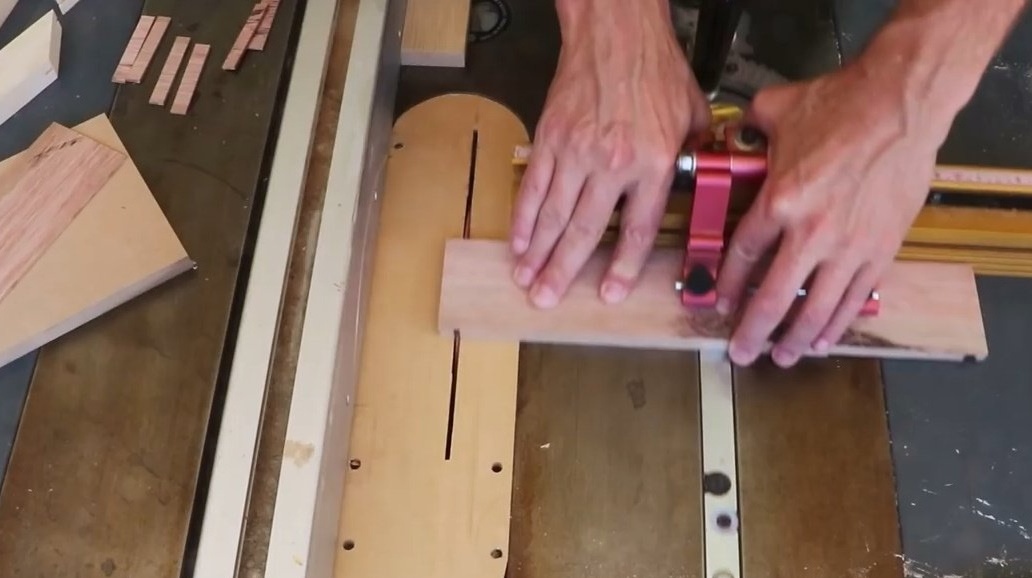
Turning the workpiece over to the other side, makes a second slot on the other side of the part.
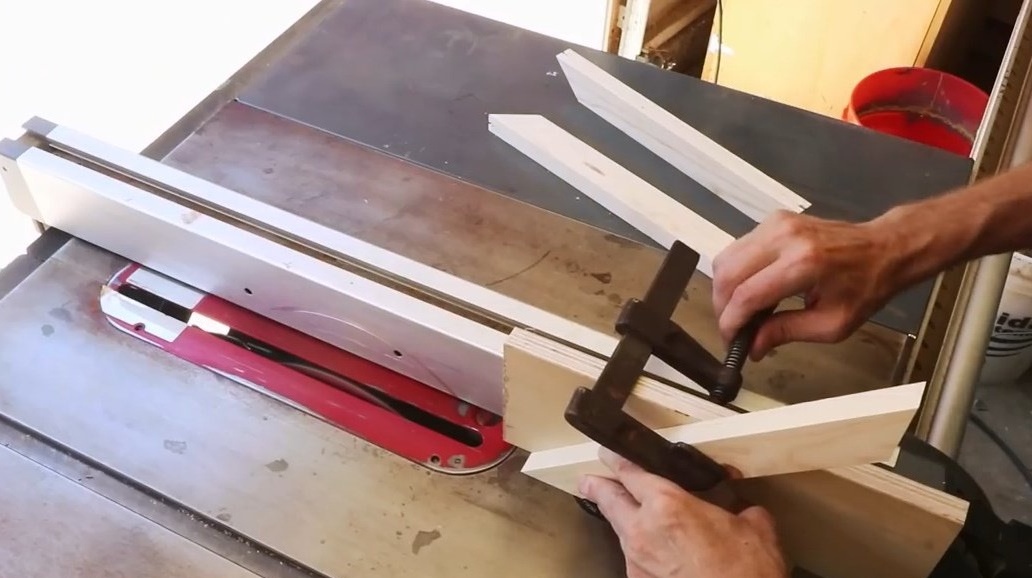
By repeating the process with all parts of the frame, the grooves are ready.
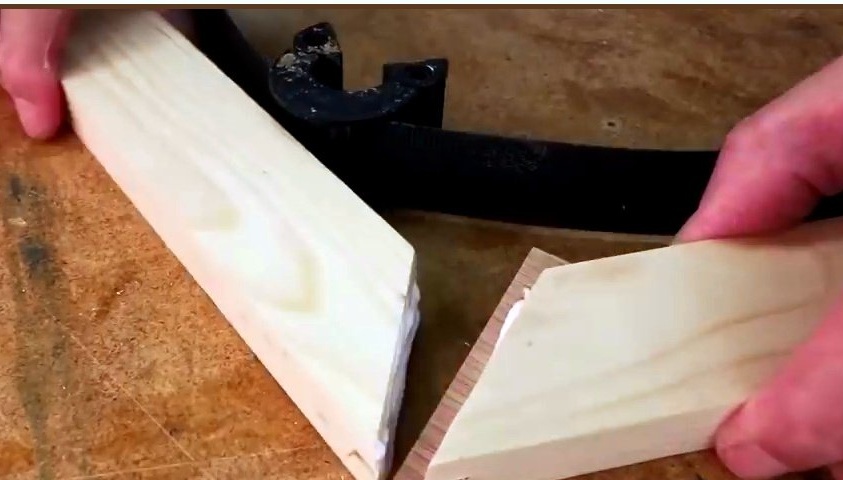
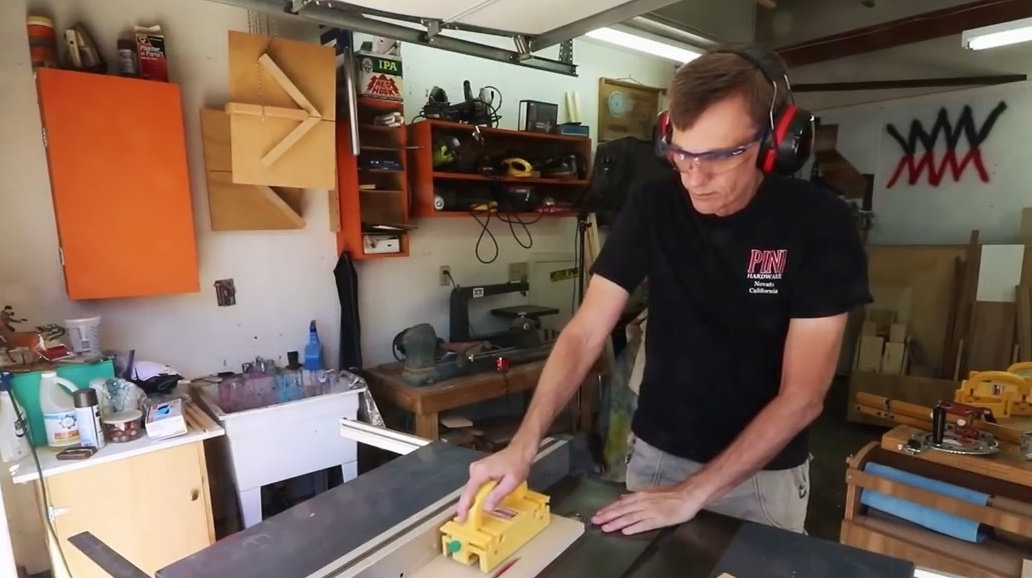
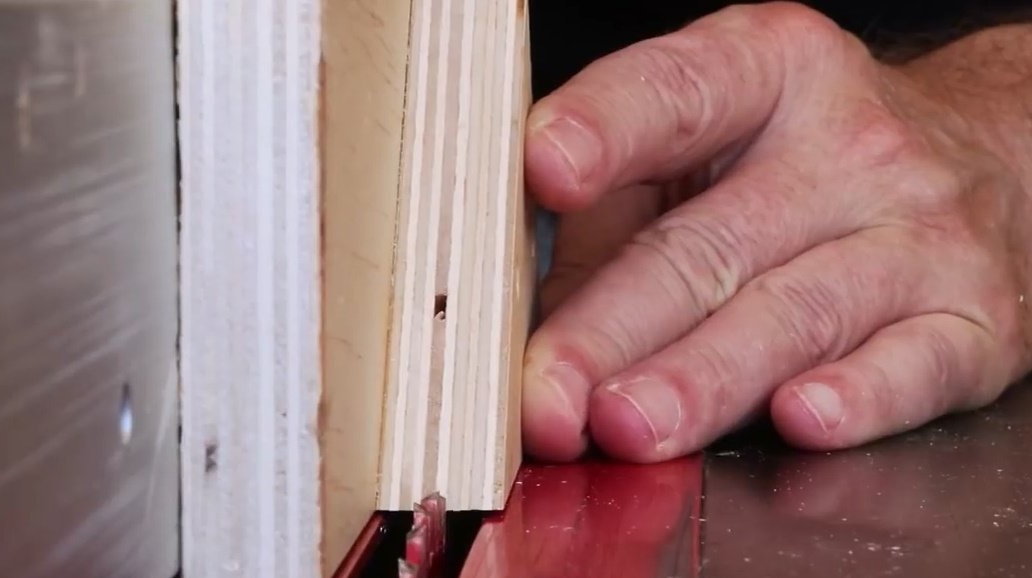
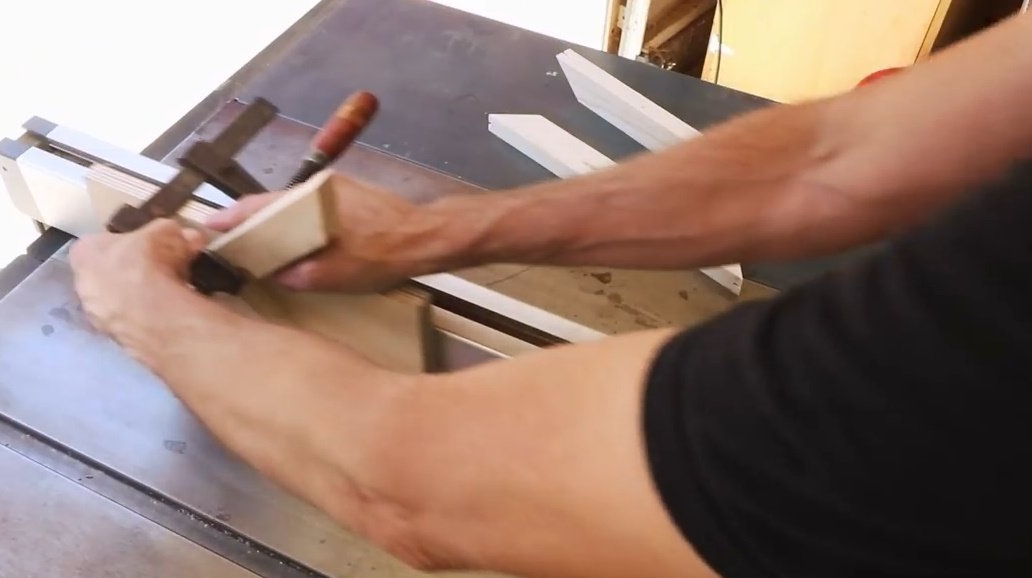
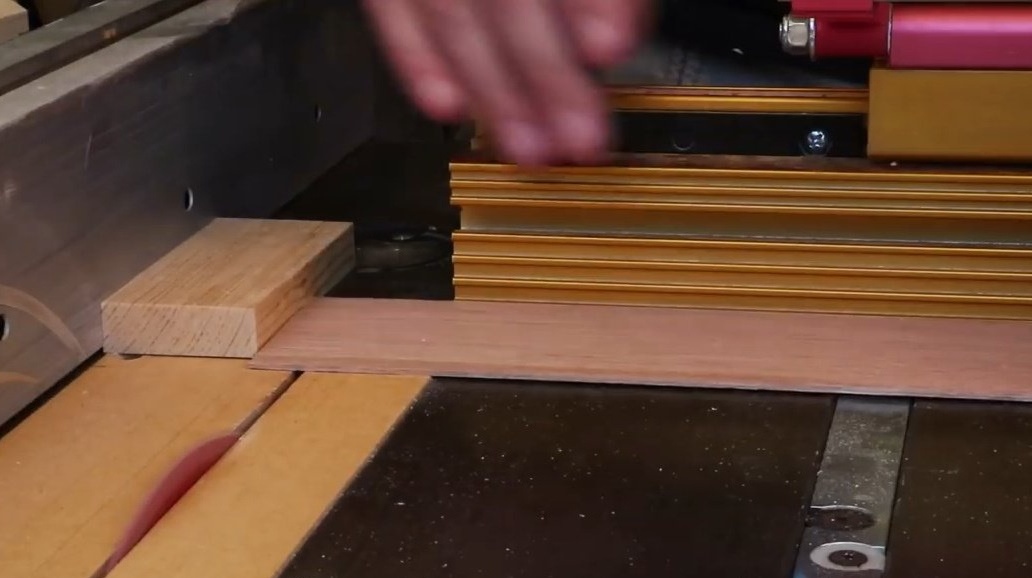
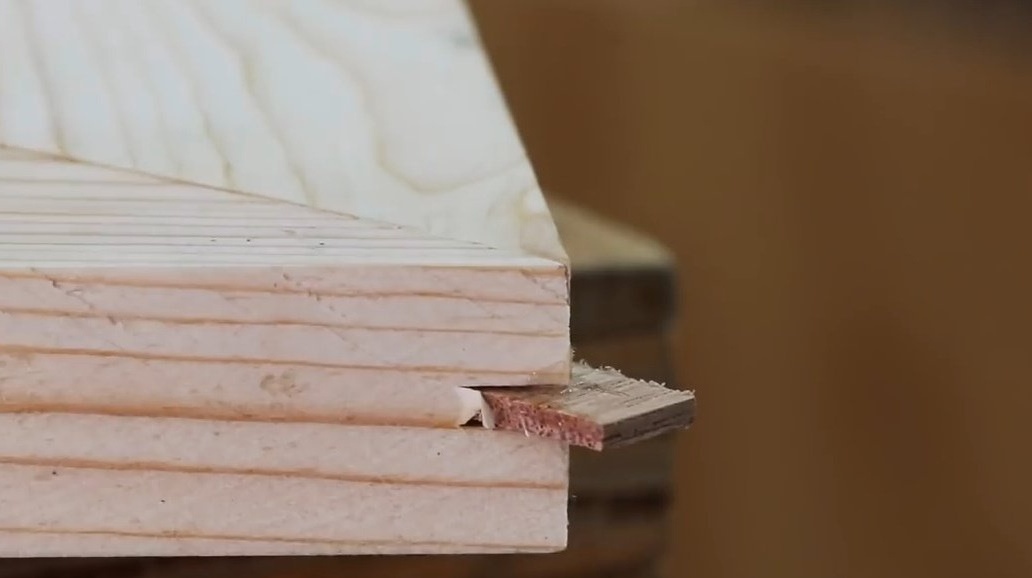
There are many ways to make keys. Steve will show us one of the most powerful. He takes a piece of the board and saws it to the desired key thickness. It is very important to keep the board firmly pressed against the stop.
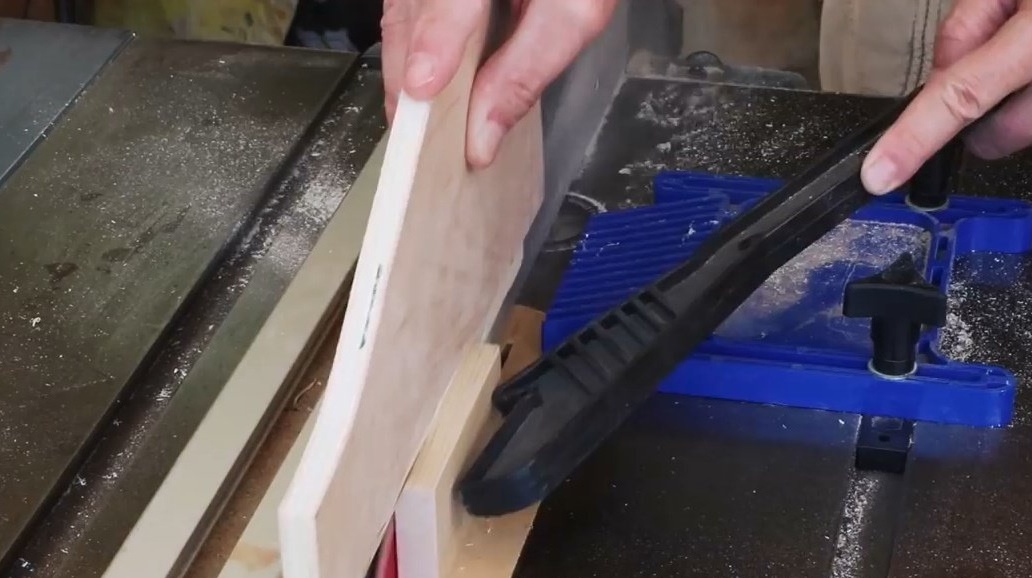
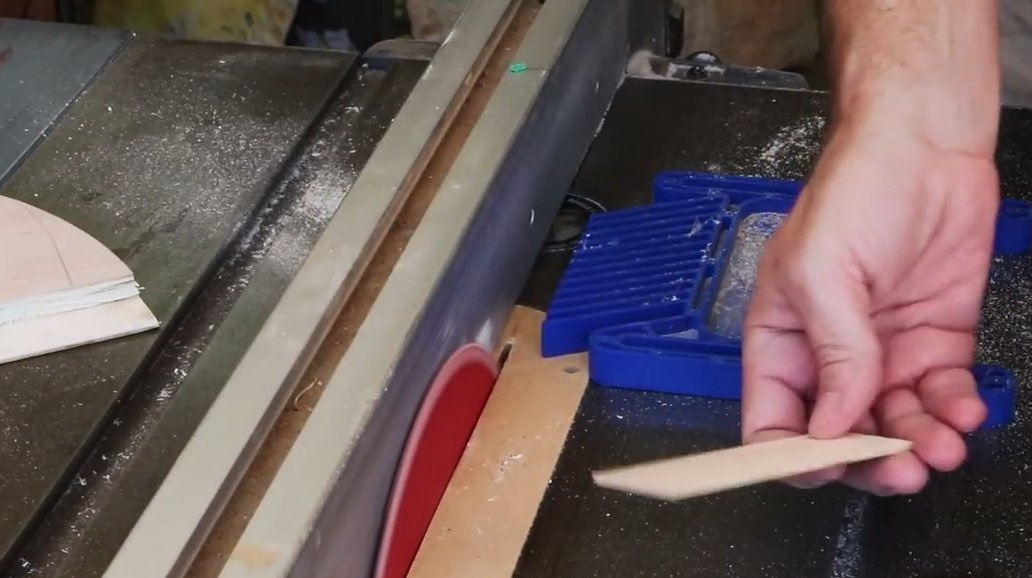
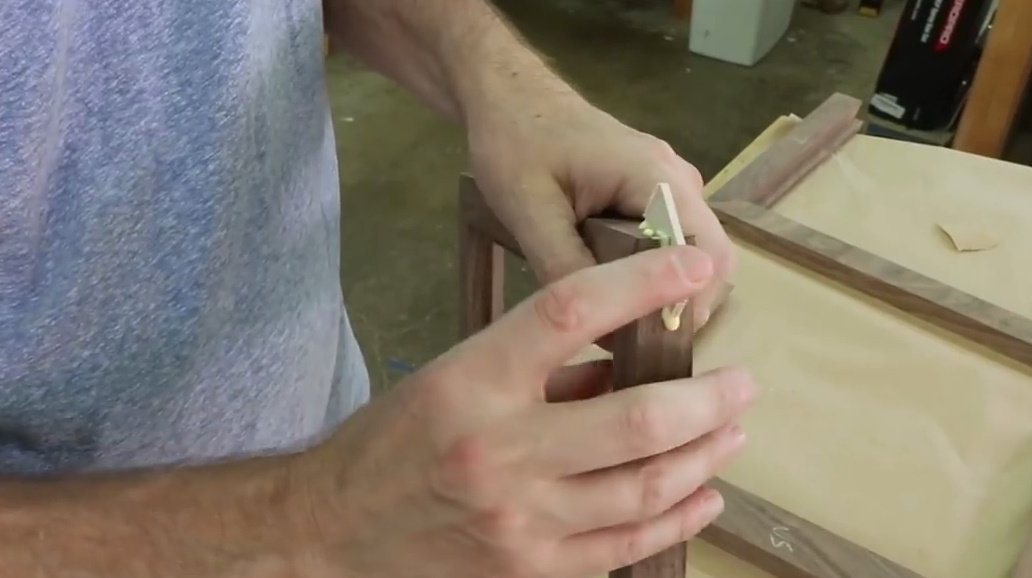
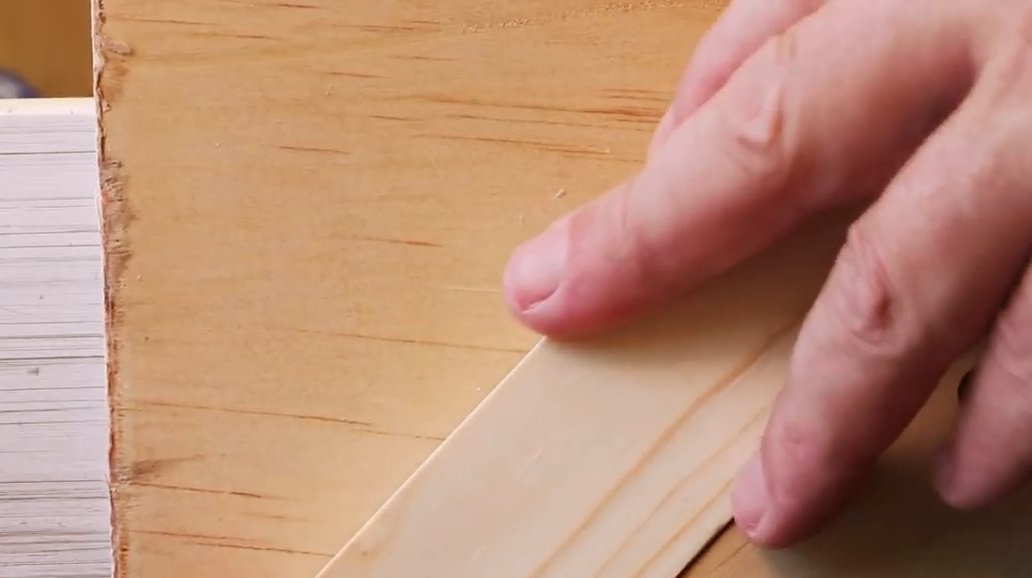
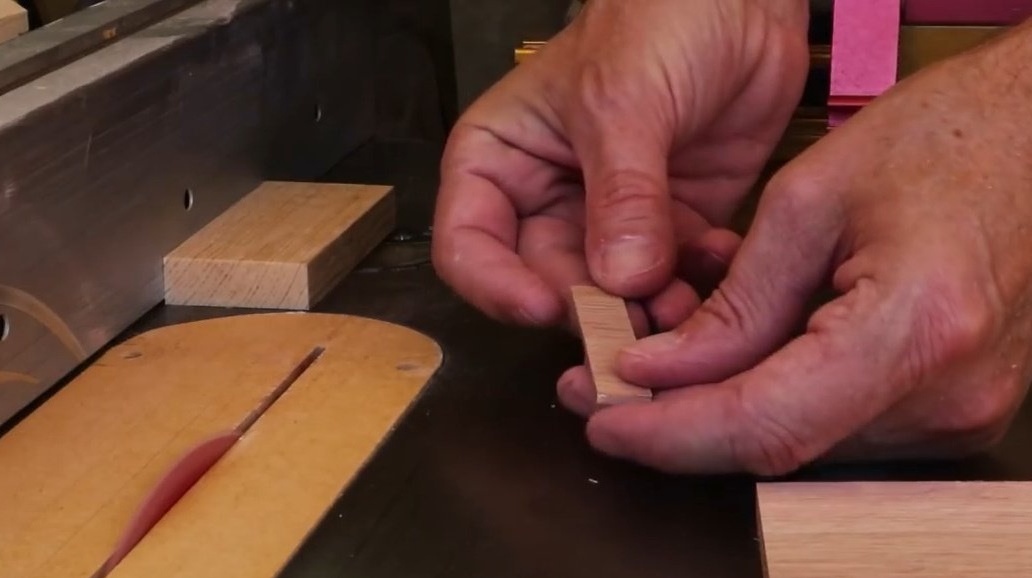
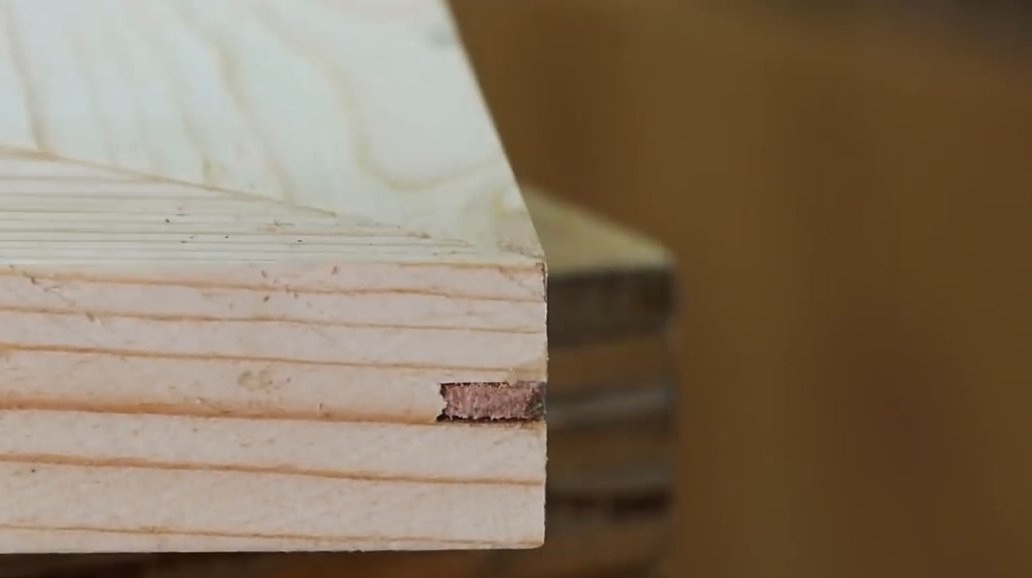
And the key is inserted into the groove quite tightly. The master stipulates that it is possible to insert the keys with this end, but when lying in this direction, along their fibers, they become quite fragile.
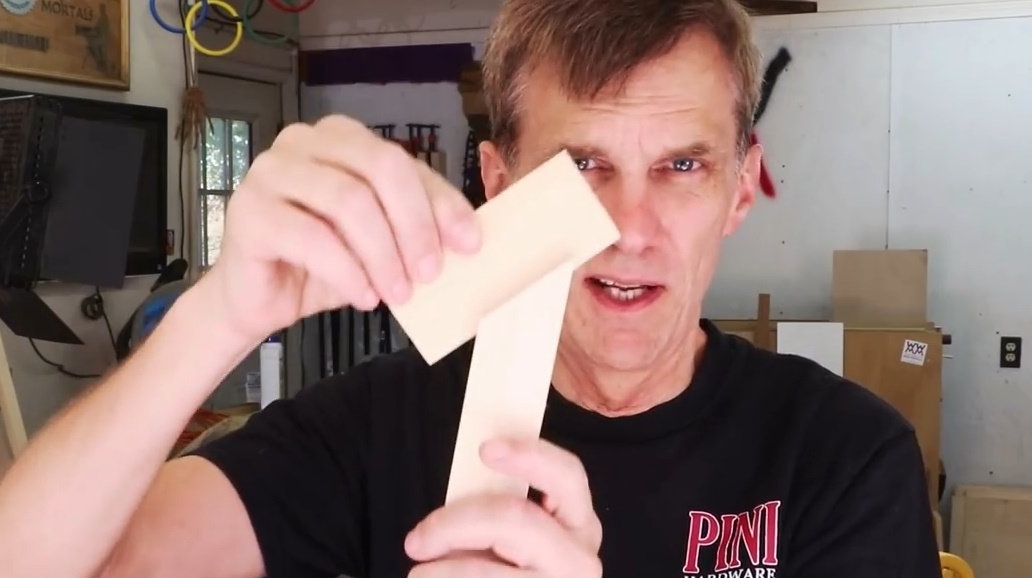
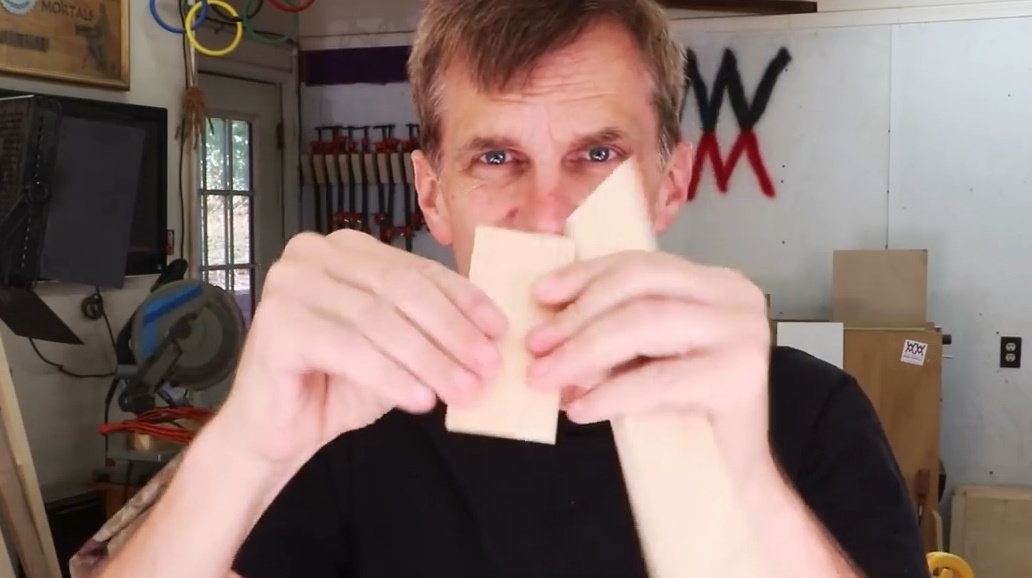
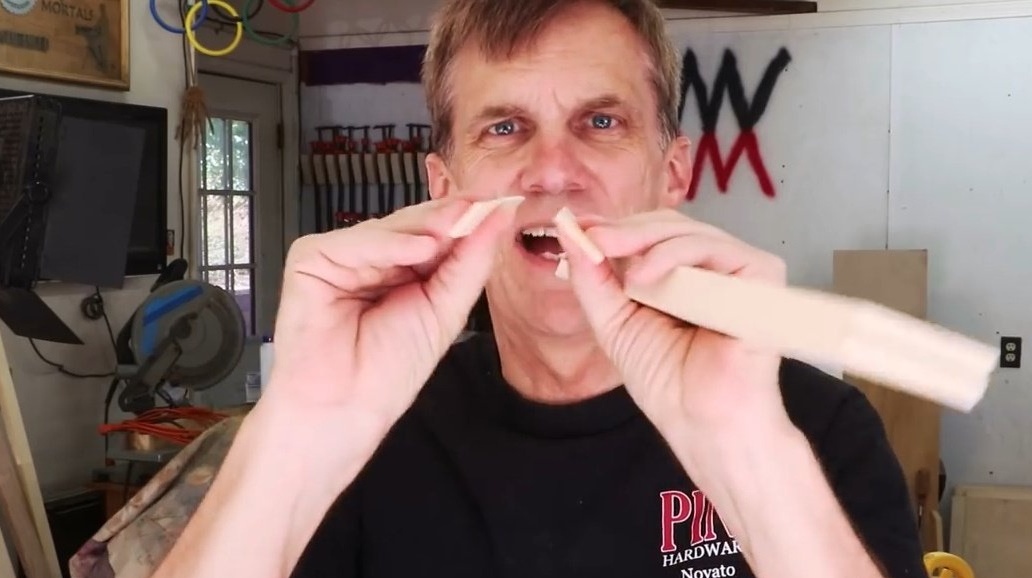
It is better to cut and lay the dowels in the direction perpendicular to their fibers.
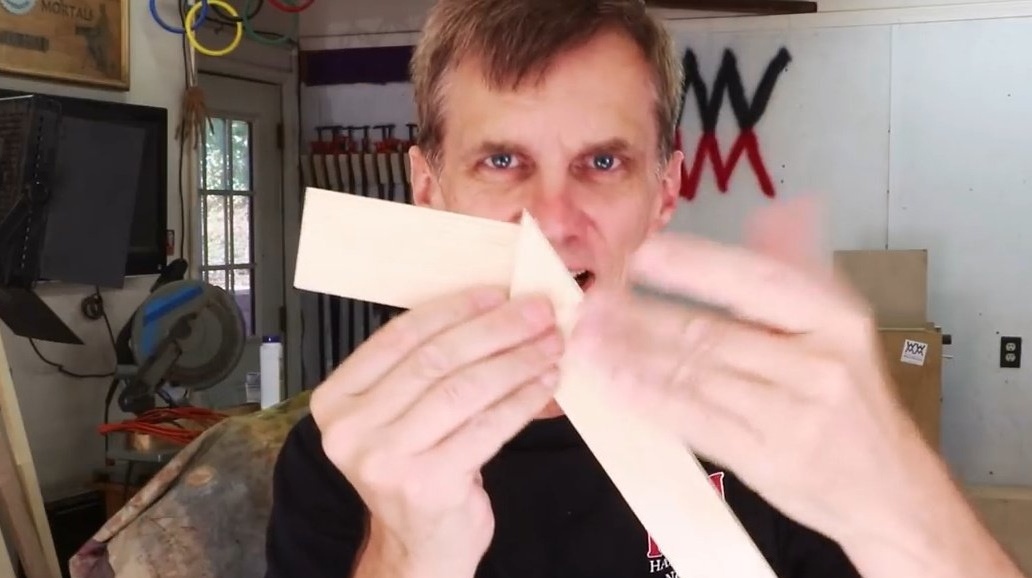
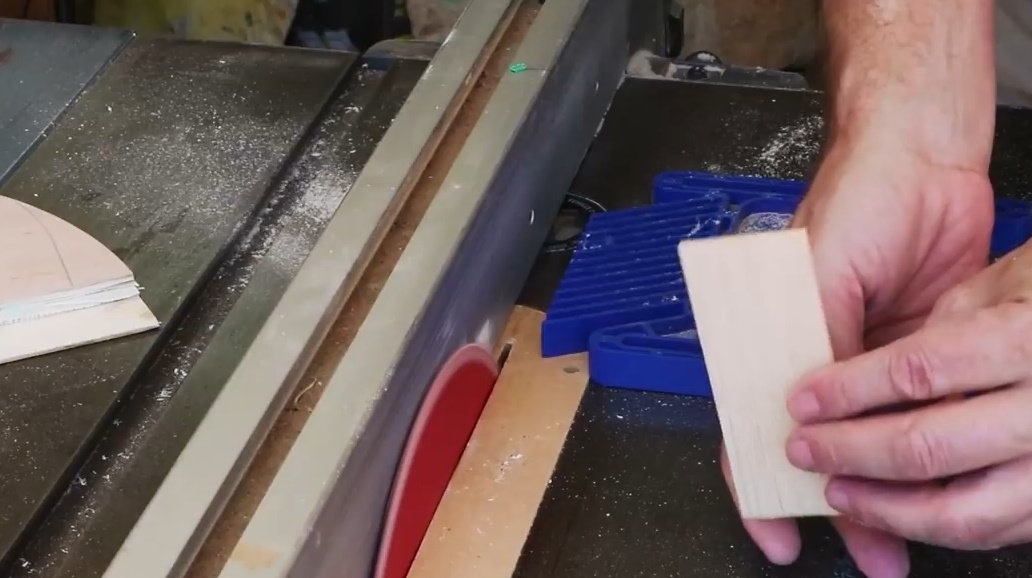
In addition, you need to be sure that the board from which the keys will be made is slightly wider than the diagonal of the corner joint. Here is the correct fiber arrangement.
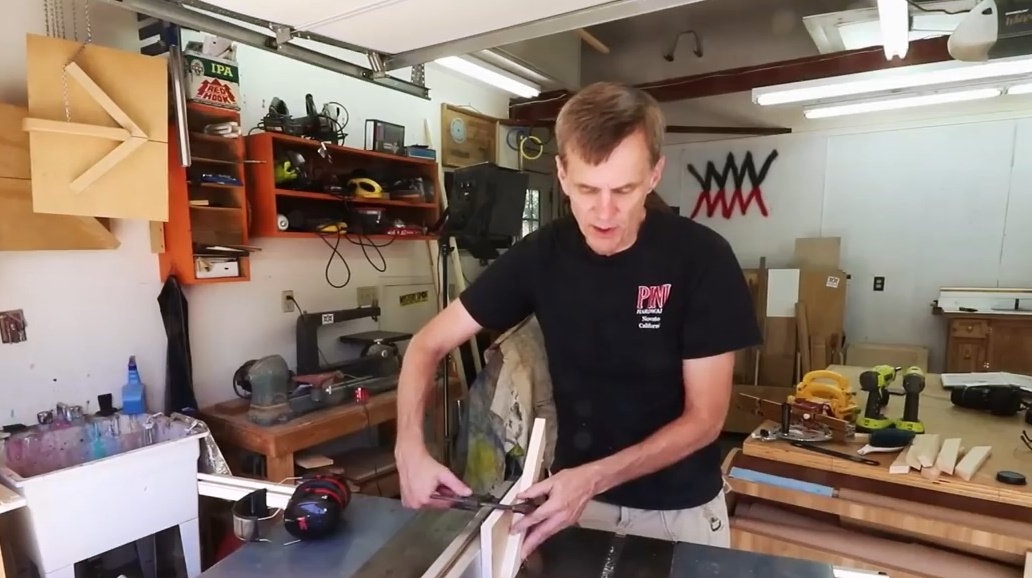
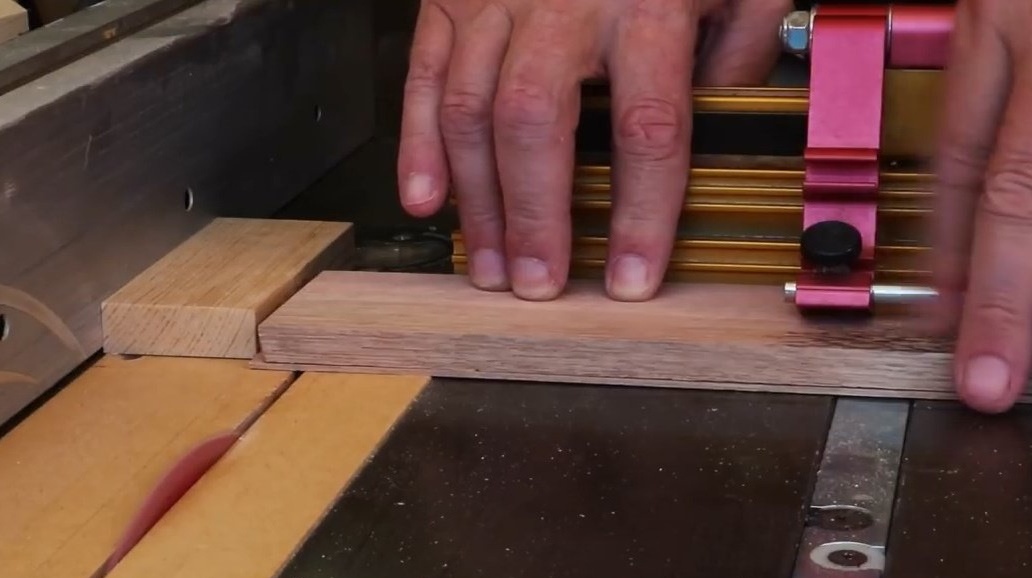
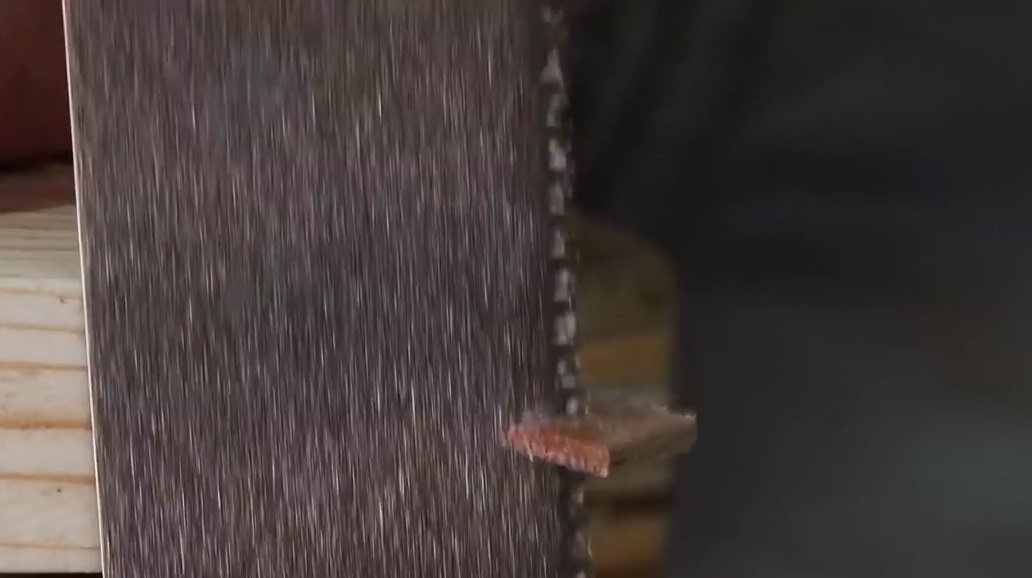
Now you can cut the dowels to their final thickness.
This board was too thin in thickness, and it can break when cut. The author has to press it with another, thicker board.
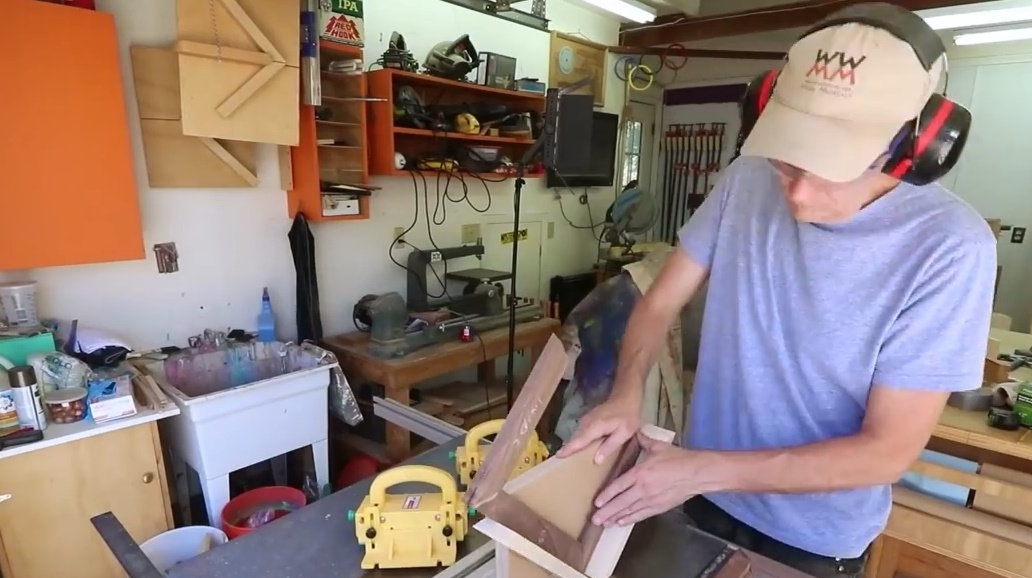
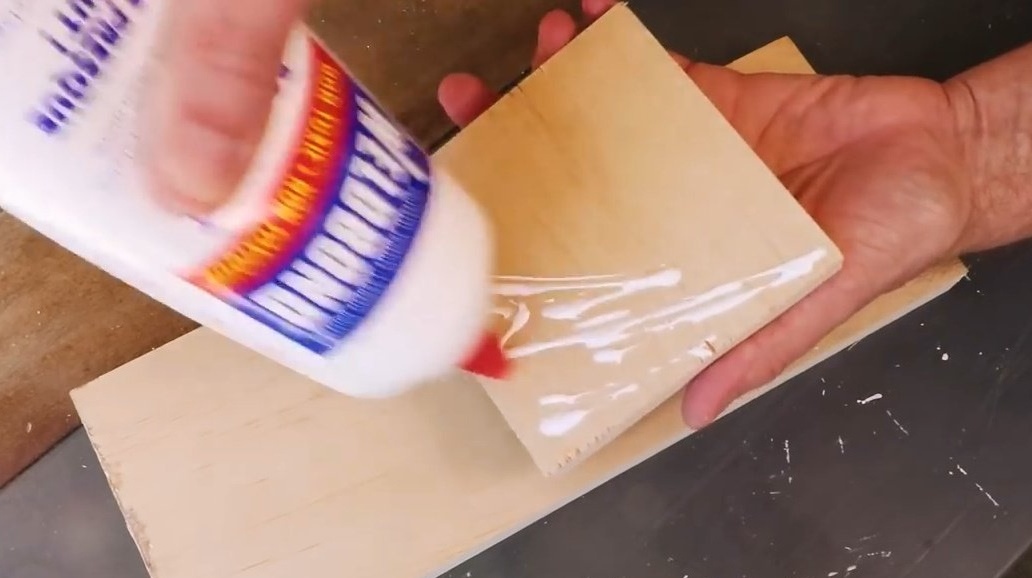
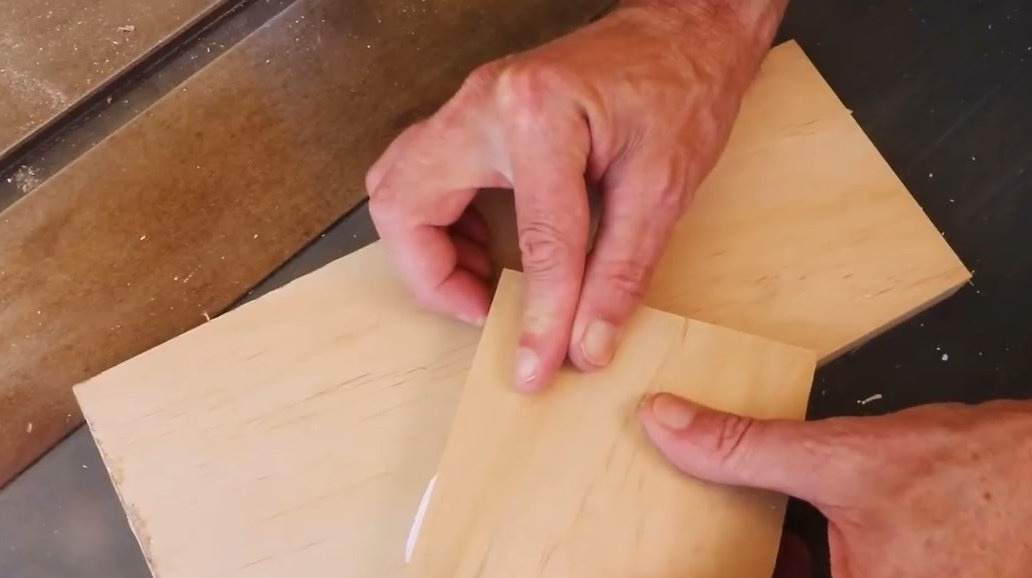
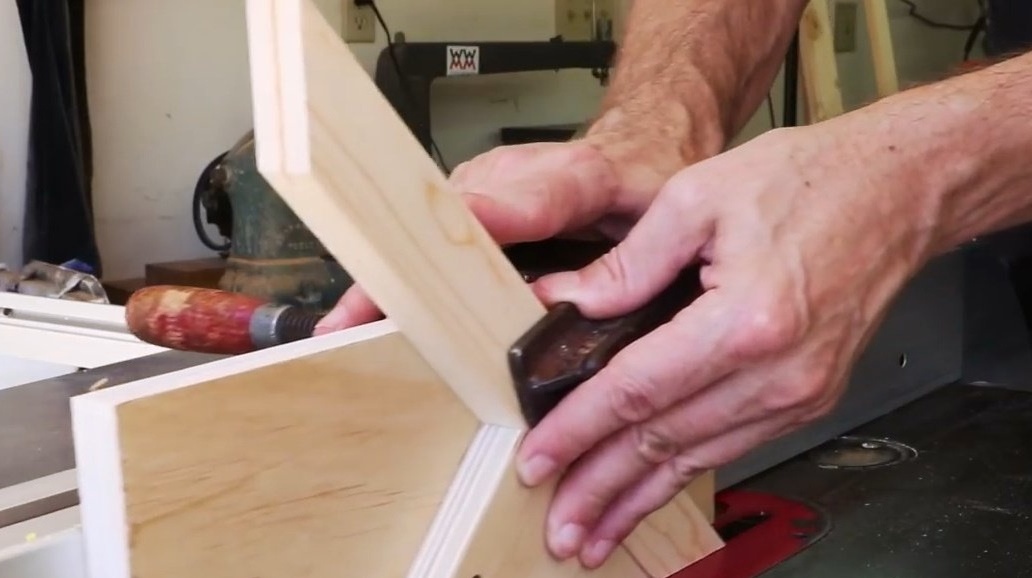
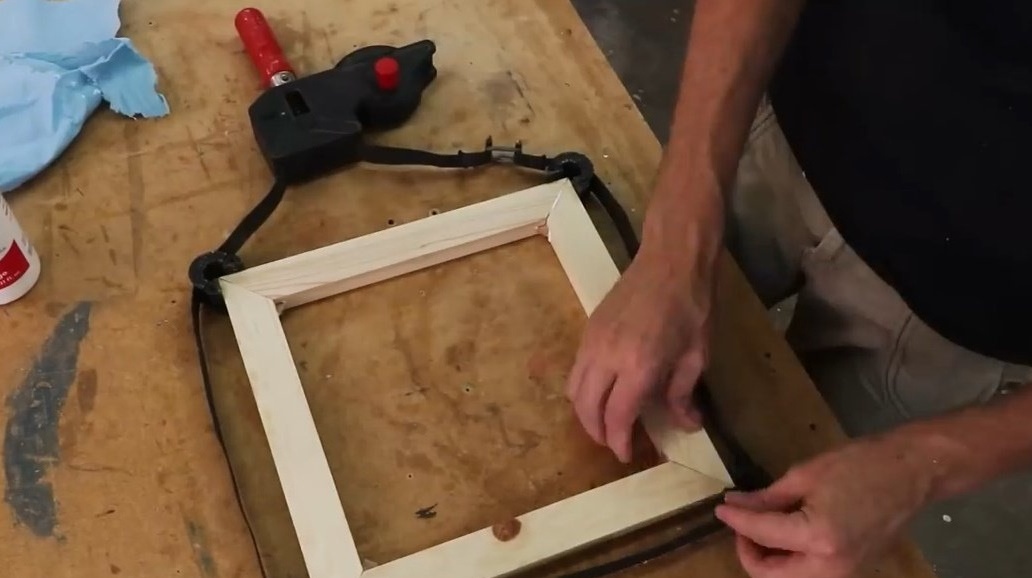
Then comes the standard procedure for gluing the frame with the only difference being that the craftsman first glues the dowels into the grooves, and then inserts the next part on them.
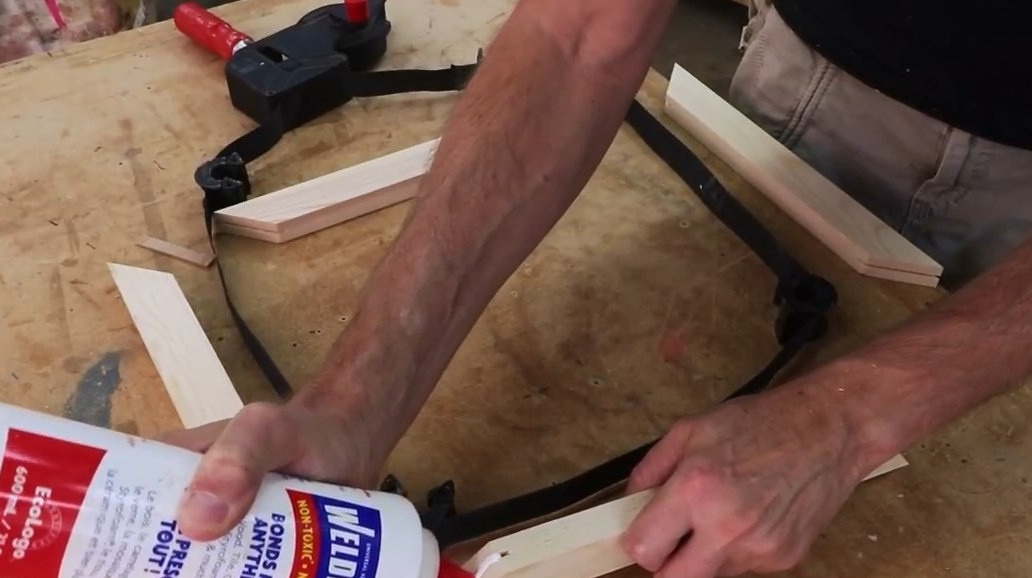

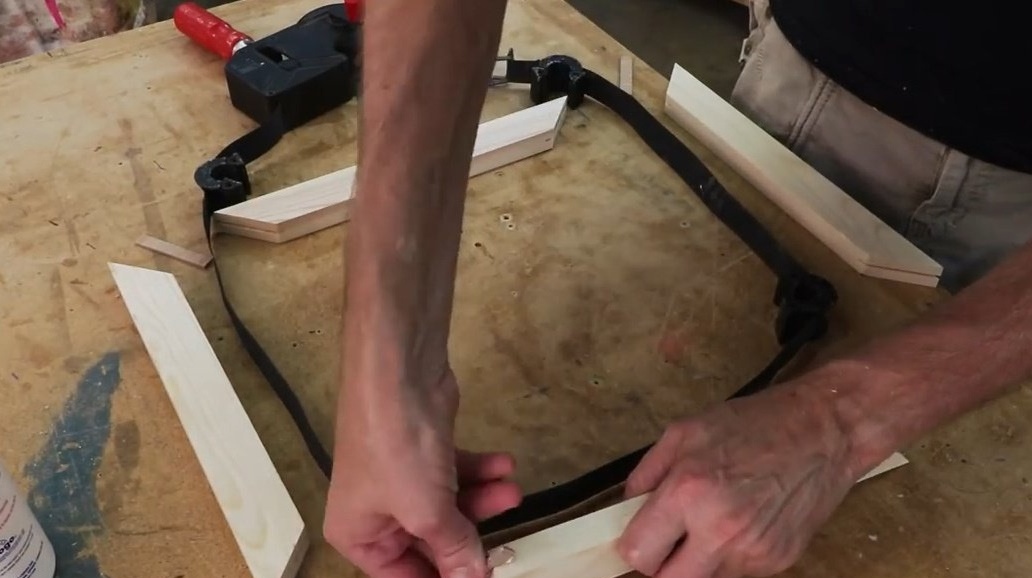
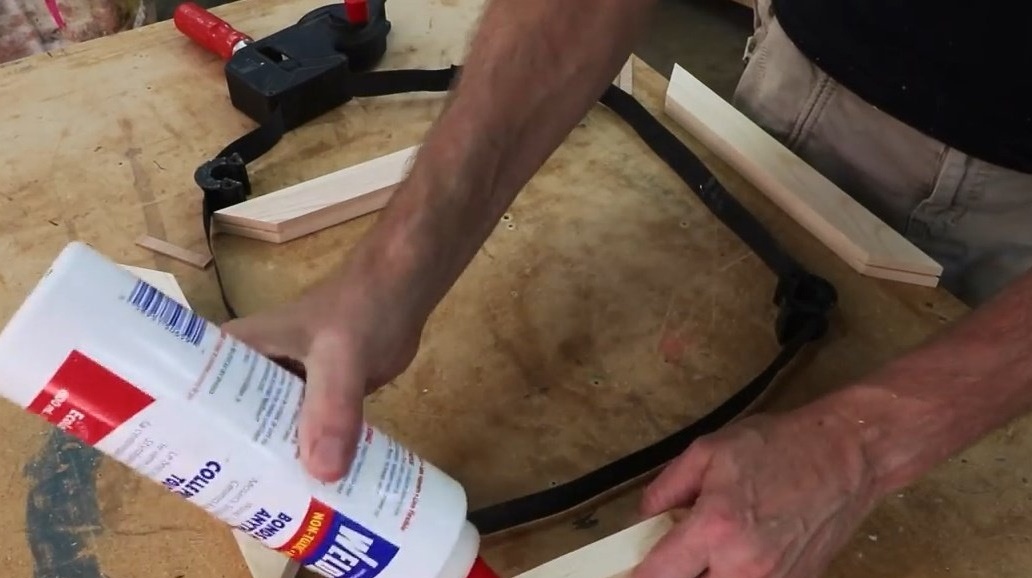
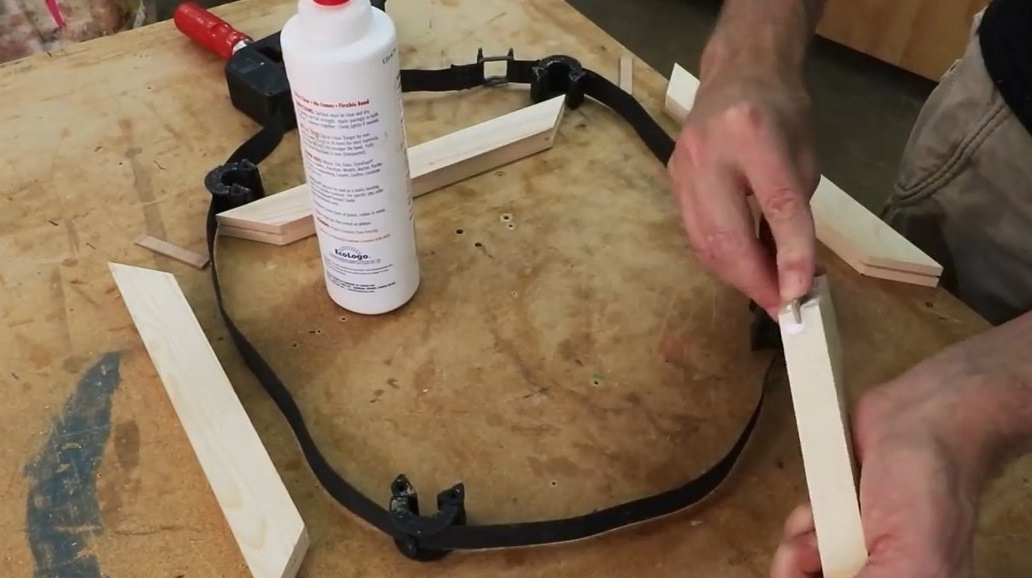

The assembled frame is pulled together with a tape clamp.
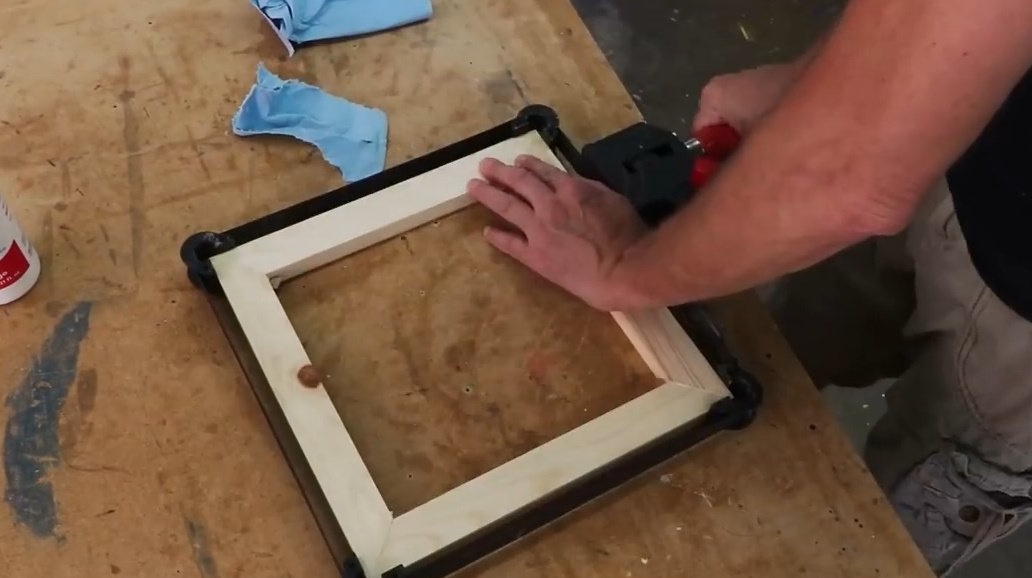
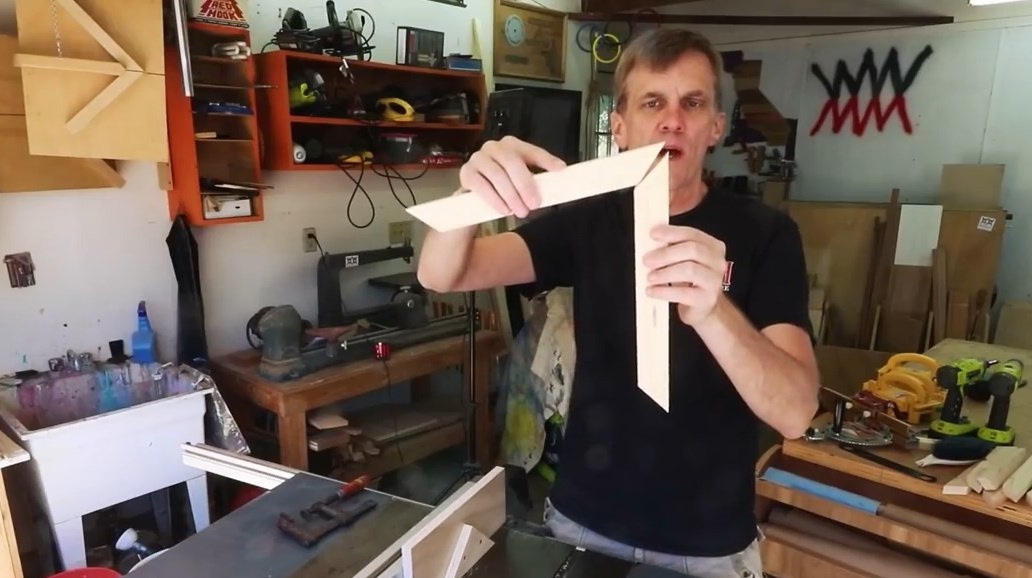
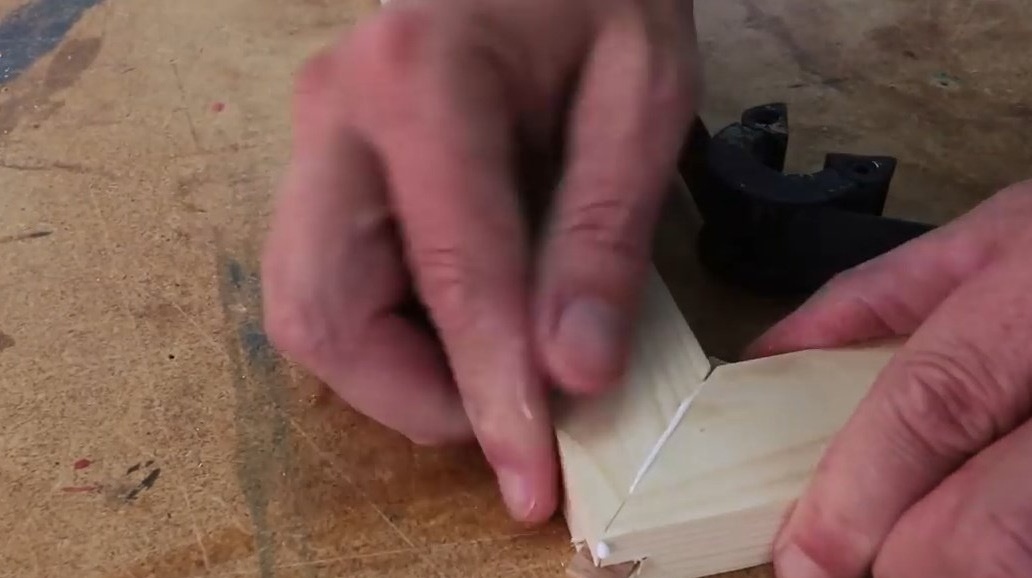
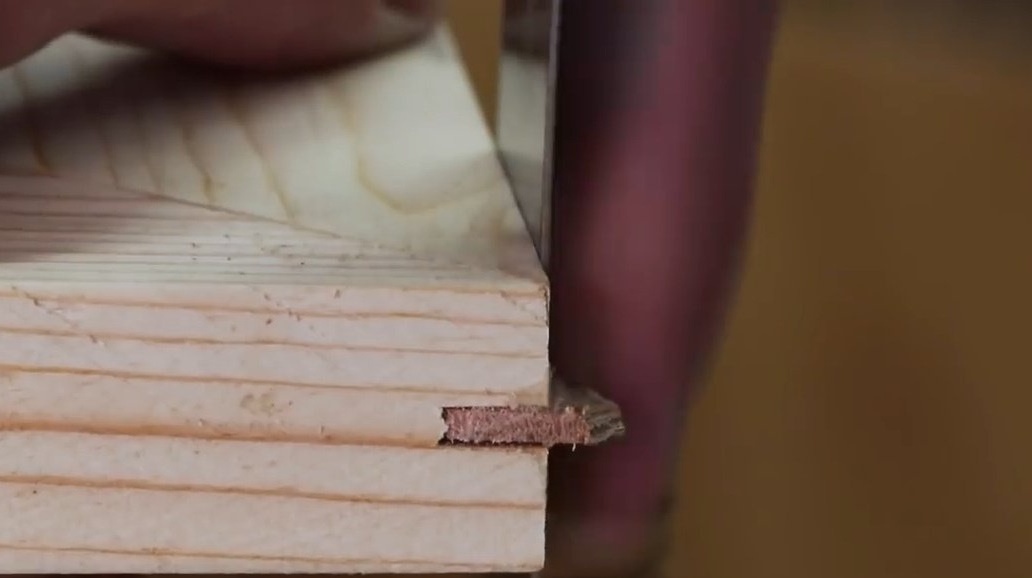
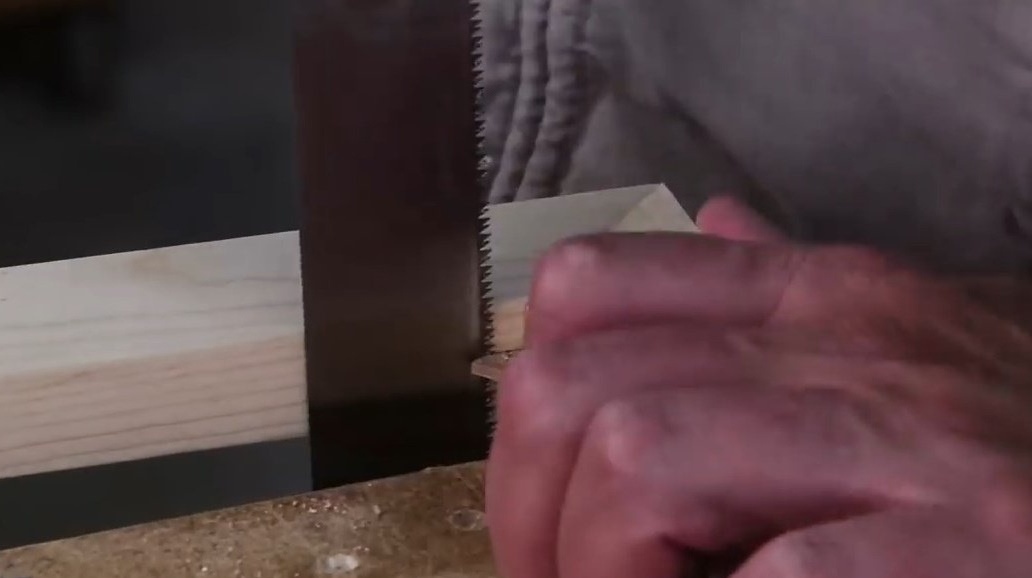
Then, after the glue has dried, the excess keys are cut off with a hacksaw, and the corners are ground.
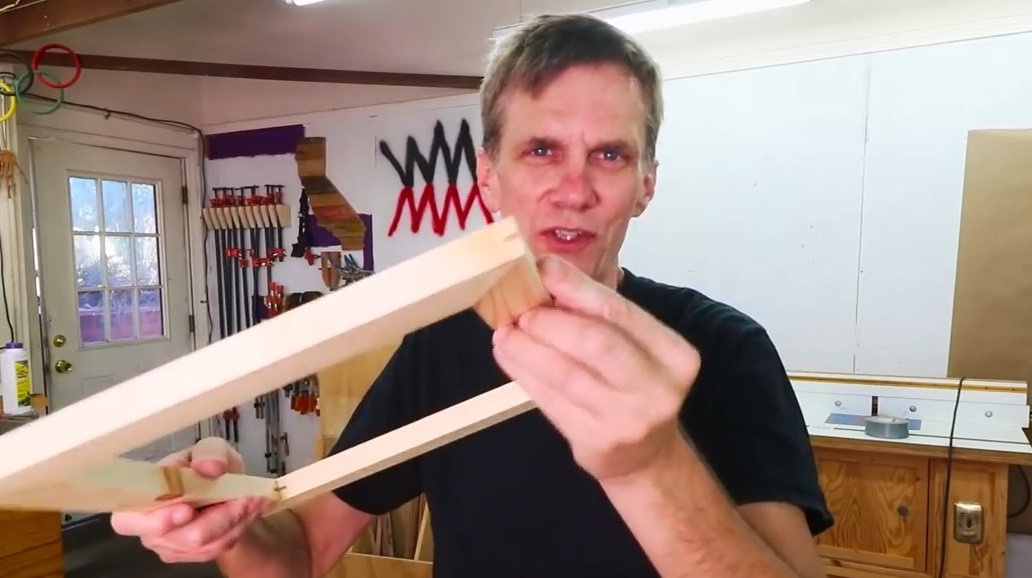
Believe me, such a frame is made and assembled much faster, and in terms of strength, this method of connection is not inferior to the previous one.
Thanks to the author for a simple but useful tool for the workshop!
All good mood, good luck, and interesting ideas!