The design of this torch has such unique functions as portability, size and ease of assembly. Its main purpose is the cutting of polystyrene for the manufacture of aircraft models. Therefore, the dimensions of the torch were selected based on these goals.
Step 1: Materials and Tools Required
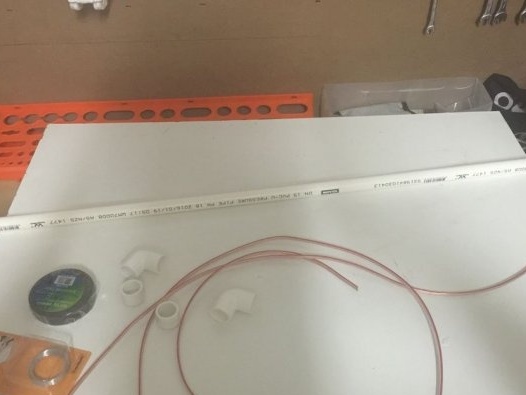
The following materials will be required to make this cutter:
- 1 meter 15 mm PVC pipe;
- two 15 mm PVC elbows;
- two 15 mm PVC plugs;
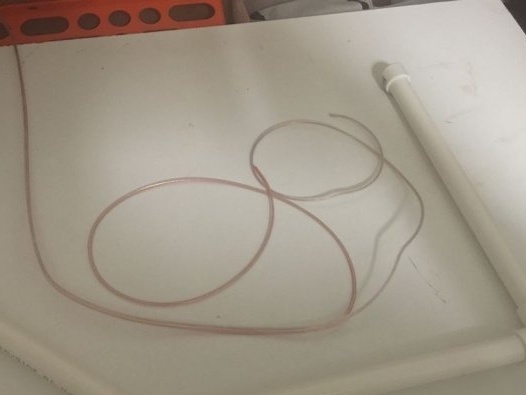
- 1 meter of a two-wire wire from the speaker;
- eye bolt;
- spring;
- two bolts;
- four washers;
- four nuts;
- any suitable plug (in this homemade with DIN connector);
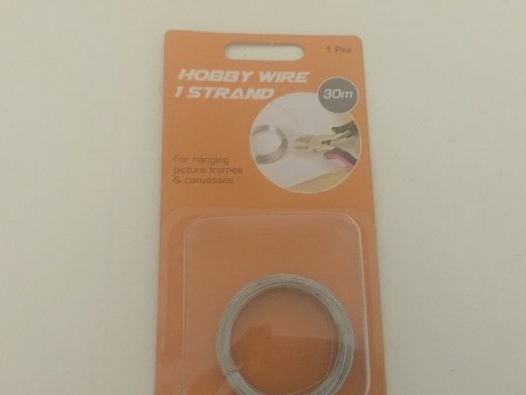
- string wire for paintings;
Instruments:
- shears for cutting polypropylene pipes;
- apparatus for soldering polypropylene pipes;
- screwdriver;
- wrench;
Step 2: Cutting the PVC pipe to the desired size
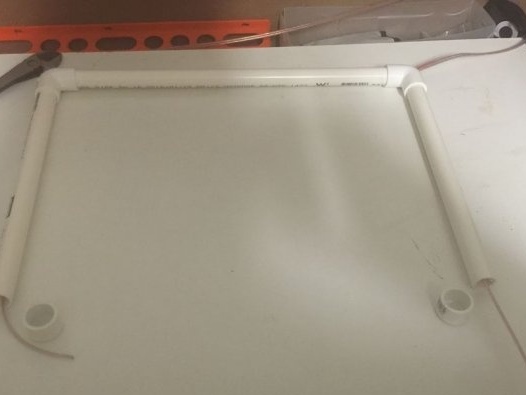
A meter polypropylene pipe is cut into three parts, two of which were 30 cm long and one 40 cm long (the largest size of expanded polystyrene, which is supposed to be cut with this torch, has a length of 34 cm).
Step 3: Assembling the frame from polypropylene pipes
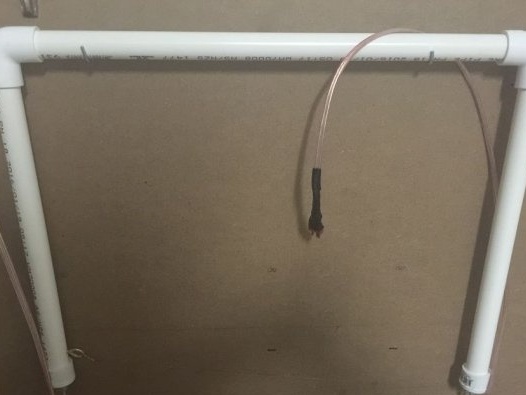
40 cm long PVC welded with two elbows. Two pipes of 30 cm are soldered to the knees. Plugs are soldered to the edges. But from the beginning it is necessary to do some work with these frame elements.
Step 4: Drilling
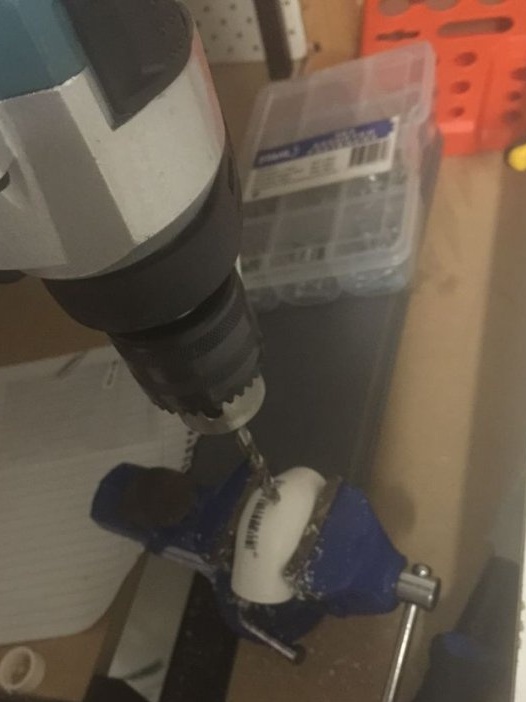
The author used a caliper to determine how wide the wire from the speaker has. This size was 6 mm. After the author drilled a hole of 6 mm in one of the knees.
Step 5: speaker wire
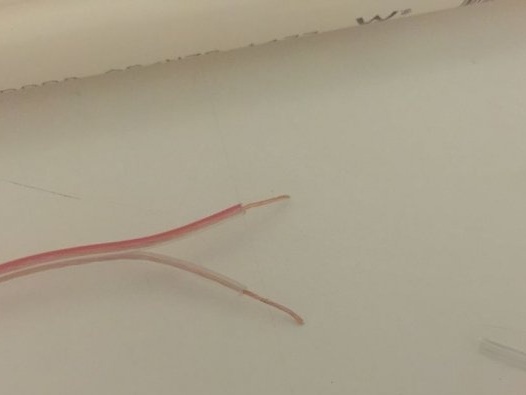
The available cable, the author divided into two segments of 80 cm. And led the ends down to different edges of the frame.
Step 6: work with stubs
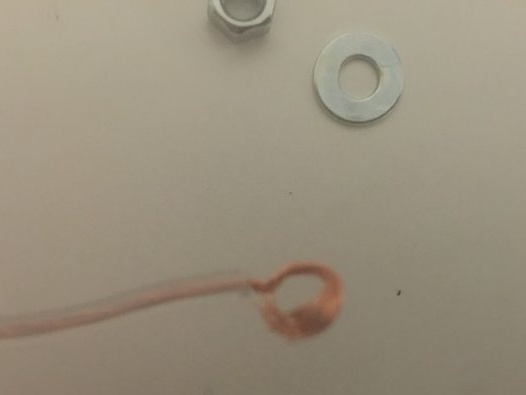
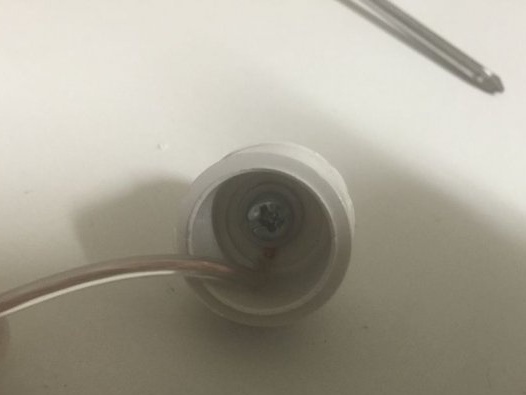
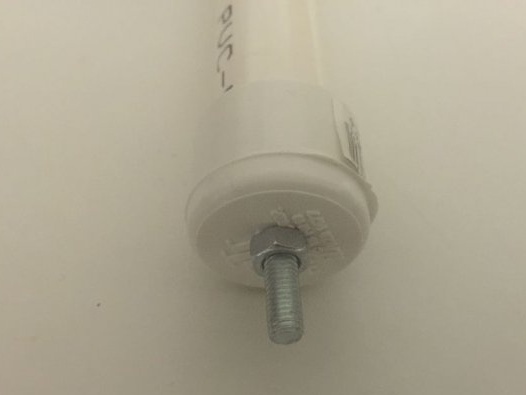
The author measured the bolts and drilled a hole in each end cap - plug, stripped the wire, formed a loop that is put on the bolt, and assembled both end caps. Then he took the bolt and put one washer on it, a wire loop. Then, on the outside of the end cover - plugs, another washer was put on and tightened with a nut on the outside.
Step 7: Cutting element (wire)
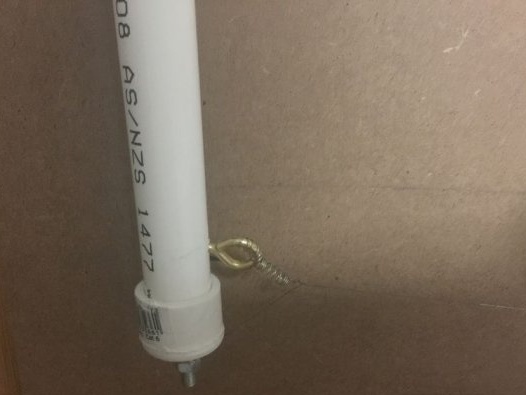
The author took a string wire for paintings 45 cm long or so. Then he wrapped it around one of the bolts and secured it with a nut on top. At the other end, he made a loop about 36 cm from the fixed end and inserted it into the spring from the inside. Then he drilled a hole in the lever without the wire suspension attached to it and screwed the eyebolt into the rack. Then he attached the free end of the spring to the eyebolt and wrapped the remaining wire bracket to the bolt protruding from the end cap, and secured another nut over it.
Step 8: Operate This Homemade Styrofoam Cutter
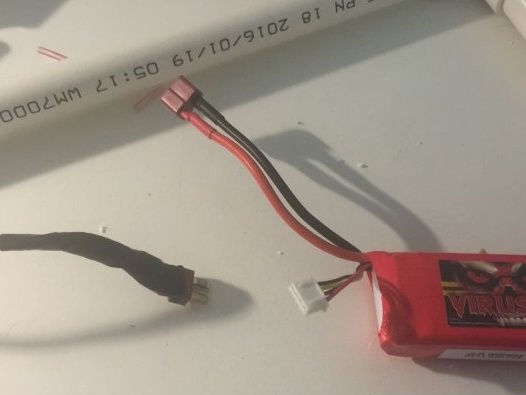
After stripping the insulation at the ends of the speaker wire, the author soldered them to the Deans connector. Then he insulated this connector with a heat shrink tube.
This cutter is powered by three LiPo elements. Thus, this device can be taken with you and used anywhere. Even where there is no access to the power grid.
The device cuts polystyrene foam like a hot butter knife.

