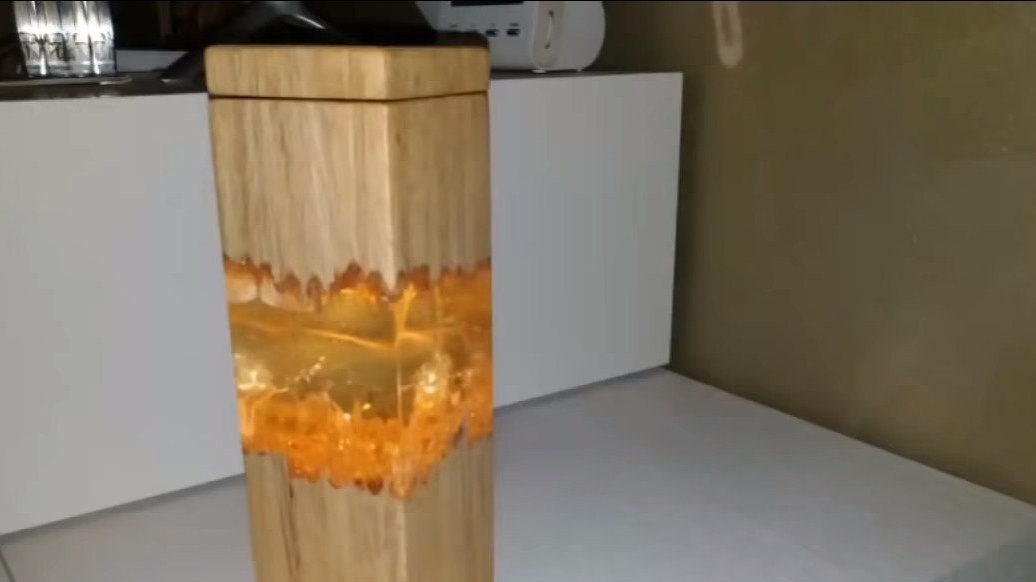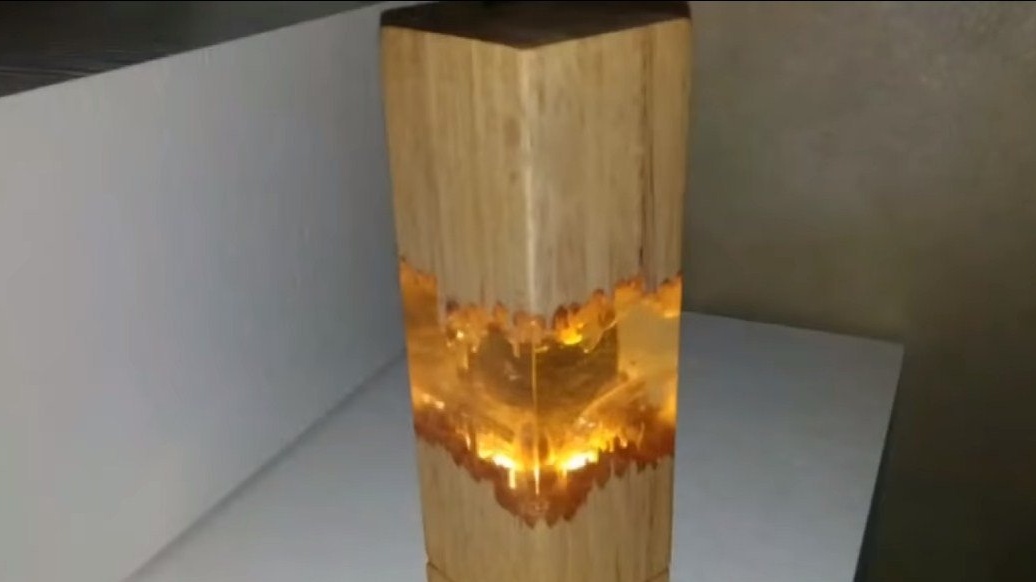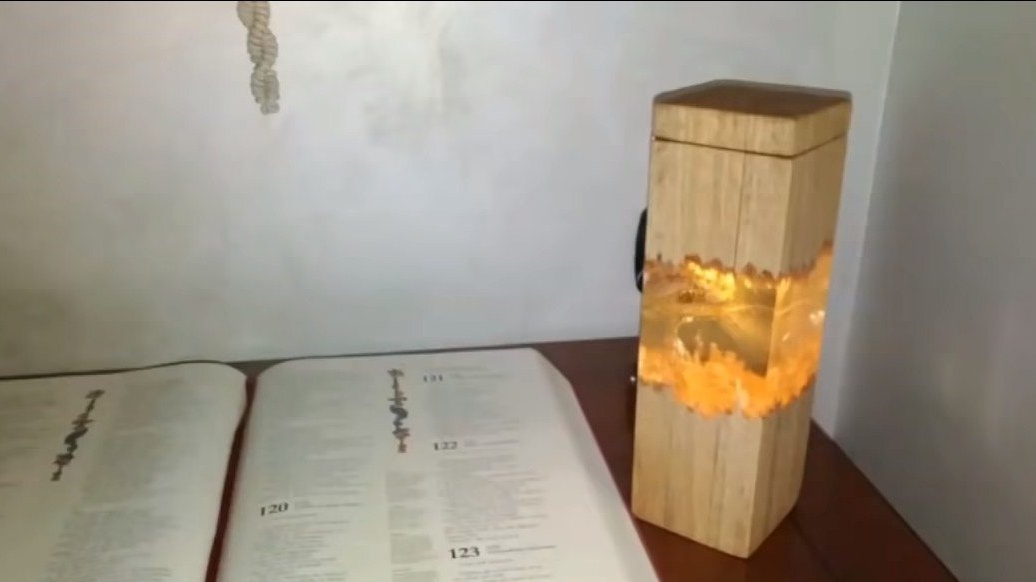

Hello everyone, today we will consider a simple project of an interesting lamp made of wood and epoxy glue. The lamp looks pretty pretty, it resembles a piece of a bar broken in half, part of which is connected by a part of epoxy resin. The lamp works on two batteries, so it is convenient to carry and can be taken with you even to nature. The battery charge should last for a long time, since the light source is the LEDs. If you are interested in the project, I propose to study it in more detail.
Materials and tools used by the author:
Material List:
- whetstones (you can use boards);
- epoxy resin for pouring;
- dyes for epoxy;
- carpentry glue;
- or another light source;
- battery pack for 3 finger batteries;
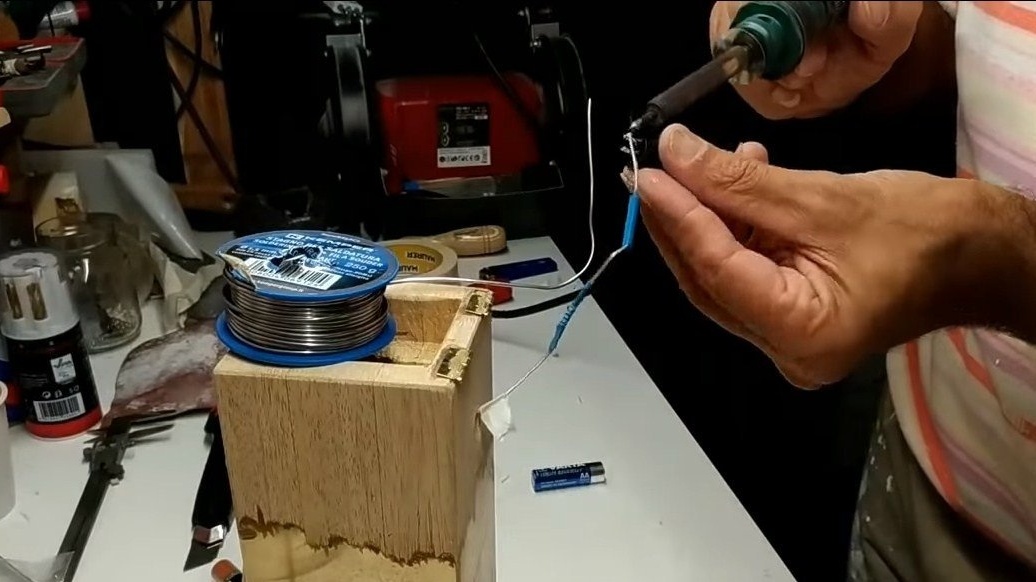
- wires and switch;
- small neodymium magnets;
- sheet acrylic;
- adhesive tape;
- hinges for attaching the cover.
Tool List:
- drill;
- jigsaw, hacksaw or other tool;
- clamps;
- glue gun;
- soldering iron;
- sandpaper;
- vibration machine renovator.
Manufacturing process homemade:
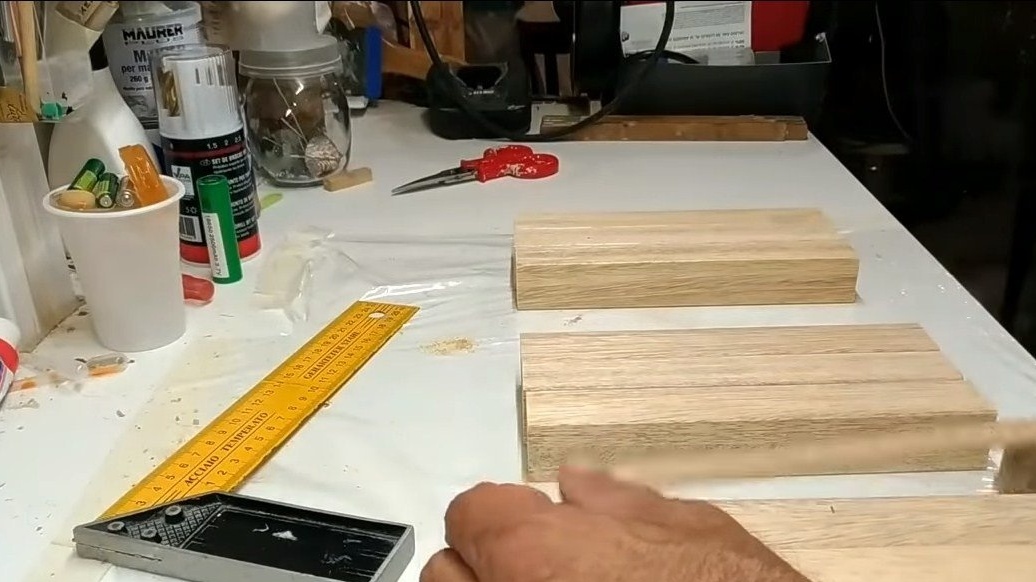
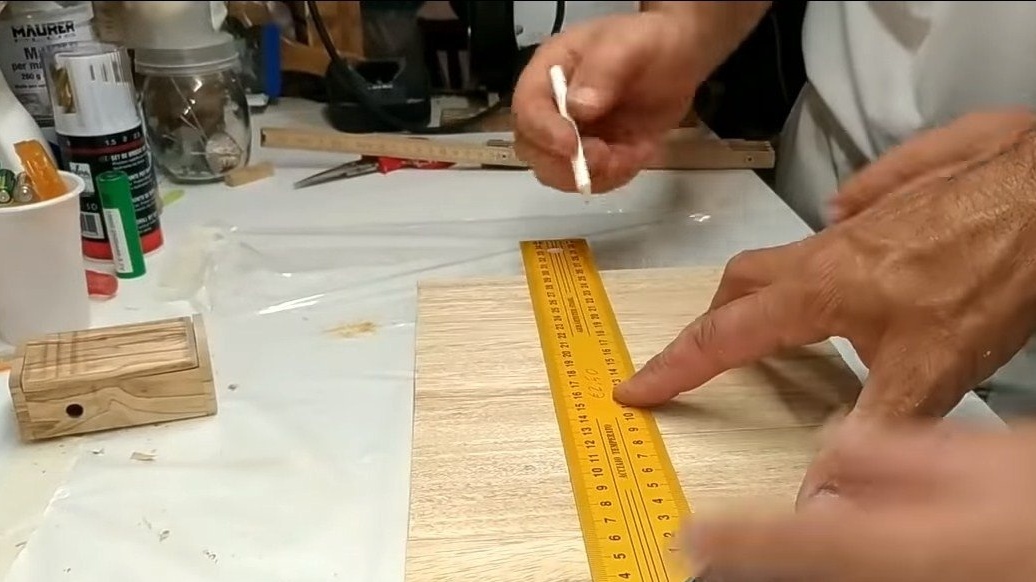
Step one. Blanks
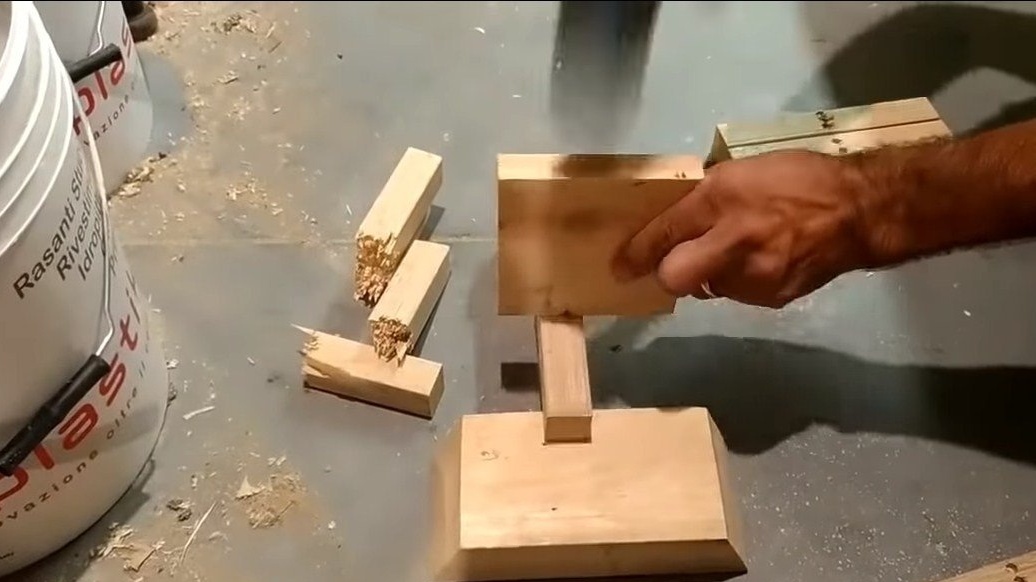
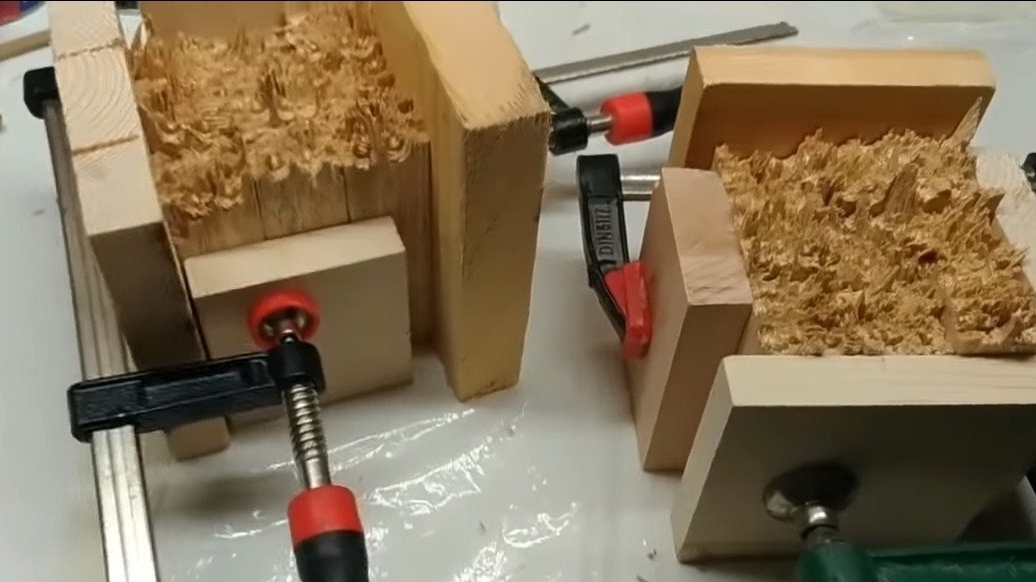
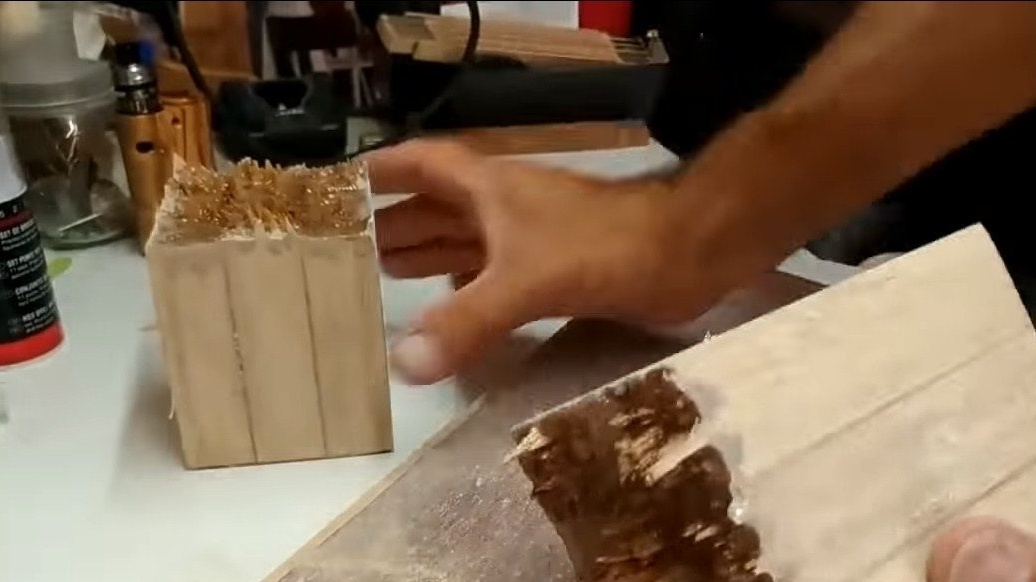
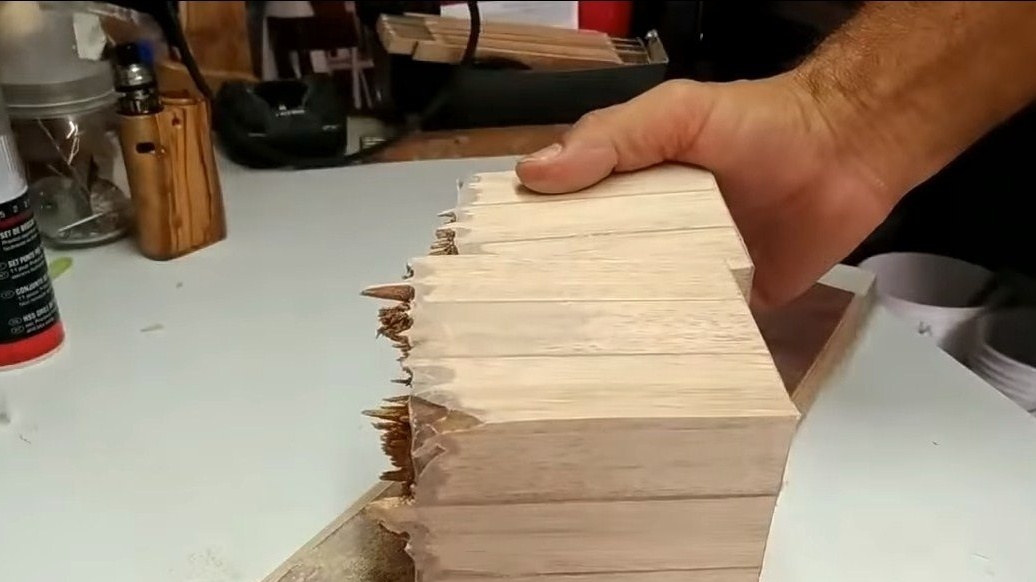
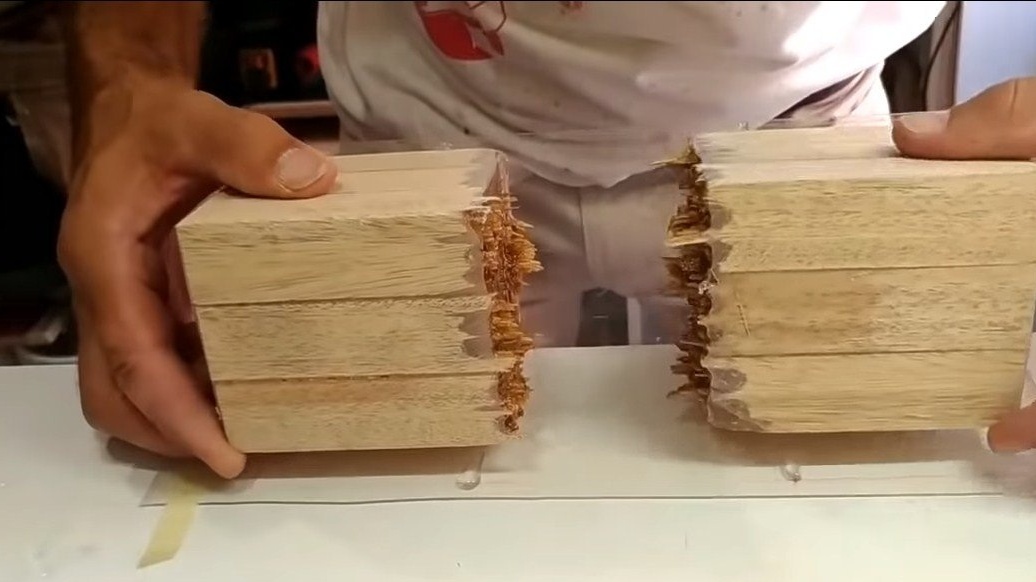
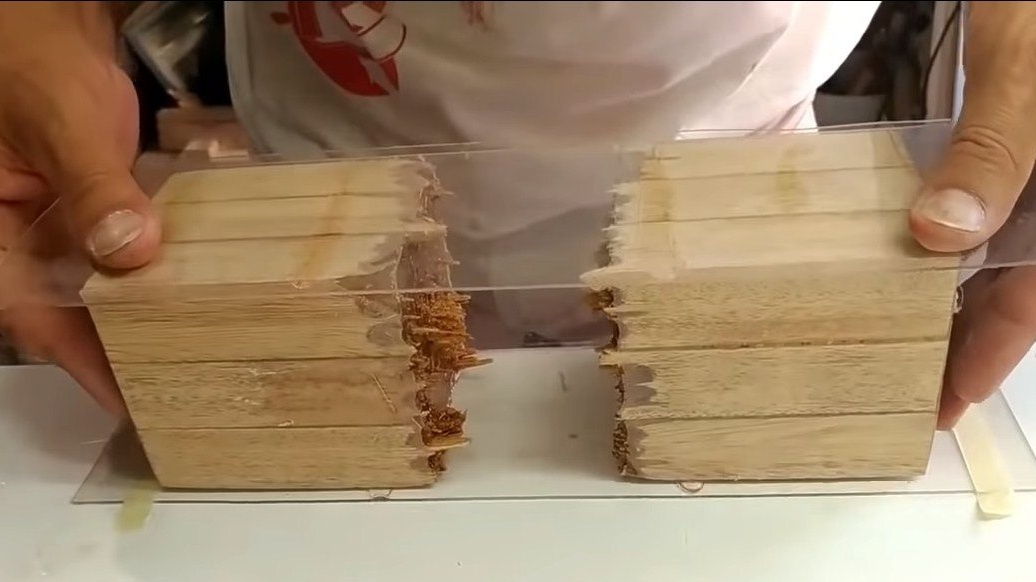
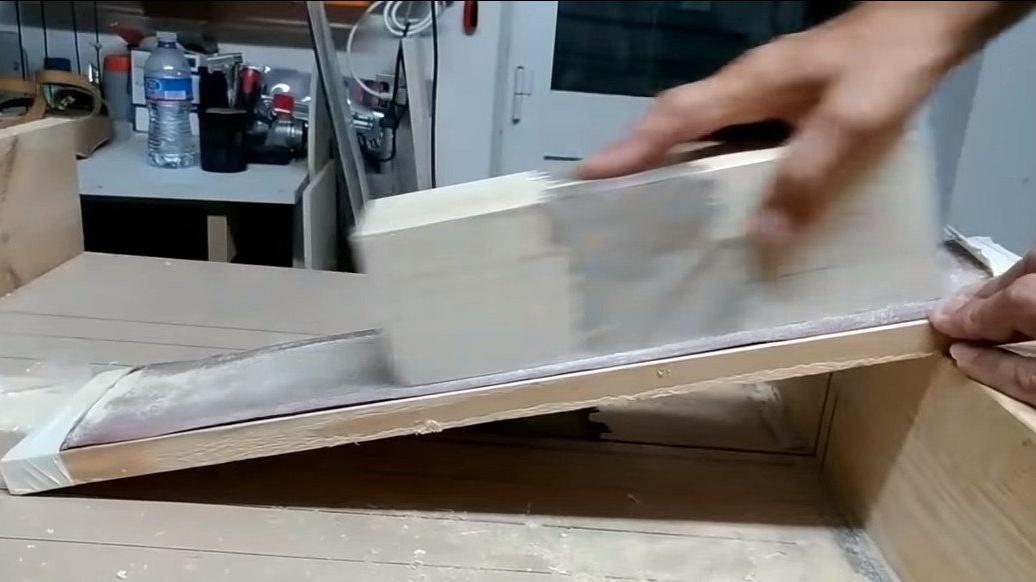
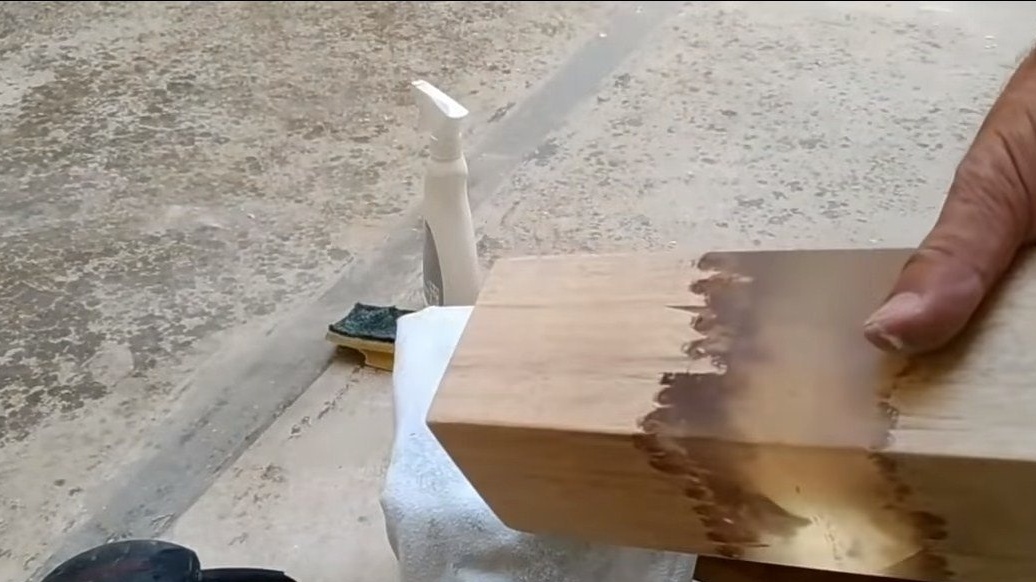
First of all, we will get the necessary components from wood. We need whetstones, for these purposes it is possible to cut boards, but it is easier, of course, to use finished material. Next, we need to break the bars to get a natural break. We put each block between the two supports and hit it with a hammer on top through a piece of board or a block so that there are no prints from the hammer on the material.
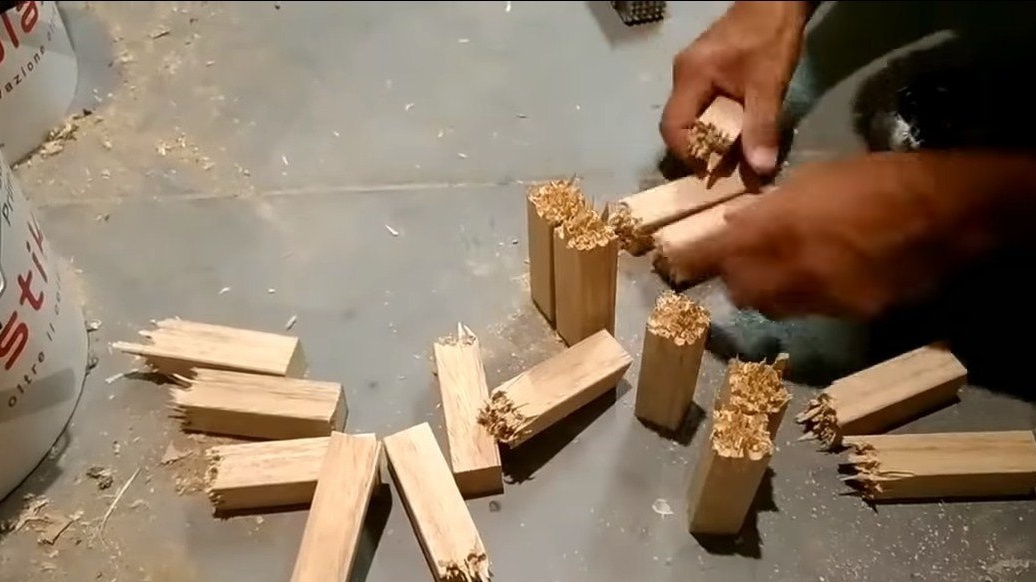
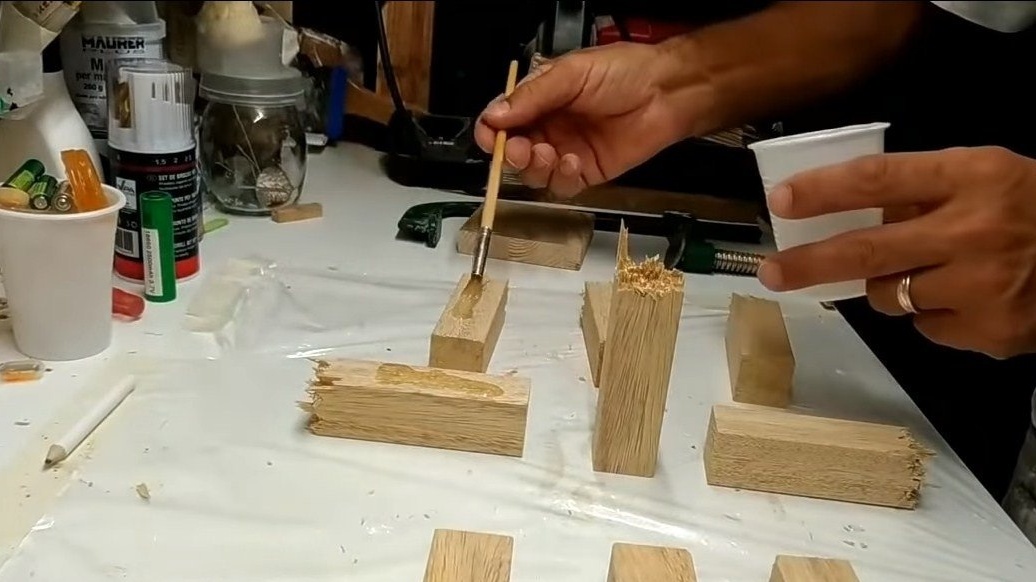
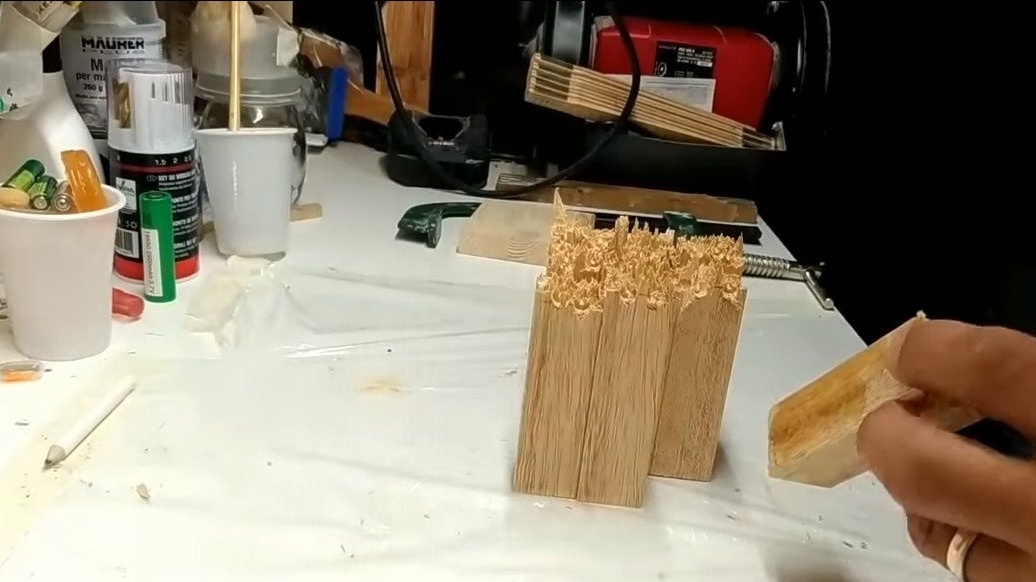
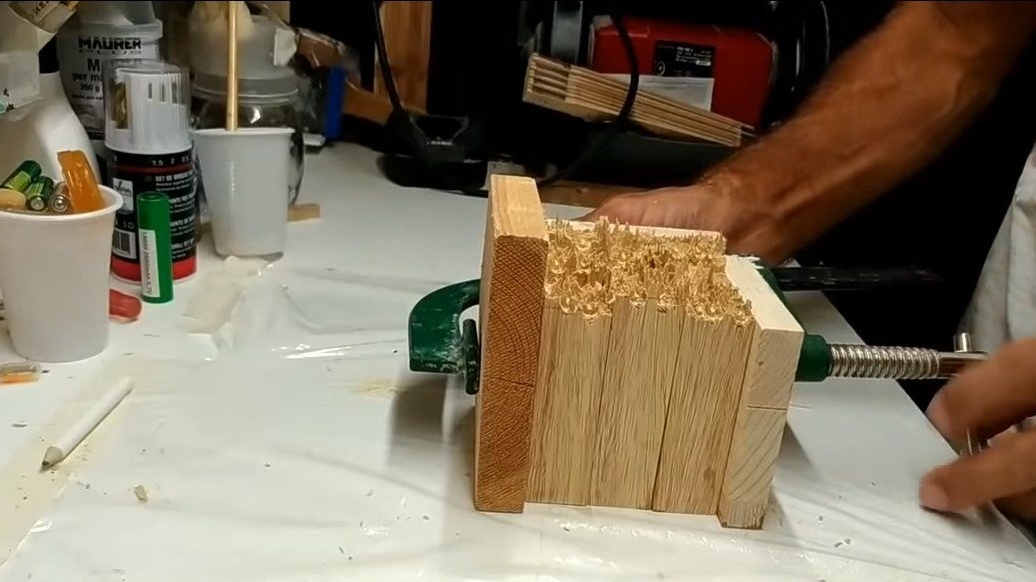
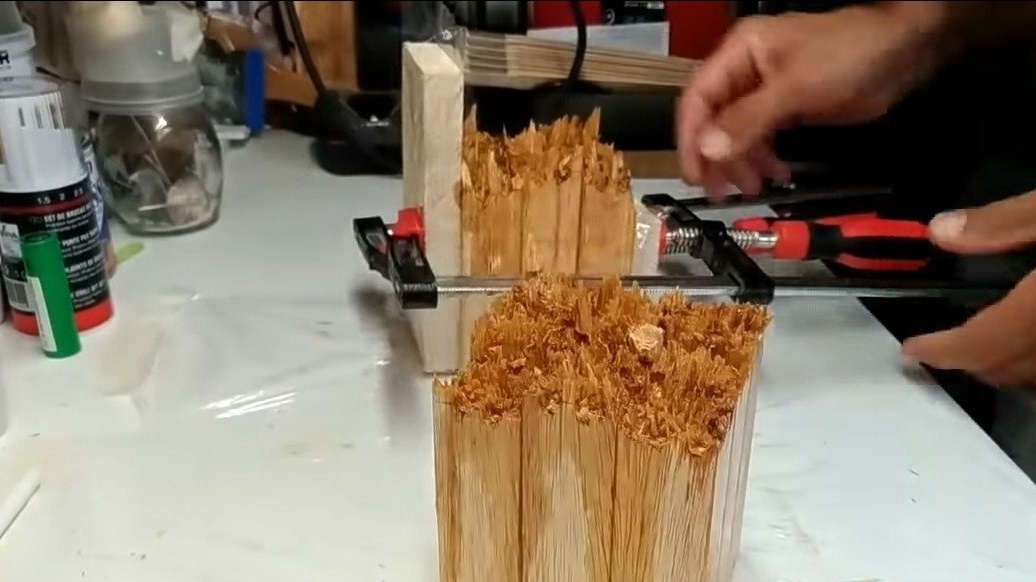
Next, from these obtained parts we glue two rectangular parts, the glue can also be used as carpentry, even superglue is suitable, since we just need to fix the parts.
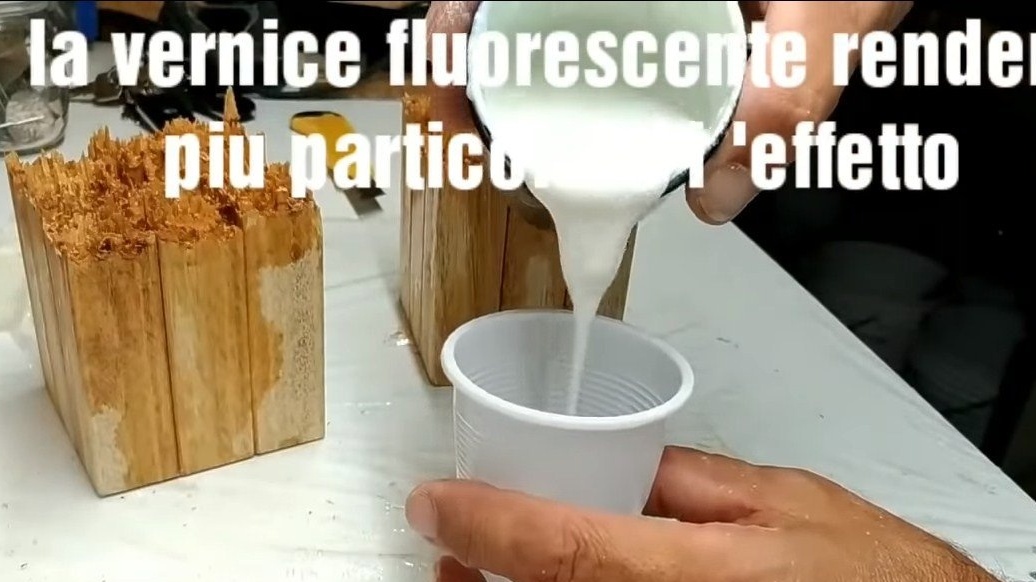
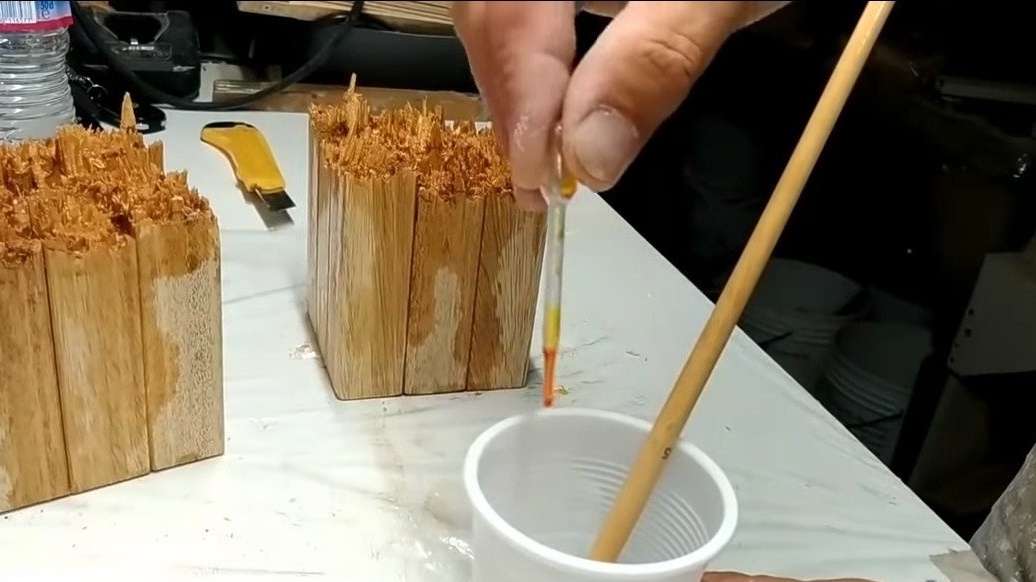
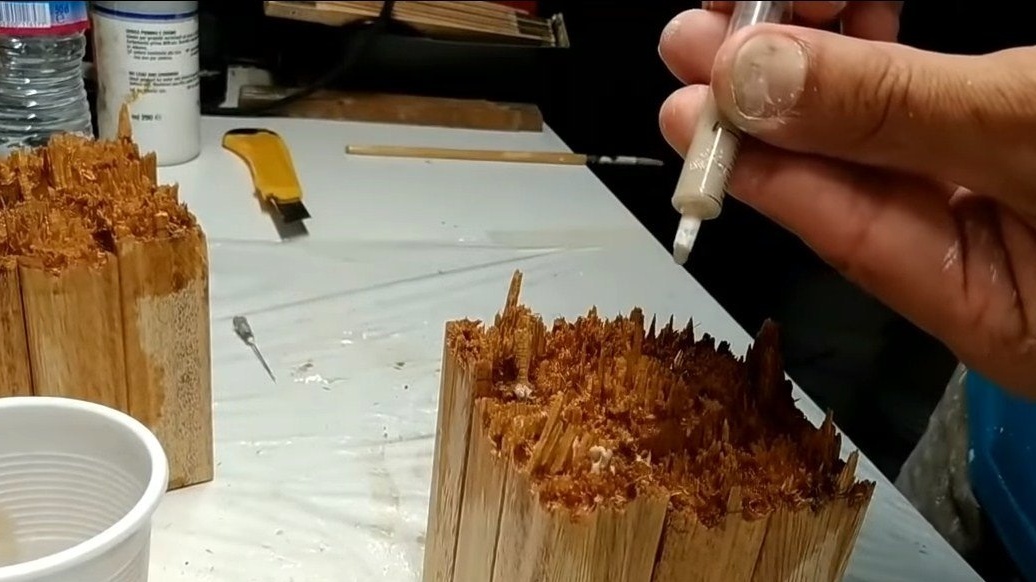
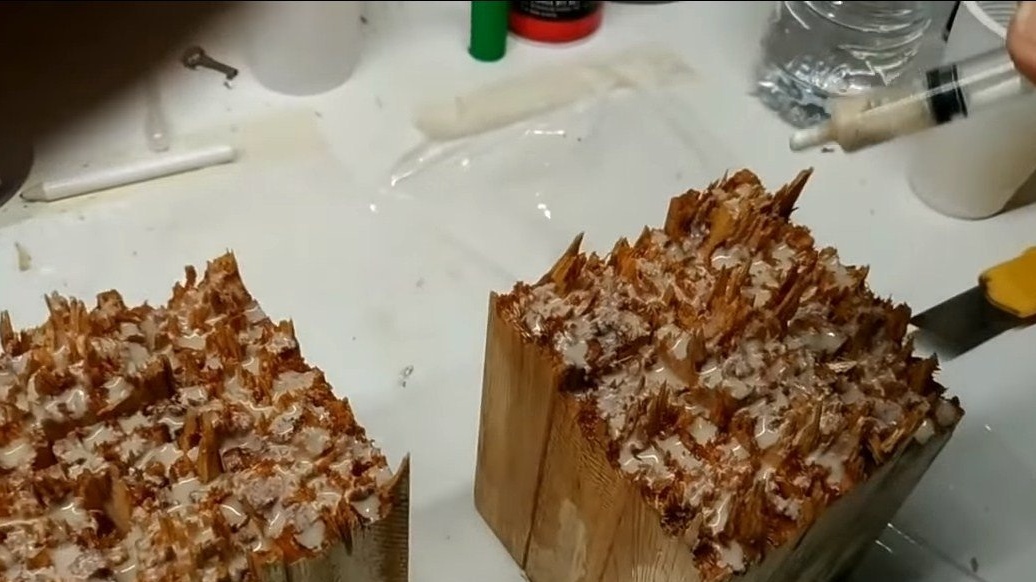
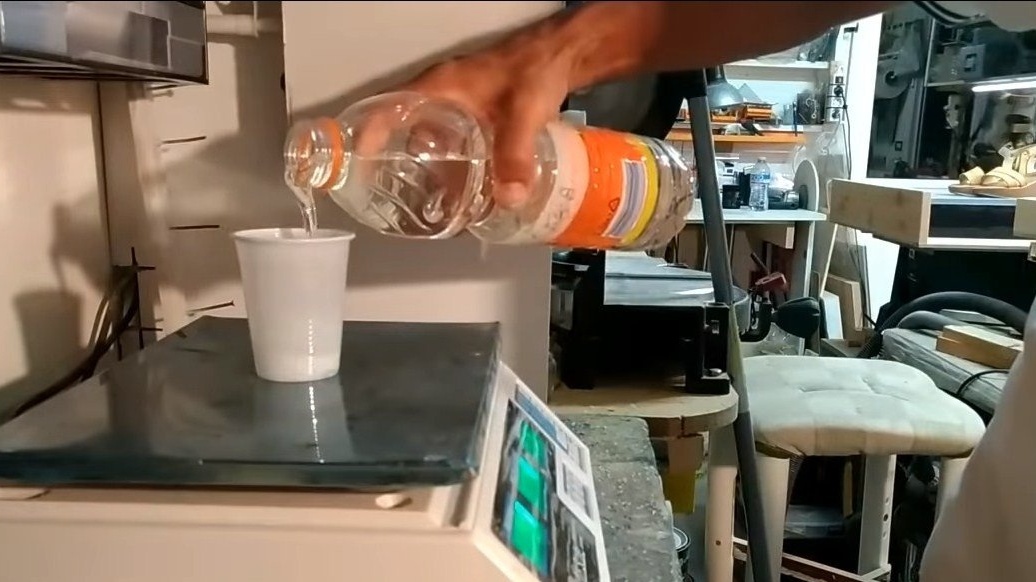
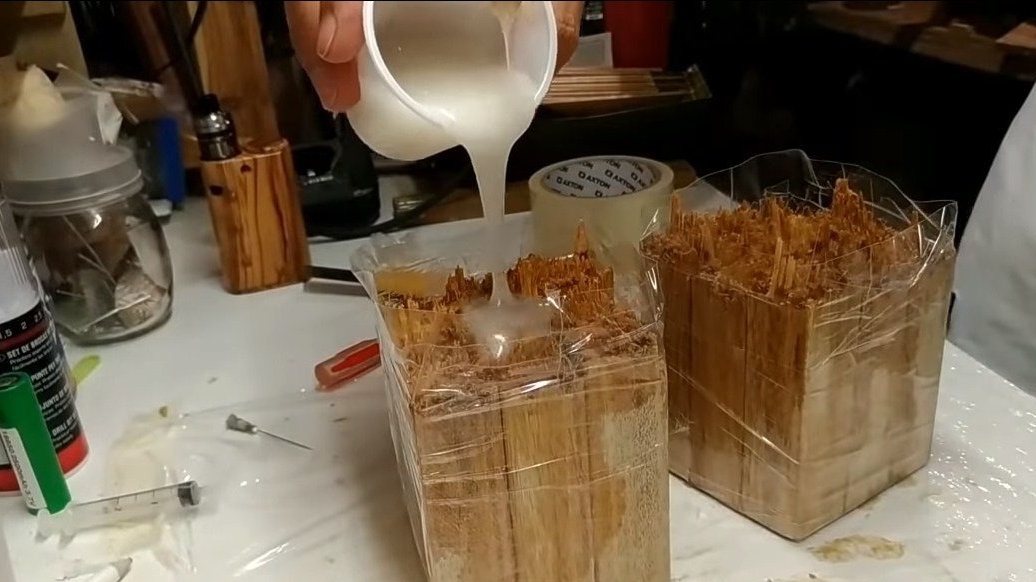
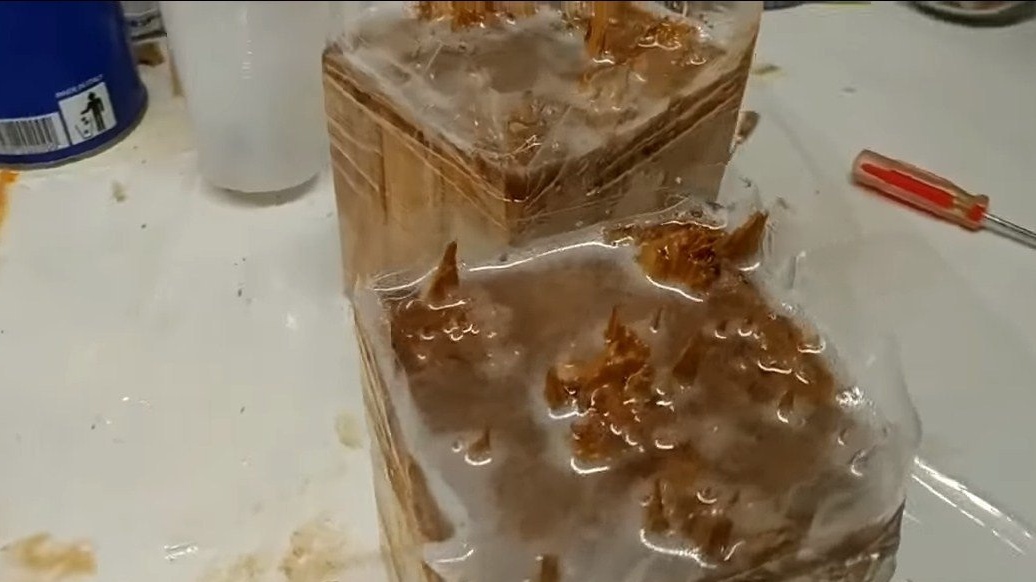
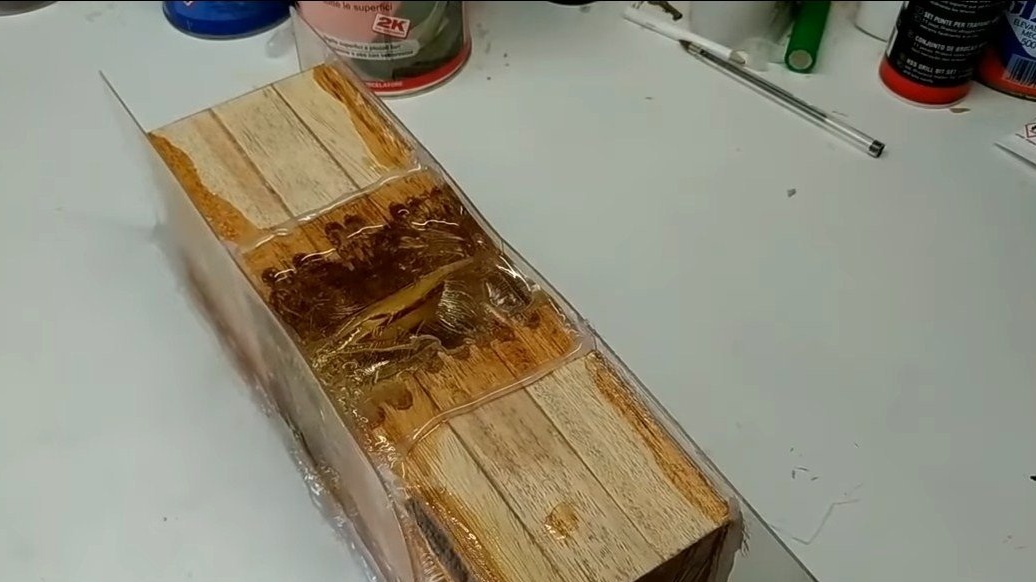
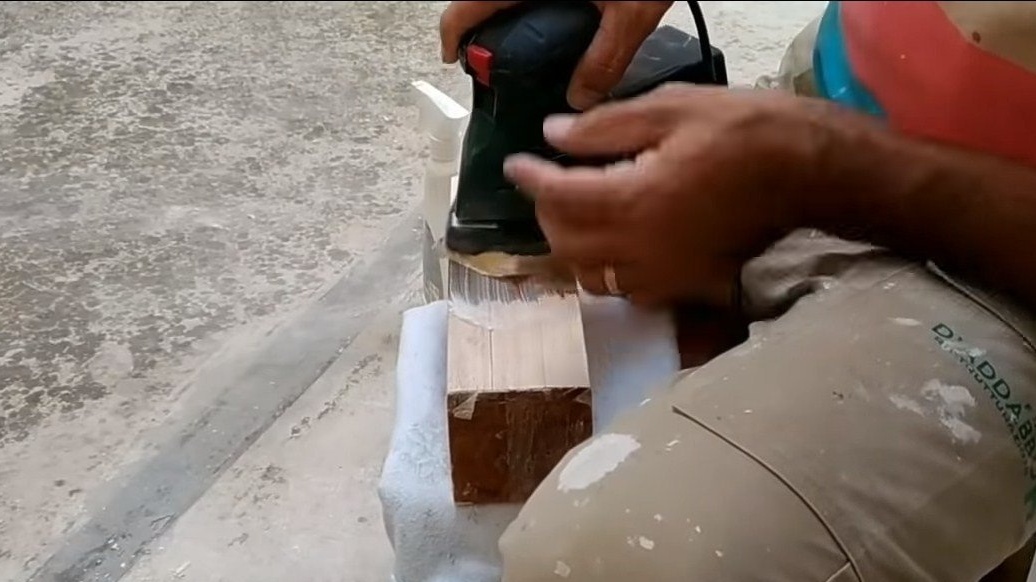
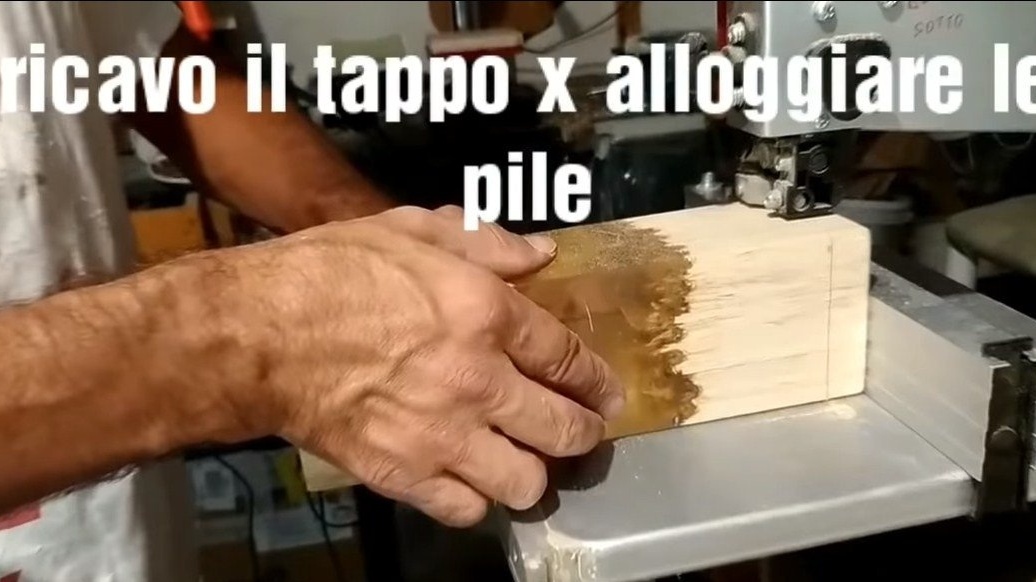
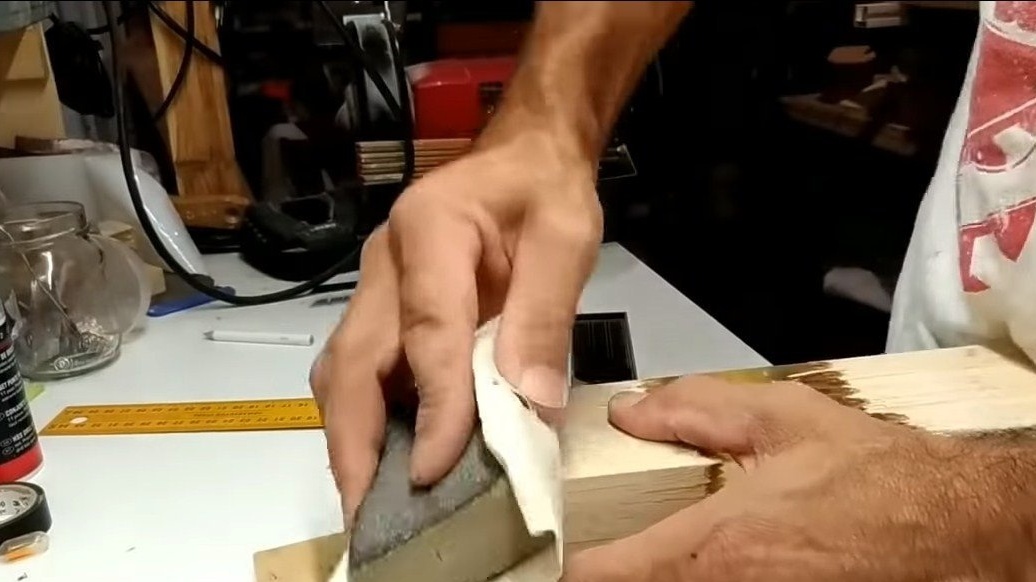
We tightly wrap the resulting structure with tape, it should turn out a small side on top. The upper part needs to be slightly poured with epoxy glue, it all sticks together well, and there will not be a large number of bubbles when filling the lamp. The author adds dyes to the epoxy to get the desired effect, as well as change the color of the glow of the lamp. We wait until the glue dries, well, and then carefully grind the workpieces. For grinding, the author used sandpaper mounted on a bed. It is faster and easier to do this using an electric grinder, whether tape or orbital, and a vibratory one will do.

Step Two Pouring
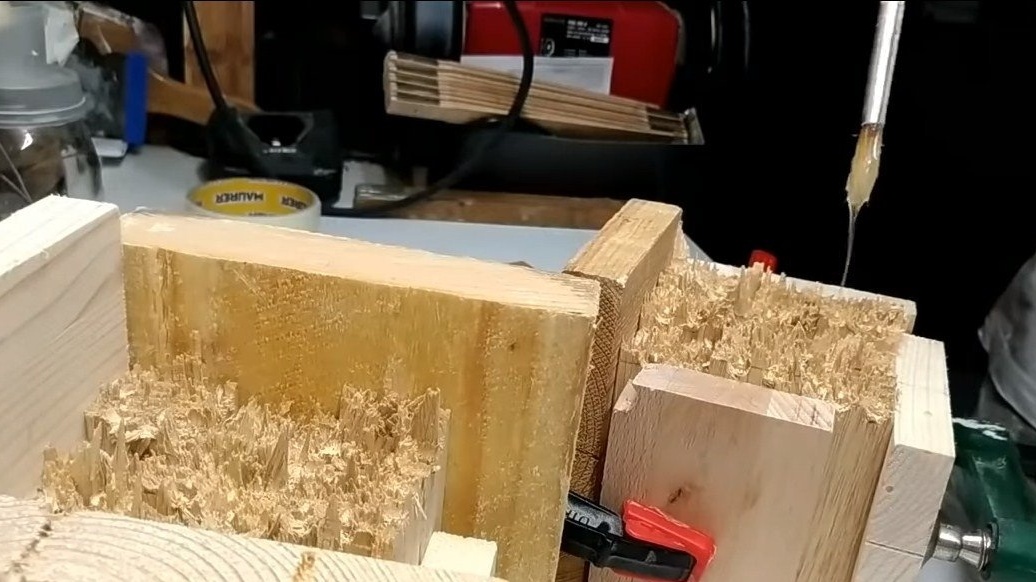
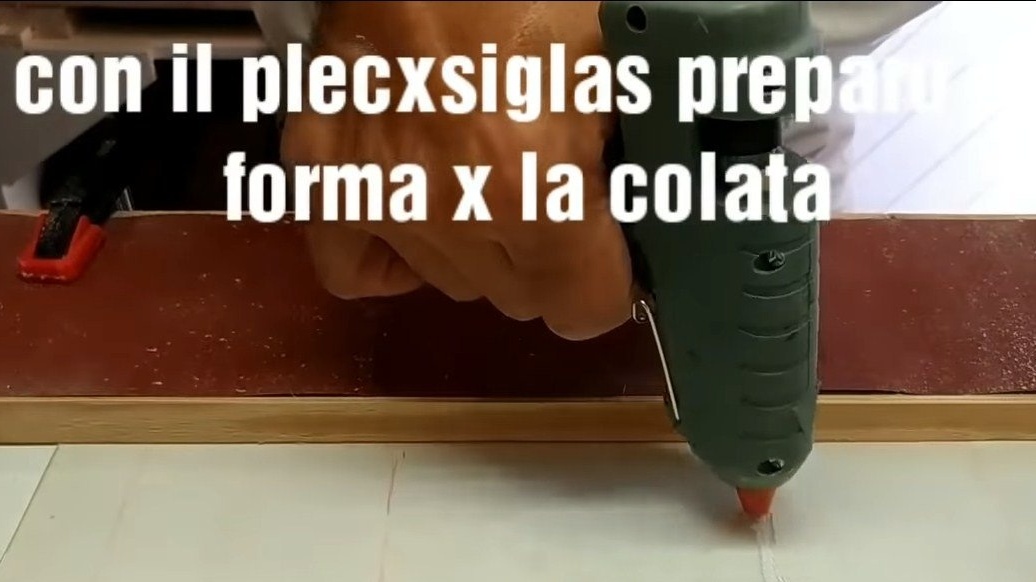
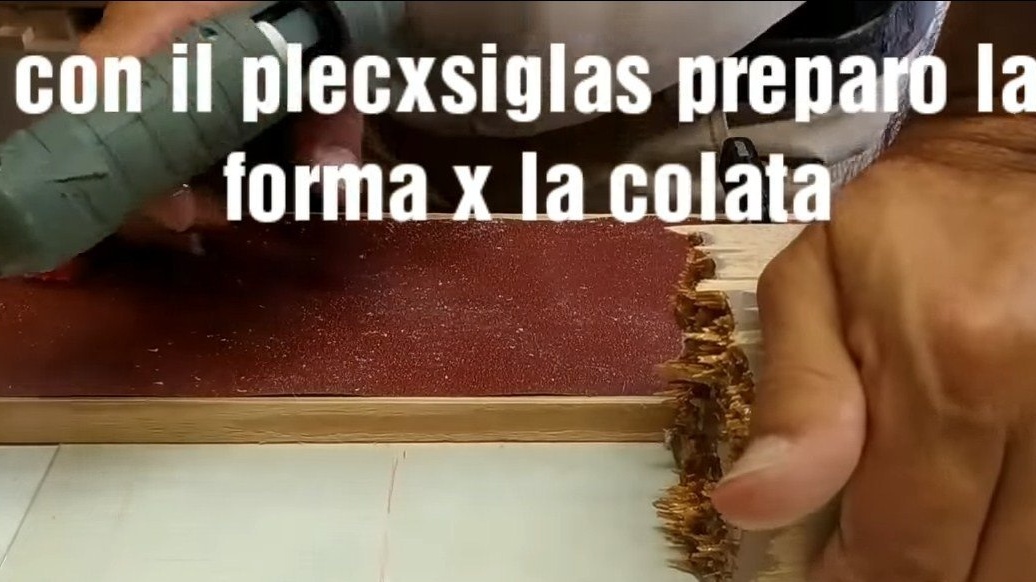
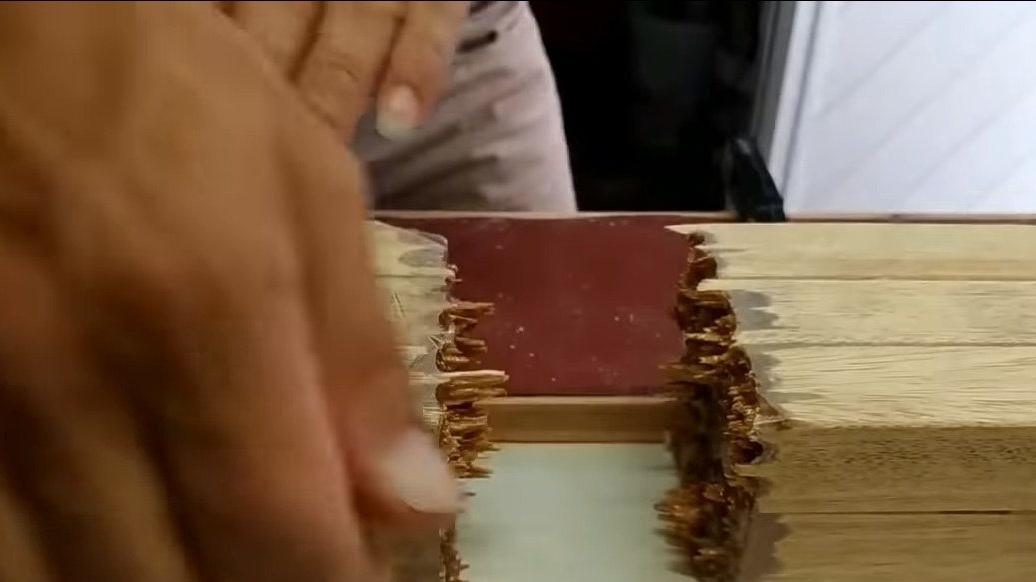
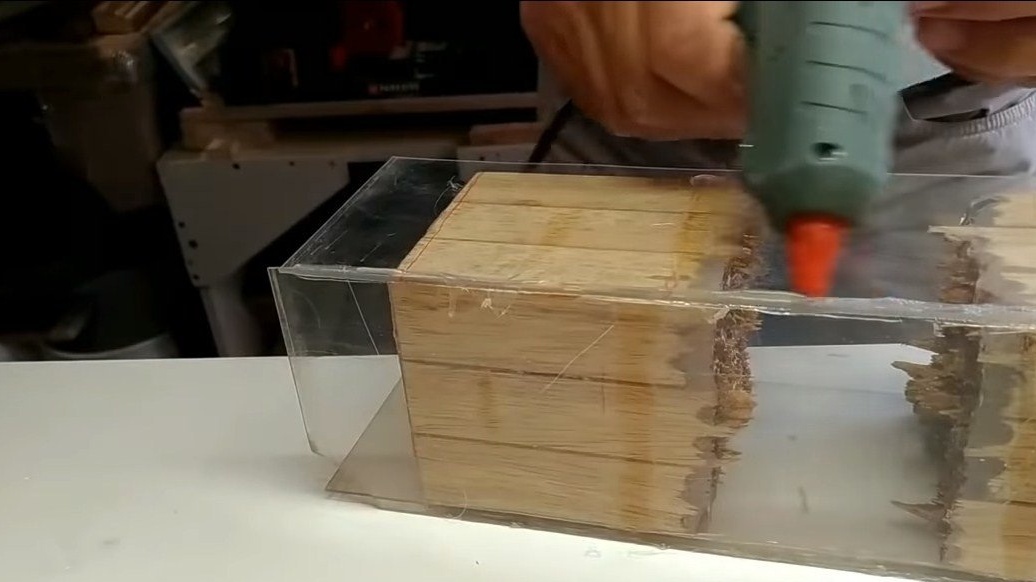
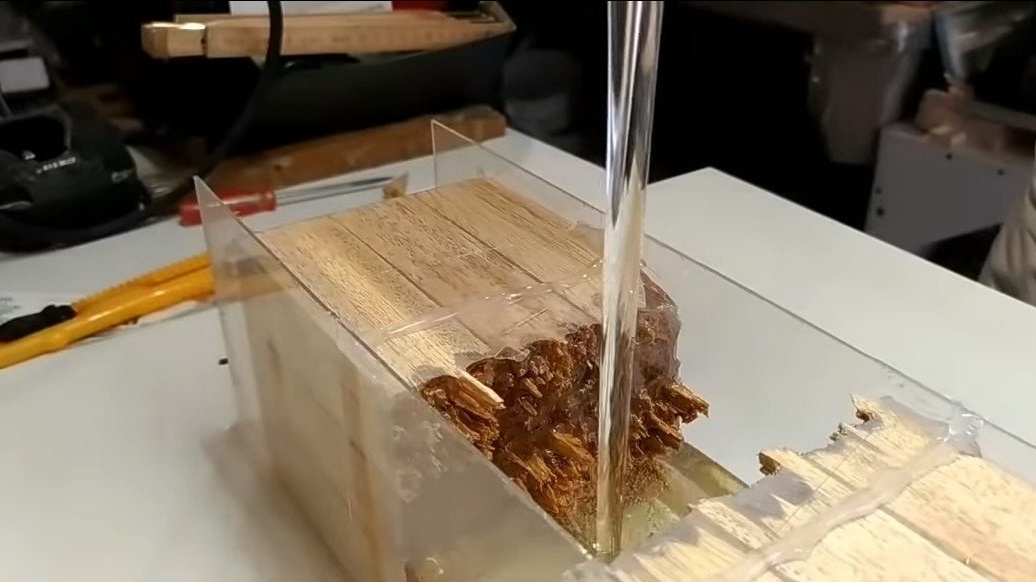
The blanks are ready, now the lamp can be filled with epoxy.First you need to make the formwork, for its manufacture the author used sheets of plexiglass. We cut it into rectangles and using a glue gun, tightly glue the blanks to obtain a casting mold. We don’t close the upper part, the resin will be poured here, and in order to get the desired level, we make small sides of hot glue. Keep in mind that when dried, the epoxy is compressed, and it can seep through slots and be absorbed.
Therefore, as you set, you need to monitor the level and add epoxy if necessary. Many also practice pouring in several layers, but the previous layer for this must completely harden.

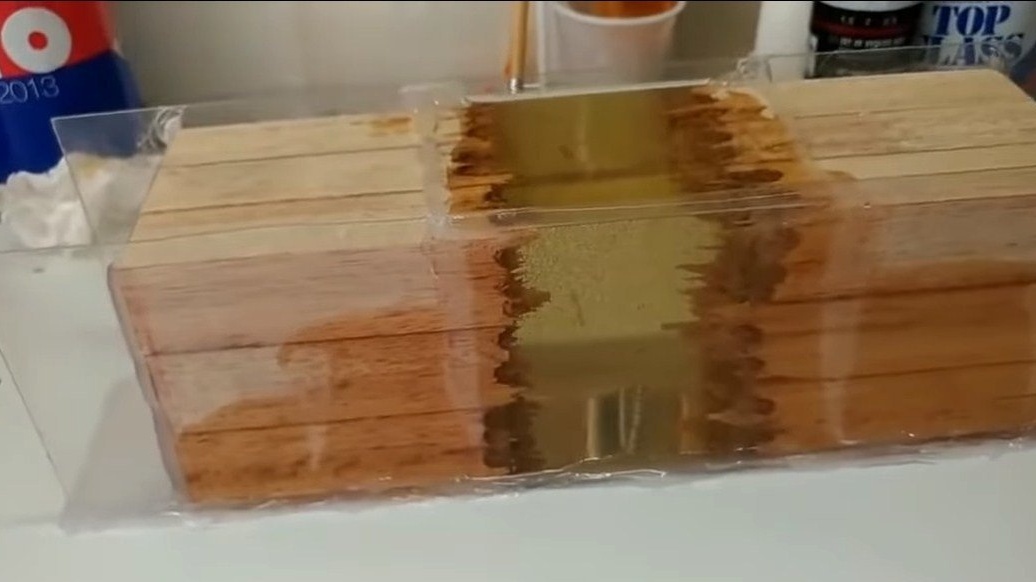
Step Three Grinding and polishing
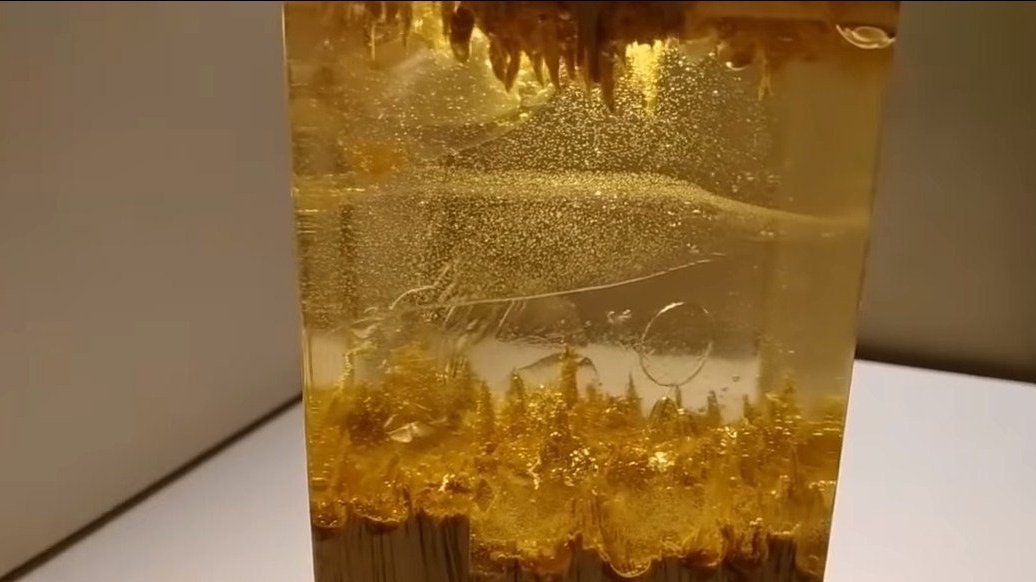
When the resin hardens completely, it can be grinded, for this we use sandpaper. We grind the lamp thoroughly, gradually reducing the grain of the paper. For the epoxy to become transparent, it must be polished, for such purposes a polishing paste will be needed.

Step Four Filling
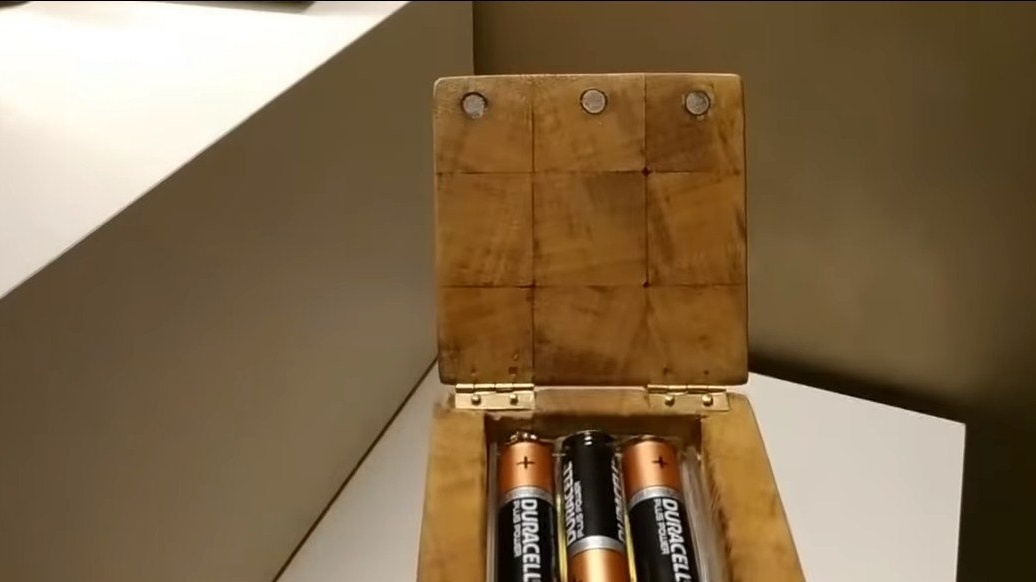
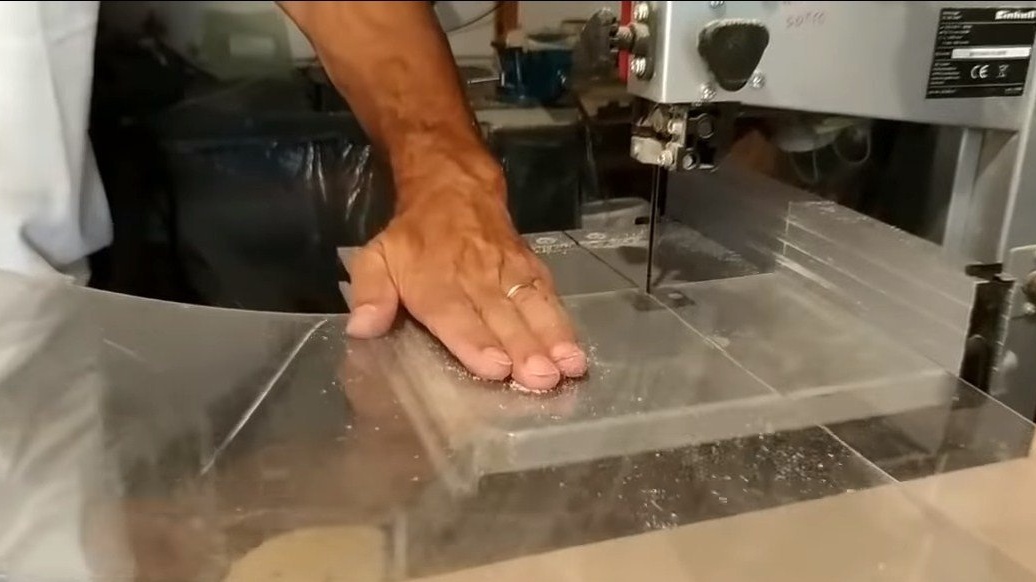
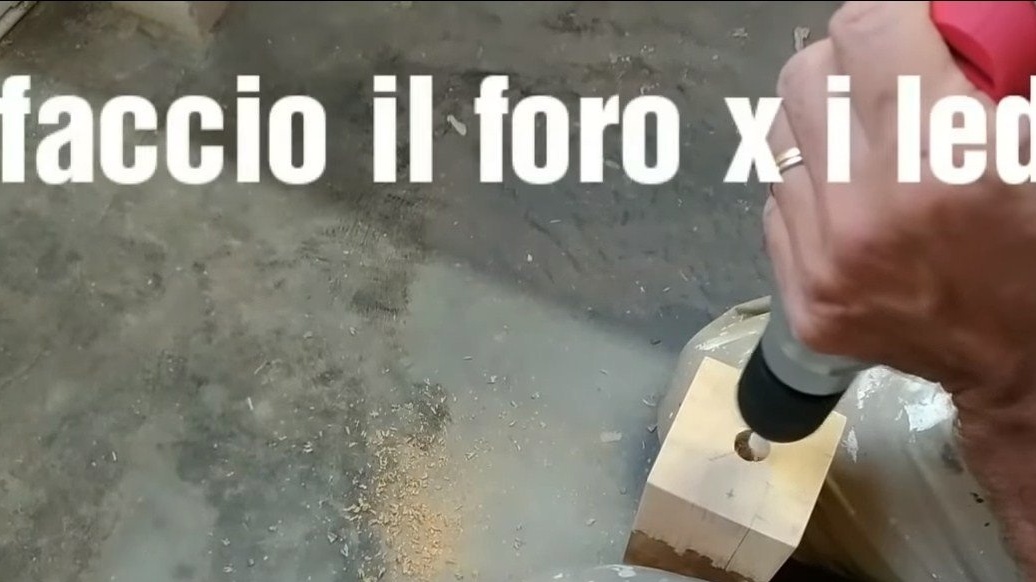
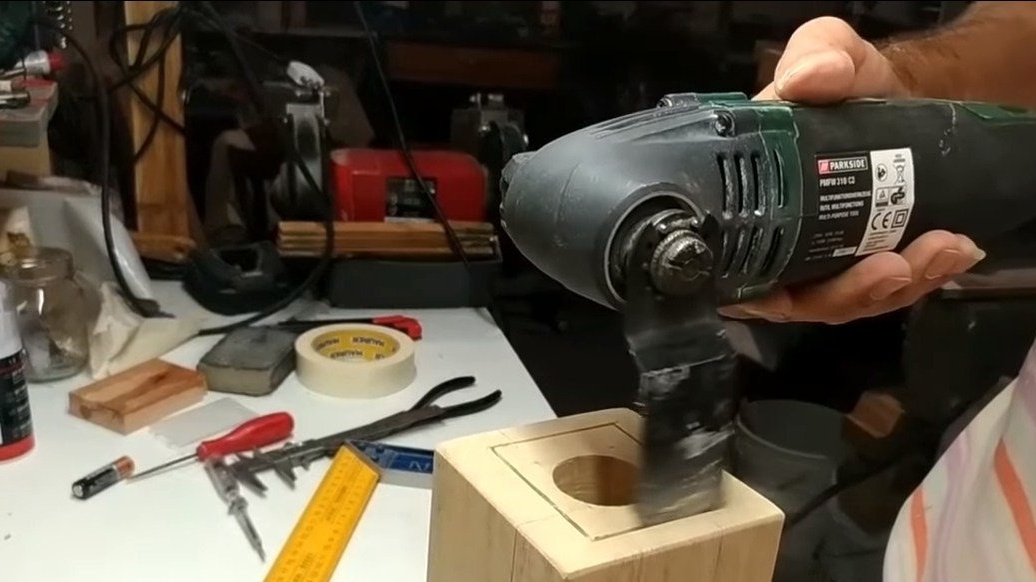
We take a drill and drill a hole in the end of the lamp so deep that we reach the epoxy level, this will allow us to bring the light source to the resin. Next, around this hole, you need to cut a rectangle for the battery compartment, for such purposes the author uses a vibration saw.
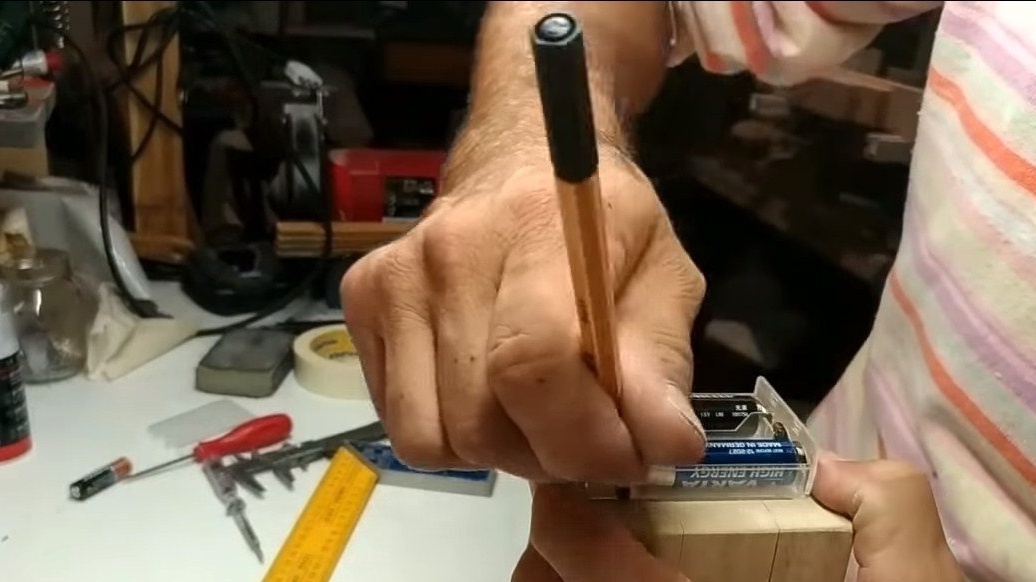
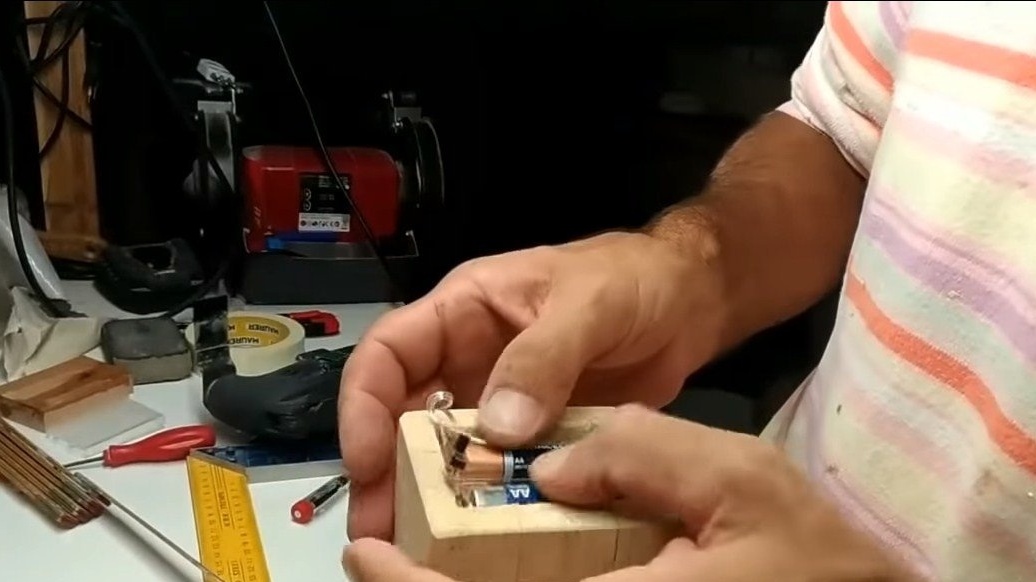
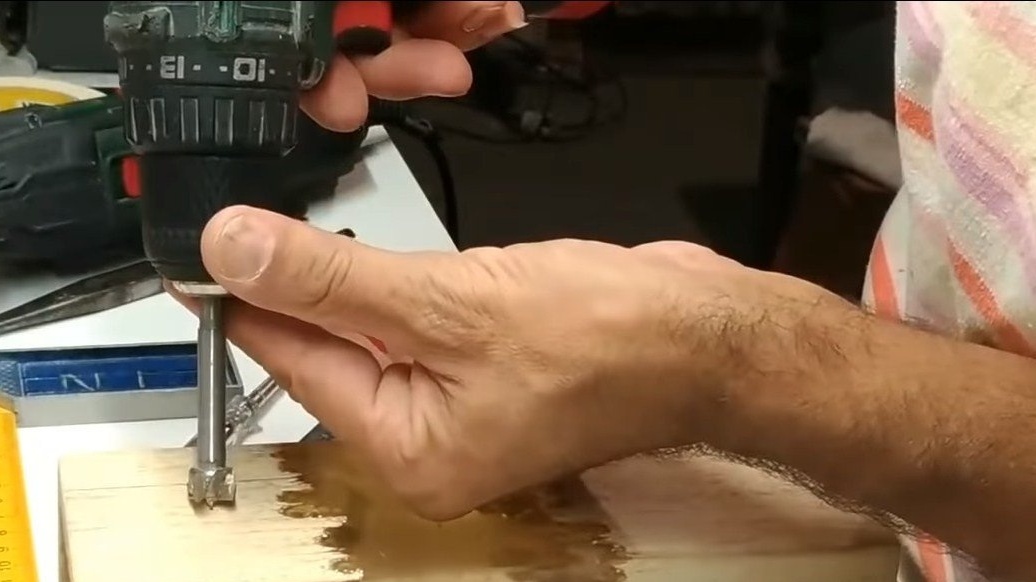
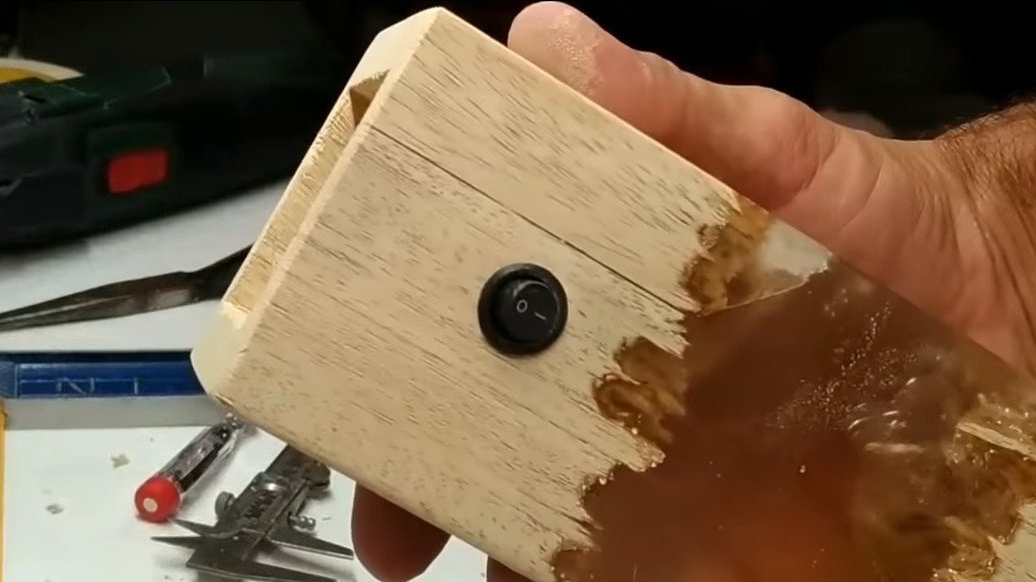
Also, do not forget about the switch, we drill a hole for it on the side of the lamp. The author uses as a light source, the battery compartment is used for 3 finger batteries, this can be bought.
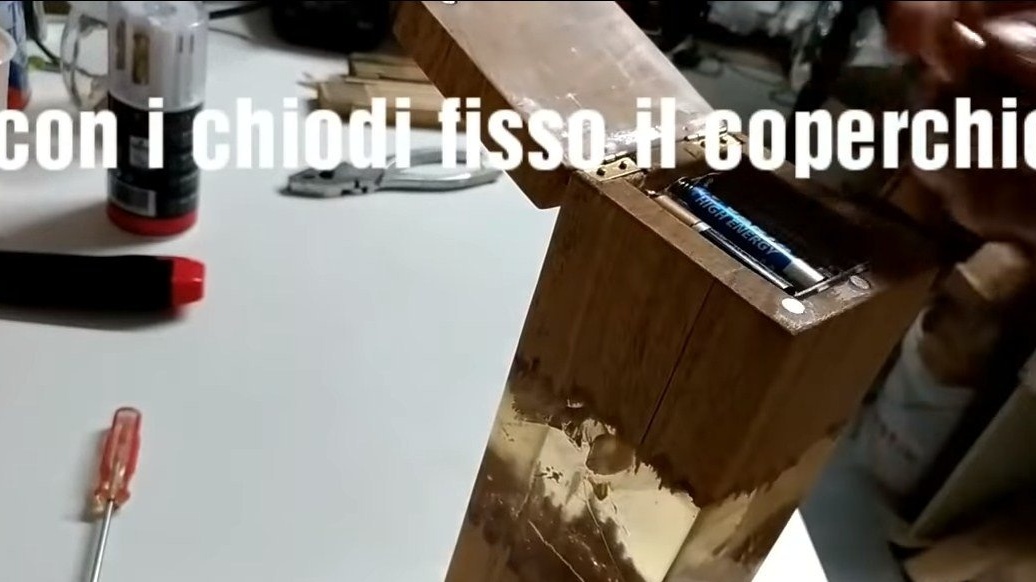
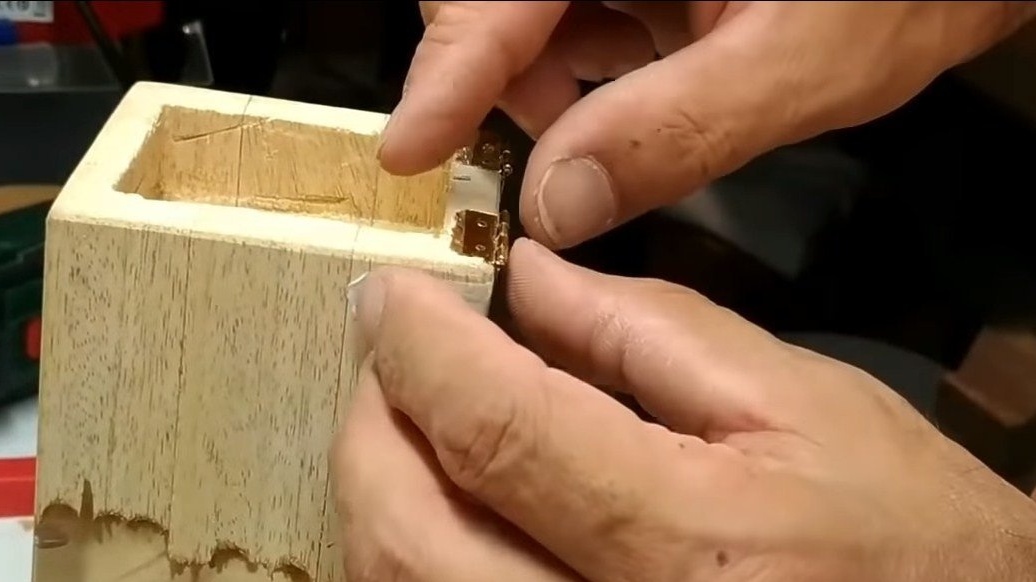
Step Five Cap
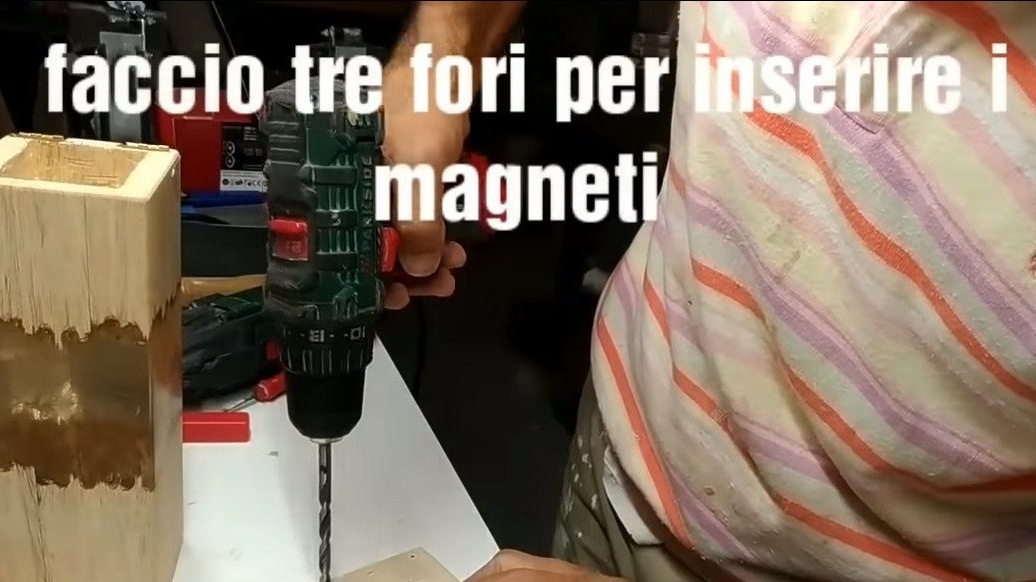
We make a cover for the lamp, for this you need to cut a piece from it and sand it well, it will be a cover. For its fastening we use small loops. The author first glued them, and then additionally fixed them with carnations. To fix the lid, we need small neodymium magnets. The author installs 3 pieces in the case, and 3 more in the lid, magnets are placed so that they are attracted to each other, and not repelled. We put the magnets on good glue so that they do not vomit, since they adhere with a fairly large force.
Step Six The final
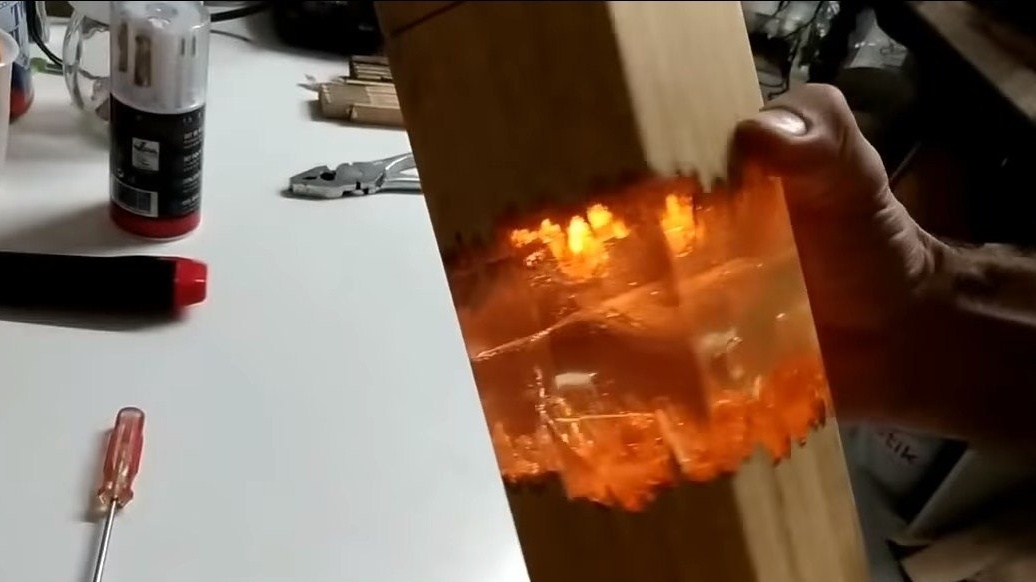
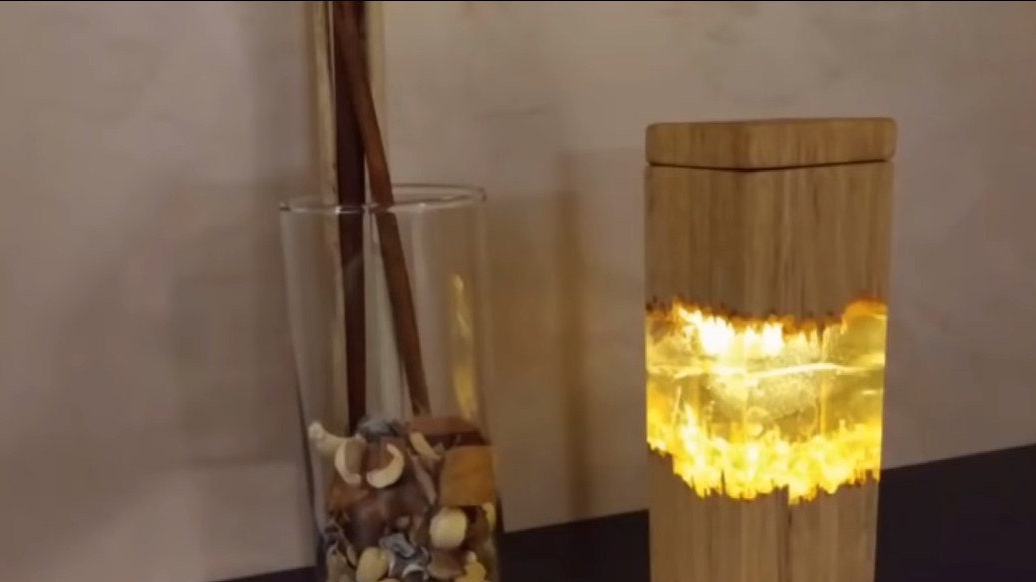
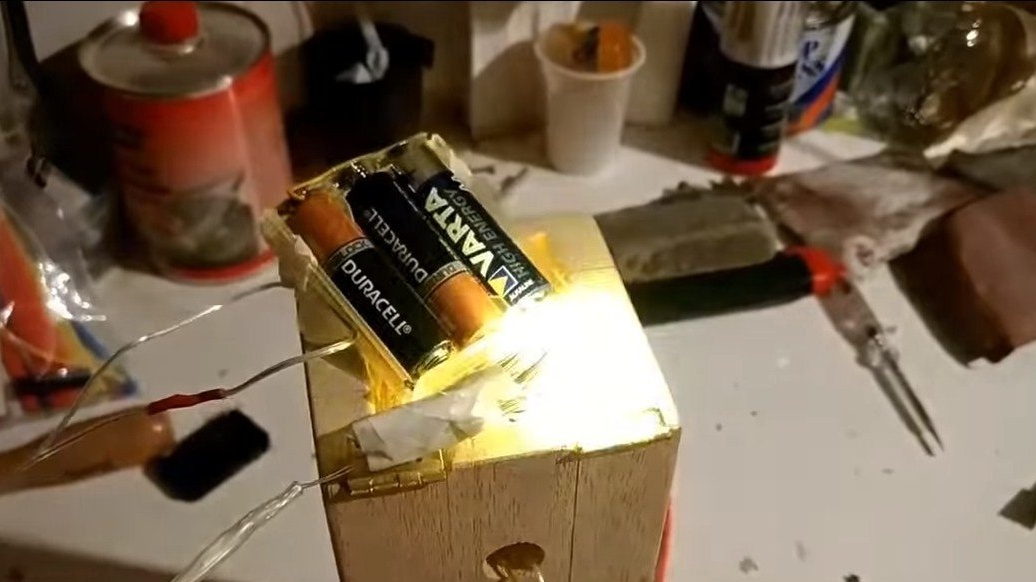
At the end, the lamp needs to be coated with oil or varnish, so the epoxy will become crystal clear, and the tree will look much more beautiful. After installing the batteries, the homemade product is ready! The lamp shines quite nicely, although not brightly. The atmosphere of comfort is immediately created in the room, which was to be proved, such a homemade product will perfectly cope with the role of a night lamp.
I hope you liked the homemade product and you found interesting thoughts for yourself. Good luck and creative inspiration, if you decide to repeat this! Do not forget to share your ideas and homemade things with us!