
In this article, Steve, the author of YouTube channel "Steve Ramsey - Woodworking for Mere Mortals", will tell you how to make an original three-dimensional picture.

Joinery is not only boards and nails, peasant furniture and bare practicality! There are also works of art. Today, the author will make a three-dimensional picture under glass. Yes, you heard right!
Materials
- 6 mm thick sheet plywood
- Boards
- paper
- PVA glue
- Paints
- Wood screws
- LED strip, power supply.
Instruments, used by the author.
- Electric jigsaw
- A circular saw
- Sandpaper
- Tape clamp
- Drill or screwdriver
- Chisels, a screwdriver.
Manufacturing process.
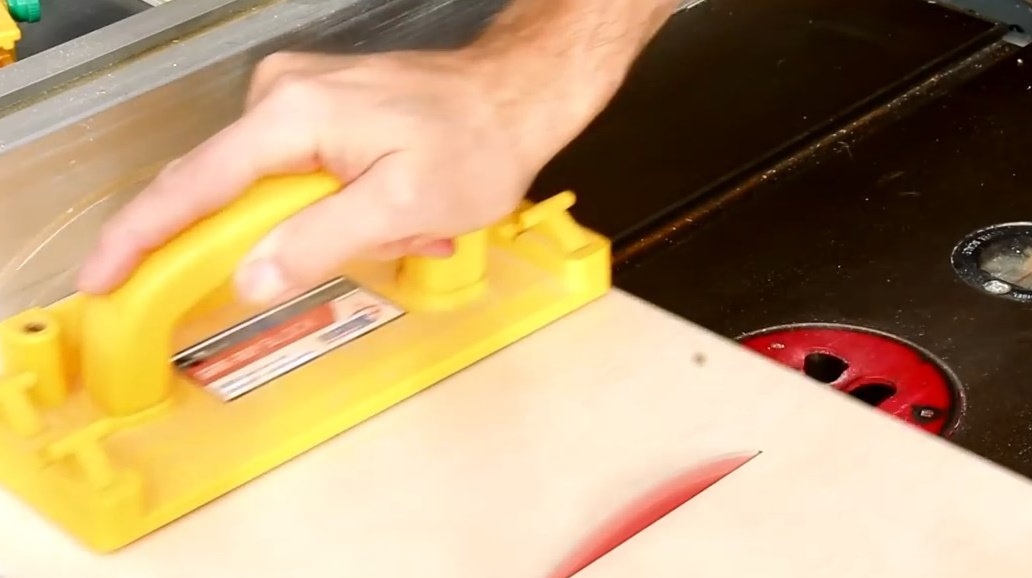
First of all, Steve cuts a plywood sheet 6 mm thick, cutting three equal squares 180X180 mm.


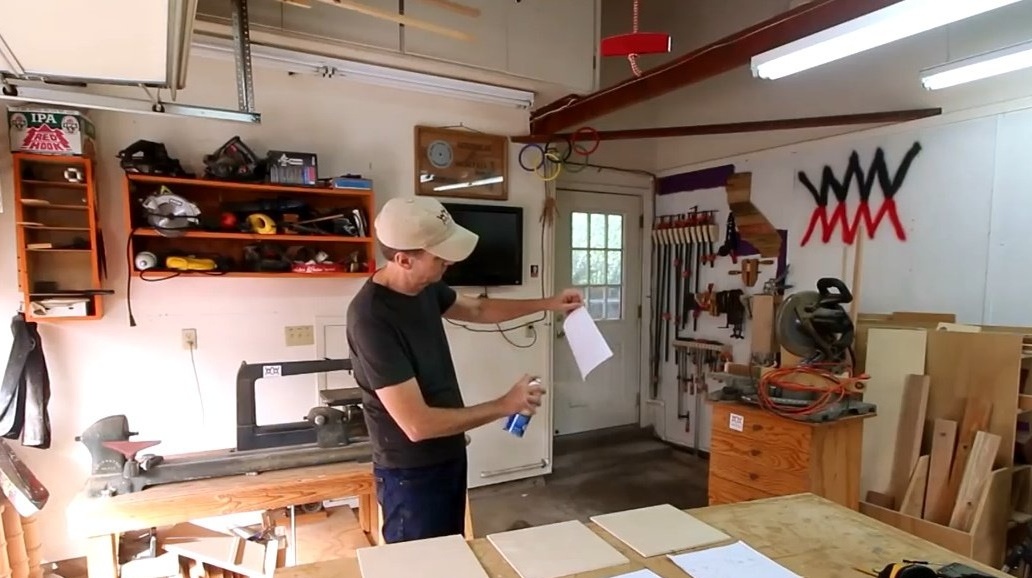
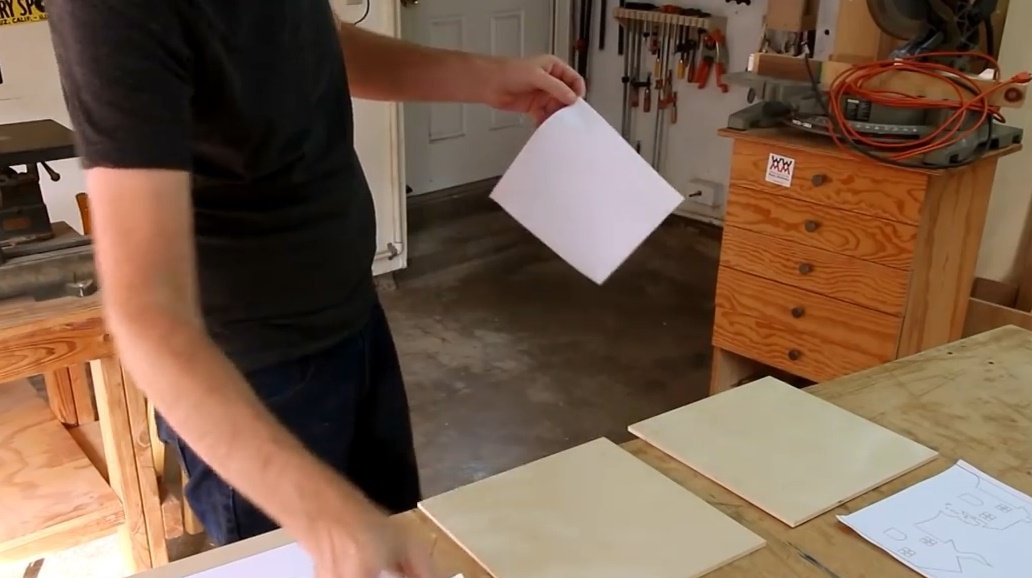
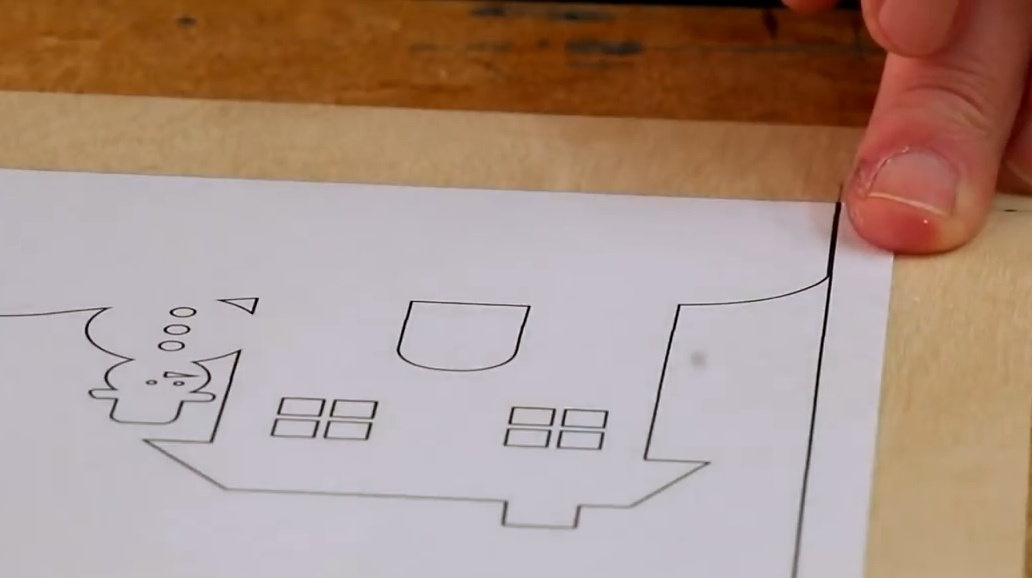
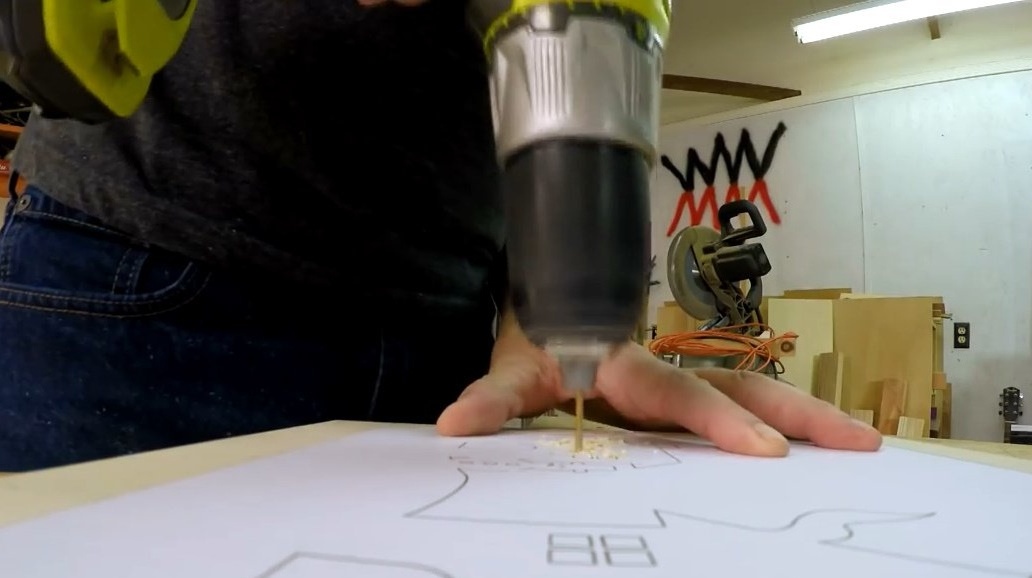
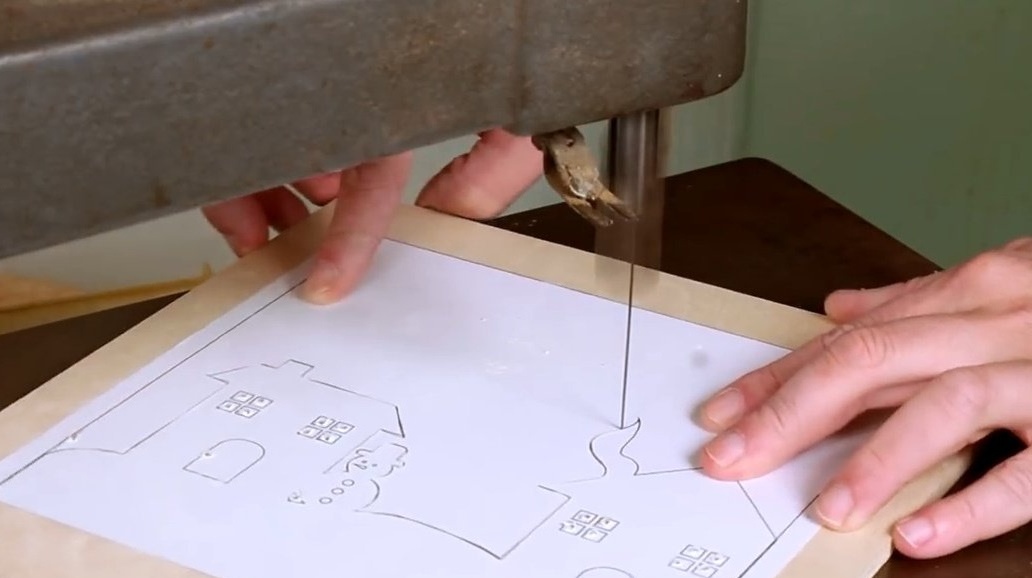
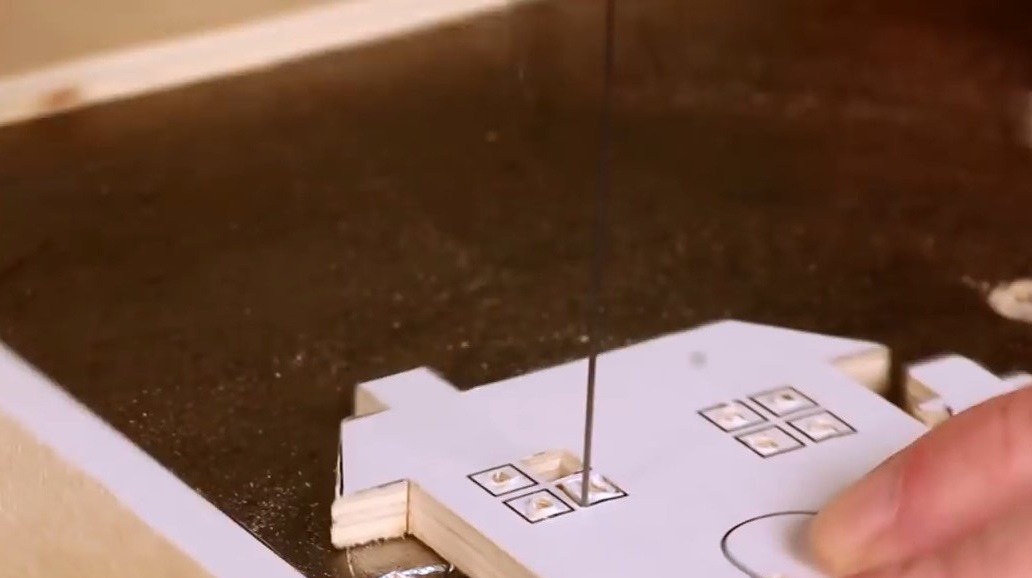
Sticks on pre-prepared drawing templates.
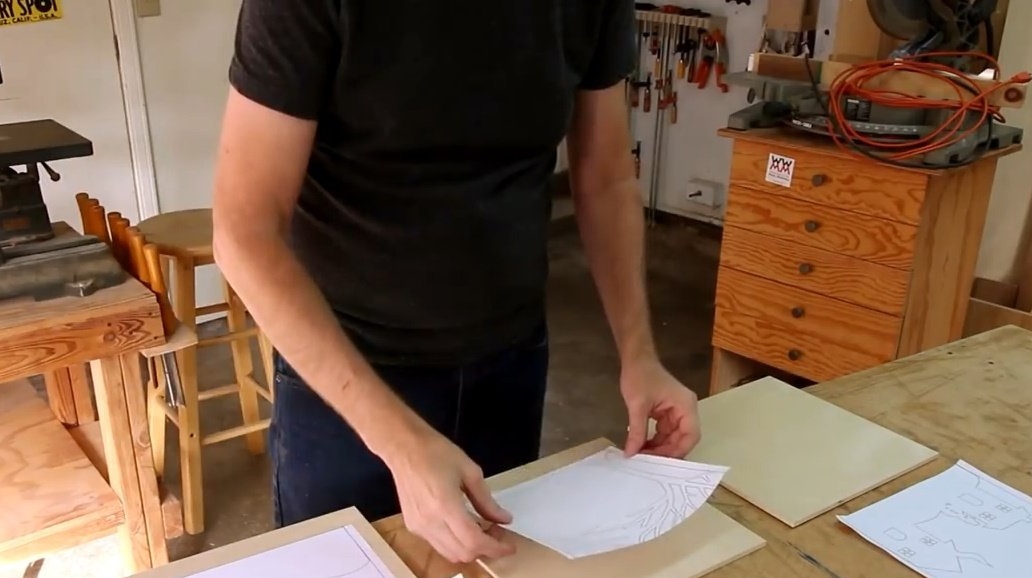
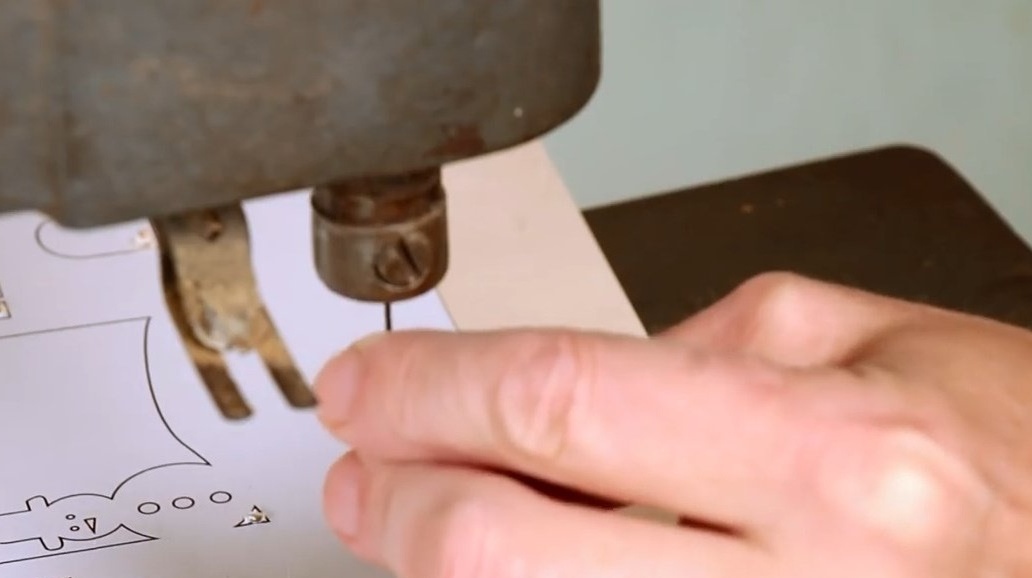
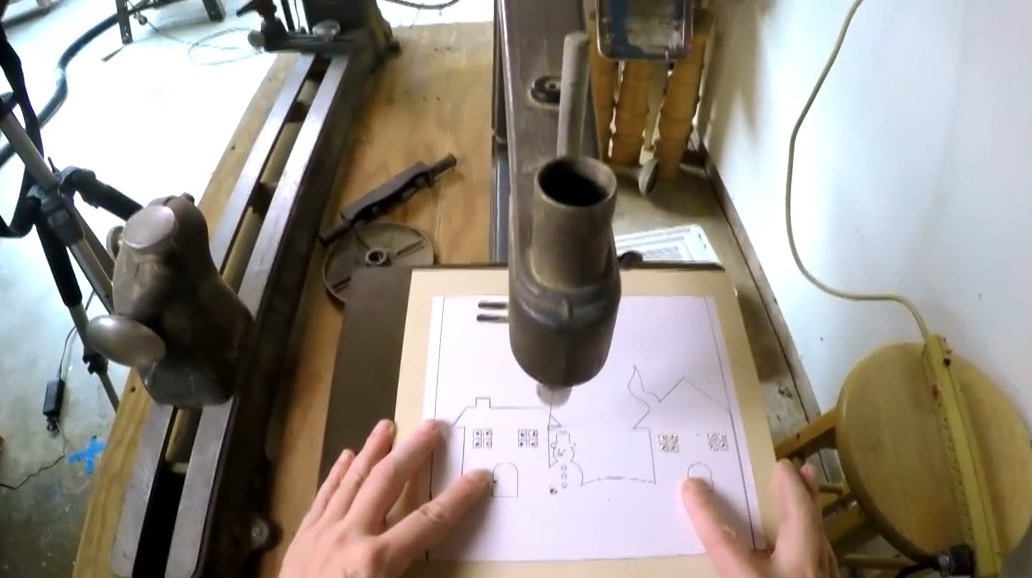
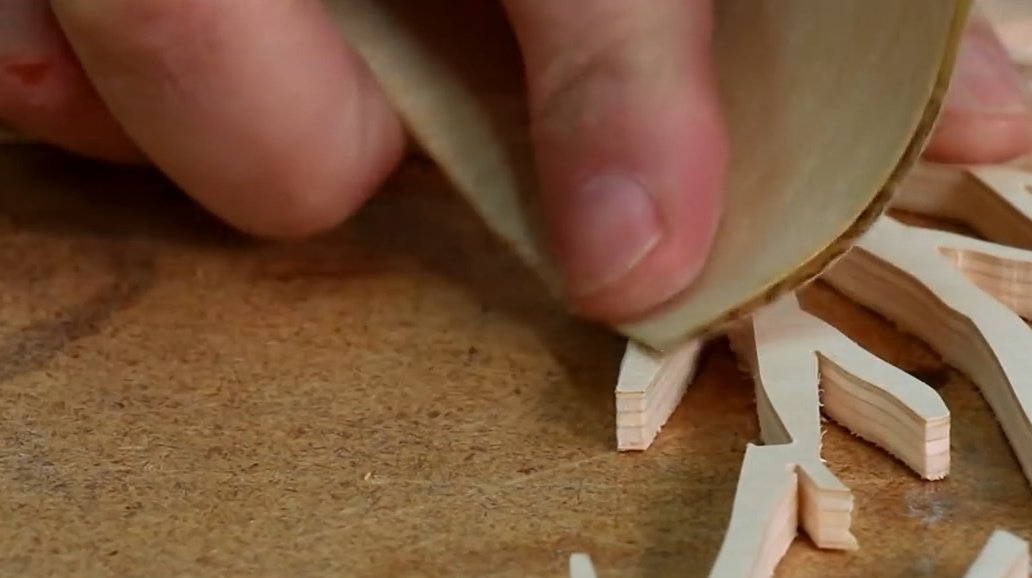
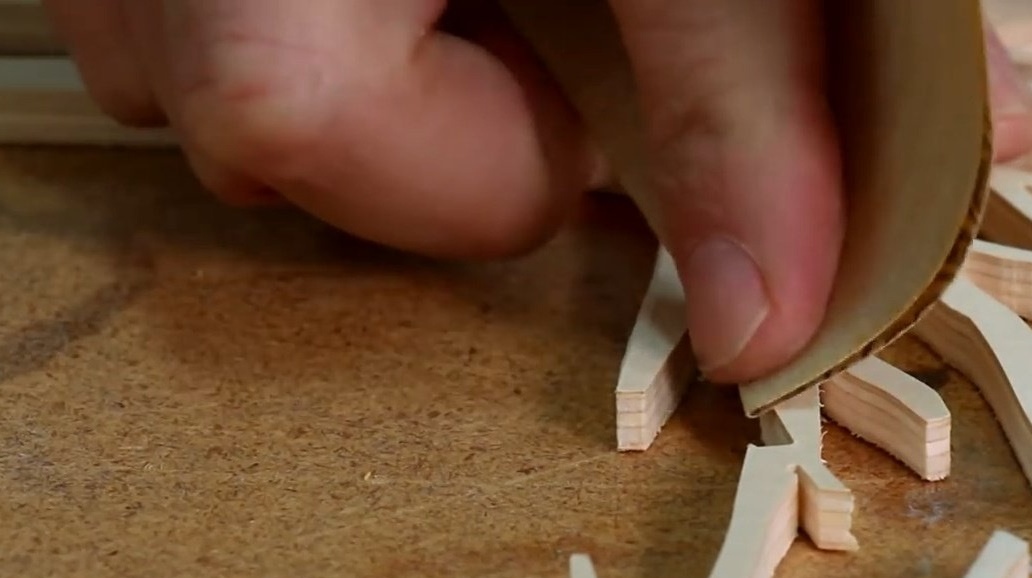
In hard-to-reach areas of the drawing, he quickly drills holes for an electric jigsaw blade.
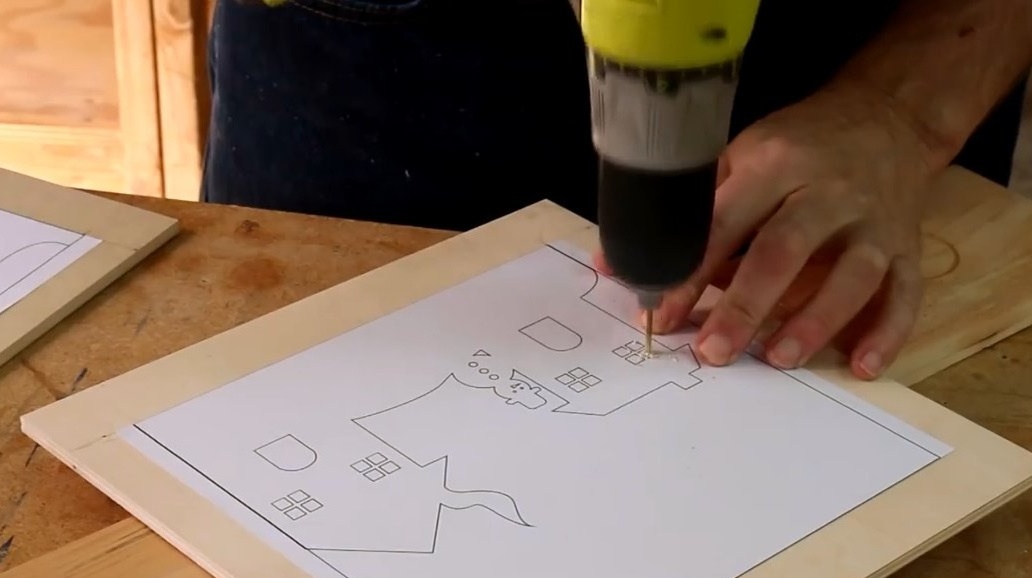
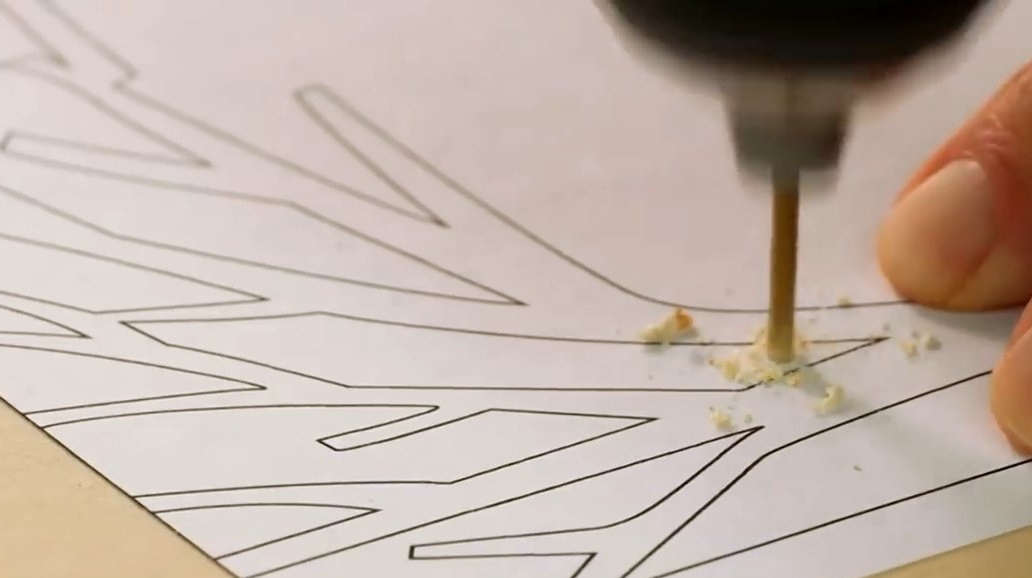
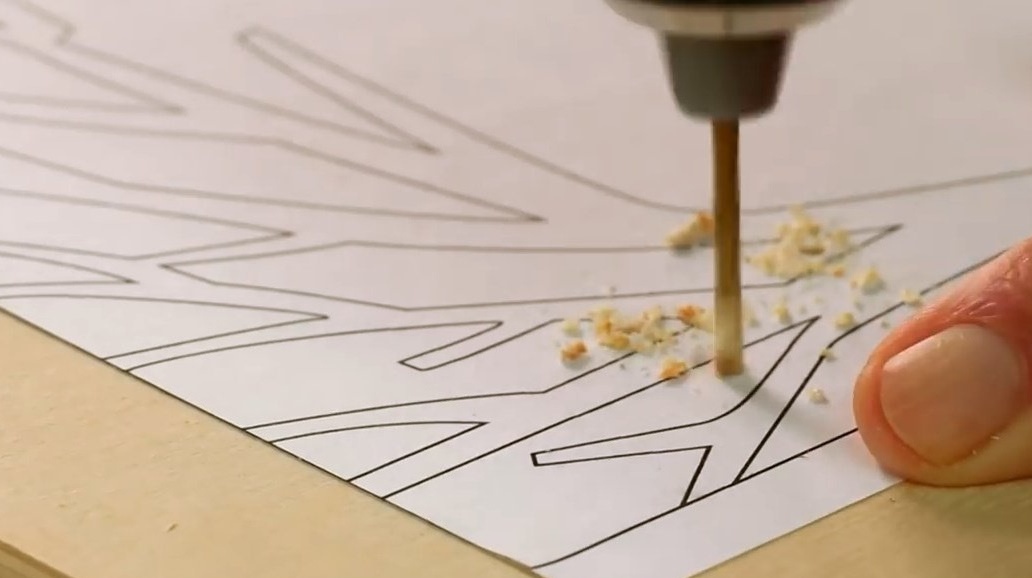
All the details of the drawing are neatly cut along the contour with an electric jigsaw.
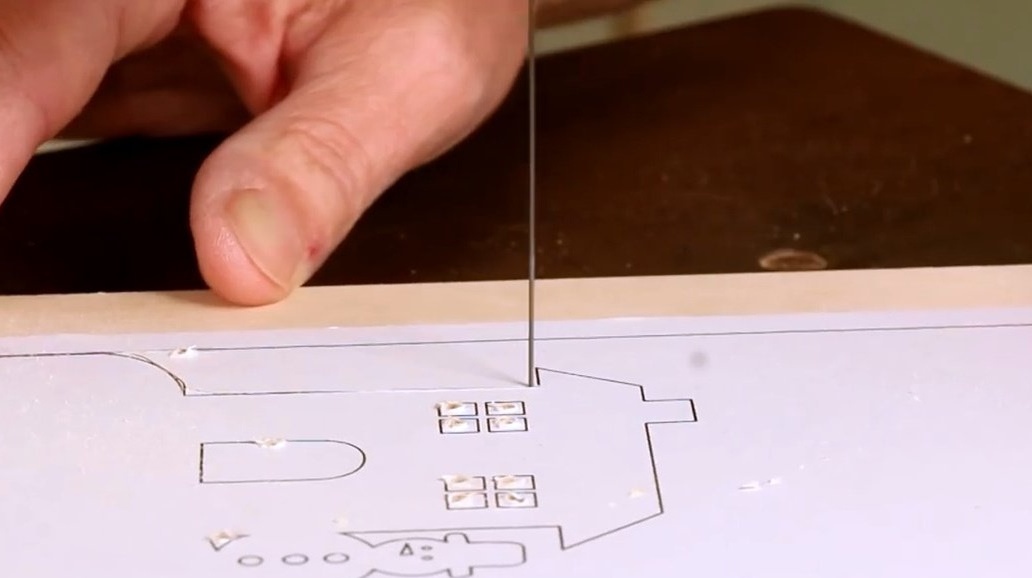
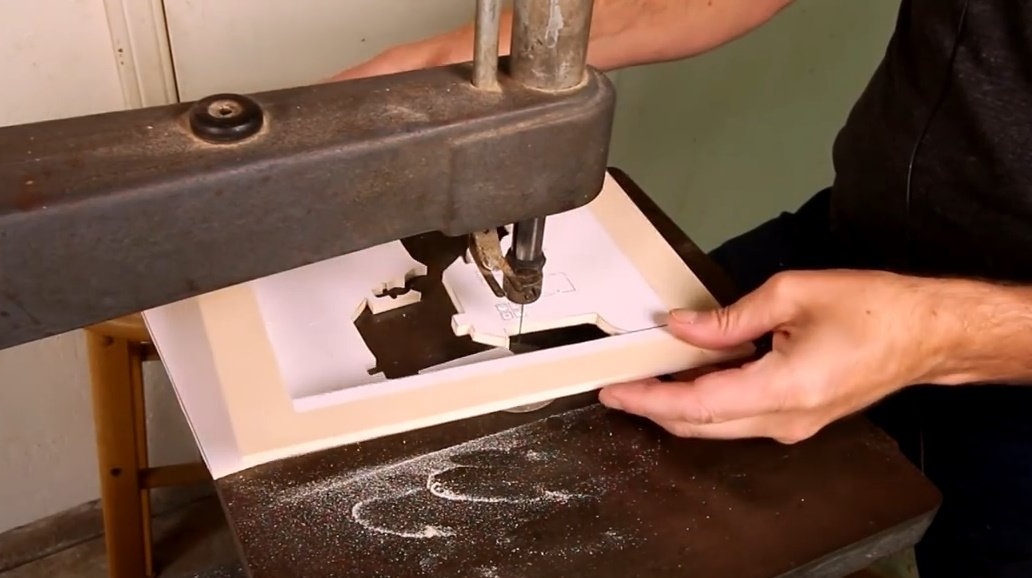
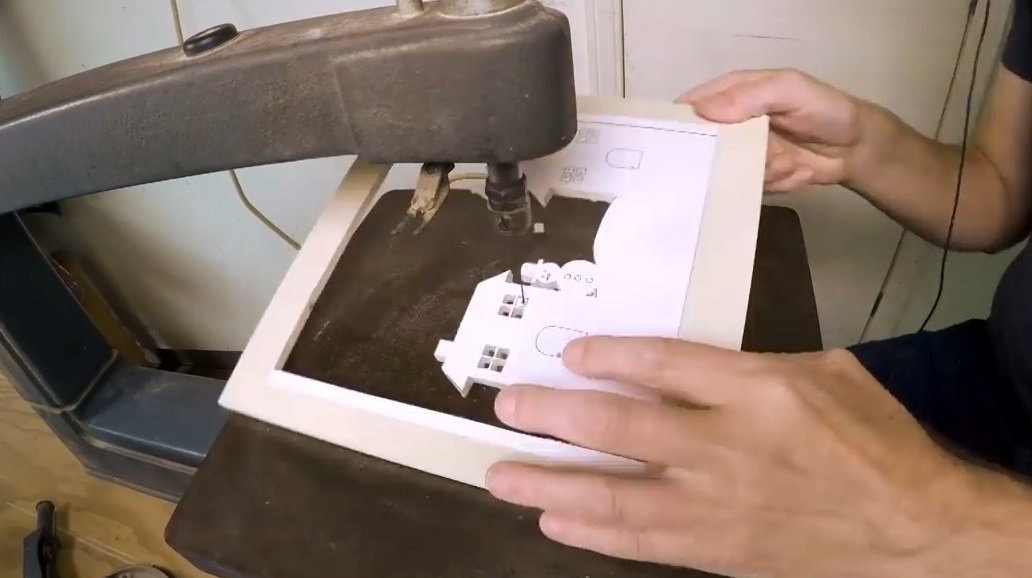

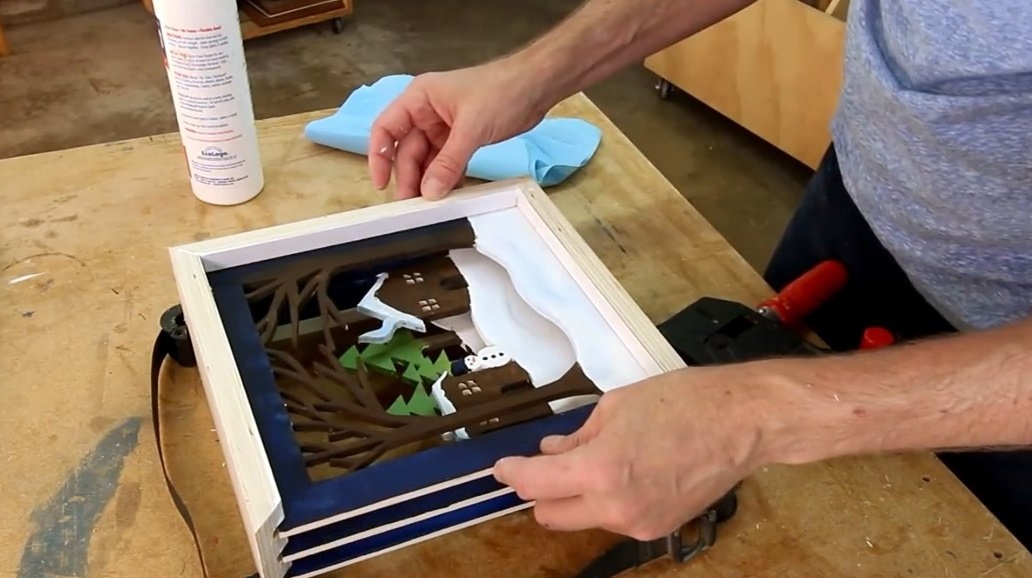
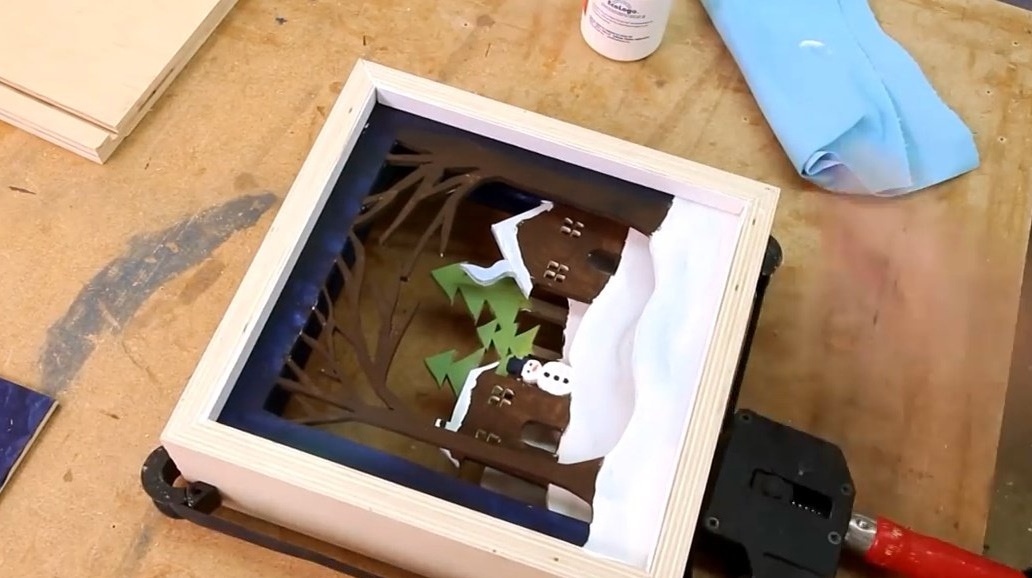
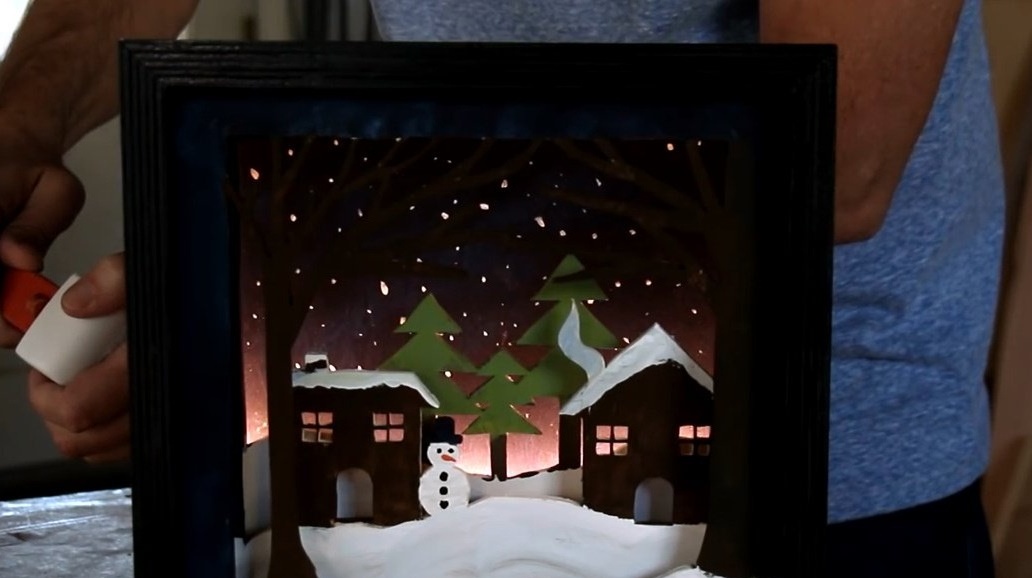
So, the author got three planes of the picture - the foreground, middle and back. Now you can delete the remnants of the template.
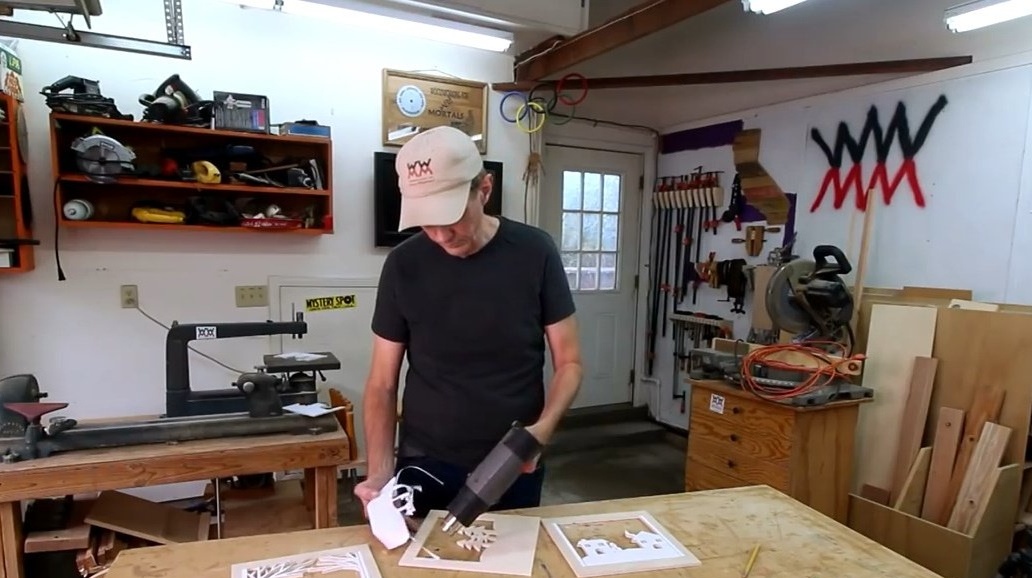
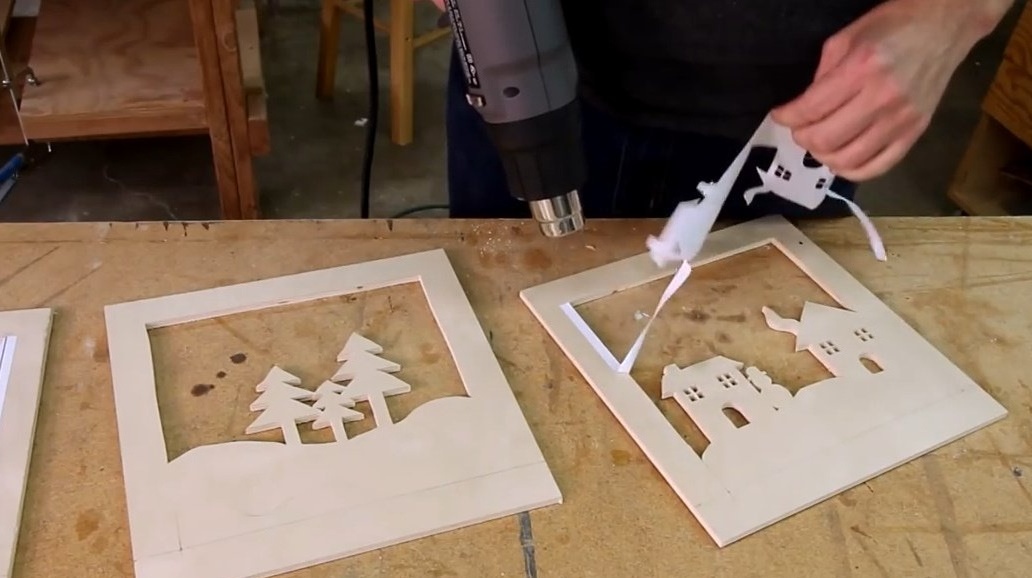
All edges of the saw cuts are gently rubbed with thin sandpaper.

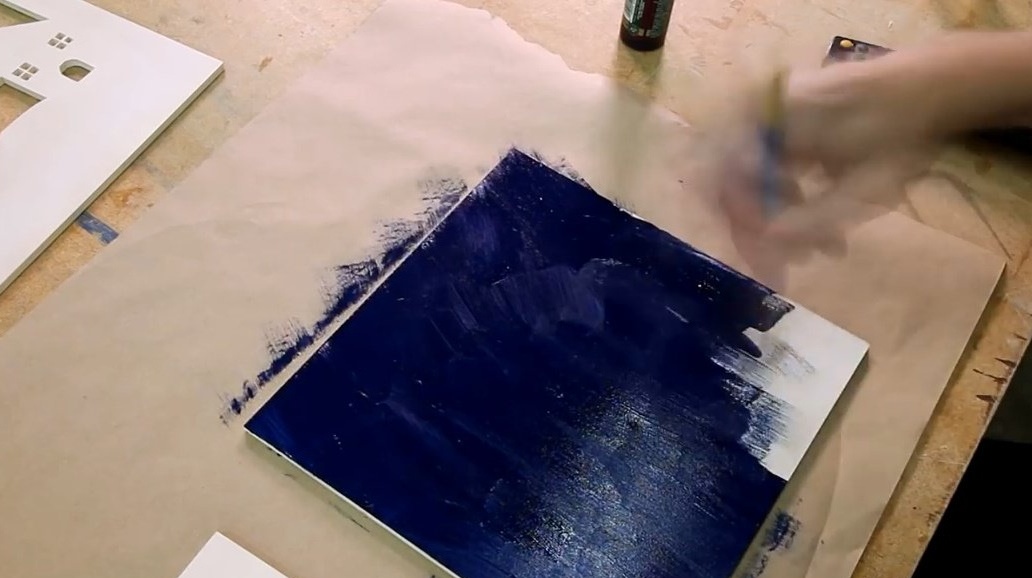
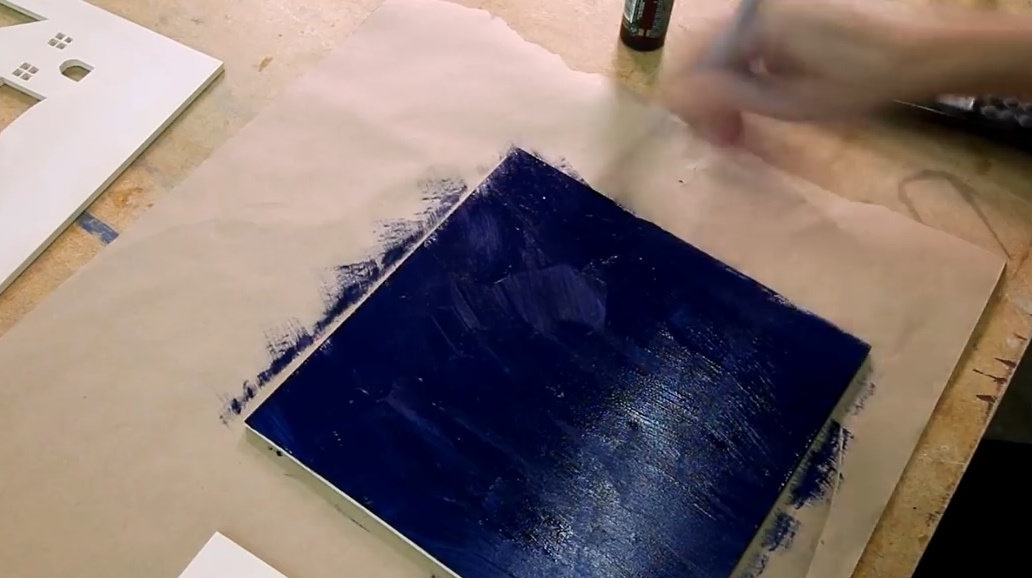
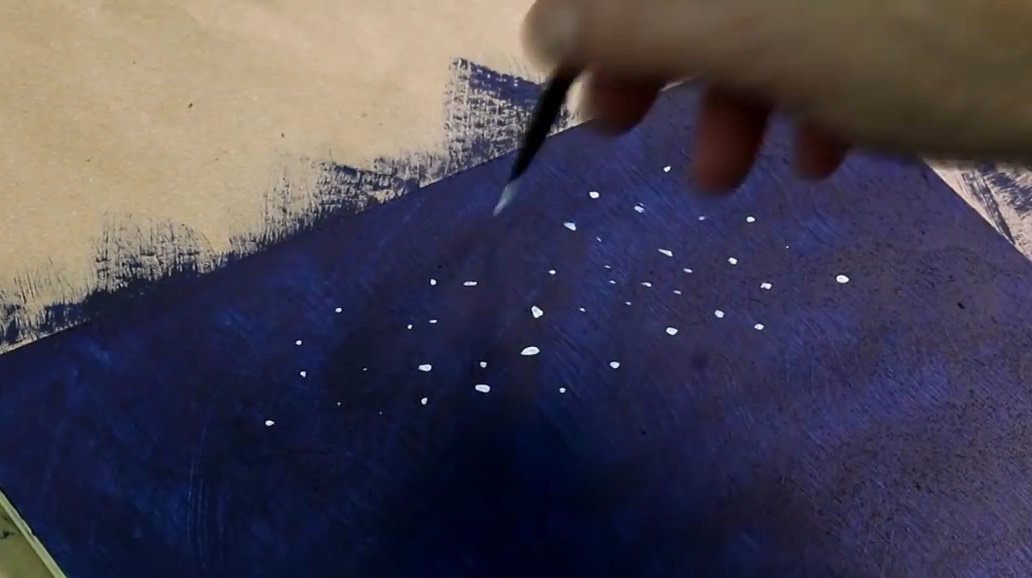
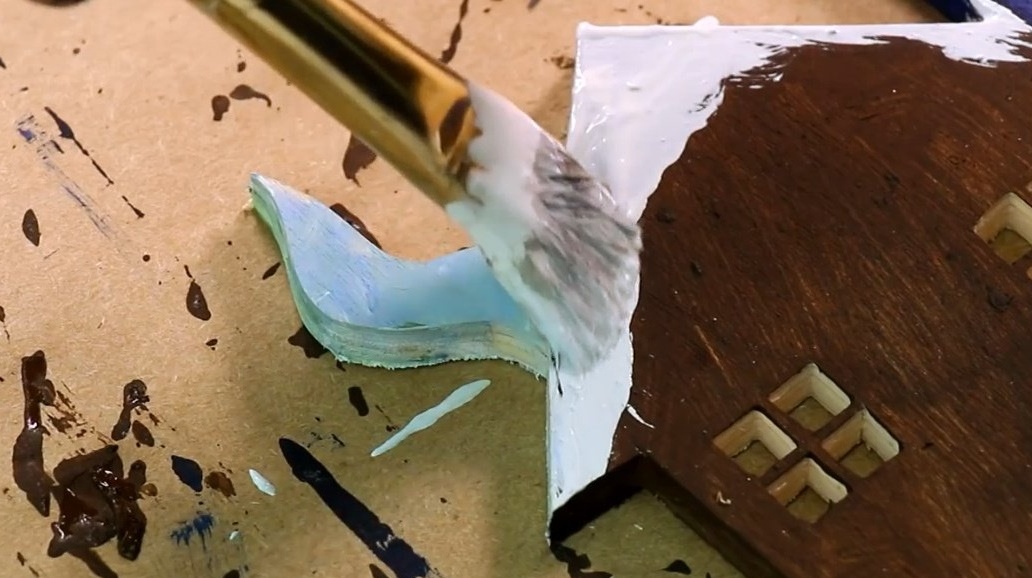
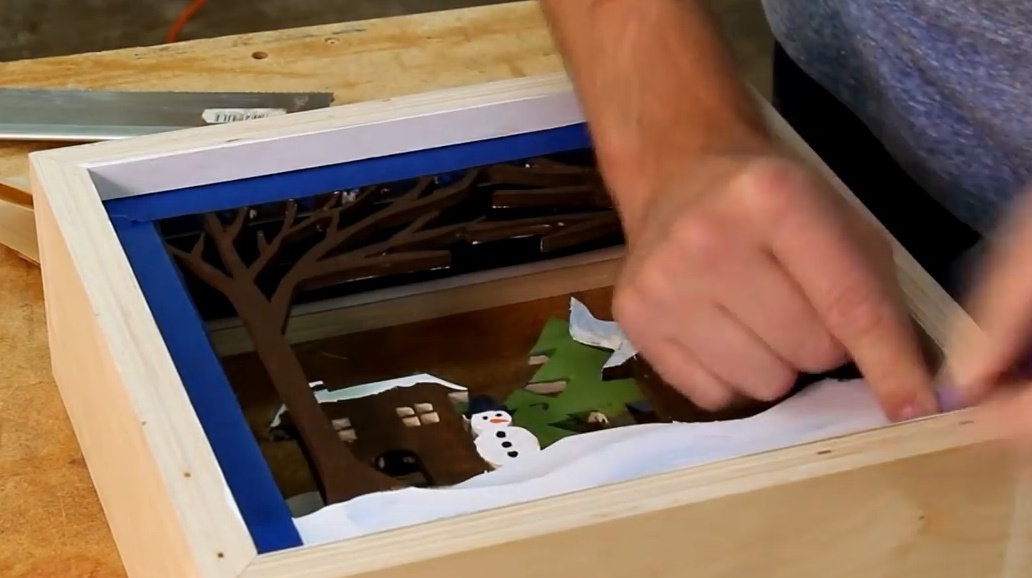
The craftsman covers the back panel of the picture with ultramarine paint that imitates the night sky, and with a brush, he starts a scattering of stars against a dark background.

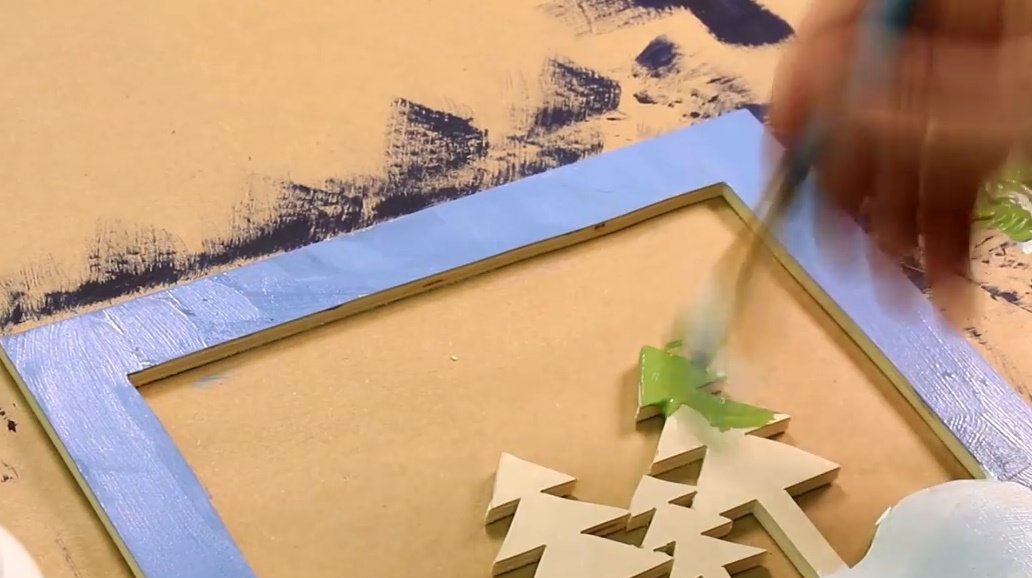
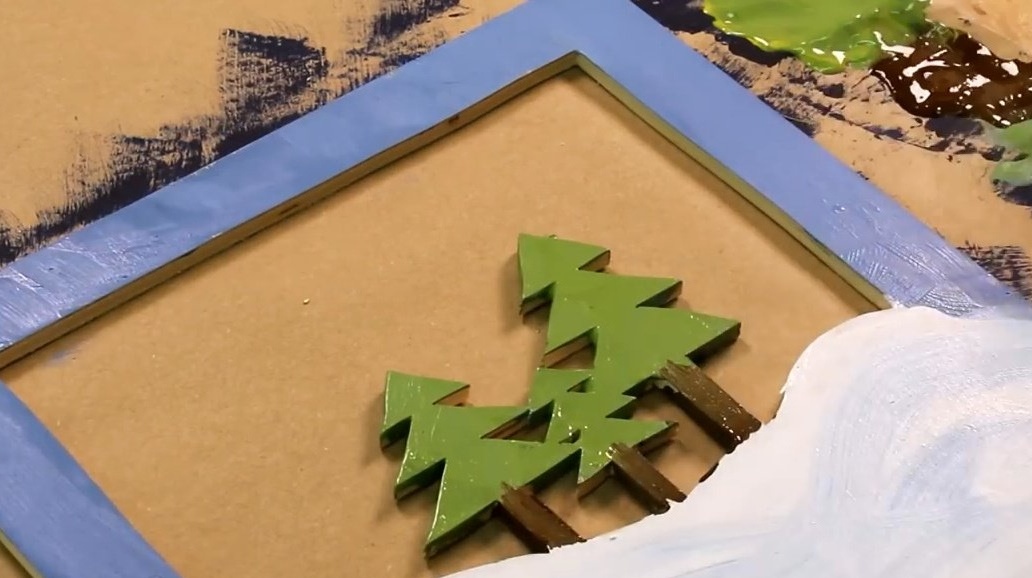
Then he paints a landscape with Christmas trees.
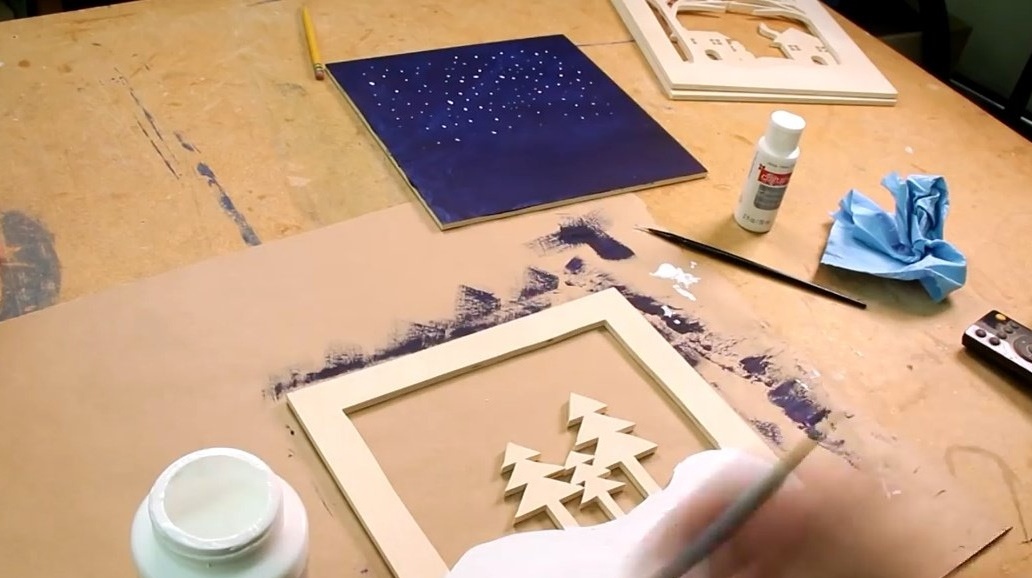
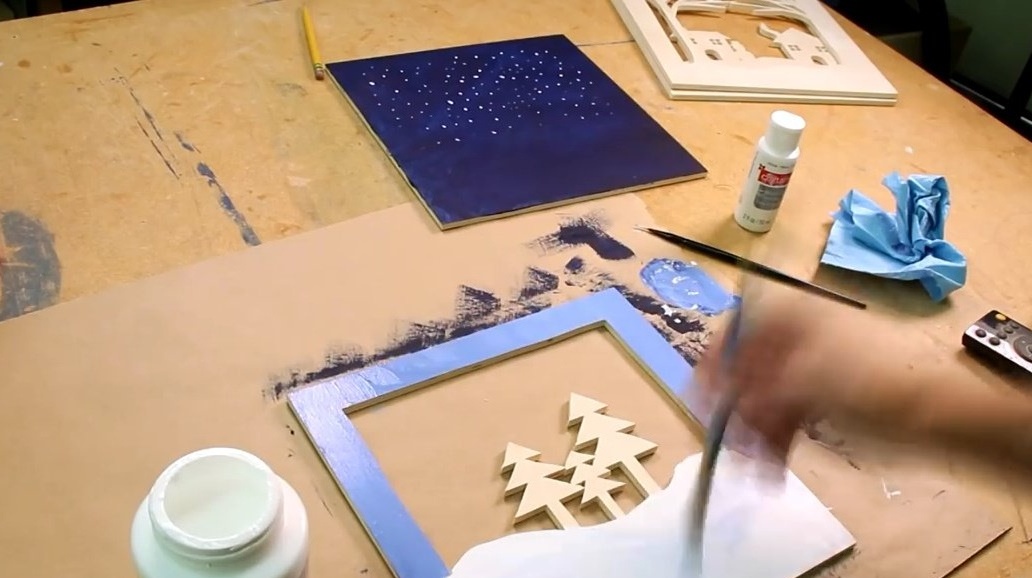
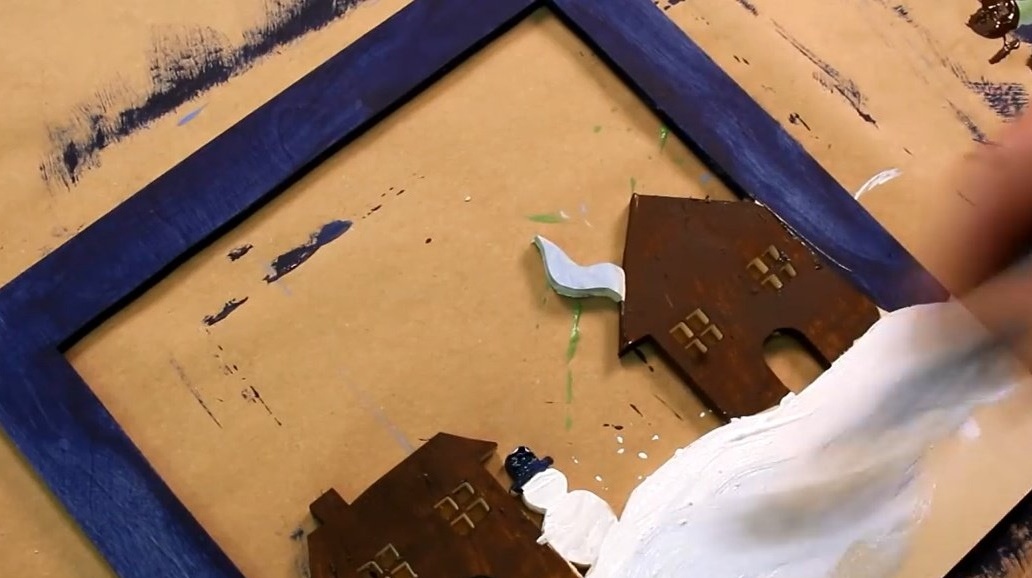
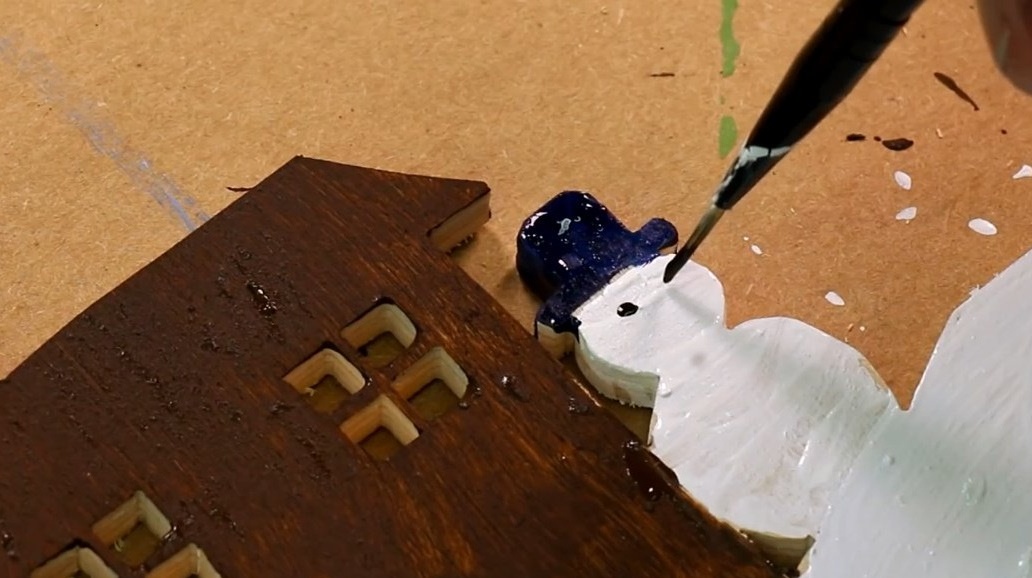
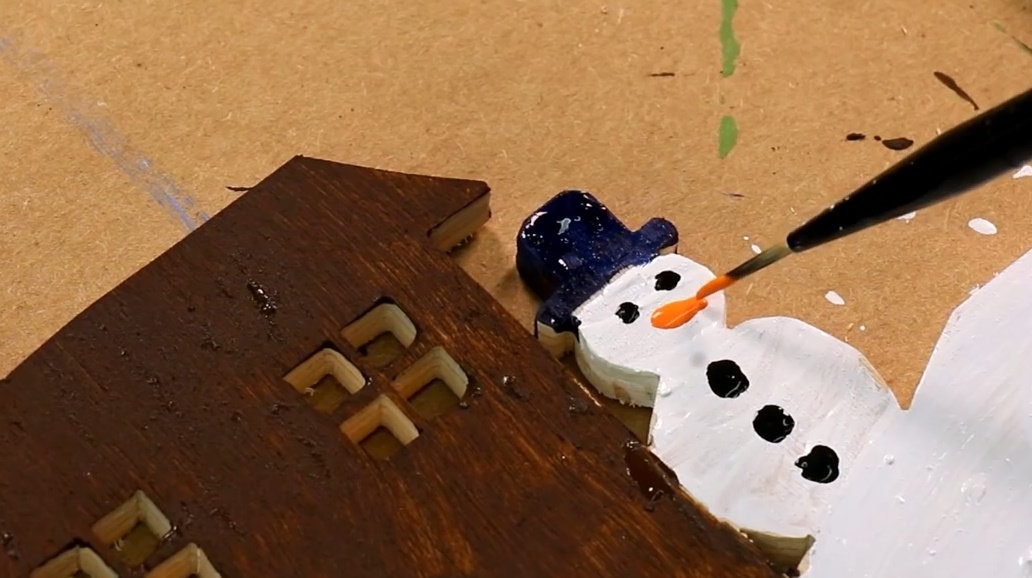
Finally, it comes to stylized houses and a funny snowman.
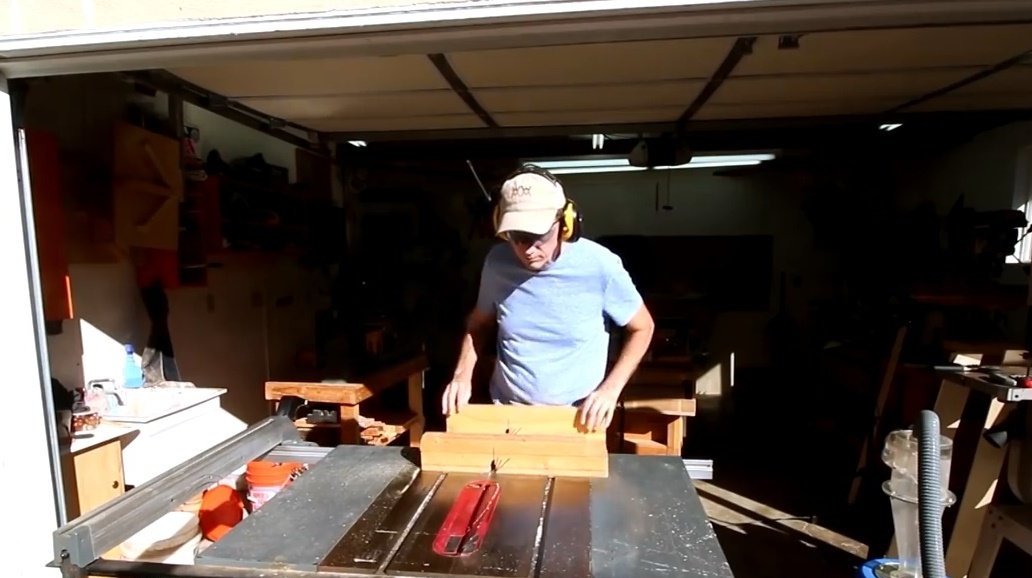
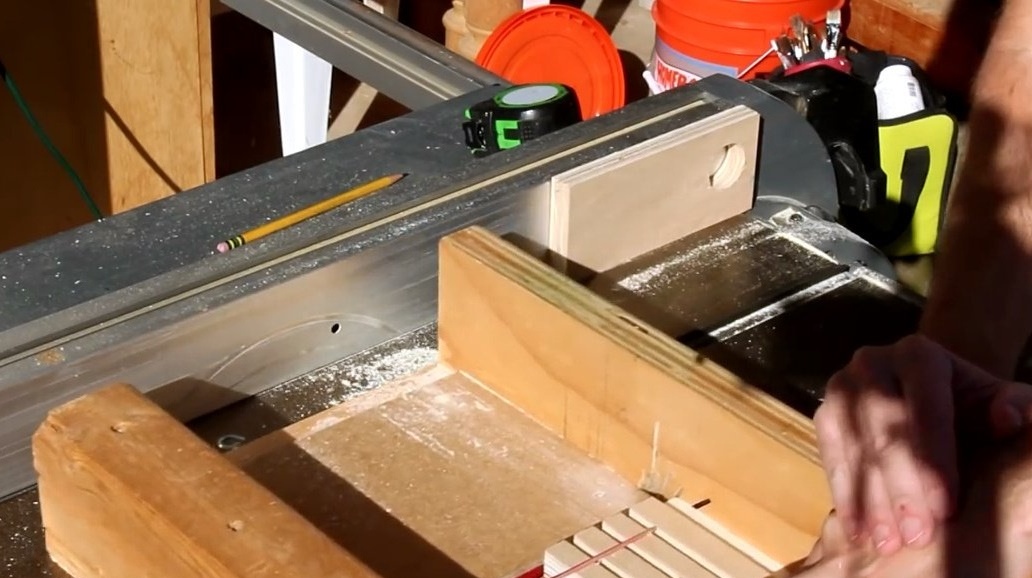
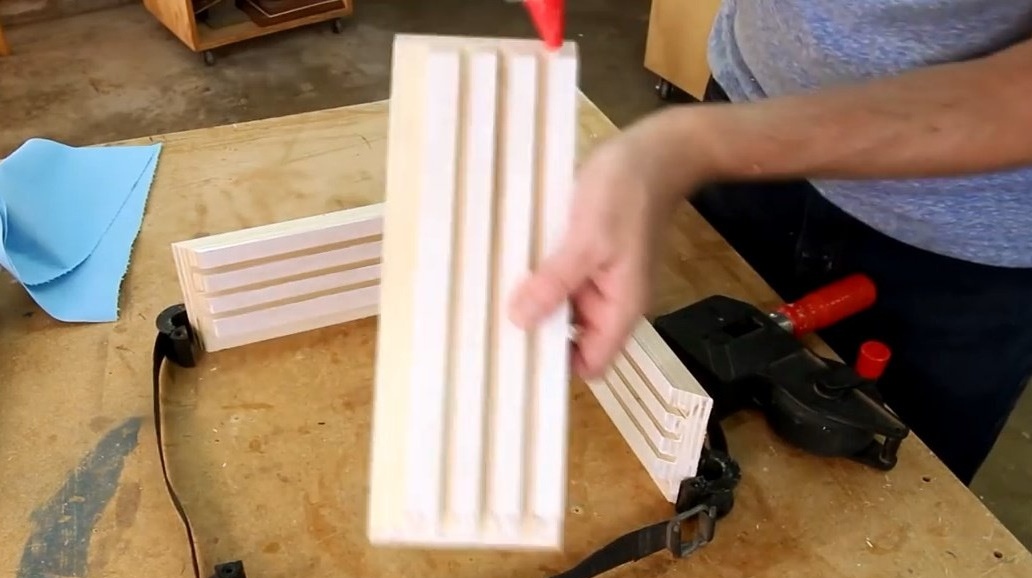
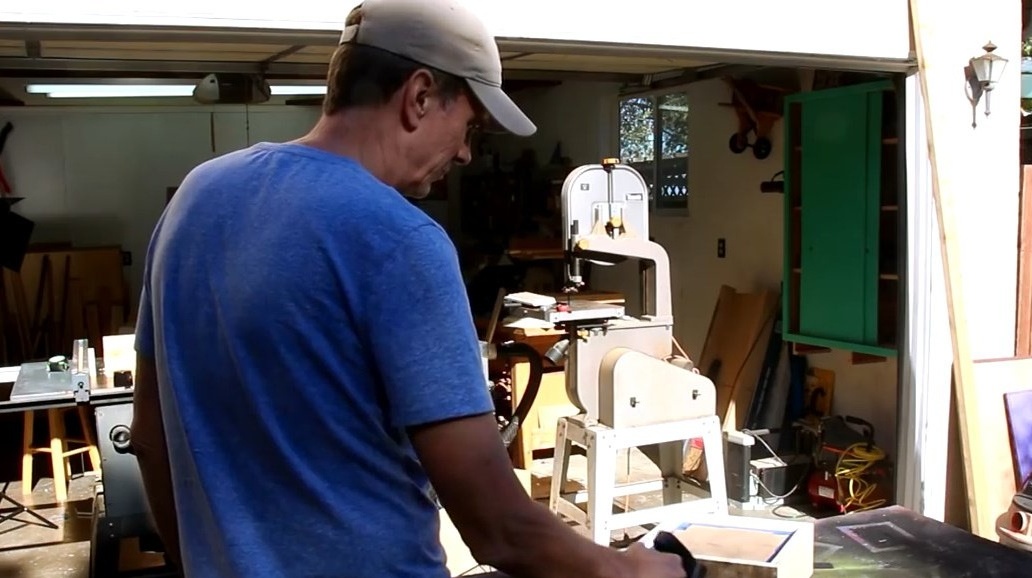
The author installs a Dado disk on the circular machine and first cuts the chamfers on the board.
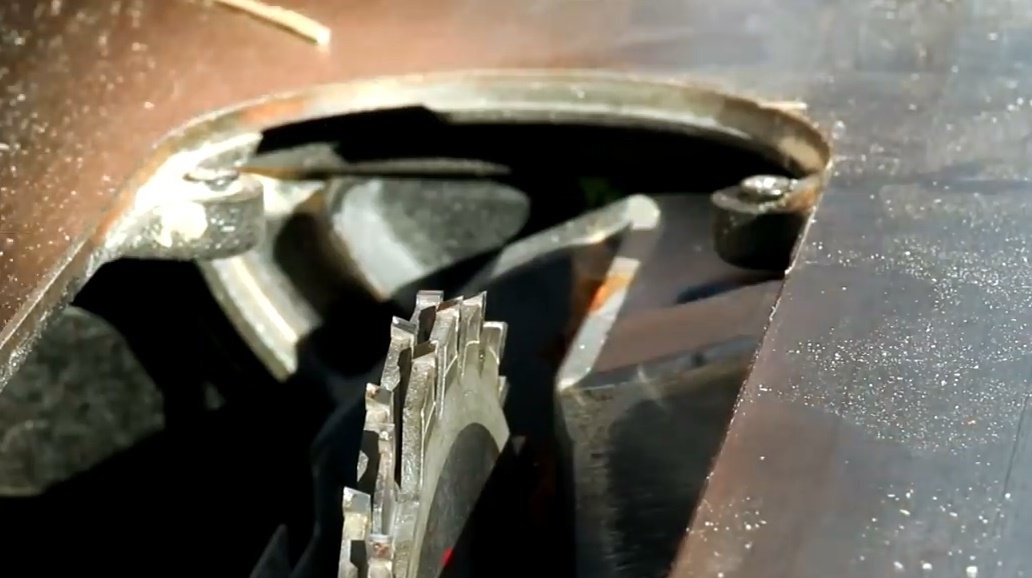


And then a few deep enough grooves for plywood inserts.

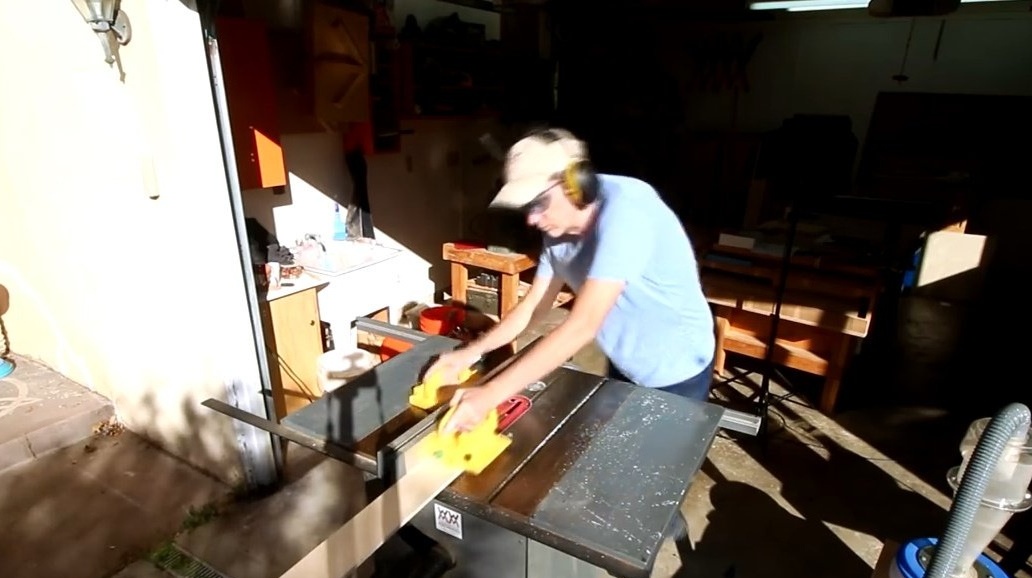
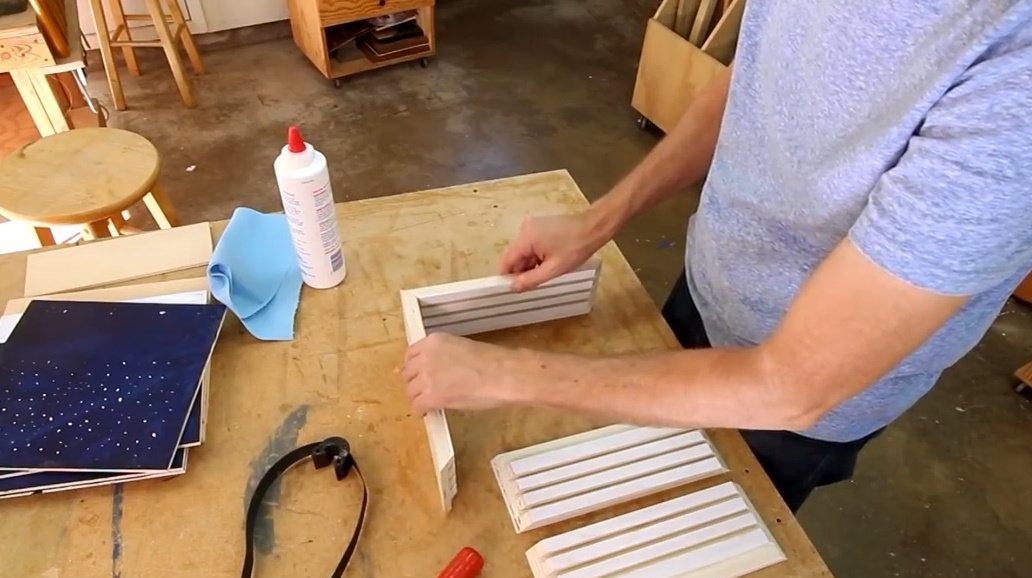
By placing the disk at an angle, the master cuts the board into four sectors - these are elements of the future picture frame.

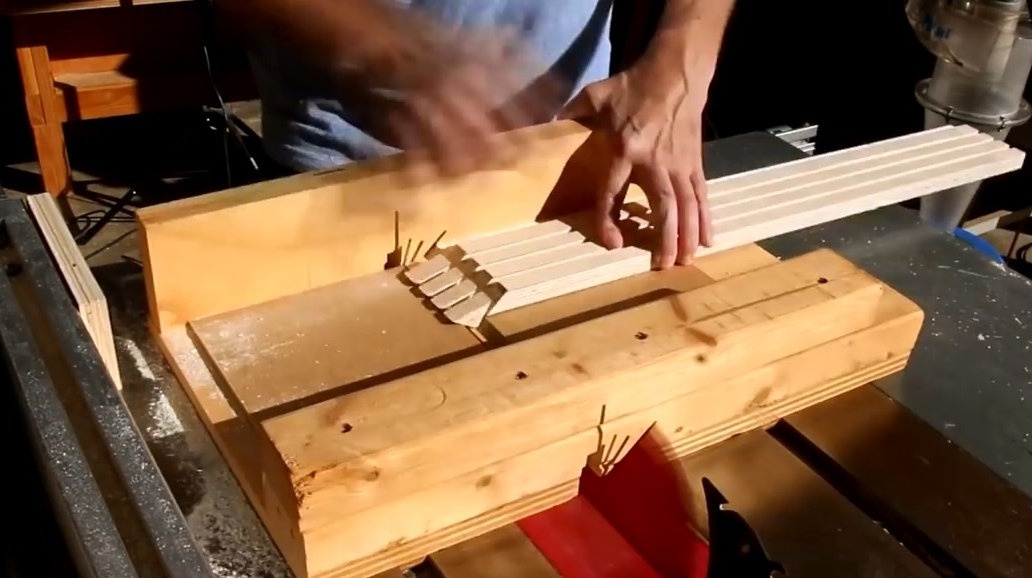
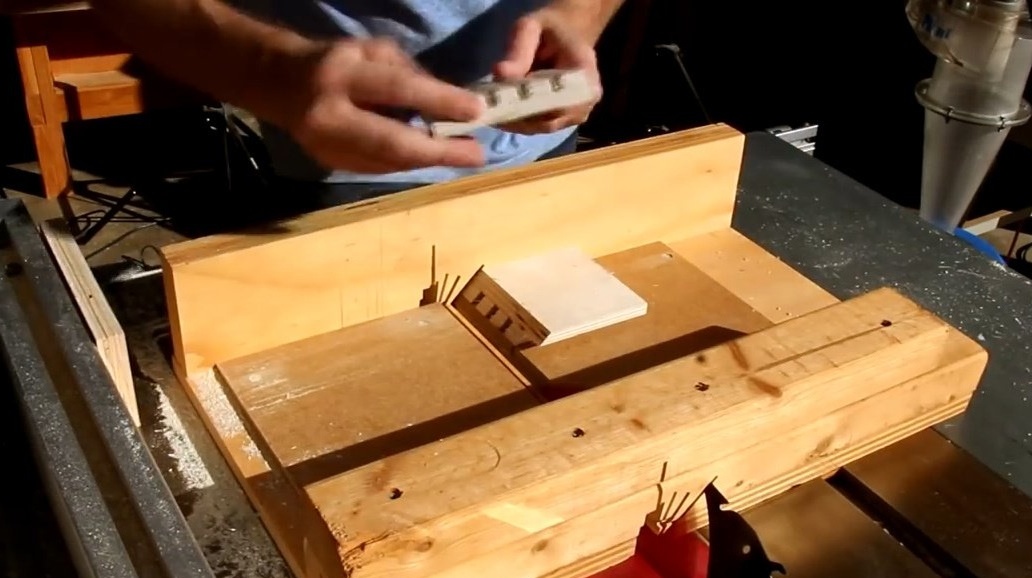
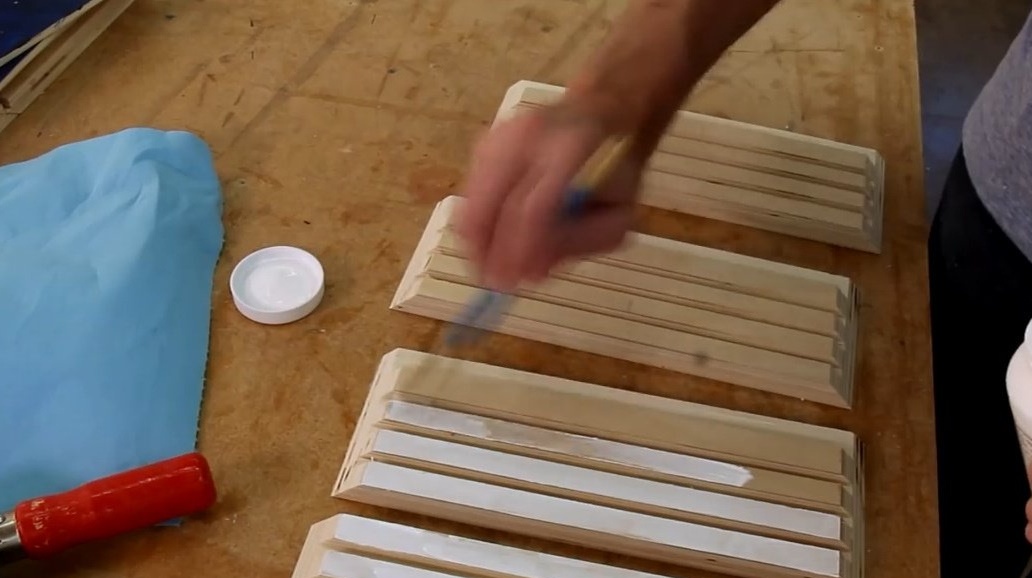
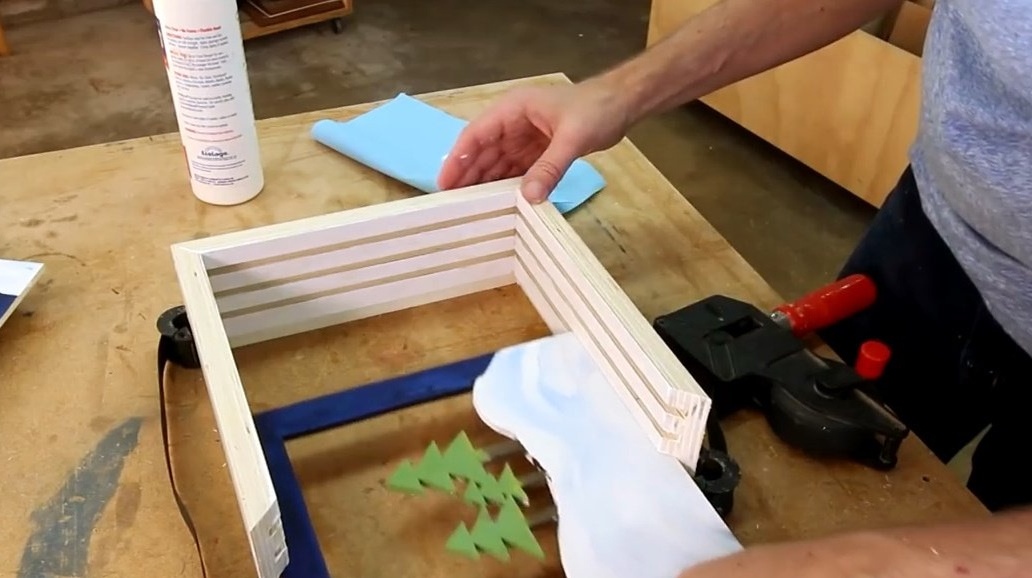
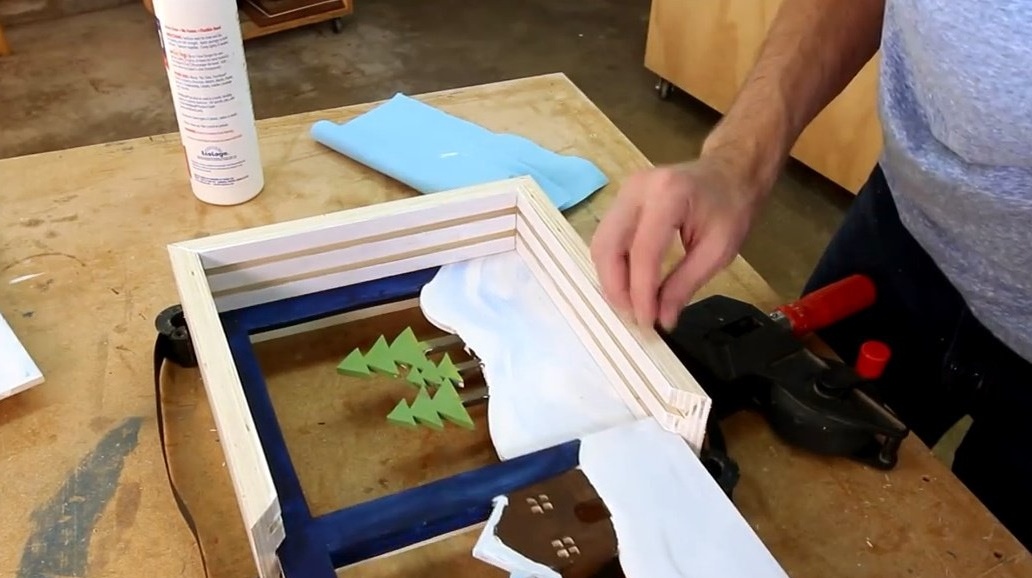
Each segment of the frame is covered with white paint. The joints of the planks Steve misses with glue and grabs the frame with a tape clamp.
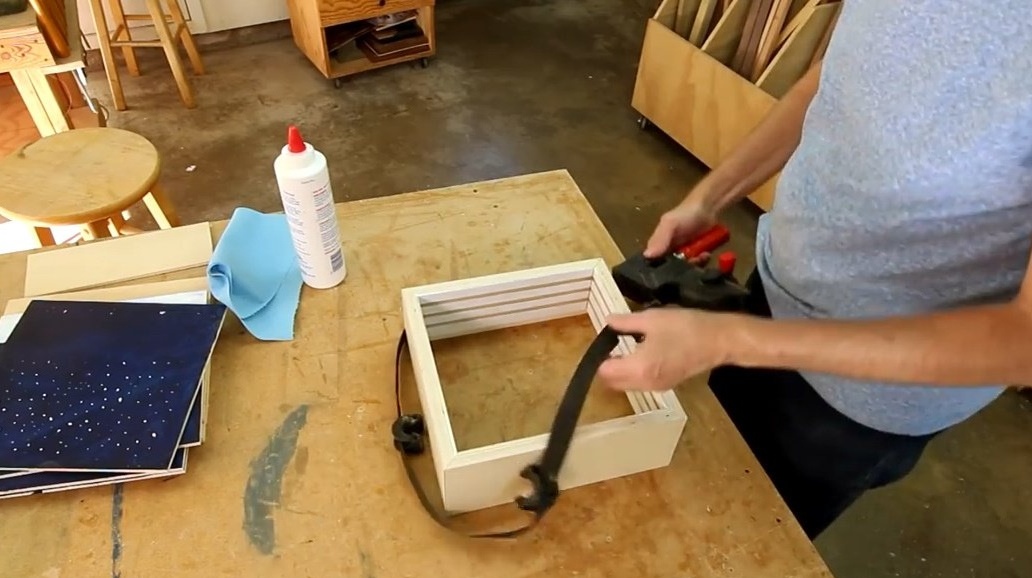
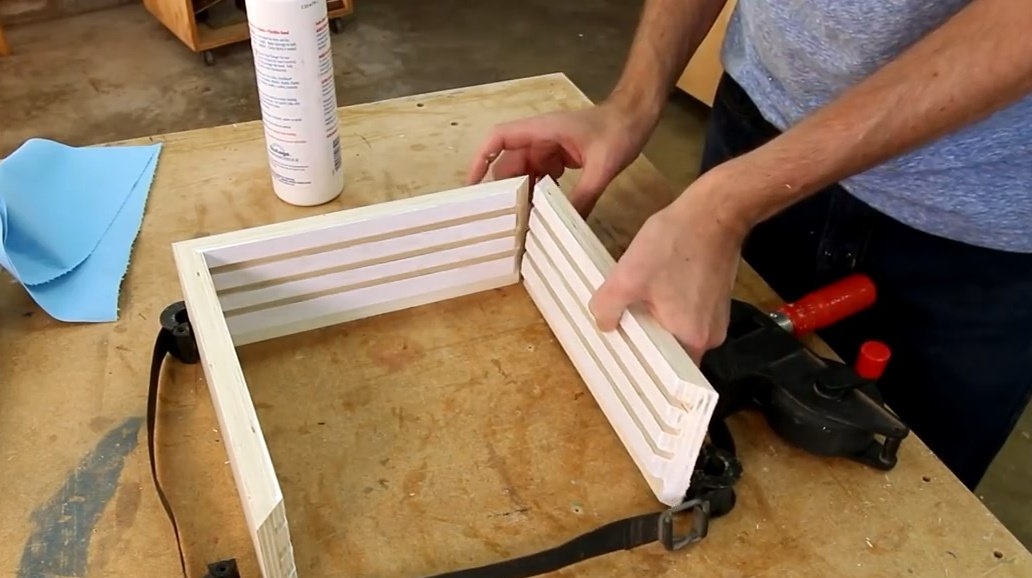
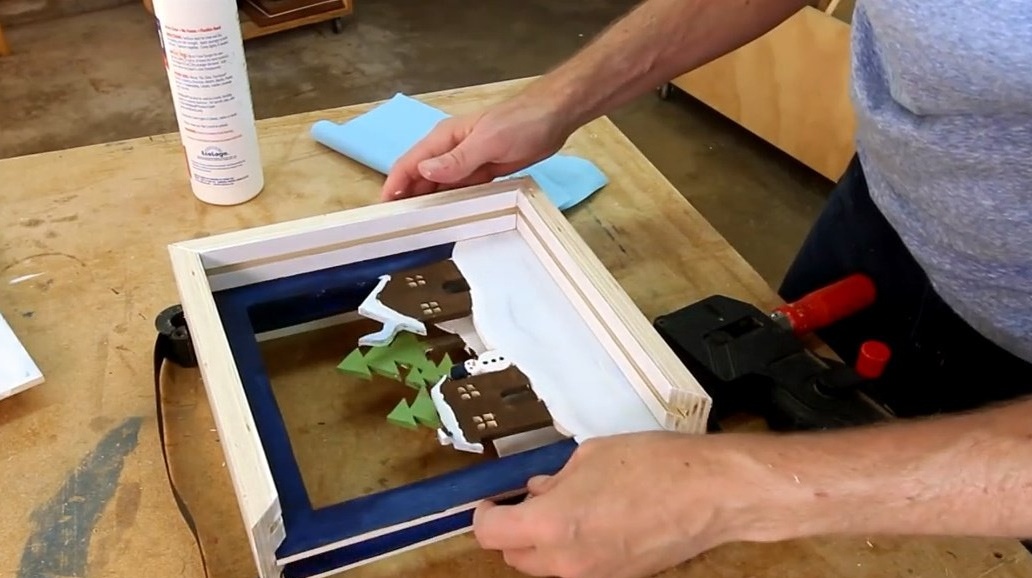
But, before gluing the last, fourth plank, the craftsman inserts the tiers of the future picture into the grooves: the Christmas trees in the background, the houses in the middle, and the trees will fit in the foreground.
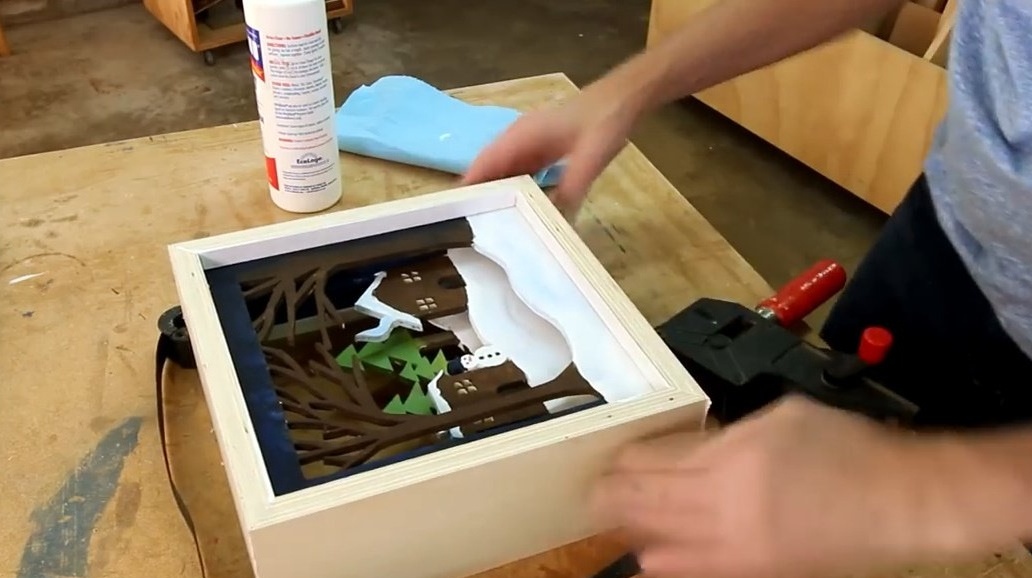
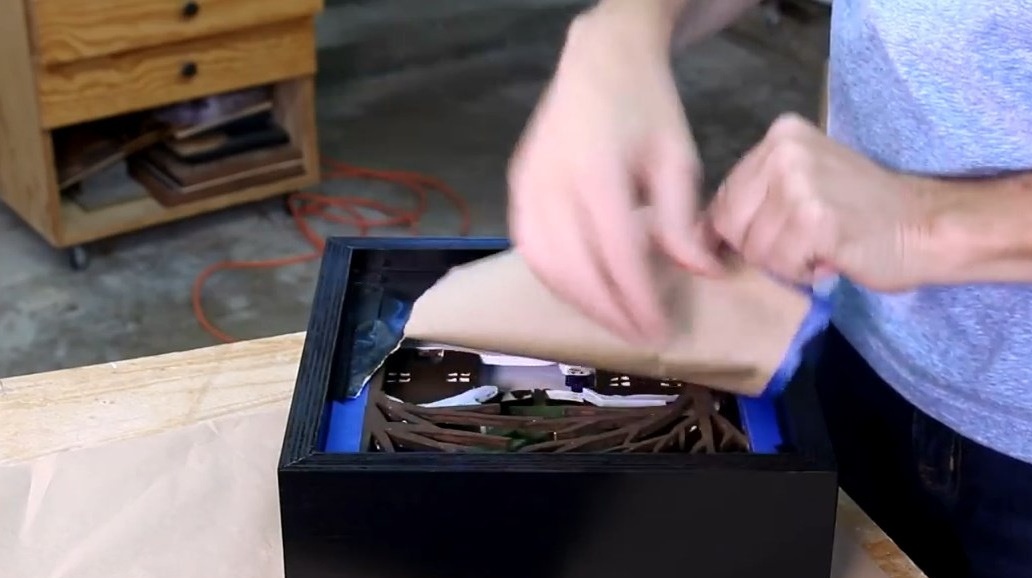
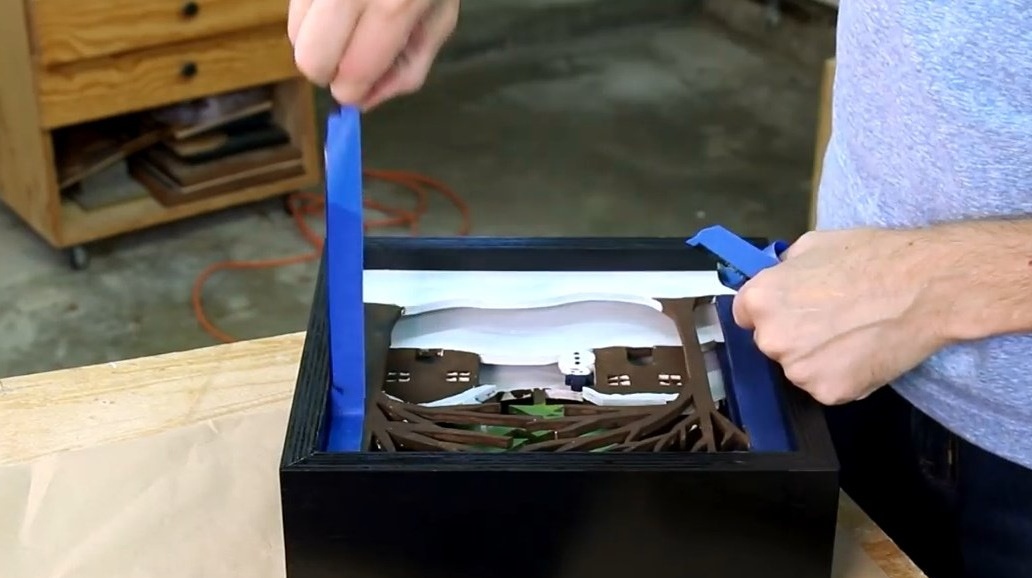
When the whole structure has dried up, the author seals with a masking tape the front ledge of the picture. Now he intends to open the frame with dark spray paint. To do this, he isolates the inside of the picture, covering it with paper or parchment.
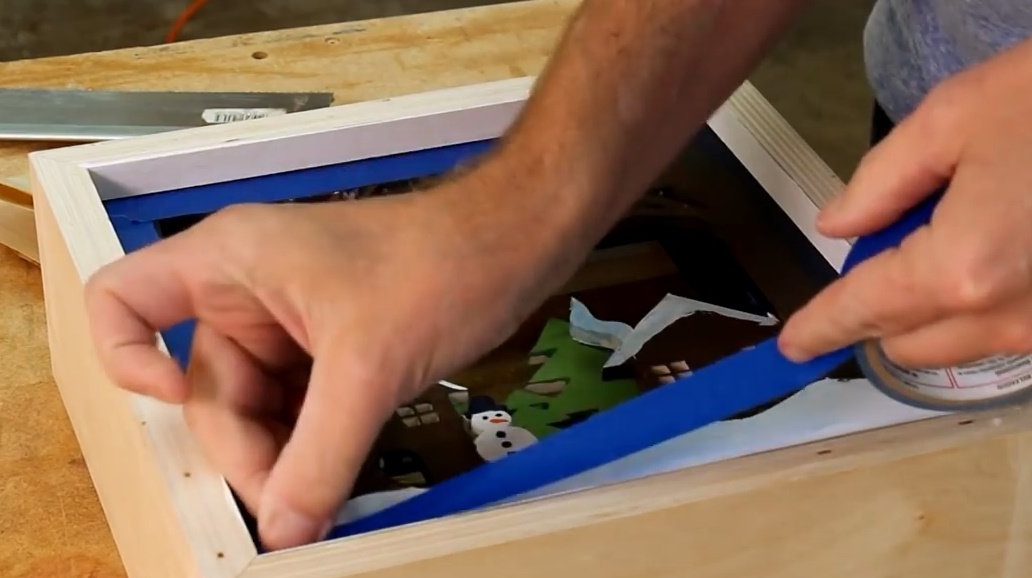
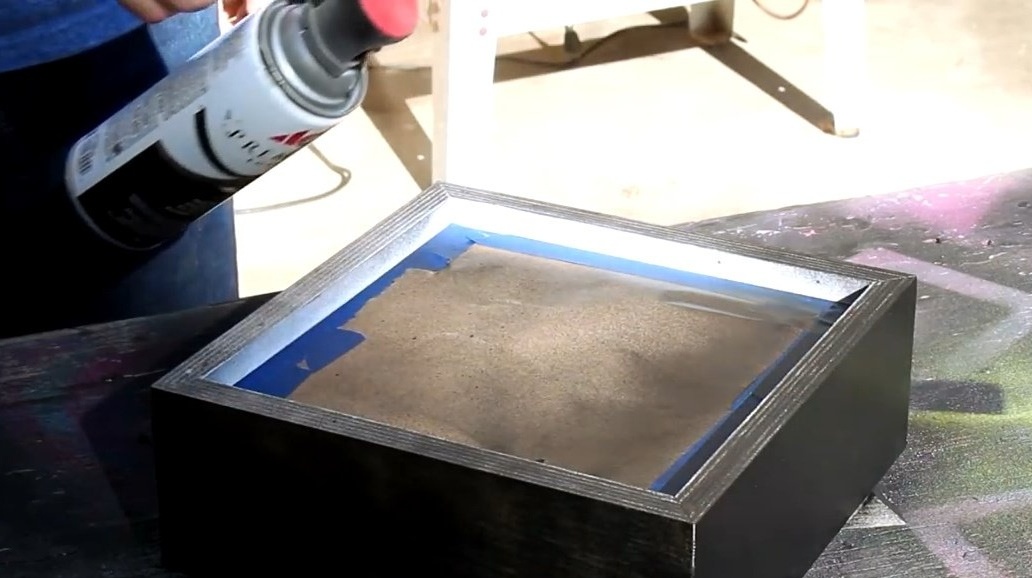
After painting, you can remove the protective layer.
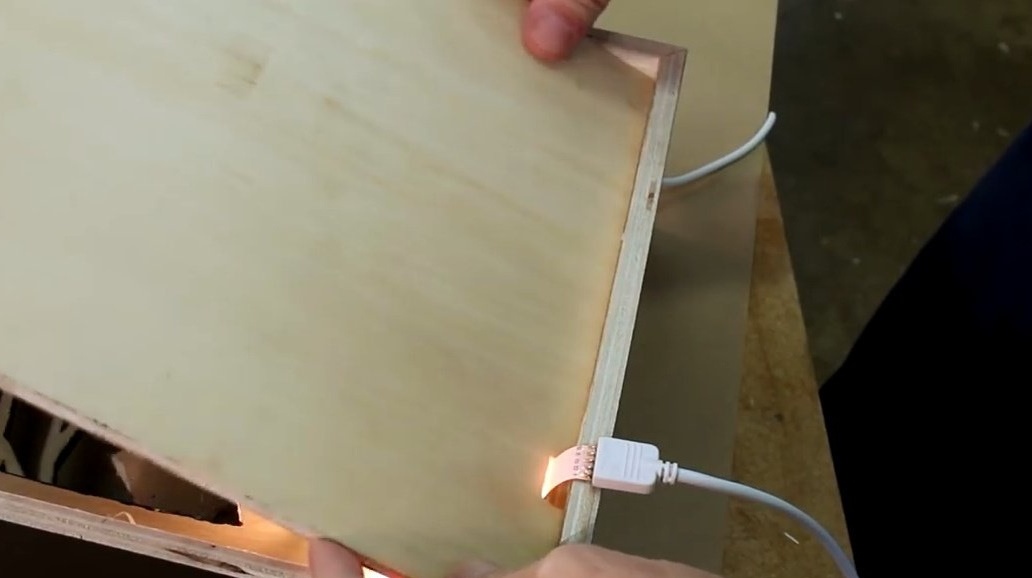
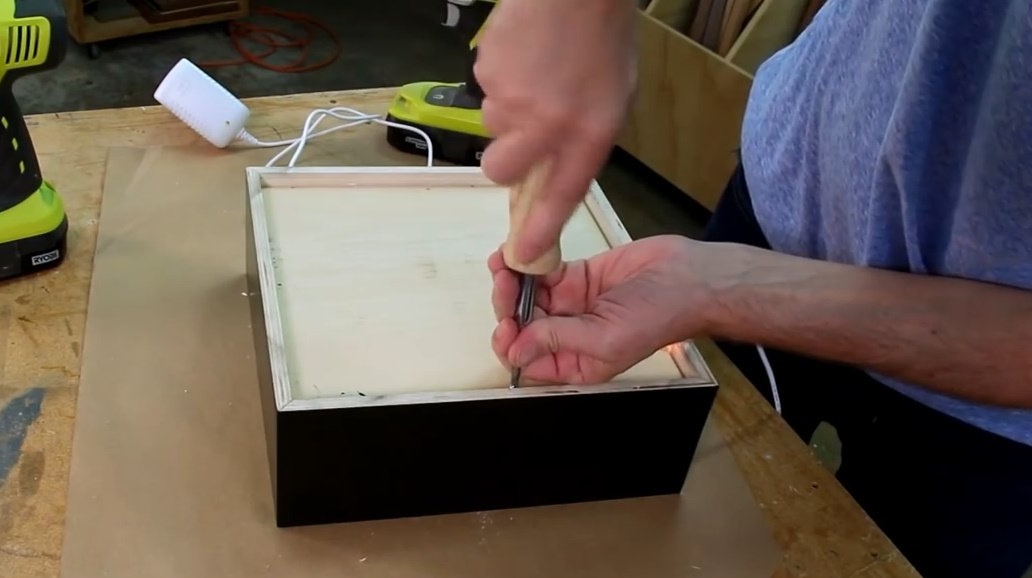
In the back of the picture, he fastens the LED strip.
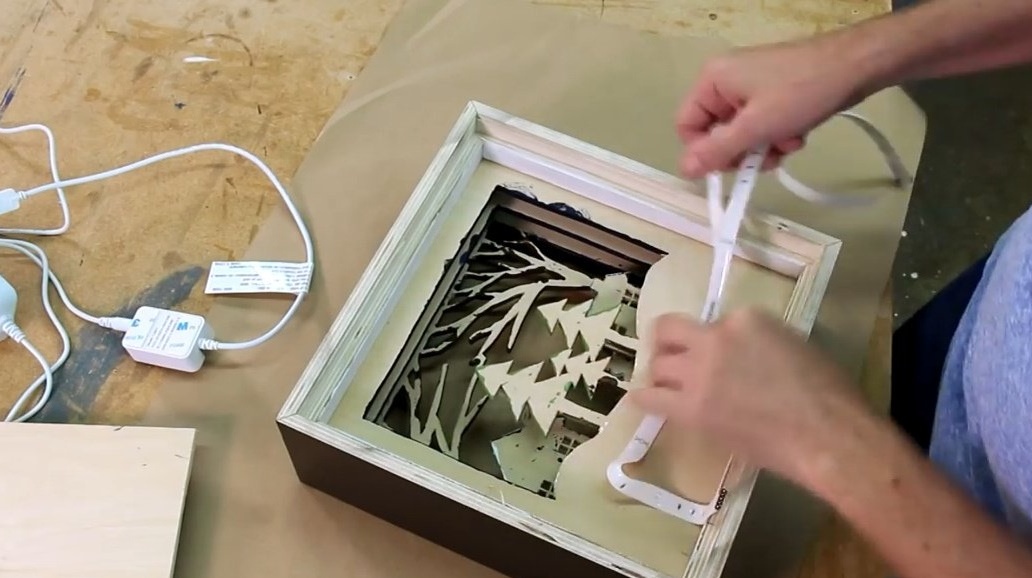


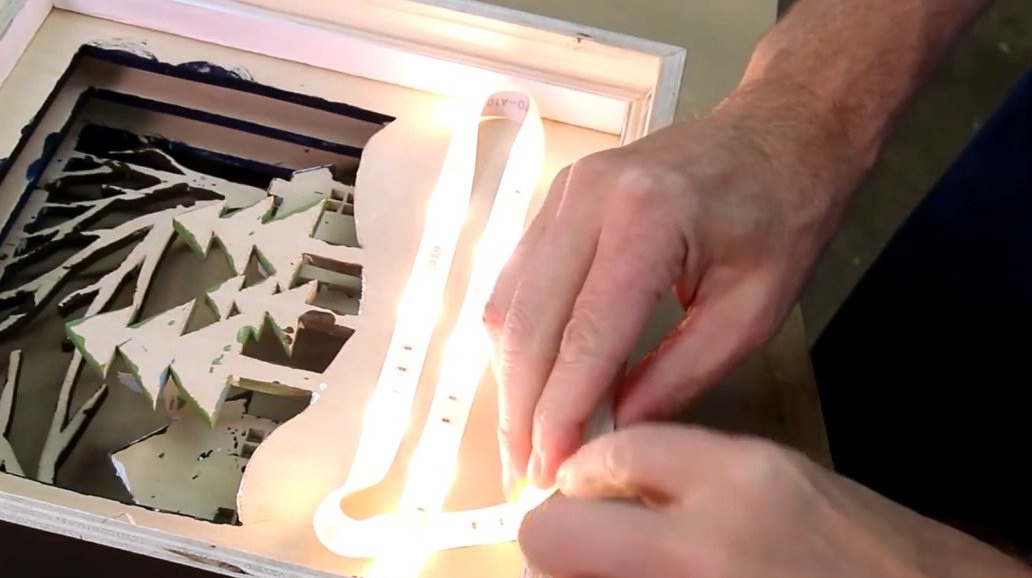
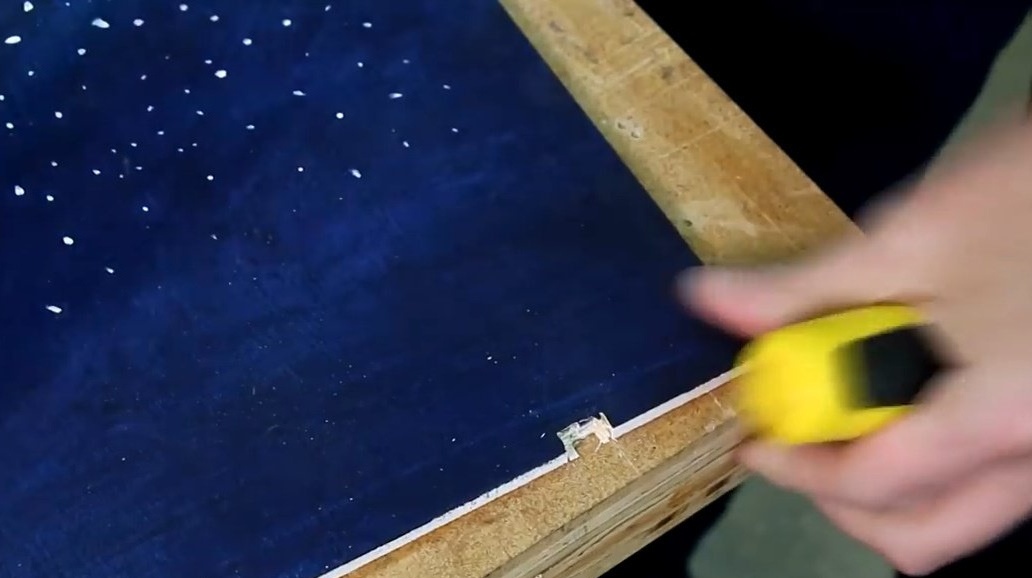
In the back, Steve makes a small groove for the power cord.
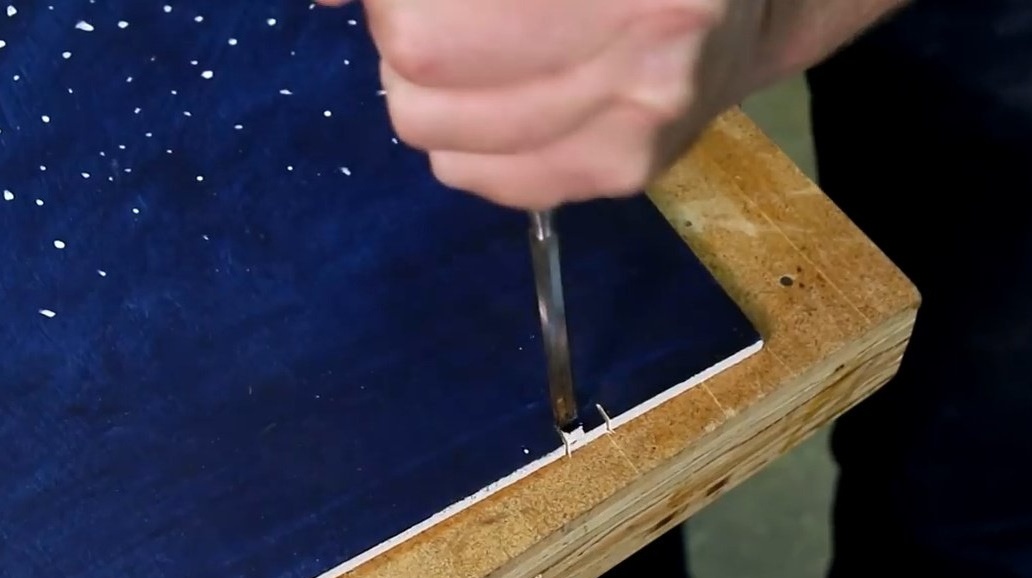

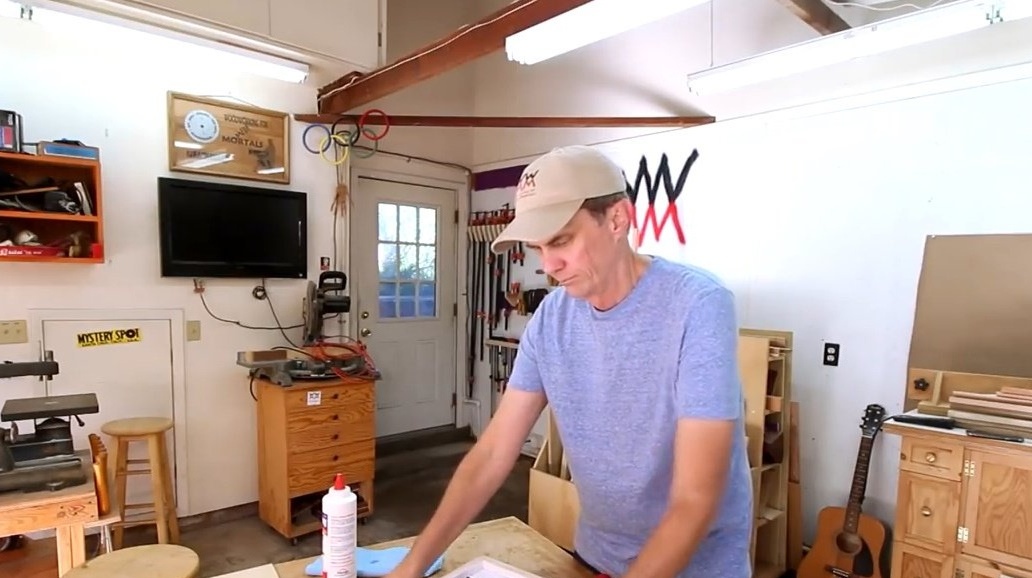
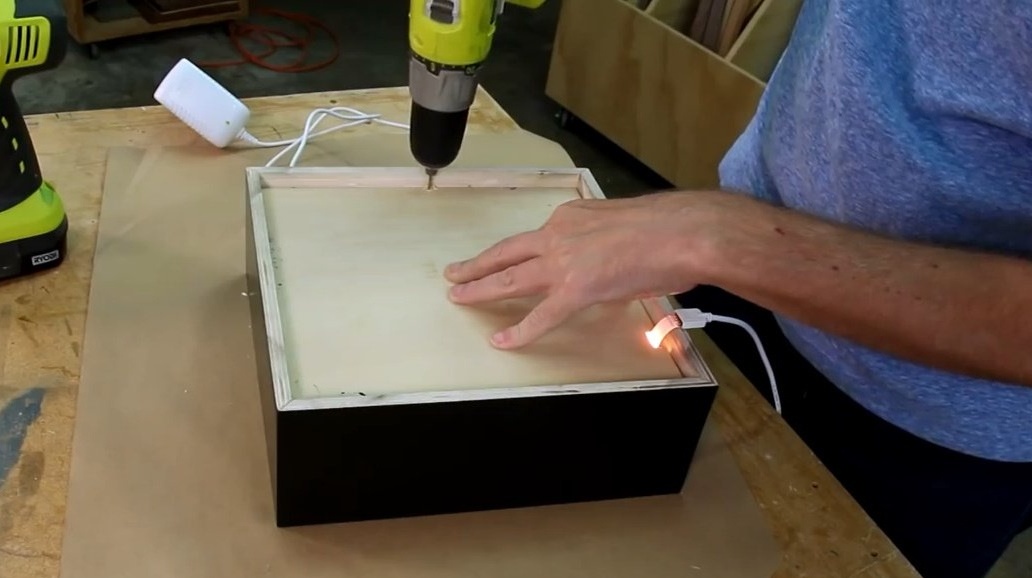
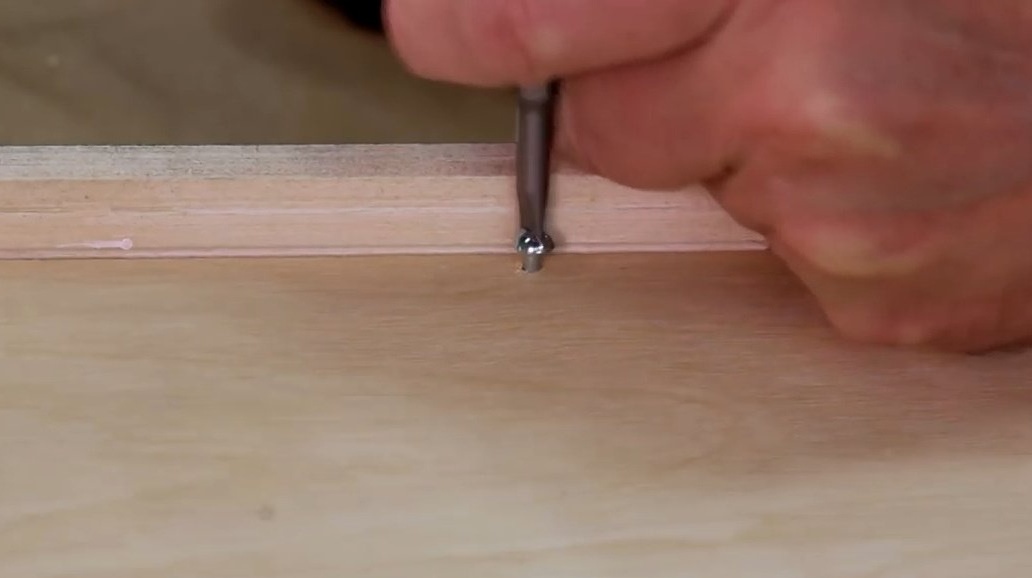
The back panel is taken on self-tapping screws.
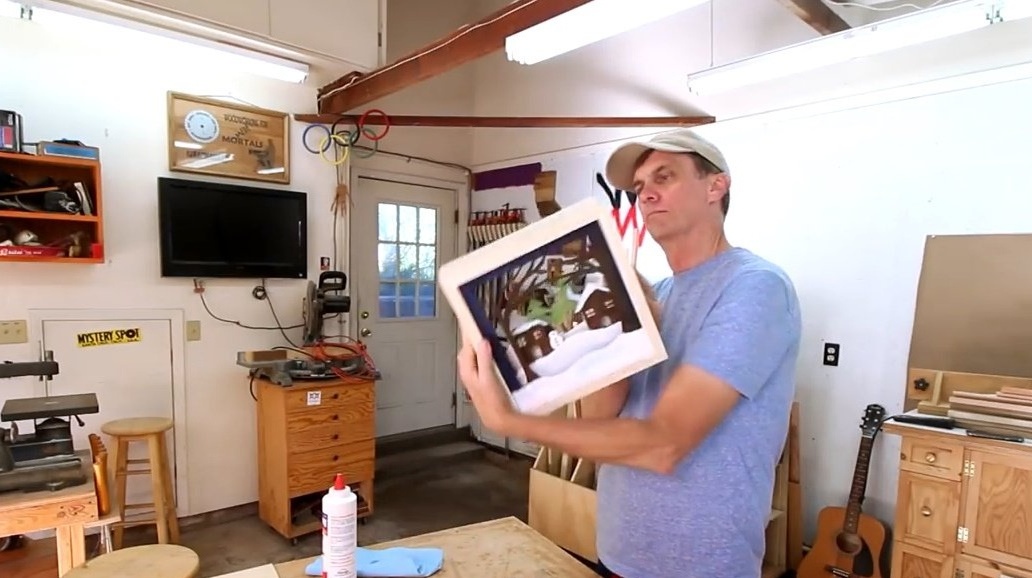
And so the picture looks with lighting. Well, what is not a gift for you!


Thanks to the author for the simple idea of a backlit surround picture!
All good mood, good luck, and interesting ideas!