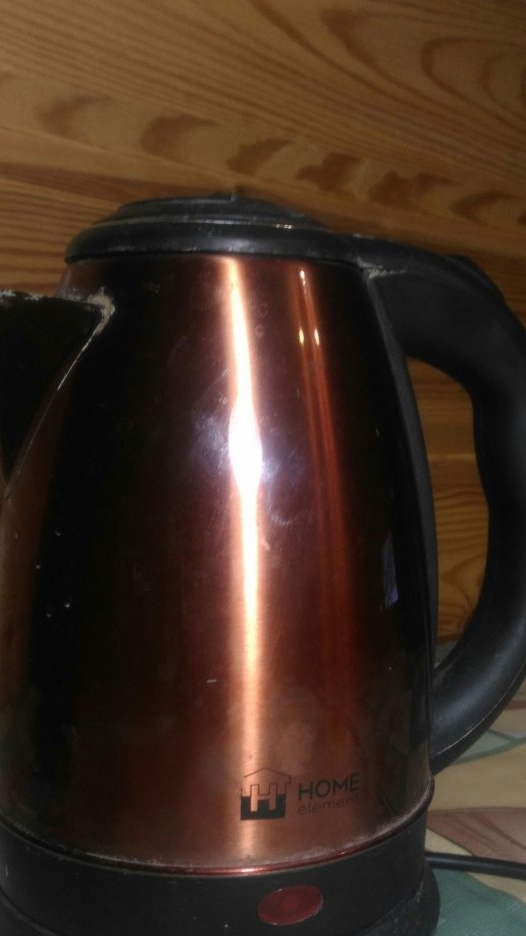
We begin to think, what happened? The first guesses came to mind - the heating element failed. But do not rush to throw away the kettle, nothing is lost yet, perhaps the reason because of which the kettle does not want to boil water in any way is completely different. We begin to look for the cause. First you need to check the voltage in the network, maybe the electrical outlet in which your kettle is plugged is faulty. We connect another electrical appliance to this outlet and if it works, the outlet is working. Now we need a tool.
For now, we’ll do just a screwdriver and a tester
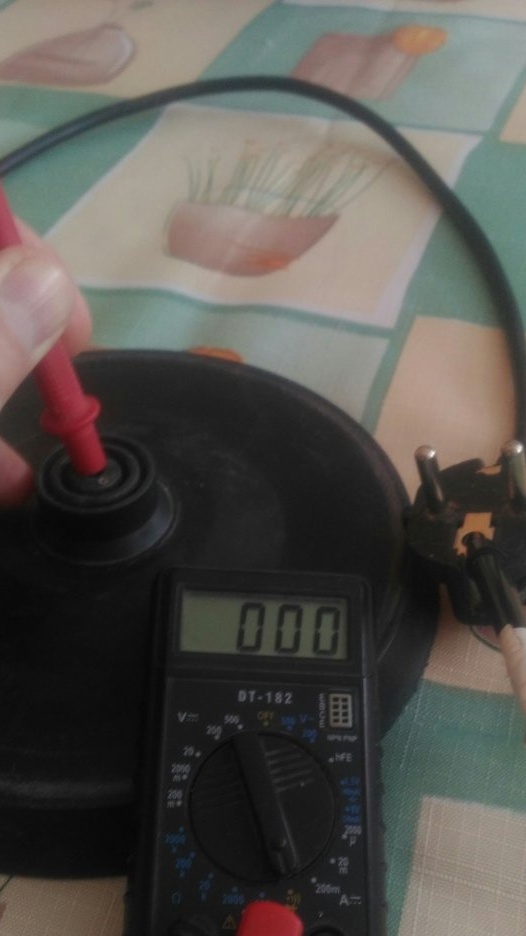
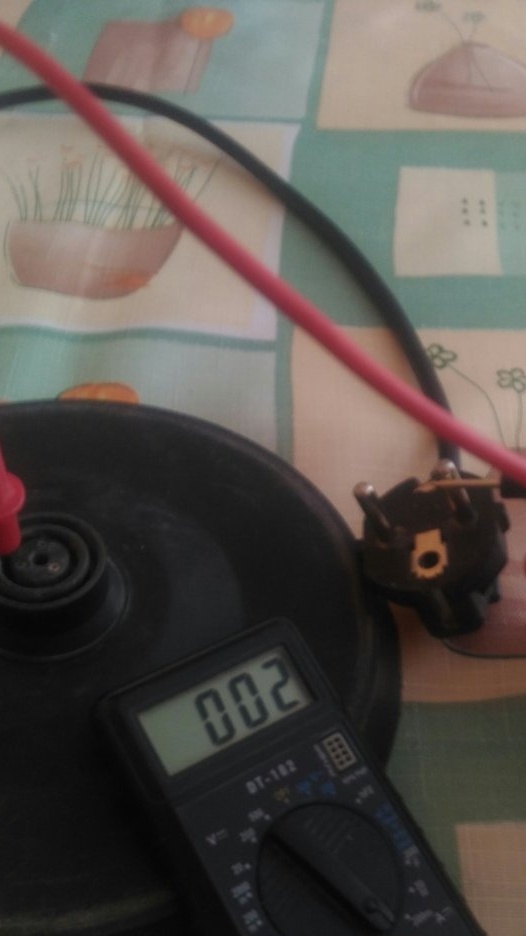
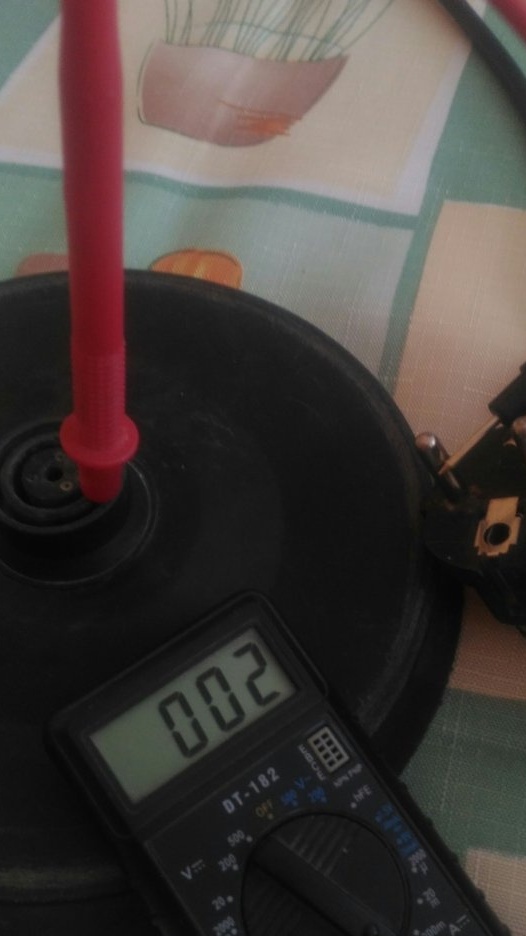
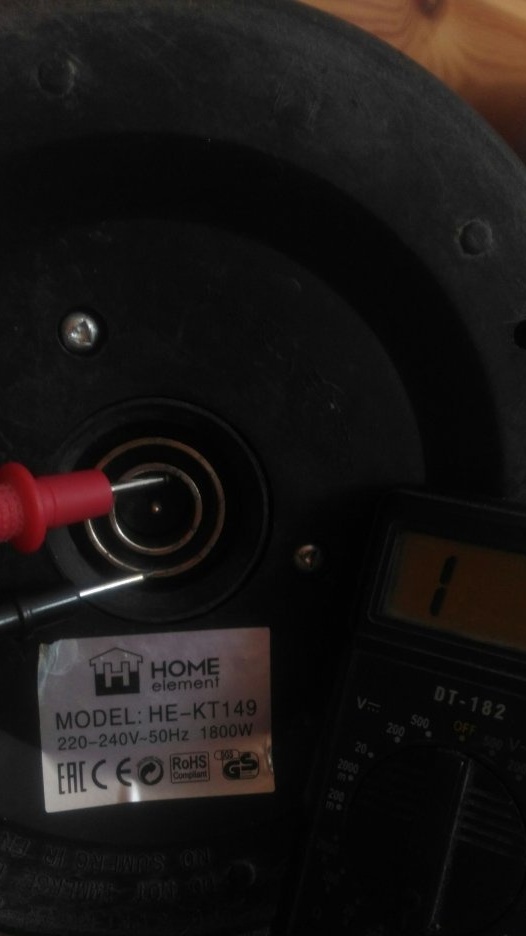
Now we need to check whether the electric plug, the kettle stand and the wire connecting these two elements are working. The tester alternately calls the contacts of the electric plug with the contact socket of the stand of the electric kettle, including the ground contact. on the electric plug it is on its side, and on the stand of the kettle in the center of the contact socket. In our case, the circuit is working, there are no breaks.
Go to the next step.
First, without disassembling the kettle, with the help of a tester, we will try to determine the state of the electric circuit of the kettle. Judging by the readings of the tester, it becomes clear that the malfunction is in the kettle itself.
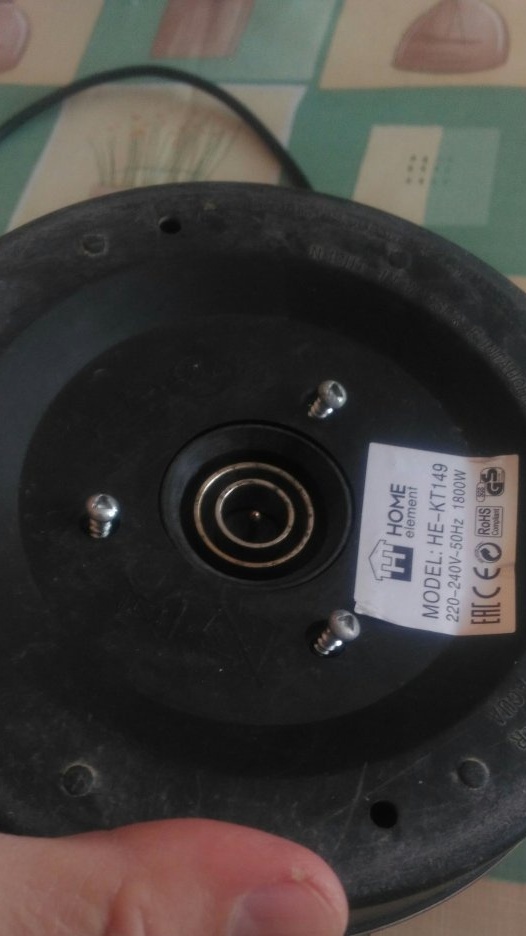
We take a screwdriver and begin to disassemble the kettle. Turn off the three screws
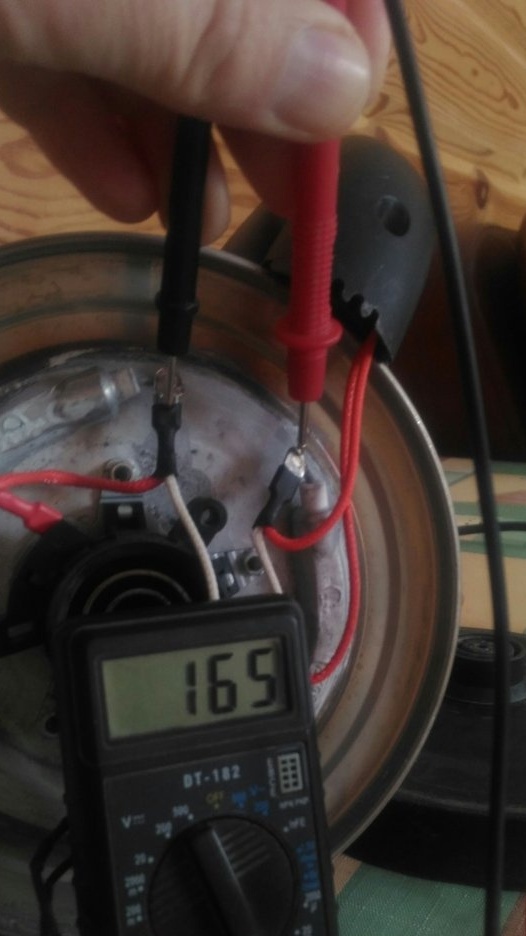
and with the help of a tester we check the serviceability of the heating element (TENA). In my case, the resistance of the heating element is 165 Ohms. So TEN is working.
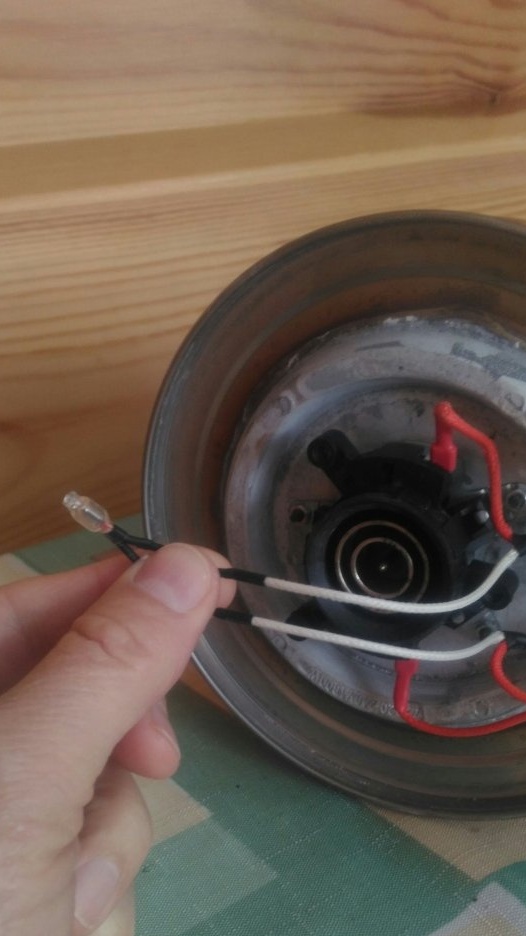
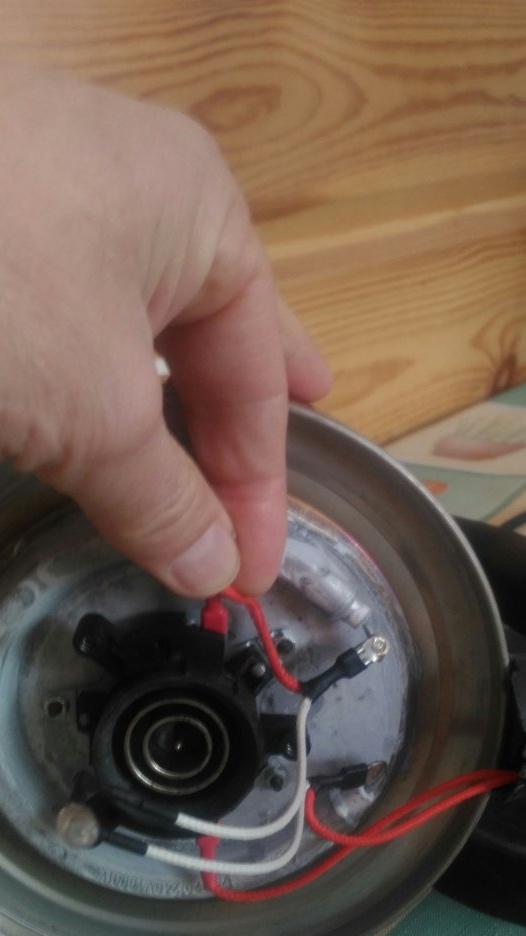
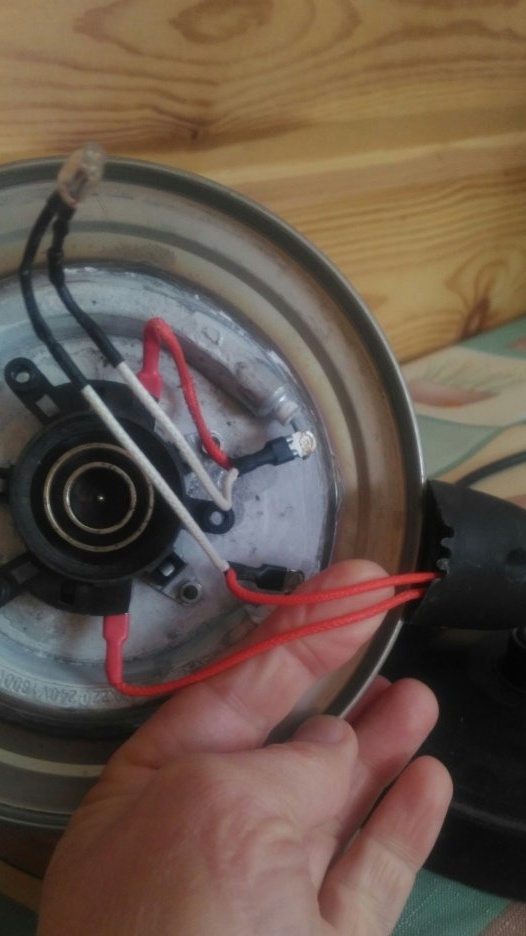
These indications are individual and may vary. The main thing is that we determined the heater is working, continue to understand further. Now we need to determine which wire is going where. We see two white wires that are connected to a neon lamp, which indicates whether the kettle is on or not.
One red wire connects one contact of the heater to the electric socket of the kettle.
From the second contact of the heating element, the red wire goes into the handle of the kettle and through the switch returns to another electric contact of the kettle.
The tester calls the red wires that go into the handle of the kettle.The readings of the tester indicate that there is an open circuit in this circuit.
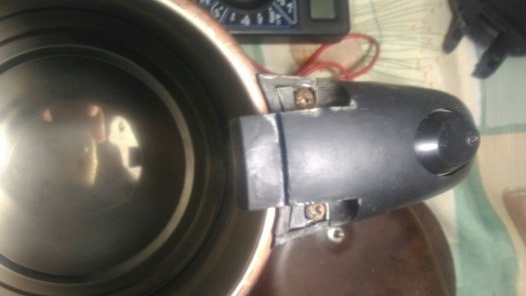
In order to determine the place of damage, you need to disassemble the handle of the kettle. We turn off three screws. One at the bottom, two others at the top.
Before unscrewing the top screws, you must remove the lid of the kettle. We open the lid and, using a screwdriver, slightly bend the junction of the lid with the kettle, the lid is removed - we unscrew the two screws.
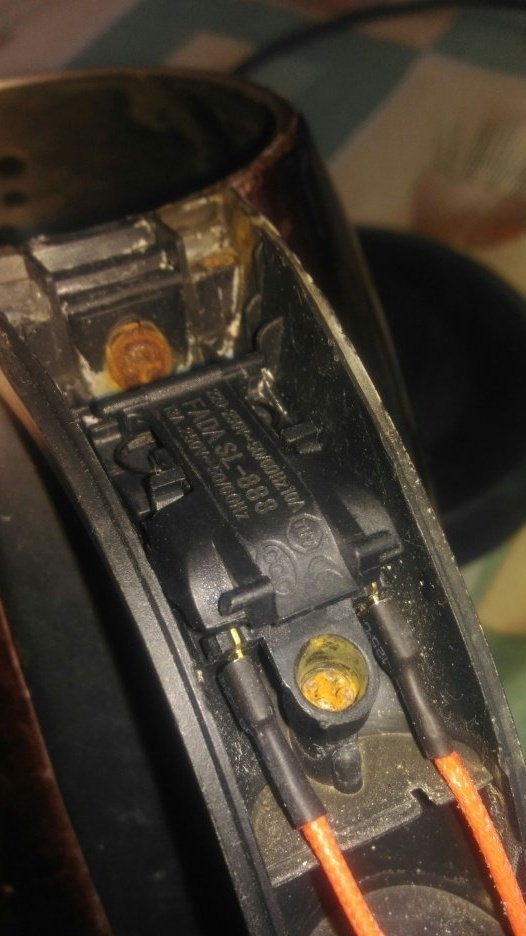
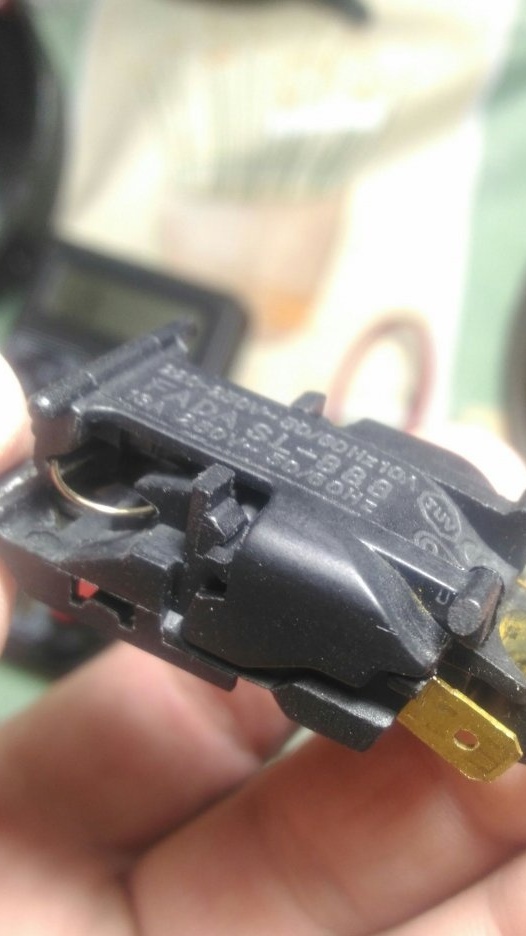
So we got to the insides of the pen. Visually, all wires are normal, no damage. Now we need to check the switch, but so far it is not very convenient to do it in its place. Remove the switch. The switch is attached to the handle with a single screw.
First, remove the switch cover. Raise the lower part of the switch cover to the top, freeing it from the latch and pull it to the side opposite from the kettle cover. Then we turn off the self-tapping screw. That's all, the switch is in our hands.
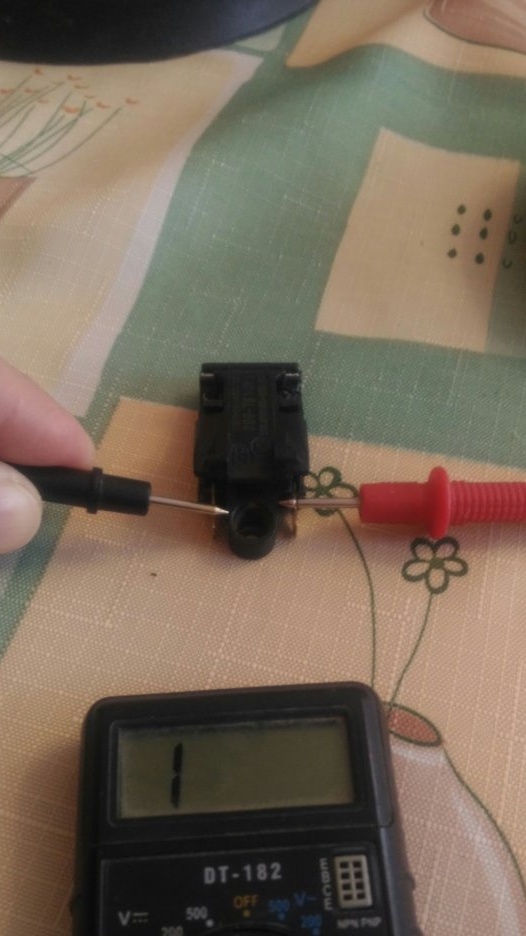
Disconnect it from the wires. We call the tester. The tester shows a break.
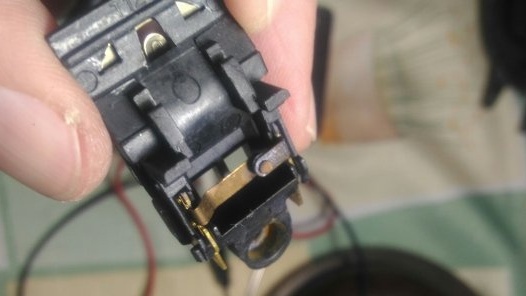
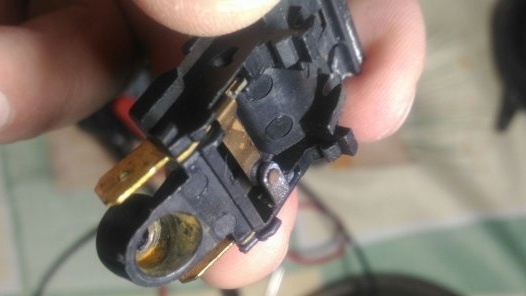
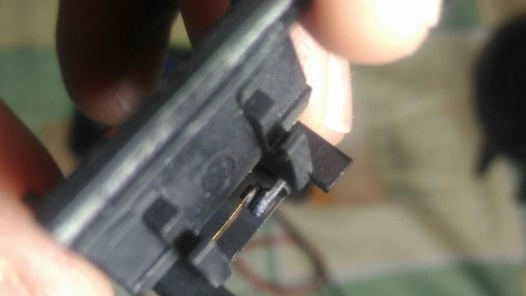
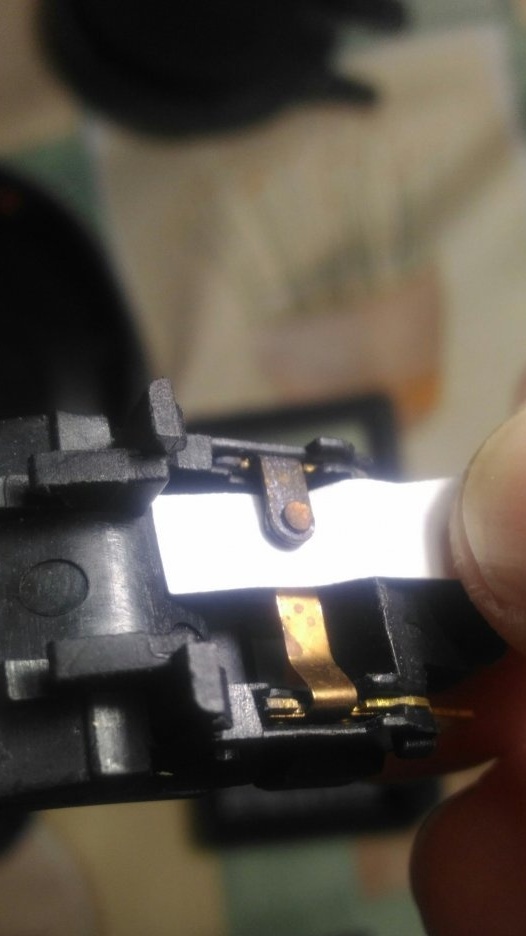
We disassemble the switch. Its upper part, having applied the necessary effort, is shifted towards the contacts and raised to the top. What we see, we see soot on the contacts of the switch.
Then with the help of a very fine skin, or better with a strip of dense fabric dipped in vodka, we remove carbon deposits.
call the switch. Everything works. We assemble the kettle in the reverse order.

