
Hello dear readers of the site!
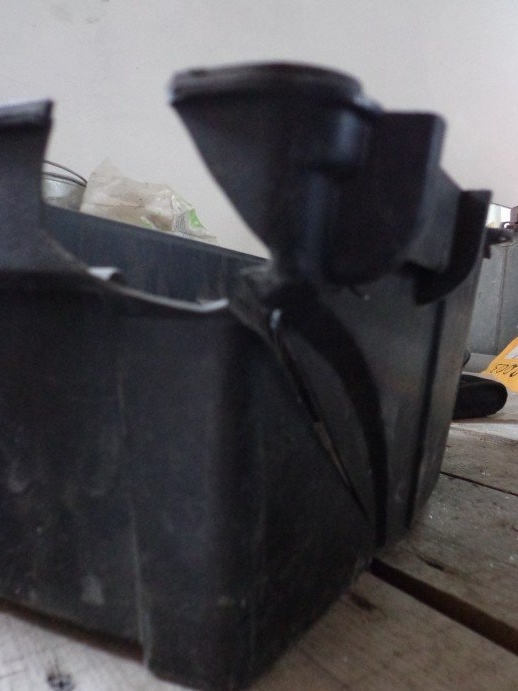
I bought a box, ordinary plastic, in order to carry 125 grinders on small "shabashki". It often happens that a little grinder is faster and easier to do some work than 230, because it is bulky and heavy. Well, it happened that the circles crumble and the key is lost, once it was, put the grinder and the disk broke ... I put the metal door (old) into the new house temporarily until a new “final” was bought ... And at one fine moment it blew unexpectedly a strong wind and, just leaning the door against the wall, blew off and it fell right on the box (the box was only a month after purchase), after this moment the idea came up, after repairing that box, remaking it into a compact organizer.
Materials and tools:
- plastic tool box
- UShM 125 (Bulgarian)
- soldering station with hairdryer or soldering iron (used 100 watts)
- trimming plastic sewer pipe 110mm
- plastic cuttings PP (polypropylene) of a rectangular shape (or a suitable shape) at least 2 mm thick
- metal scissors
- linen cord marked PP (polypropylene)
- broken plastic tool box (you can use any plastic marked PP or so that there is an “in triangle 5” icon) if there is a 2 mm bar
- degreaser
- masking tape
- RESPIRATOR, MANDATORY KNOWLEDGE OF SAFETY AND preferably glasses
Unfortunately, I can’t depict the whole process in the photo, the card with the info is “screwed up”. I will try to describe the process in detail on the missing photos.
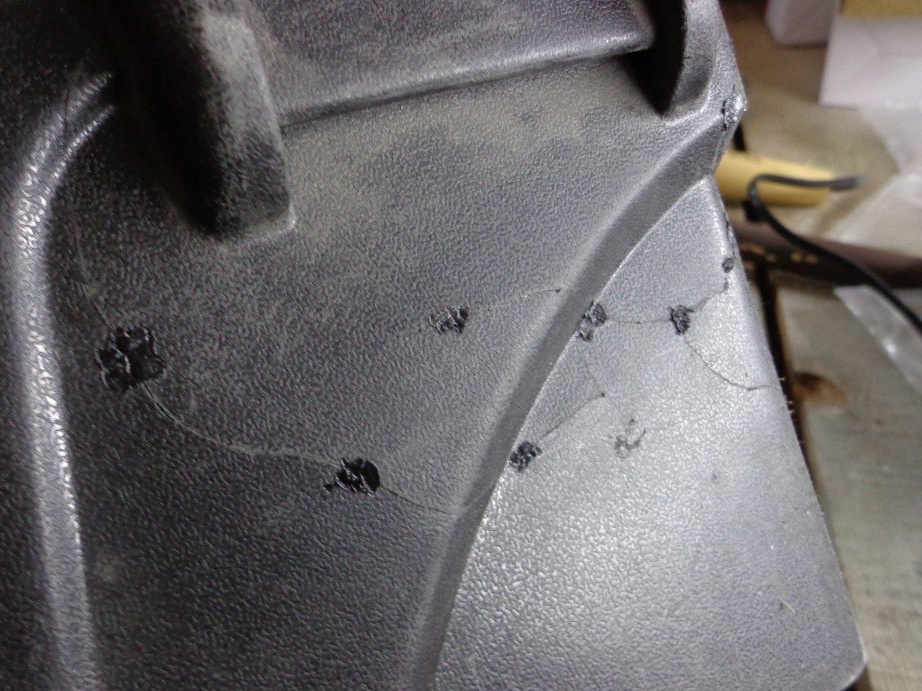
Step 1: Remove Unnecessary.
Before starting work, you must:
- remove all unnecessary (cover)
- put together all the pieces of plastic
- arrange them so that it is clear which piece should occupy which place
- degrease before soldering

Step 2: Prepare the material.
In this step, I will explain what exactly is required for soldering cracks, for those who uploaded videos and wrote articles on a similar topic, unfortunately, a very narrow explanation.
It is necessary to measure the thickness of the material that you are going to weld-solder (hereinafter solder). In my case, the wall thickness of the plastic box is (I just can’t write), about 1.5 mm.Based on this size, we select, not necessarily sheet, plastic. It can be bottles from shampoos (shower accessories), and children's toys, and housings of household appliances, or pieces of plastic, even household buckets, like washing floors and lots of suitable plastic can be found somewhere.
Remember !!!! What is written above is necessary for cutting strips (optimal width 2-3 mm) or rods (2x2 mm), so that these strips can be used to weld a crack. Also, if you do not care about the aesthetic part of the work, then you can take plastic of any color, even pink or transparent. If you have a case from any equipment, then before cutting, carefully inspect, mainly on the inside, for symbolism. The designation with the type of plastic, in our case polypropylene, looks like this:
> PP

As the strips were picked and cut, the strips should be approximately 1.5-2 times longer (in total from the length of the cracks), we begin to prepare a place for work. We lay out all the fragments of plastic as described above. We free the table and get ready for work.
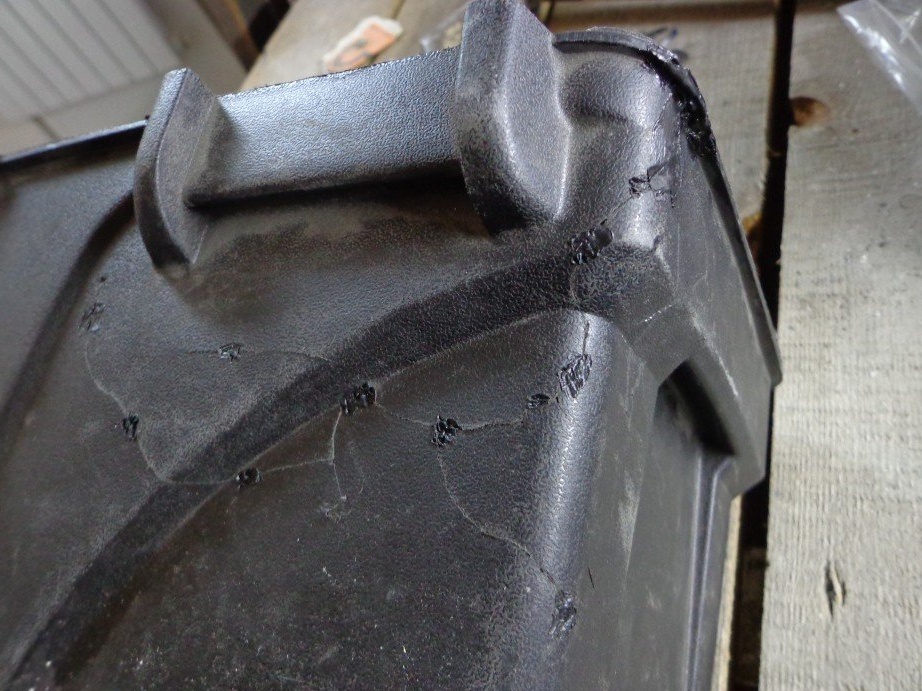
Step 3: Soldering the plastic.
Before you start returning all the fragments to their places, they must be cleaned of dust and dirt, otherwise all the work will be done as well.
So, in order to return them, we tear off pieces of masking tape and glue them from the inside. then we take pieces of plastic and press them into place so that they stick to the tape in the joint crack. As a "wall" is formed of glued pieces, on the free side of the adhesive tape we make "tacks" with a soldering iron (small points).
As soon as the "face" made the oven gloves, you need to make sure that they are securely soldered.
if they do not fall off with fingers with not strong pressure, then you can start soldering with rods.
Turn on the soldering station and set it to a temperature of about 195 degrees (in fact, the interval was from 180 to 210, I felt at what temperature it was more convenient to work, so I can’t accurately indicate what temperature was in the process). Everything is known in the process and over time.
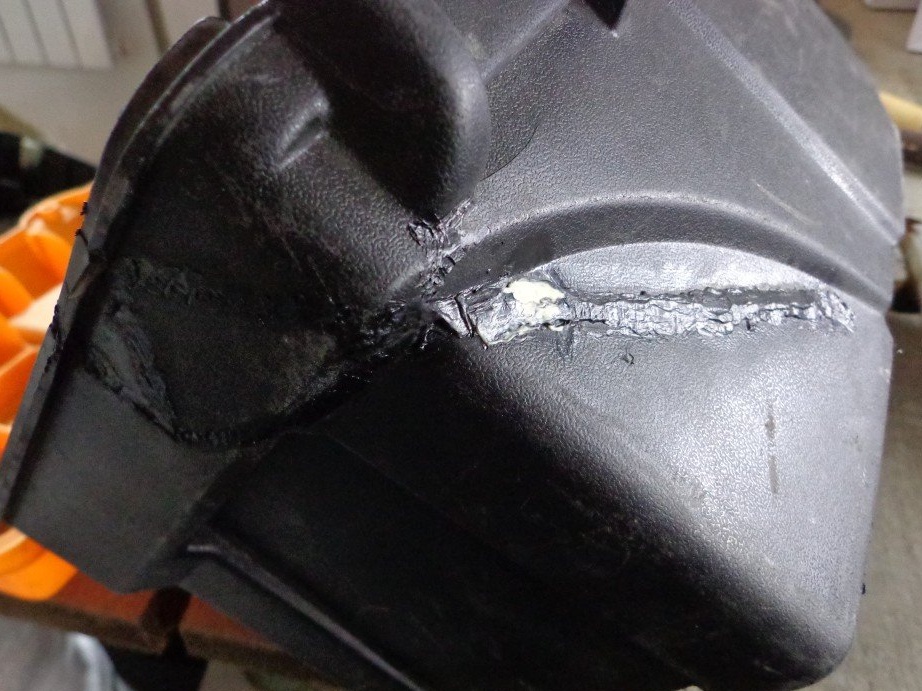
Before starting the process, you need to bring the bar to the beginning of the crack and bring the hair dryer from the station. We wait about 5 seconds and see if a drop of molten plastic appeared at the junction between the rod and the crack. As soon as it begins to melt, we begin to slightly press the rod and maintain the molten drop without taking the hair dryer away from the junction.
Thus, the crack will begin to solder ..... see photo
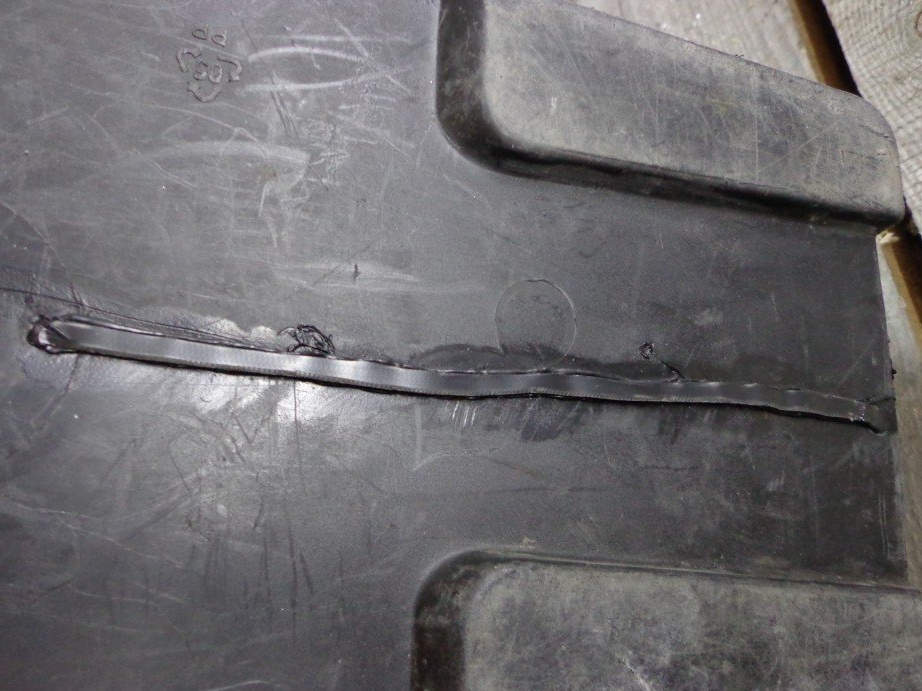

After I soldered all the cracks, then I went over with a soldering iron in order to smooth out all the sharp edges that could then get in the way.
As soon as the box returned to its "original" appearance, we proceed to the planning of places for content ....
Step 4: Layout.
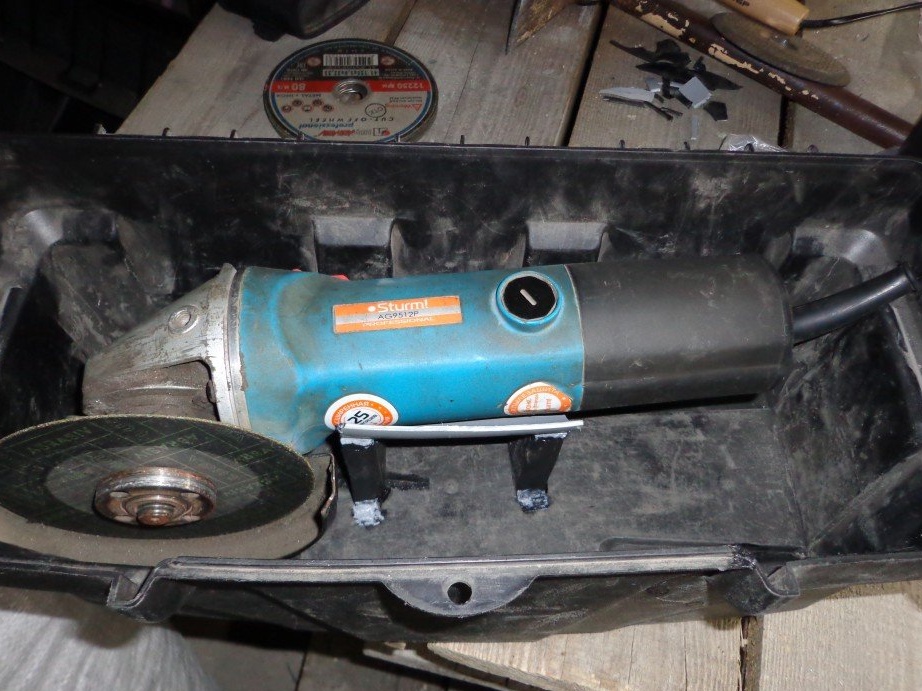
The box picked up the length of the grinder itself! First we put the grinder, put all the other accessories in the free space and figure out how everything will be arranged and begin to pick up pieces of plastic that will subsequently form the organizer cells.
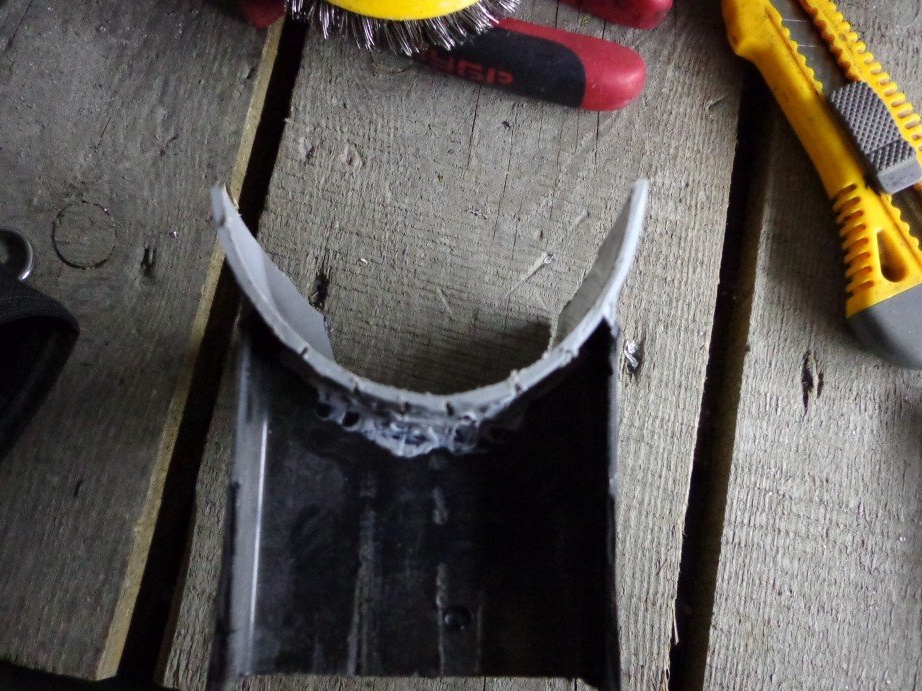
So that the Bulgarian does not fidget around the box, we make a half out of the plastic sewer pipe 110 to cut the bed, cut off half.
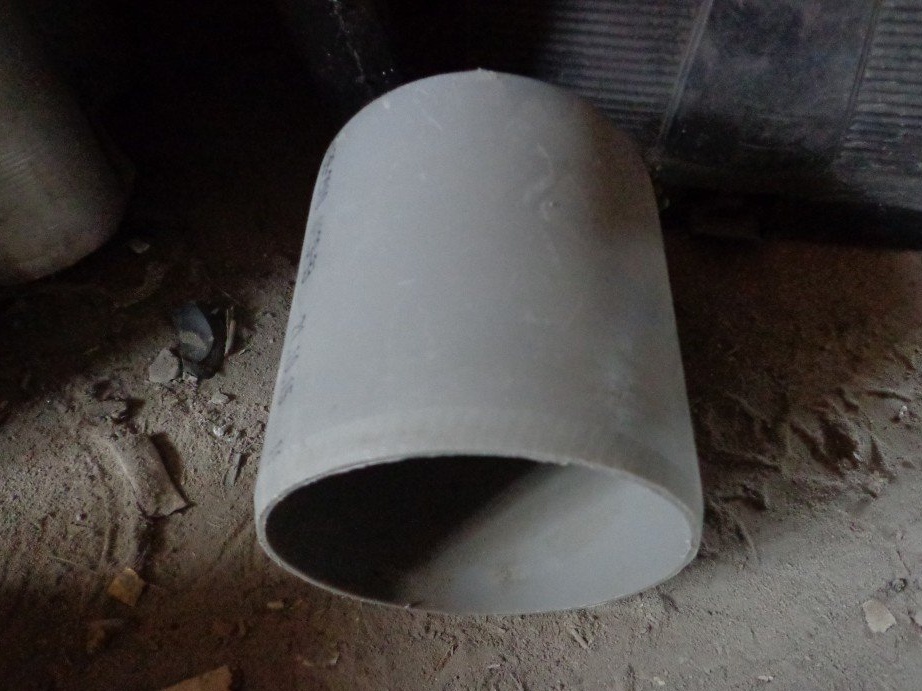
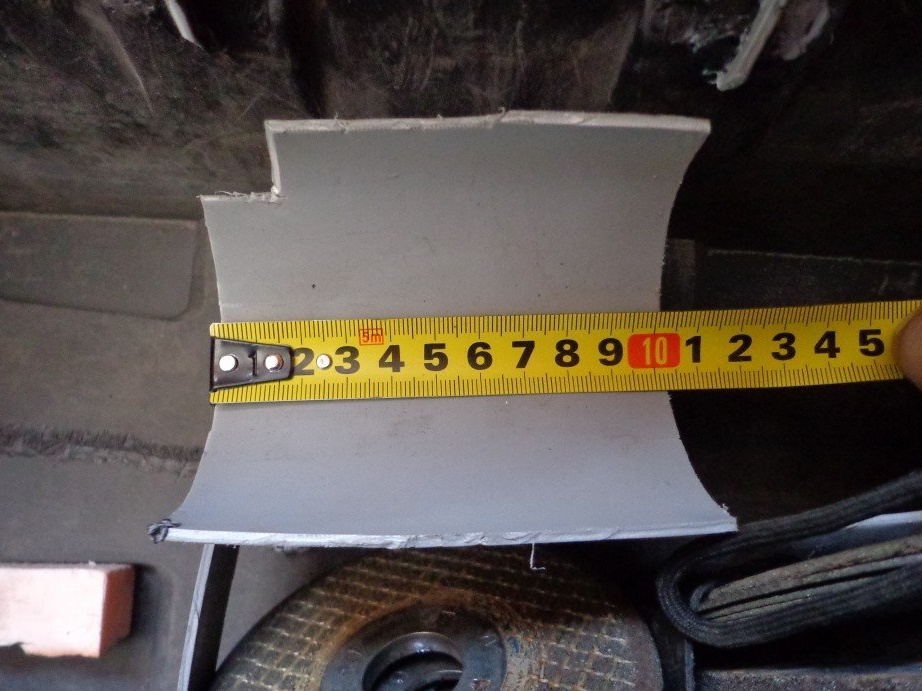
I got this detail 10 cm in length.
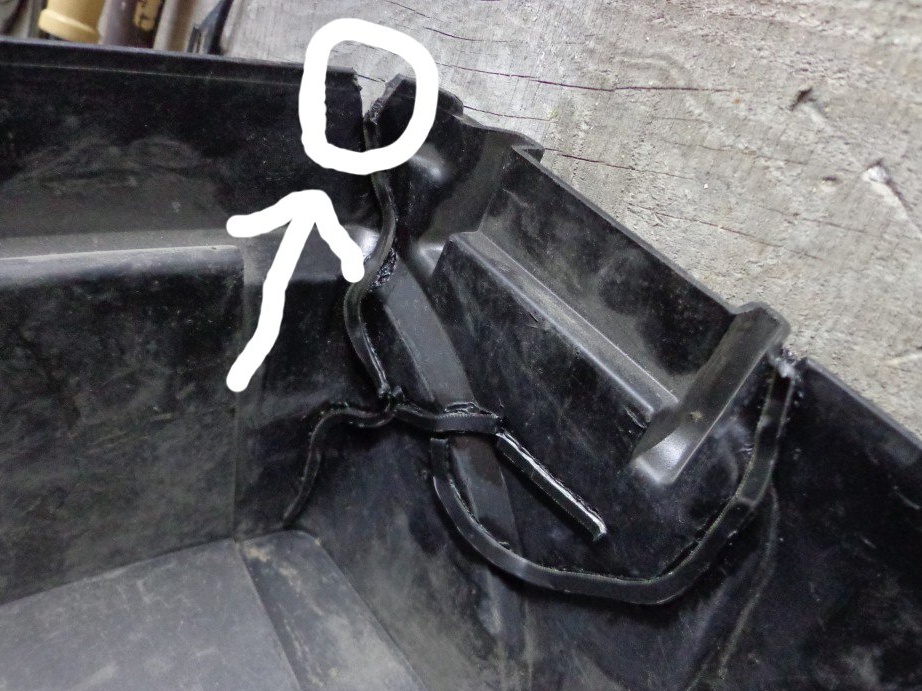
Because the pipe is larger in diameter, and the grinder is about 80 mm in diameter (approximately, all manufacturers have their own standards), then a piece of pipe from the outside should not be cut along not to the entire depth of the plastic, this is necessary so that with the help of electrical tape to give the shape of the grinder body, and it will be easier to make put the grinder in this piece of pipe and wrap it with tape at the edges so that there is room for fusing into the sawn paths from the outside (the photo shows a black spot on gray plastic)
Before the place for the grinder is ready, you need to determine the height of this bed, it is better to make it 5 mm higher from the bottom, for this you can use old cd-dvd discs or use the circles themselves for the grinder. Well, or something suitable for this determination of the height of the legs.

As the molten plastic froze, we can start inventing the legs for this bed.
I used a plastic casing from the office chair (a part that covers the metal cushion of the back of the chair).

This part already has, albeit rounded corners, but at 90 degrees.
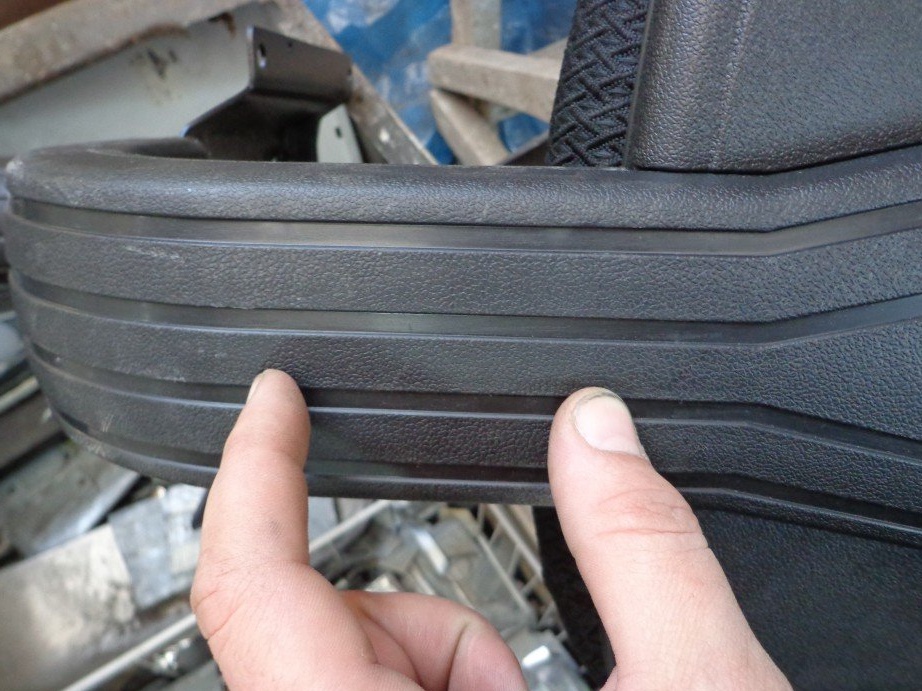
We cut out from this casing (it is better to saw with a grinder if there is a speed regulator) a part, the height of which was shown by the linings under the ear, i.e. at what height the tool will be from the bottom of the box.
(I show with my fingers which segment is cut off)
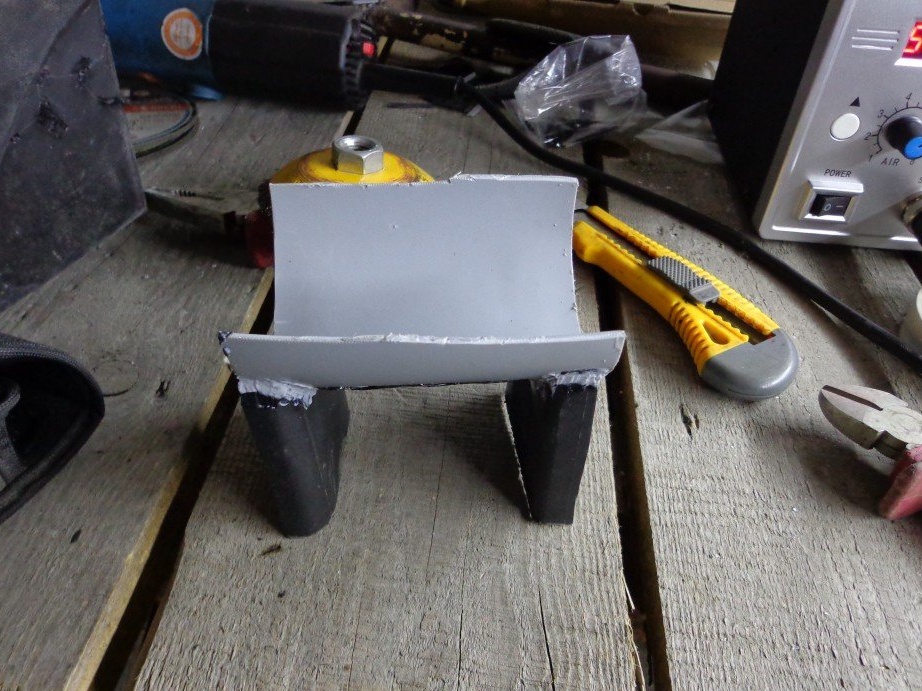
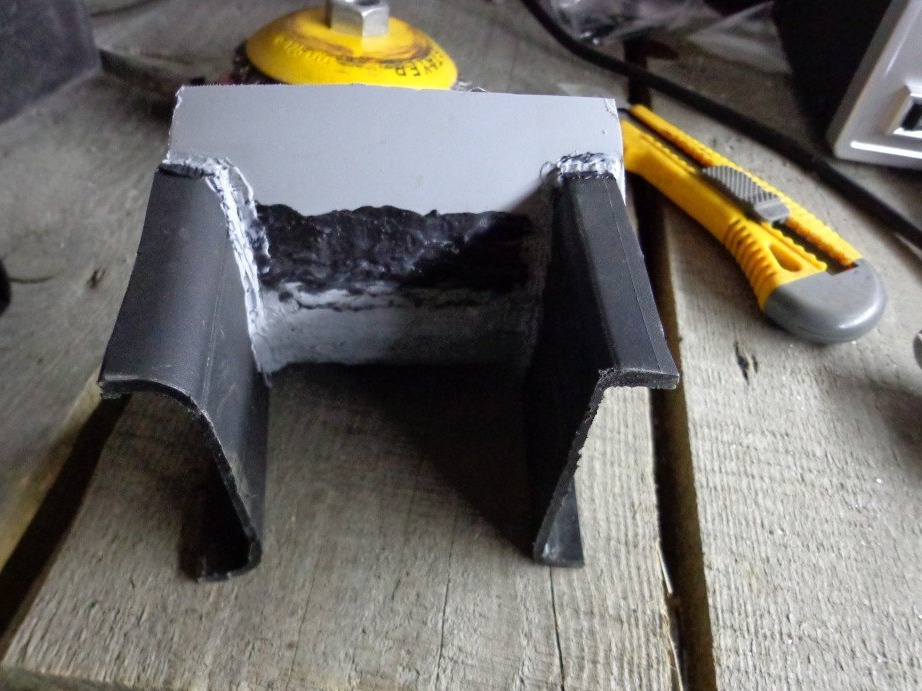
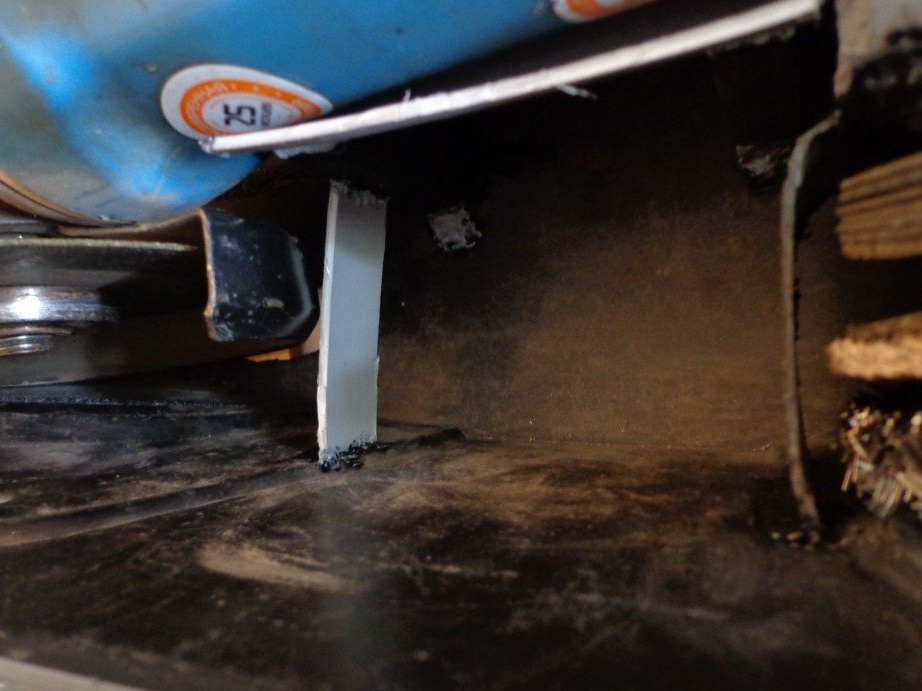
This casing has the shape of a square pipe, it must be cut in the middle of the sides that are smaller. We solder them to the resulting bed with pre-prepared bars.
Solder this design to the bottom of the box. Here I had to solder with a soldering iron, because the hair dryer from the station did not fit in with the hand (holding the bar). It will be easier to solder if you cut off a piece from the bar and simply attach it to the place where the soldering will be performed. And moving the soldering iron from side to side, we float on the leg and bottom of the box. The most important thing is that the walls are also heated, the plastics are soldered.
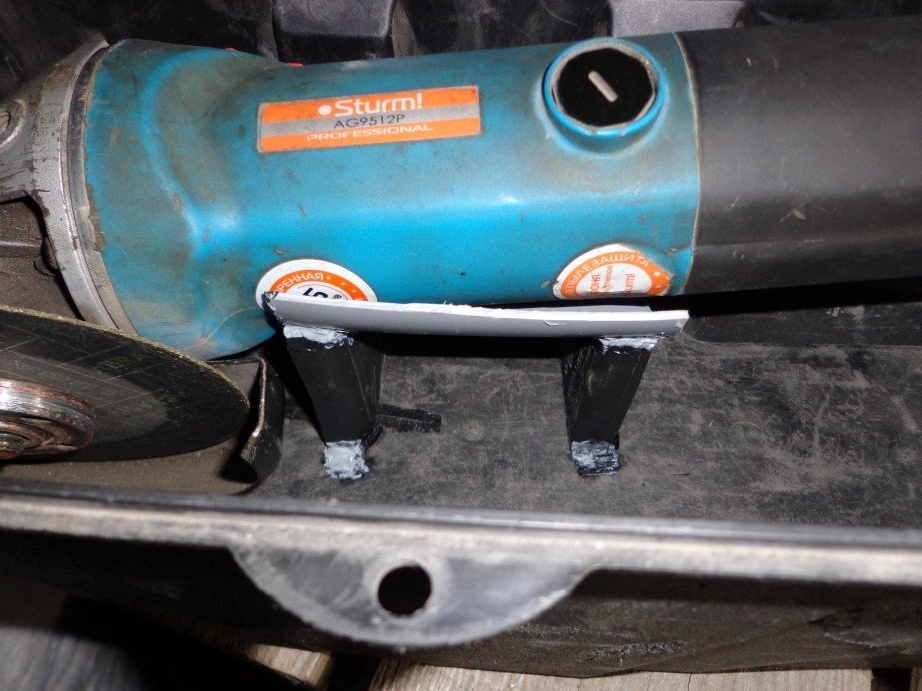
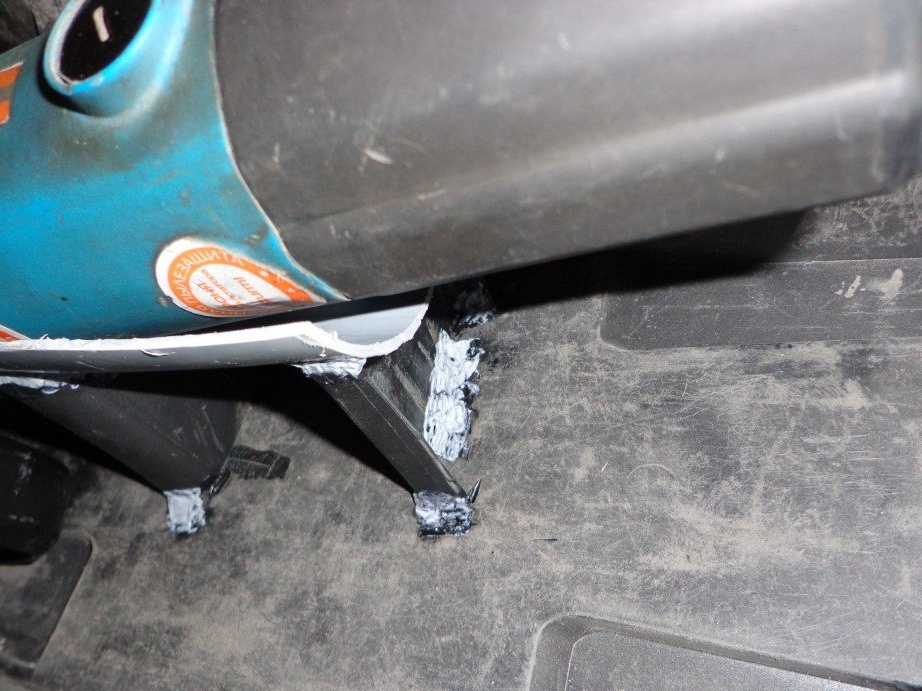
We get the result
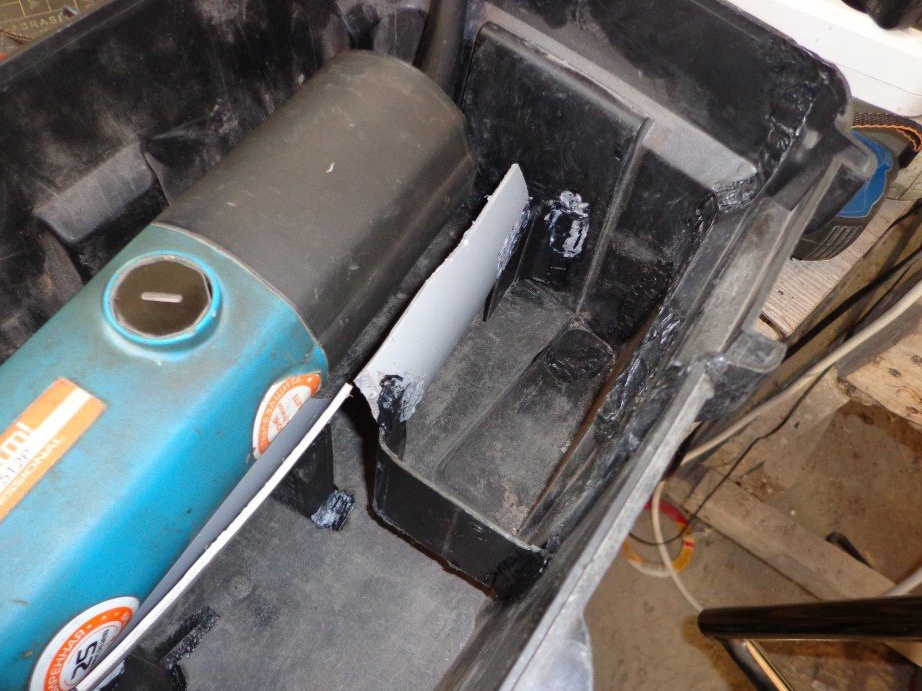
Now we proceed to the compartment where the discs will lie (more precisely, it will stand).
From the same casing of the chair I cut, as for the legs, a piece 4 cm in size (obtained in height). In order for the disks to not cling to the wall of the pocket during installation, we make the edge of the same pipe. Rounding will help us. We direct the rounding towards the grinder. And solder as did with the legs.
We put in disks
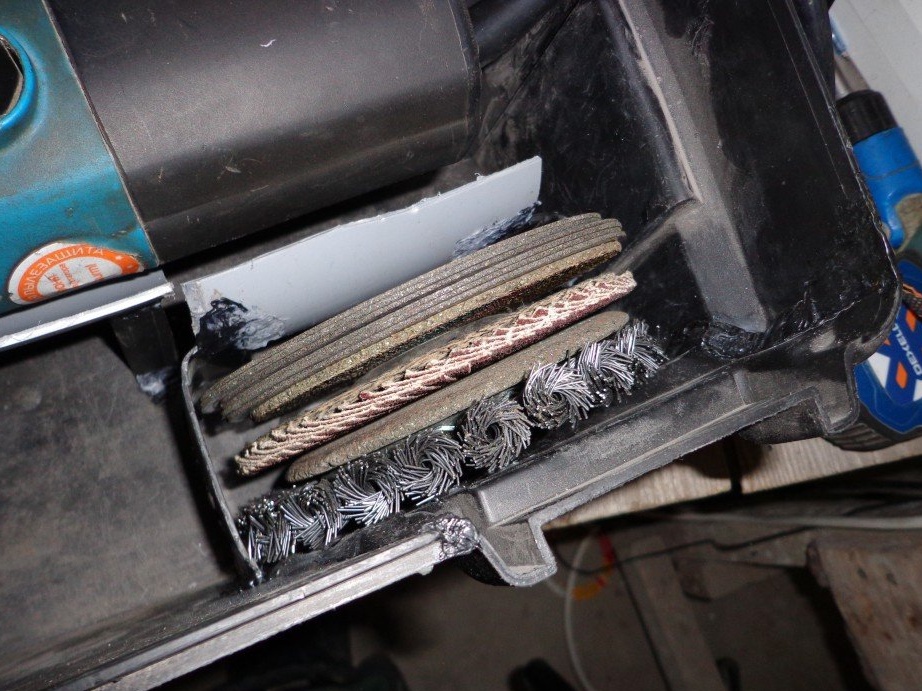
With a compartment for small “bits” that might still be needed, it was easier. I welded a small strip of plastic between the box wall and the place for the grinder, the distance coincided from the strip to the compartment of large circles.
Well, now there is a place for a key.
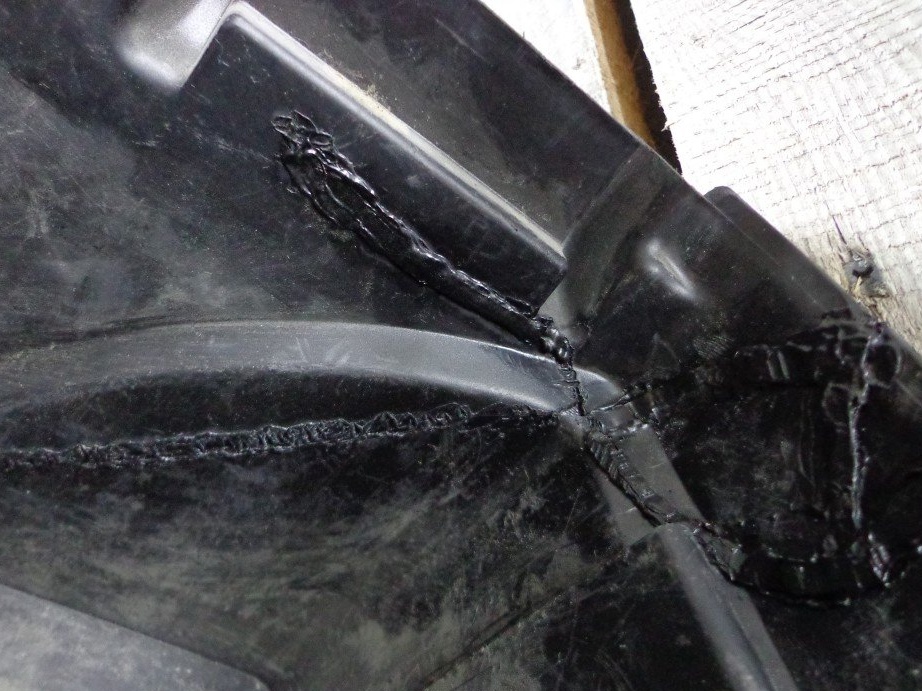
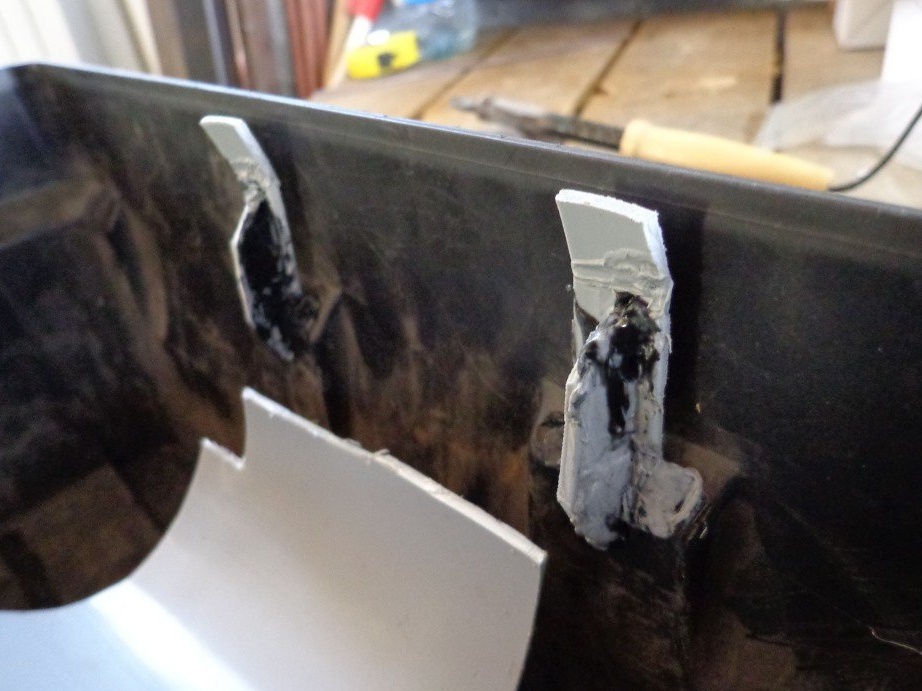
I cut 2 strips of 2 cm wide about 6 cm high and soldered them to the back wall. Soldered to the bottom of them.
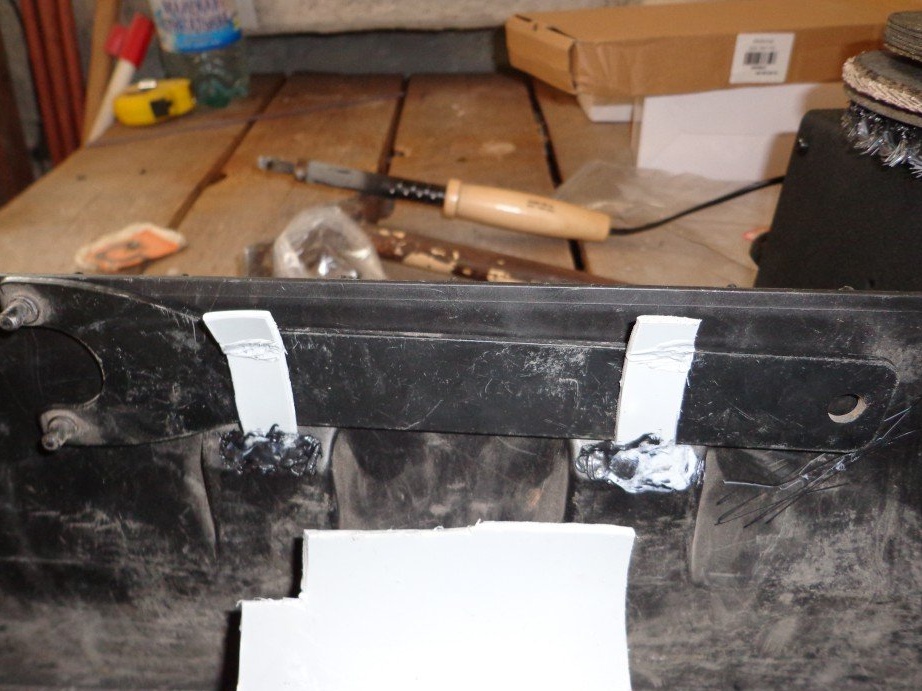
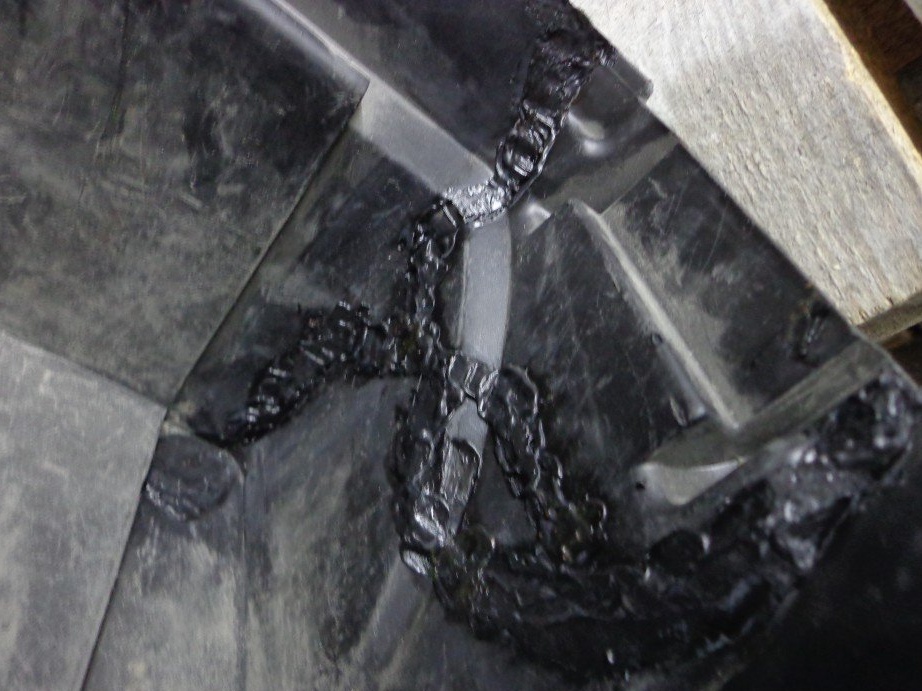
To reinforce these clamps, I also had to cut two diamond-shaped plates. They are needed so that the solders in the lower part do not come off. We solder them perpendicularly to the soldered plates to form a T-shaped fastener, or, more simply, a tee in cross section.
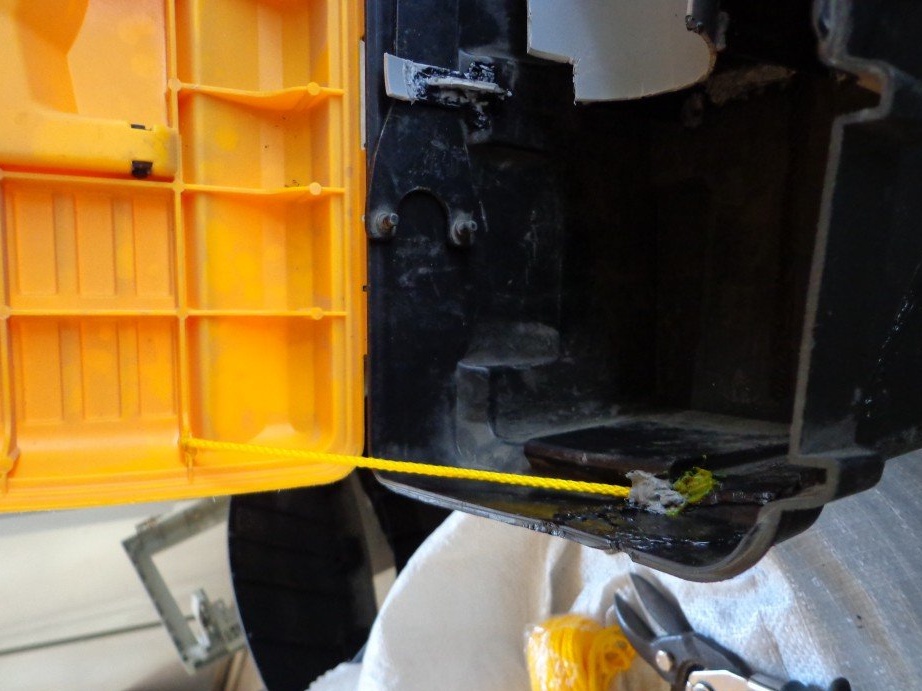
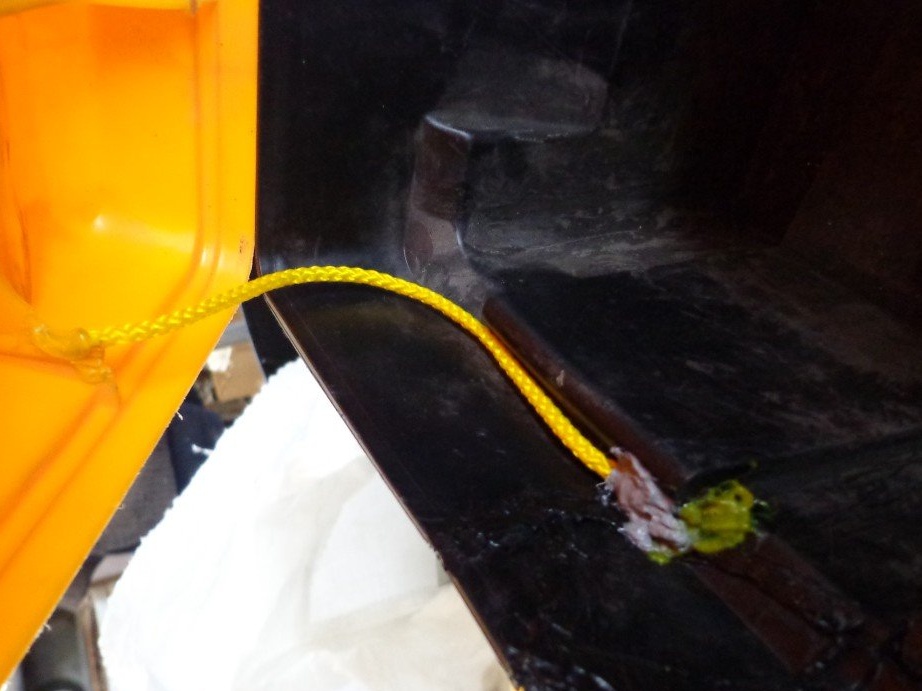
The final notion is the lace, which will limit the folding of the lid.
The cord is ordinary linen, by the way the same material, polypropylene (it was written on the package). If you use the cord which is in the household, then you will either have to drill holes in the stiffening ribs and fasten, or solder the plates - drill holes - tie the cord. In my case, it successfully coincided that when closing the drawer, the cord is laid exactly along the wall.
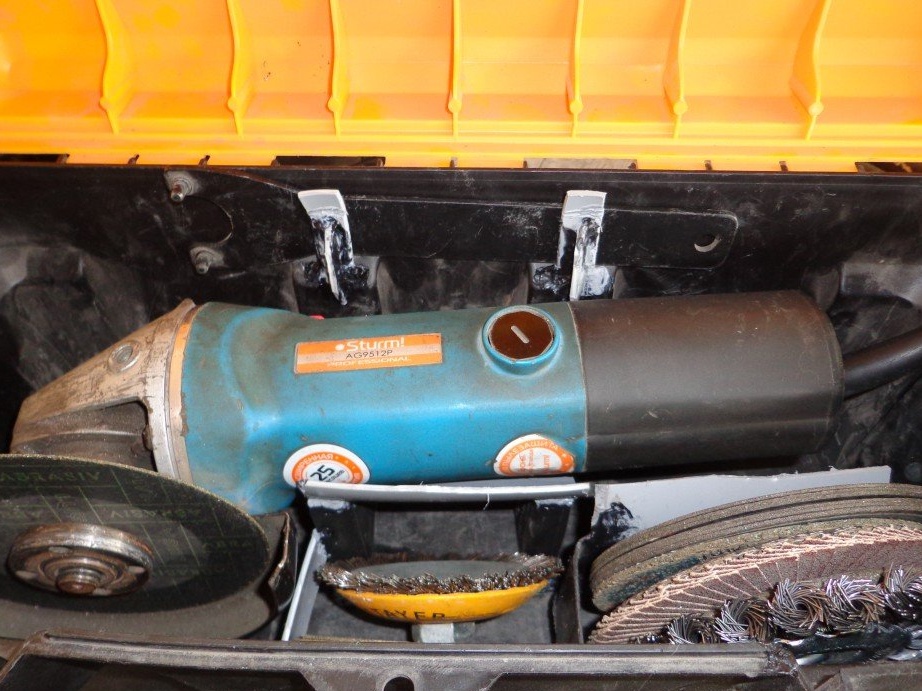
Step 5: Everything has its place.
And now the climax.
In the finished organizer box we put what should be stored there.

Step P.S.
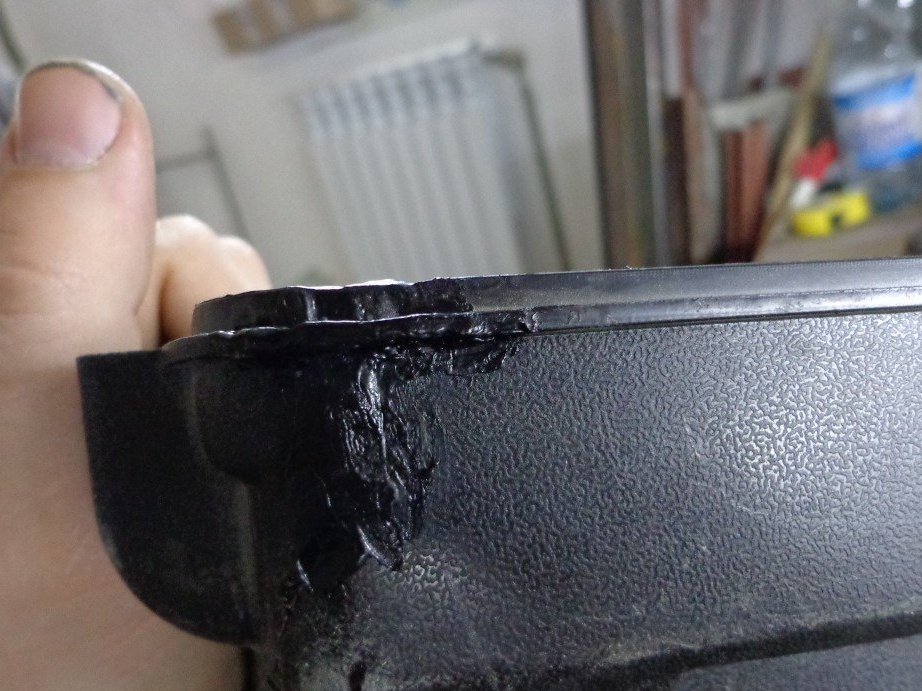
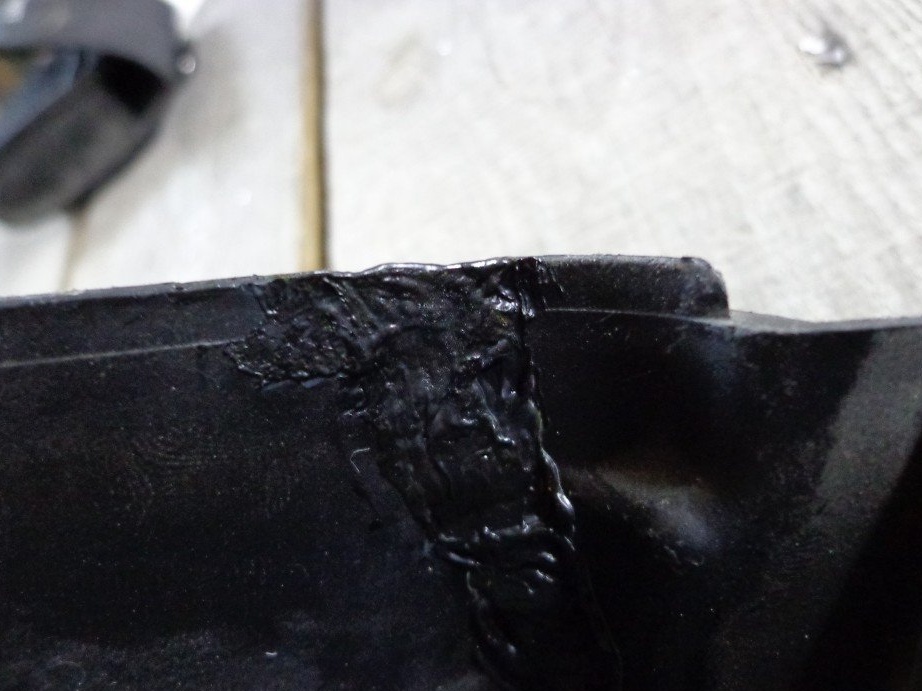
There was a place from which a piece of plastic was lost.
I solved the problem! Having applied a piece of plastic from the inside, scratched the contour with an awl, cut it out, inserted it into an empty place, and immediately with a soldering iron it disappeared through the crack and restored the lost piece.
The box is ready for use.
Box already traveled in the trunk auto with scrap metal and other tools, take a word, nothing happened to him. There are no cracks, despite the fact that I did not use a reinforcing mesh!
This homemade product is useful in a very wide range of applications. so go ahead :)
The most important thing is that: Brains are not vegetables and hands are not from f ***, from the right place :)
Thank you for reading the article! Good luck to everyone in homemade!