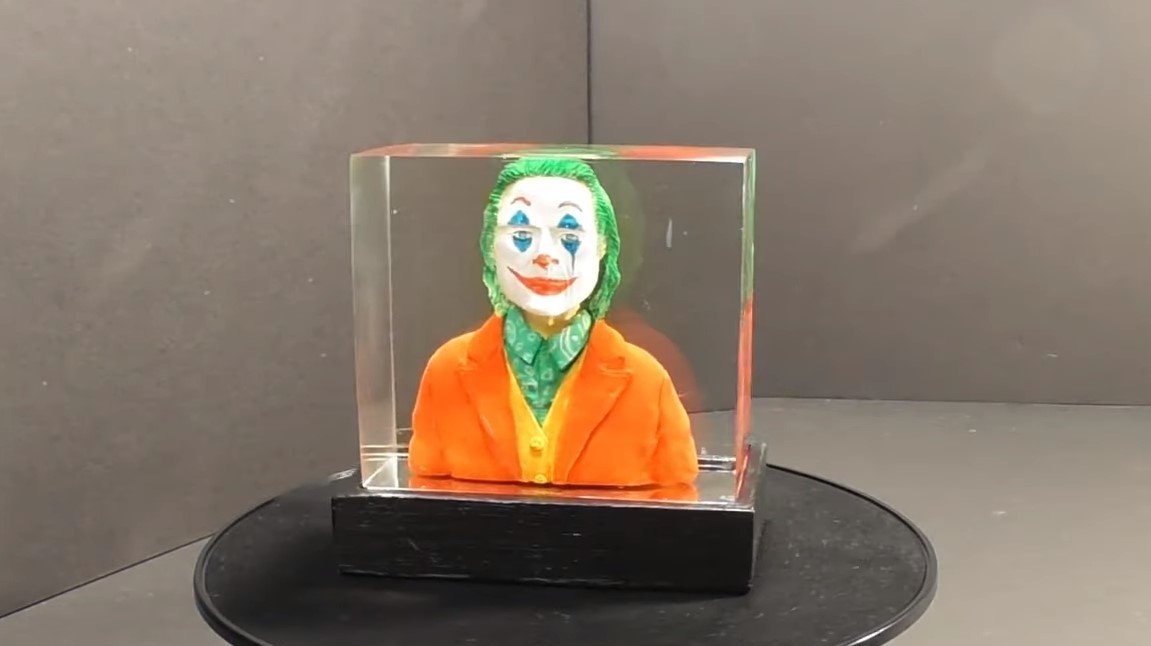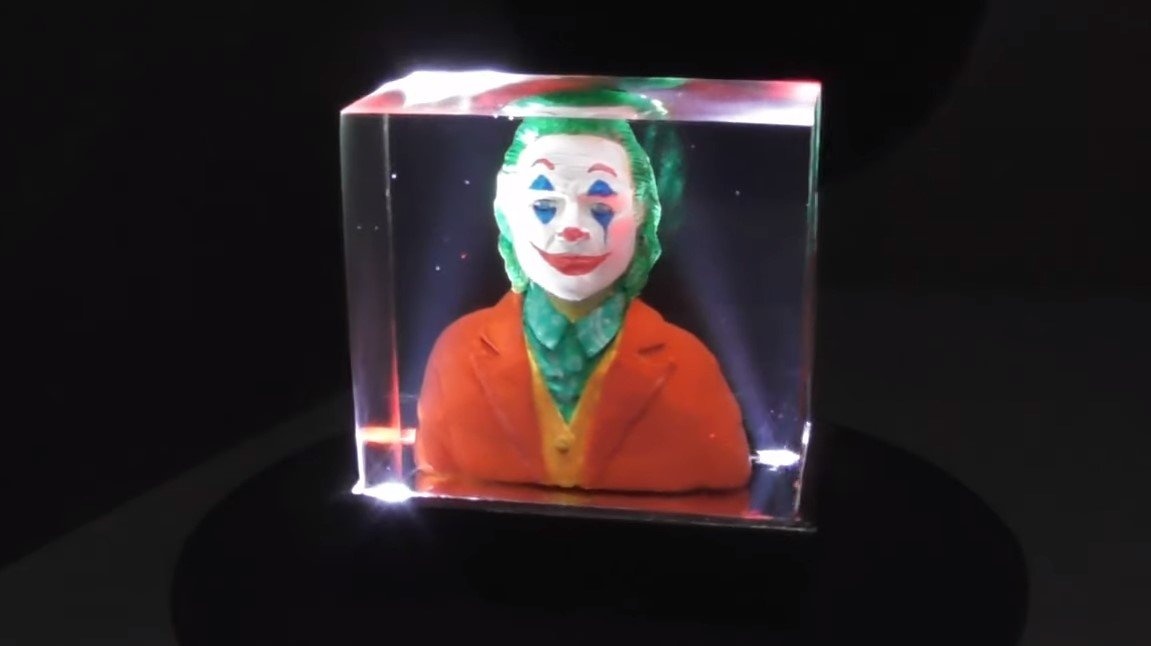

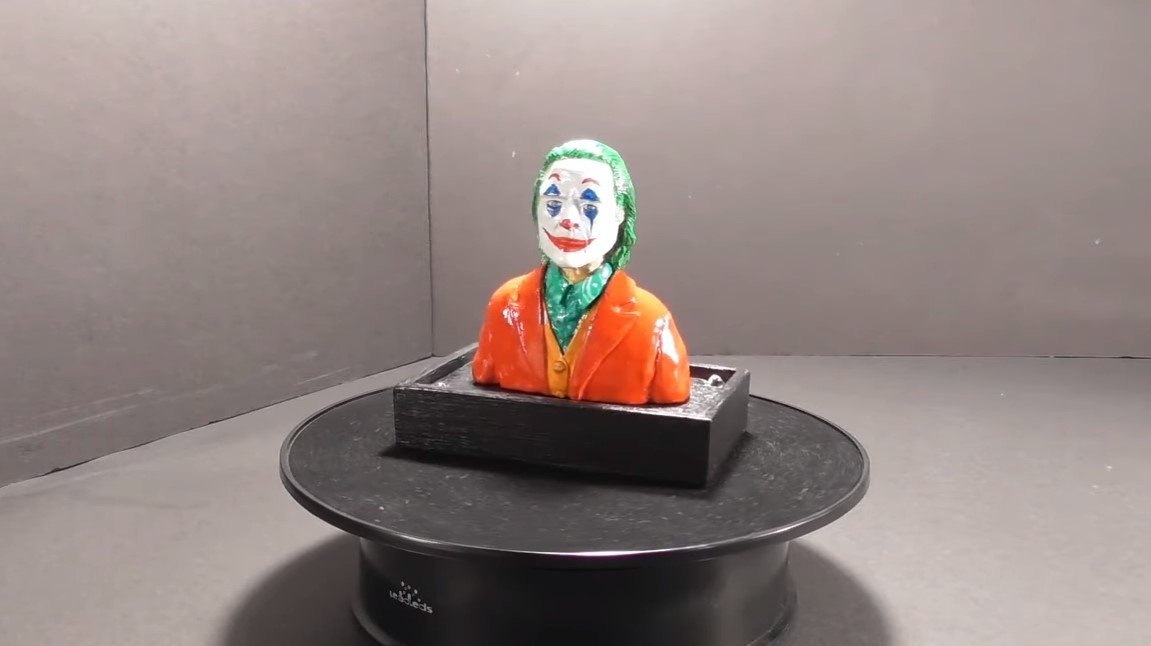
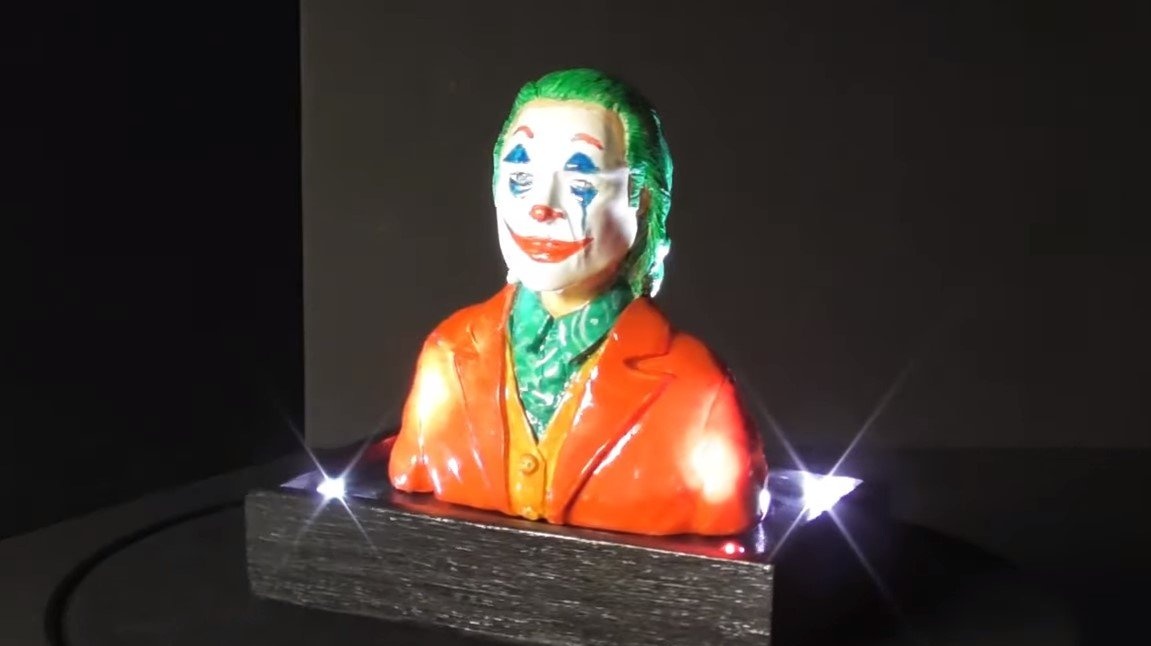
Hello to all lovers to use their brain and hands for their intended purpose. Today we will look at how to make a unique night light with a Joker. Homemade it looks quite interesting, mystical, the Joker in the resin looks like a living, it seems that he is about to wink. The author made the joker himself out of polymer clay, the backlight is provided by four 3V LEDs each. The 12V power supply is formed by 4 flat lithium batteries of 3V, for each LED there is one battery. If the project interests you, I propose to study it in more detail!
Materials and tools used by the author:
Material List:
- polymer clay;
- paint for coloring;
- a toothpick;
- plywood;
- black paint for wood;
- switch;
- battery compartment for flat batteries;
- 3V flat batteries;
- wires;
- 4 LEDs (red and white);
- sheet acrylic.
Tool List:
- sandpaper;
- glue gun;
- stationery knife;
- a tool for working with clay;
- oven;
- soldering iron;
- mini circular or hacksaw.
Homemade manufacturing process:
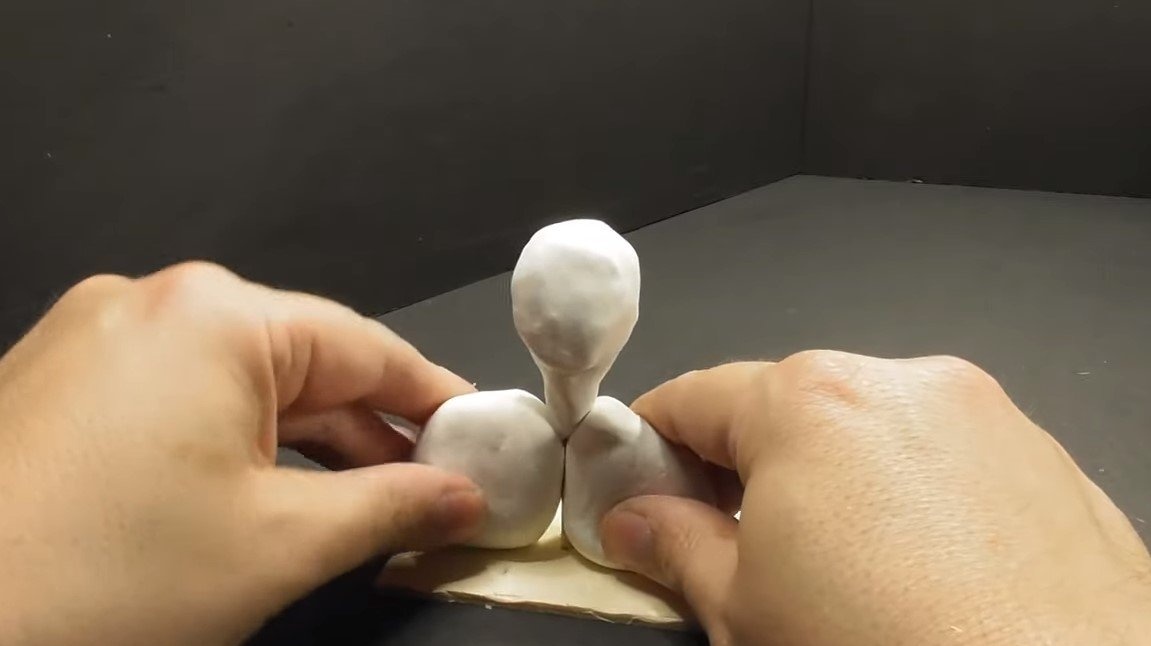
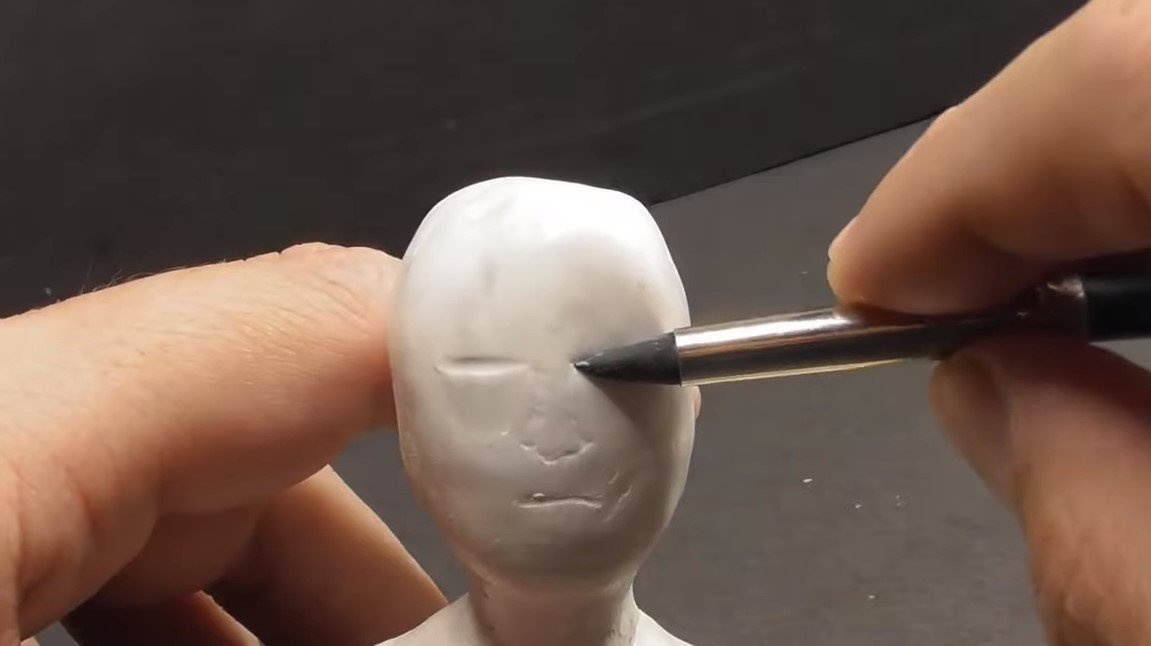
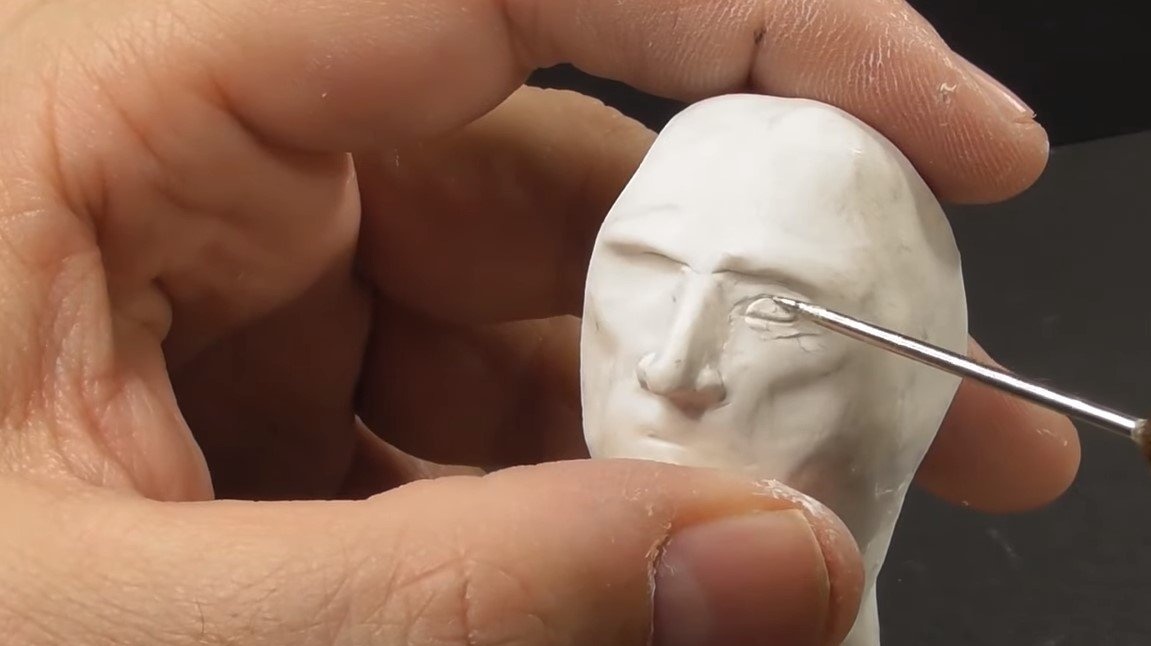
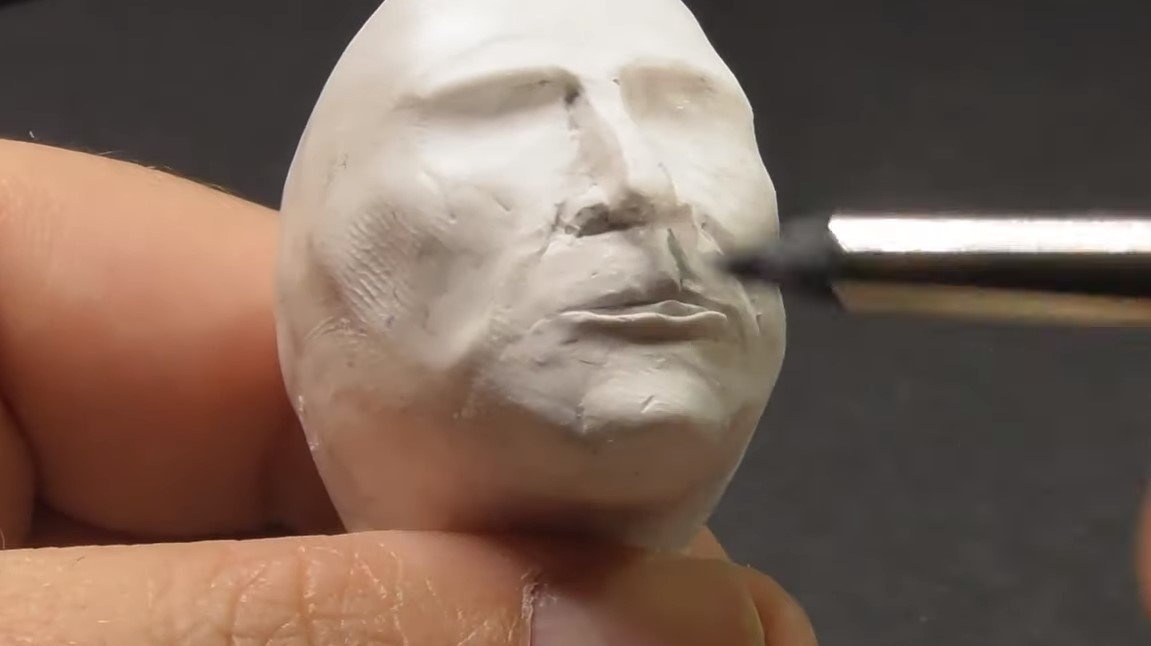
Step one. We make a joker
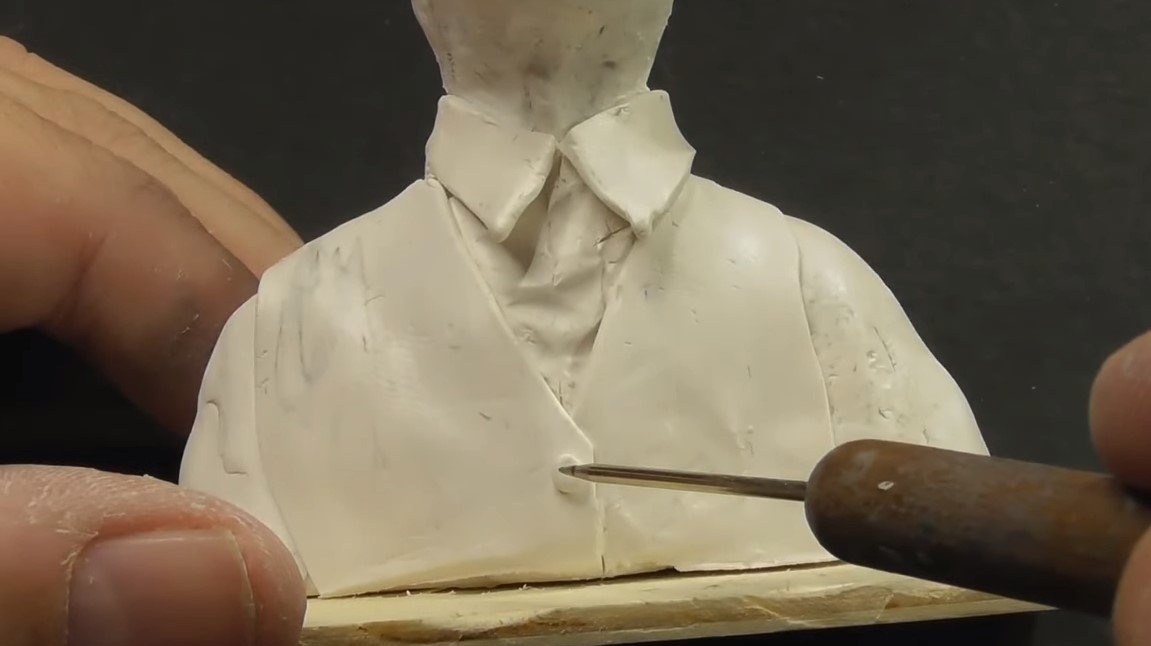
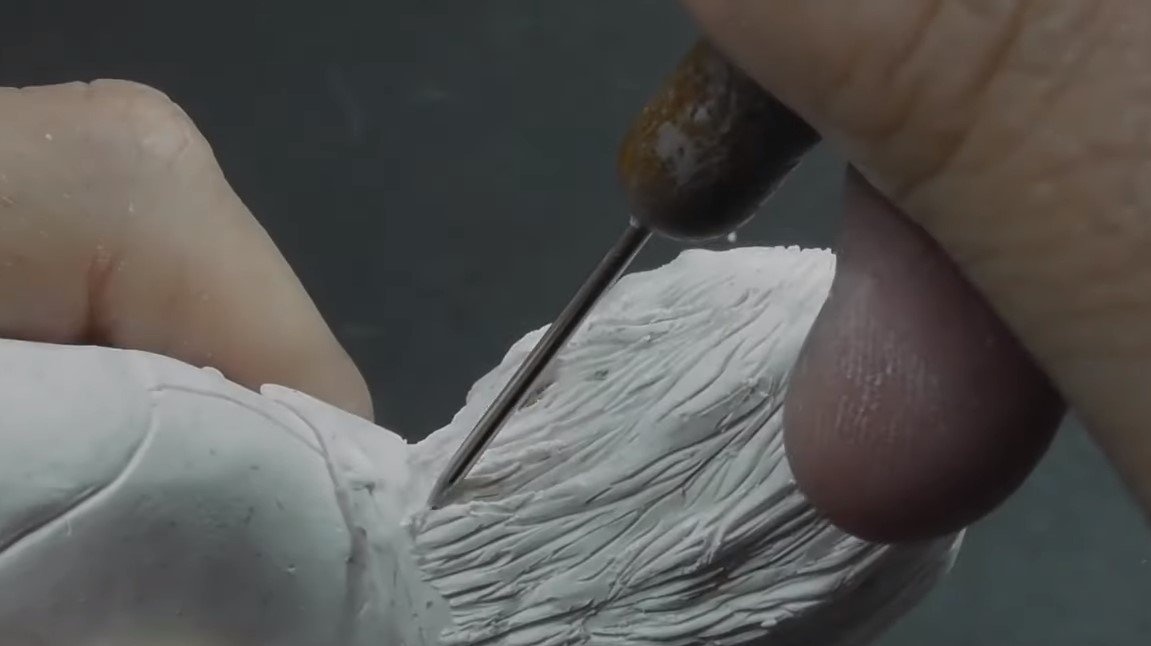
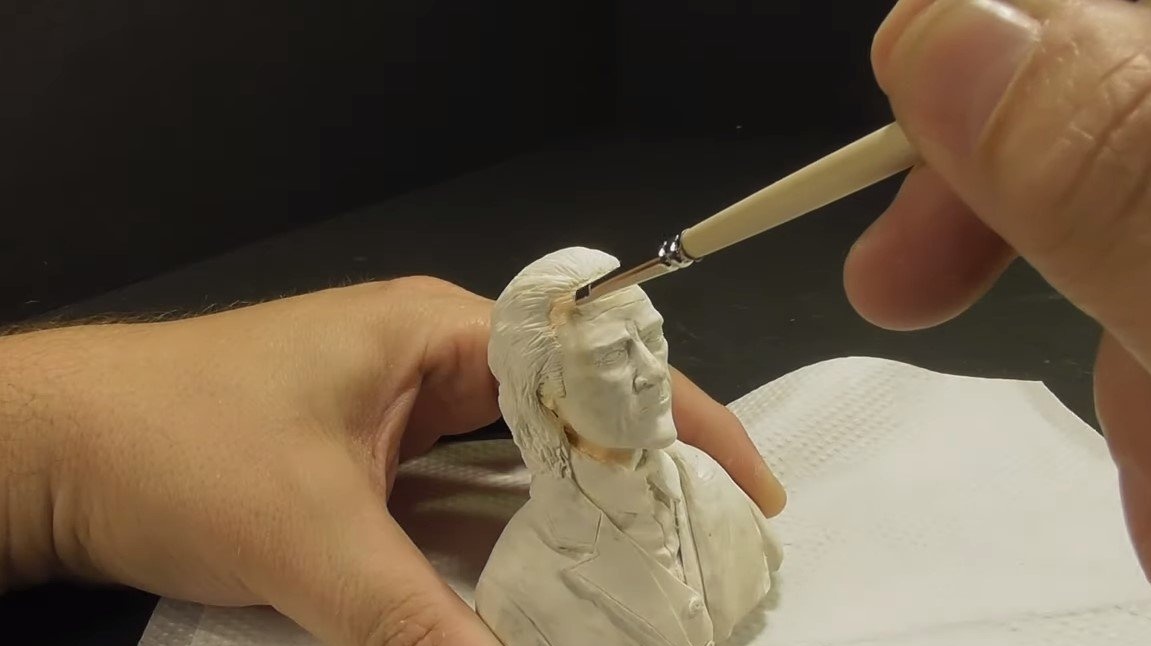
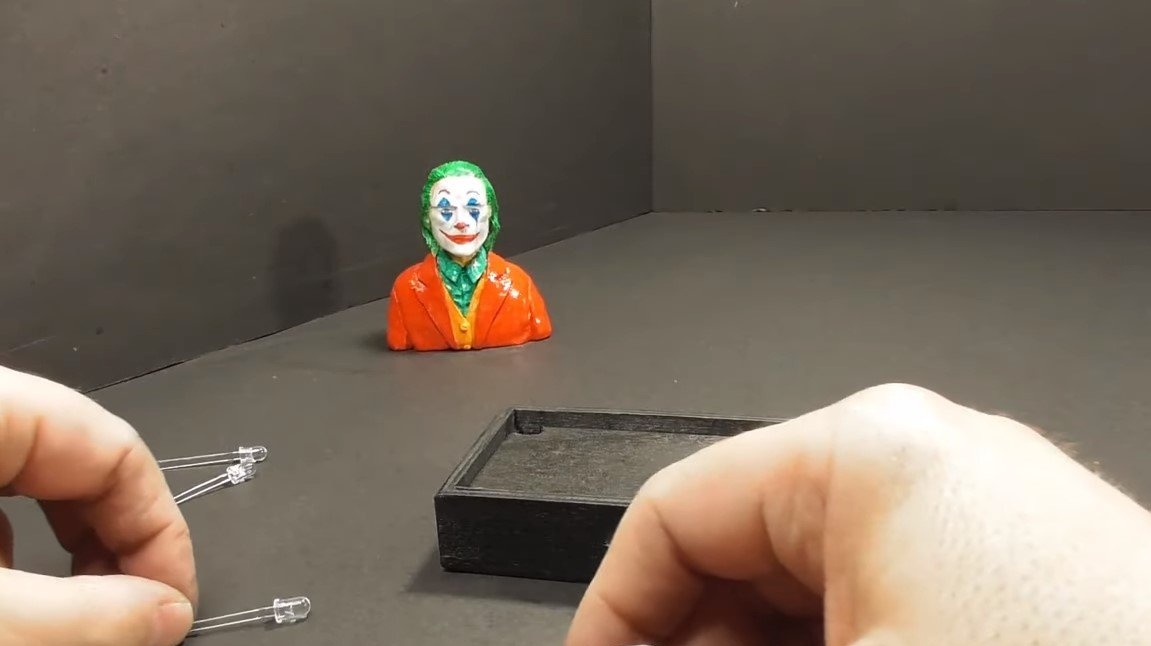
First of all, we take polymer clay and sculpt a figure resembling a male organ, even in self-made people are born like that. So that the whole structure does not fall, you can use toothpicks as a "skeleton". Gradually form the head, torso and other details. As a result, you should get an elderly man in a jacket. Once the figure is ready, bake it in the oven at a temperature of 130 ° C for half an hour, the clay will harden.
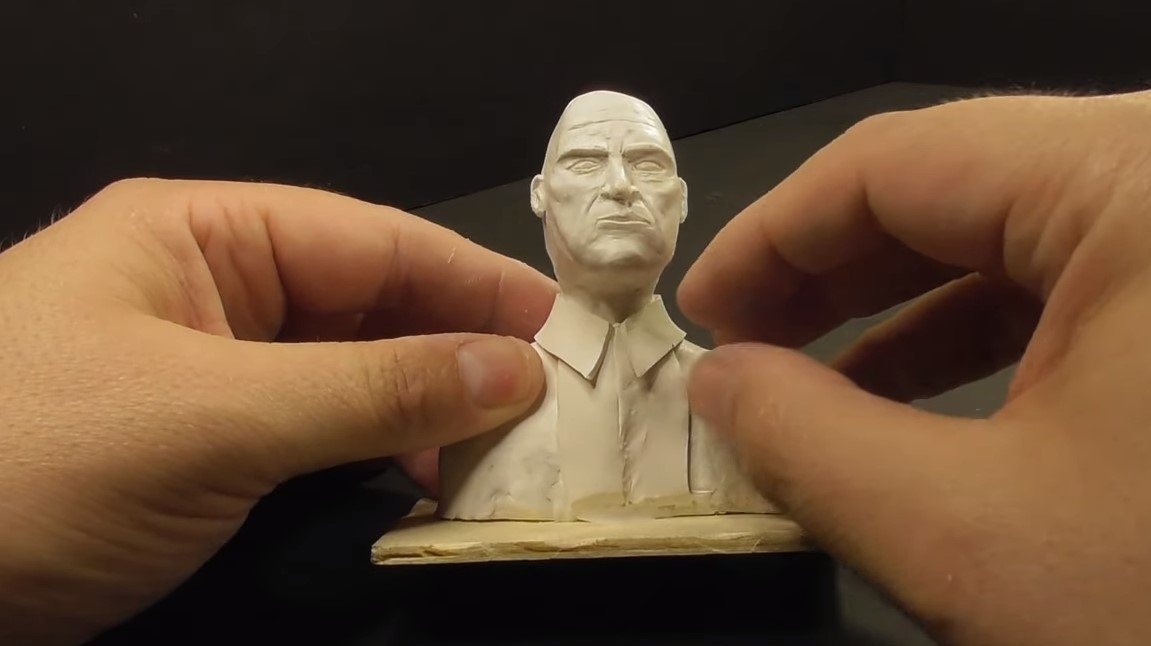

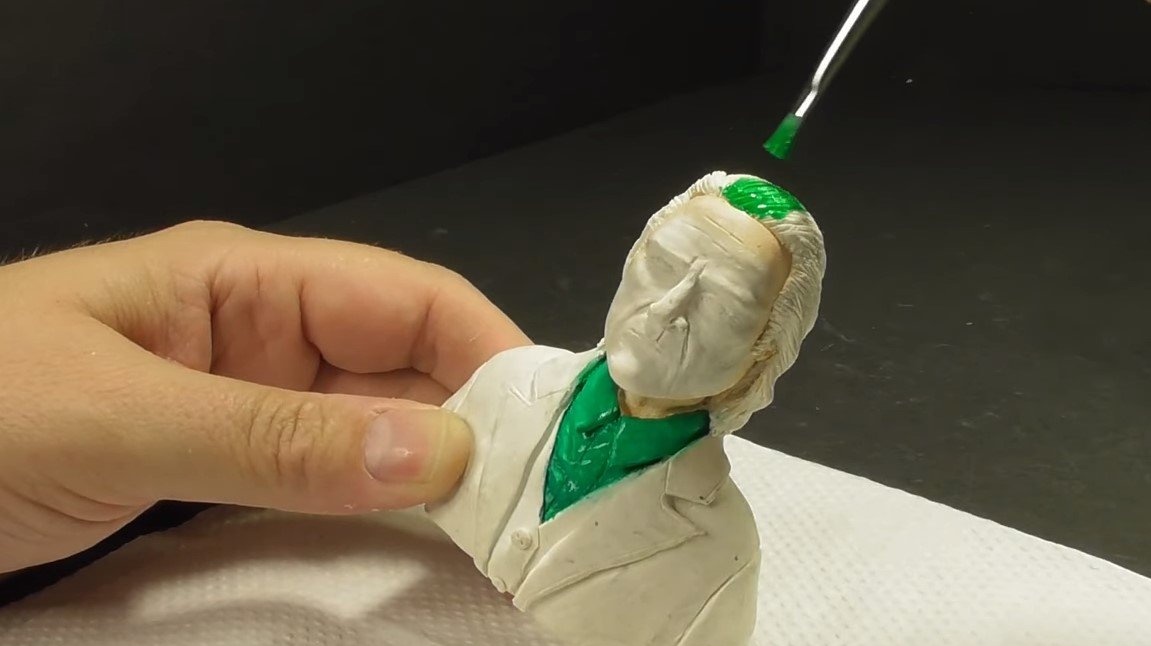
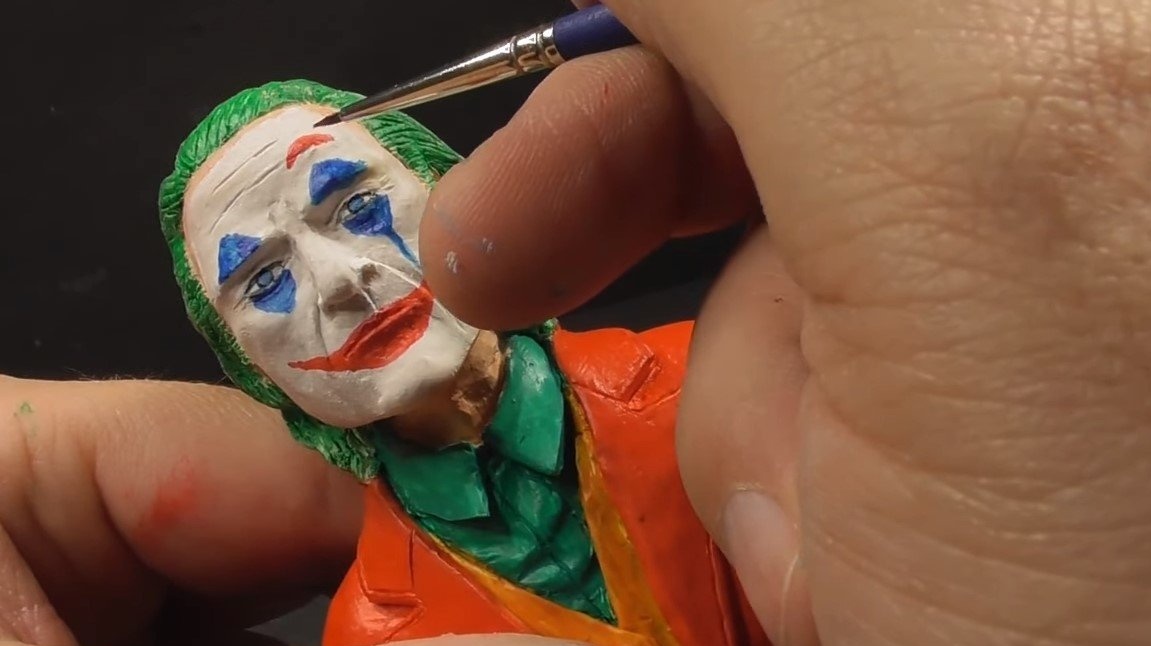
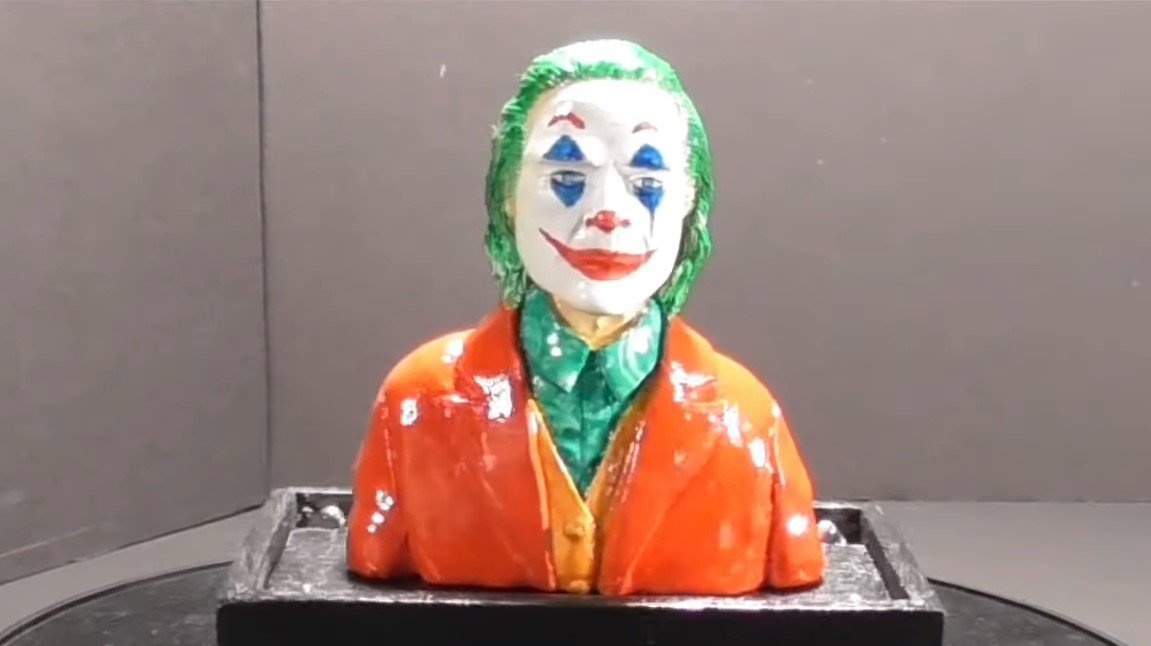
Further, the Joker needs to be painted, it is thanks to the paint that an ordinary elderly man will turn into a recognizable Joker.

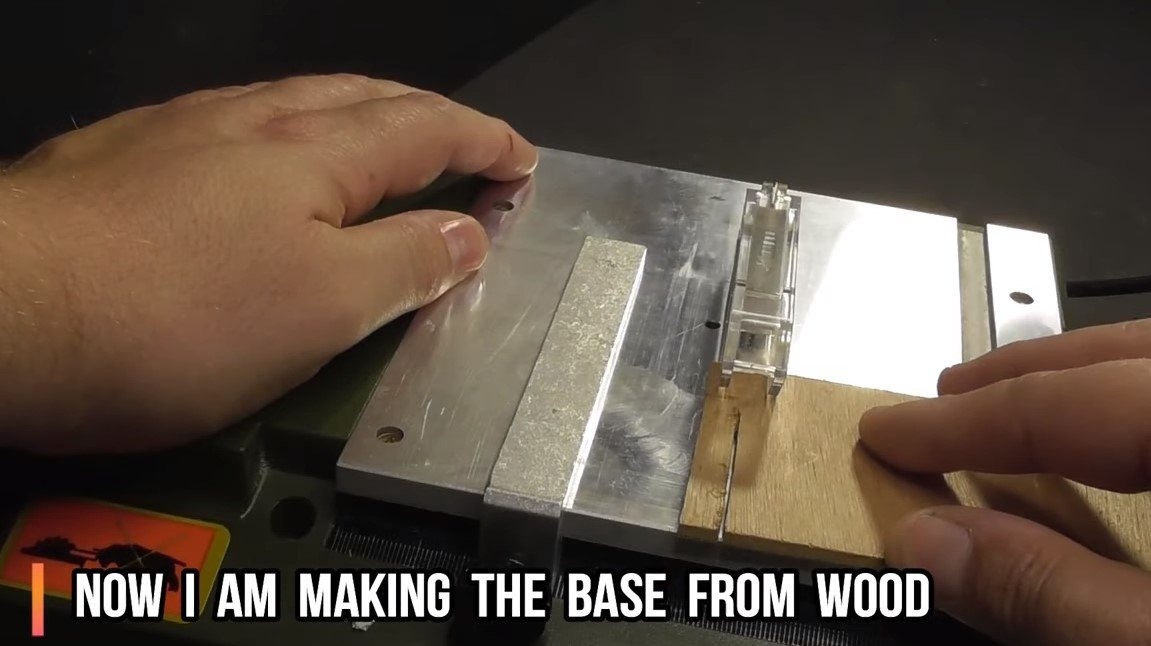
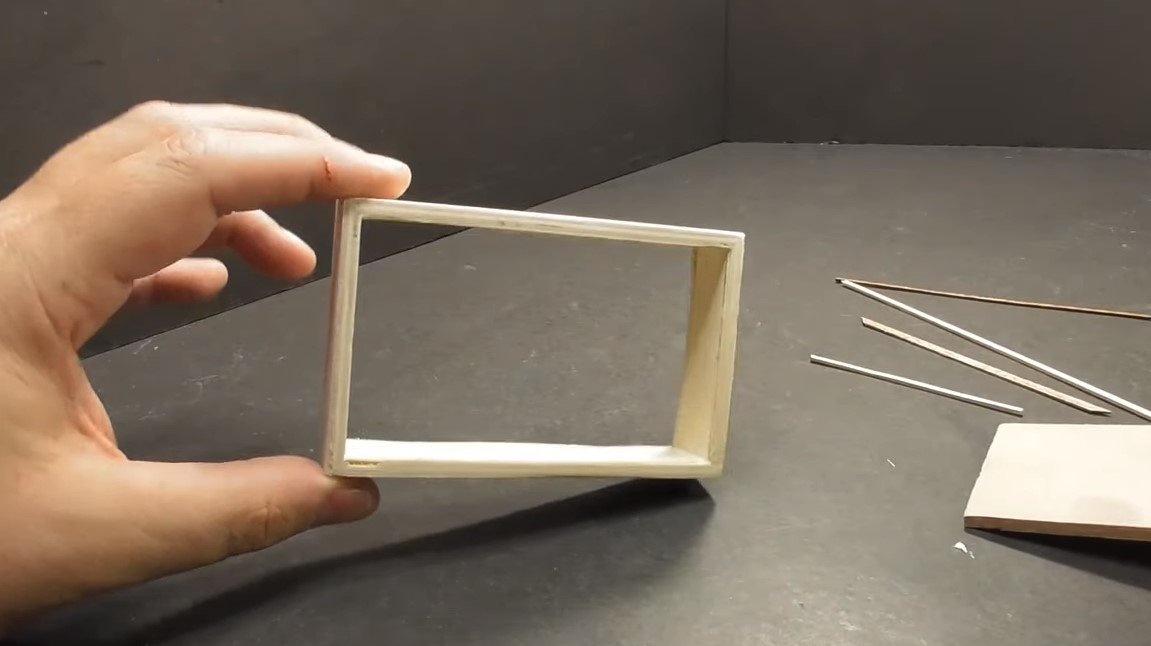
Step Two Base
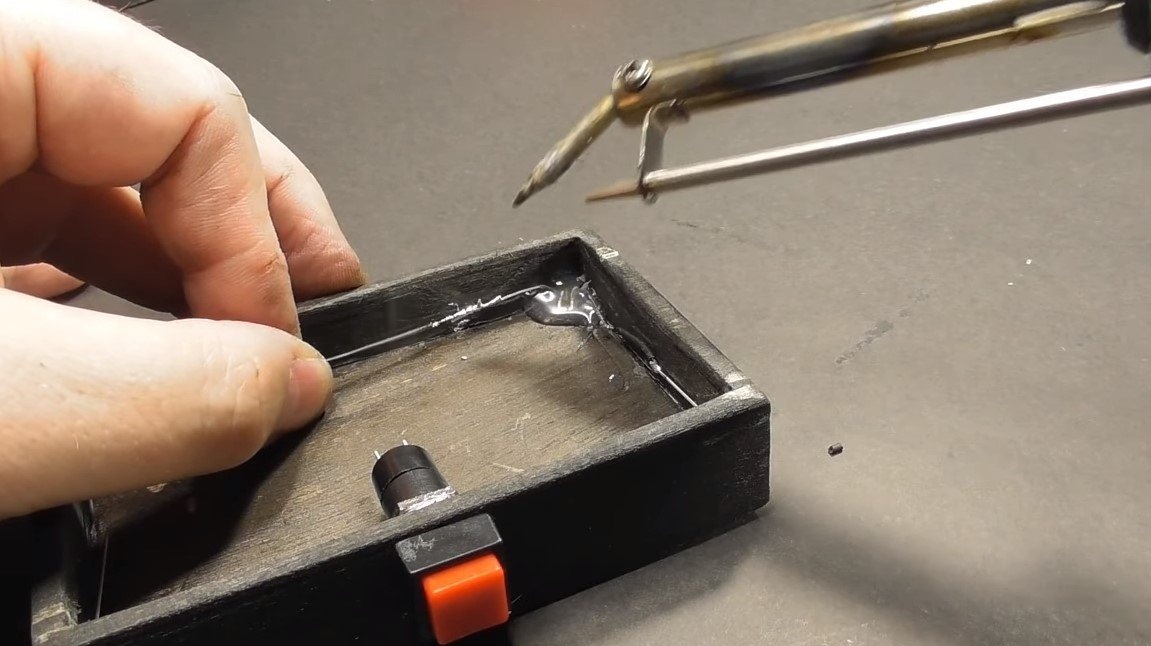
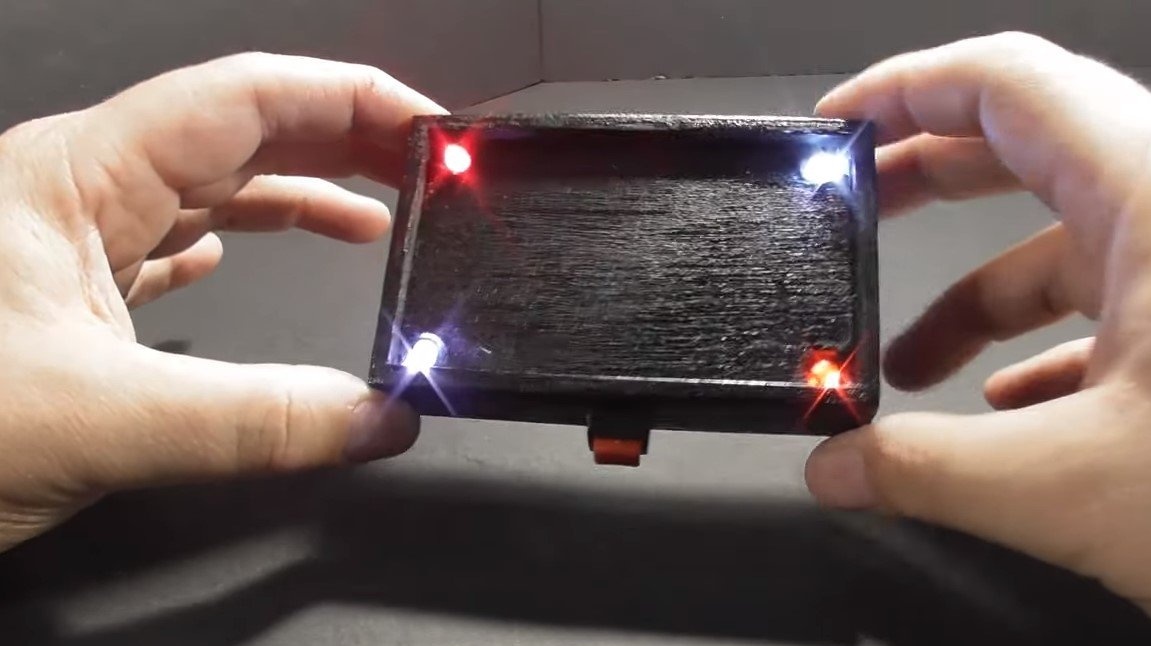
We make the foundation, its author assembled from thin plywood, which he cut using a mini-circular saw. We glue the base and paint in black, everything can also be varnished. We build in the base 4 LEDs in the corners, two red and two white, well, or other colors to your taste.We solder the wires to the LEDs, we will power them from 12V, so we connect the LEDs in series, the voltage will be evenly distributed across 3V for each LED. Of course, for long-term service it would be nice to connect the LEDs through resistors of the appropriate rating.
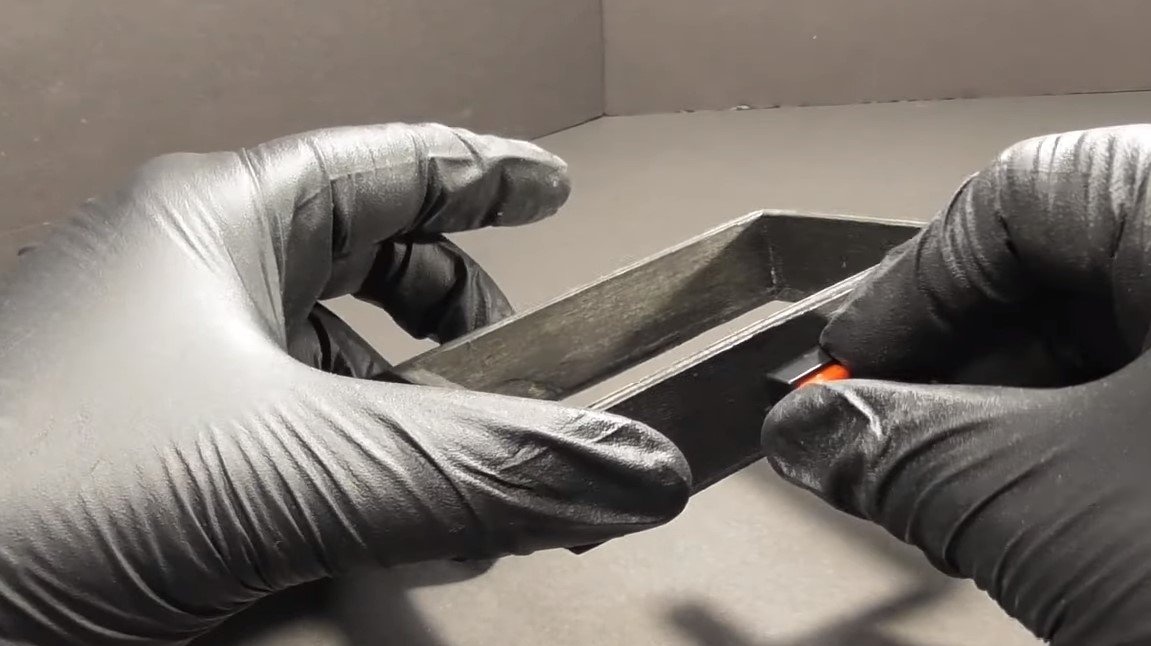
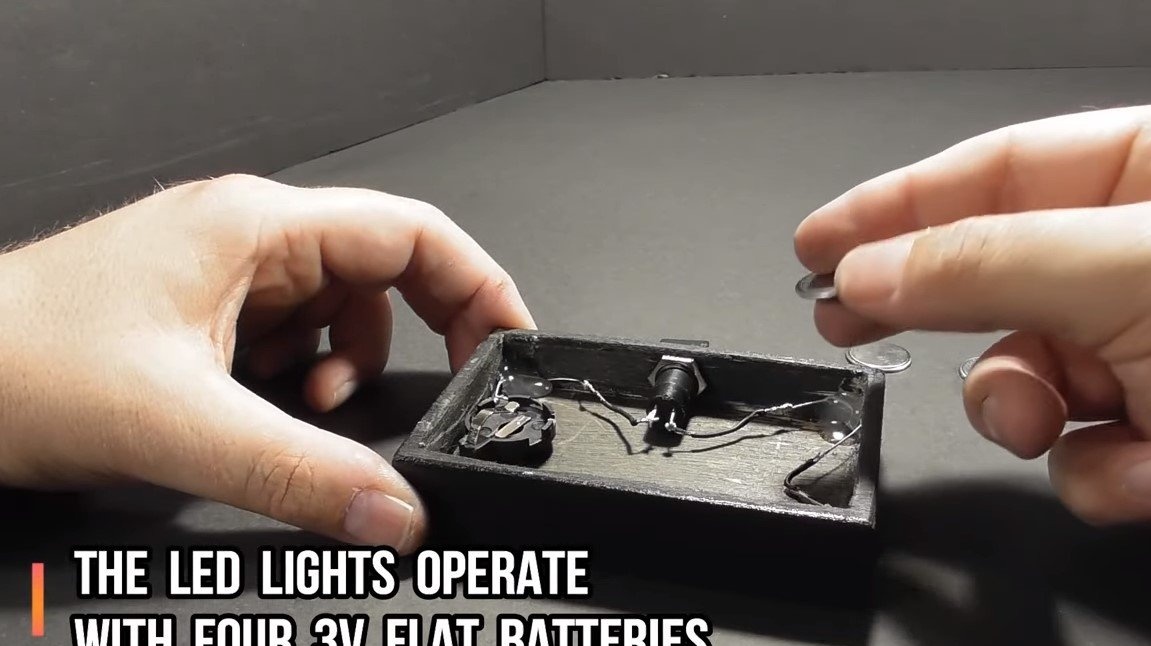
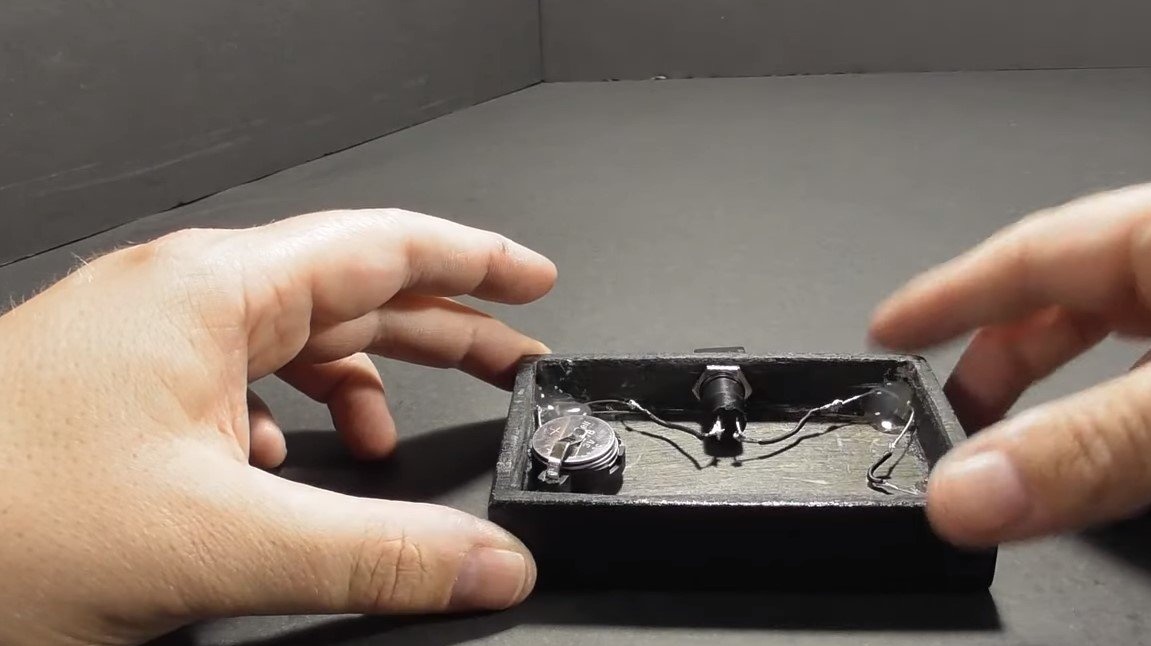
We install the battery holder on hot glue, and do not forget about the switch. We use 4 pieces of batteries of 3V each, these lithium batteries can be charged. We turn it on, the LEDs light up, you can put it on the Joker's stand to see how it will look.
Step Three Fill the Joker and collect the night light
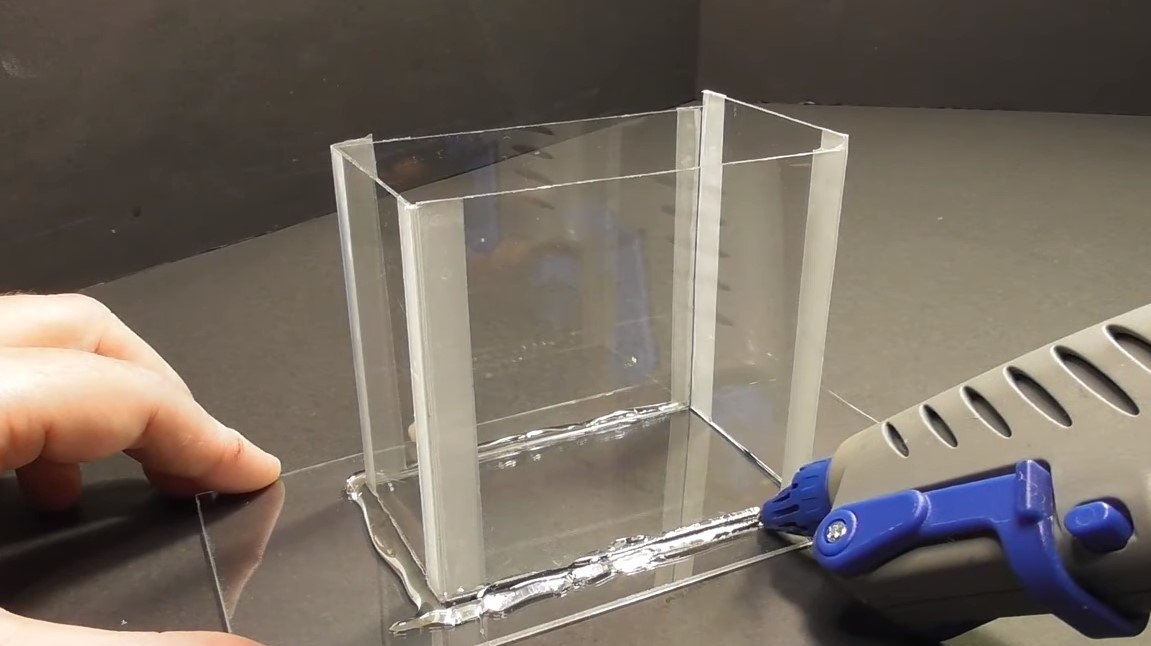
We make formwork from sheet acrylic and install the Joker figure in it. For gluing acrylic we use hot glue, with it the design will be strong and tight. Stir the epoxy resin and fill it into the formwork, wait two days until the resin hardens completely.


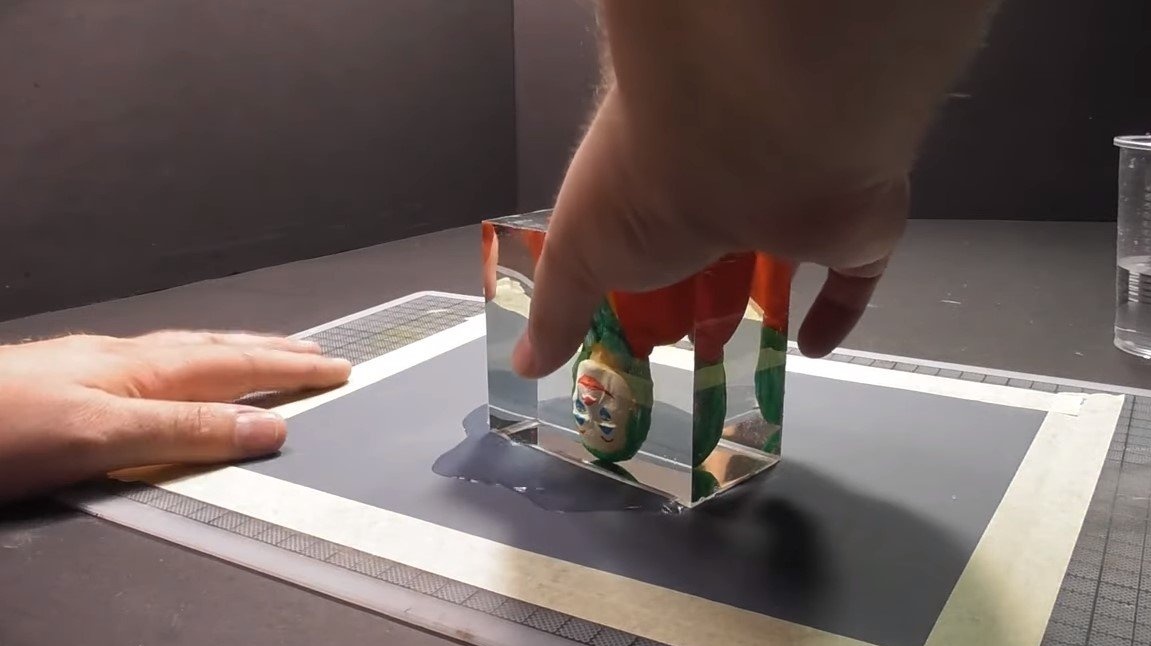
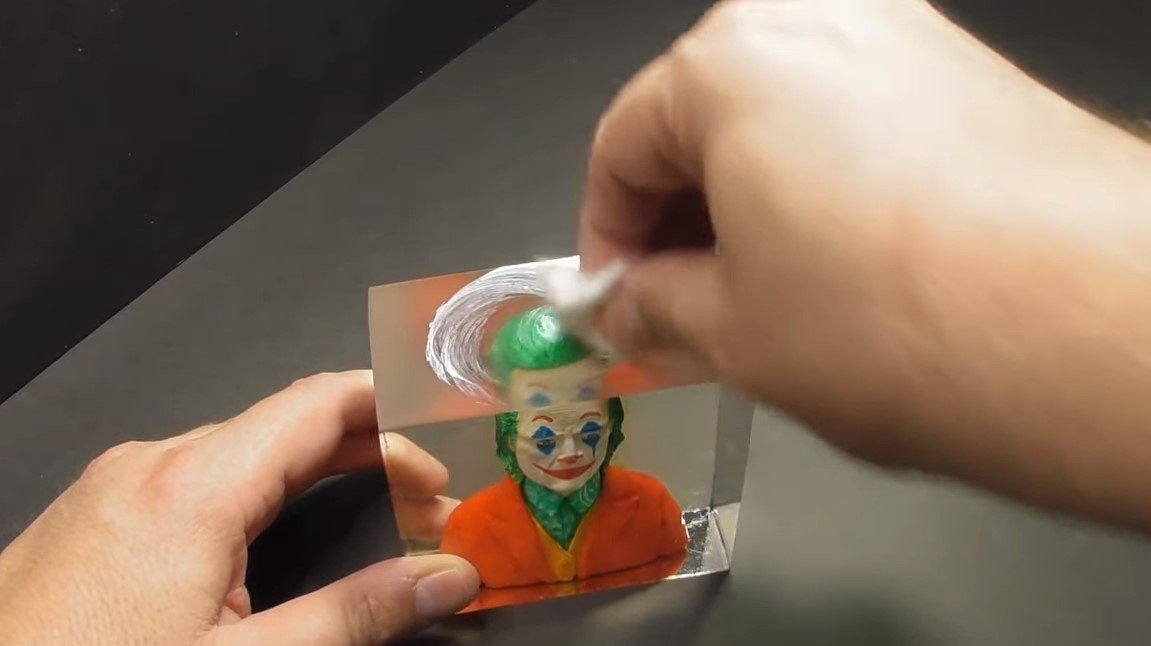
When the resin hardens, we disassemble the formwork, cut off the excess and lightly grind the upper plane with an emery cloth, and then polish it. We glue the finished structure to the base, now the project is completed. In the dark, homemade looks delightful. The project is completed on this, I hope you liked the homemade work, and you found useful thoughts for yourself. Good luck and creative inspiration, if you decide to repeat this. Do not forget to share your ideas and homemade things with us!