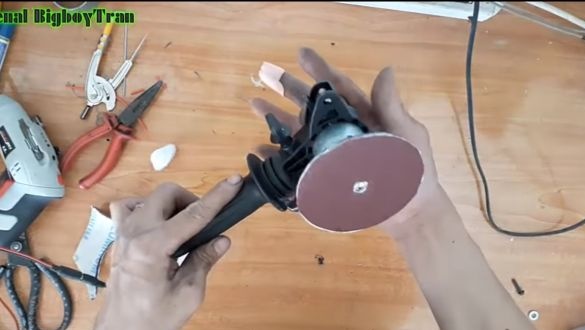
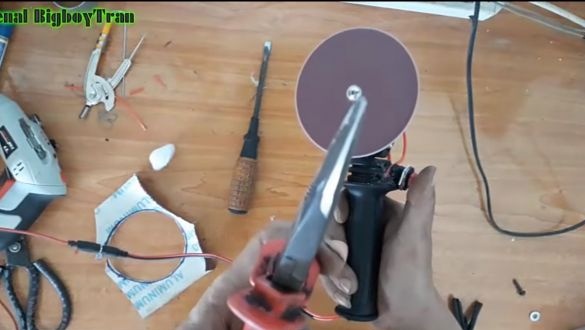
Do you have a need for grinding small parts, and you do not know which machine to purchase for this? Take a closer look at this project, and you won’t need to buy anything! You can make a great grinding tool do it yourself. I bring to your attention a homemade disk grinder.
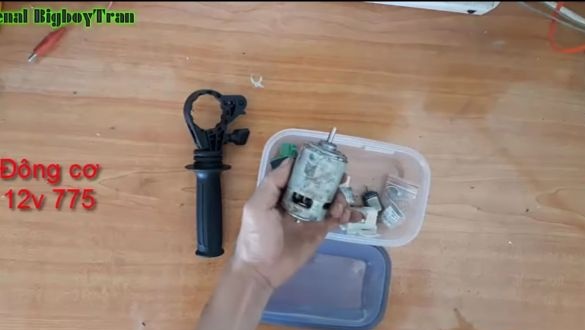
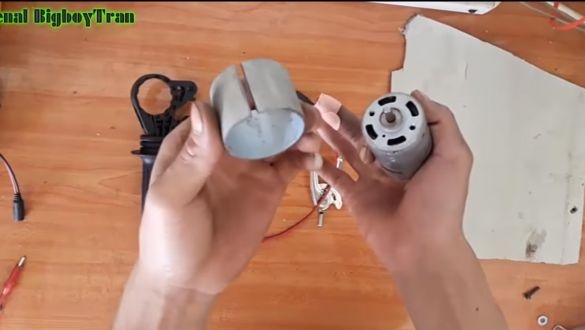
The author used as an engine, he has long won the trust of many craftsmen in the manufacture of various home machine tools. This motor is reliable, durable and hardy. The operating voltage of the 775th is in the range from 12 to 24V. Thanks to this, you can power the grinder from a battery or from a power supply. For the manufacture of such a machine you will need few spare parts, you just need a handle from the drill, which you can buy, even if it is not available. The disc itself is made of sheet metal. So, let's start studying the instructions.
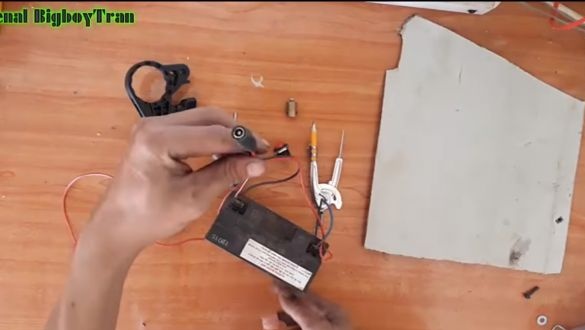
Materials and tools used by the author:
Material List:
- ;
- battery or power supply 12V;
- Sheet steel;
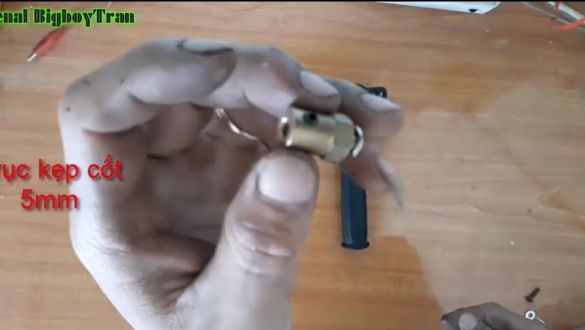
- a special adapter to the motor shaft;
- wires;
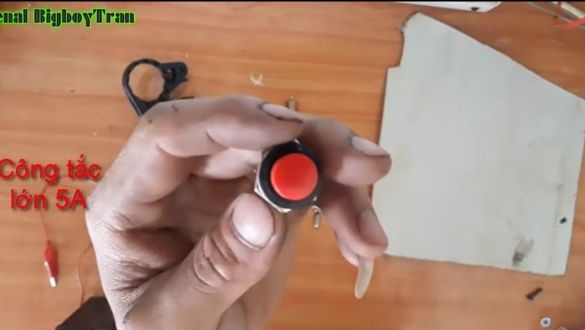
- switch;
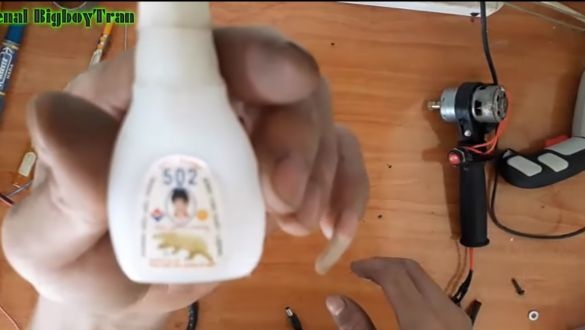
- Super glue;
- handle from the drill;
- connectors for connecting the battery / power supply.
Tool List:
- soldering iron;
- glue gun;
- drill;
- screwdriver;
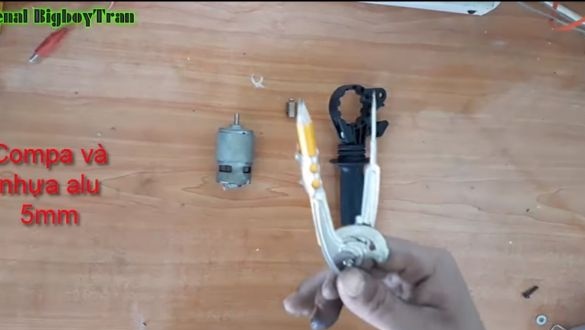
- compass;
- a jigsaw or scissors for metal (to cut a disk).
The grinding machine manufacturing process:
Step one. Looking for a pen
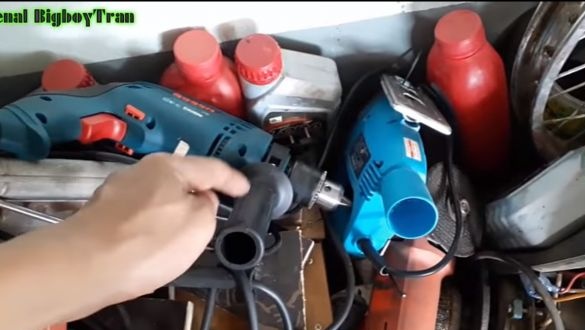
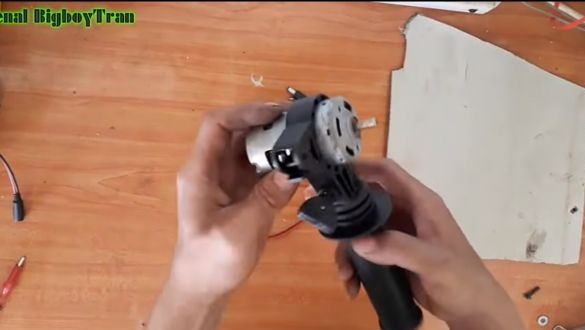
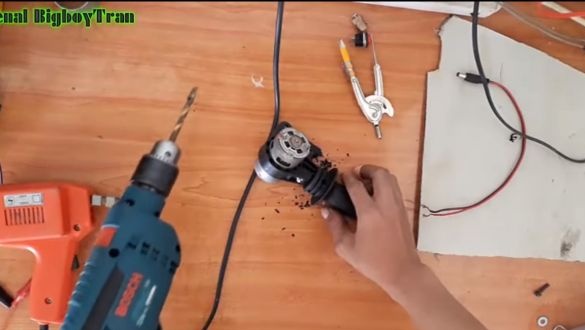
For homemade you will need a handle from the drill, also suitable from a grinder. If there is no extra pen available, you can buy a new one, but it is better to find it at a flea market and buy for a penny.
Step Two Install the engine
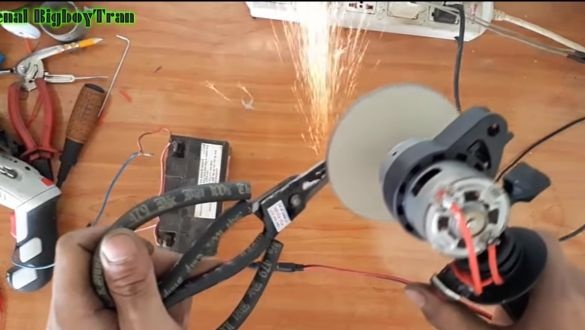
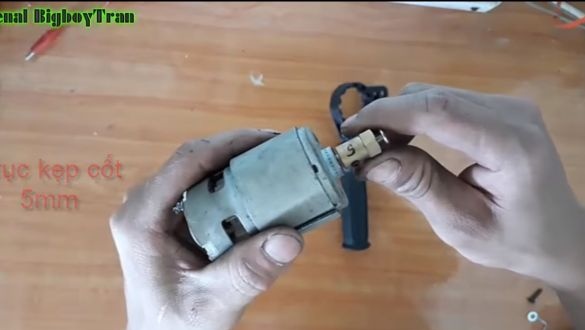
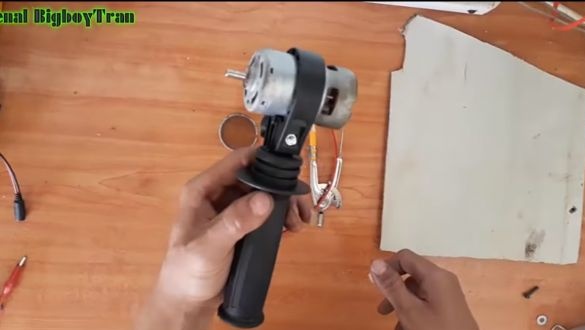
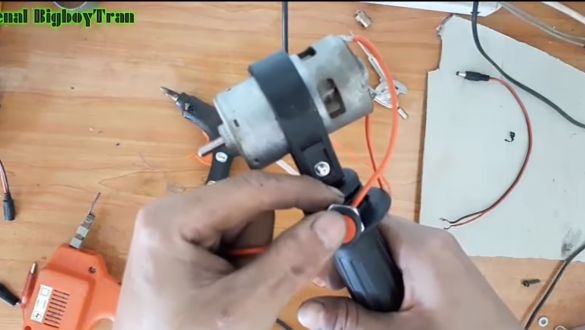
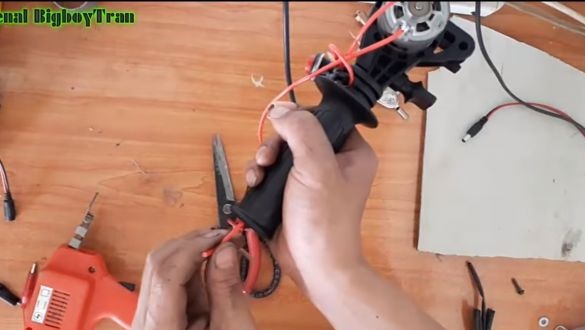
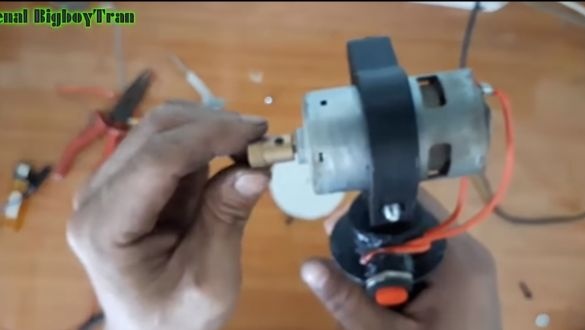
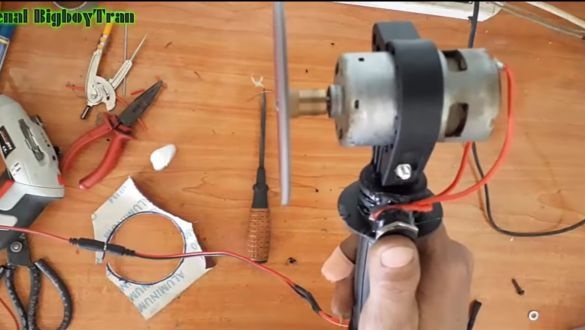
Just hold the engine in the handle, as a result, you do not need to be smart, and the motor is securely locked. If the handle is too large, wrap the motor with electrical tape, sheet metal or other materials so that it can be clamped.
Step Three Solder the wires
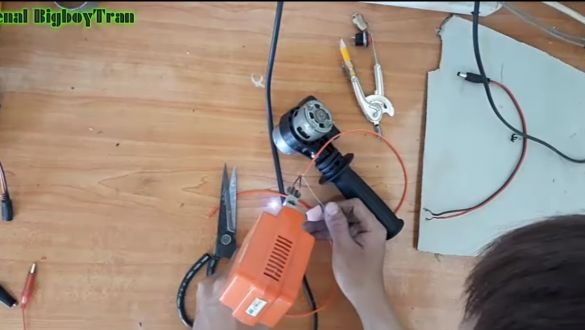
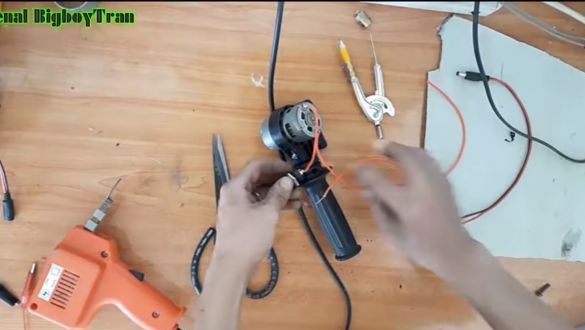
We solder two wires to the motor contacts, you will also need a push-button switch, which remains to be installed. In order not to constantly hold the button, you can put a regular switch, it’s quite safe for yourself, because the motor power is not so big already.
In the handle you need to drill a hole, here we wind the wires that can be brought out through the bottom of the handle. As for the switch, it must be glued with hot glue to the handle.
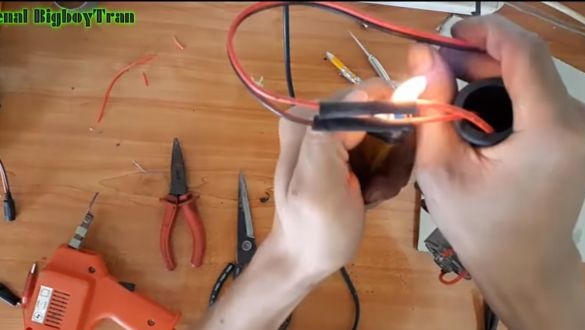
Install a connector on the ends of the wire to connect the battery or power supply. We isolate the wires using heat shrink.
Step FourWe make and install the disk
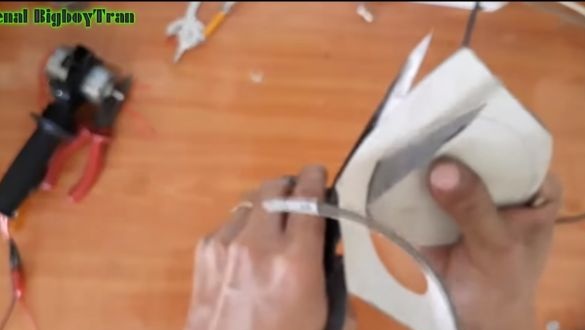
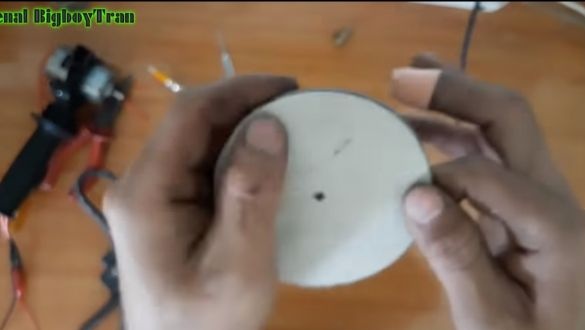
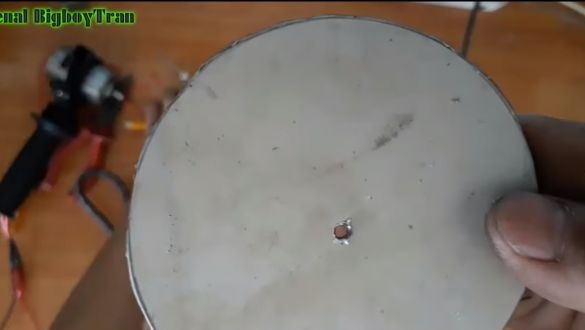
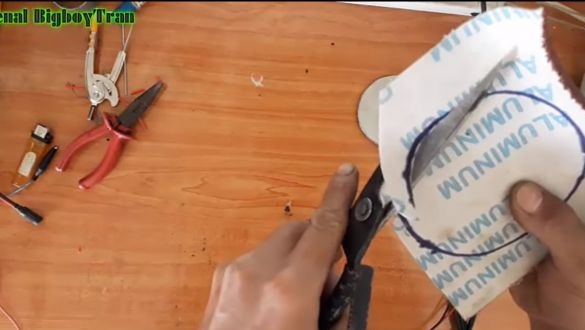
The author makes the disc out of sheet metal. He draws a circle of the desired diameter with a compass, and then simply cuts it with ordinary metal scissors. Drill a hole in the center. To fix the disk to the motor shaft, the author uses a special adapter. As a result, the disk is screwed with a screw.
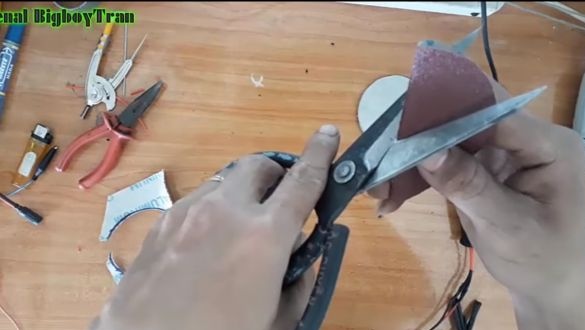
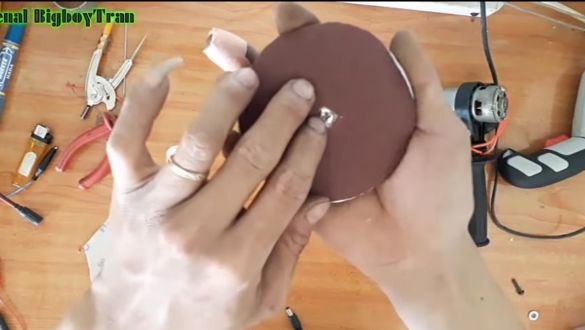
That's all, almost everything is ready, it remains to install the grinding disk. We take sandpaper of the desired grain size and cut-out scissors disks of the desired diameter. To fix them, the author uses superglue. A hole was cut out in the center of the disk so that the screw head would not interfere. It is best to make several such disks so that you do not have to change the sandpaper every time. You can make discs with paper of different grain sizes.
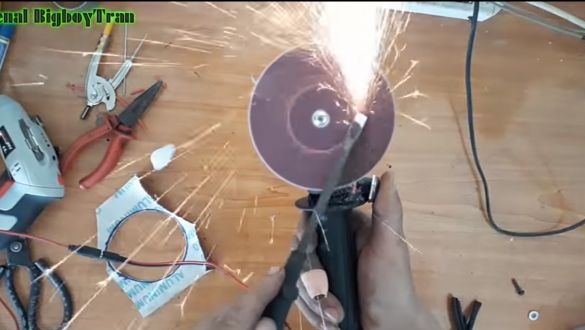
That's all, the grinder is ready! We connect the power source and press the button. As for the polarity, connect the engine so that when polishing the sparks do not fly into your face. The author tried to polish the pliers, the sparks are streaming quite thick, which indicates that the car turned out pretty

