What do we need for this:
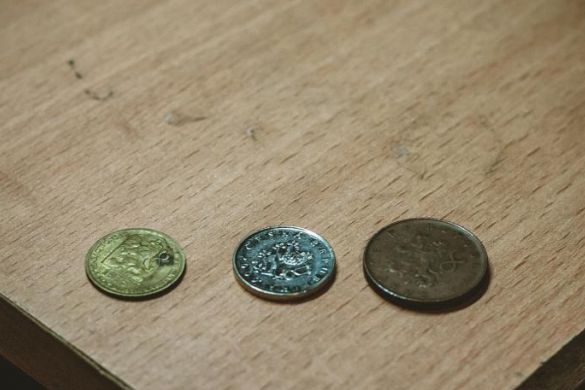
-Coin (exactly the diameter that you need, for example, if you take a diameter of 15 mm, then your ring will turn out 15 mm, maybe a little less, but no more, otherwise the ring will burst!
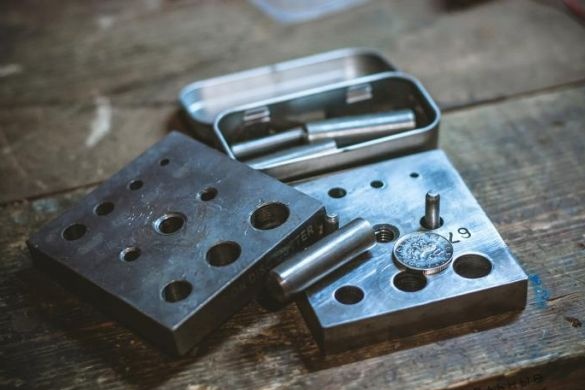
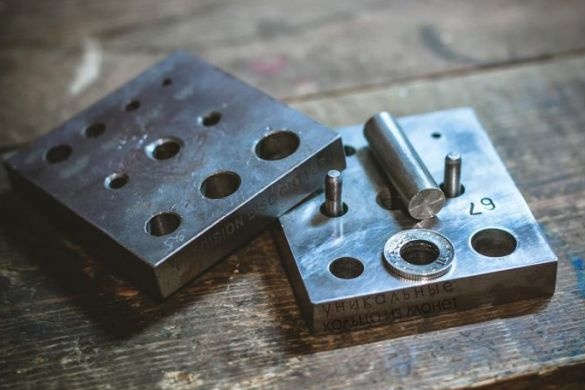
- The crossbar (that on which we will put on a coin), it is possible to replace with any steel cone of a suitable form and size
- Drill, punching or other device for making a hole in a coin
Hammer, preferably with plastic heels (to save the coin pattern)
- Burner, water
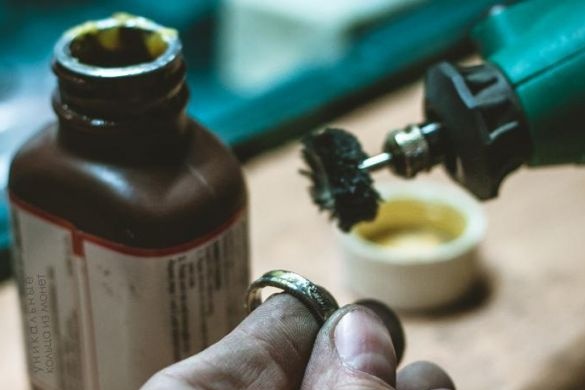
-Polishing Tools (Dremel)
Step 1
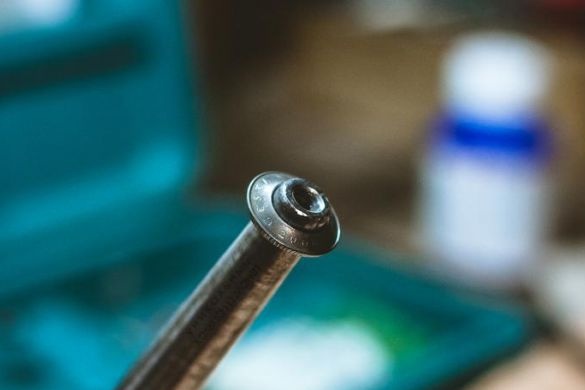
We make a hole in the coin, the author used cutting down for this. (And you can drill.) Here you need to think about what pattern or inscription on the ring you want to get:
Step 2
We can greatly facilitate our work by making the coin softer! But how to do that? First you need to find out what the coin is made of. We take a magnet and check: if it is magnetized, then it is steel, if not, then it is non-ferrous metals.
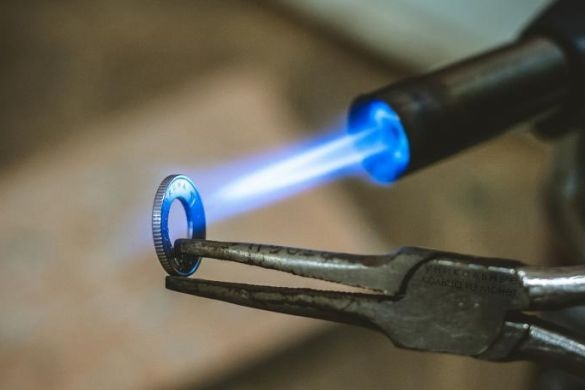
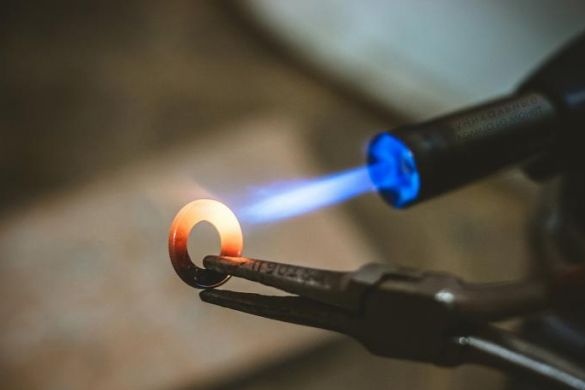
Now if that steel-Warm up to red and cool slowly, removing a millimeter from the burner!
If this non-ferrous metal, then we “anneal” the coin: heat the coin to a red-orange hue and sharply cool in cold water.
You can also heat the coin during manufacture
Step 3
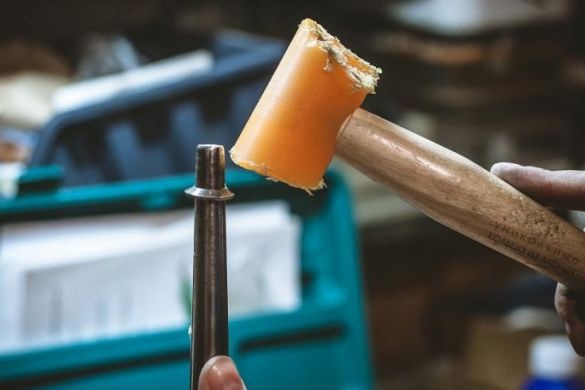
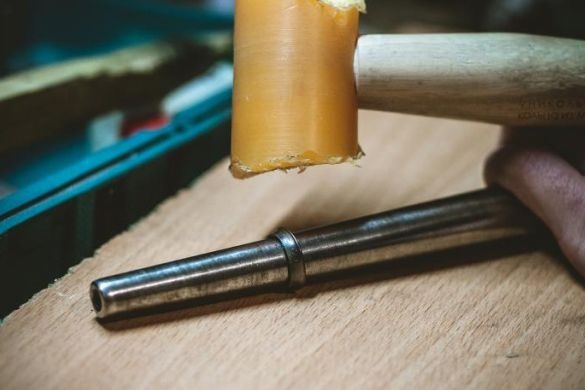
And now the most interesting! We put our coin so far on the crossbar and very neatly, but confidently tap the plastic mallet!
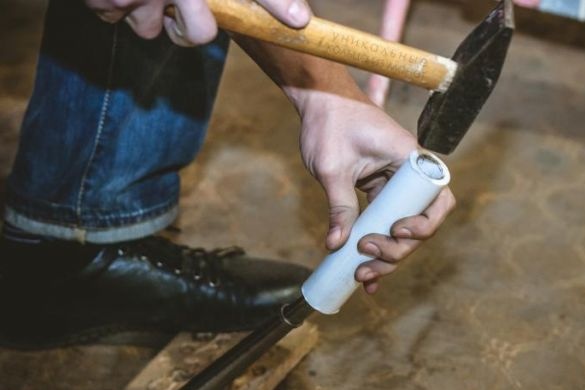
It’s best to sometimes remove and flip our coin so that it is even. But the author does a little differently: He inserts the coin to the desired size and already then gives the coin the final round shape using a PVC pipe and an ordinary hammer.
Wow, we got a ring!
Step 4
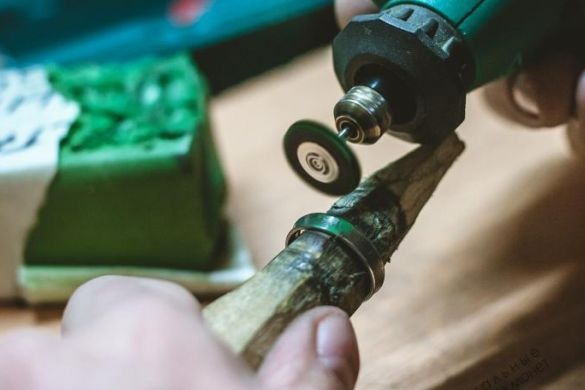
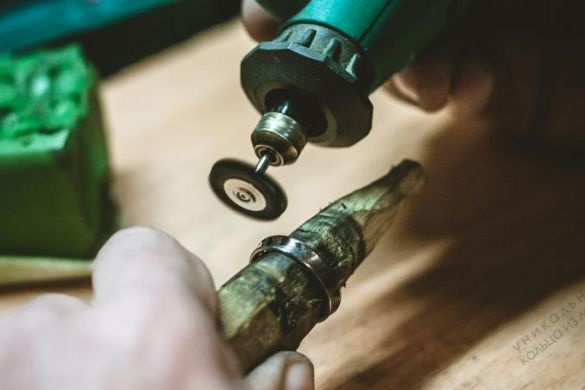
Many coins have a thickening on the edge, this is the side of the coin. To remove it, the author uses a dremel with a large skin
Now smooth the corners And finally polish:
Total:
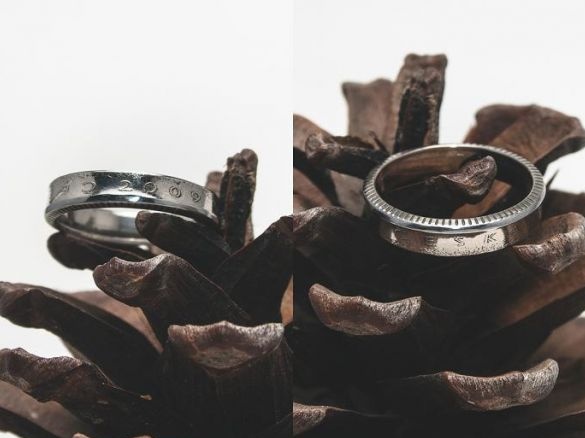
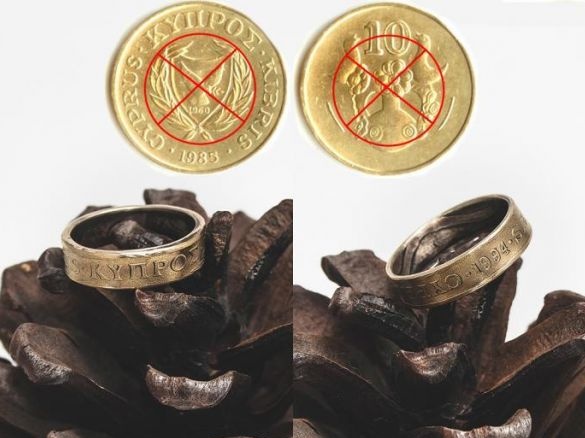
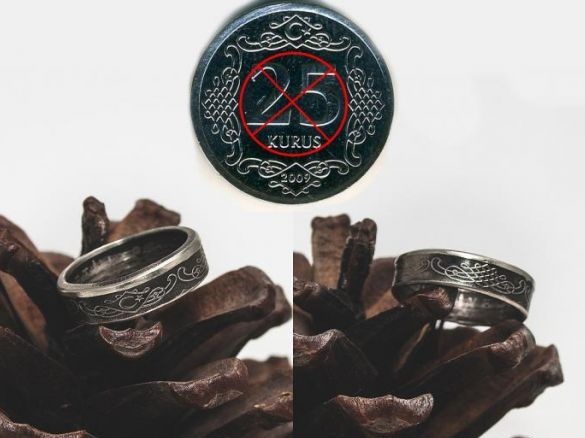
We got:Today we learned what to make a ring in home conditions are possible and even feasible, if there is a desire and tools, then why not try!
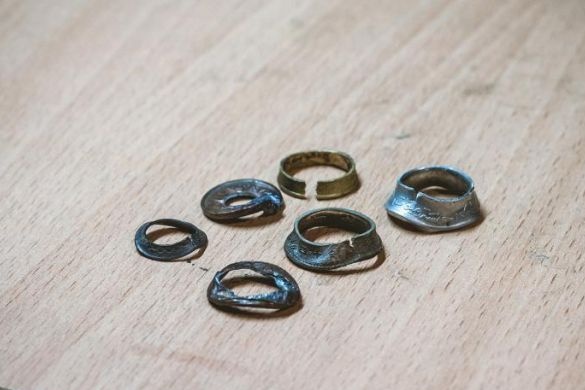
But you may not succeed the first time:

