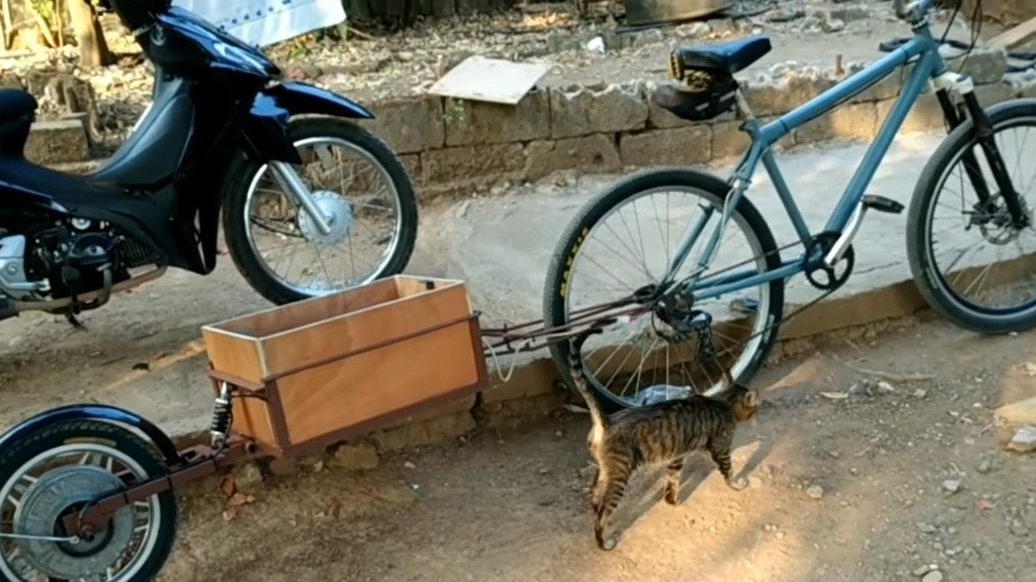
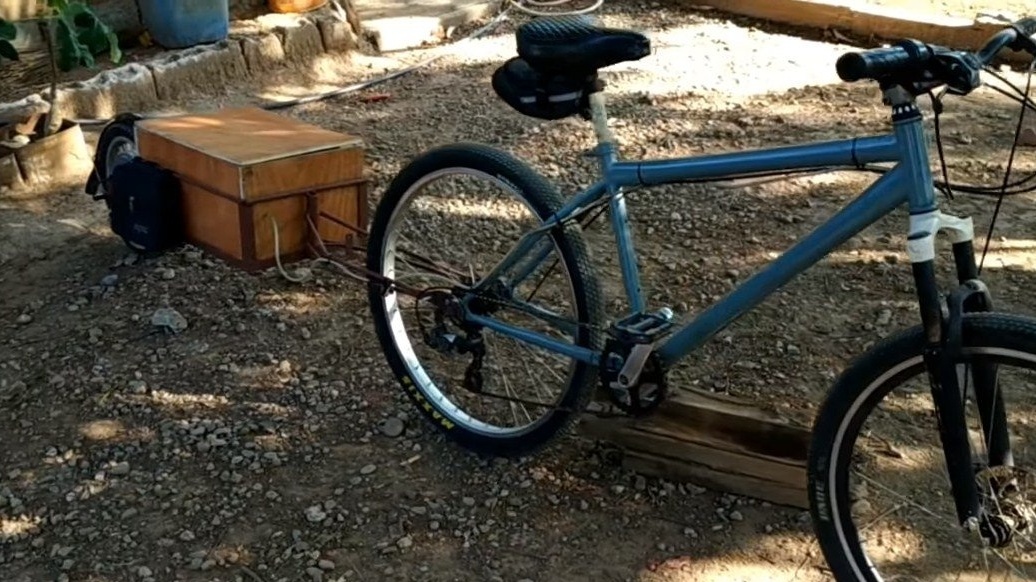
Hello everyone, today we will consider very useful and very necessary homemade for bicycle. It will be a trailer, and not just a trailer, but a trailer equipped with an electric motor. This solution is very profitable, we do not need to change the design of the bike so that it becomes an electric bike, we just need to connect trailer and the electric bike is ready. In addition, even if the battery runs out, you can ride a bicycle in the usual way.
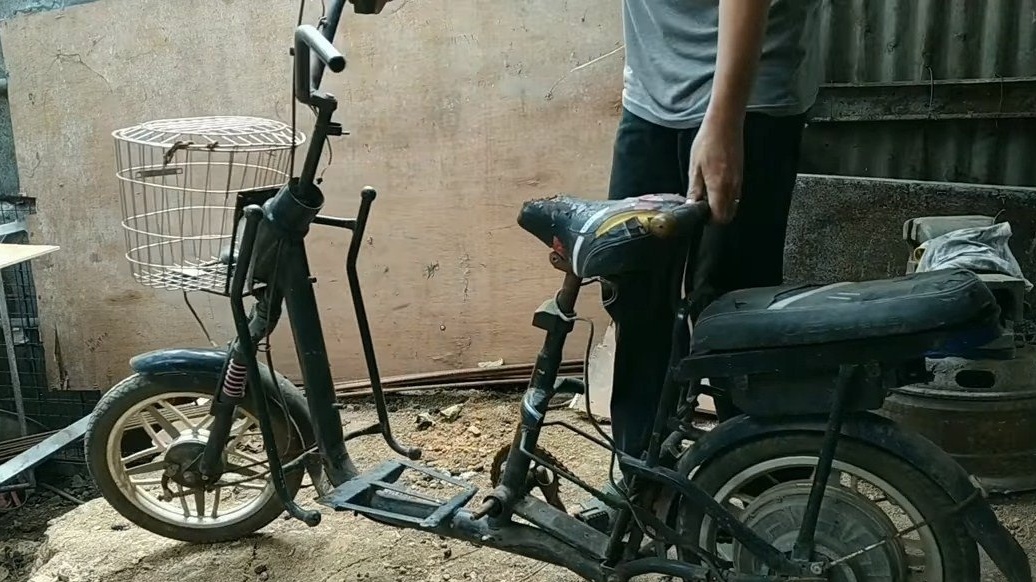
Well, of course, thanks to the trailer you can carry things, however, there is a battery there, but there is still enough space. The author used old materials to assemble the home-made one, the most expensive is the motor-wheel, but you can get it cheap by buying a broken gyro scooter, for example.
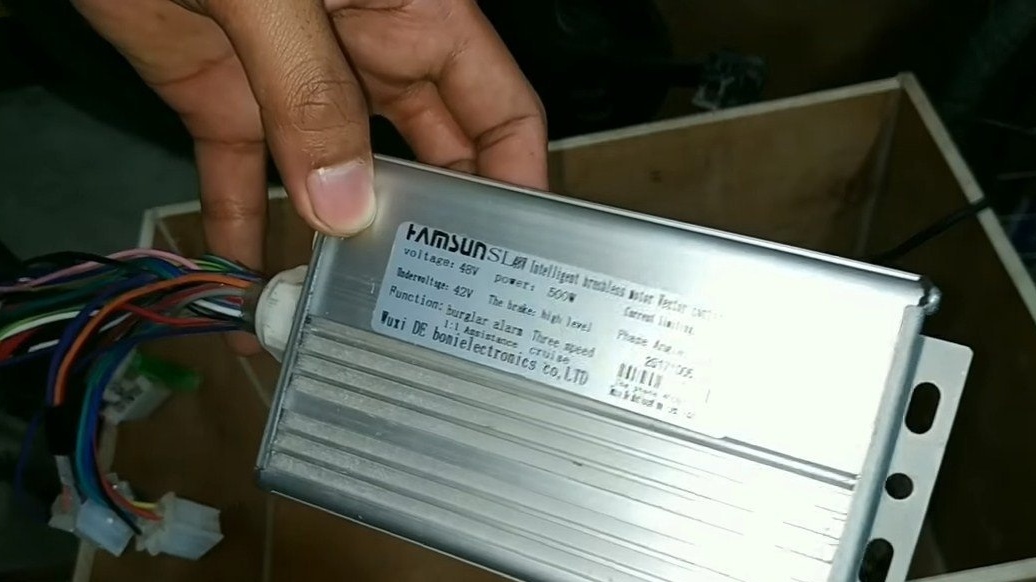
The maximum transport speed is 45 km / h, the engine here is installed at 500 watts. If the project interests you, I propose to study it in more detail!
Materials and tools used by the author:
Material List:
- ;
- battery (from the author of lithium cells);
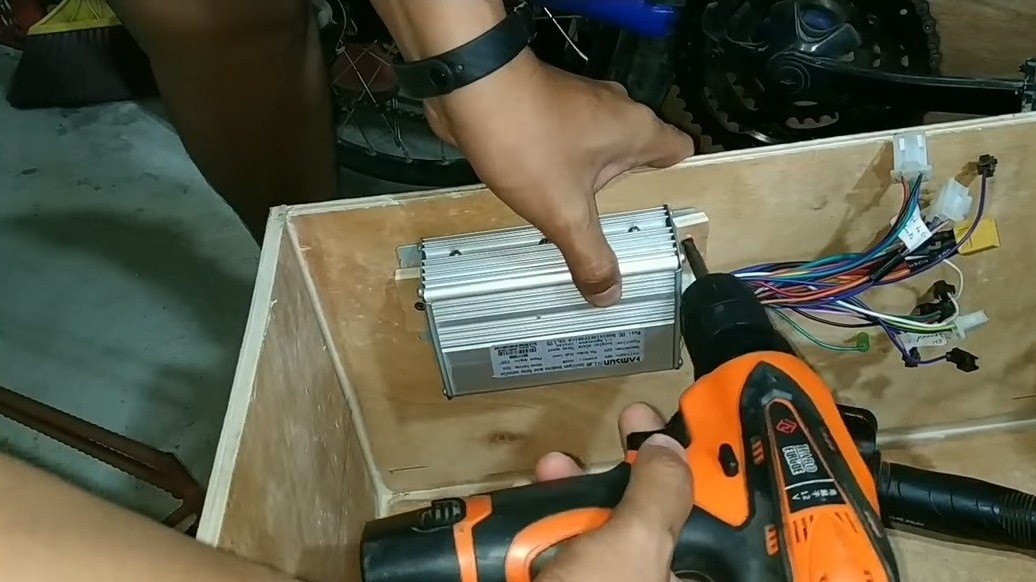
- controller for a brushless motor at 500 watts;
- iron corner;
- round pipes;
- plywood;
- fittings;
- shock absorber from a bicycle;
- sheet metal;
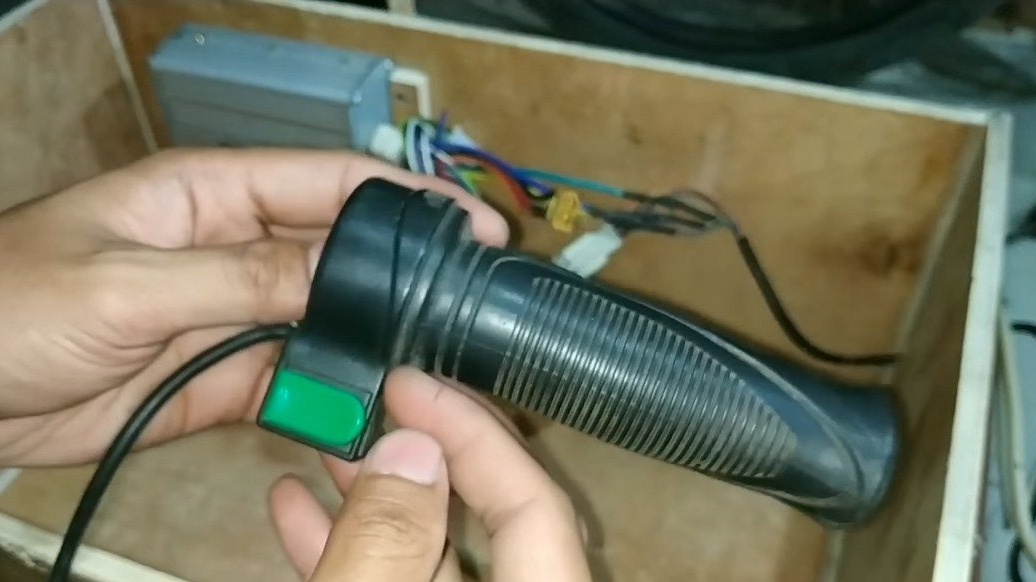
- throttle handle and wiring;
- paint;
- screws.
Tool List:
- sandpaper, brushes, etc .;
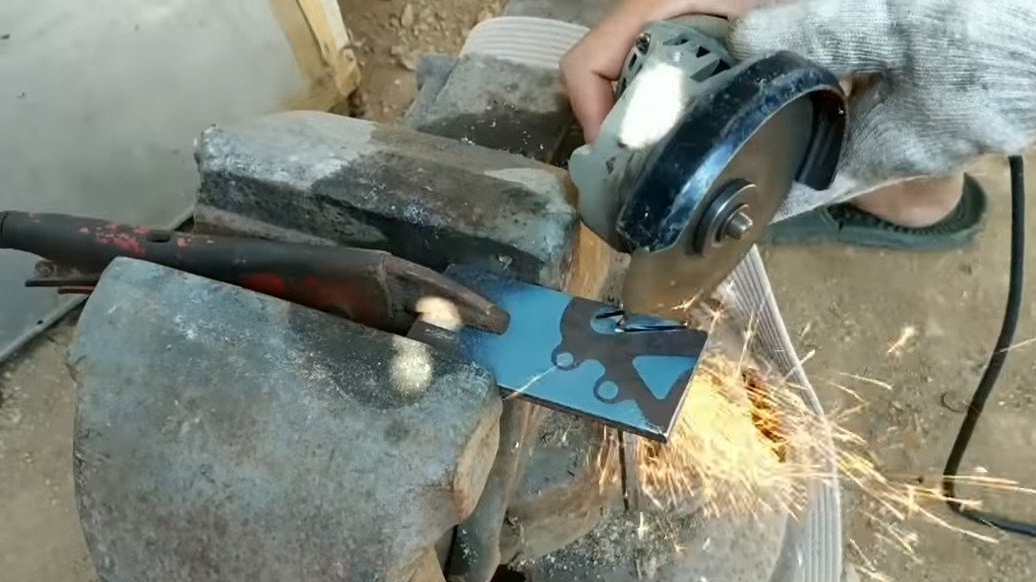
- grinder;
- welding machine;
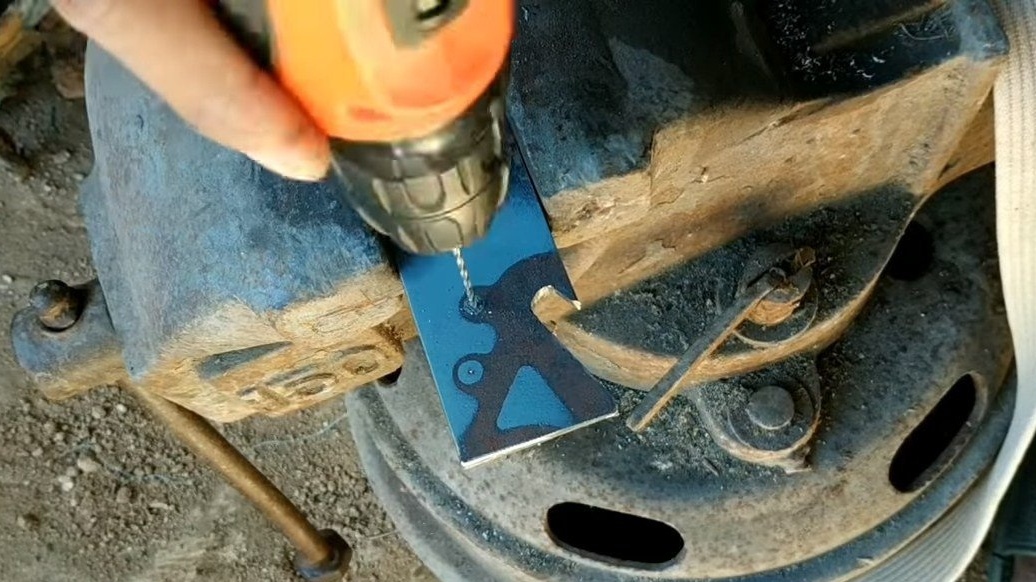
- drill;
- a tool for cutting plywood;
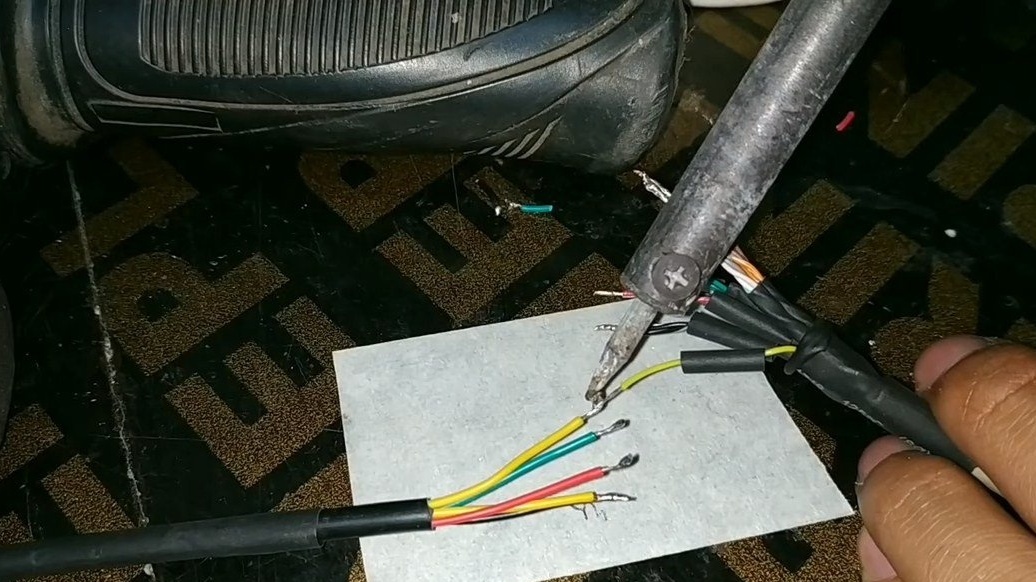
- soldering iron.
Homemade manufacturing process:
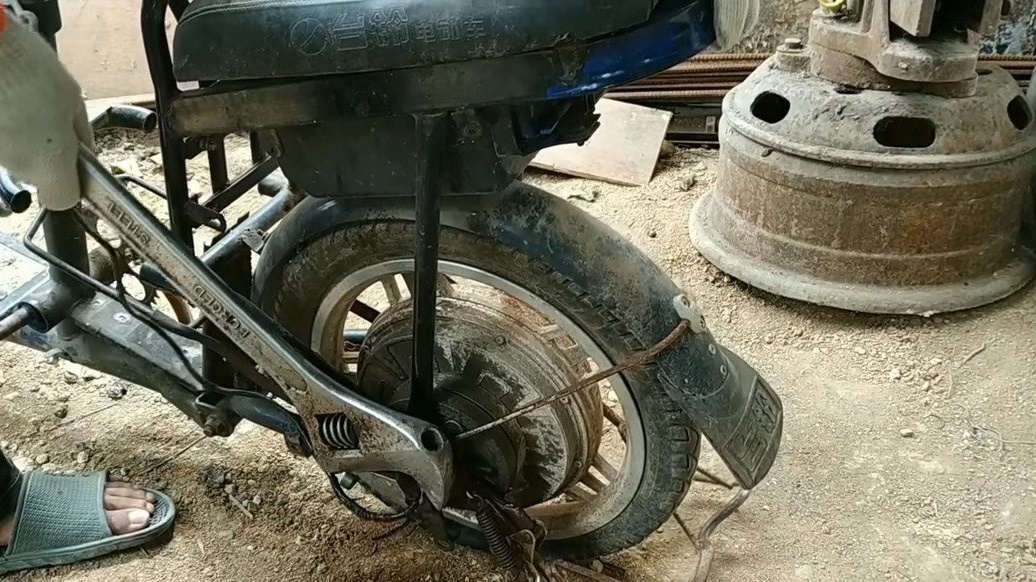
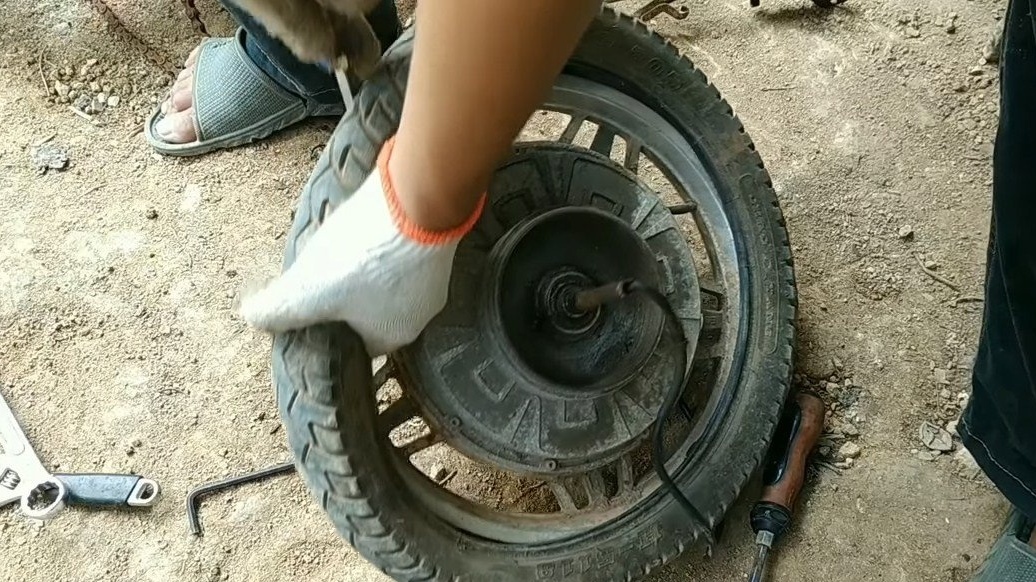
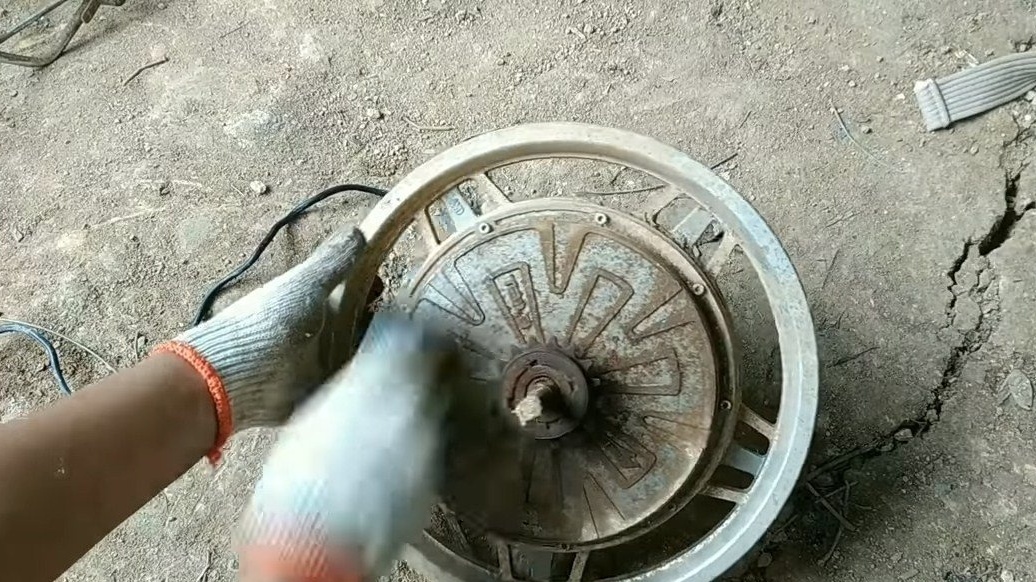
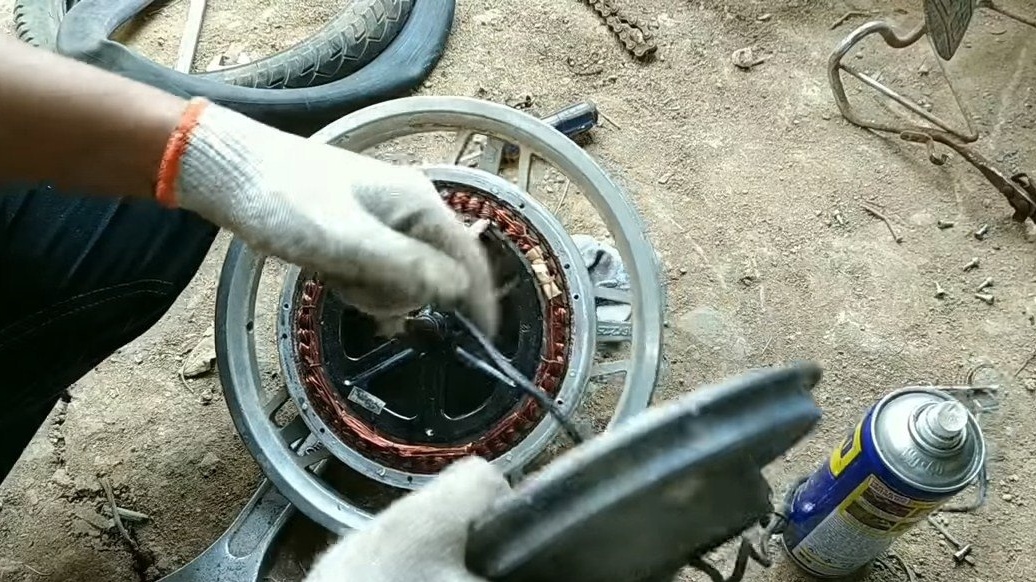
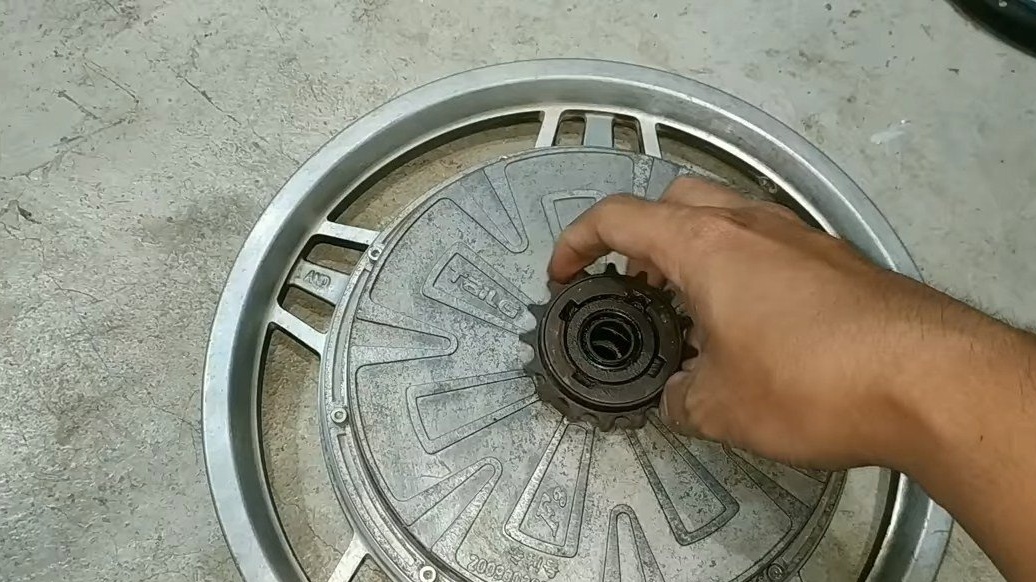
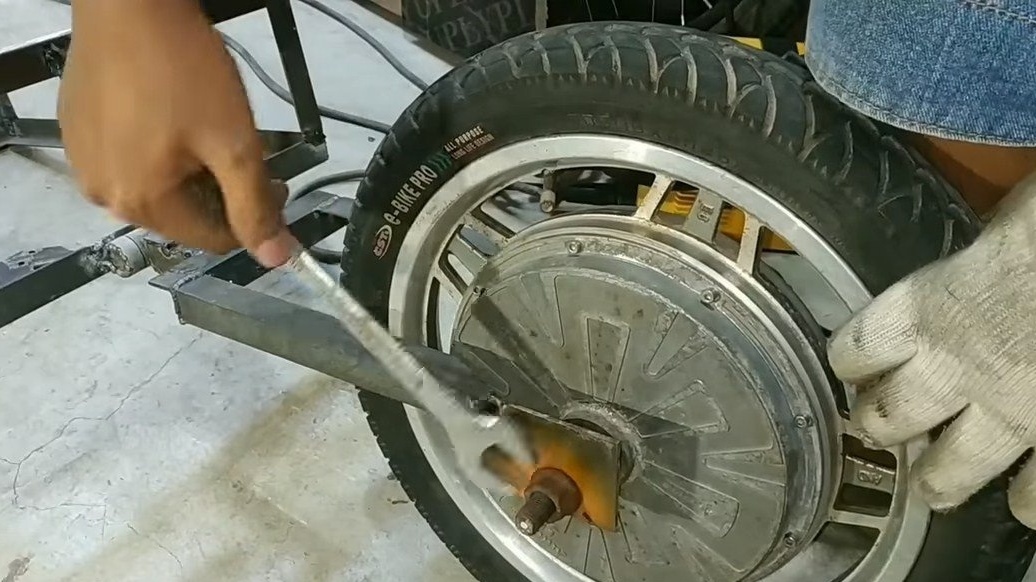
Step one. Motor Wheel Preparation
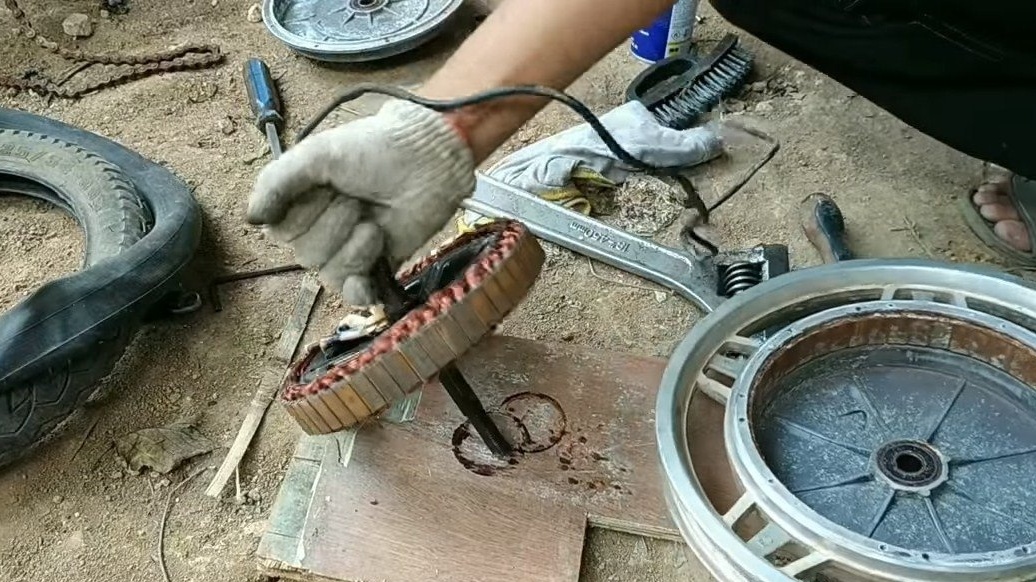
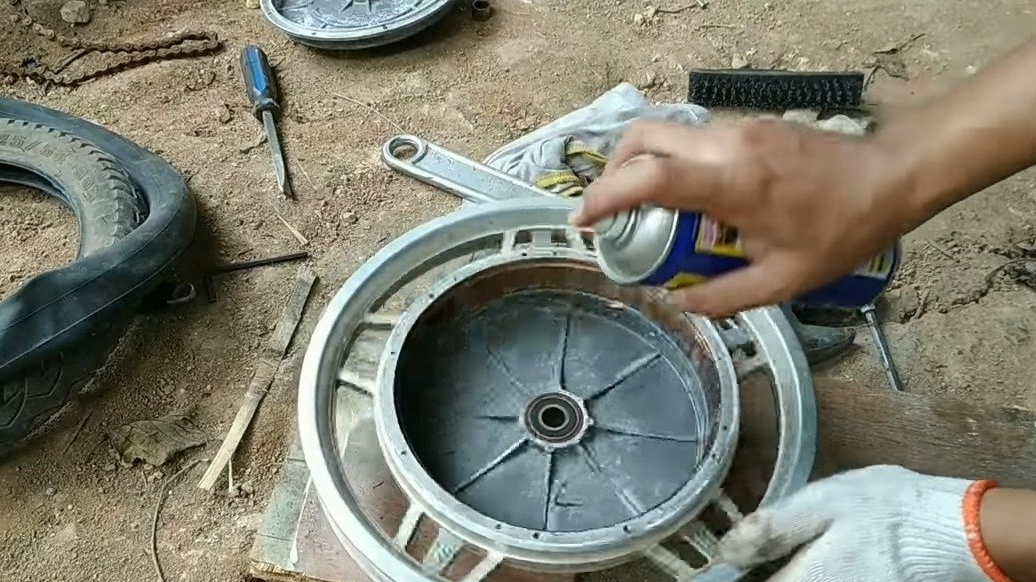
We are preparing a motor wheel, the author chose a used one, it was wet for a long time, and it was dirty. As a result, the wheel had to be disassembled, washed and cleaned. The author removed the asterisk from the wheel, since we will not need it.
Of course, such a wheel will be difficult to find, but you can completely use the wheel from a gyroscope or similar equipment, which is now full. Even if the gyro scooter is completely broken, there is a good chance that the engine is whole there, you just need to buy a controller for a brushless motor of the appropriate power.


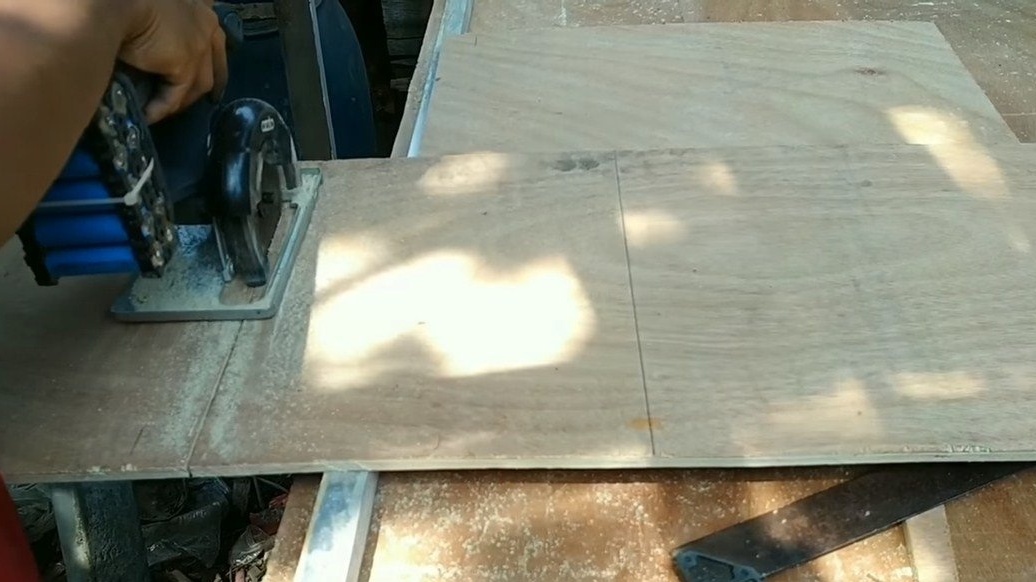
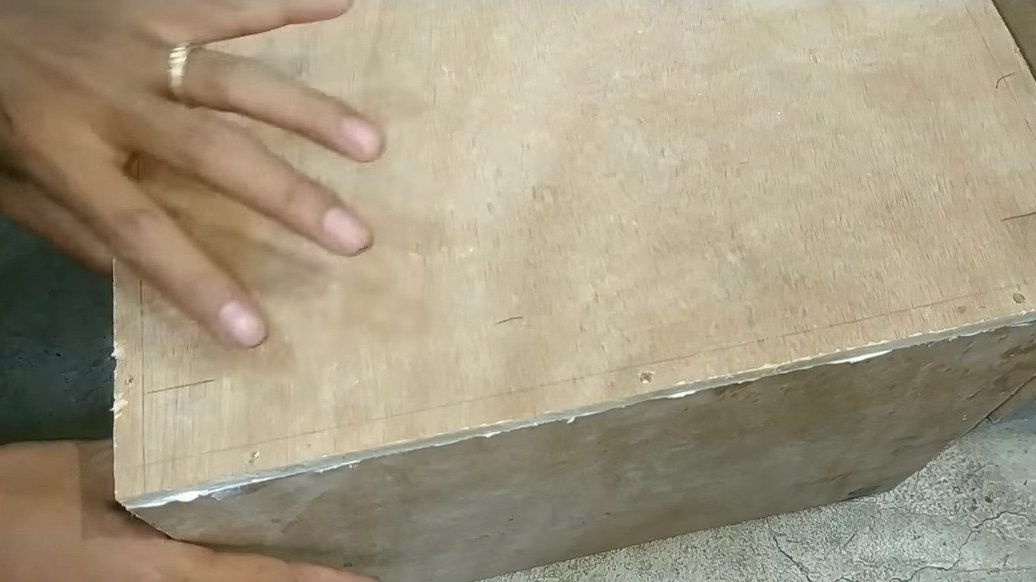
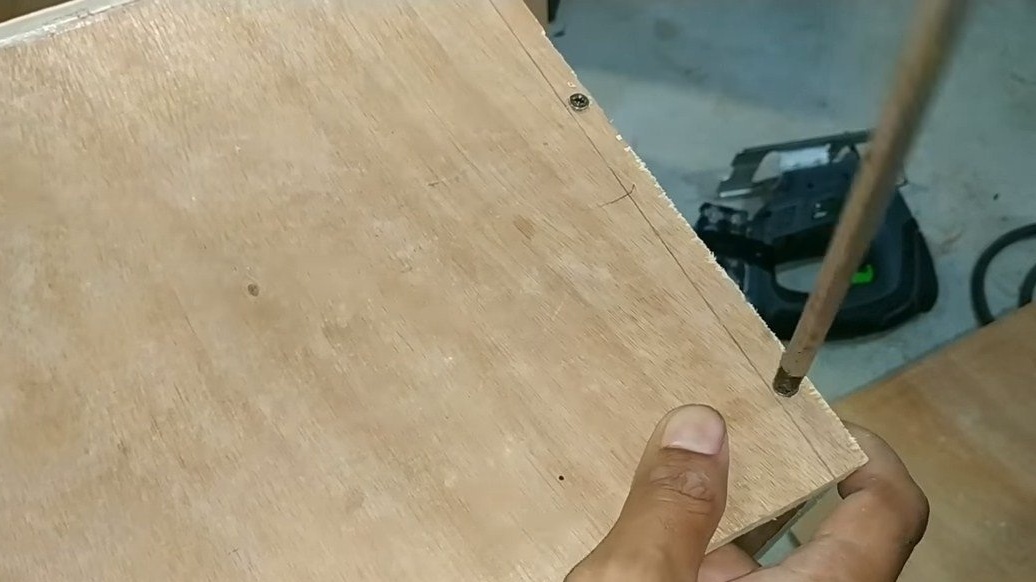
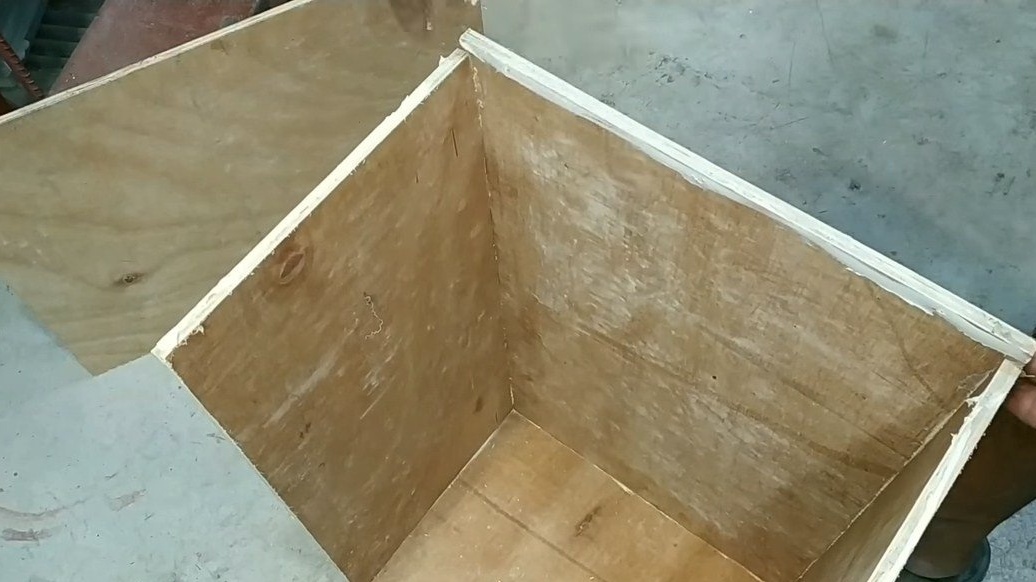
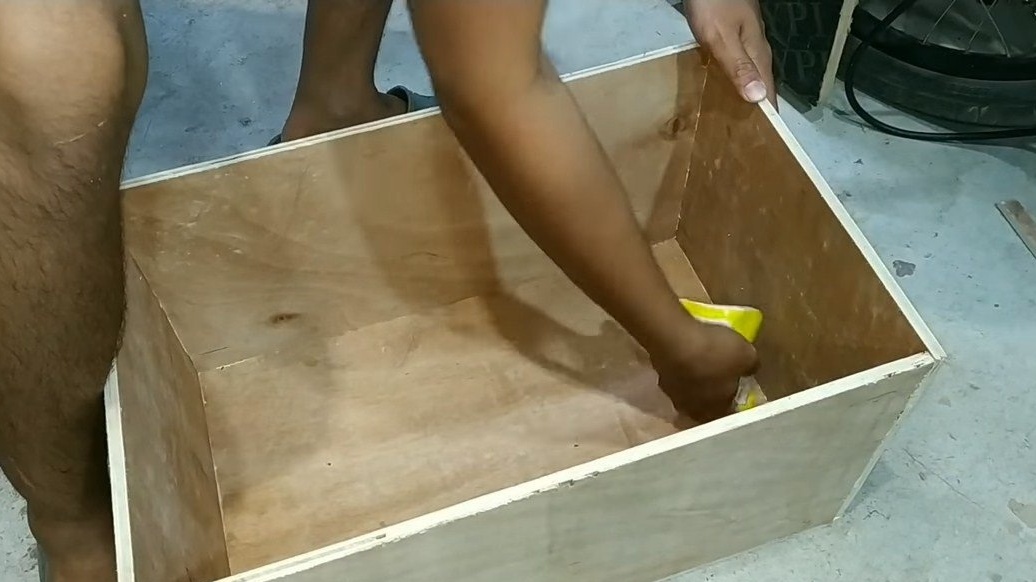
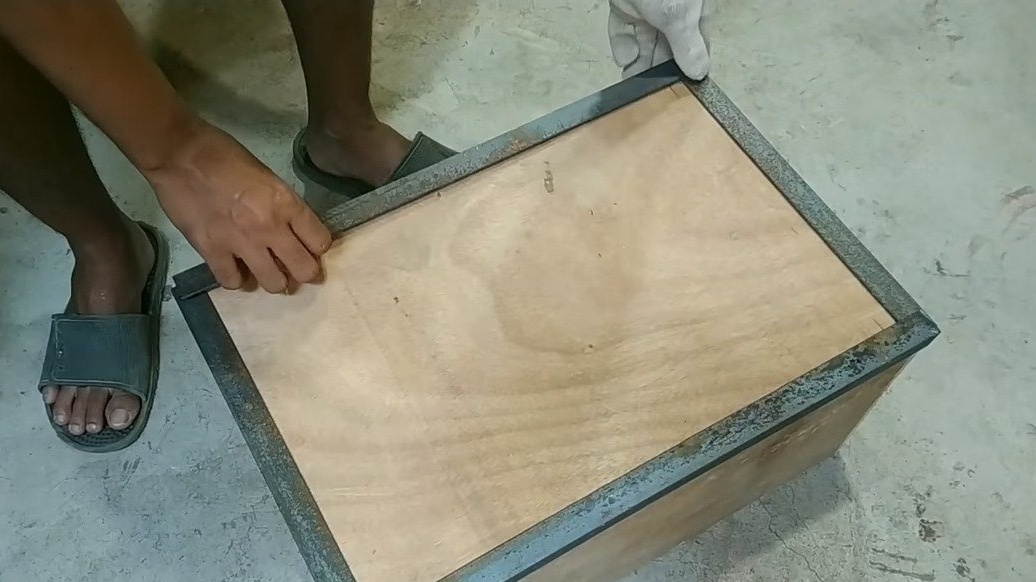
Step Two Box
We assemble the box for the trailer, here we need plywood, cut it into the necessary pieces, and then glue it with joiner's glue. To keep everything very tight, we tighten the box with screws. We will have a trailer with a cover so that no one looks into it and does not steal anything. The joints are well sealed with sealant or glue, since there will be a controller and a battery inside, we do not need dirt and water there.
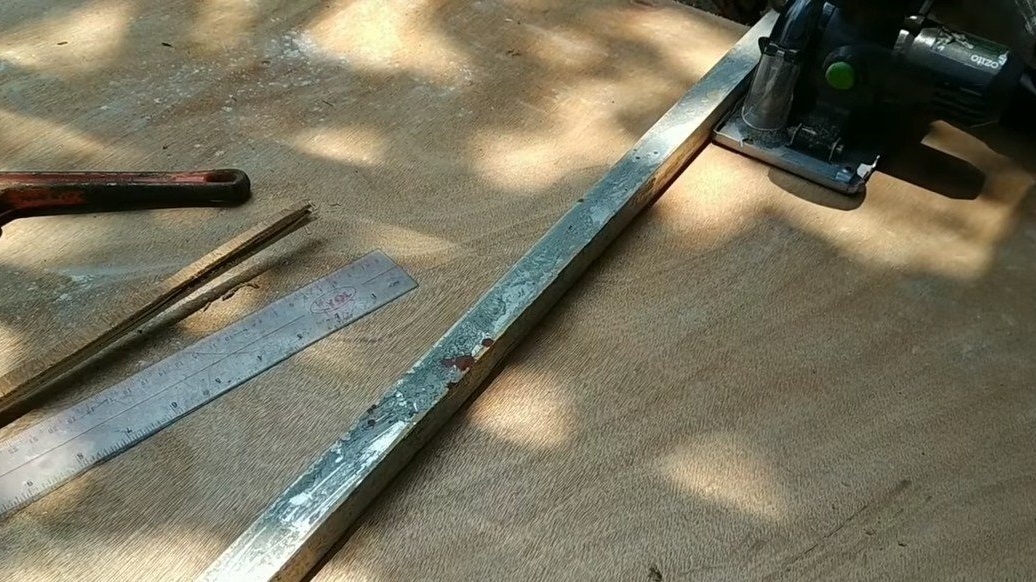

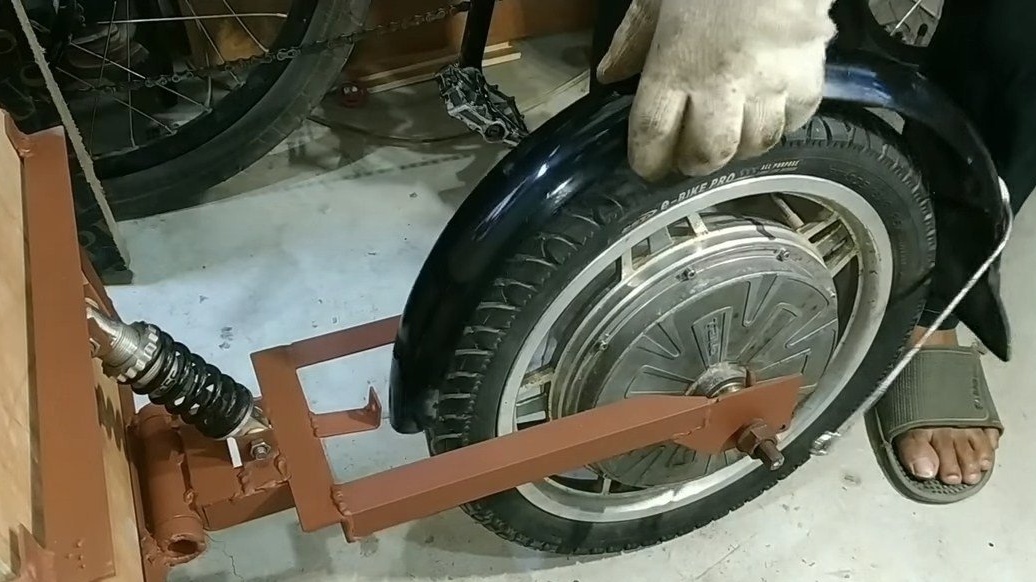
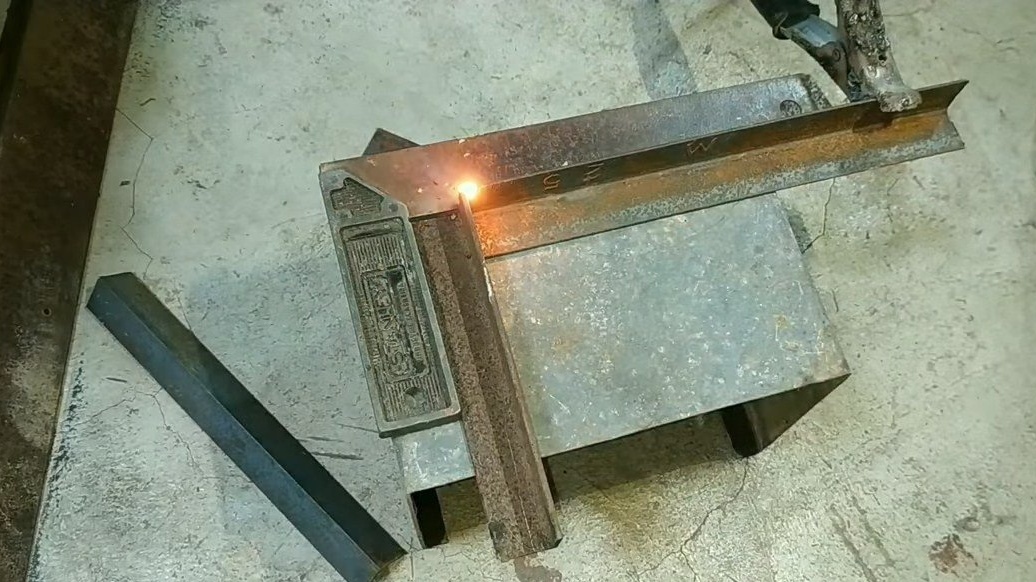
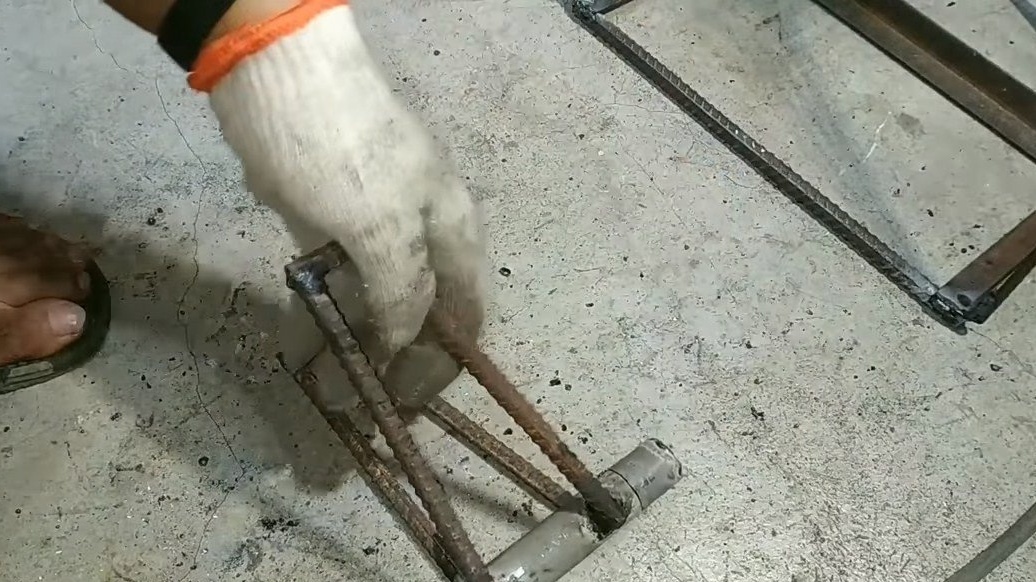
Step Three Fork assembly
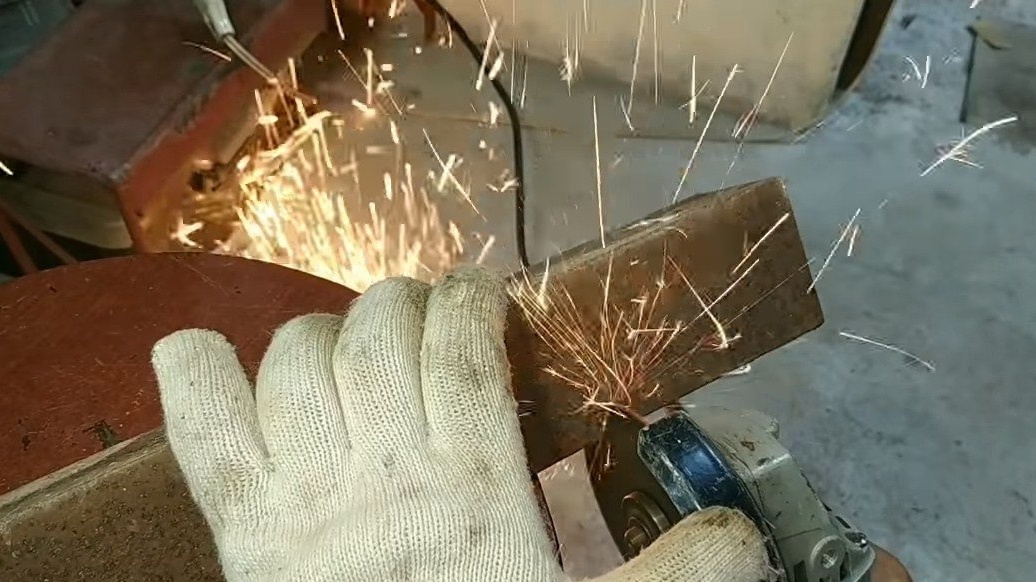
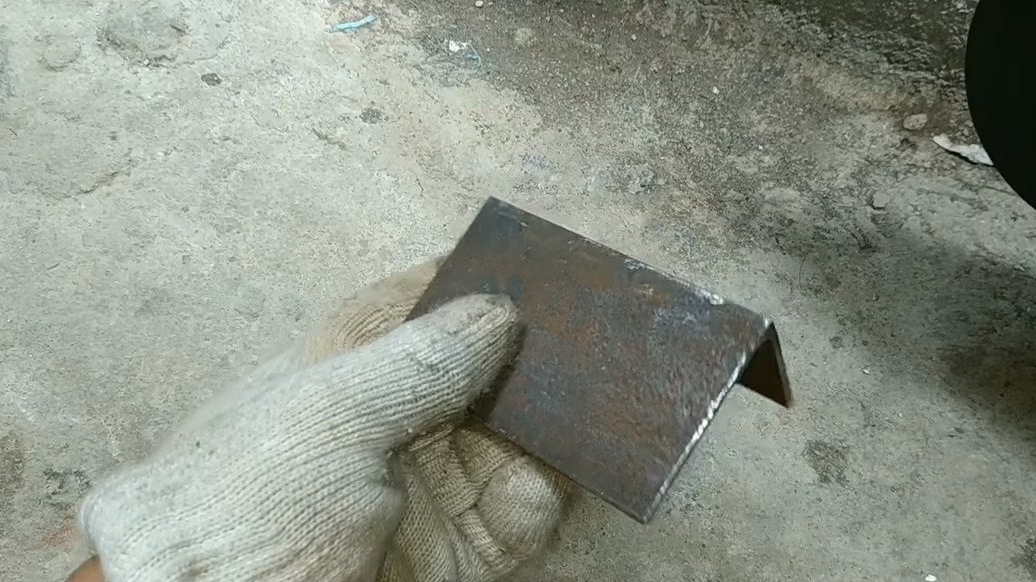
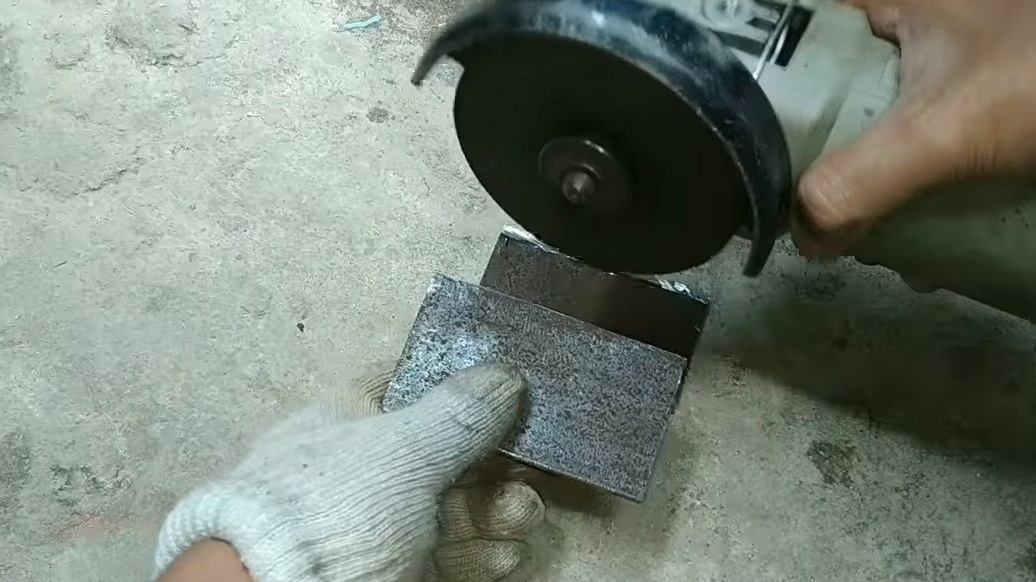
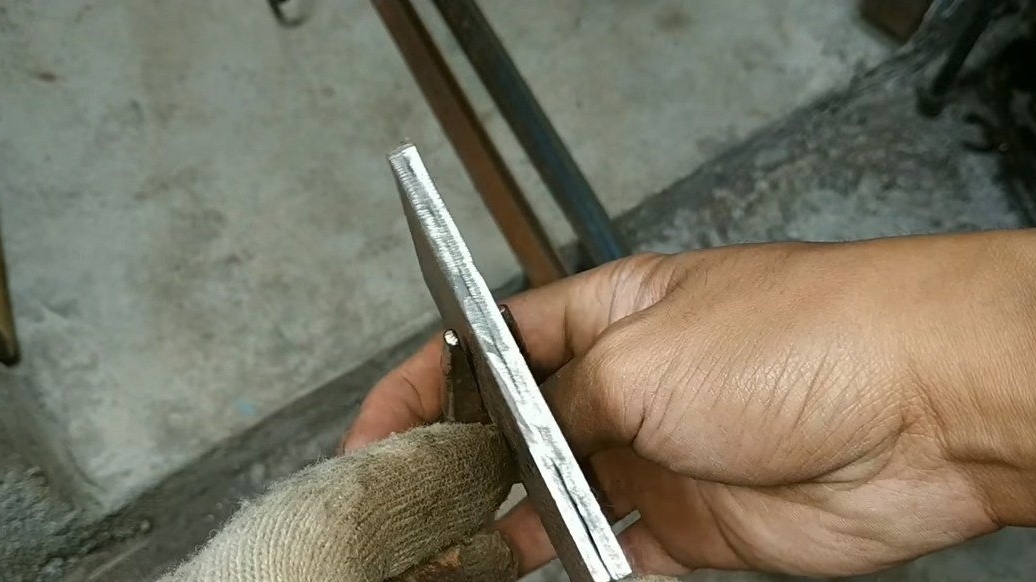
We’ll make a rear fork for the trailer, the author used a corner as a material, but profile pipes are also suitable. We cut and weld the structure, you also need to make fasteners for the motor wheel. The author cut the corner into plates, made cuts under the axle and welded the brackets to the fork.
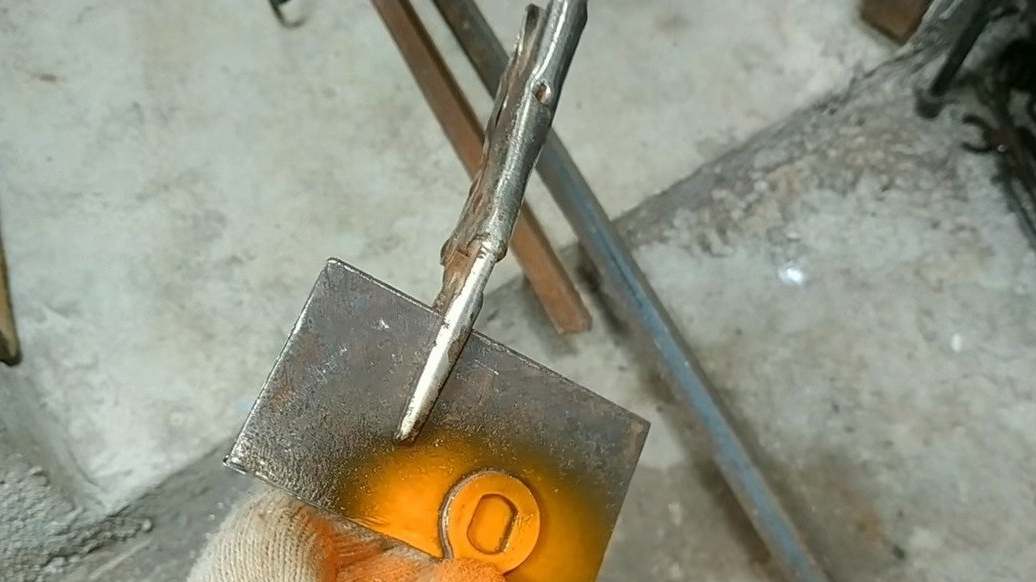
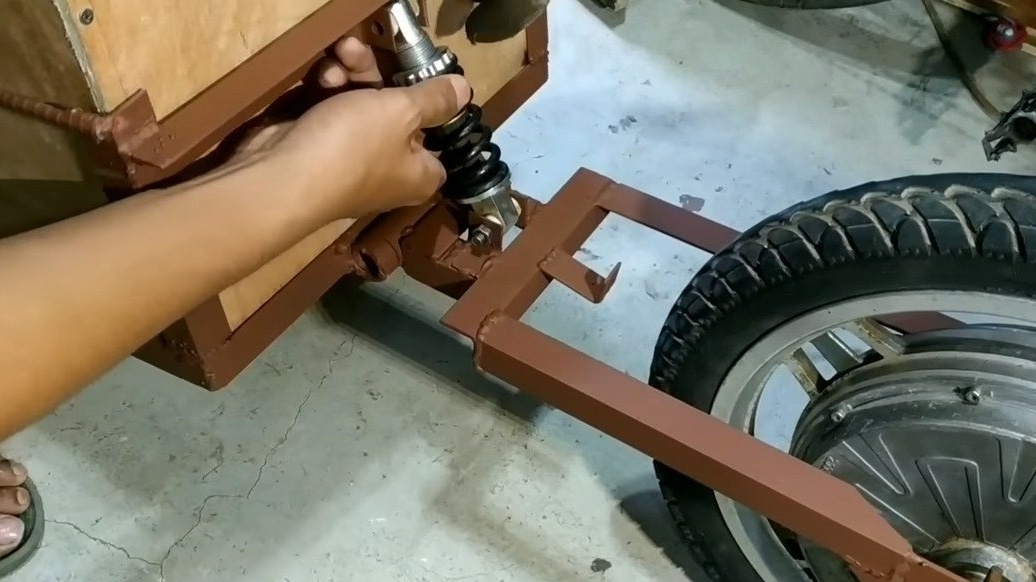
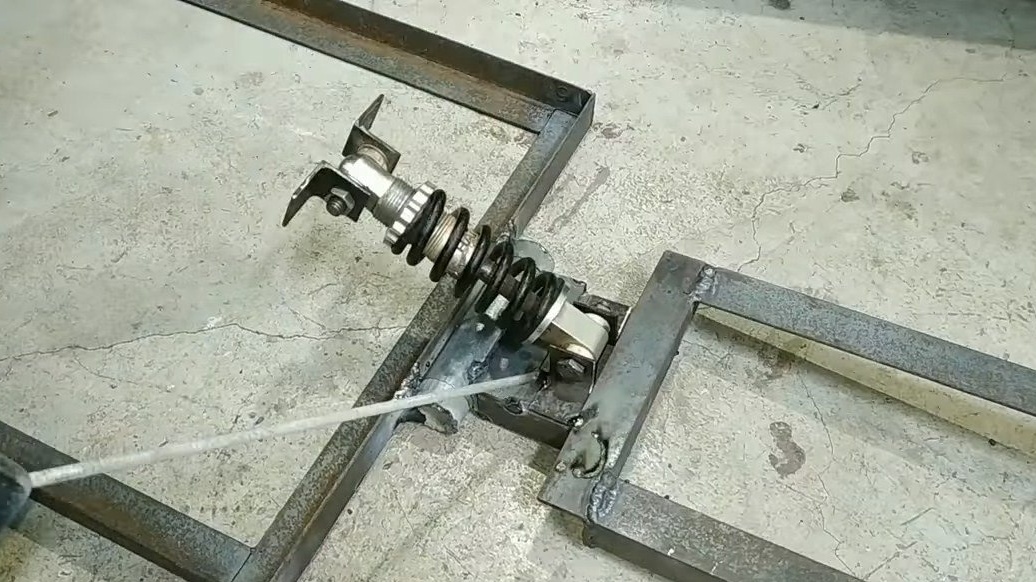
Step Four Hinge manufacturing
We will need to make a hinge that will work in the vertical direction, being installed vertically. Need this hinge in order to bike could drive bumps. So, for example, if you fasten the trailer firmly to the frame of the bicycle, then the rear wheel of the bicycle or the trailer’s wheel will also freeze if the bumps are not correct, and the coupling device will not withstand the load.
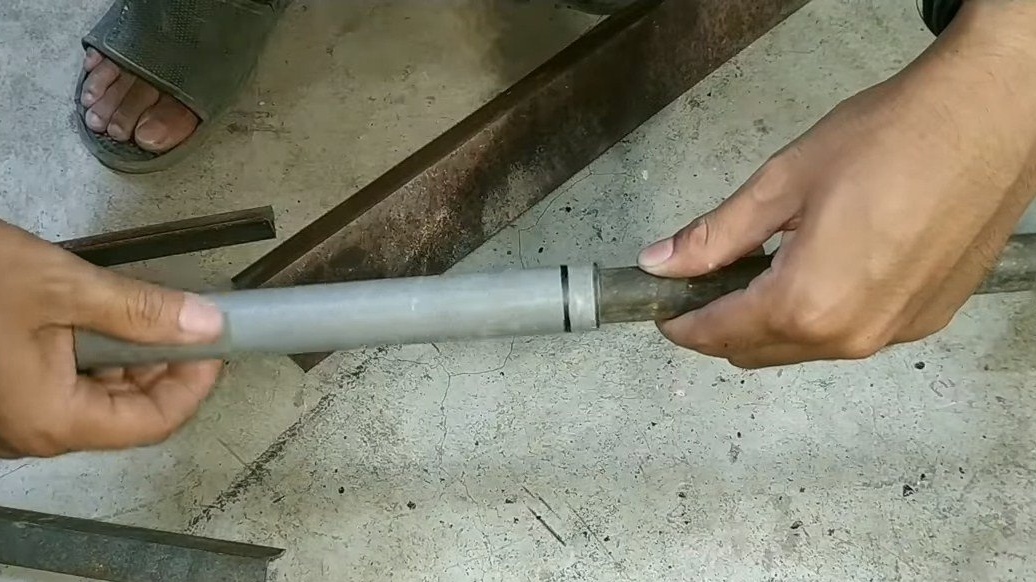
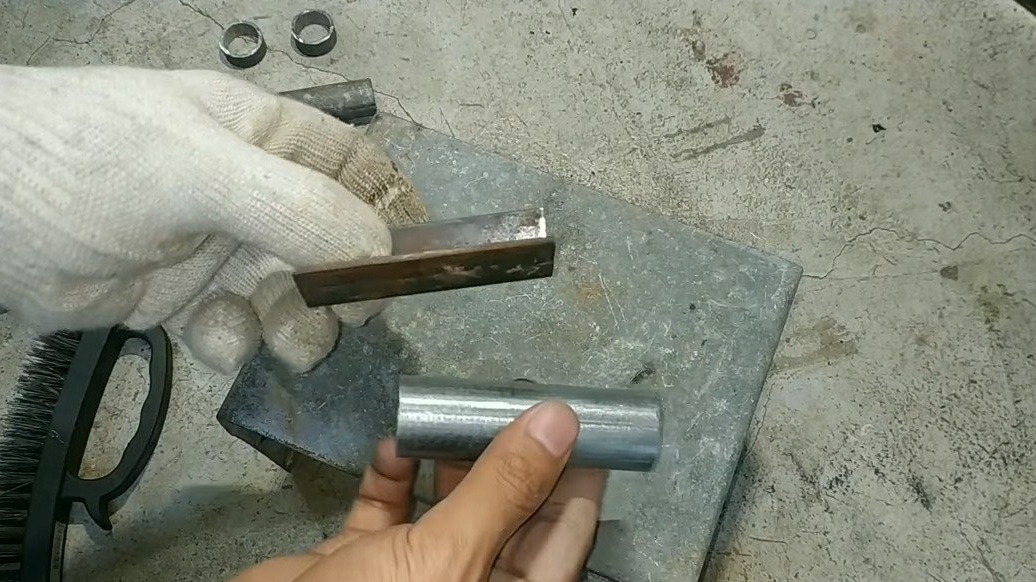
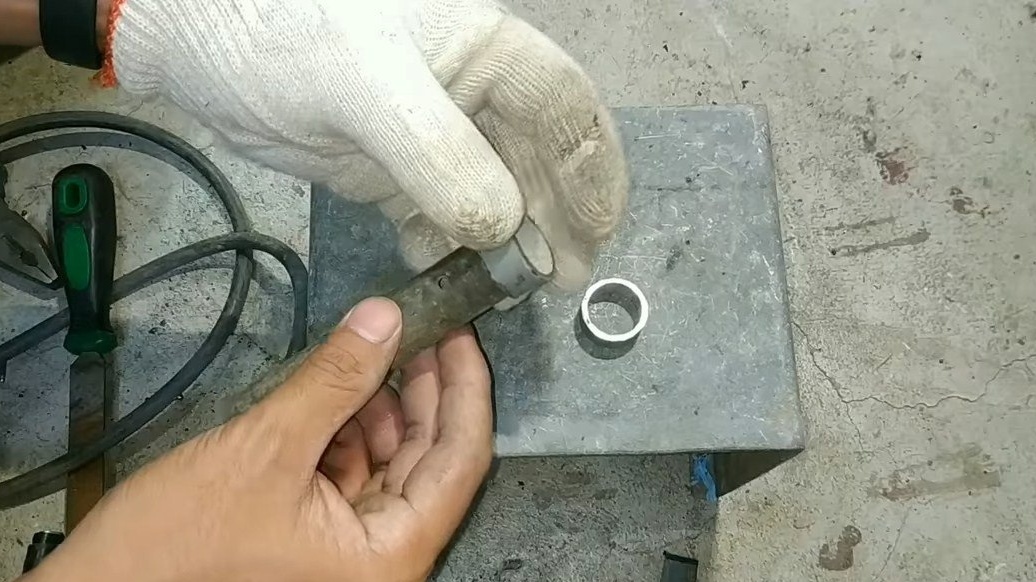
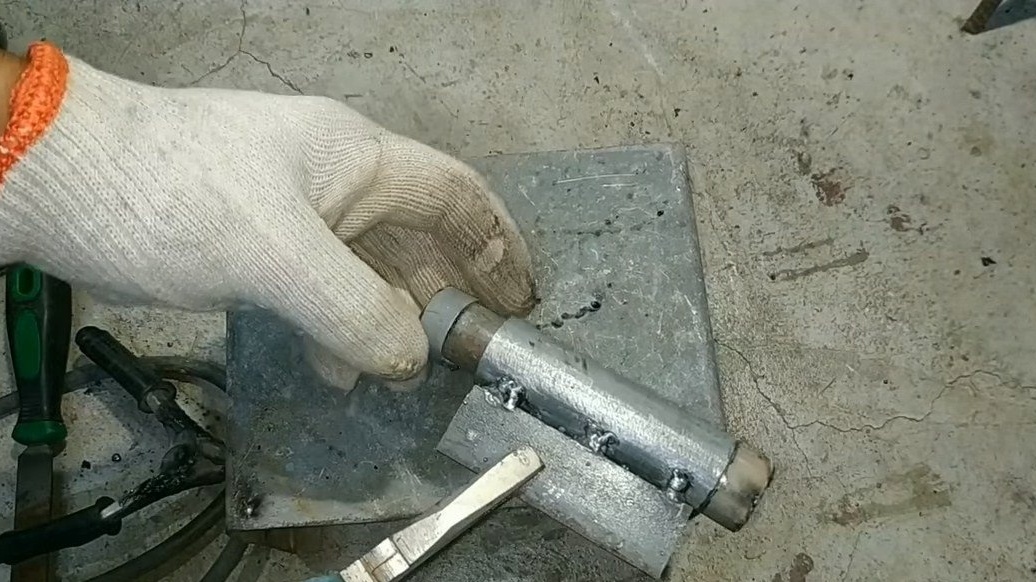
For the hinge you will need two pieces of pipe, well, or a round and a piece of pipe. The bottom line is that one part went into another with a small gap. We weld a piece of the corner to the resulting hinge.
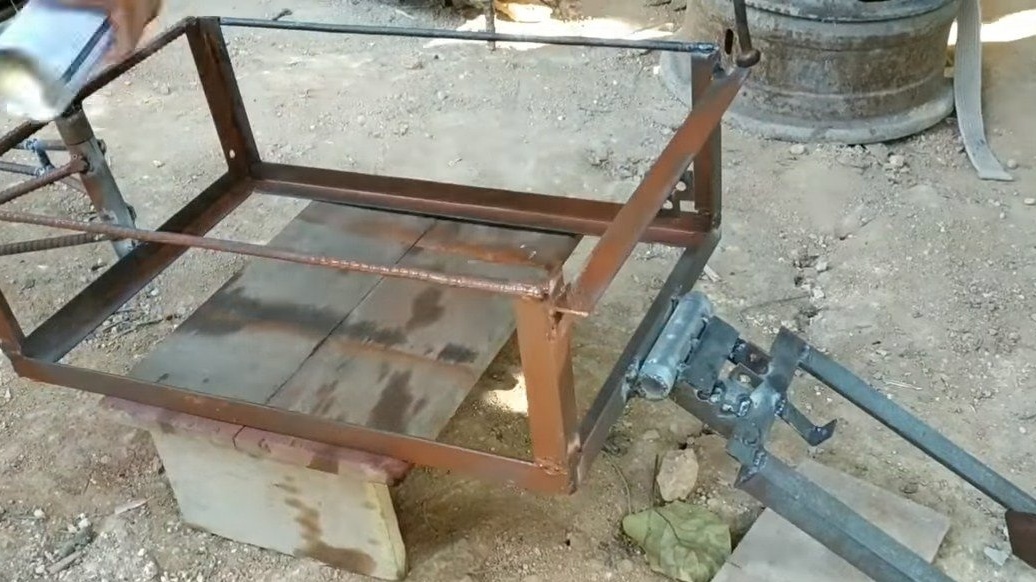
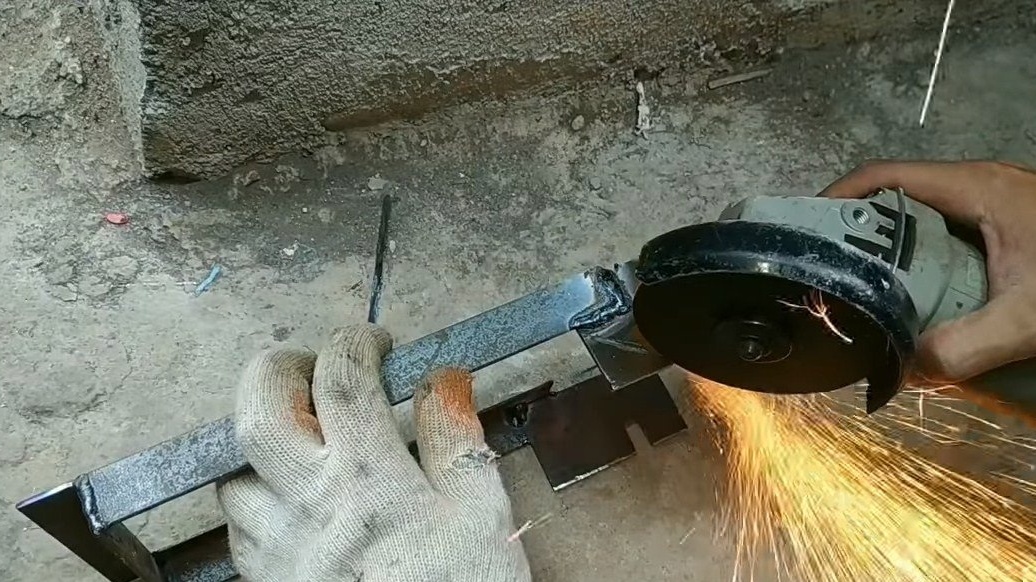
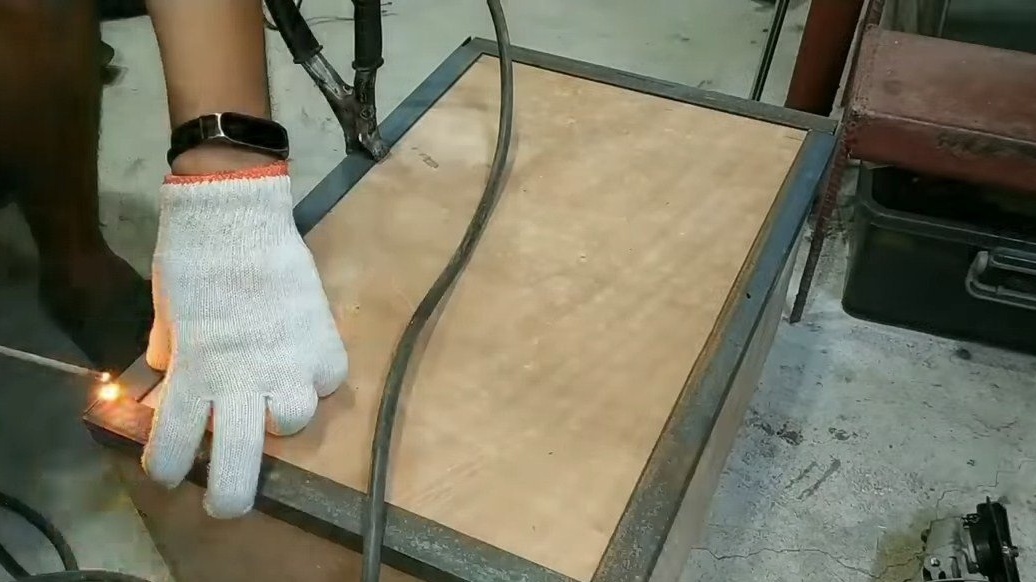
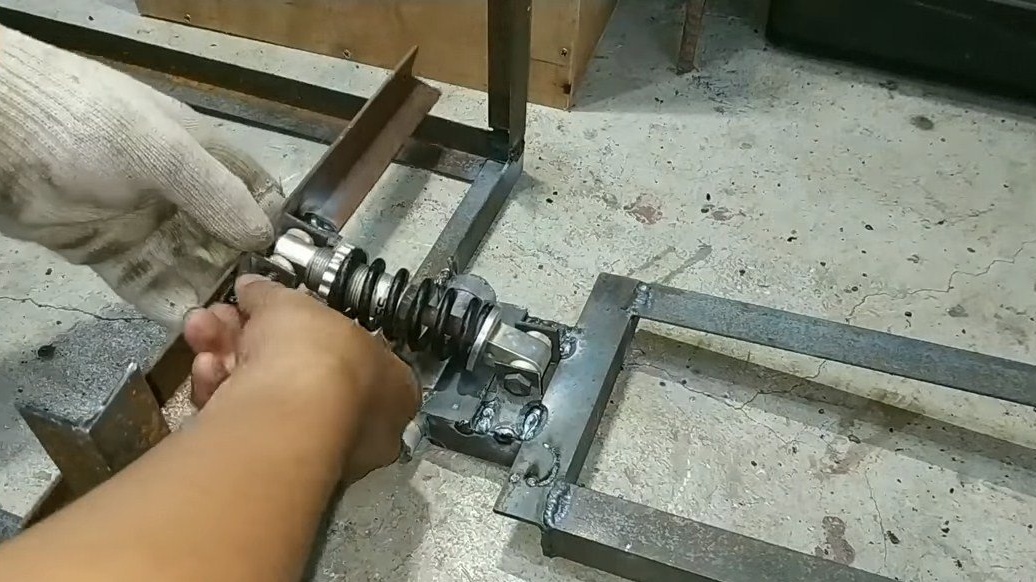
Step Five Frame
We assemble the frame for the box made earlier. We make the frame from the corner, cut and weld. Now you can connect the trailer plug to the frame, and we will connect them through the hinge. We install a shock absorber from the bicycle above the hinge, now our trailer will also absorb road roughness.
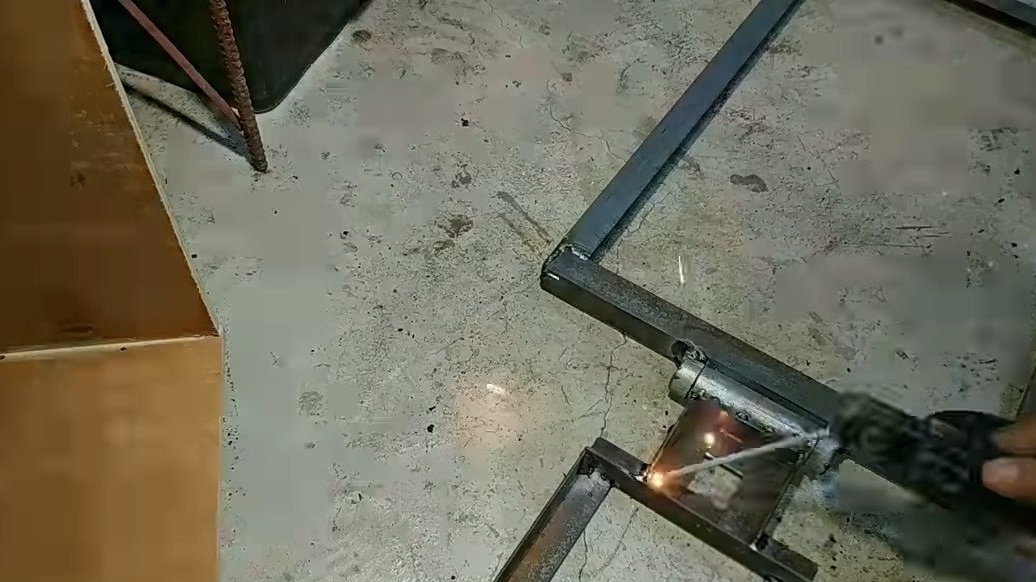

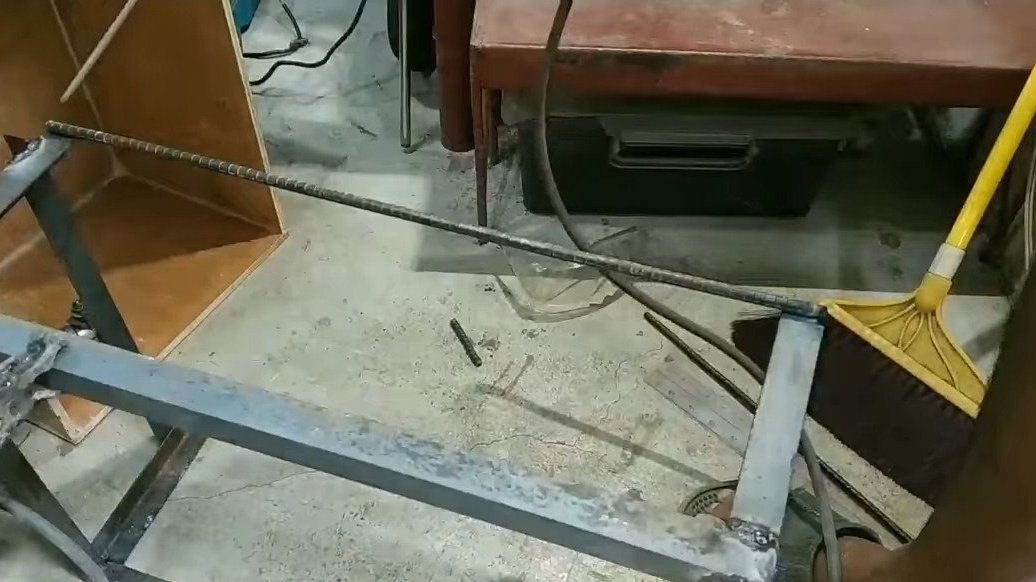
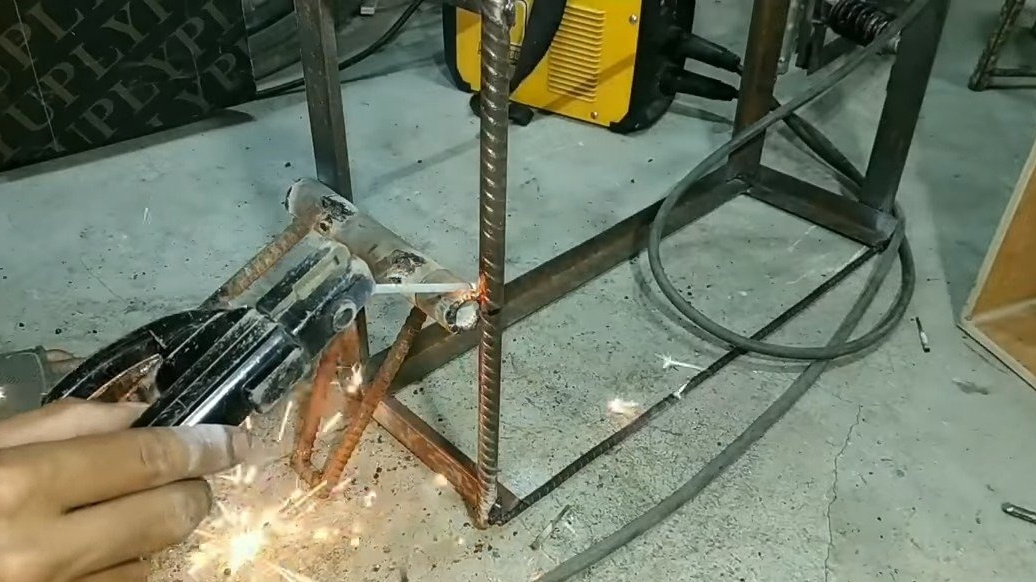
Step Six Swivel joint
We need another hinge so that we can rotate. It is made similar to the previous one, only installed vertically. We weld the frame with fittings, and also make the drawbar, weld it to the hinge, it is made of reinforcement.
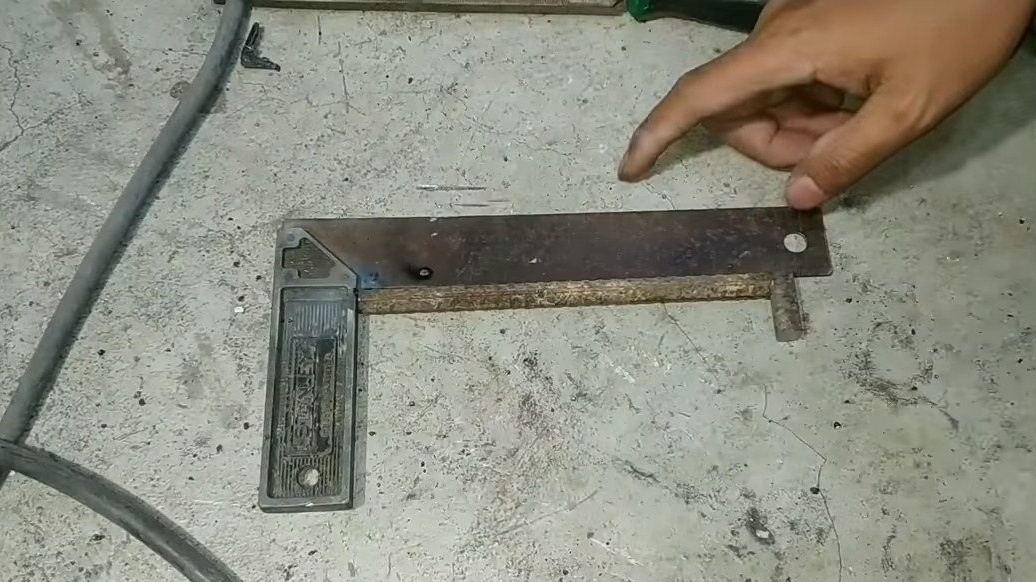
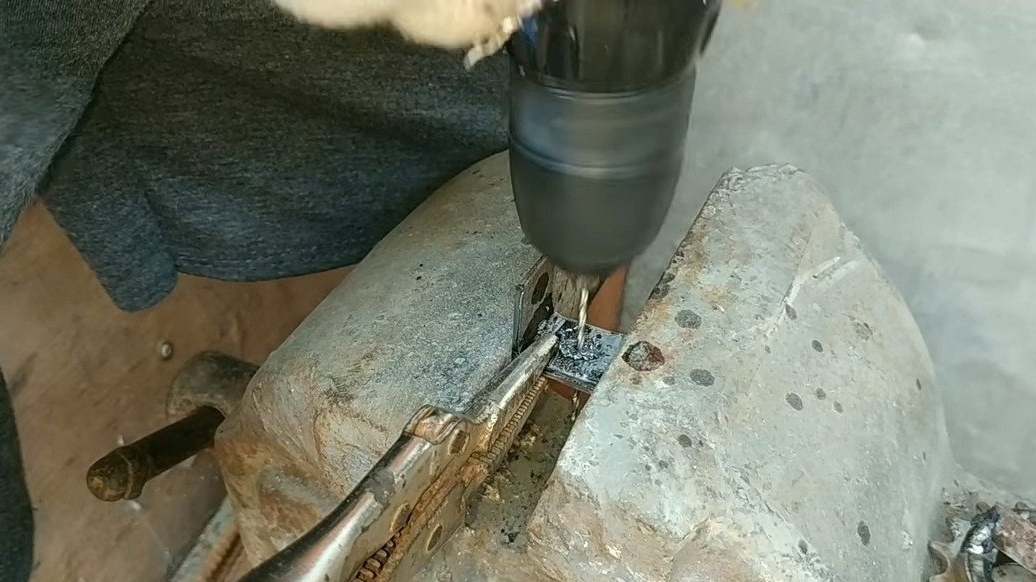
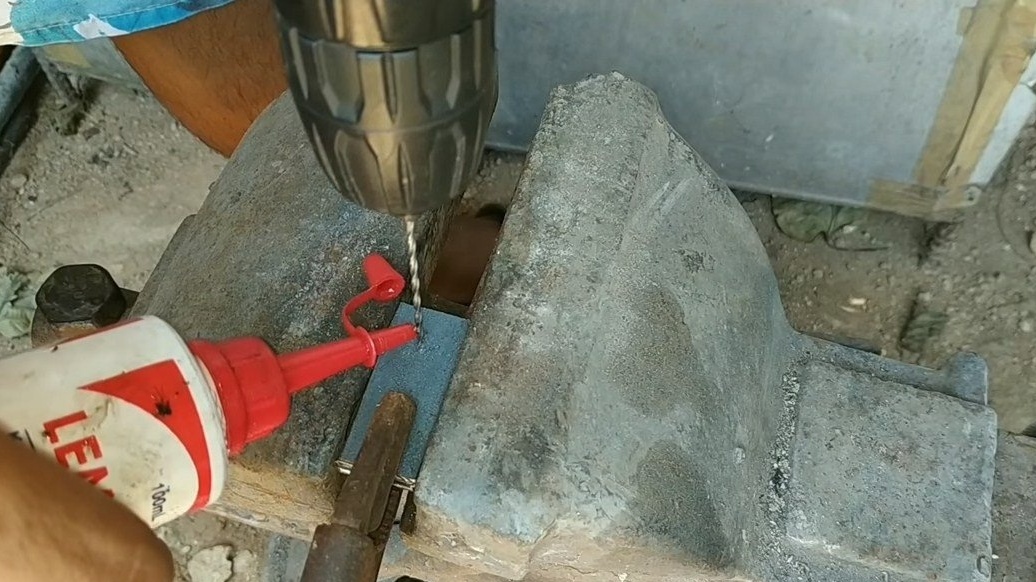
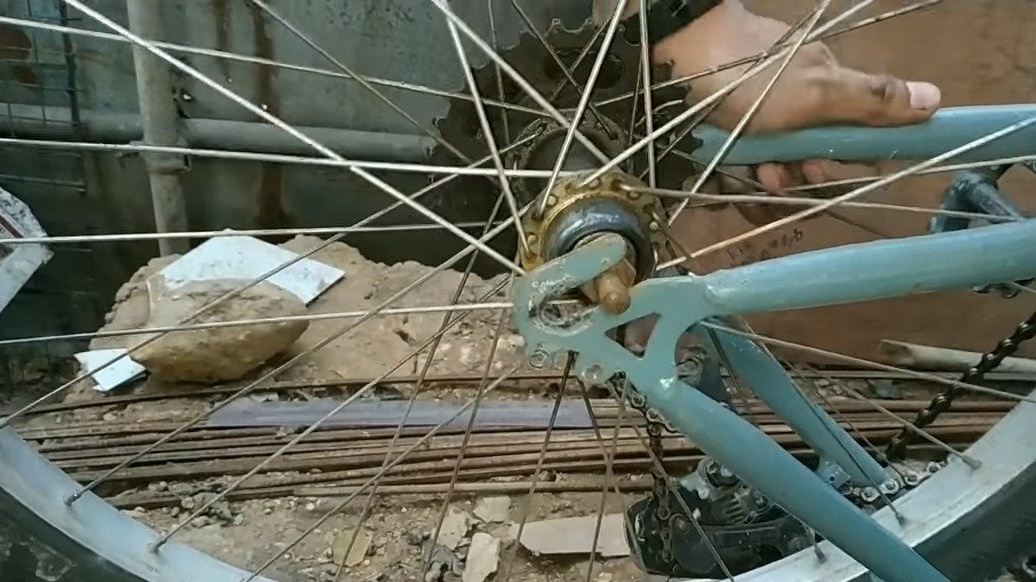
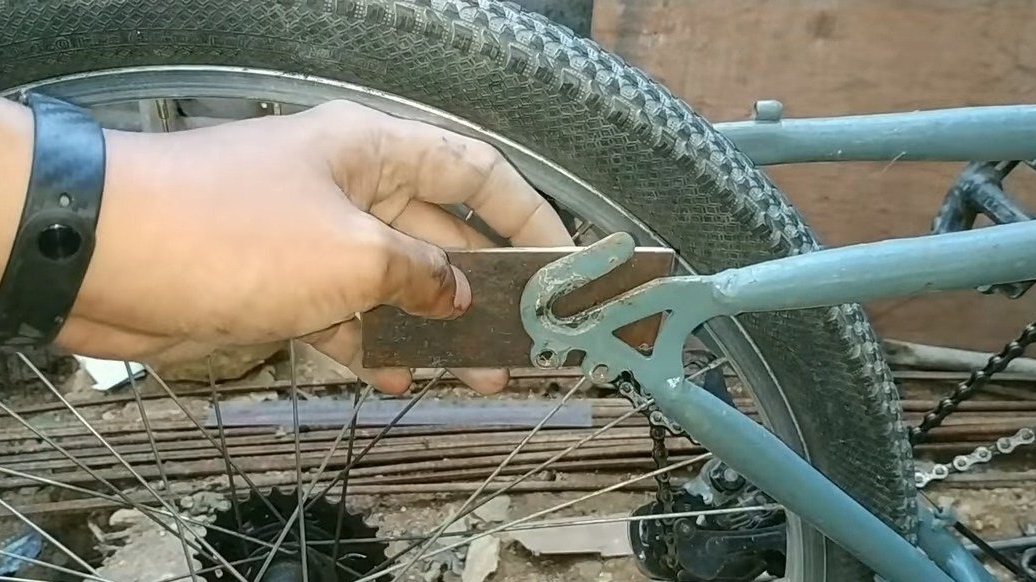
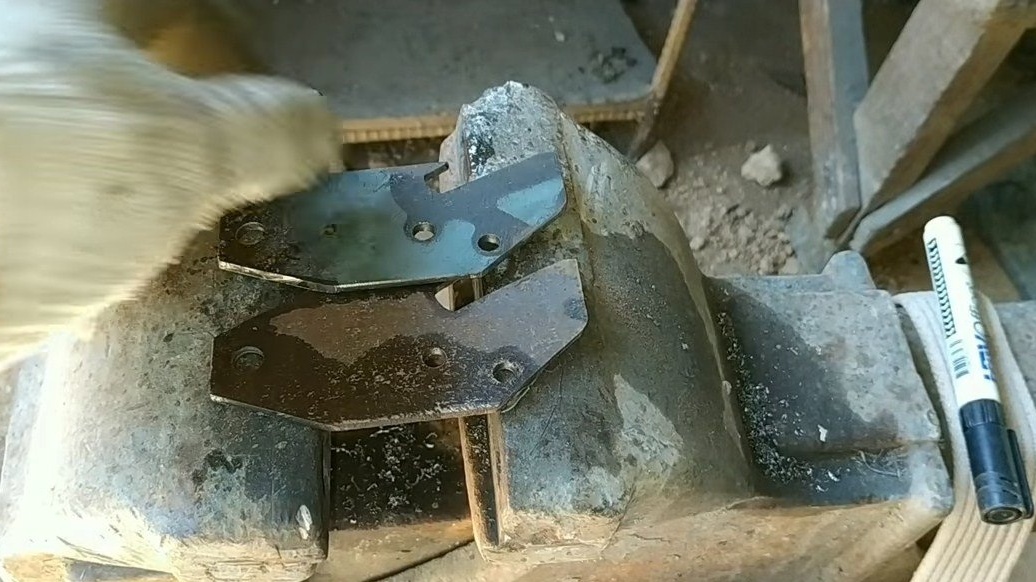
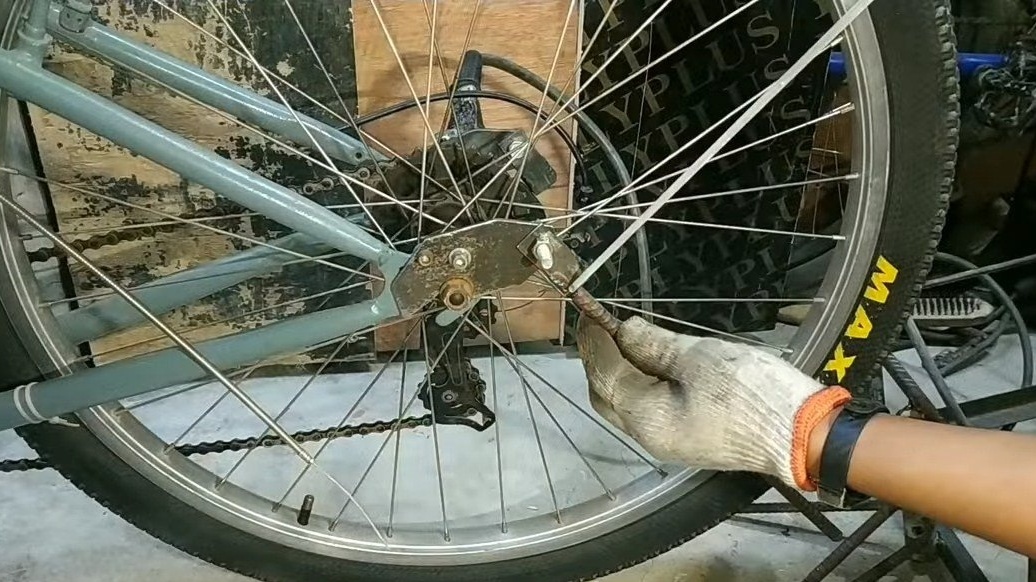
Seventh step. Tow hitch
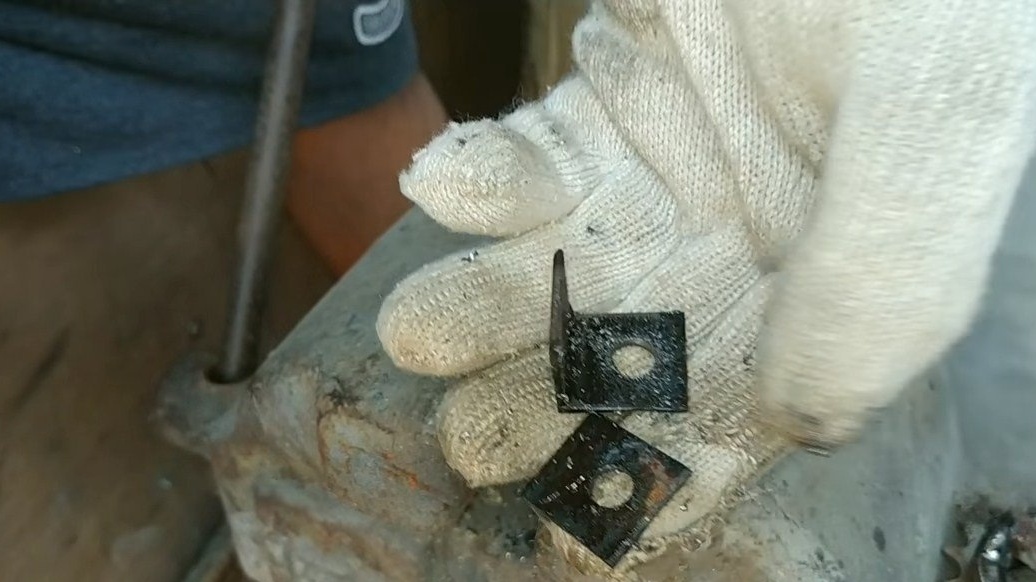
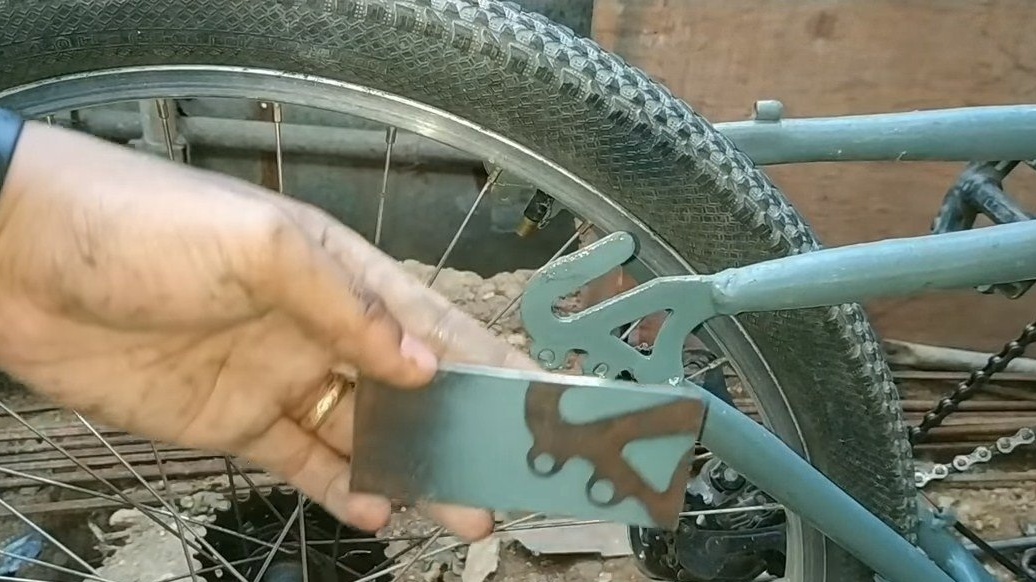
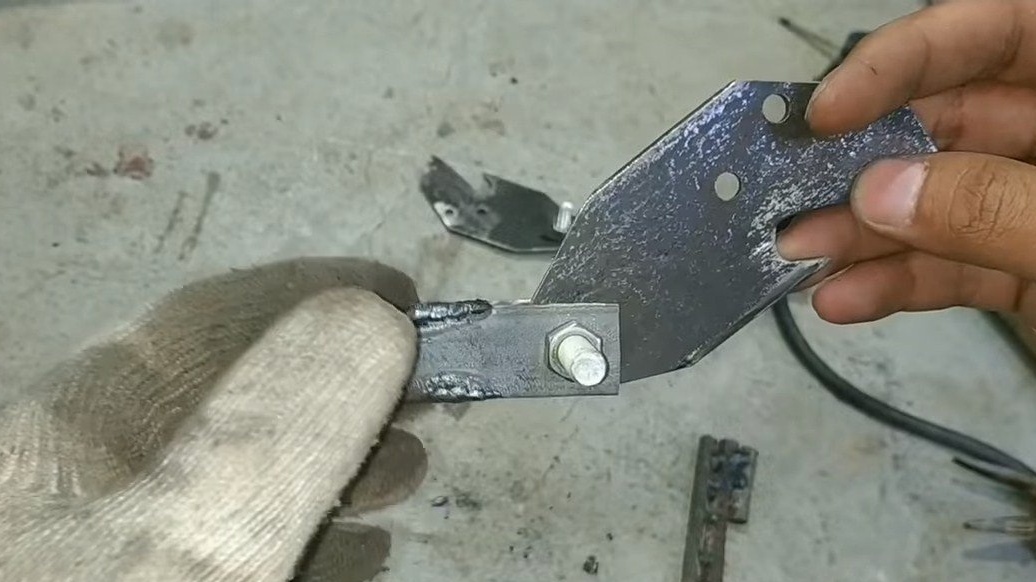
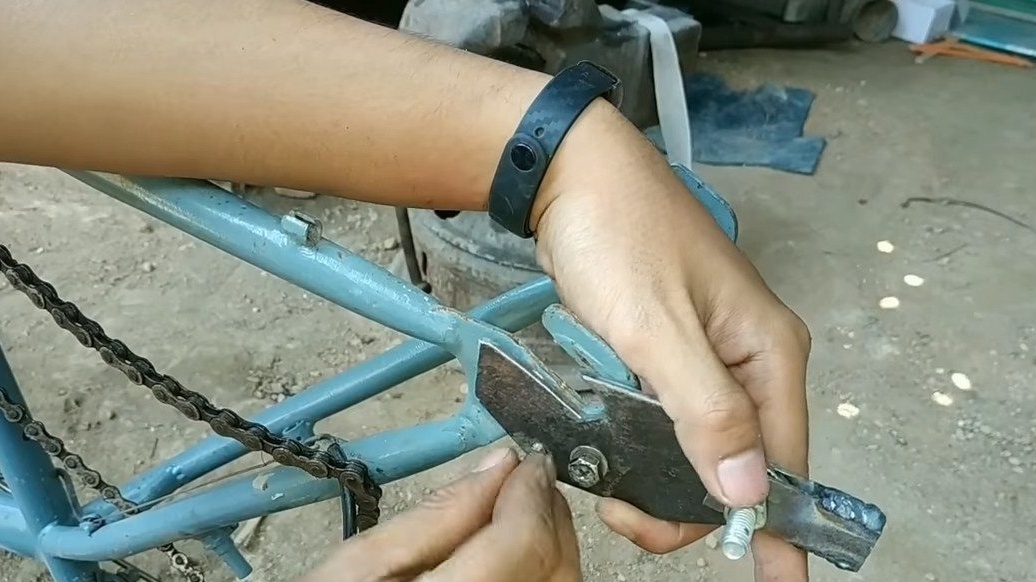
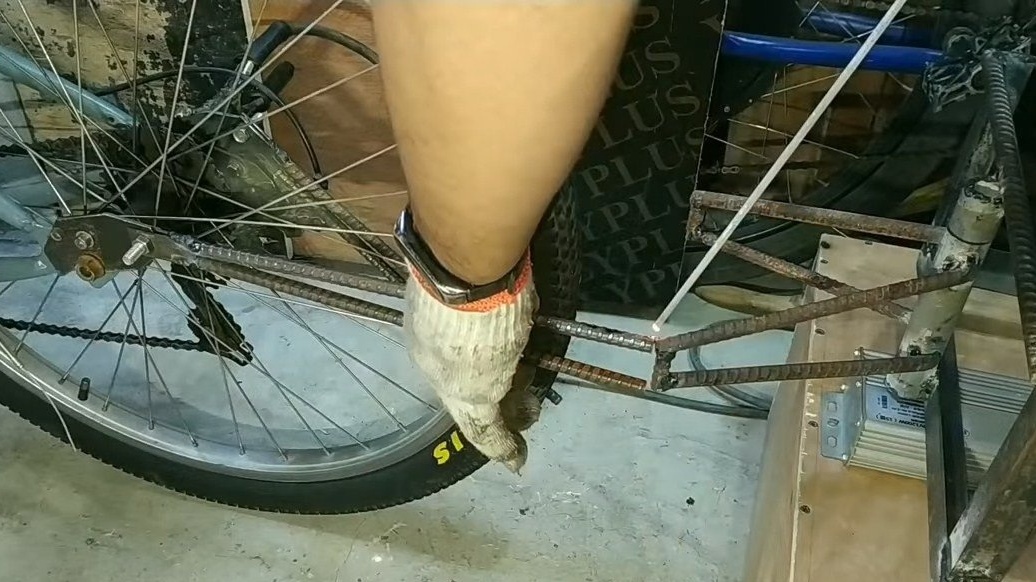
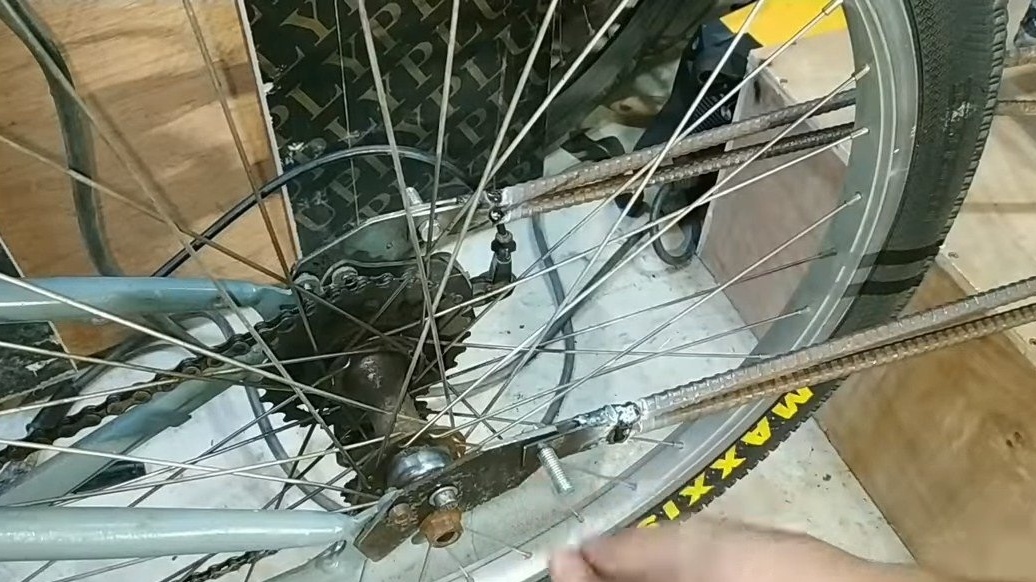
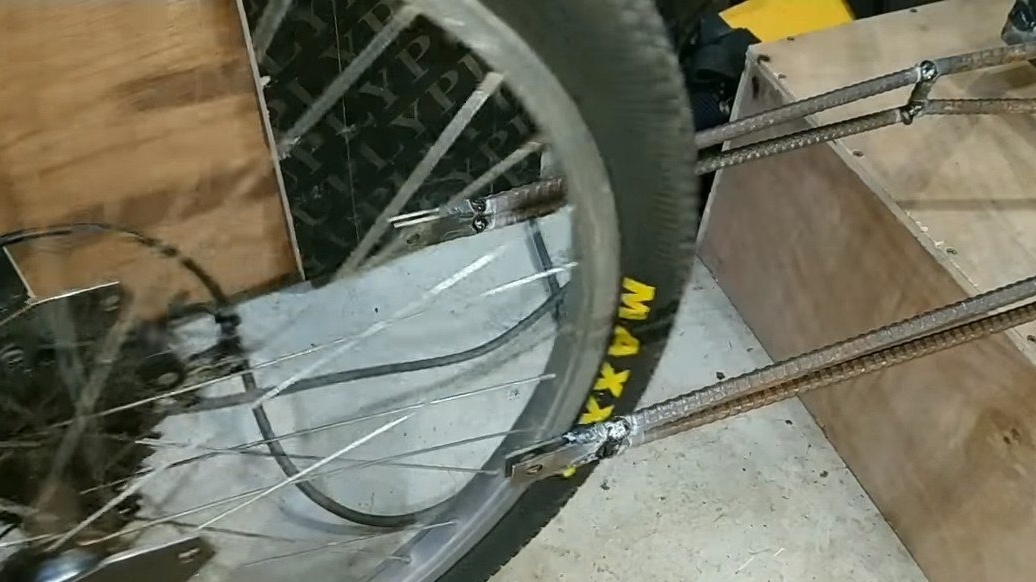
We make a hitch that will allow us to fasten the trailer to the frame, and we will hook it to the rear fork. The author makes patterns and cuts sheet metal fasteners for the rear fork. Fix them with nuts that hold the axis, as well as additional screws. These parts will be static; you do not need to unscrew them to remove the trailer.
To fasten the trailer on its drawbar there are sheet metal forks, thanks to these forks and bolts with nuts we can quickly connect or remove the trailer.
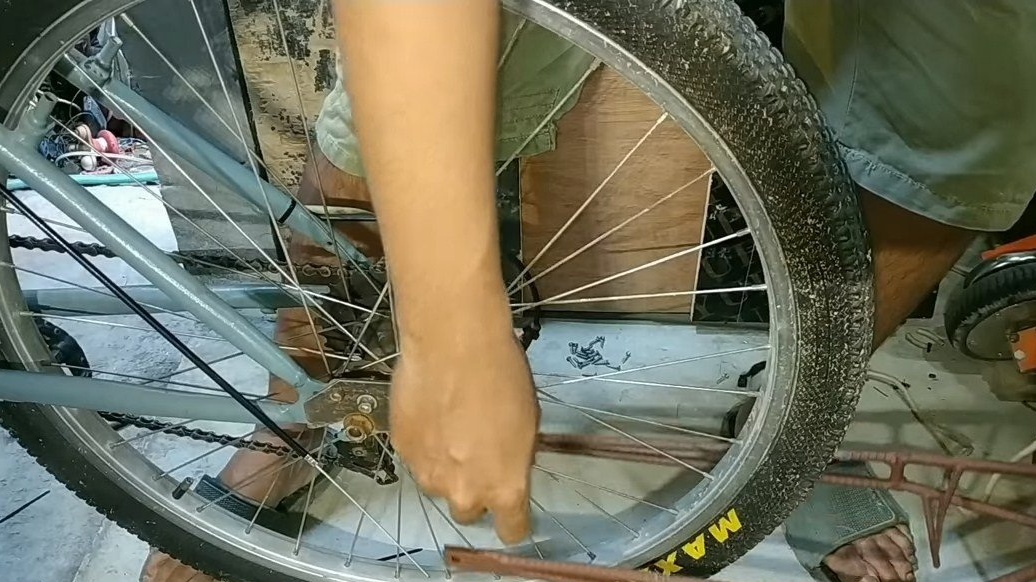
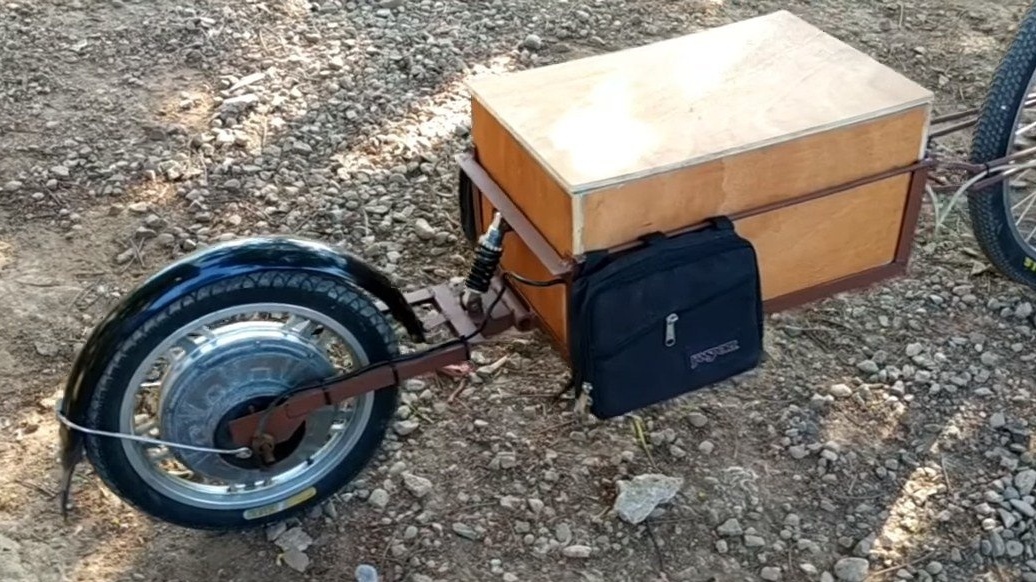
Step Eight. Final assembly
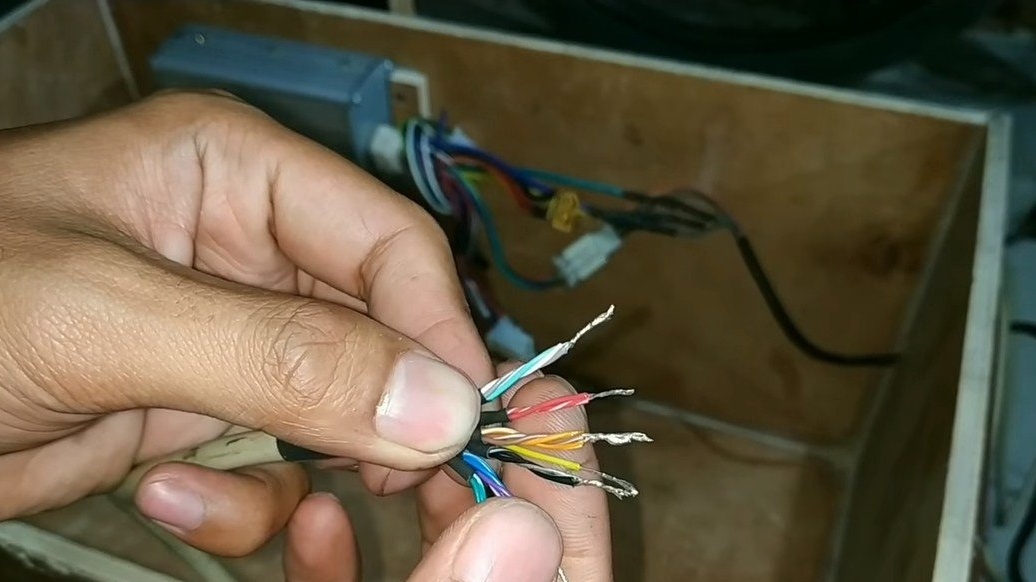
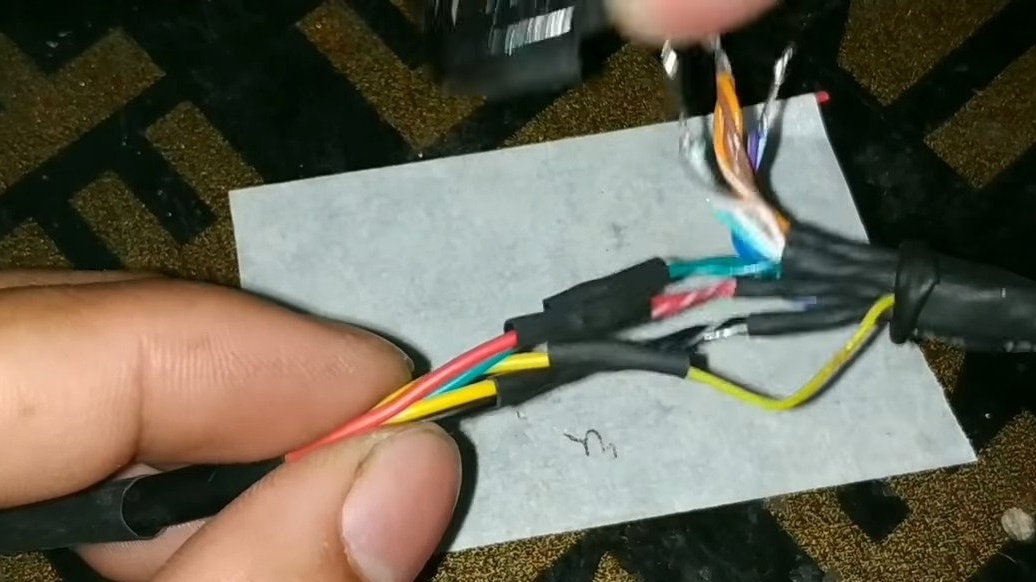
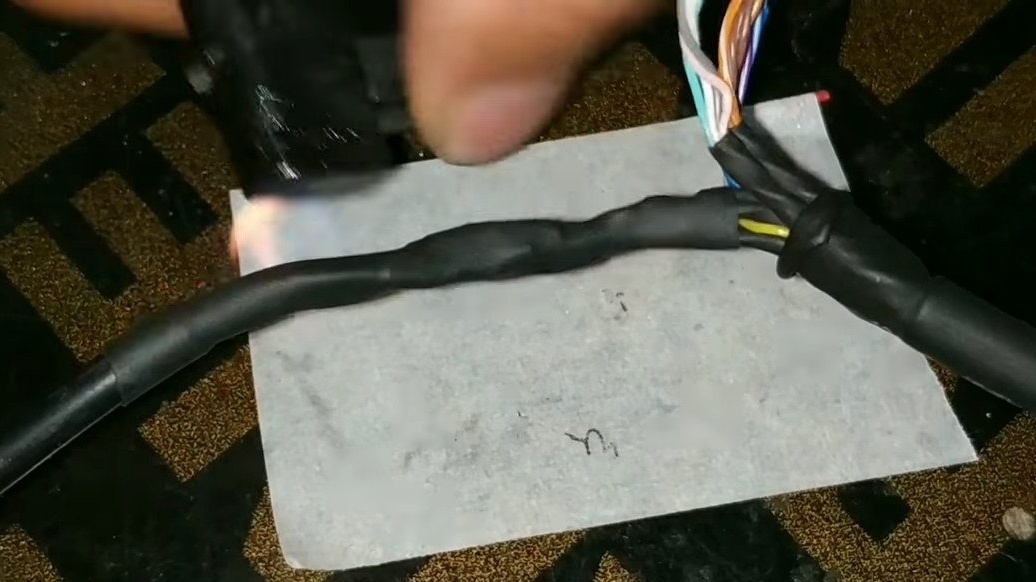
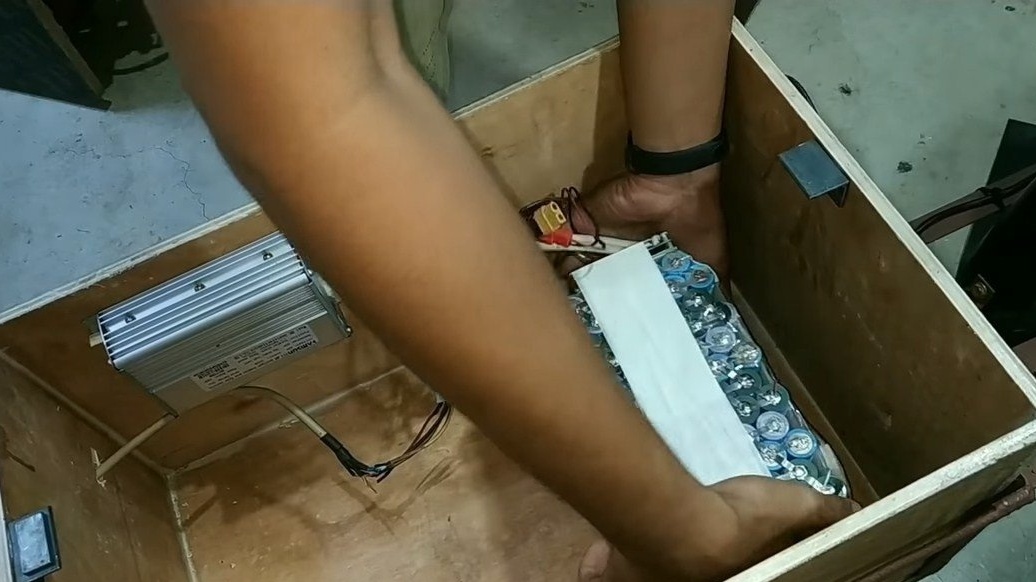
The car is almost ready, paint the trailer and assemble, install the wheel and wing. As for the controller, it, like the battery, is located inside the trailer. To the trailer you only need to conduct wiring from e throttle grip. Of course, the cable should be easily detachable so that the trailer can be quickly and easily disconnected.
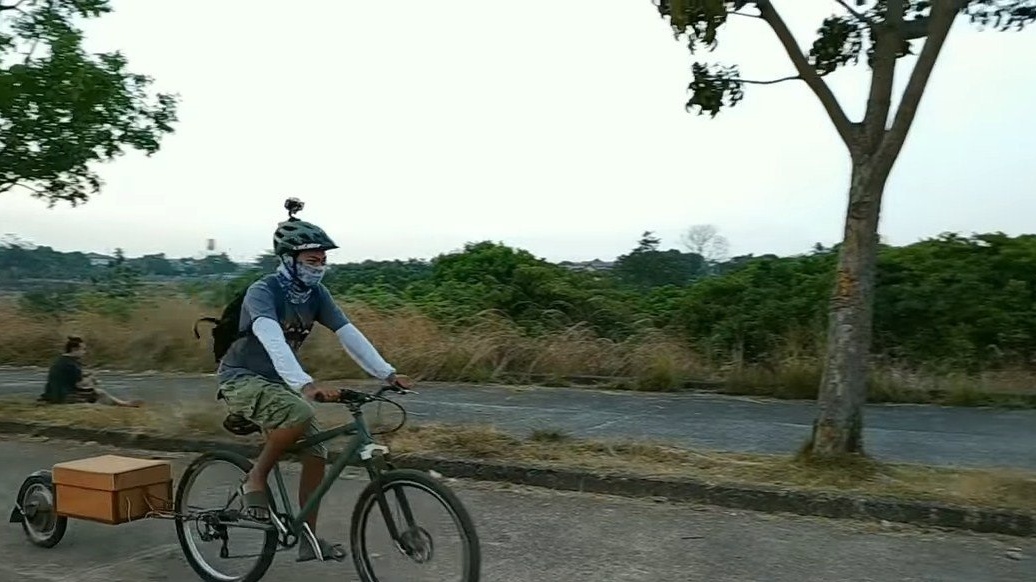
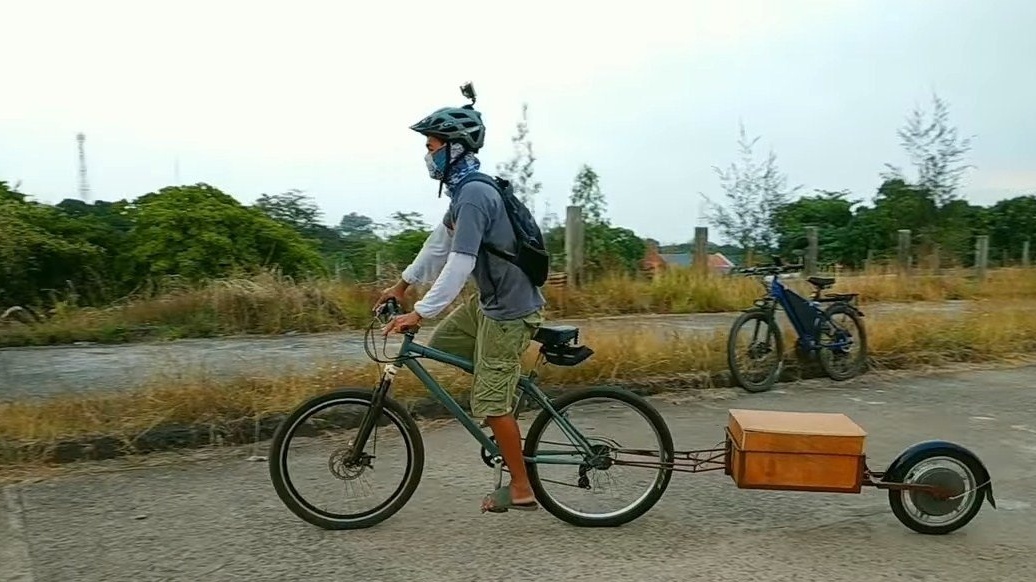
So our wonderful technique is ready, we are going to the test. The author accelerates quite quickly, and the maximum speed, in his opinion, is 45 km / h, which is more than enough. I hope you enjoyed the project and found useful thoughts for yourself. Good luck and creative inspiration, if you decide to repeat this. Do not forget to share with us your ideas and homemade products.