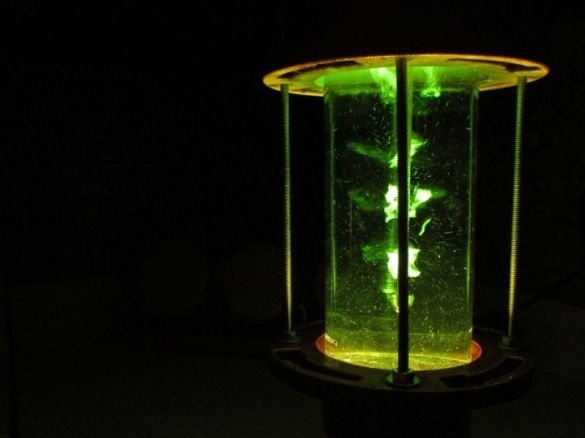
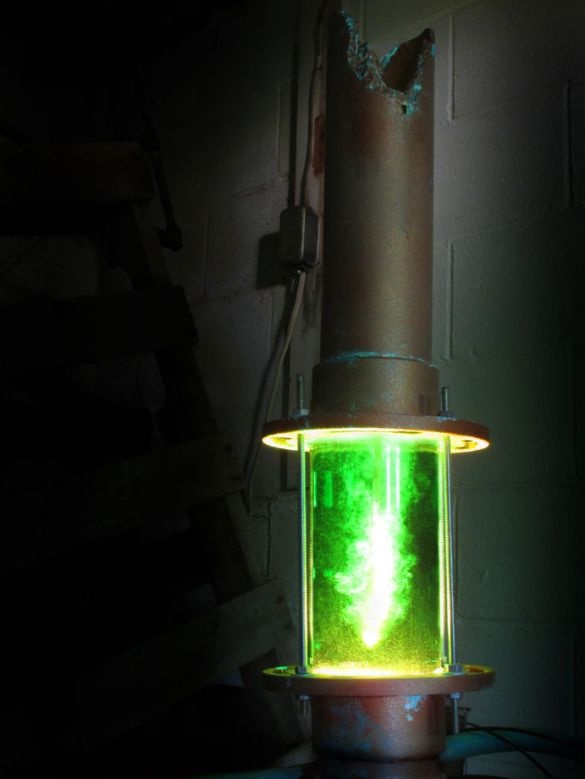
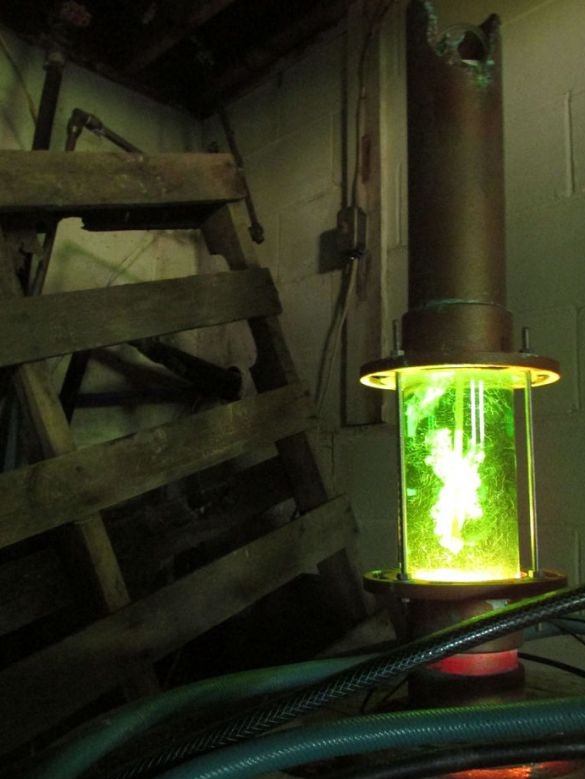
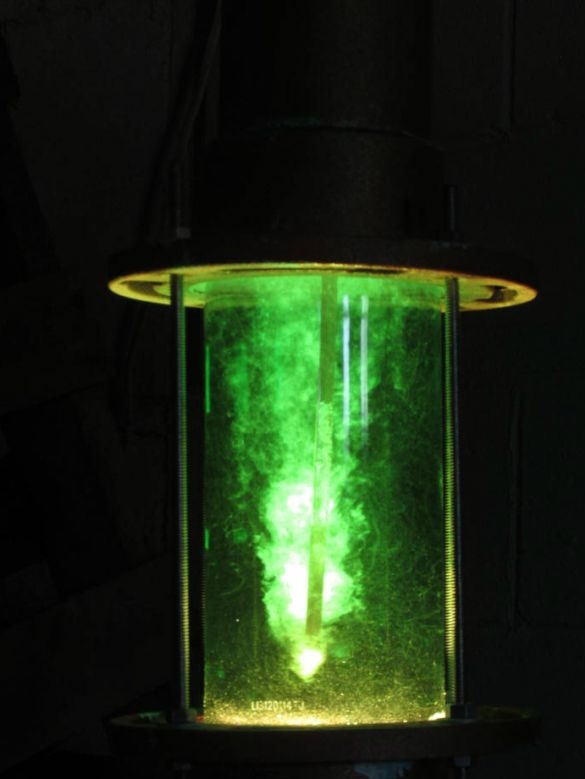
Another article about an interesting solution for a home interior. This time we will talk about how to make an unusual lamp, stylized as a pipe with a stream boiling in it.
Such a thing will surely attract the attention of your guests. In addition, this lamp is not very difficult to create. All the details that are necessary for its creation can be found in almost any hardware store.
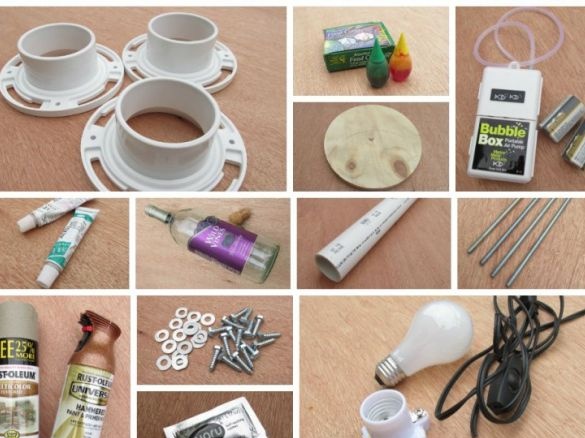
Materials:
- PVC pipe with a diameter of 7.6cm and a length of 60cm
Three flanges for PVC pipes 7.6 cm
2 cm thick plywood sheet
glue for PVC
-4 bolts 25x6mm
hairpin 6 mm 91cm long
-12 washers with a diameter of 6 mm
-12 nuts with a diameter of 6mm
lamp holder
-energy saving lamp
- power cord with switch
-spray-paint "copper"
texture spray
acrylic paint "white"
acrylic paint "green"
acrylic paint "titanium white"
-air pump
-batteries
- an empty glass bottle with a diameter of 7.6cm
-food coloring
- copper tube with a diameter of 4.7 mm and a length of 30 cm
Below is a step-by-step assembly of an unusual lamp from start to finish, with detailed explanations and tips, following which you can also create about the same attention-catching lamp.
Step One: Lamp Base
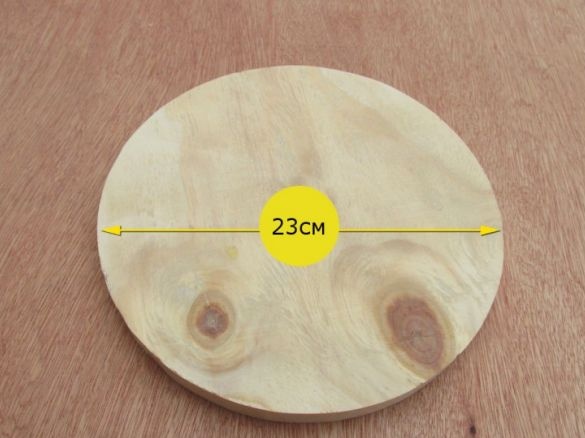
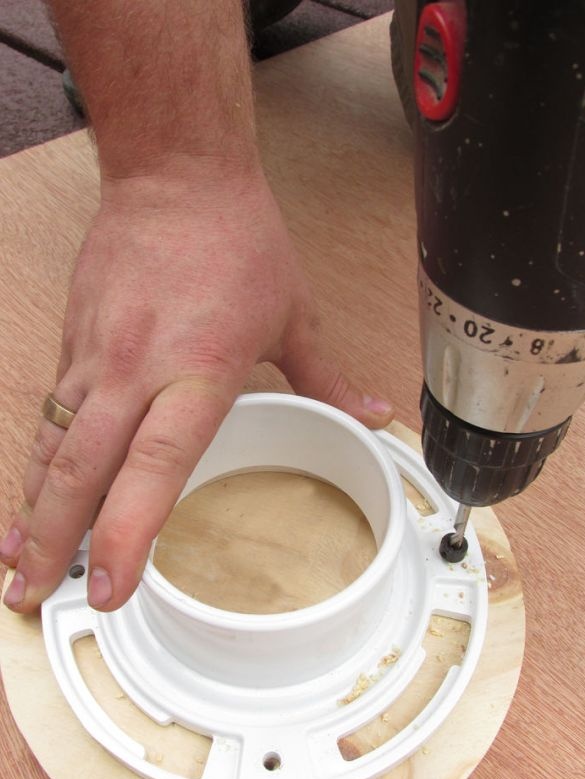
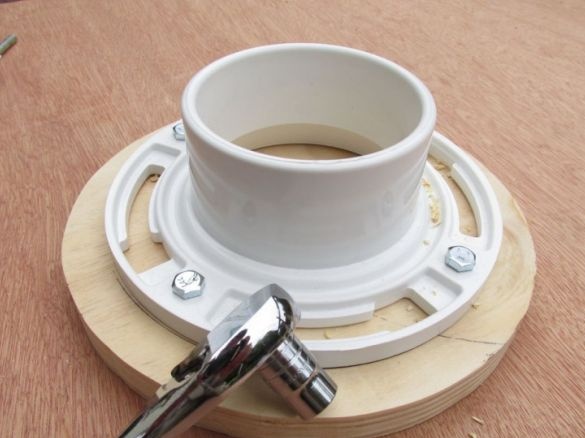
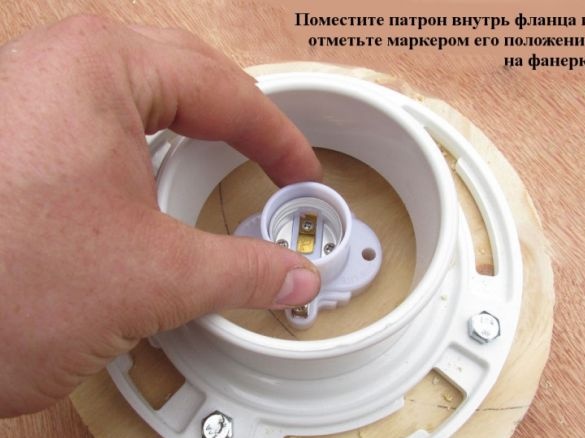
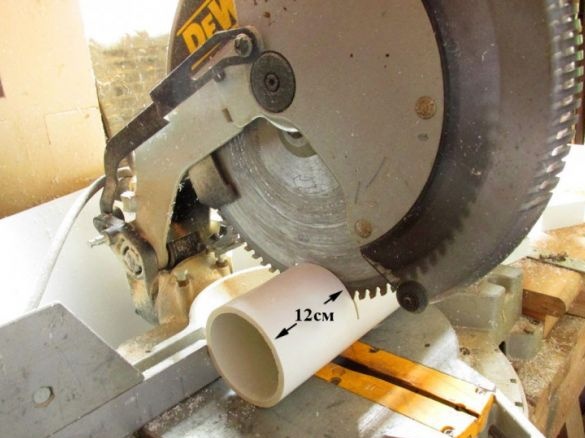
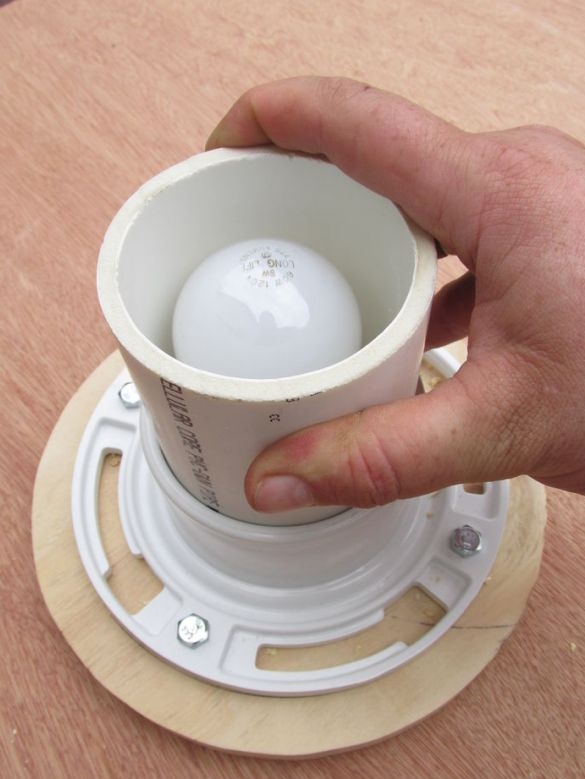
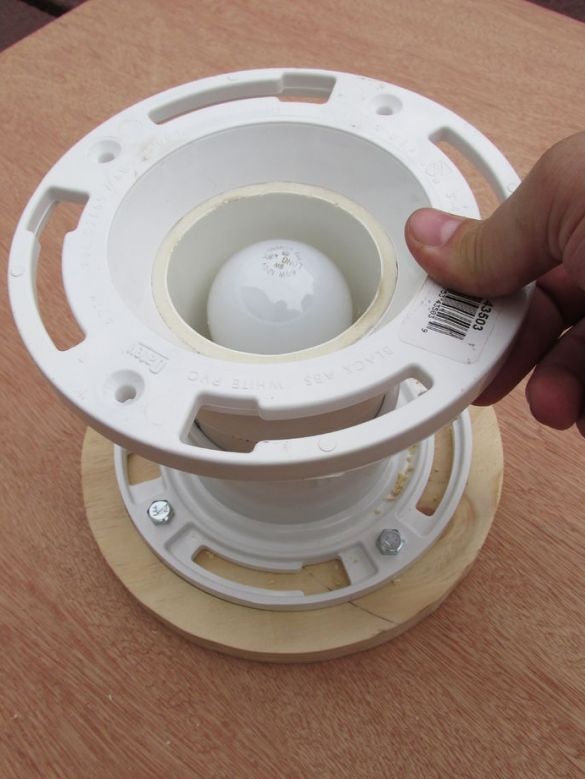
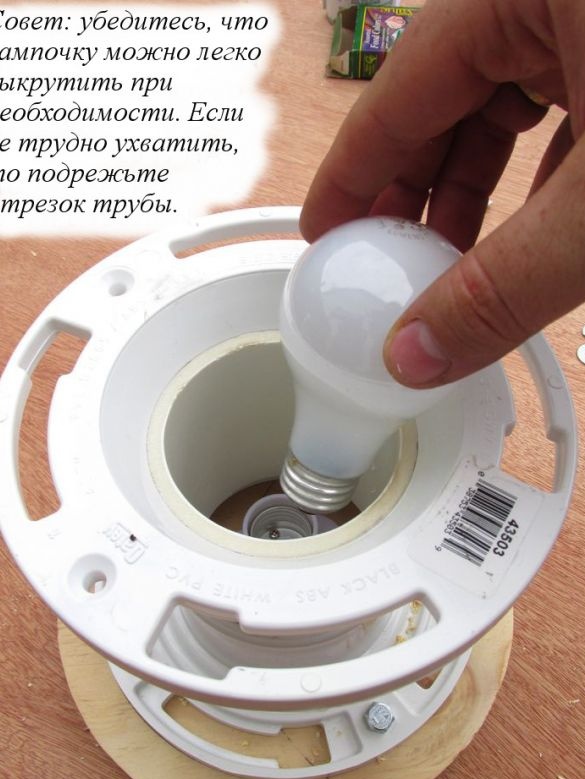
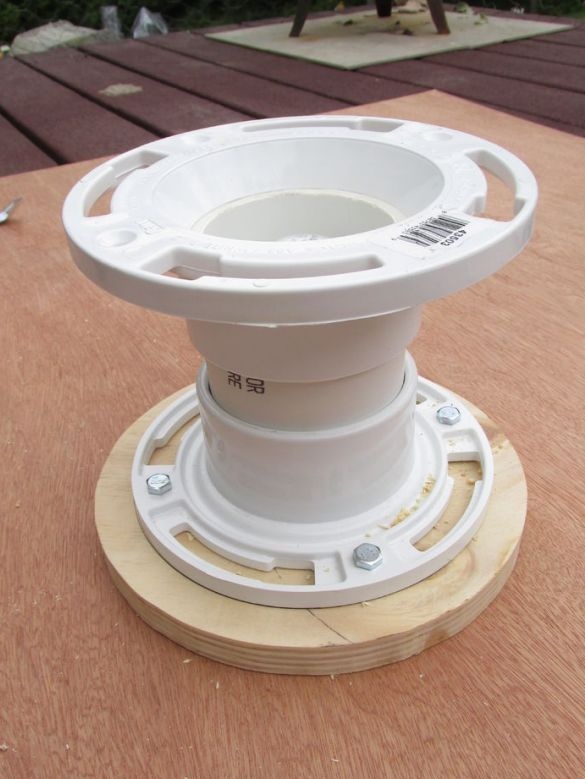
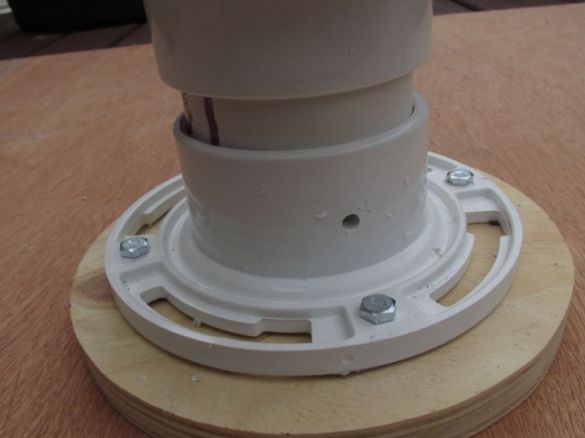
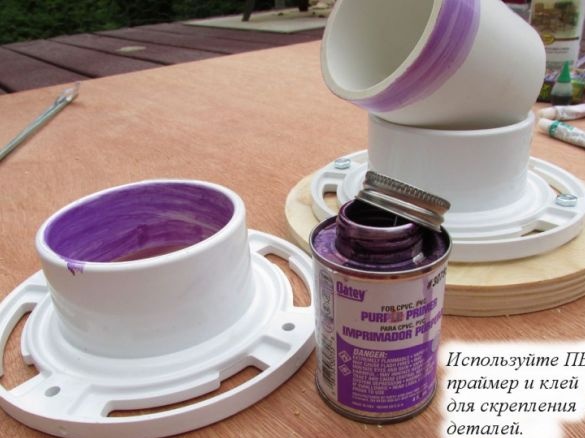
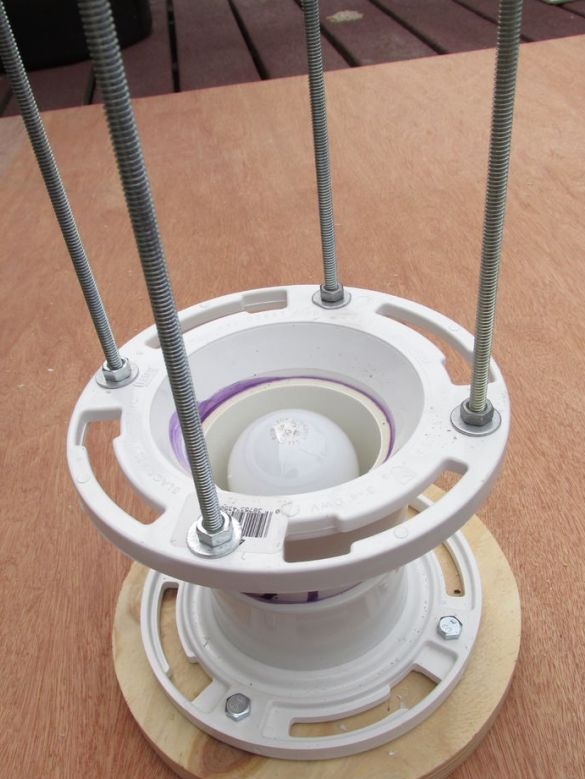
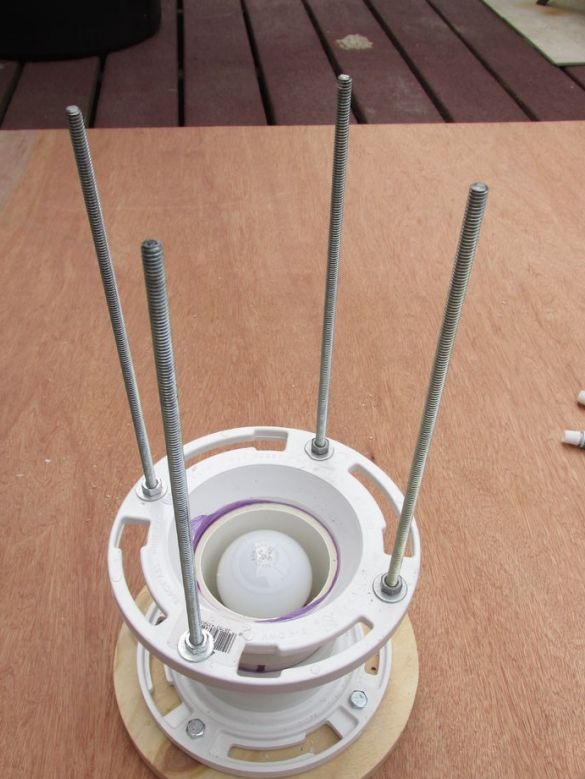
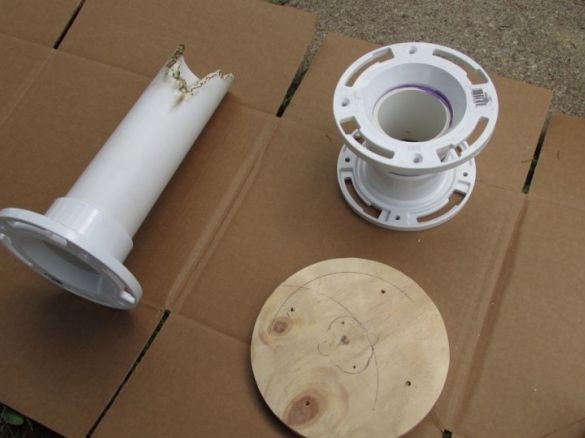
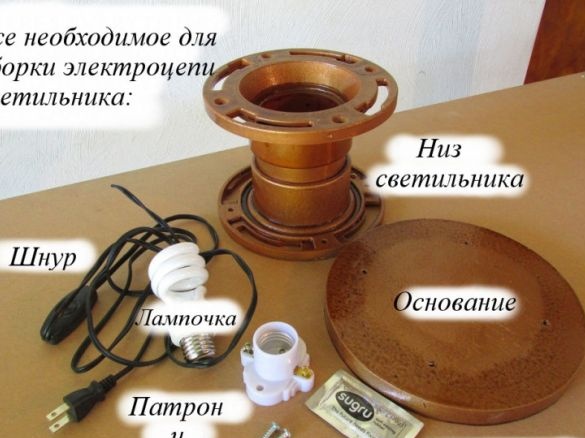
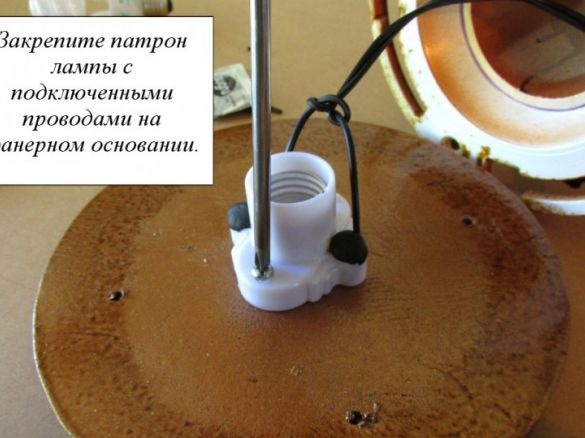
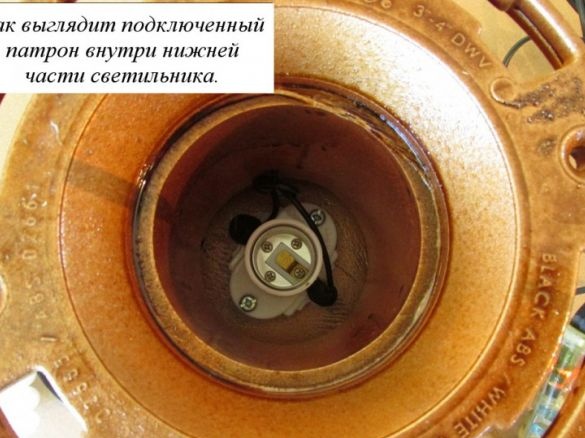
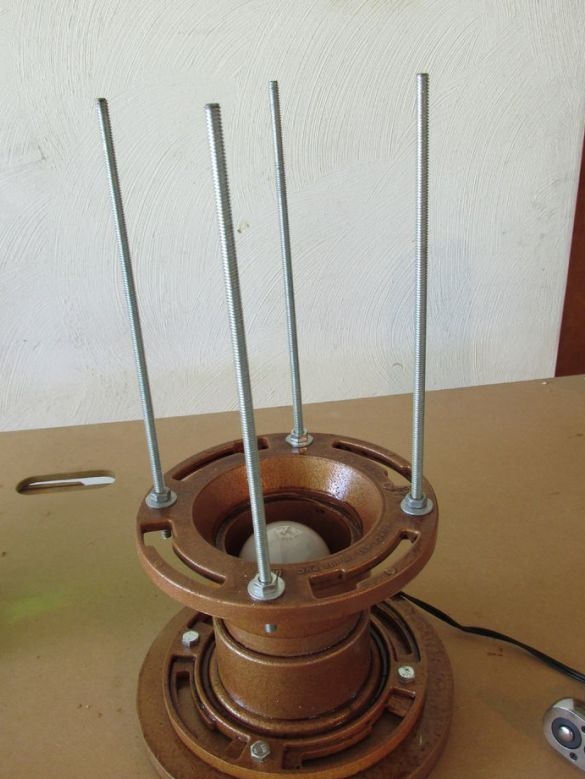
A circle with a diameter of 23 cm will be used as the base for the future lamp. It is cut out from a 2 cm thick plywood sheet. Then one of the existing flanges was screwed to the center of the base. After that, a lamp cartridge was placed inside the screwed-on flange as shown in one of the photographs, while fixing this cartridge at this stage of the lamp construction is not required. It is only necessary to make a marking of its location and mark the boundaries for fastening with a marker or pencil, and then install, according to the marking, a 12-cm length of PVC pipe into the screwed flange. On top of the pipe, another flange was dressed, after which, fitting all the parts, they are fixed in the selected position with glue. Finishing work on the base of the lamp, you need to drill a hole in its lower part for laying the power cable.
Step Two: Mounting the studs and installing the bottle
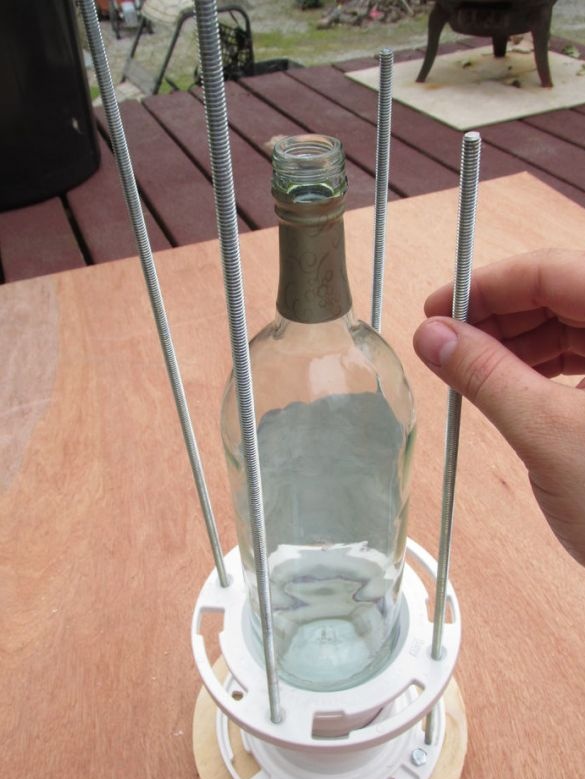
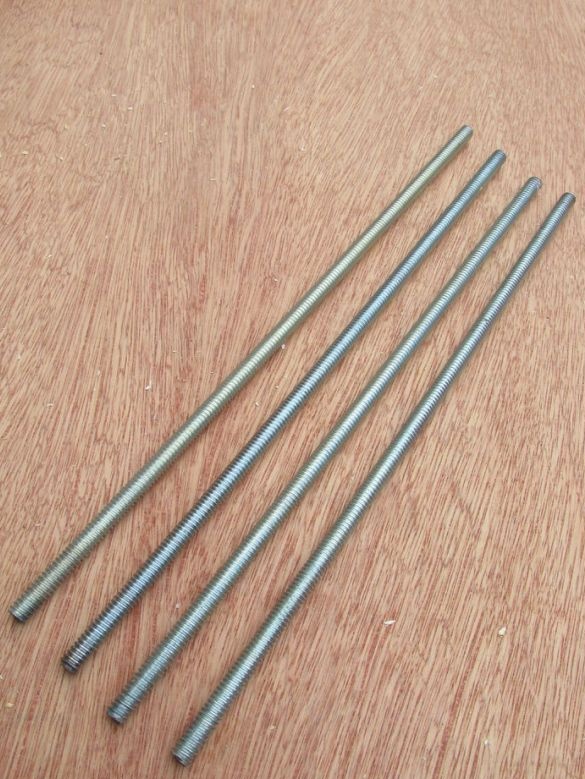
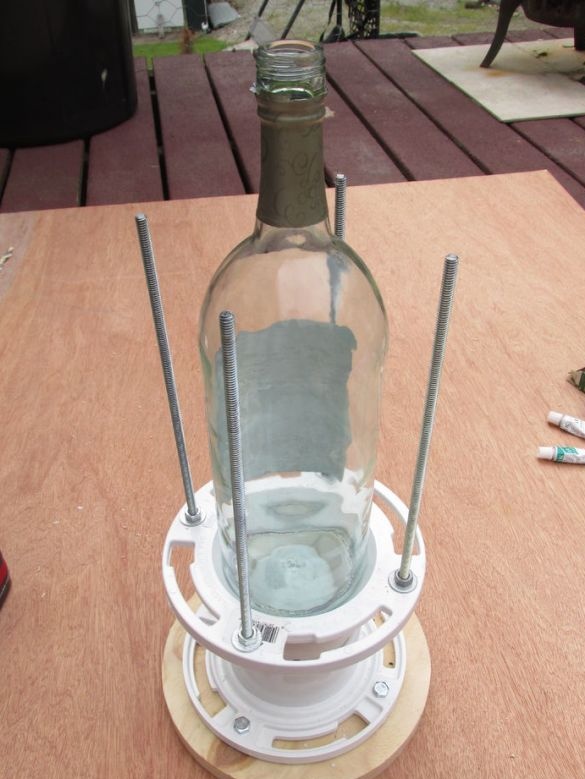
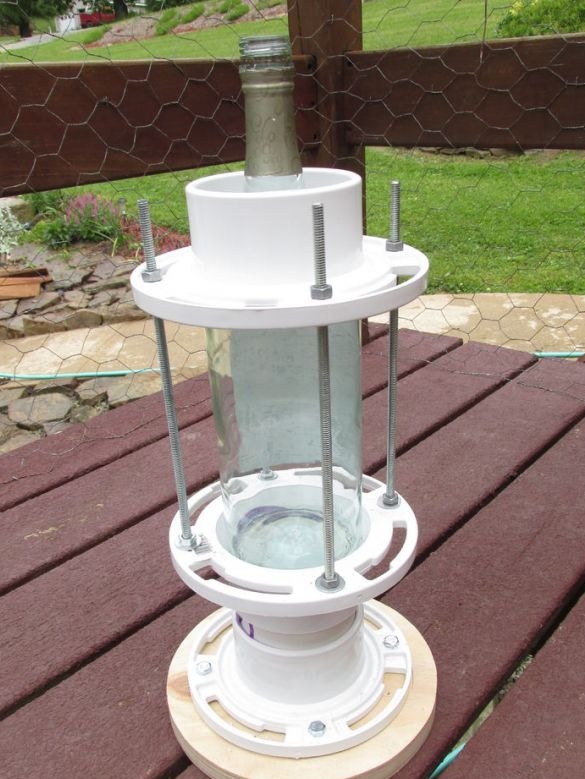
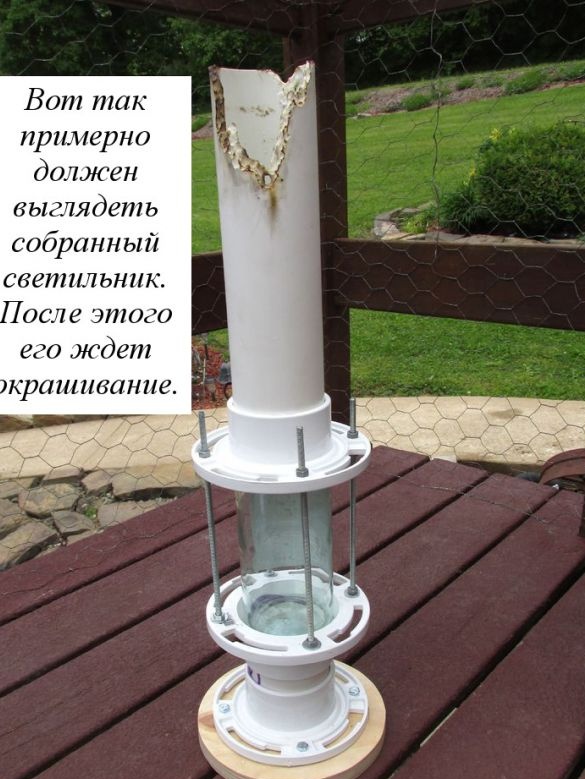
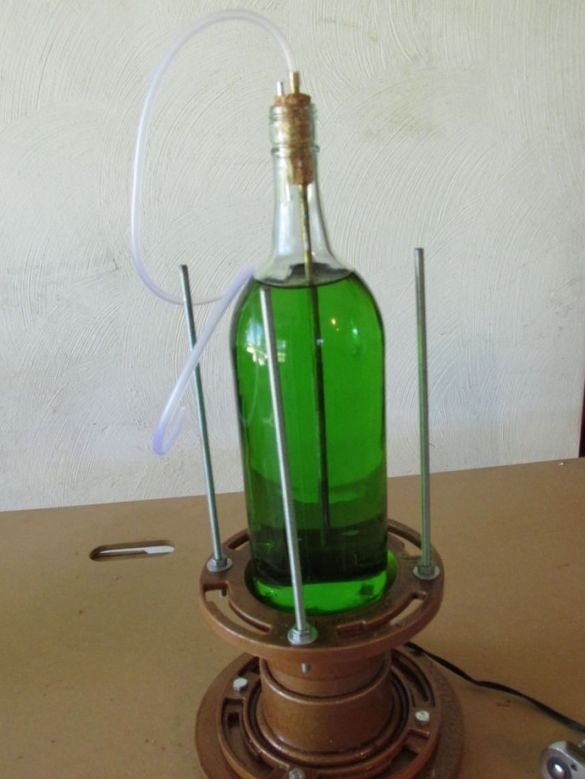
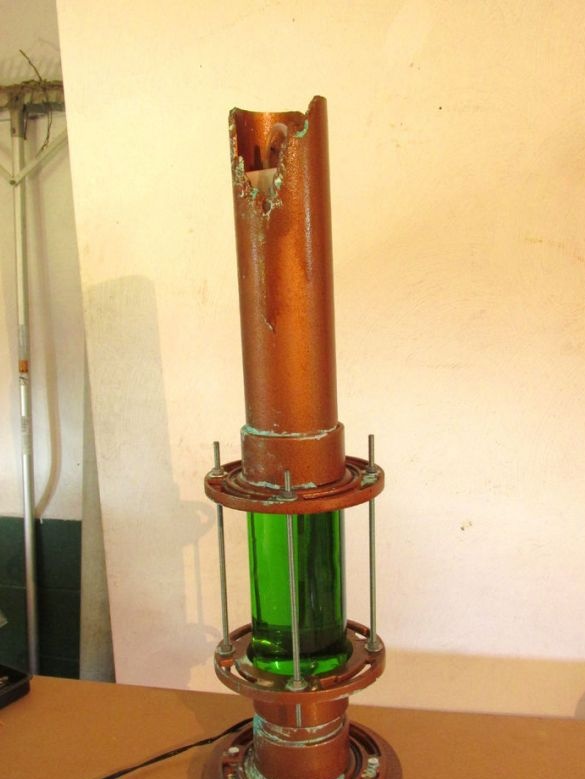
Using a hacksaw, the studs are cut to the desired length depending on the size of the bottle used. After that, the resulting trimmed studs are installed in the base with nuts and washers. Studs will hold the bottle on the base of the lamp, and serve as a decorative element at the same time.After all the rods are fixed, a bottle is installed between them and the remaining pvc flange is fixed on top, as shown in the photographs.
Step Three: Top of the Light
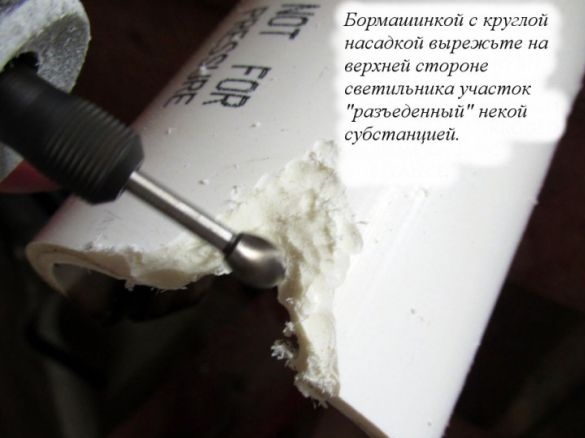
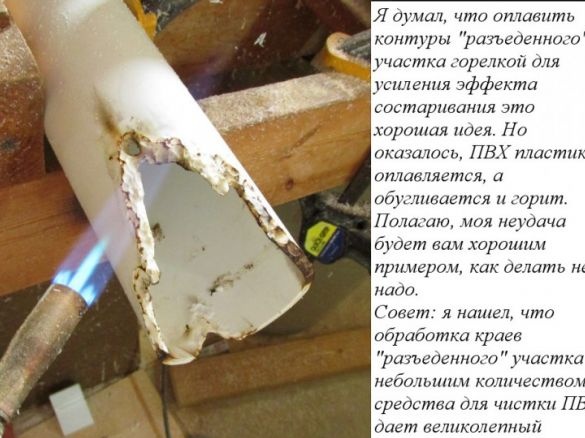
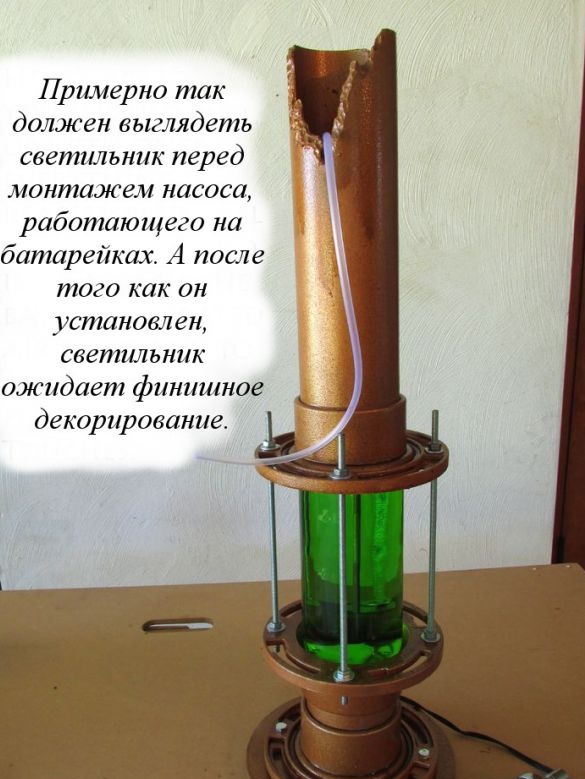
A PVC pipe with a diameter of about 7.6 cm was used as the basis for the upper part of the luminaire. At first it was cut to 35.5 cm, which should be enough to hide the bottle and elements of the air pump inside. To enhance the decorative effect, the author applied several techniques including working with a drill and the use of special tools to give the effect of corrosion.
Then, the obtained lamp top was installed in the upper flange and fixed to glue.
Thus, having completed the main functional part to create the lamp, the author decided to disassemble the structure in order to apply the necessary textures and paint, which will give the lamp the appearance of an old copper pipe.
Step Four: Painting and Painting
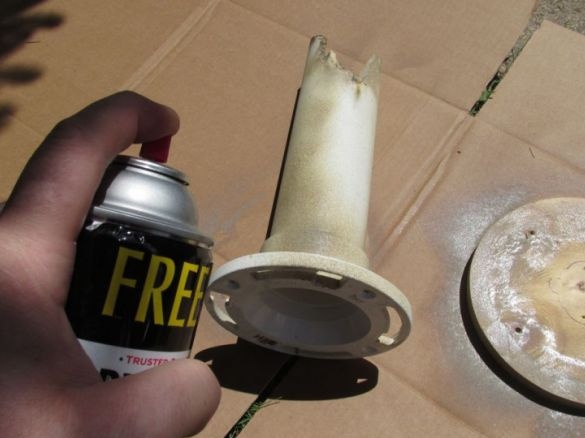
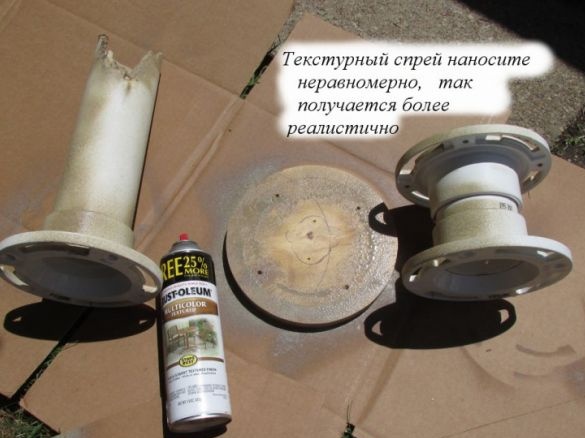
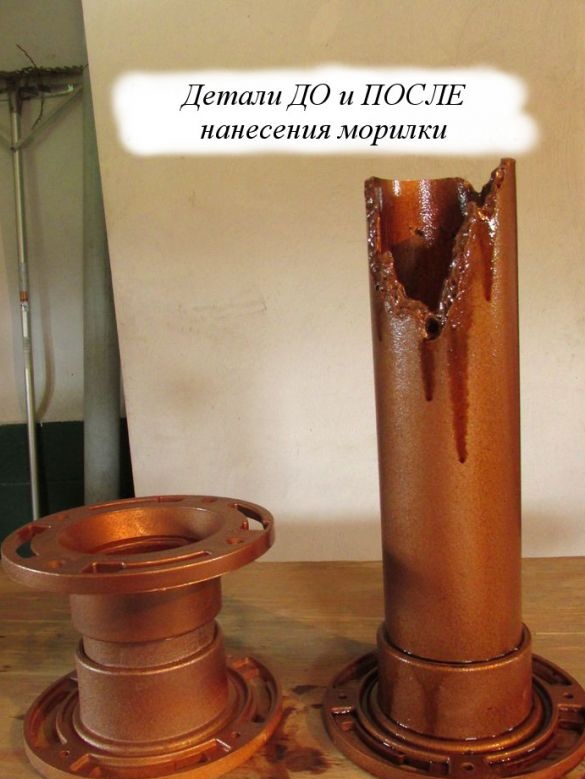
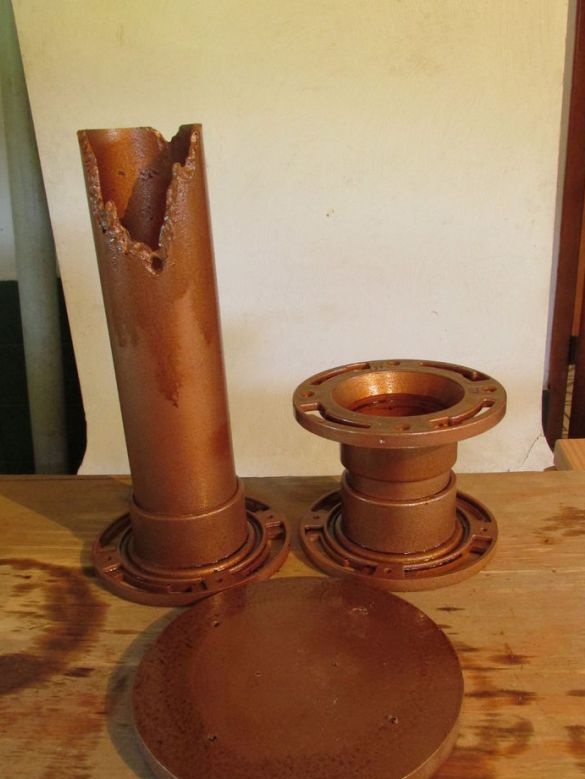
The author decided to start by covering all parts of the luminaire with a texture spray, so that the PVC pipe will look more uneven like a metal one.
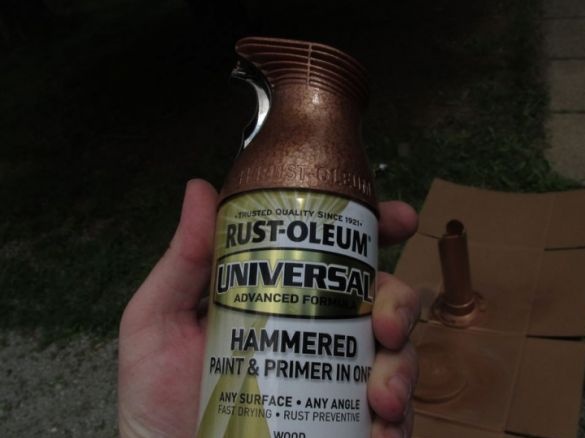
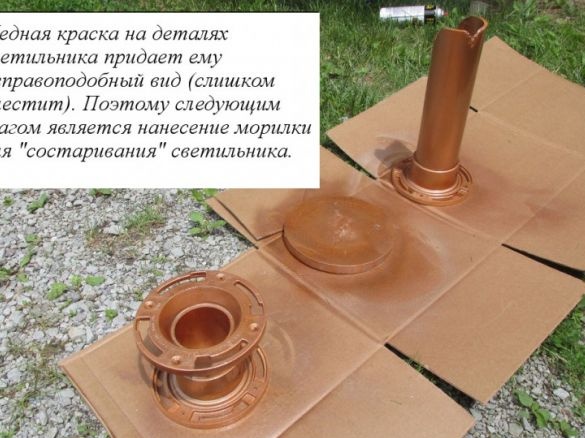
Then, also, using a spray, copper paint was applied. Now outwardly it seemed that the pipe was indeed made of copper, but it looked new, and for the best effect it was decided to give the appearance of antiquity.
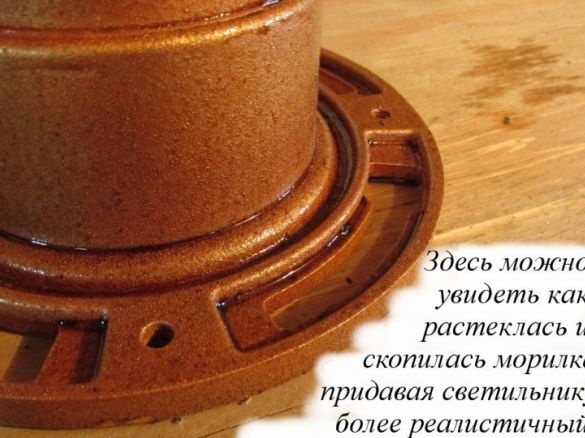
Therefore, a layer of wood stain “golden oak” was applied to the copper paint, and it was not evenly applied, which gave the product an even more desired effect.
Step Five: Connecting Electrics
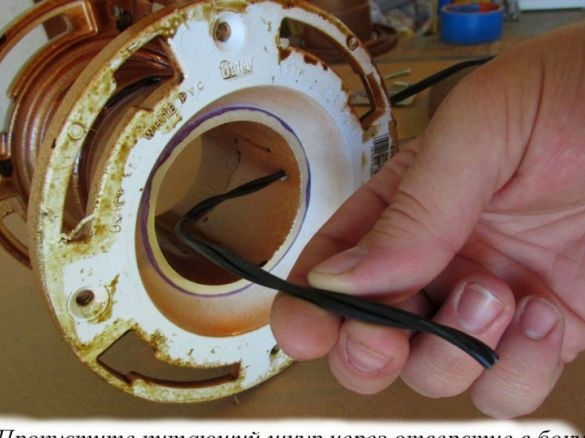
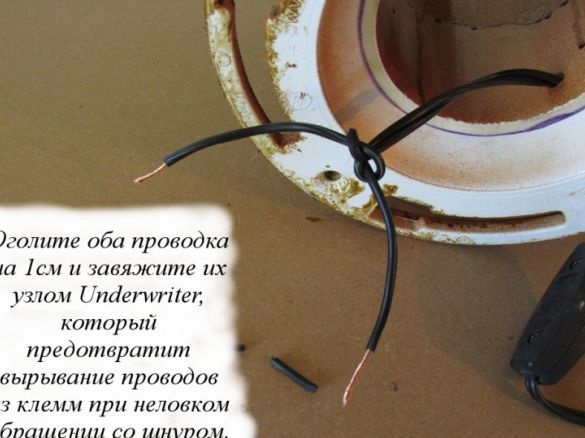
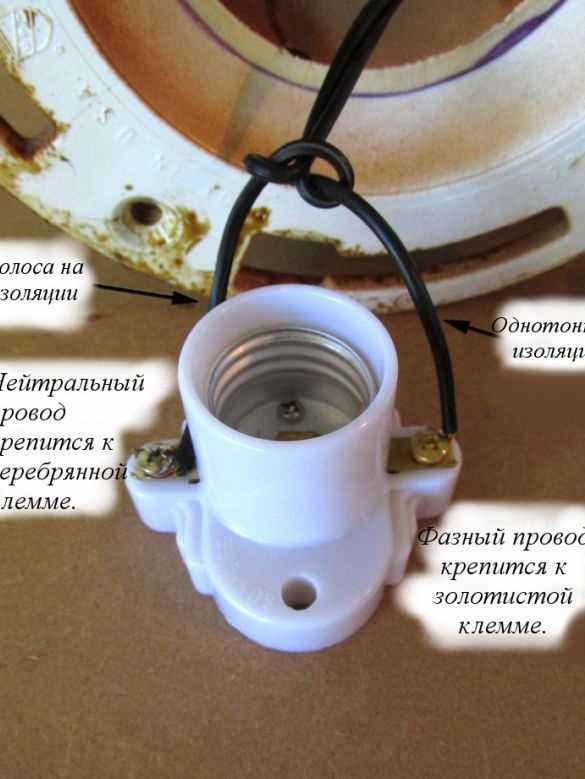
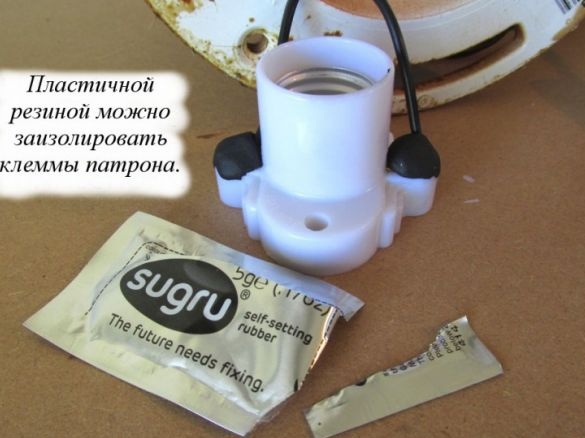
When the paint dried on all the details, the author proceeded to create the wiring of the lamp.
The wiring was performed as standard, the photographs clearly show what and where the author connected.
Step Six: Create a “bubbling” fluid effect
After the wiring work was completed, it was decided to start creating a glass section of the lamp with the effect of a bubbling liquid.
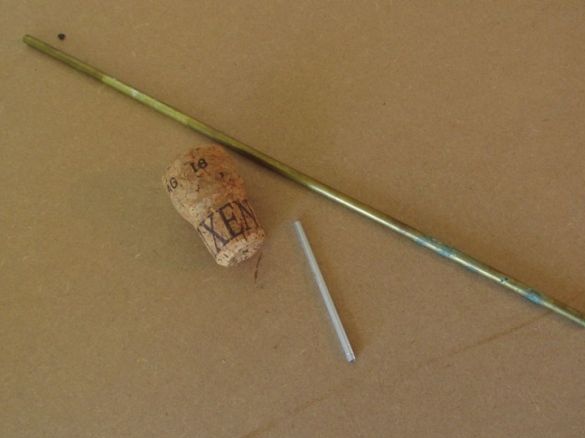
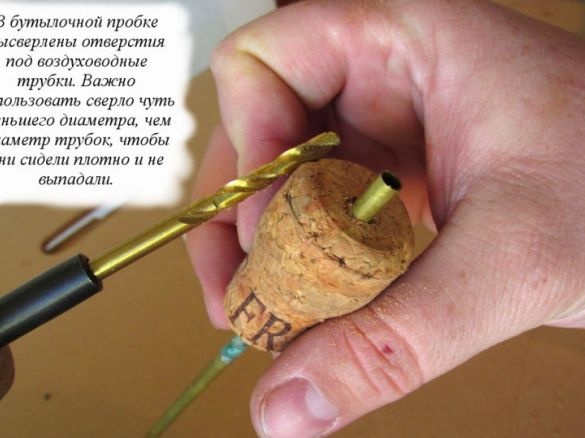
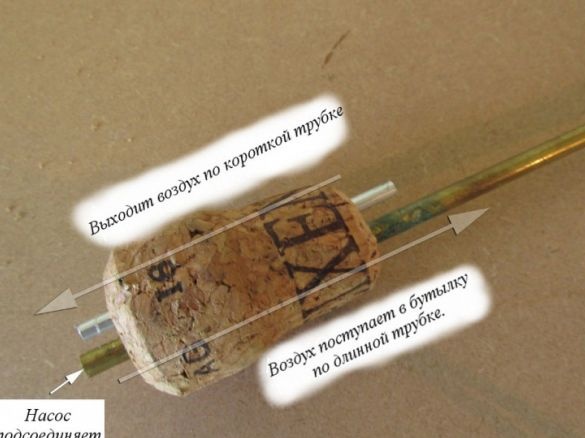
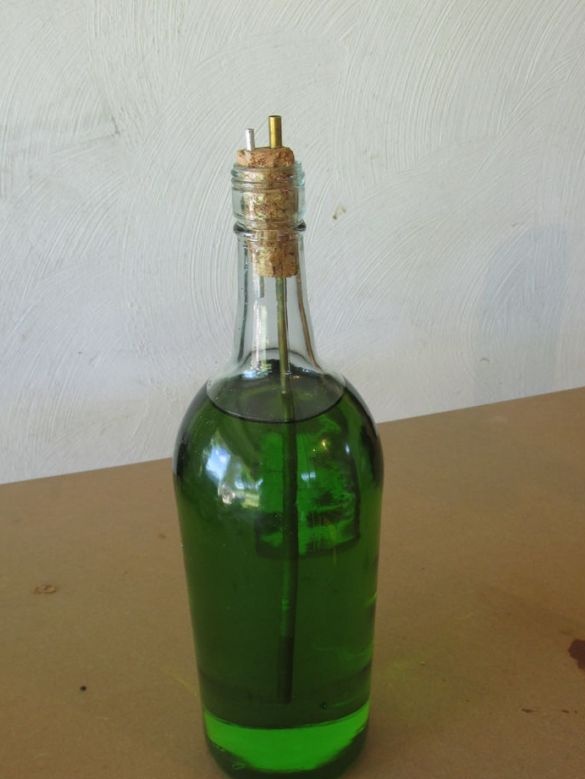
To do this, two metal tubes were inserted into the cork, which will be used to supply and drain air from the bottle. To do this, holes were pre-drilled in the cork, and the diameter of the drill was chosen slightly smaller than the diameter of the tubes used so that they fit tightly into the cork. After that, water was poured into the bottle and food coloring was added.
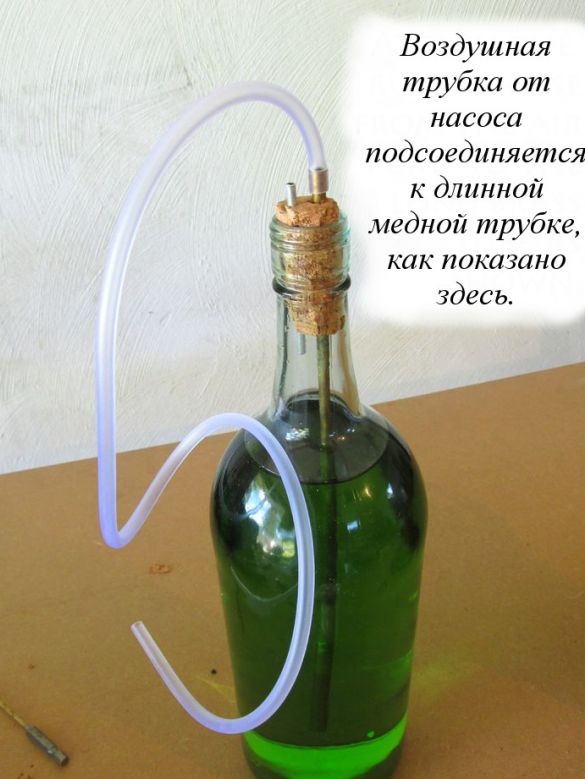
After the bottle is filled with water, it is sealed with a modified cork, one of the tubes of which is connected to the pump.
Seventh step: Assembly of the lamp and installation of the air pump
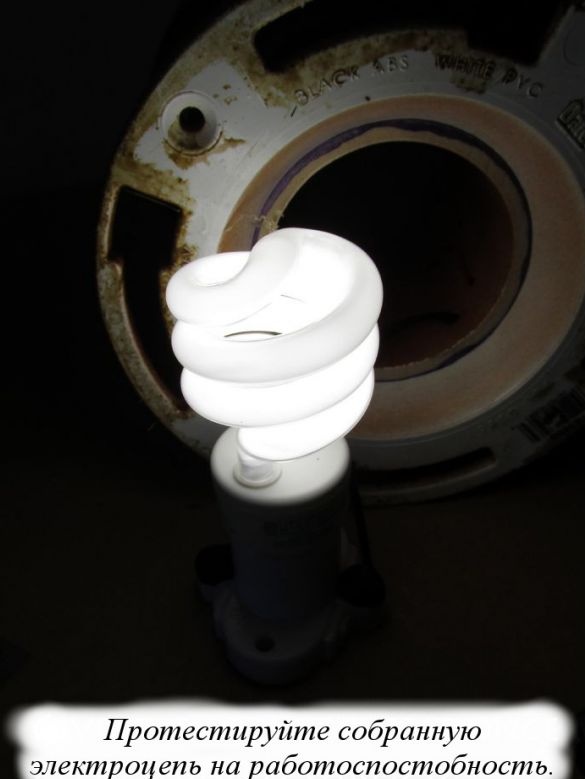
After making sure that the bottle is tight and checking the electrical circuit of the lamp, you can proceed with its reassembly.
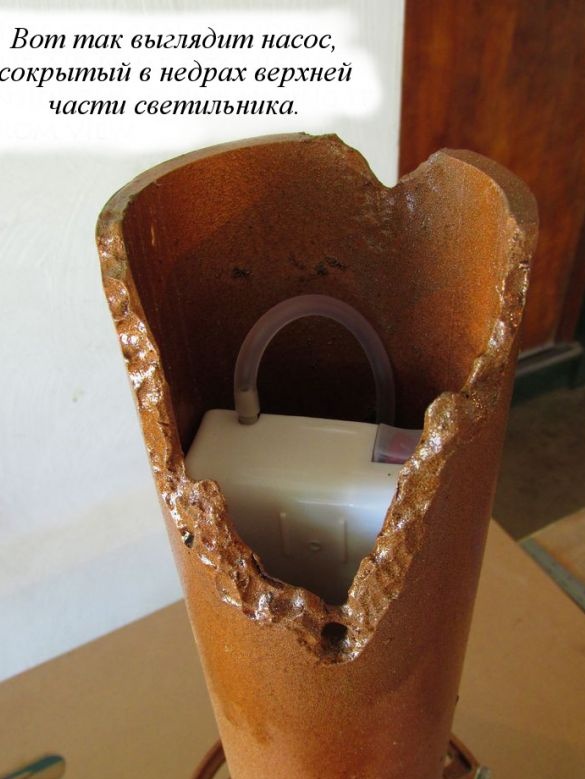
To connect to the pump, plastic tubes from the plug are discharged through the upper part of the lamp, after which an air pump is installed.
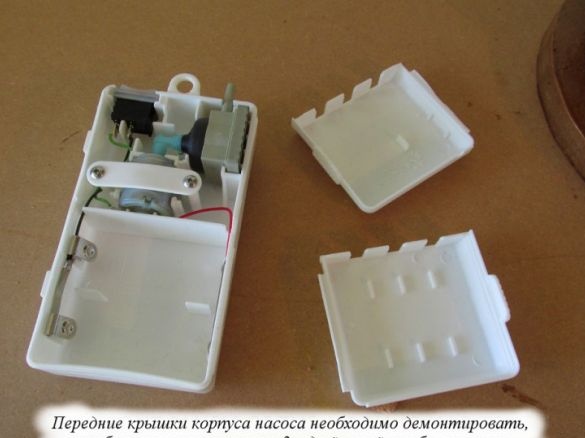
Having modified the pump casing so that it fit into the existing pipe, the author installed it. Since the pump is powered by a battery, no additional wiring is needed to power it. It is important that the pump used has a shutdown button that is easily accessible so that the lamp can be used not only for decorative purposes but also for purely practical, without flickering, such as lighting for reading books.
Step Eight: Final Strokes: Oxidation Effect
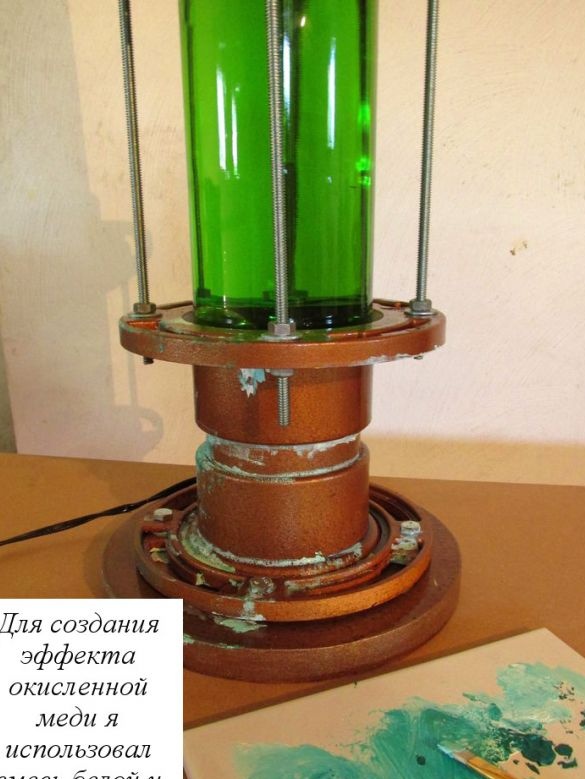
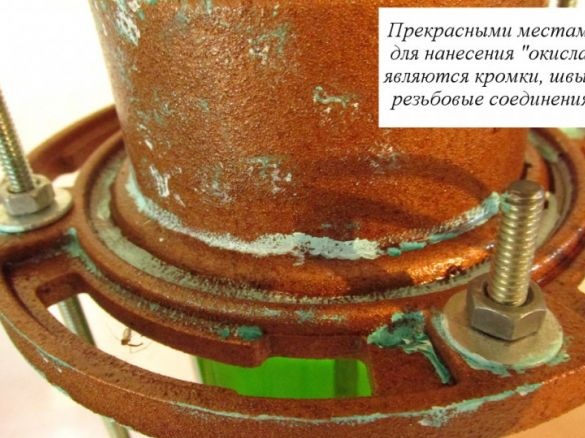
The effect of oxidation and corrosion was made using a mixture of acrylic paints. Basically, this mixture was painted on such places as washers, bolts, places of seams and joints. If all areas are painted, the corrosion effect may look false, so it is important not to overdo it.
After that, it remains to wait for the paint to dry, and you can enjoy the finished unusual lamp.

