

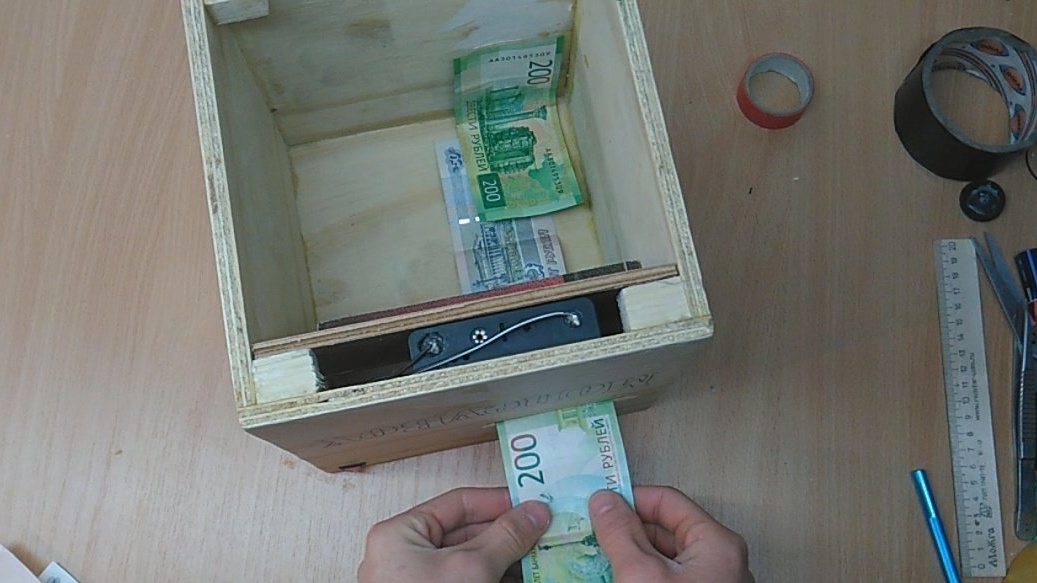
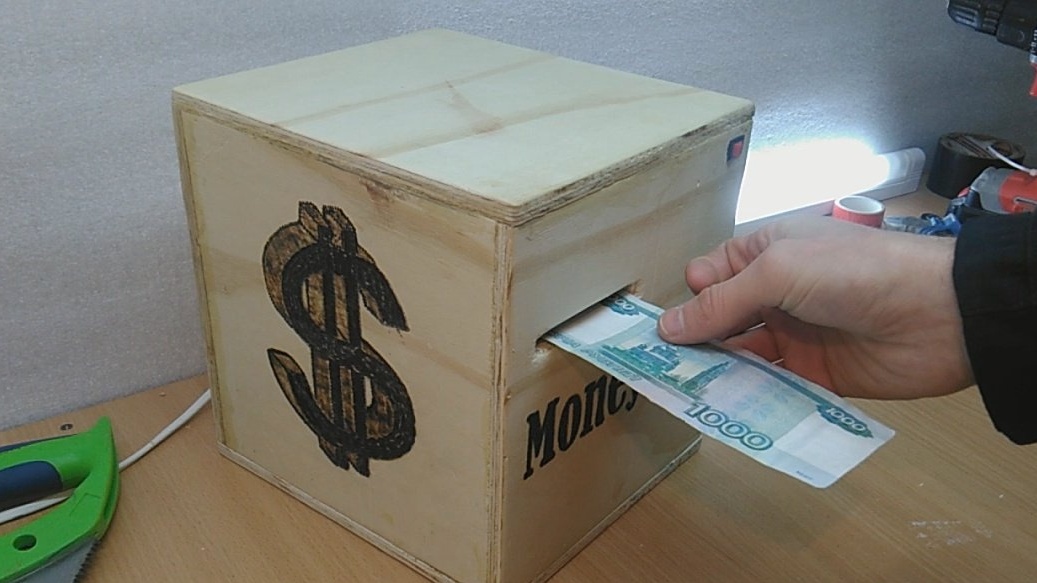
Have a nice time, Lord! Each of us has or had our own piggy bank, in which we saved money for our dream. Someone bought piggy banks in the form of an animal, for someone it’s an ordinary can, and I made myself an automatic “banknote-devouring” piggy bank. Manufacture of this homemade, will not be difficult, and will not take much of your precious time.
Testing and manufacturing can be seen on the video:
What materials we need I will tell in the article itself.
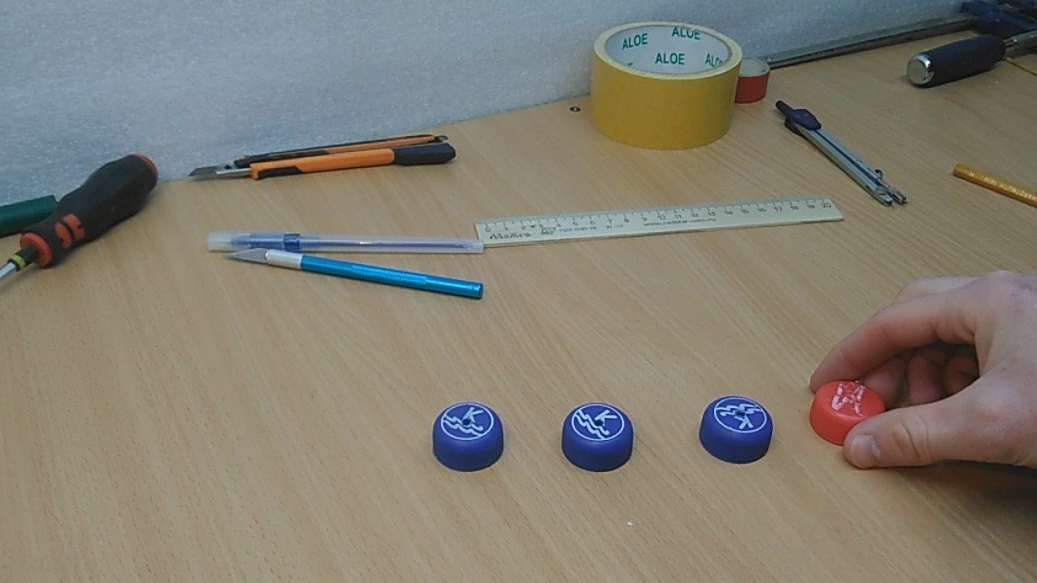
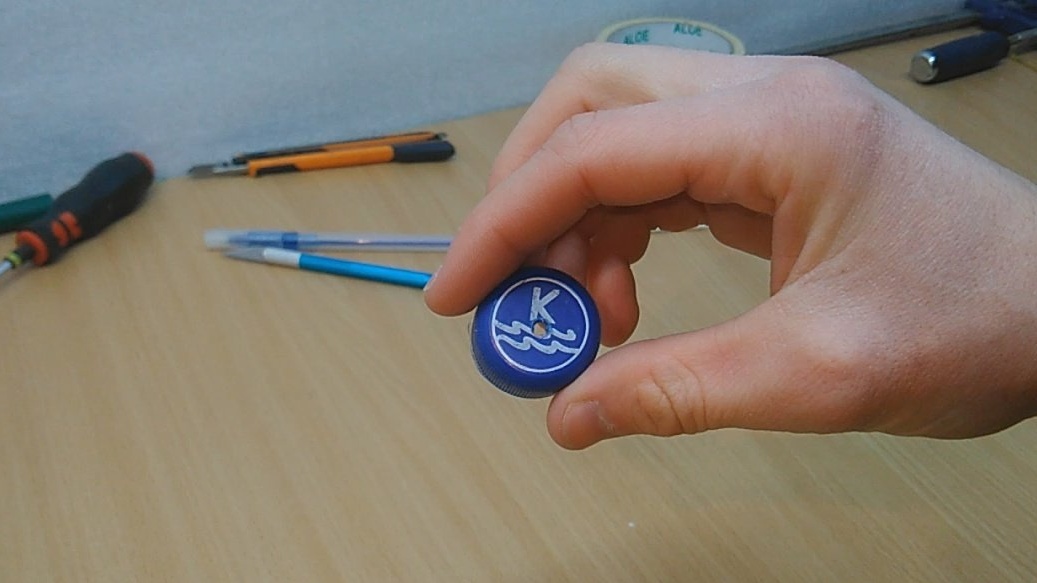
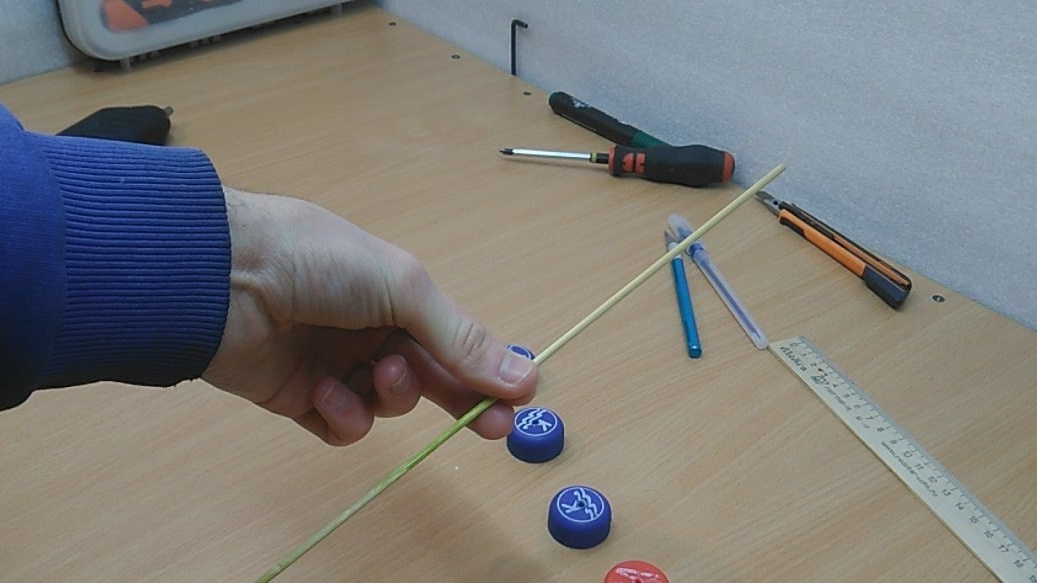
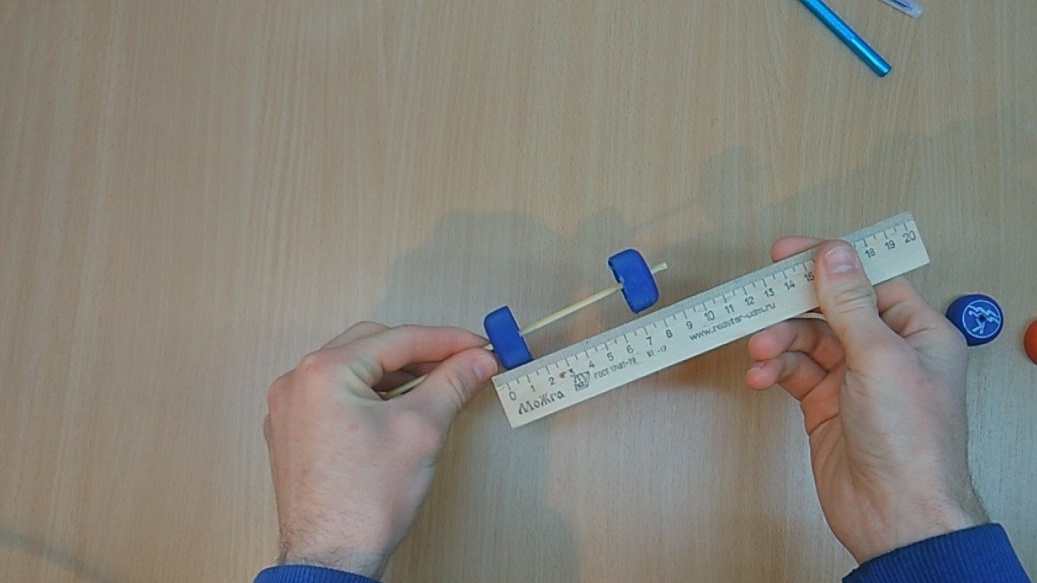
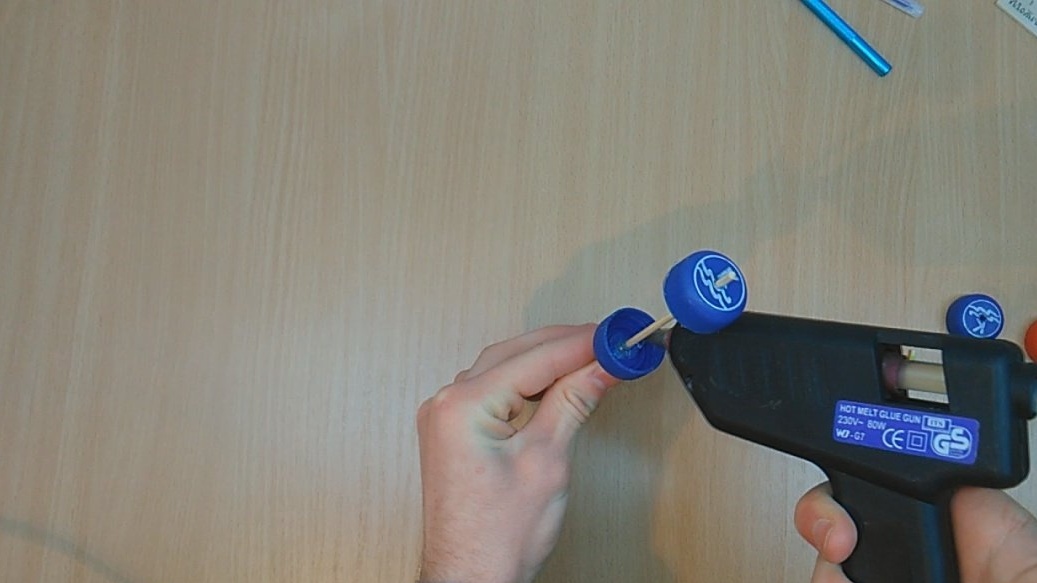
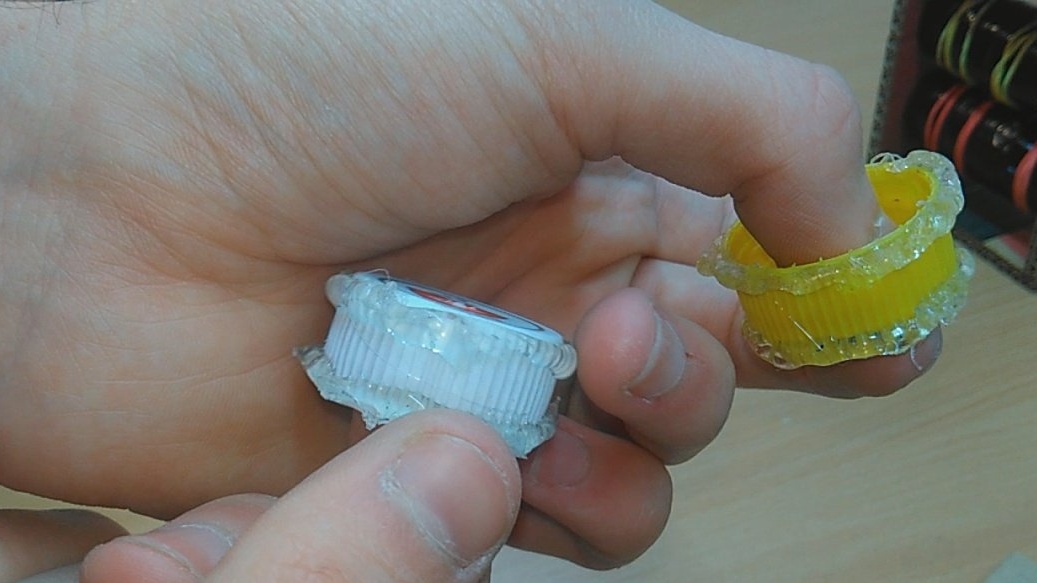
Step 1: Let's start with the manufacture of the mechanism itself, which accepts bills. Take 4 caps from plastic bottles. In each of them you need to make a hole exactly in the center. Hole with a diameter of 3-4 mm. like the diameter of a skewer. Next, we cut off the two pieces we need from the wooden skewer, and glue the lids on them, as shown in the photo.
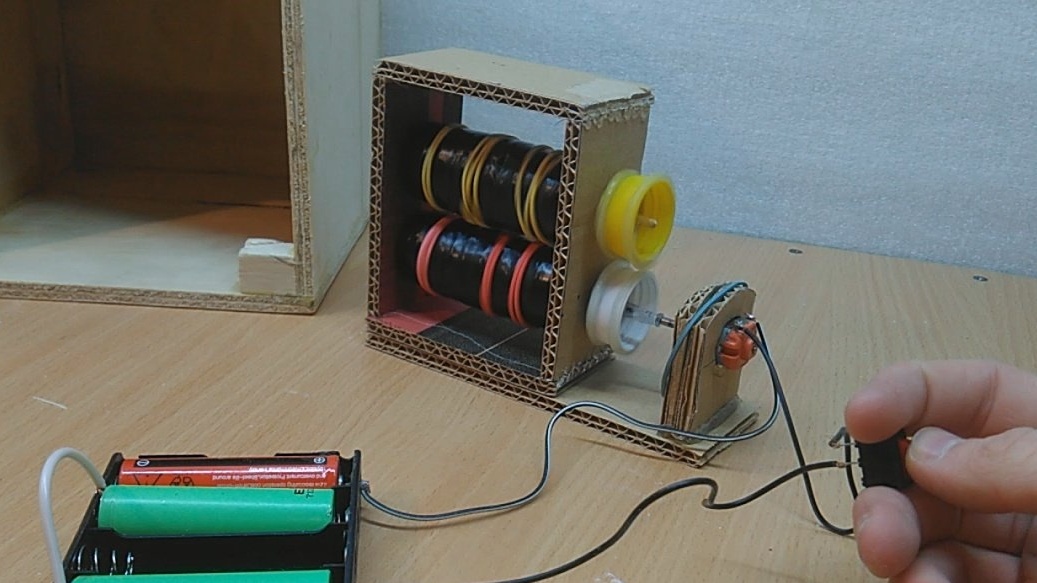
Step 2: Cut 2 rectangles from cardboard. And we wrap them on the covers, fixing the whole thing with glue. Next, we wind the electrical tape on the resulting rollers and put on 4 elastic bands.
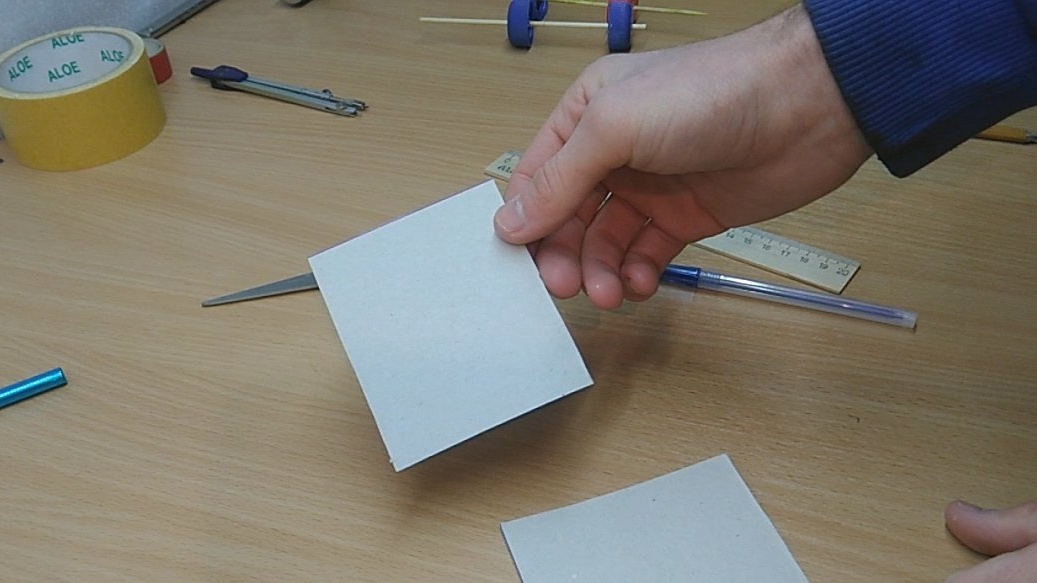
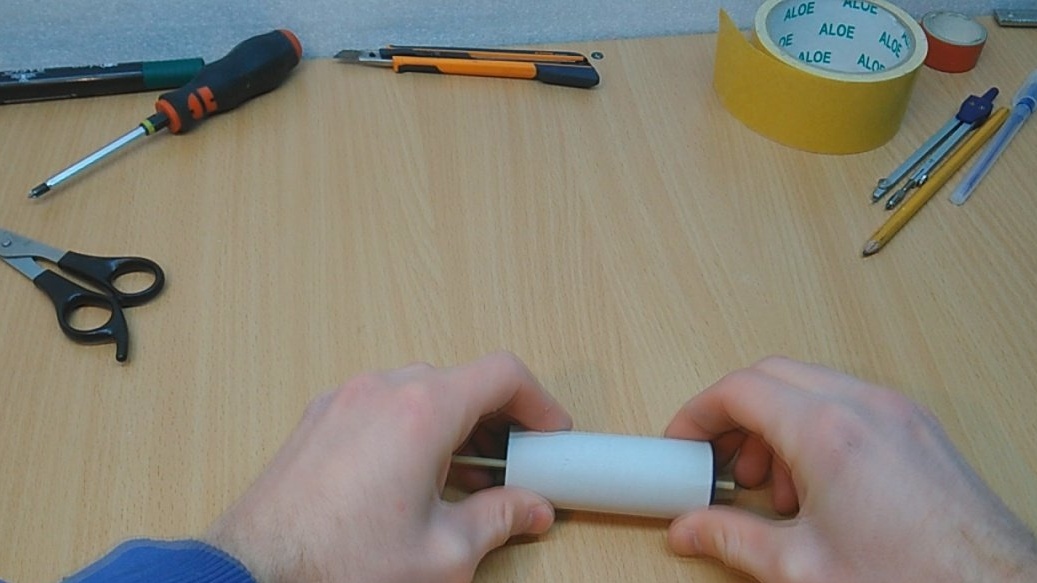
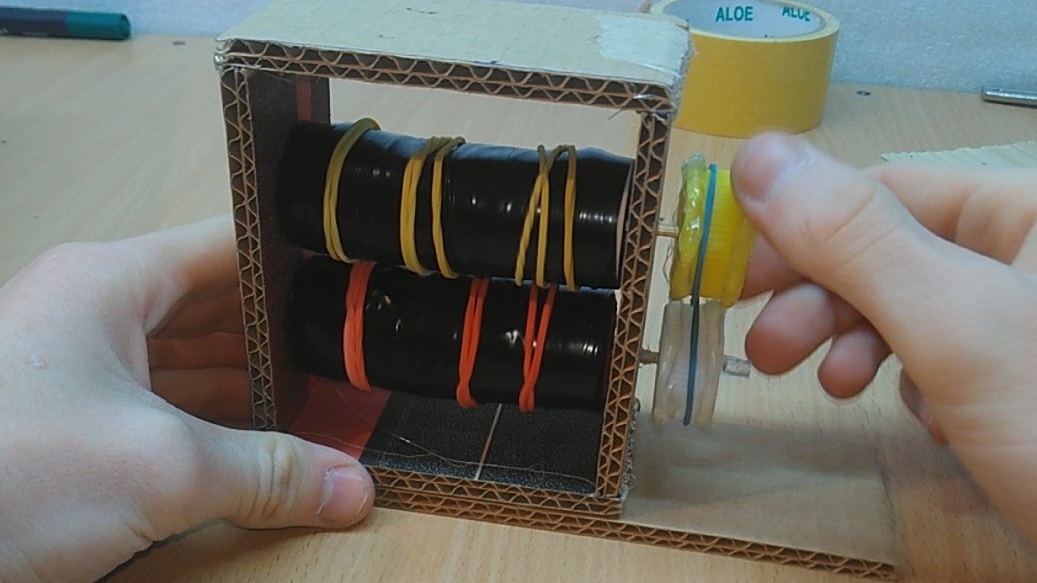
Step 3: From the thick cardboard we cut 4 rectangles, from them we will make the bases for the rollers. Then we collect the box with the rollers.
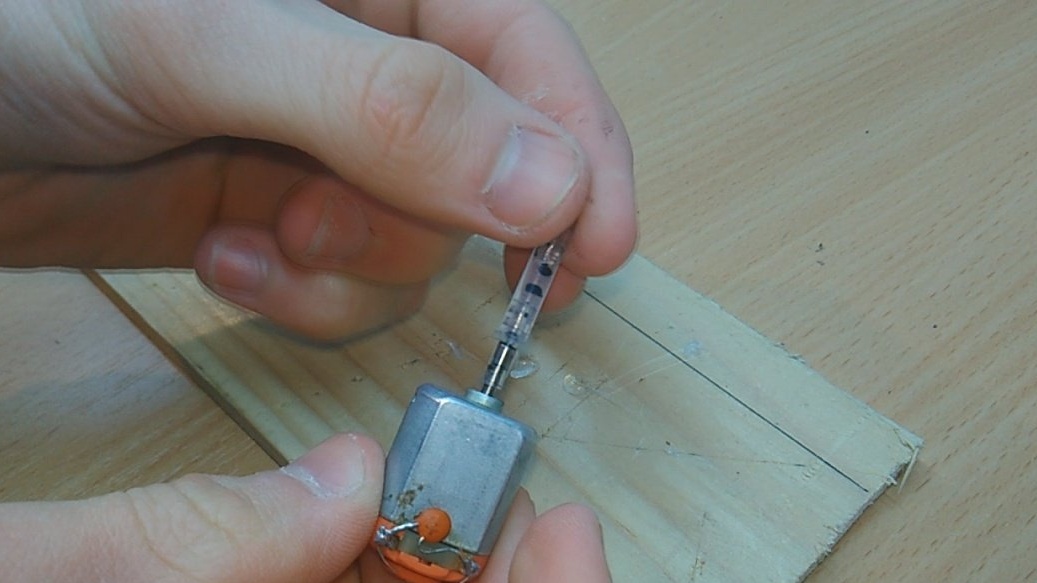
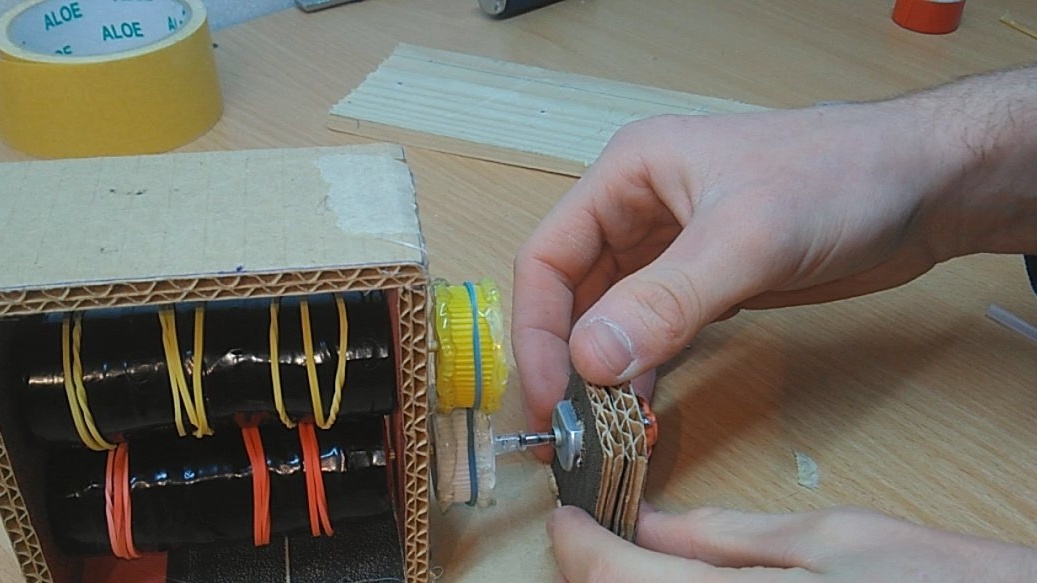
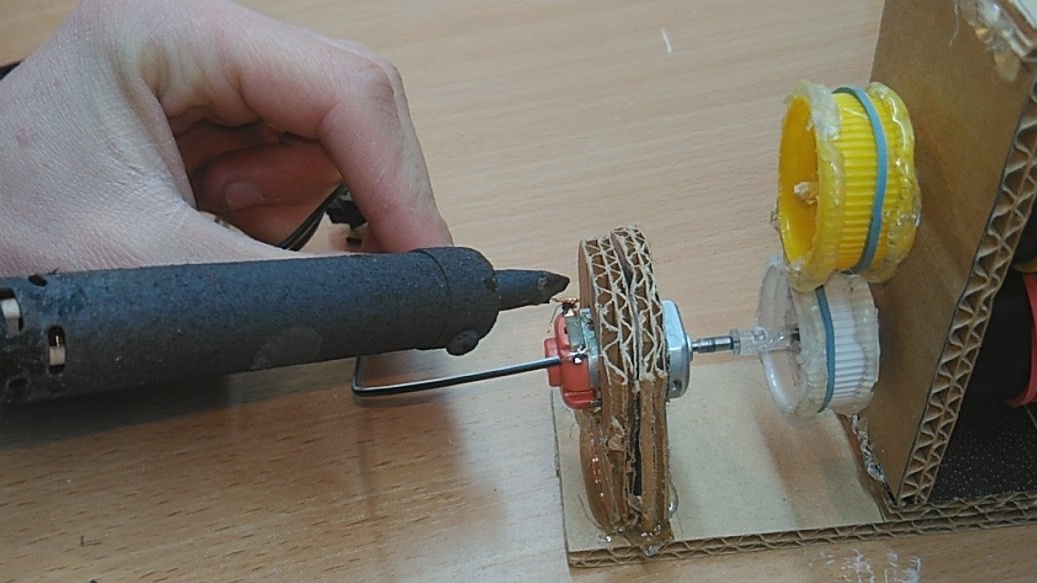
Step 4: Take two more covers and make the sides with hot glue. They are needed so that in the process the gum does not fly off its place. Next, cut a piece of 1.5-2 cm long from the gel pen. We install the covers and the shaft from the pen onto the skewers, and fix the whole thing with glue.
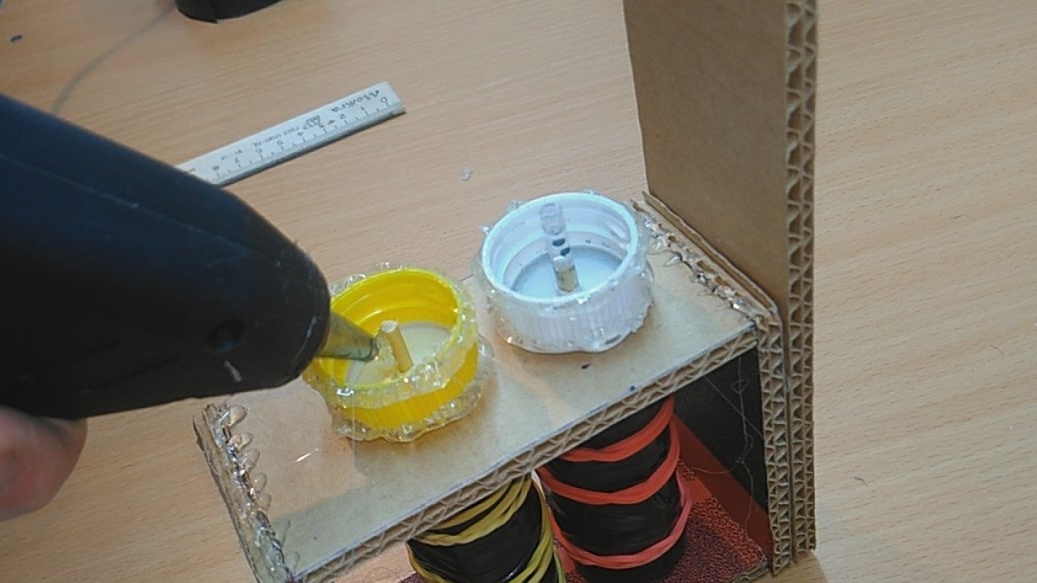
Step 5: Next we put on an elastic band of the 8th. You can not wear it, bills without a working second roller will be accepted anyway. From cardboard we make a stand for the motor and glue it in its place.

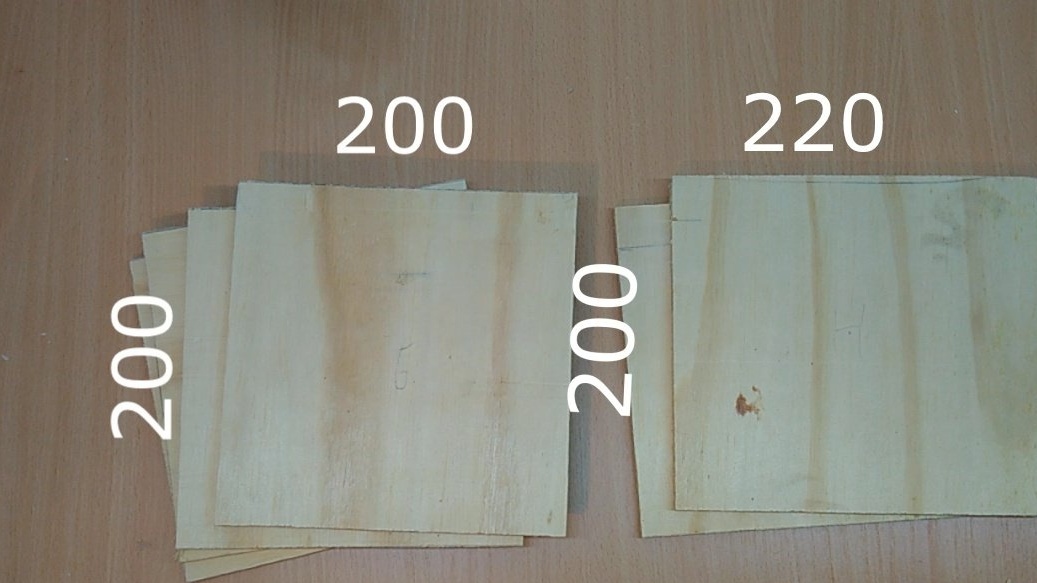
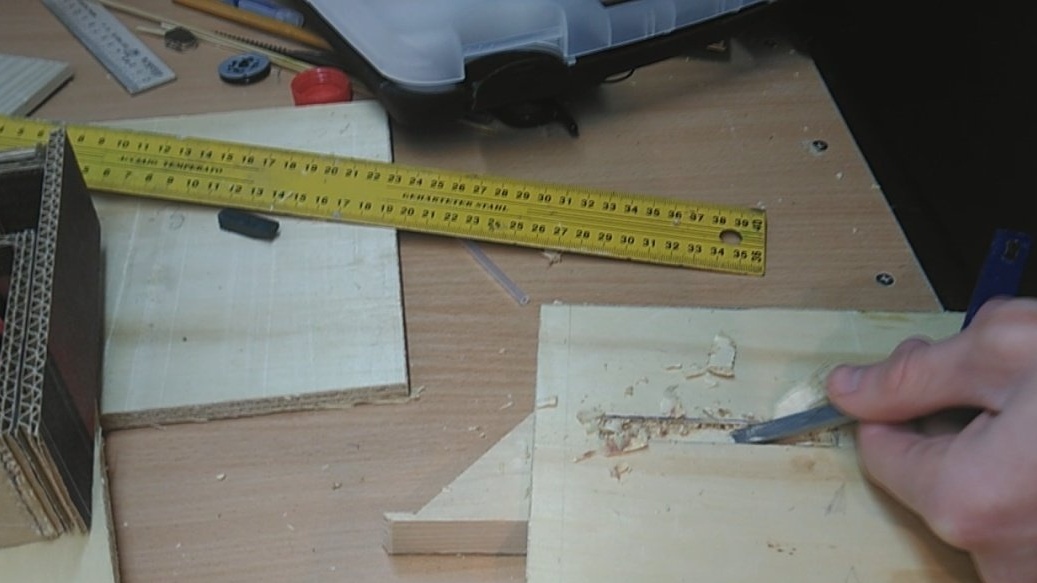
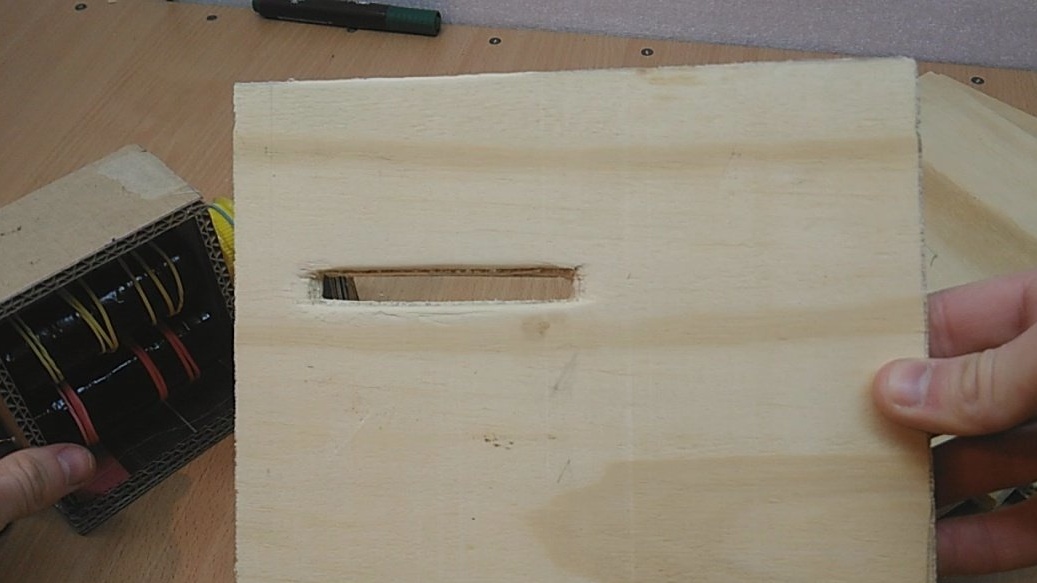
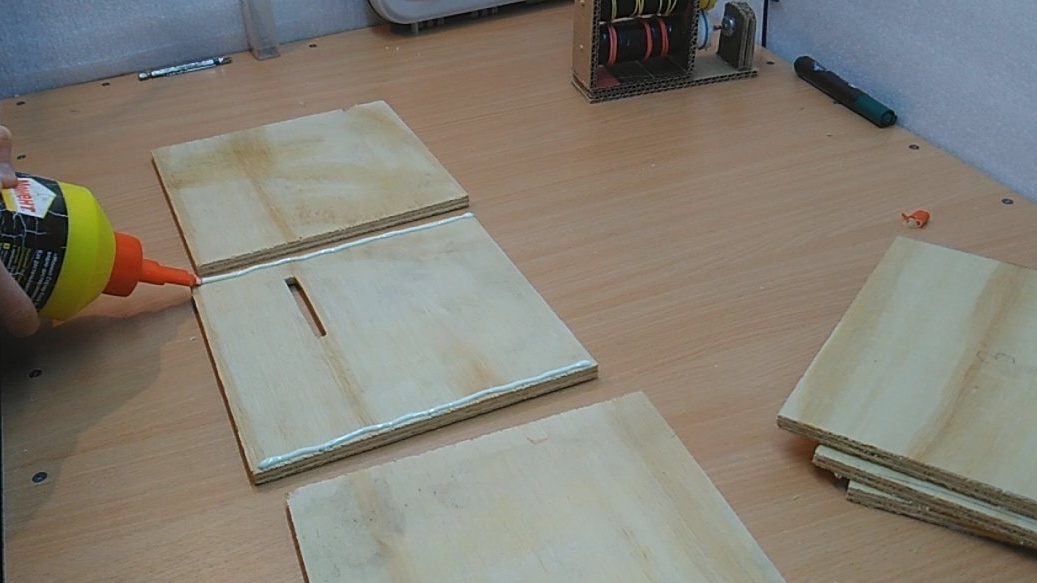
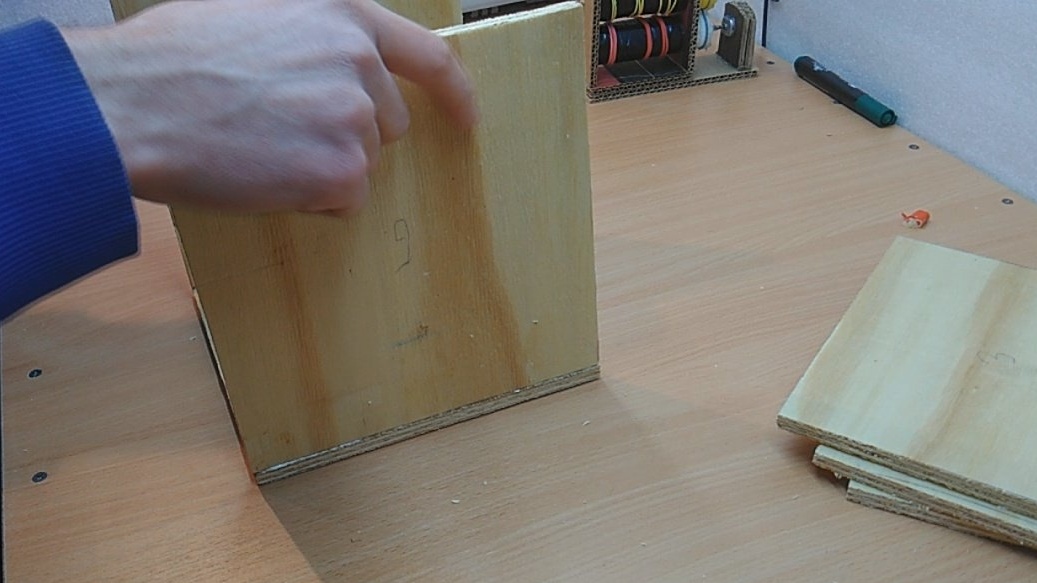
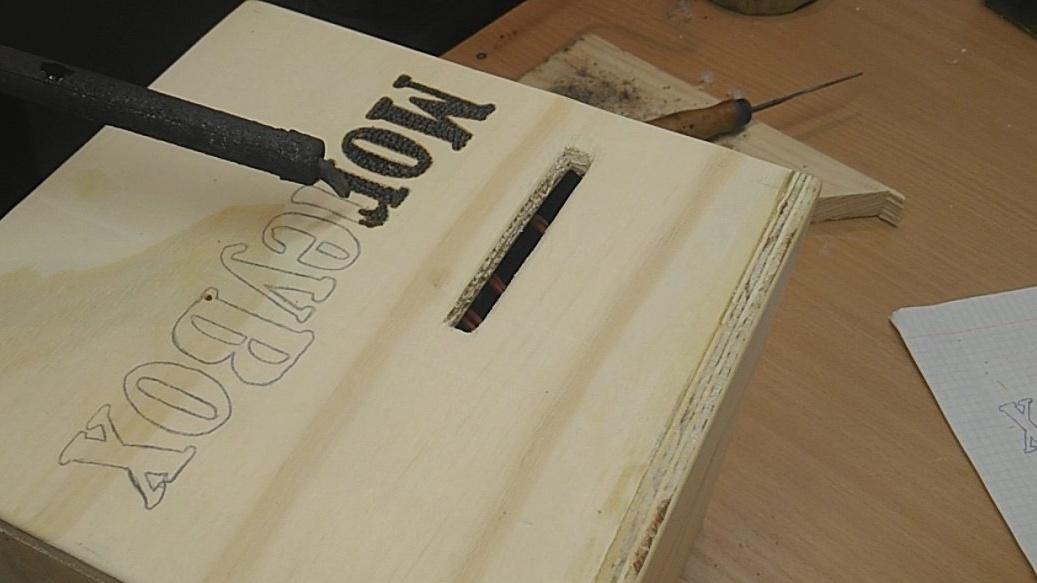
Step 6: We cut 6 blanks from plywood, the dimensions are in the photo, the thickness of the plywood is 9 mm. I made a hole for the bills with a chisel and then worked out a file. Next Using glue we collect the cube, but do not glue the bottom.
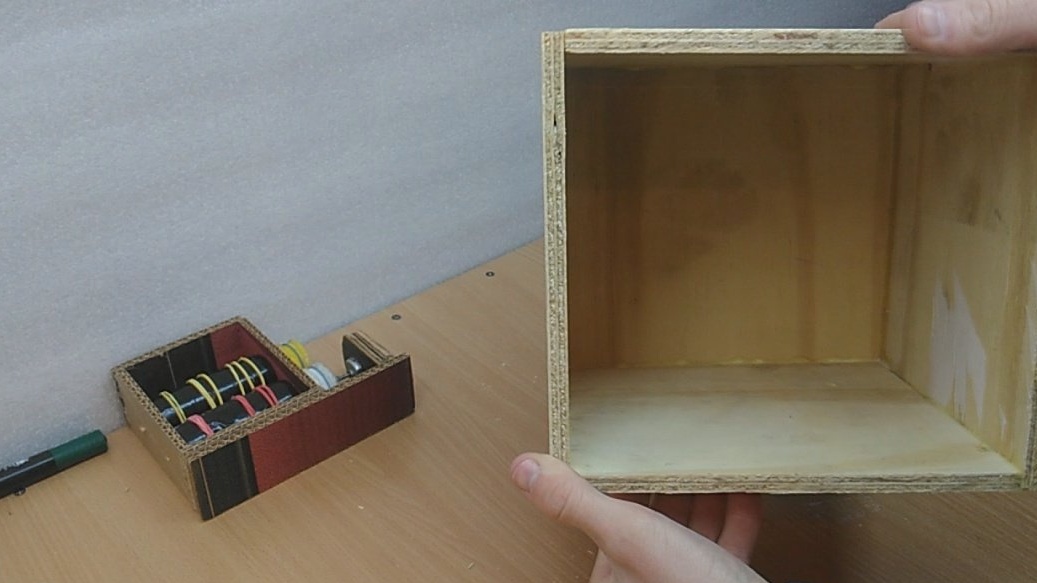
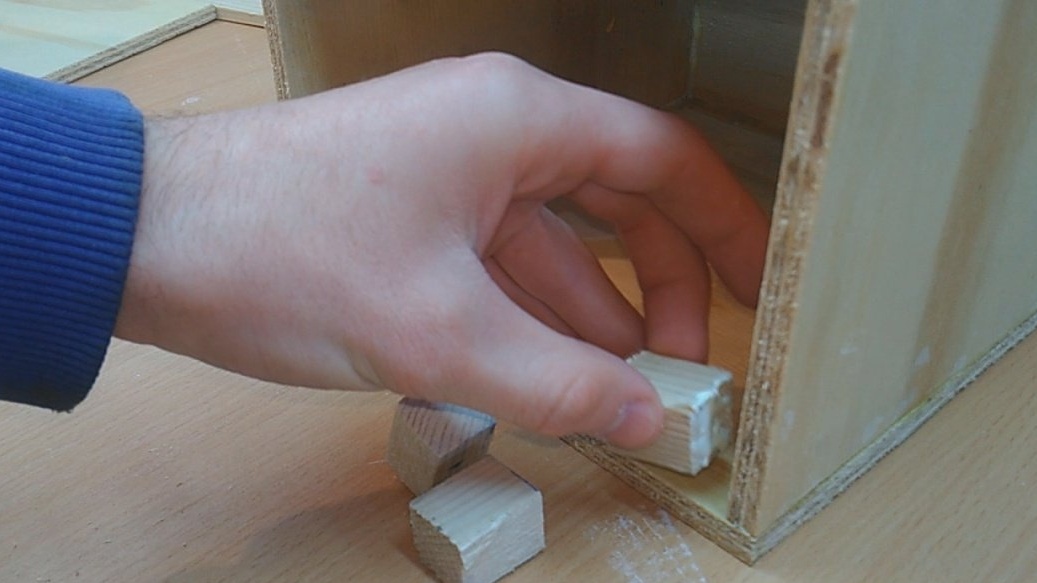
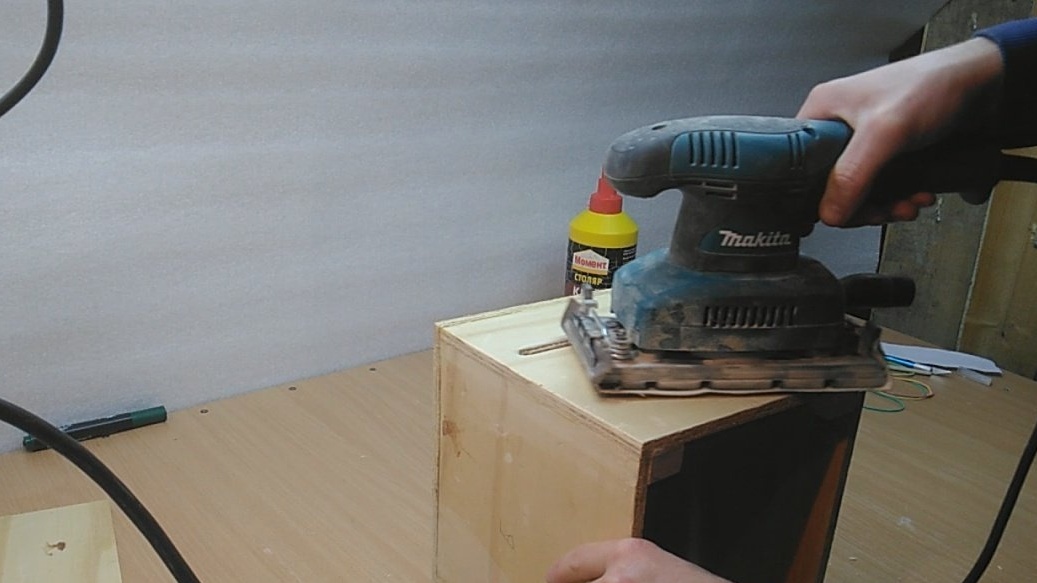
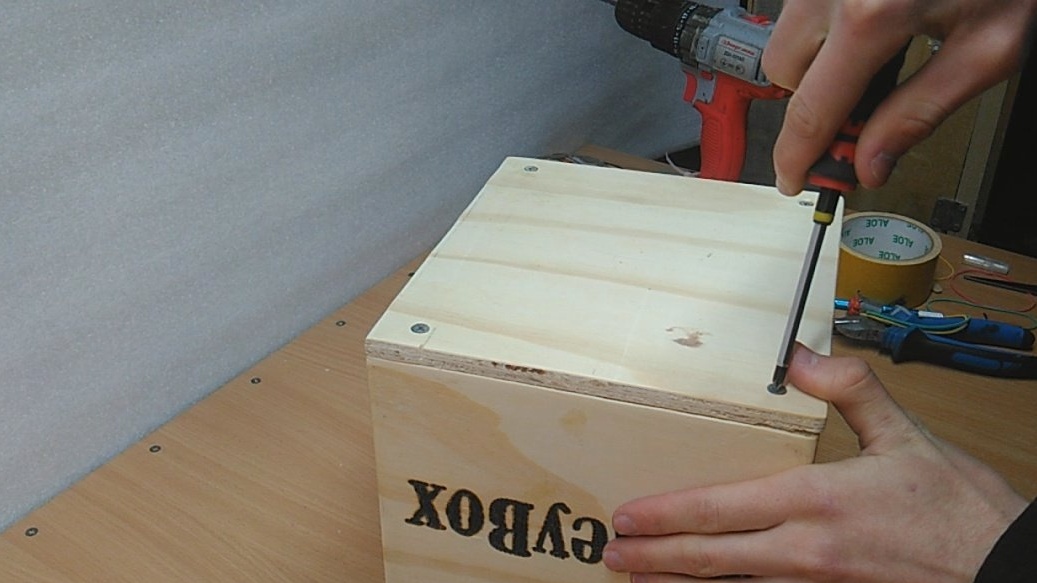
Step 6: From the bottom in the corners we glue small blocks. In them we will screw the screws that will hold the bottom of the piggy bank. Using a grinding machine, we clean all edges and surfaces of the piggy bank from splinters.
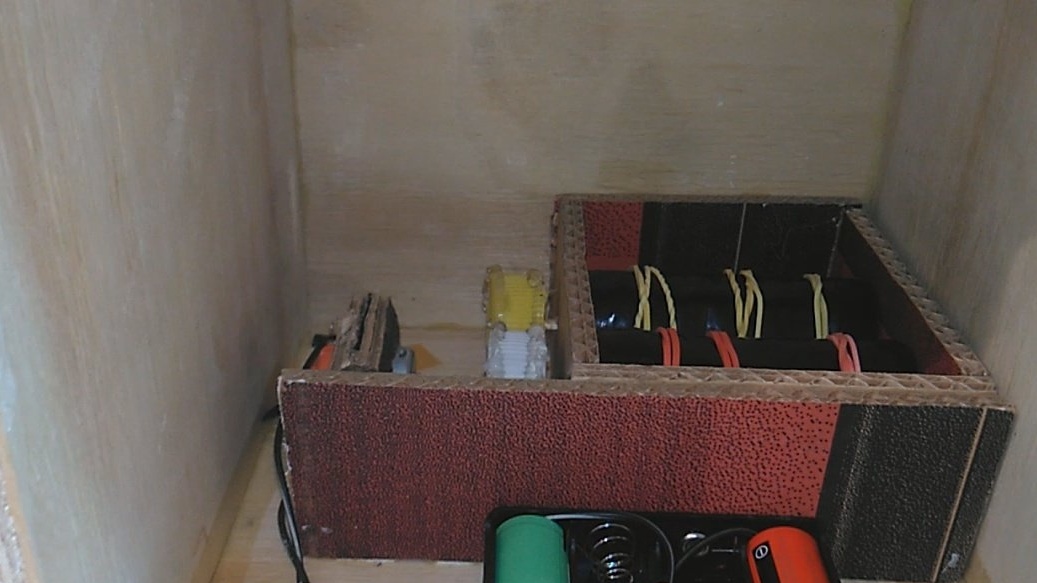
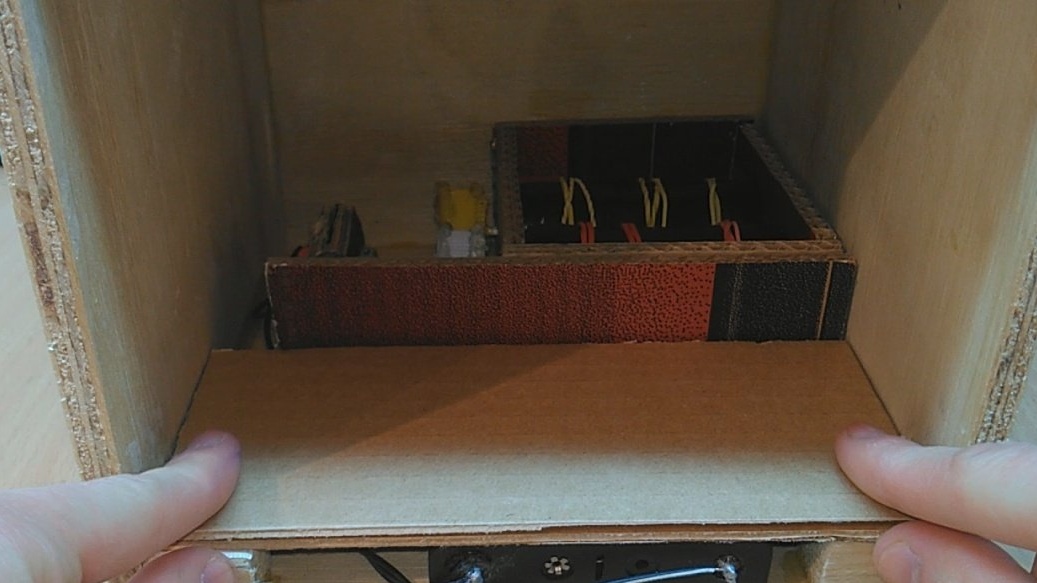
Step 7: Next, solder the wires to the motor. The circuit is very simple: battery, on / off button, and motor.The main thing is to observe the polarity so that the bill is sucked in, and not spit out. Next, install this design in its place, insert a button, and fix the battery. We close the battery with cardboard, just in case.
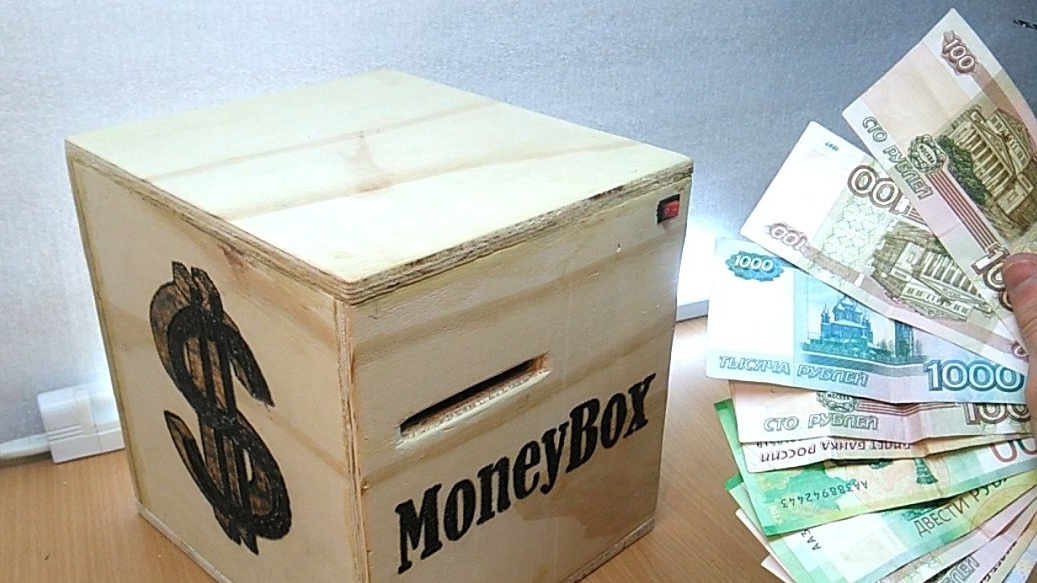
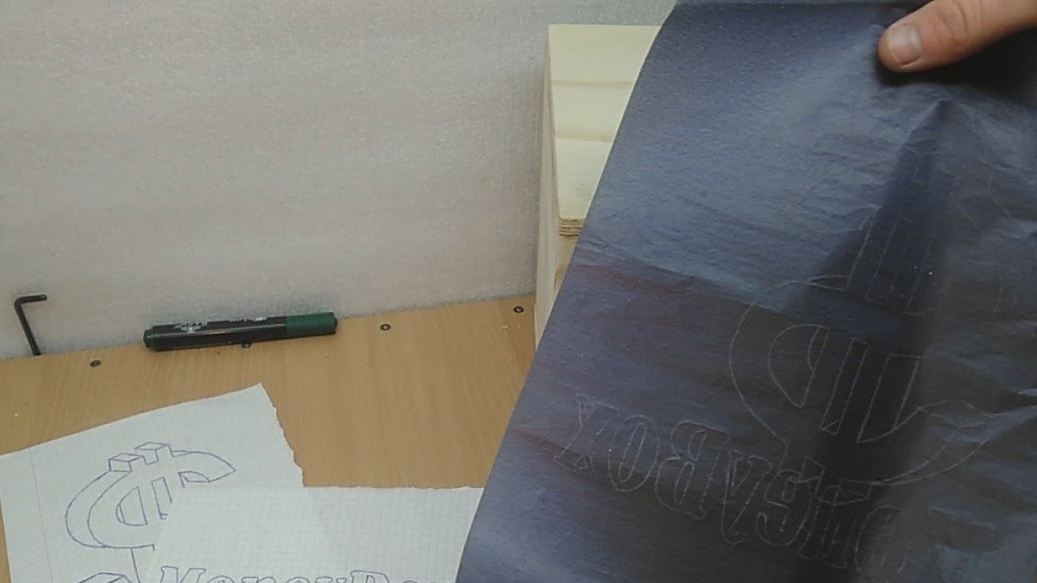
Step 8: Check the performance. I just don’t like the piggy bank from plywood, so I will burn $ and the inscription on it (MoneyBox - piggy bank). I will burn out the usual old soldering iron, periodically letting it cool so that it does not overheat.
Next, we fasten the bottom, through it it will be possible to get money and change the batteries.
SEE HOW DOES THE PIGGY WORK POSSIBLE IN VIDEO
Thank you all for your attention!