
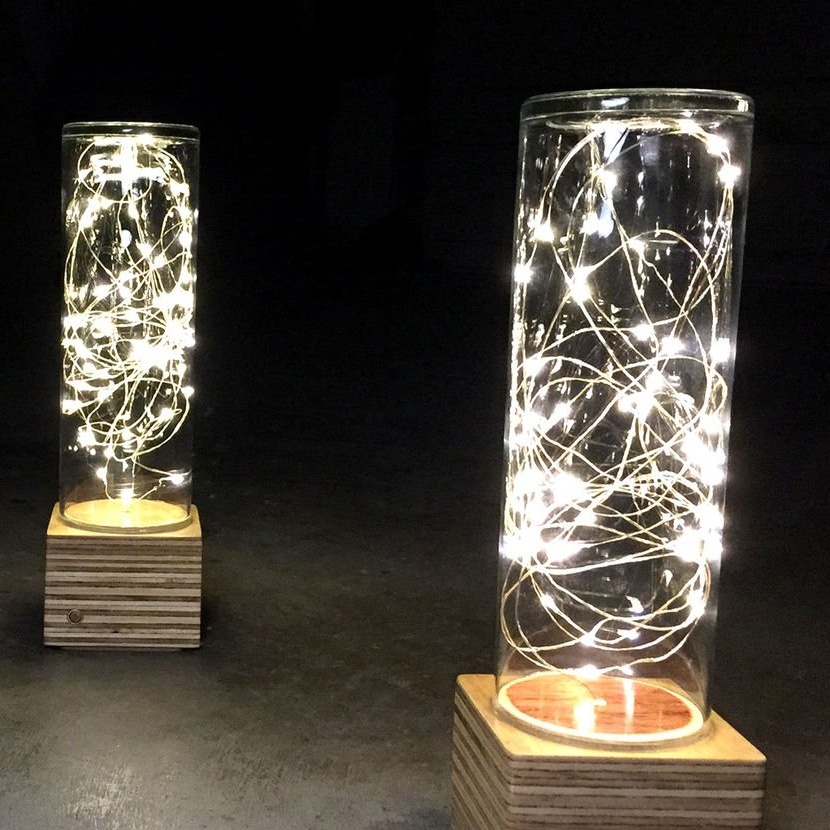
In this article, we will consider how the author made a simple LED lamp. The manufacture of such a luminaire does not require special skills and everyone can afford it.
Tools and materials:
-LED garland;
-Plywood;
-A circular saw;
- Clamps;
- Joiner's glue;
Grinding machine;
-Rule;
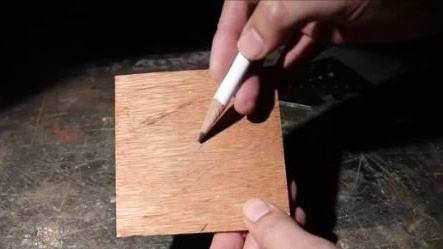
-Pencil;
-Drilling machine;
-Glass jar;
-Battery holder;
-Knife;
-Sandpaper;
-Copper tube;
Epoxy resin;
-Substrate;
-Insulating tape;
-Fasteners;
-Glue gun;
-Burner;
-Shellac;
- dowel;
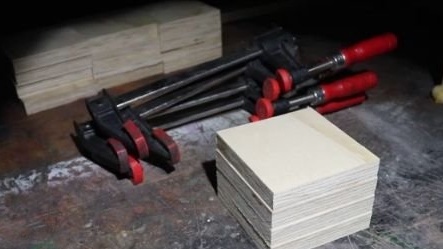
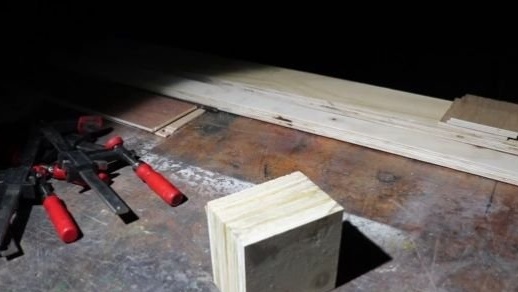
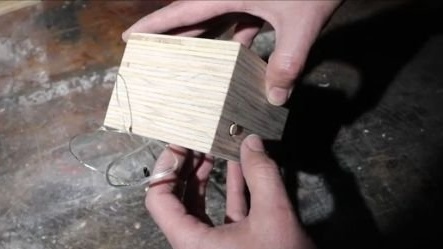
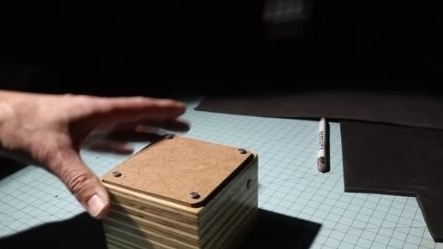
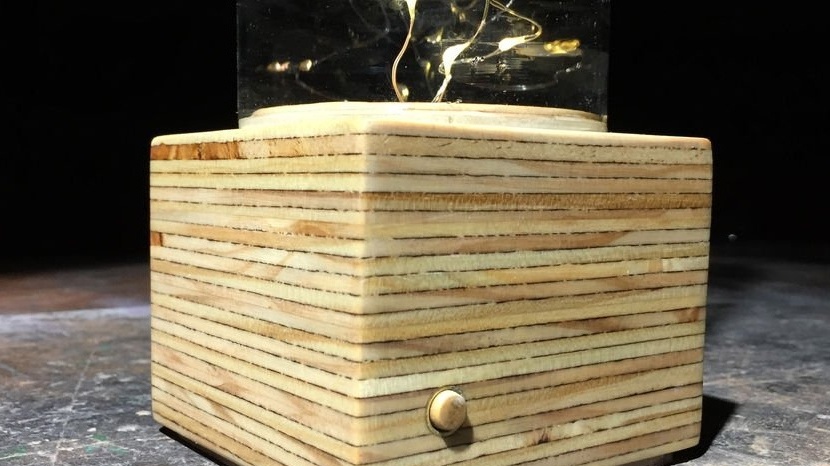
Step One: The Case
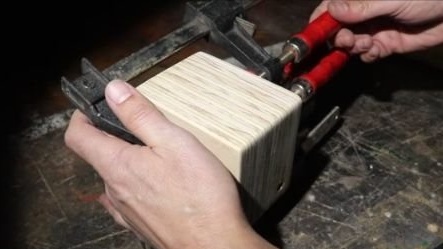
The housing will house a battery pack with batteries. The master himself makes the case out of plywood. Four plywood squares are needed for each fixture.
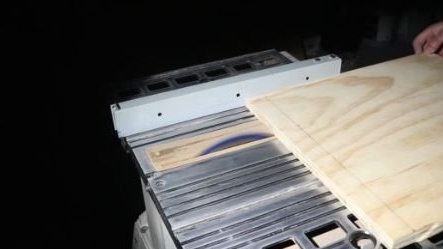
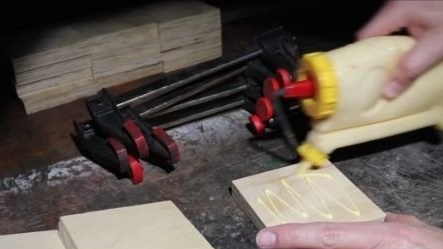
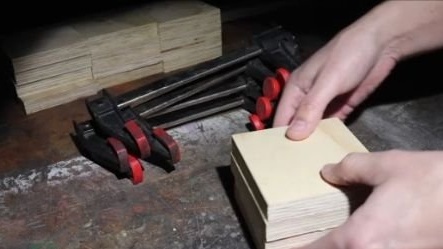
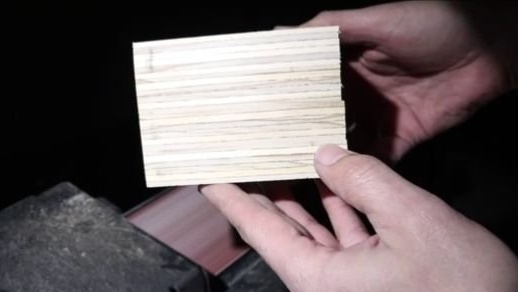
The squares are glued with wood glue.

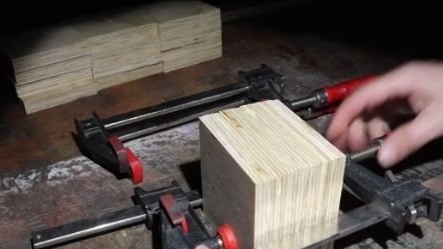

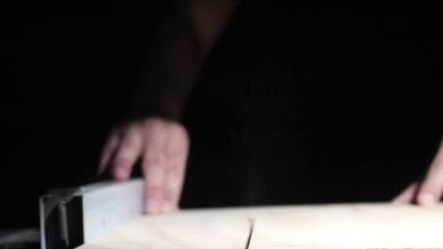
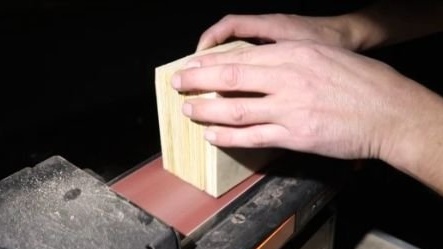
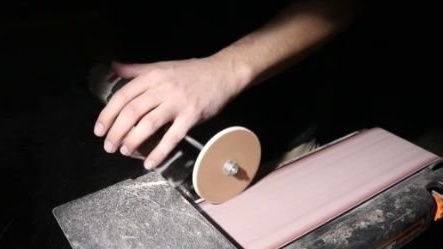
After gluing, the body is ground.
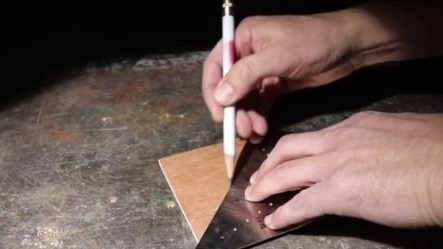
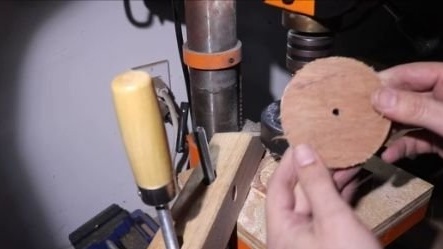
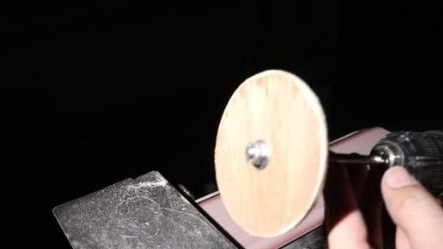
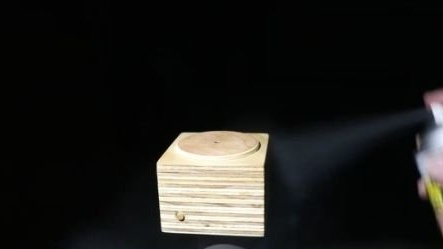
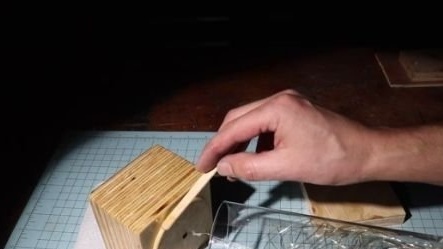
Step Two: Prop
To fix the glass vessel on the body, the master makes a circle of plywood. The diameter of the circle is equal to the inner diameter of the vessel.
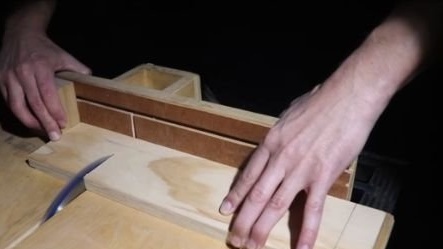
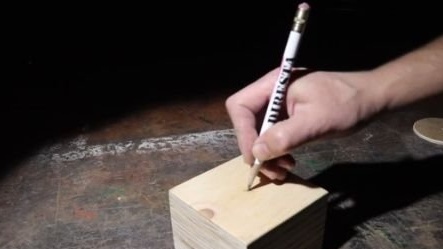
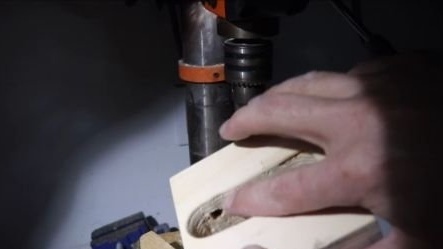
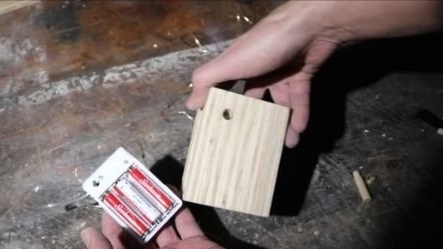
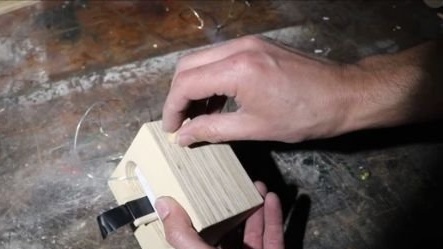
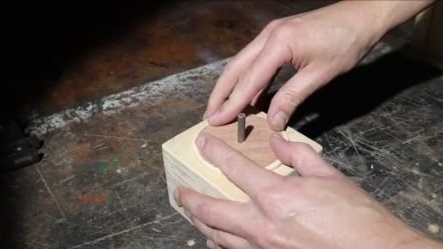
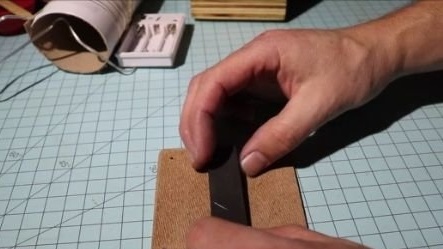
Step Three: Battery Compartment
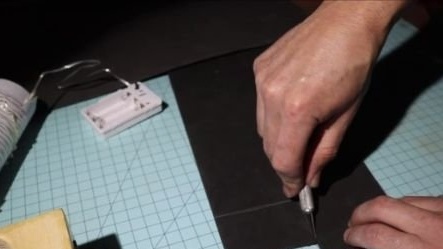
The master breaks off the fixing eyes from the battery compartment. Attaches the compartment to the body and outlines.
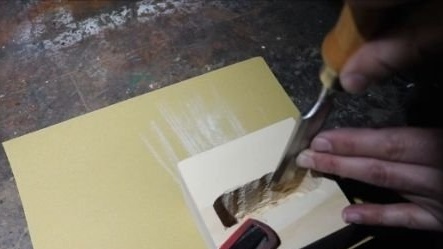
Further, the author in the case makes a niche.
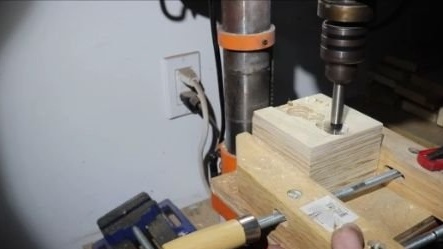
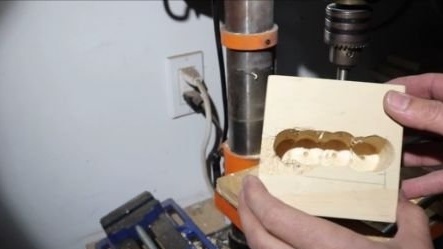
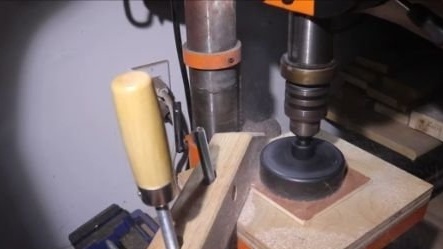
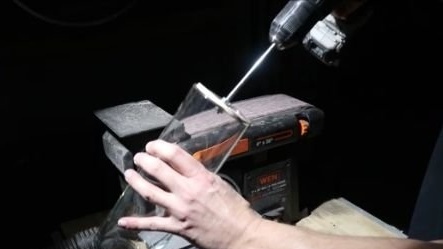
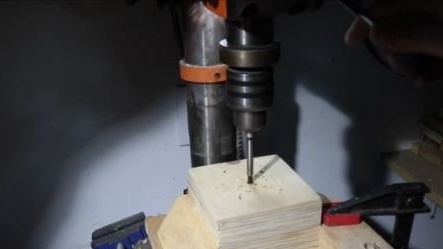
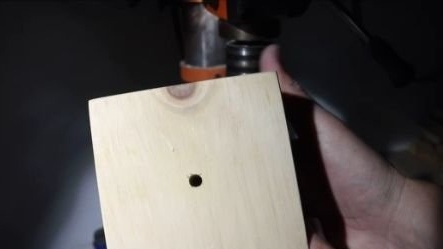
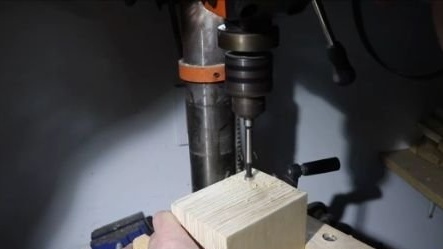
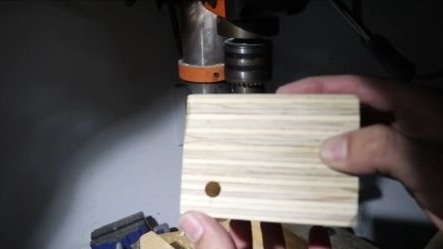
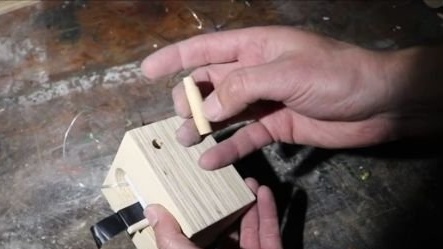
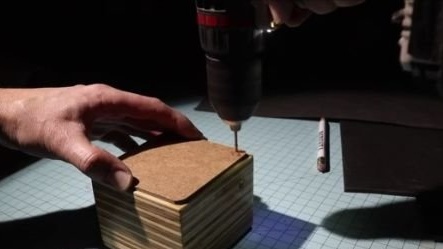
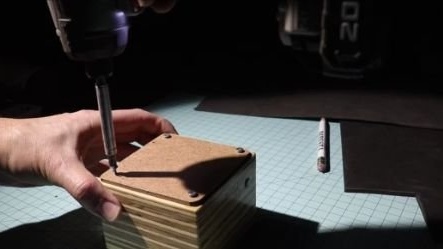
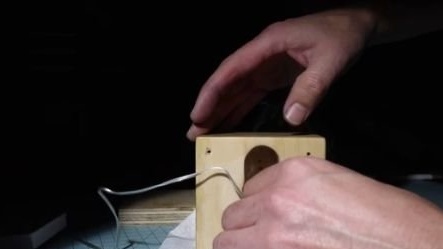
Step Four: Hole
Two holes need to be drilled in the housing: one in the center, for the wire, the second on the side, for the power button. The side hole must be combined with the button to turn on the battery compartment.
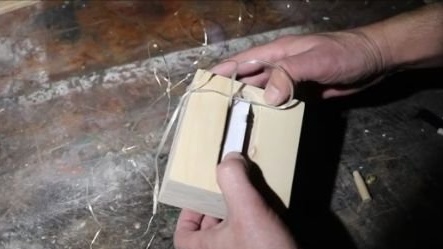
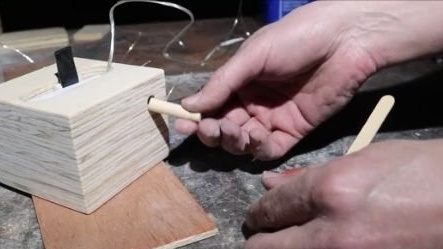
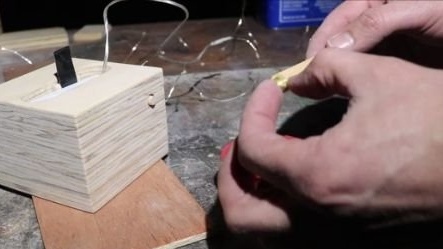
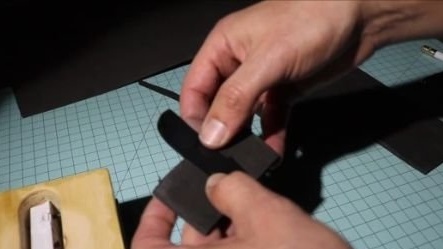
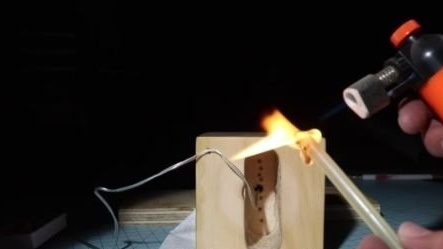
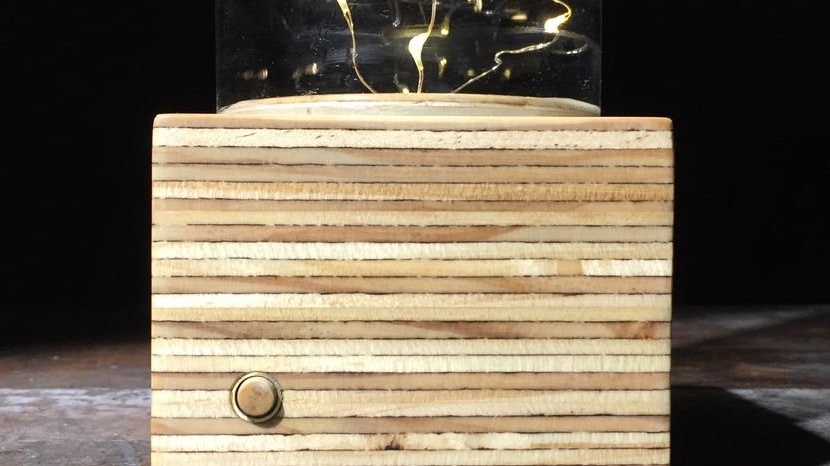
Step Five: Button
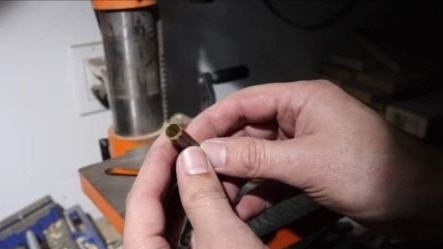
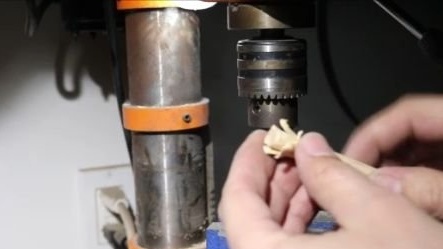
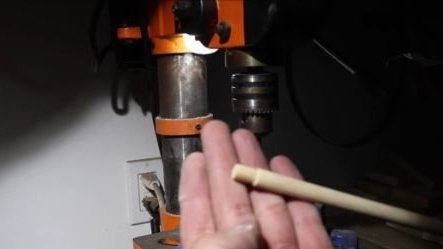
To turn on the lamp, press the button on the battery compartment. It is clear that this is not convenient. Then the master decided to bring the button out. The master himself made the button out of the dowel. I cut the upper part of the dowel using a sharpened copper pipe.


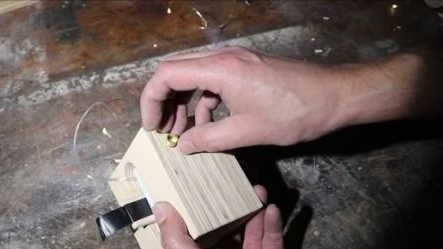
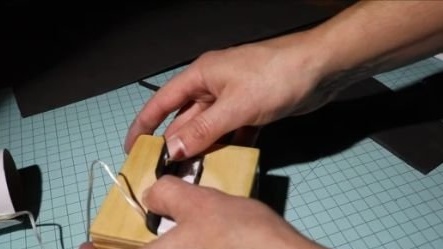
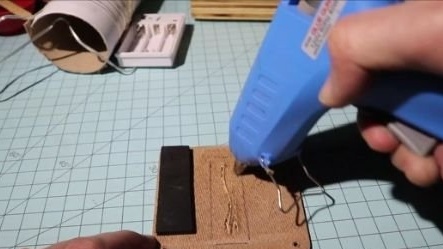
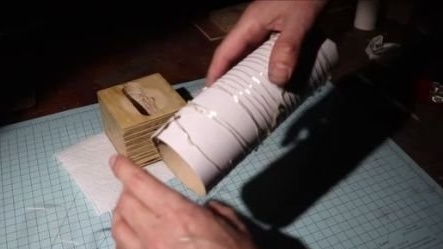
Step Six: Build
It connects the garland to the battery compartment and installs the compartment in the housing niche. Inserts a button into the hole. To prevent the button from falling out, glues a piece of copper pipe into the hole.
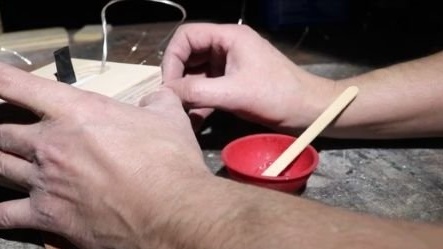
Glue is applied to the support ring and glued to the body.

Covers the shell with shellac.
A gasket is installed between the case and the battery compartment.

Below the battery compartment closes the MDF.
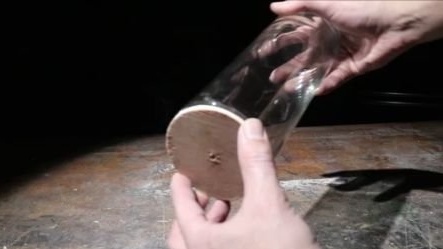
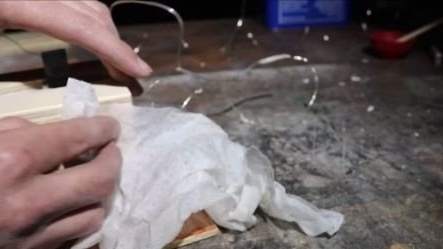
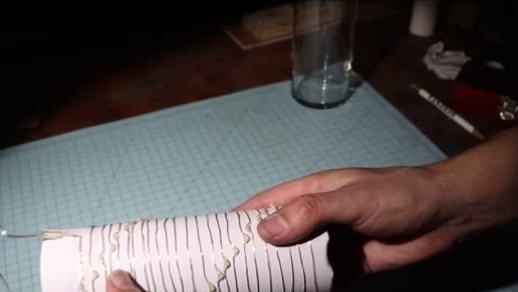
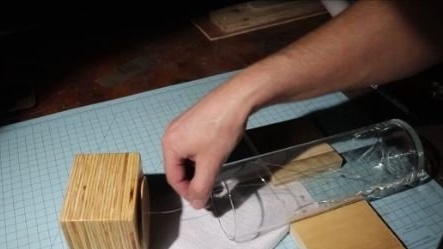
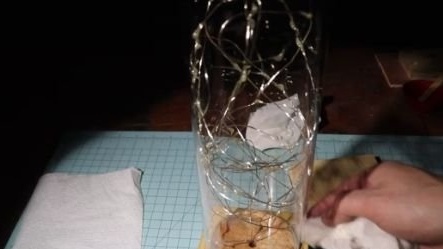
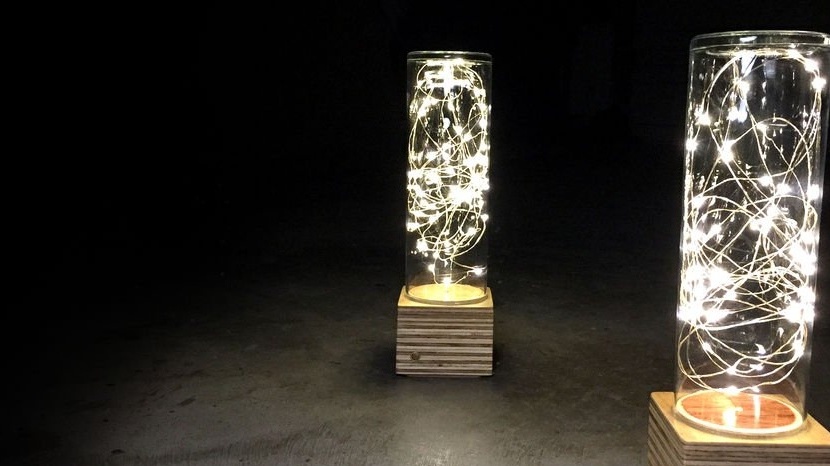
Before installing the battery compartment, the master pulled an LED garland through the central hole. The garland fastens inside the vessel.The vessel sticks to the ring.

The lamp is ready.
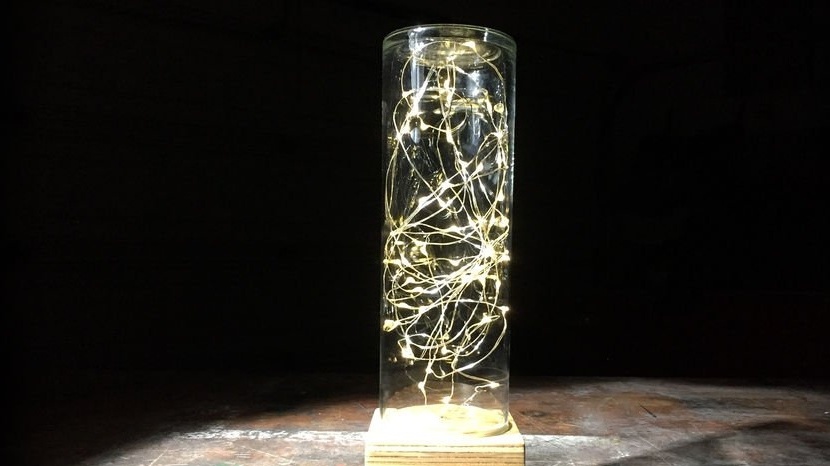
The entire process of manufacturing the lamp can be seen in the video.