Hello dear the inhabitants of our site and site visitors!
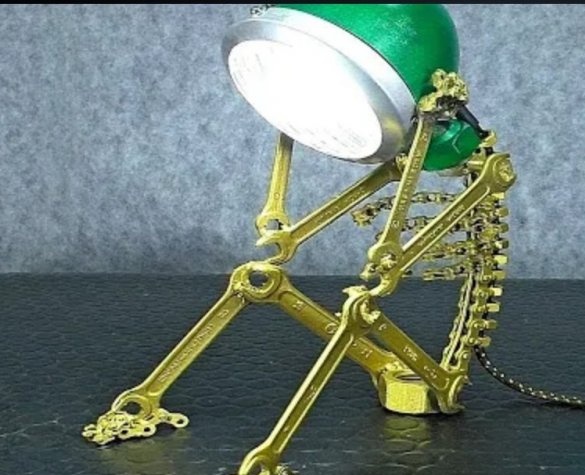
Among the huge number of various fixtures, it is not so easy for us to make a choice which one to buy for us, so that it fits the interior, it is interestingly made, and the price does not bite. There are a huge number of models that are divided into groups: - these are floor lamps, sconces, and lamps made in a strict office style, and decorative ones, which are most often very intricate. They can be in the form of some figurine, or represent an installation on any topic. It is about such a lamp that will be discussed in this article. We will look at the example of the author of the YouTube channel Glavnyiy Mehanik how to create such a lamp do it yourself from improvised funds and with minimal cash investment. The details from which the lamp will be assembled can be easily purchased either at the flea market, or found at home or with friends in the bins.
To create this lamp auto used:
Faro FR-100,
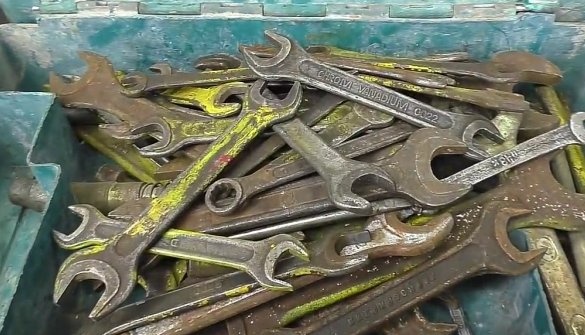
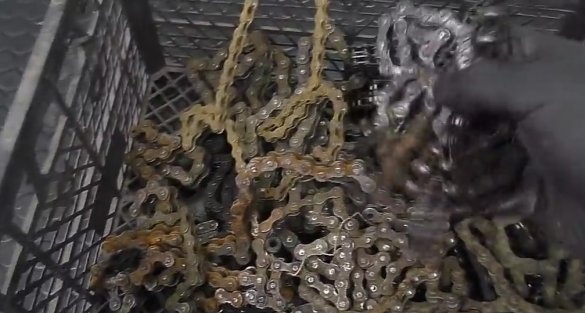
various wrenches, chains from a bicycle and a moped, nuts, cord, switch, various spray paints, 220-volt LED lamp.
Tool:
welding machine, sandblasting, grinder.
Step 1.
Before starting work, the author prepares all parts of the future lamp.
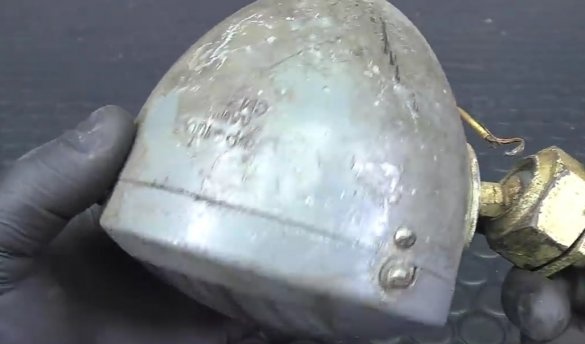
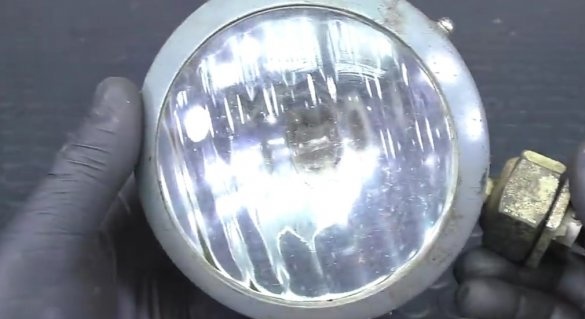
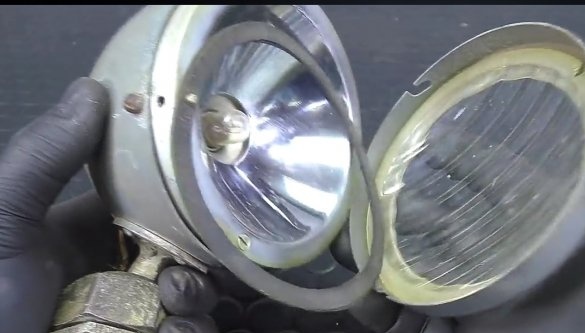
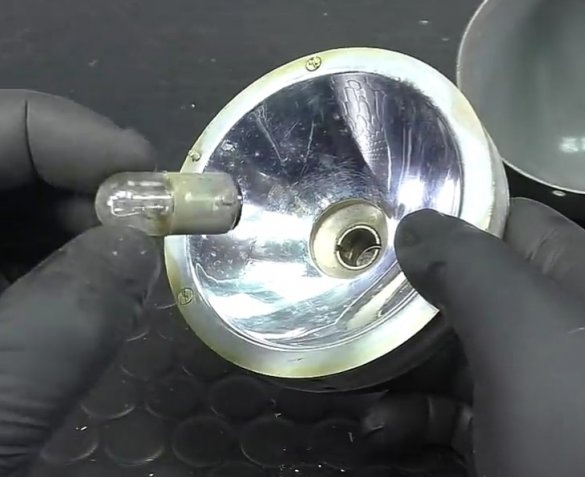
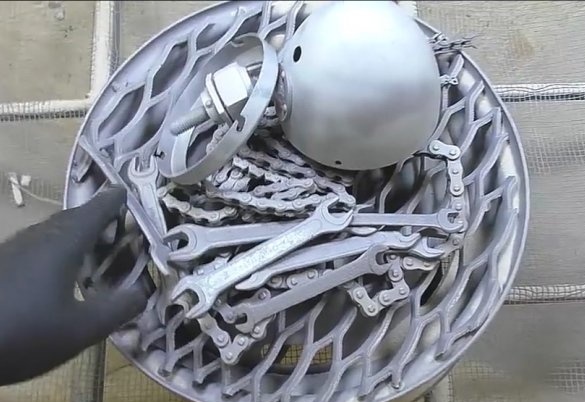
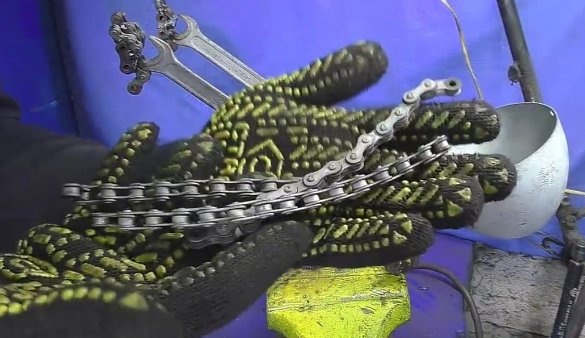
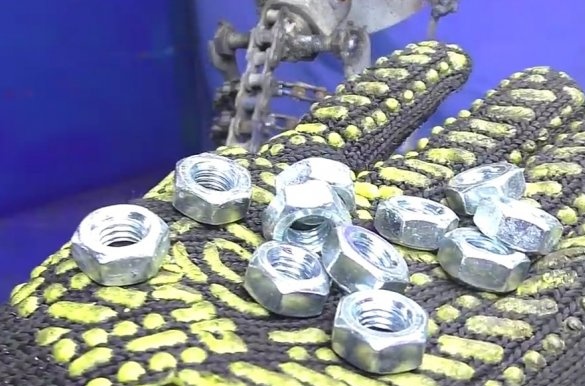
He disassembles the lamp he has, pulls out and removes all unnecessary insides - the lamp and its mounting socket, wires. He takes wrenches of different sizes and chains. All components are thoroughly treated from old paint and other contaminants in a sandblasting machine.
Step 2
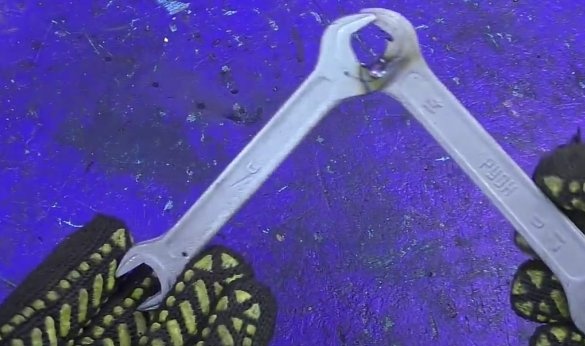
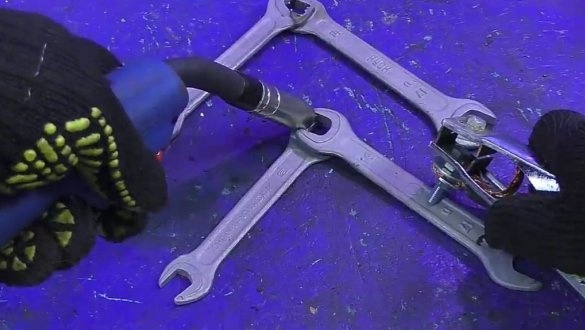
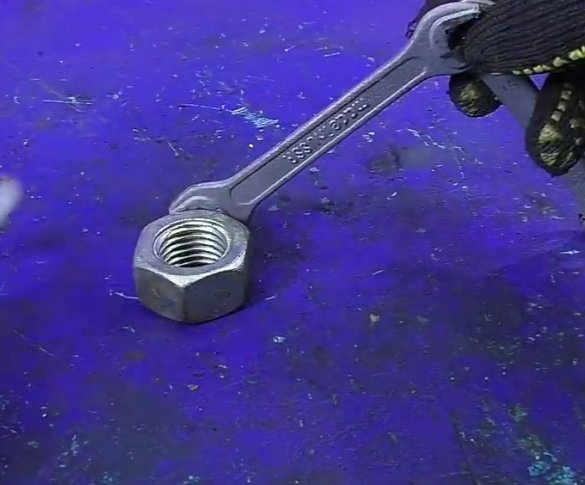
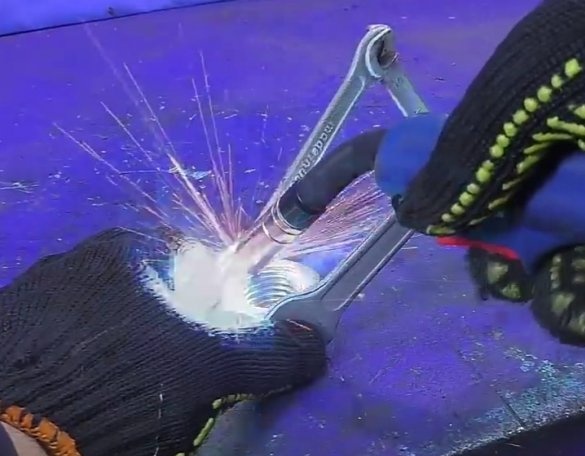
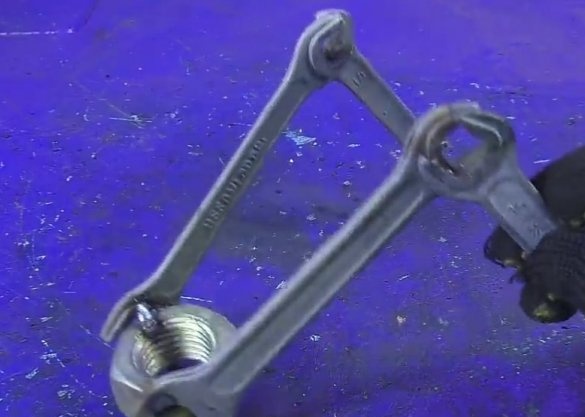
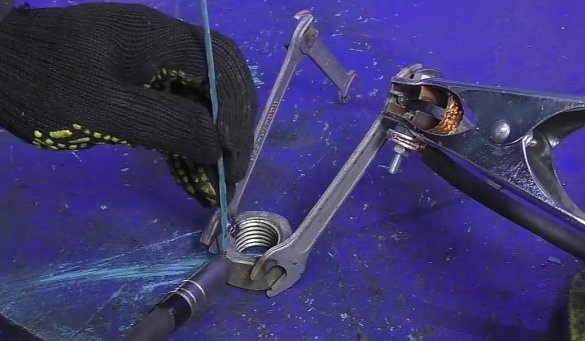
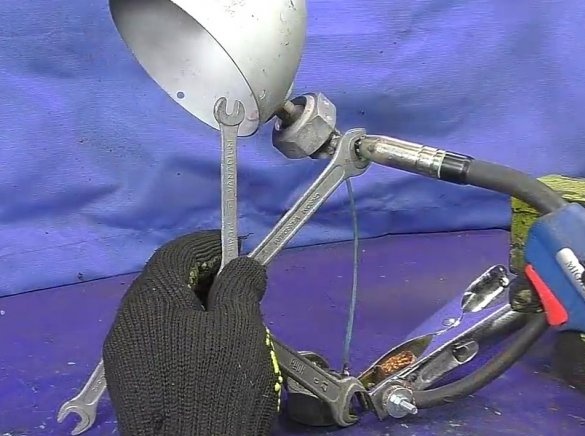
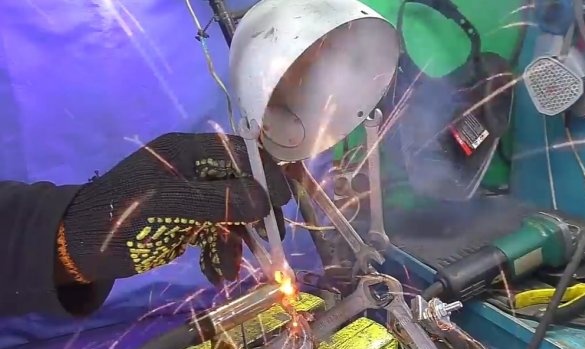
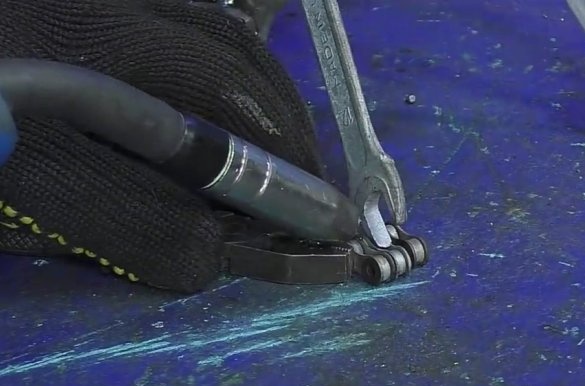
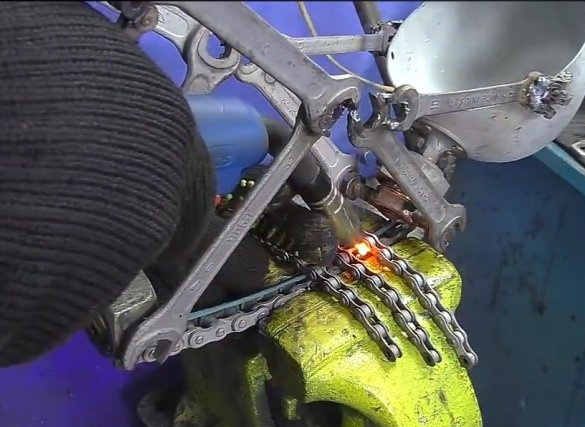
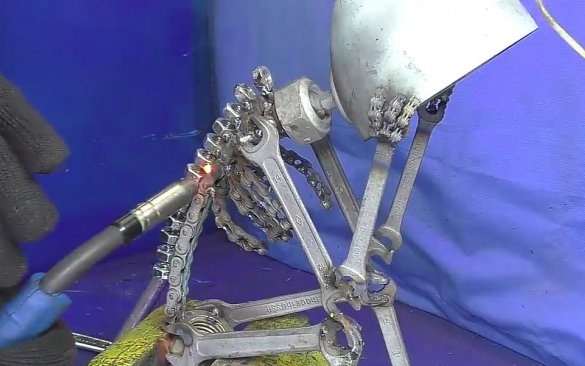
Now the author begins the process of assembling the robot. Taking wrenches and placing them against each other, welds them together at about an angle of 90 degrees. These are the blanks of the legs. They are welded to the base - a large diameter nut.
Step 3
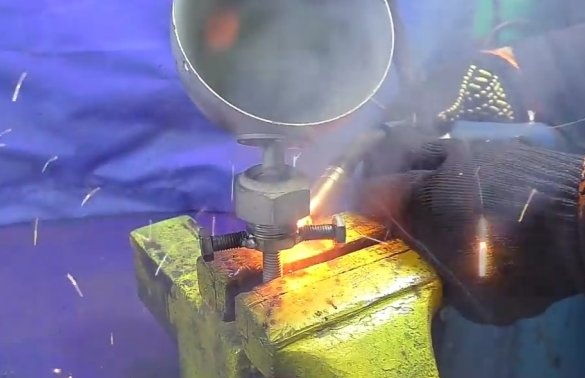
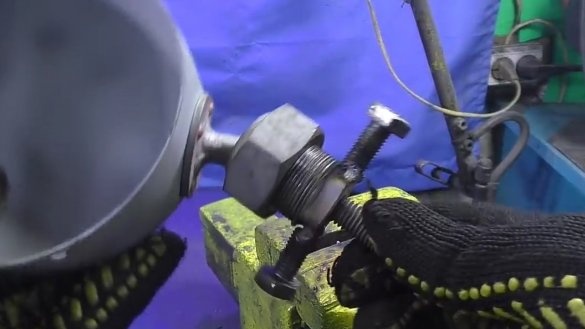
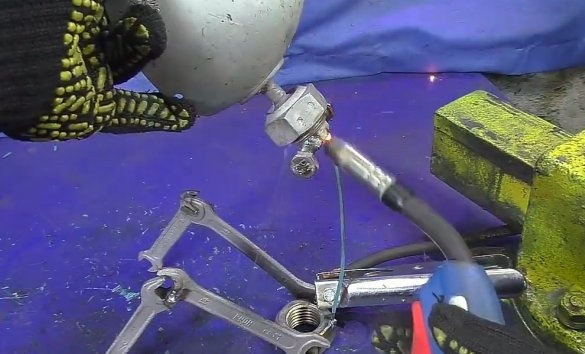
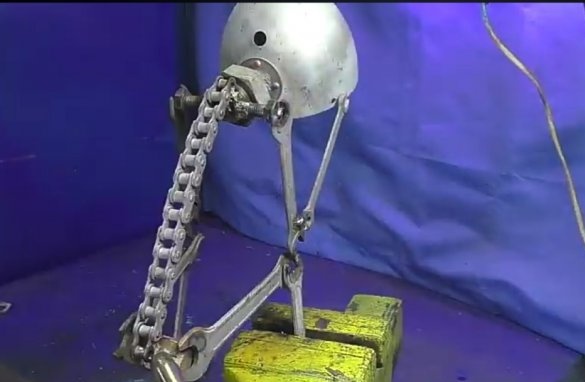
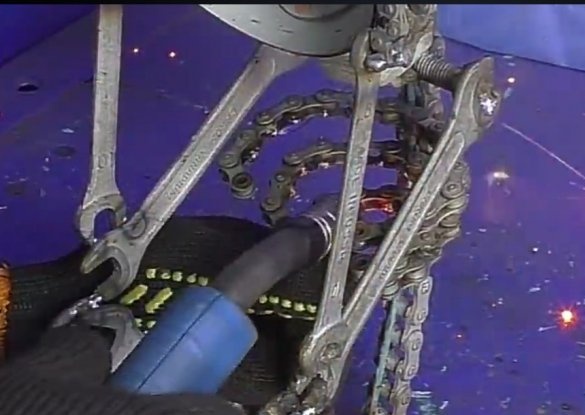
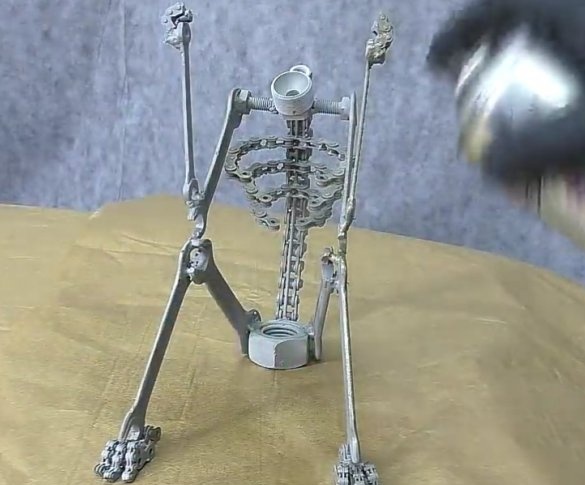
A head is created. To do this, weld 2 bolts to the swivel that is on the headlamp. They will play the role of the shoulders to which the hands will be welded. Next, you need to connect the lower and upper parts together. For this purpose, an electrode is perfectly suitable, which is previously chipped from the coating.We weld both parts to the electrode, which will serve as the basis for the spine of the whole figure. Hand wrenches are welded to the shoulders.
Step 4
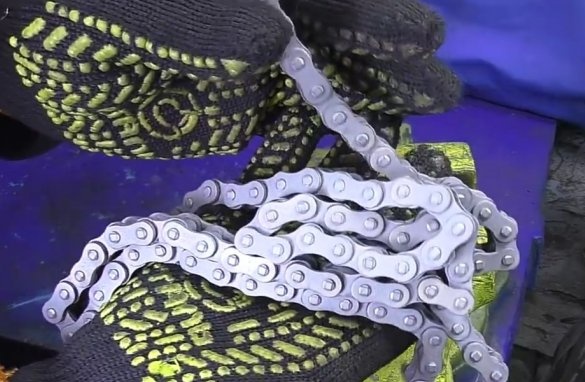
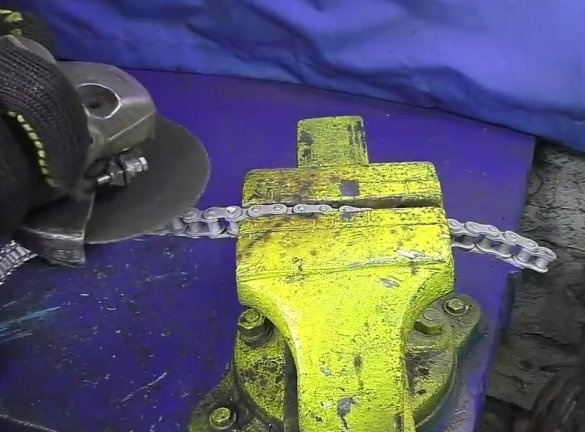
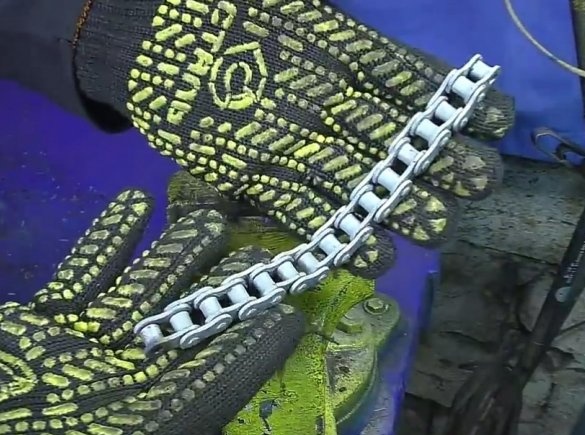
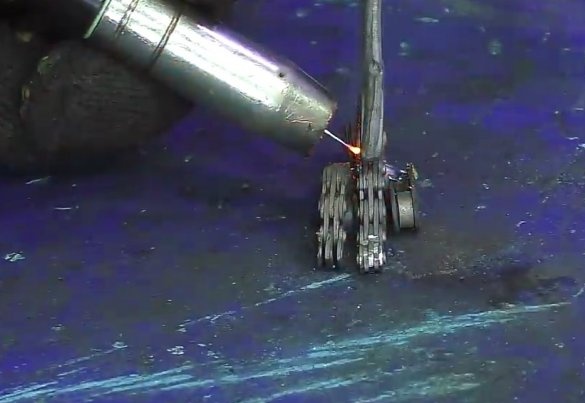
A bicycle chain is taken and cut to a size that will be equal to the length of the vertebral electrode. Welded to the electrode. Glavnyiy Mehanik also makes feet for feet and hands for chains. They grab onto the keys serving with arms and legs.
The chain from the moped will be instead of the ribs of the figure. The structure is clamped in a vise and chain ribs are welded to it from the inside. They are of different sizes - long at the top, short at the bottom. Now the chains are bent to get a semicircle. They weld together so that they do not lose shape.
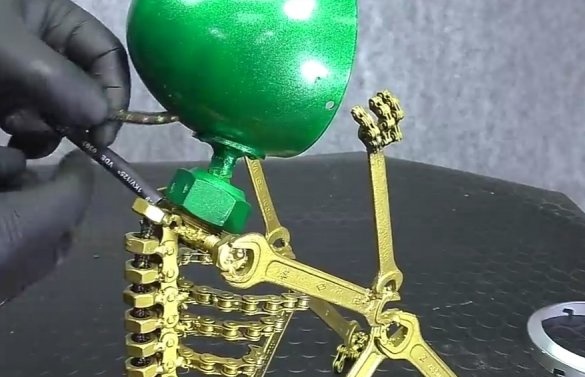
Nuts are welded to the vertebra. Their size depends on which cord you will use for power. The main condition is that the wasp freely passes through the holes of the nuts to the lamp.
Welding work completed.
Step 5
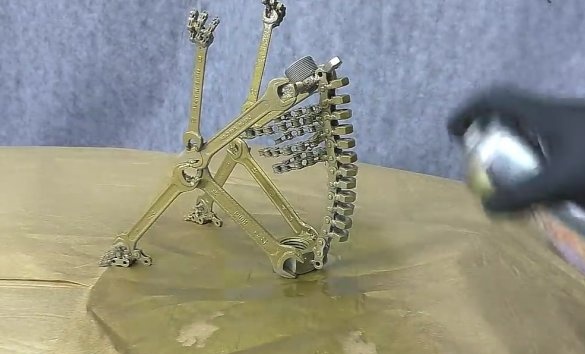
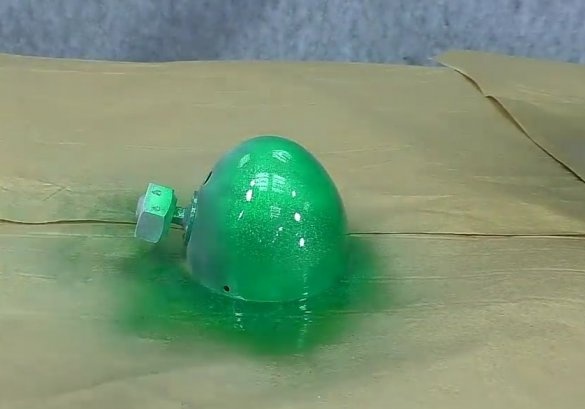
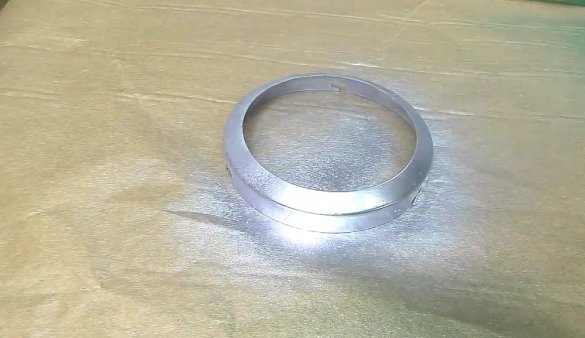
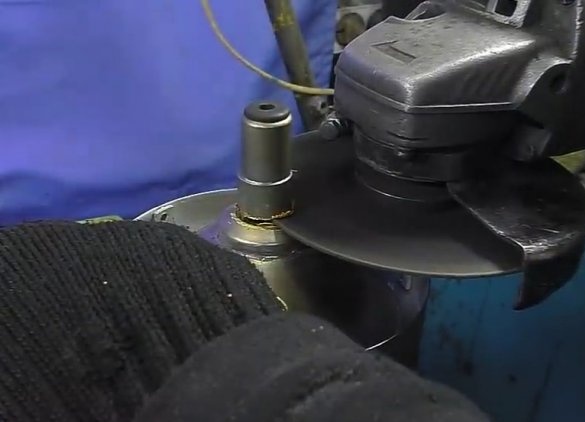
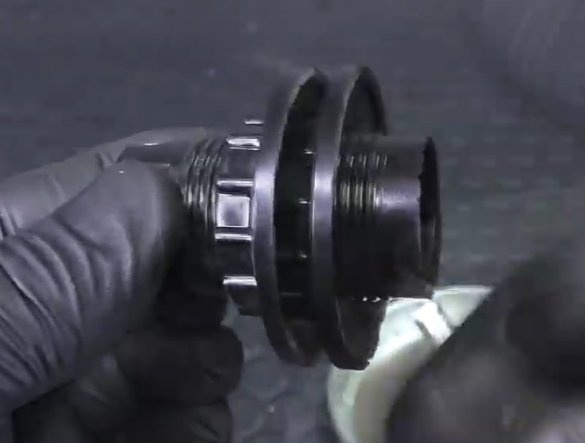
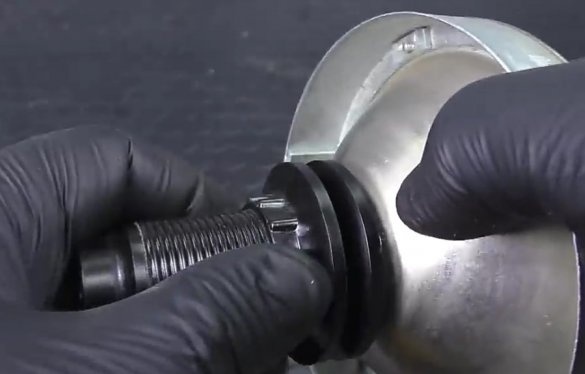
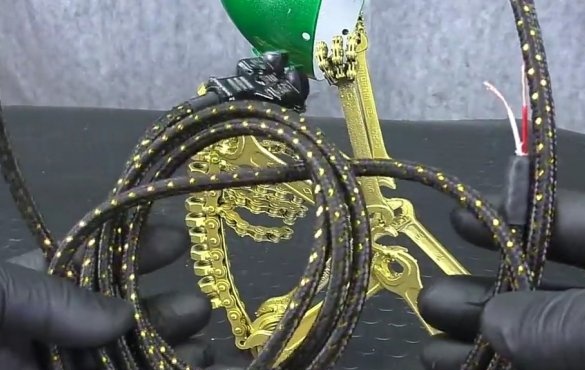
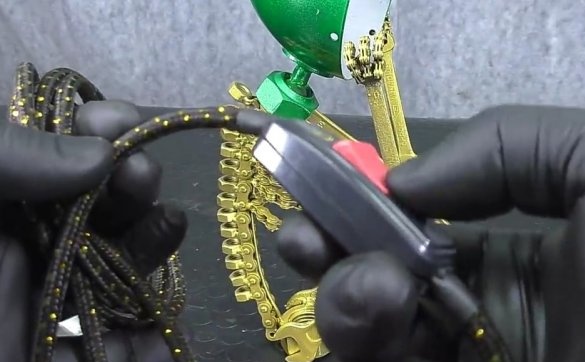
We proceed to the most interesting part - we give completeness to an almost finished product. With a spray can we apply the colors of paints you like on the parts. Grease is placed inside the swivel joint. At the reflector, the grinder cuts off the mount from the old lamp. In its place is a new base for a modern LED lamp. A plug and a switch are connected to the cord. The cord itself is drawn through the nuts mounted on the spine. The cord starts up in the spotlight and opens with a cap. A 220V LED lamp is screwed in. Putting the headlight.
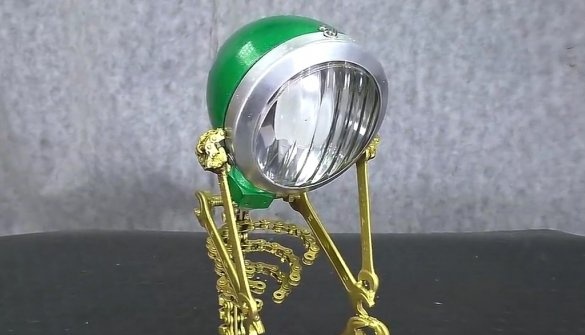
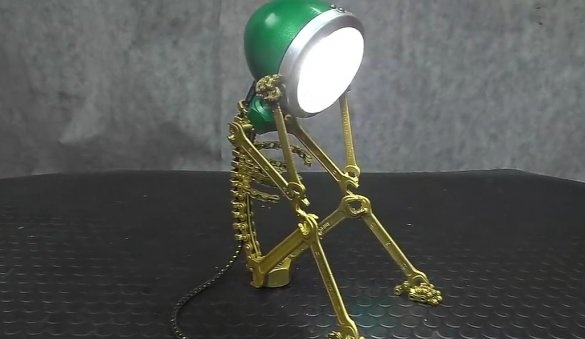
As a result of all the above works, the author got out of the hands of such an interesting decorative lamp.

