
Greetings the inhabitants of our site!
The author of the YouTube channel "Radio-Lab" ordered these kits for assembling sound amplifiers based on the TDA2030a chip.
TDA2030a chips are not expensive and at one time were very popular. They have decent sound and can often be found in factory audio systems. The author bought these not expensive kits for assembling a sound amplifier on TDA2030a.
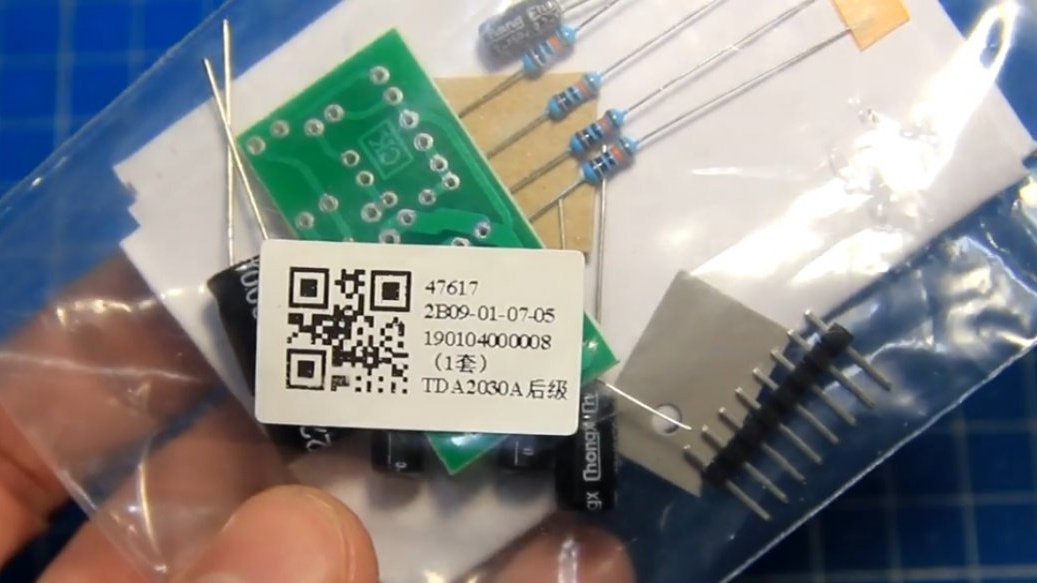
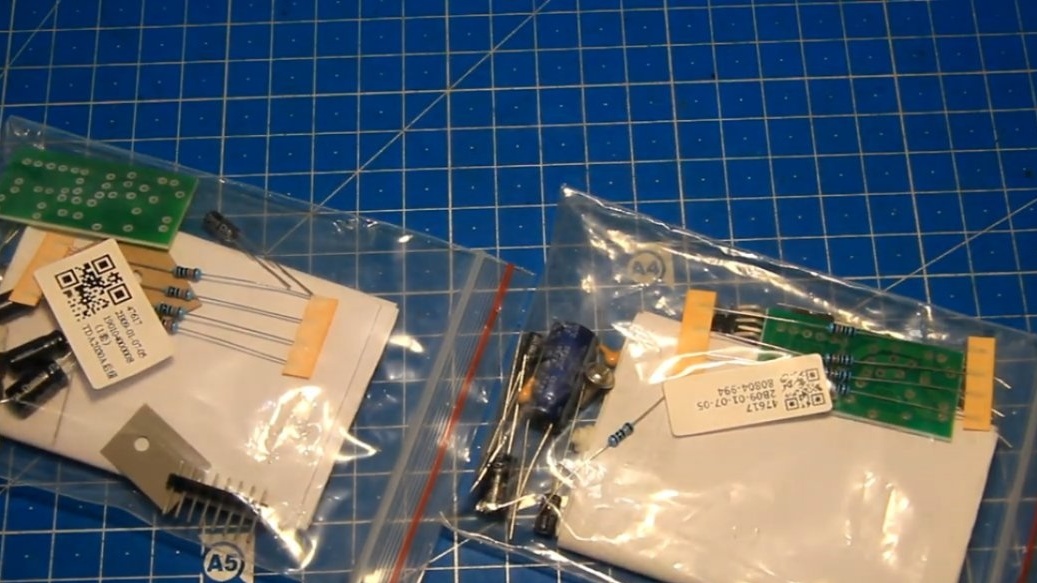
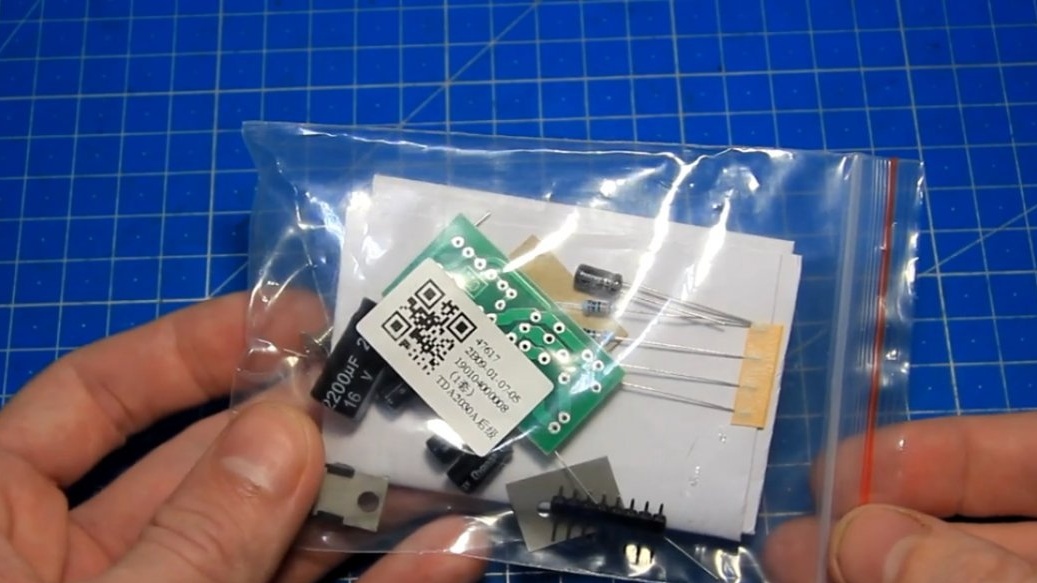
We get everything that was in the package.
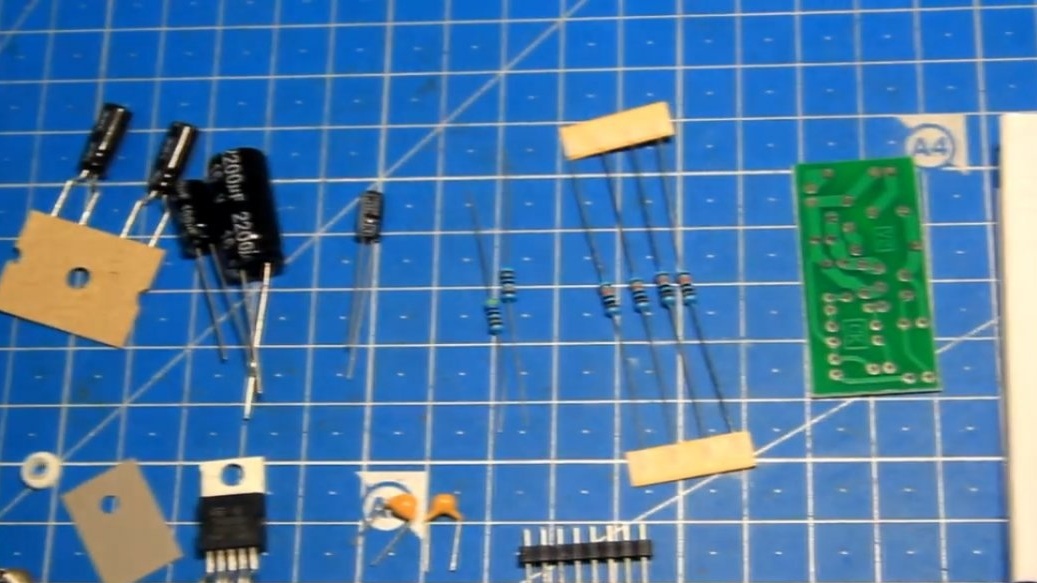
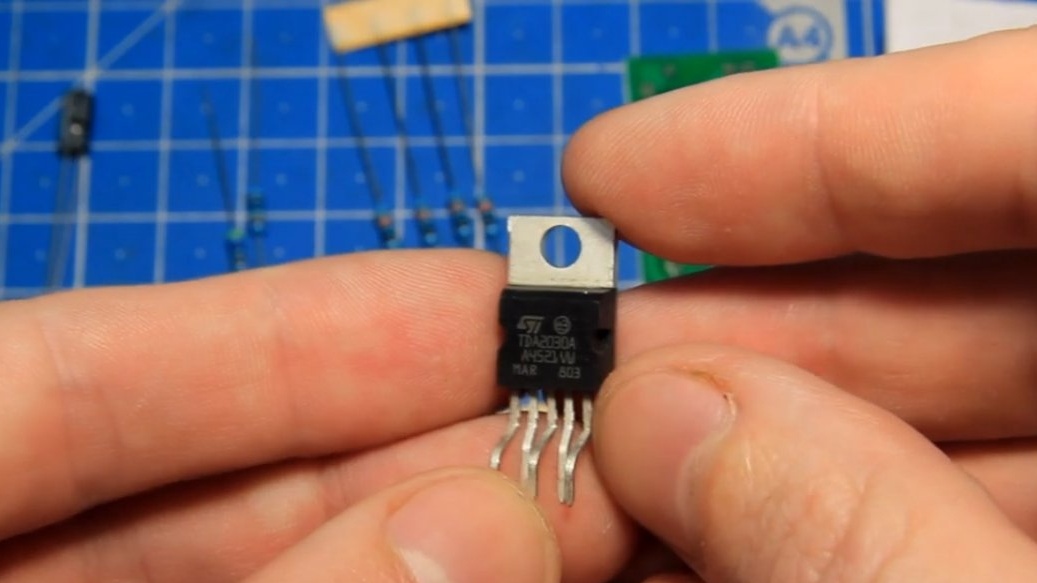
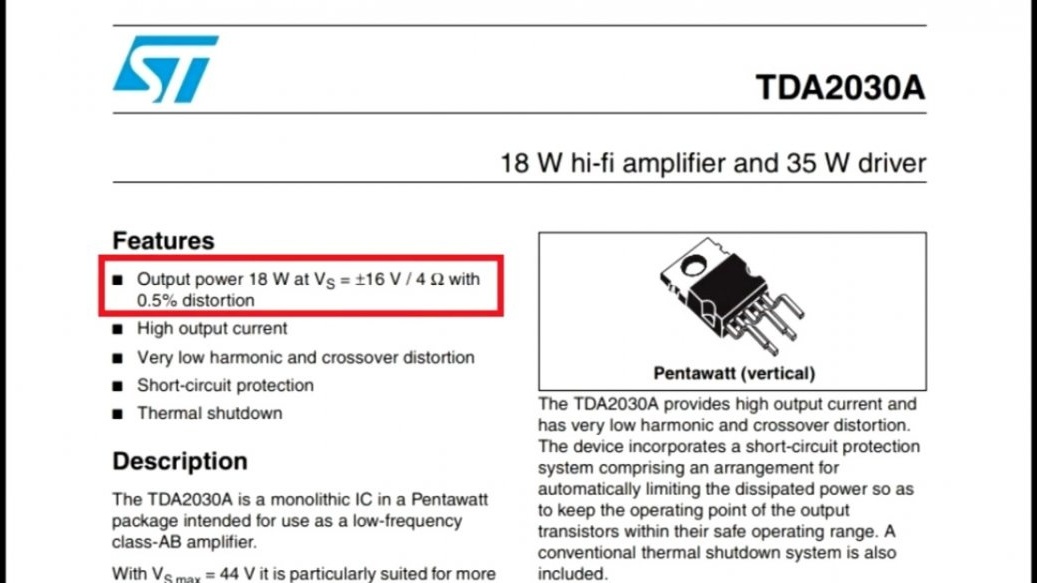
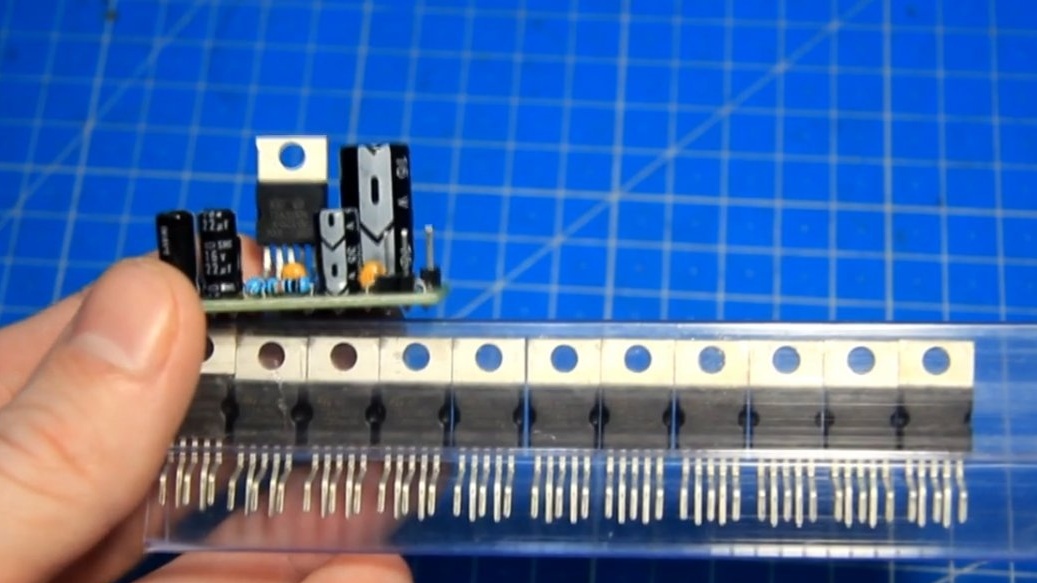
As you can see, there are not many details. We will collect one channel, and for a stereo amplifier there will be two such. The basis of the amplifier is the well-known 5-foot TDA2030a microcircuit, with an output power of up to 18W.
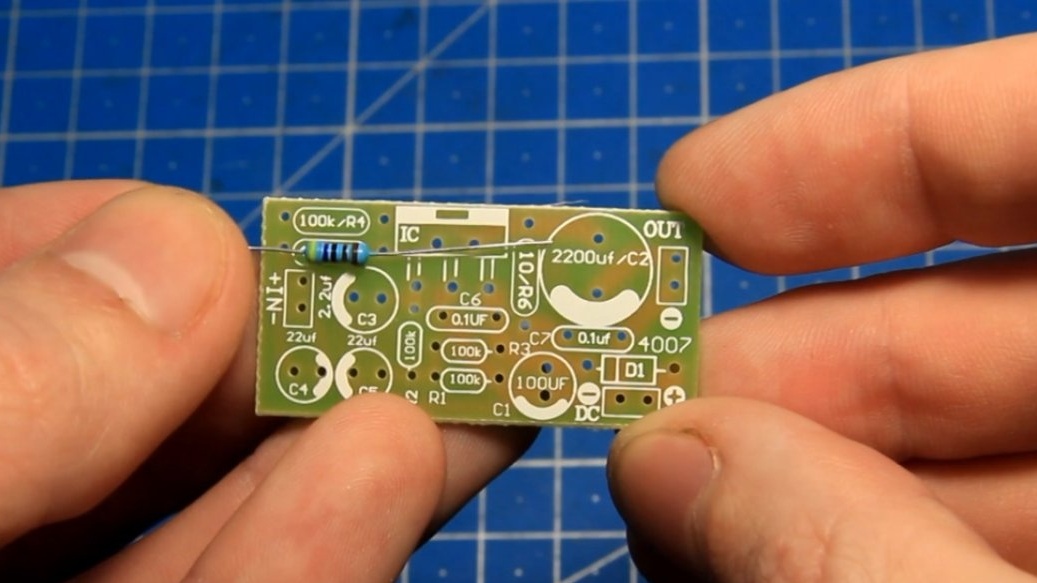
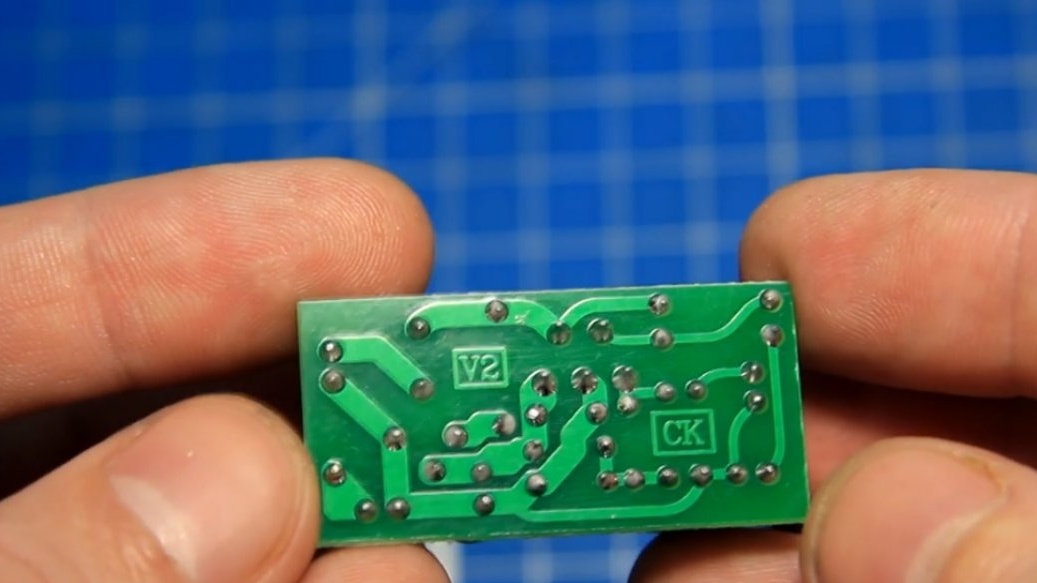
The printed circuit board is small, made with high quality, all the ratings of the parts are indicated on the board.
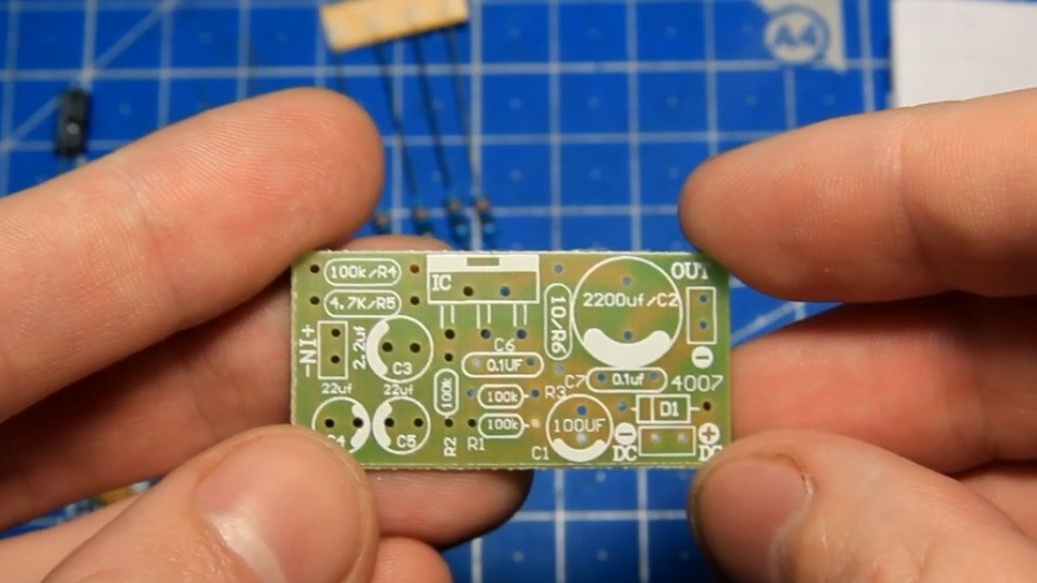

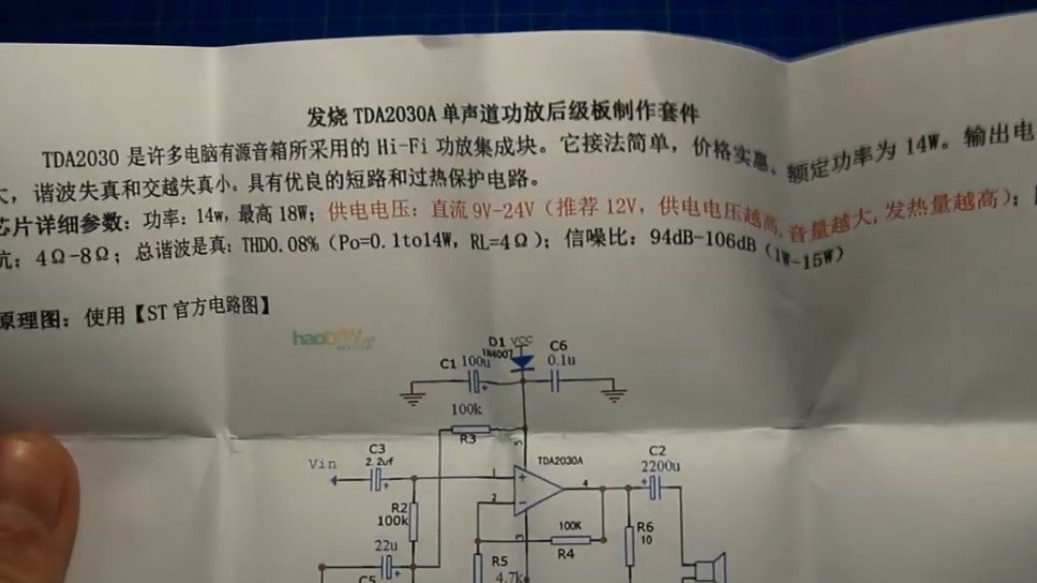
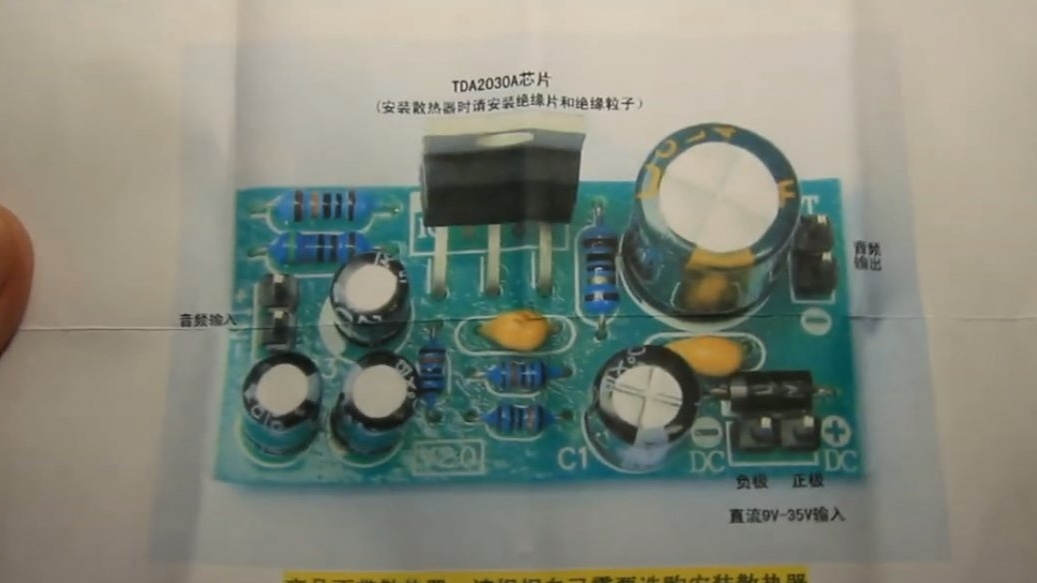
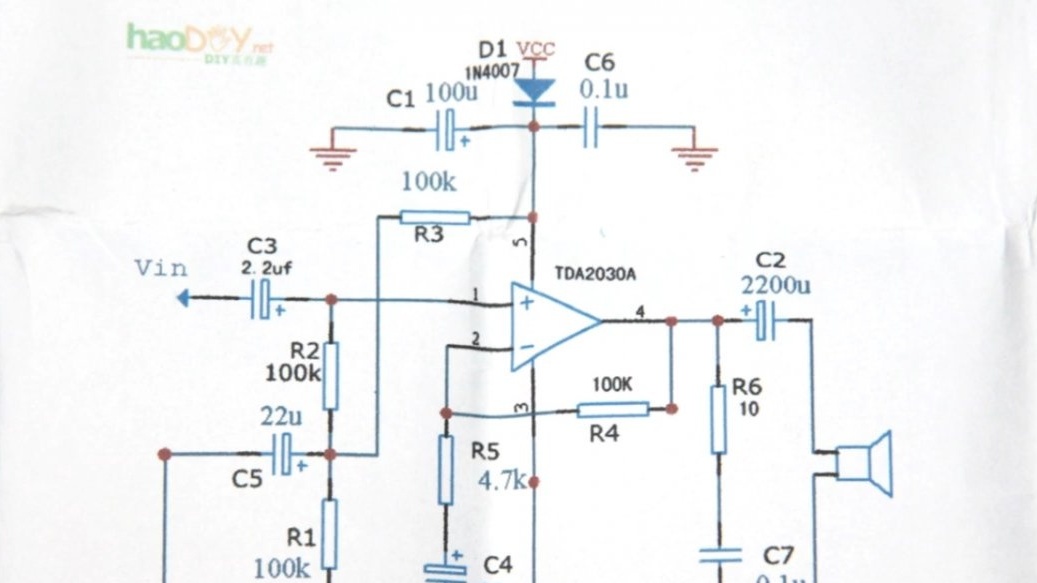
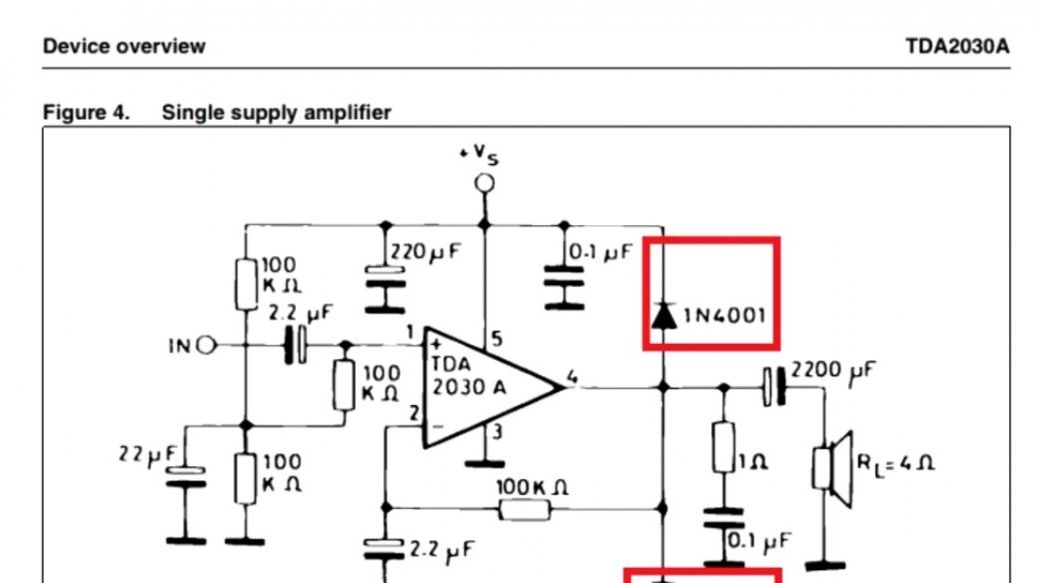
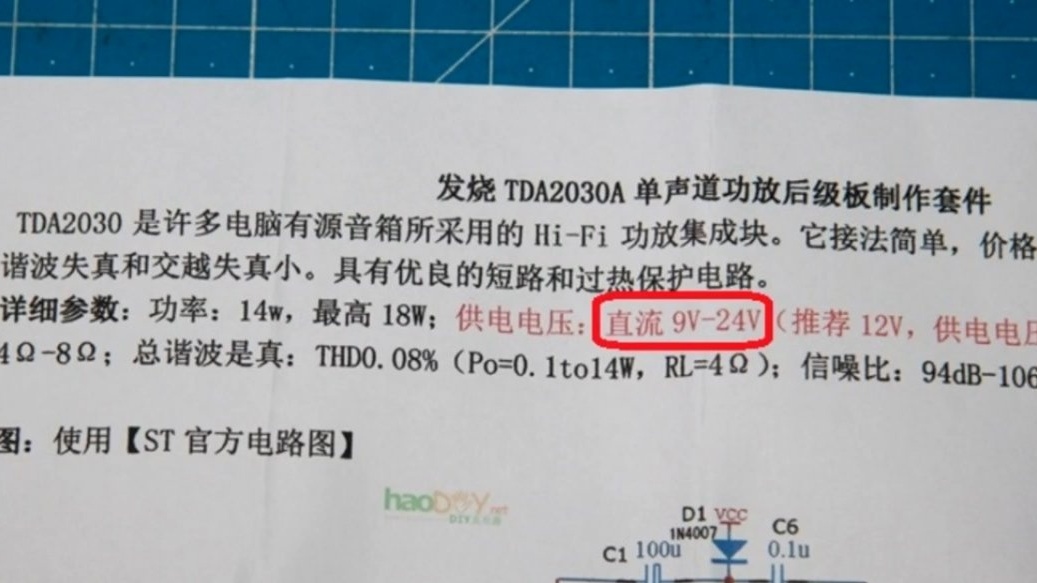
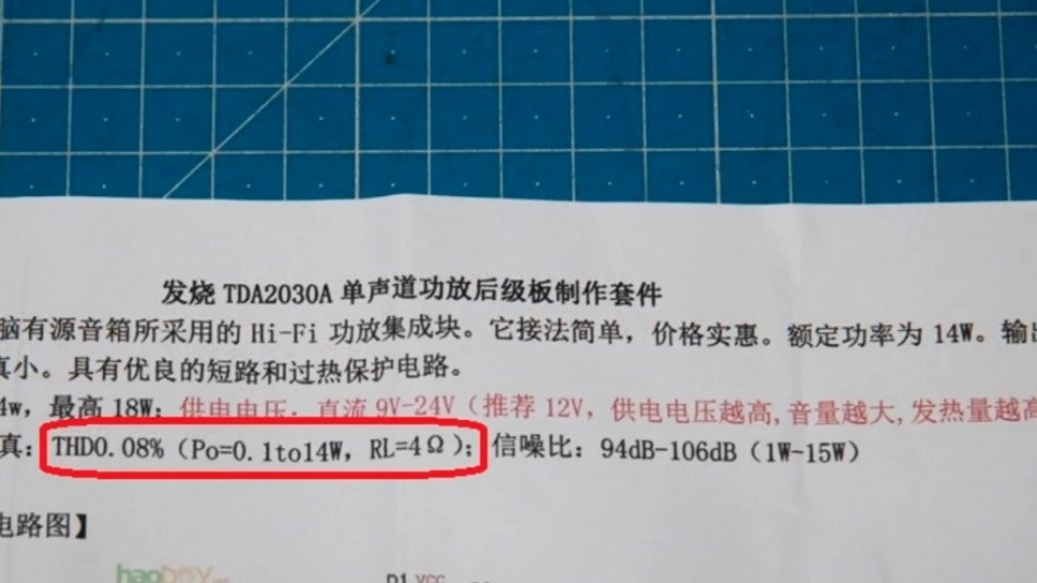
Also with the kit there was an instruction where you can see the characteristics of the amplifier, the circuit, the list of parts and how the already assembled amplifier looks like.
You can power such an amplifier from a unipolar power source or battery. By the way, the circuit is slightly different from the circuit from the datasheet, it has no diodes, but everything will work.
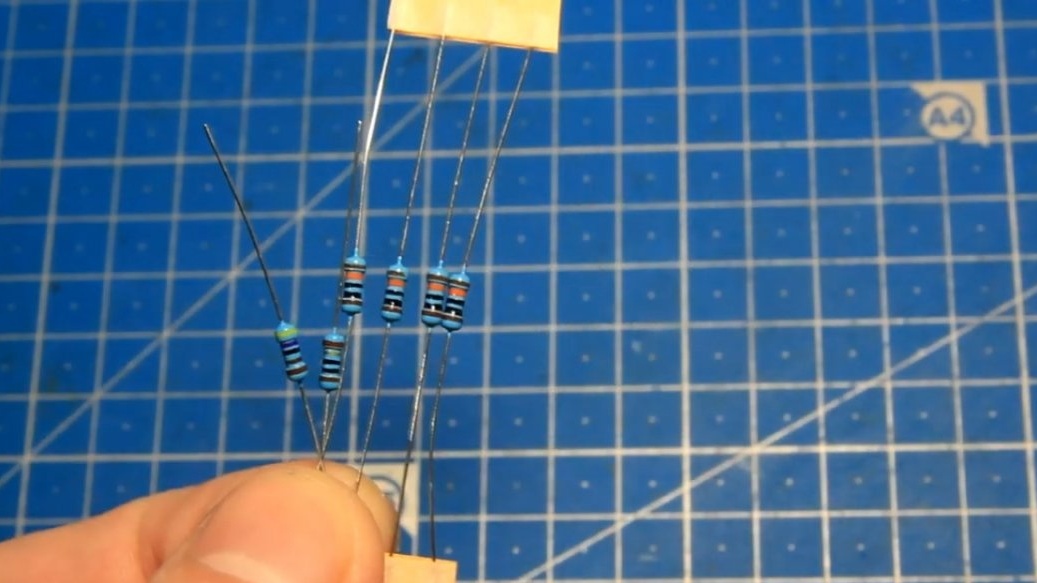
Let's get started on the build. What and where to solder is on the board. First, we will install fixed resistors.
To find out the face value and not to mess up anything, the author uses such a radio parts tester.
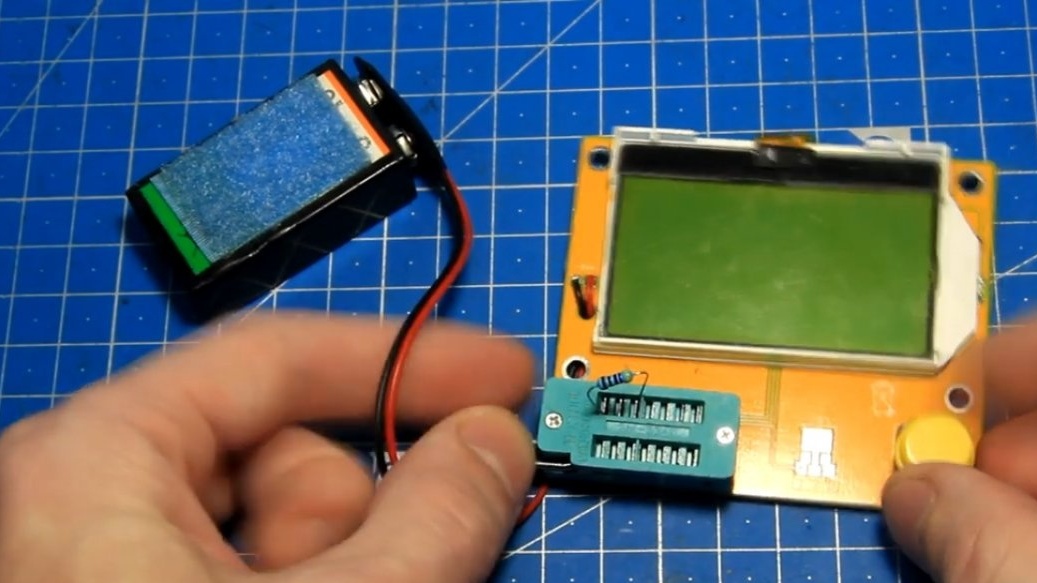
We install the resistor, press the button, and the tester showed the nominal value, in this case 4.7 kOhm.
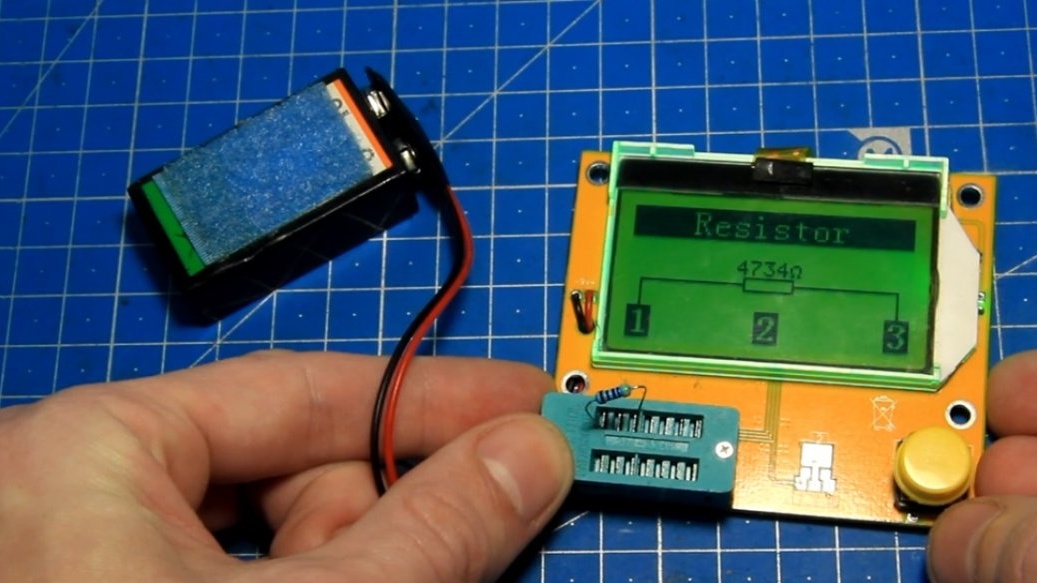
On the board, the place of this resistor is here.
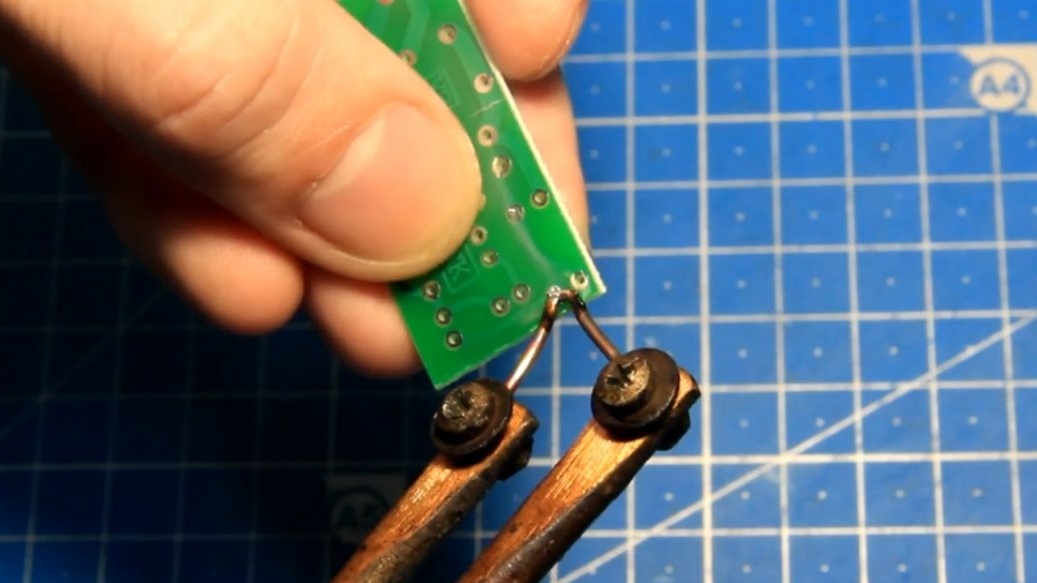
We try on, bend the legs, install the part, bite off the excess and solder the part. The resistor is installed in its place and similarly all the others.
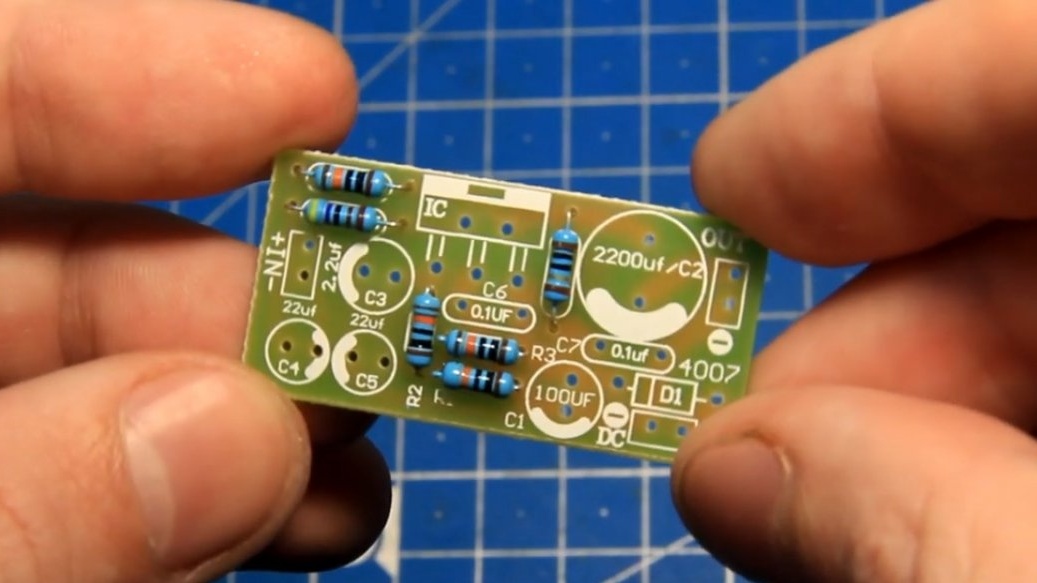
There are two non-polar capacitors, they are the same at par, we just put them in their places.

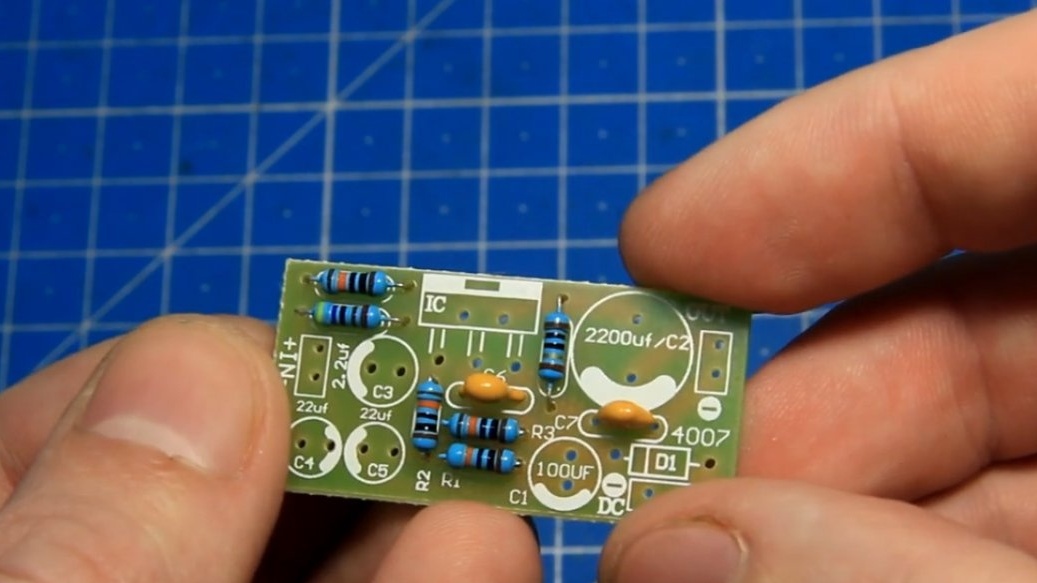
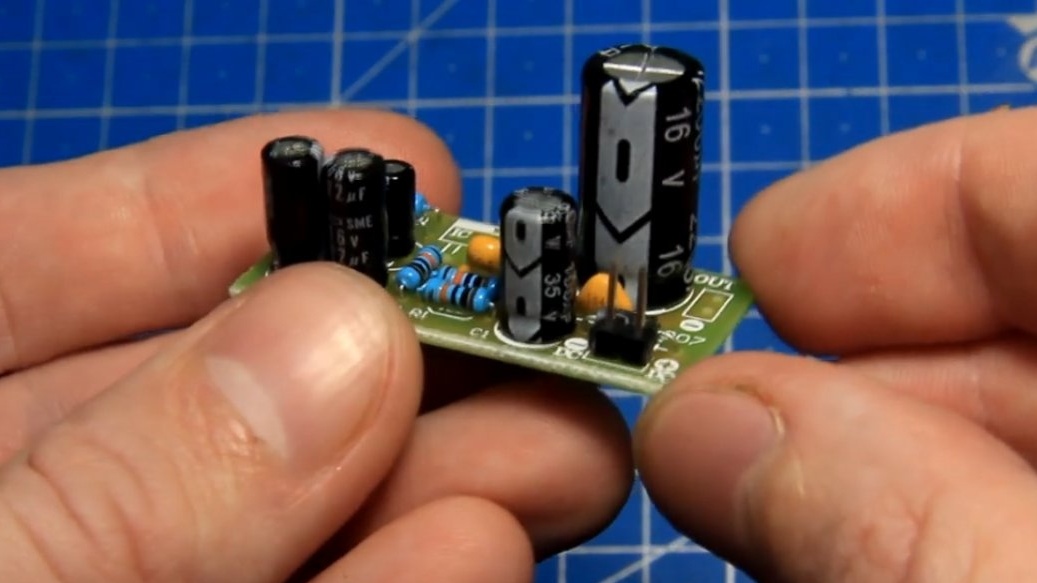
Electrolytic capacitors must be installed observing the polarity, a longer leg is a plus, there is also a minus mark on the capacitor body and a minus mark on the board. Also, do not forget to look at the face value.
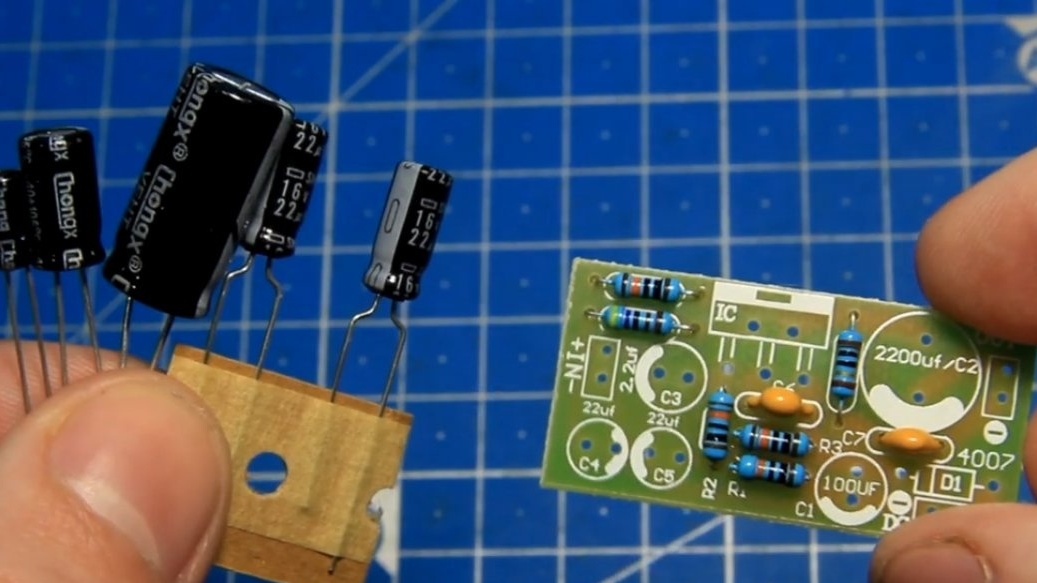

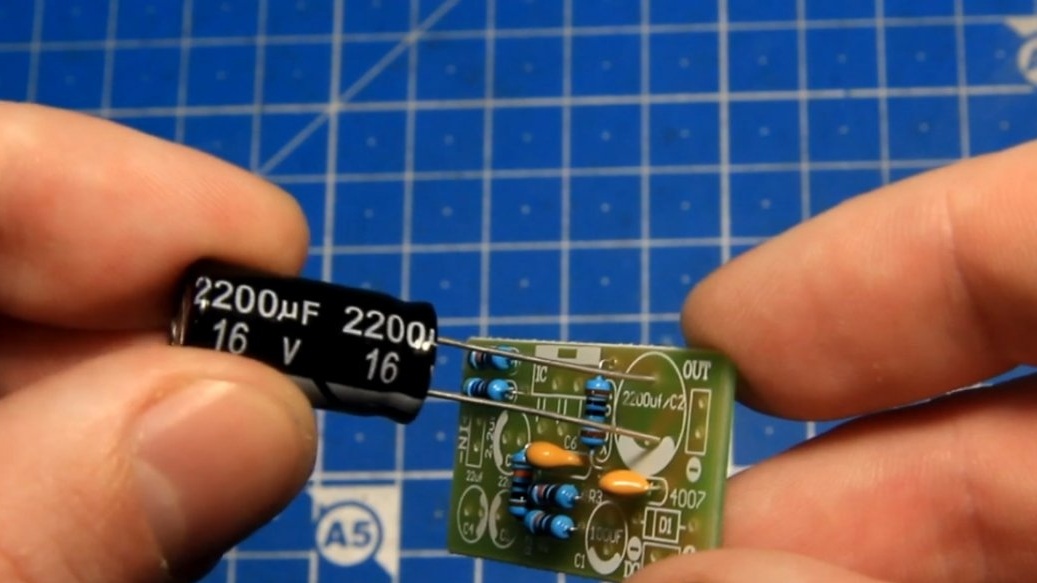
The capacitor is installed and similarly all the others that are smaller.
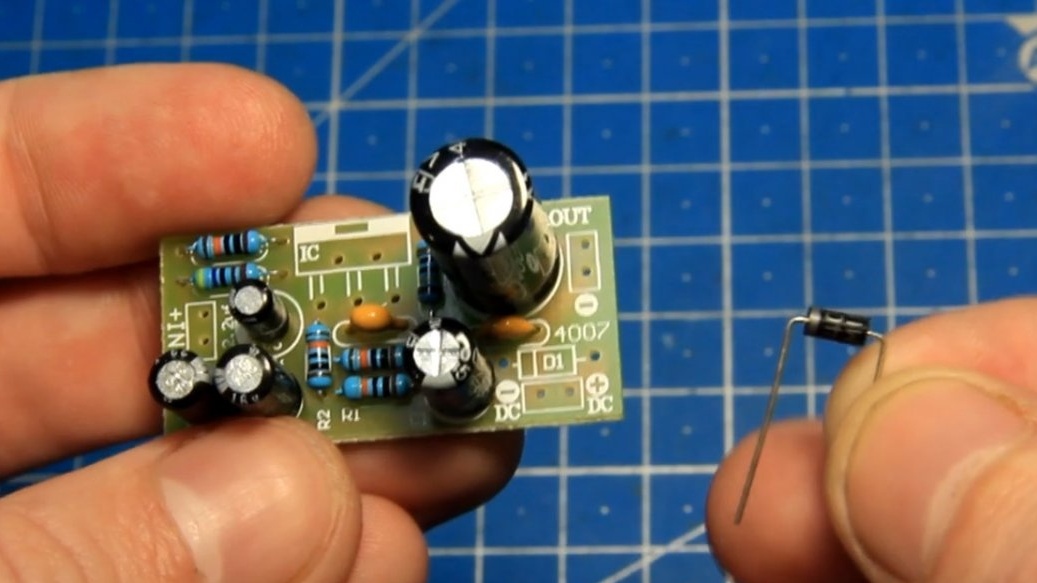
The kit has a diode to protect against reverse polarity power supply. There is a mark on the diode case and install a diode on the same mark on the board.
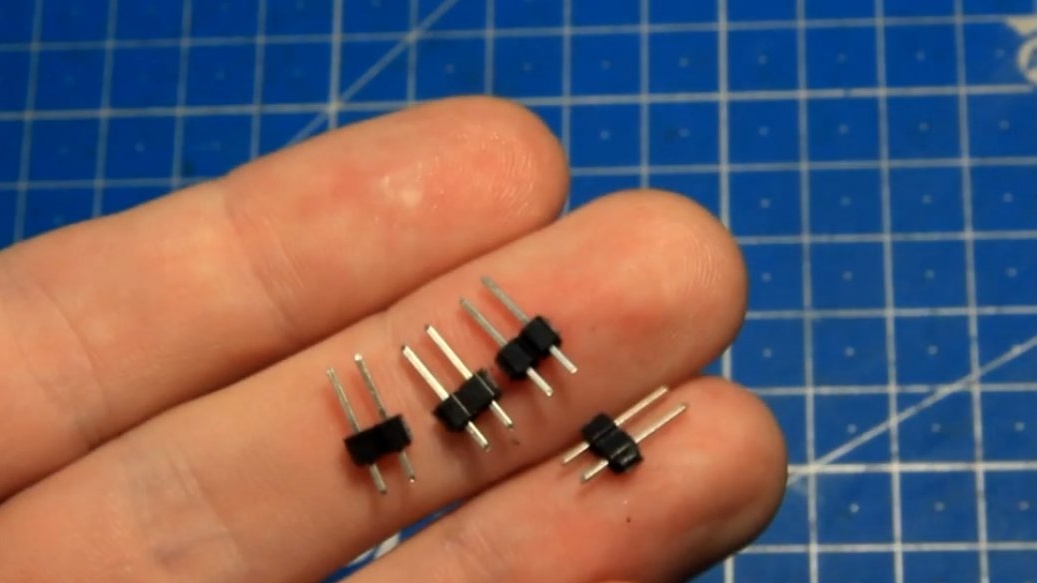
To connect the input and output power, the set contains such pin connectors with a pitch of 2.5 mm.
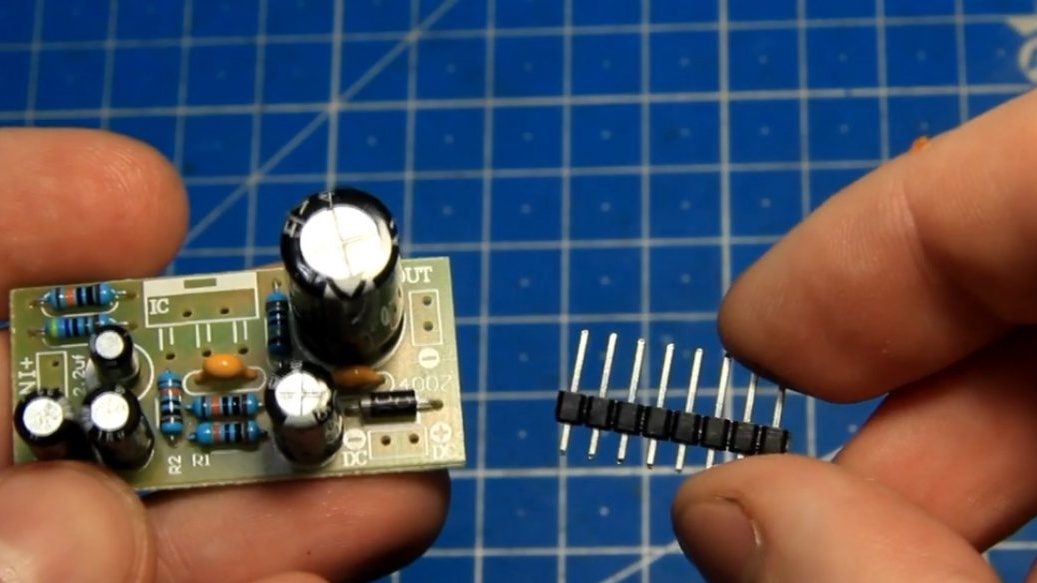
We separate them by 2 pins and install on the board.
And it remains to carefully install and solder the chip itself.
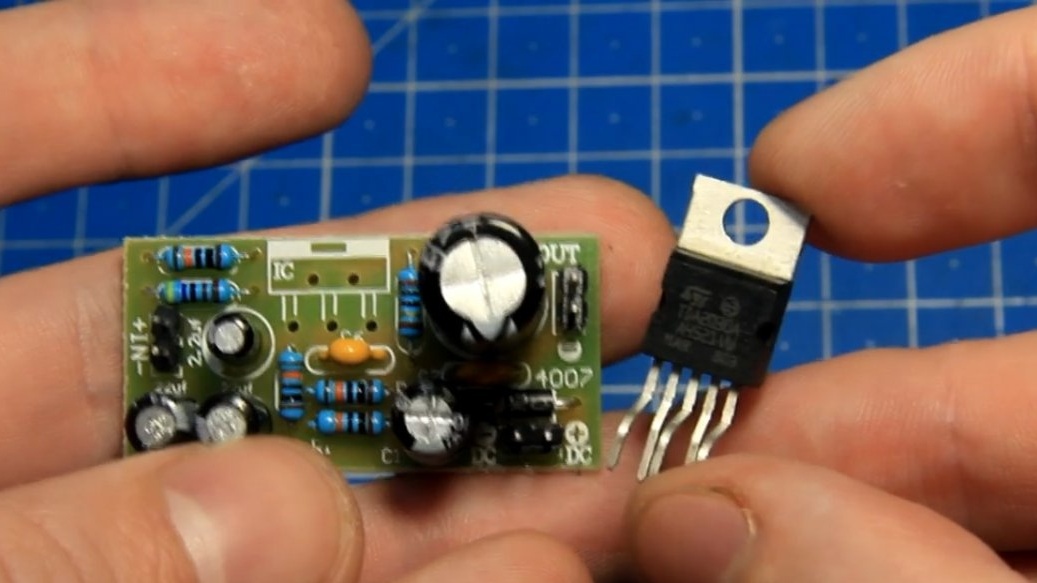
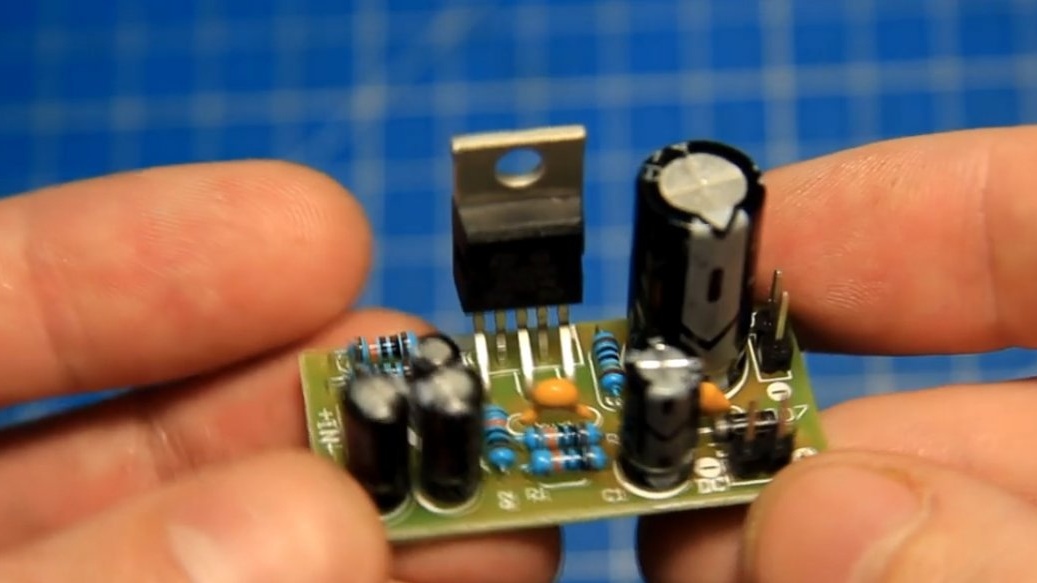
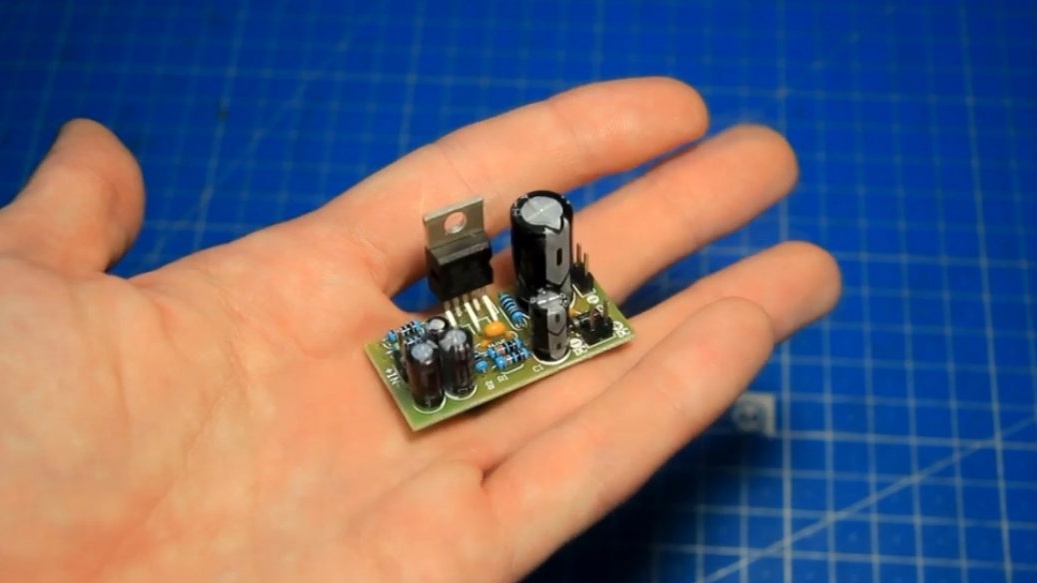
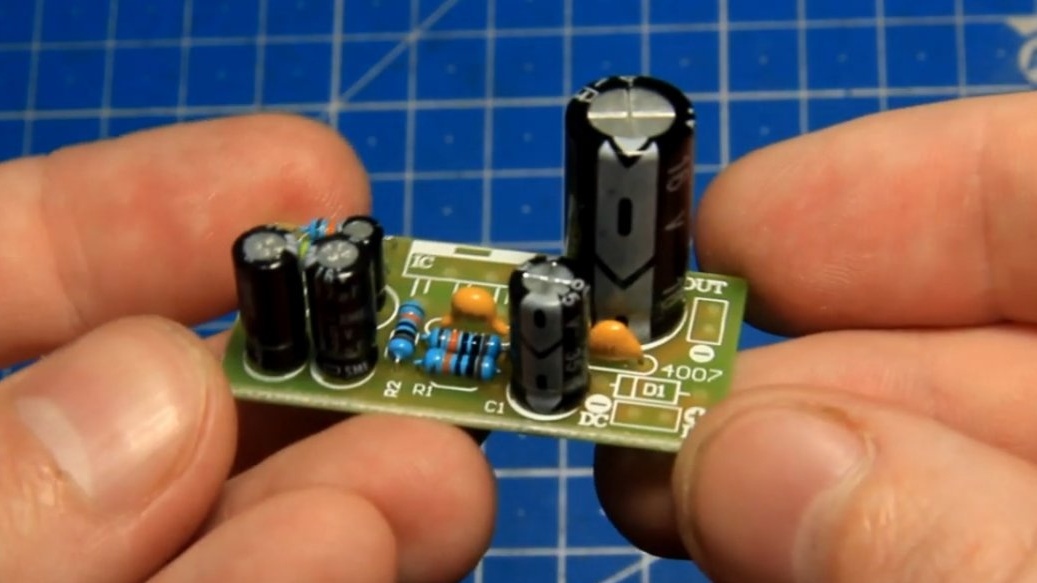
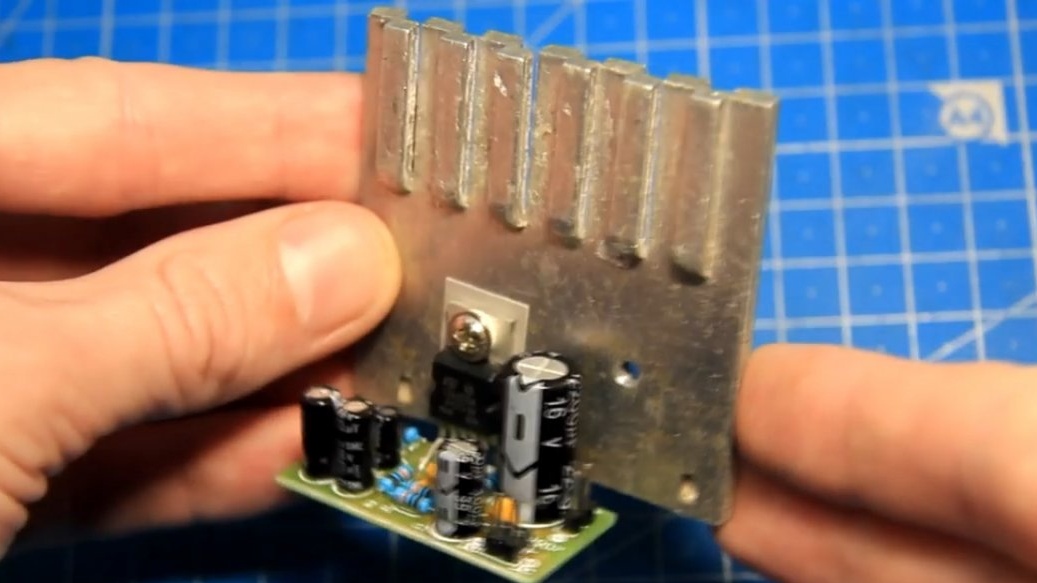
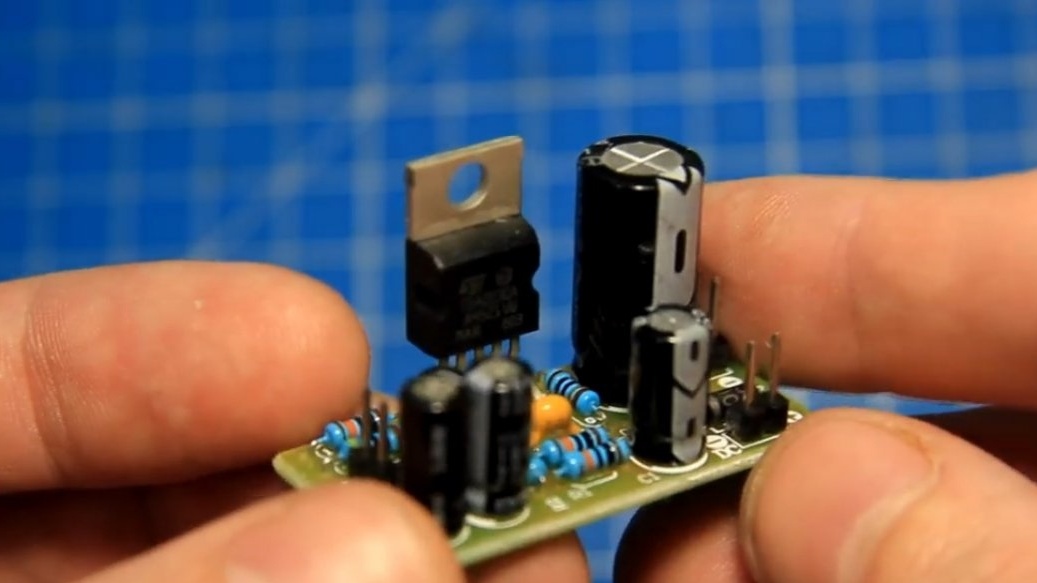
After all the work, I got such an assembled sound amplifier board on the TDA2030a chip.

Outwardly, everything is fine, the main thing is not to rush. The author laundered the soldering board from rosin.
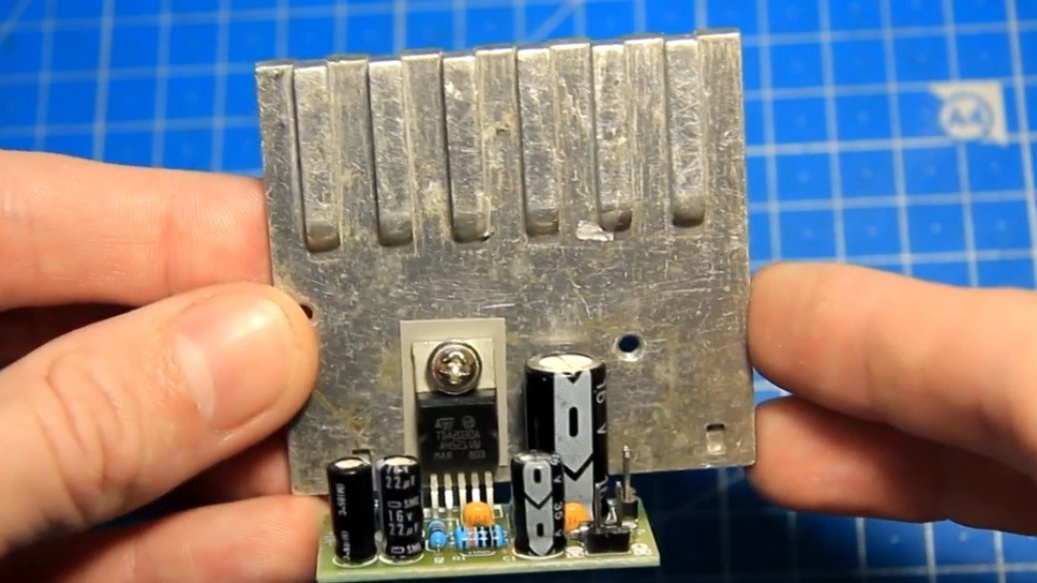
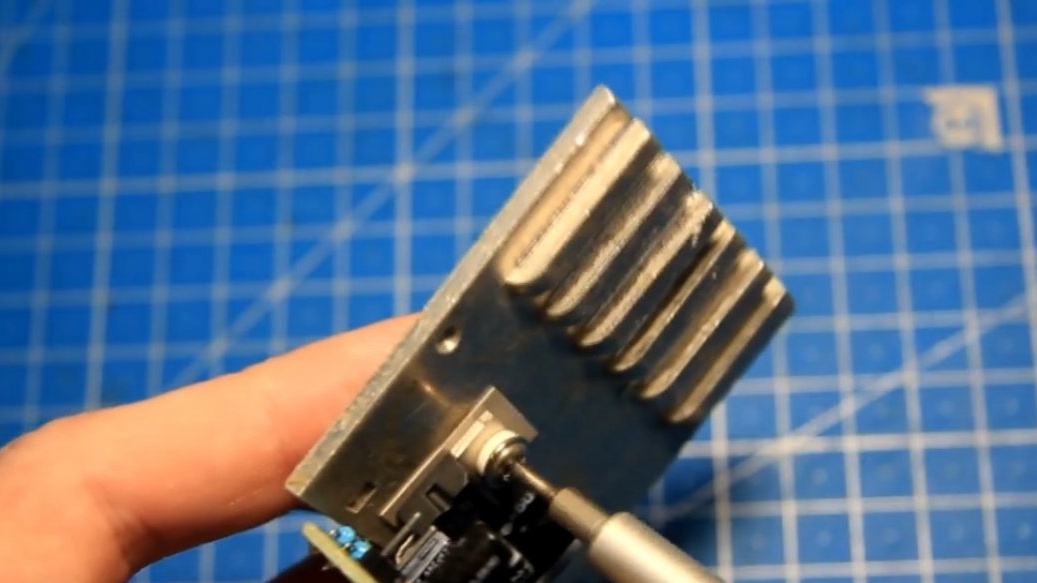
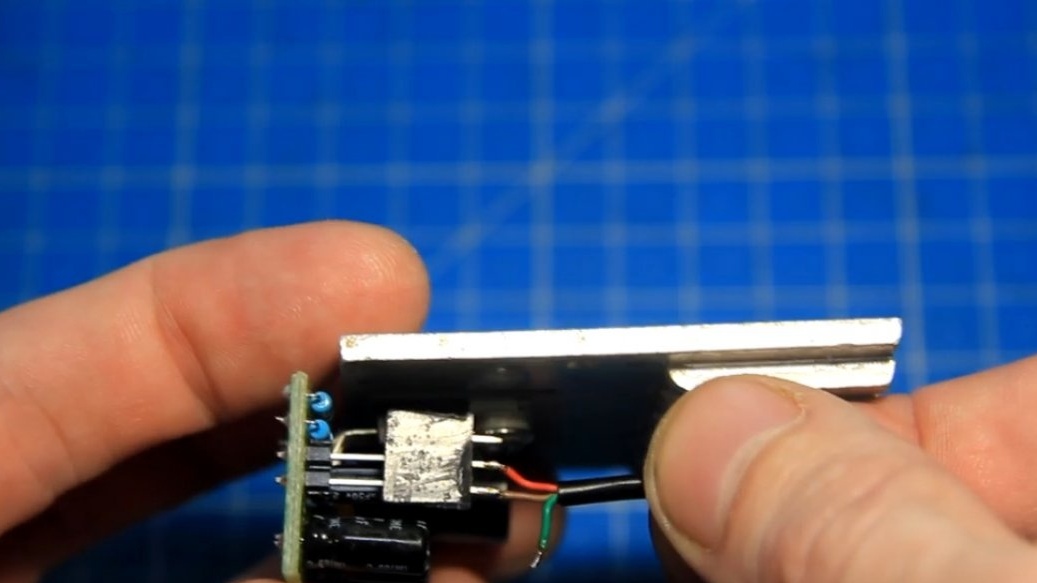
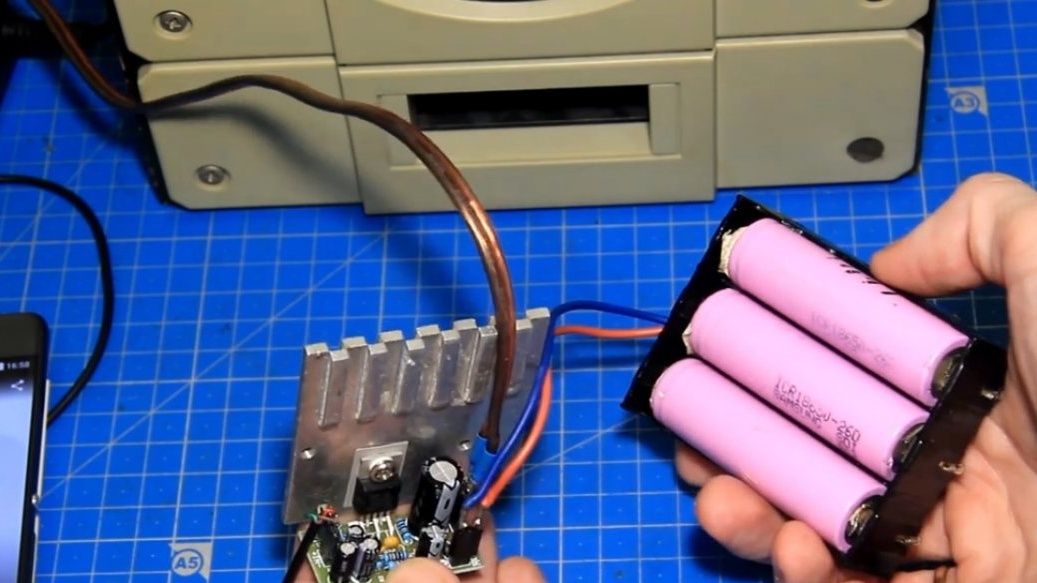
And now it would be very desirable to check whether all this will work. This is an AB class amplifier and during operation the microcircuit heats up. To cool the chip, you need a small heatsink.
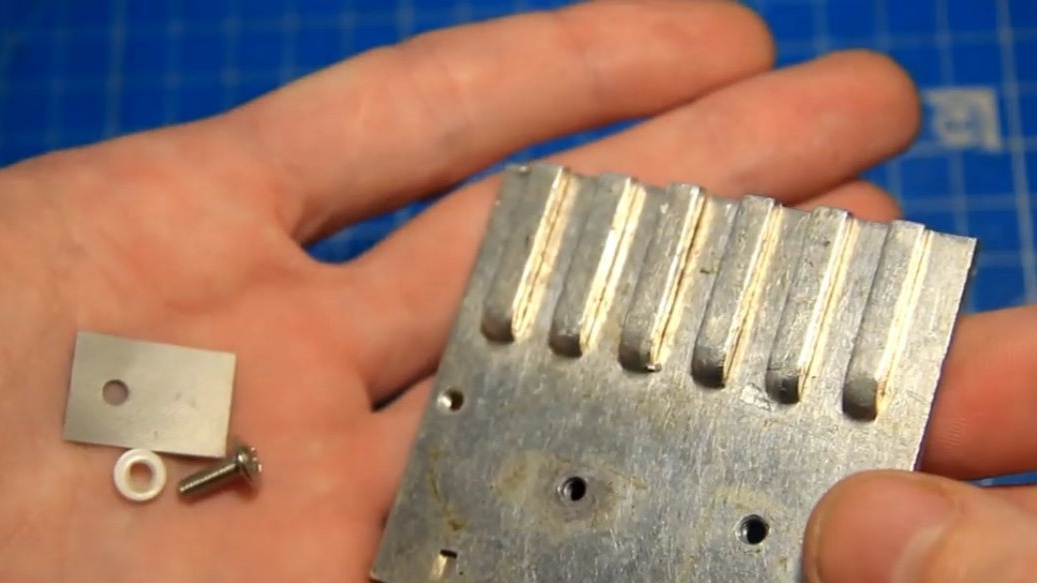
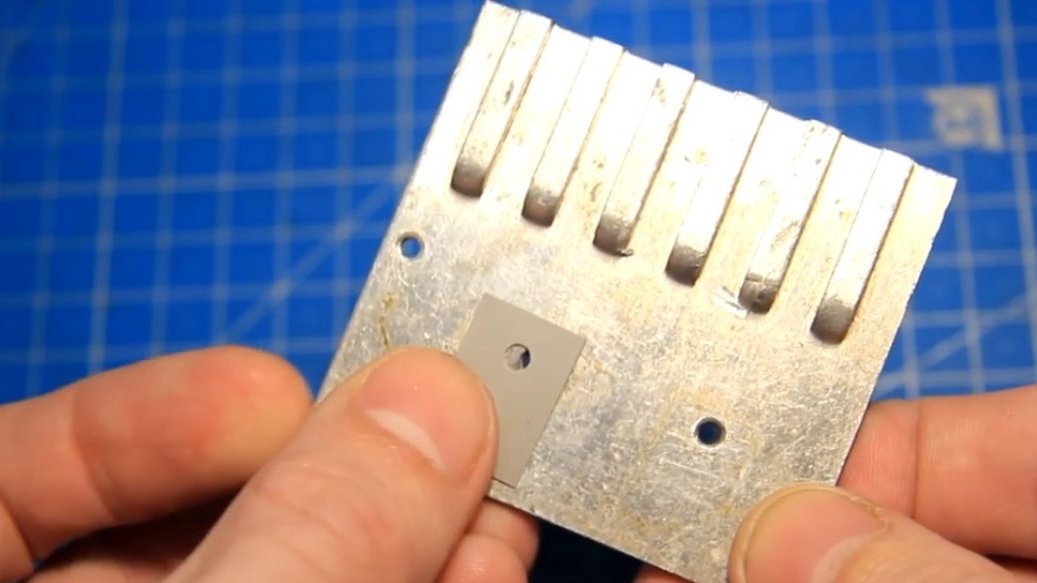
It is also desirable to isolate the microcircuit from the radiator using an insulating gasket and washer, which were included.
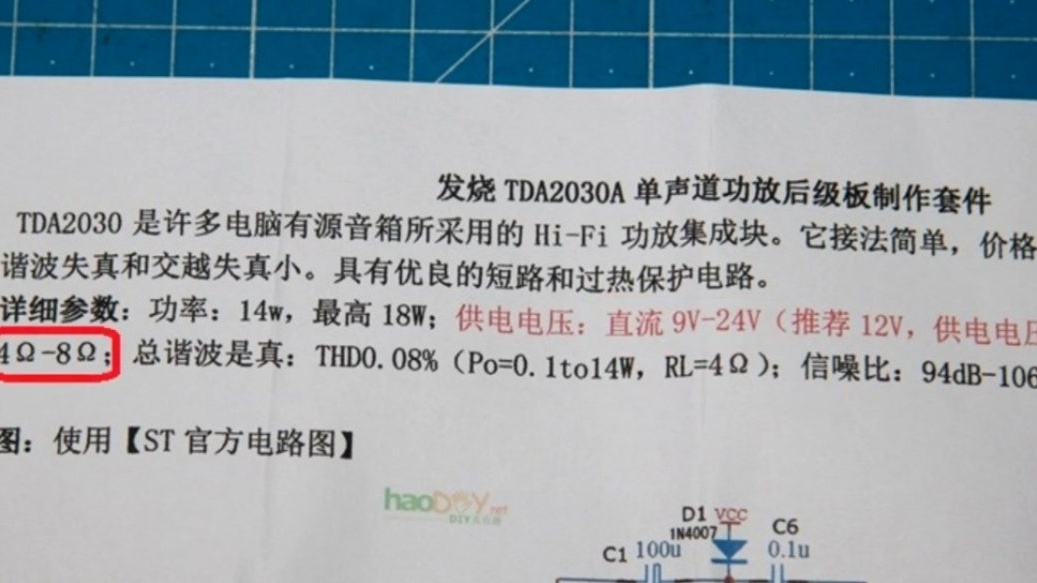
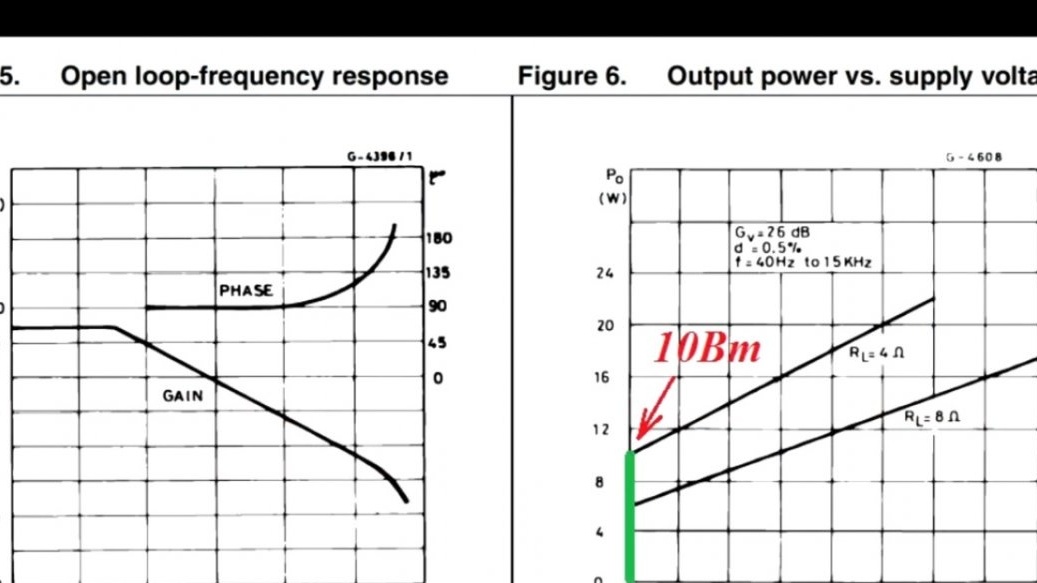
Now everything is ready to connect. The supply voltage according to the instructions is from 9 to 24V, the acoustic resistance is from 4 to 8Ohm. The power is indicated up to 14W for 4ohm acoustics, but by datasheet on the TDA2030a chip with a supply voltage of 24V, you can get no more than 10V - and this looks more like the truth, and if the supply voltage is lower, then the power will also be lower.
The author bought these connectors for connecting an amplifier with a pitch of 2.5 mm, you need to cut off the required number of contacts.

Here is a wire for transmitting sound from the phone to an amplifier with a 3.5mm jack.
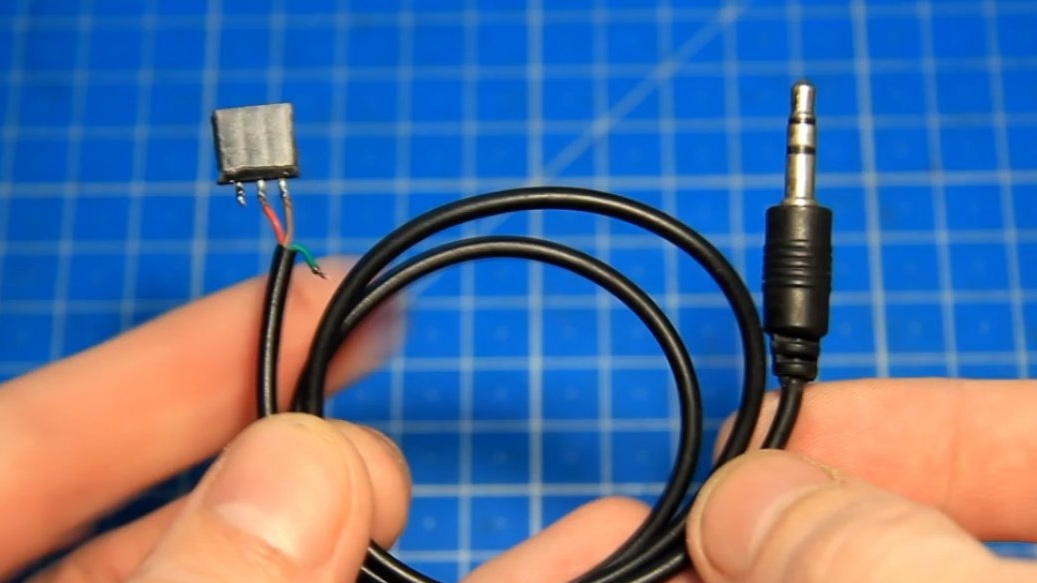
The signal wire is closer to the radiator and next to it is common.
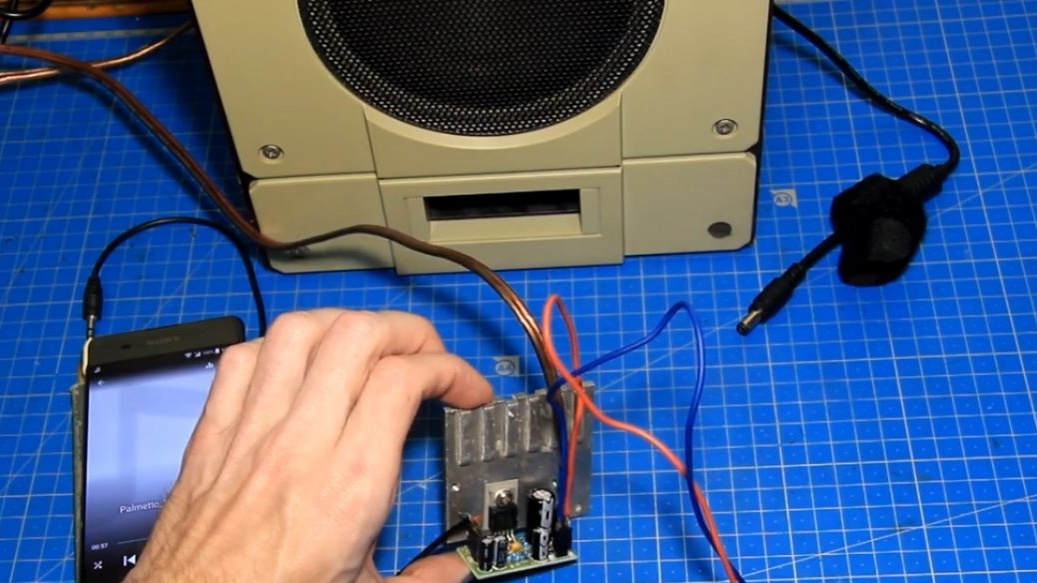
The mono amplifier and the author connected only one channel. For power we will use the power supply from the laptop to 19V and 4.5A.
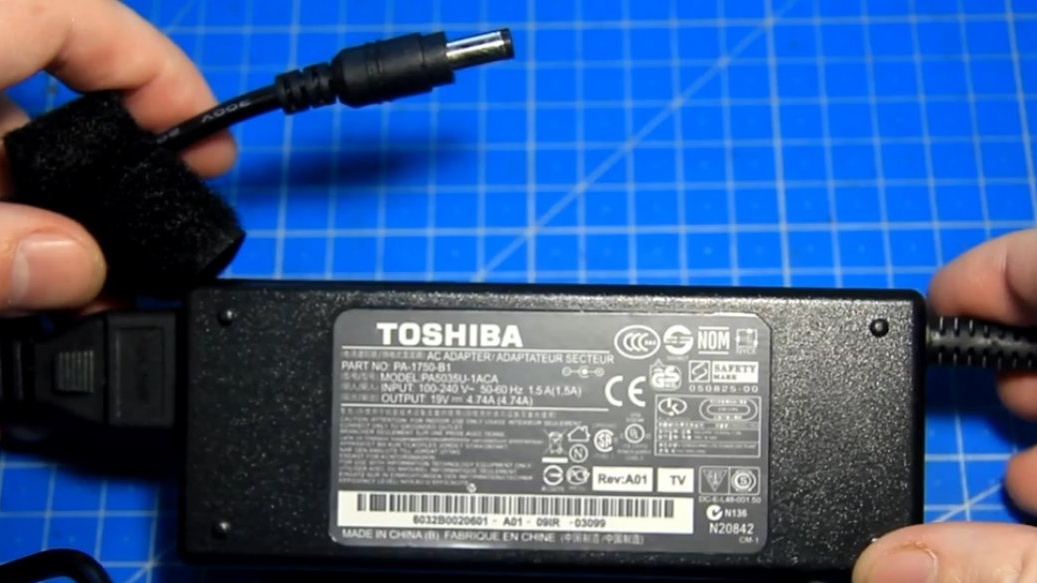
To connect to the amplifier, the author soldered here such a wire with a 5.5x2.5mm connector, red is a plus and blue is a minus.
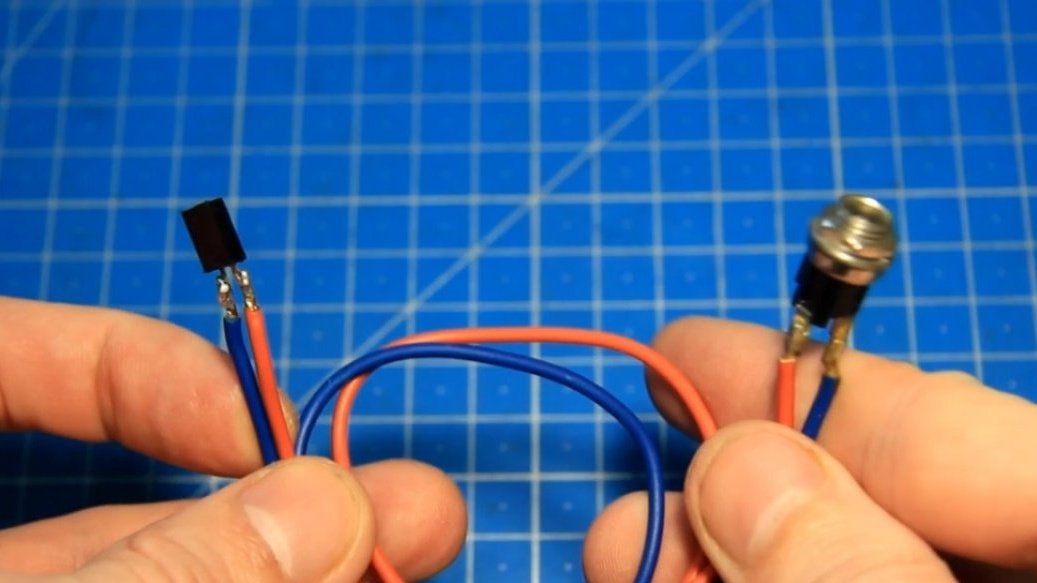
When connecting power to the amplifier, it is highly advisable to observe the polarity of the power.

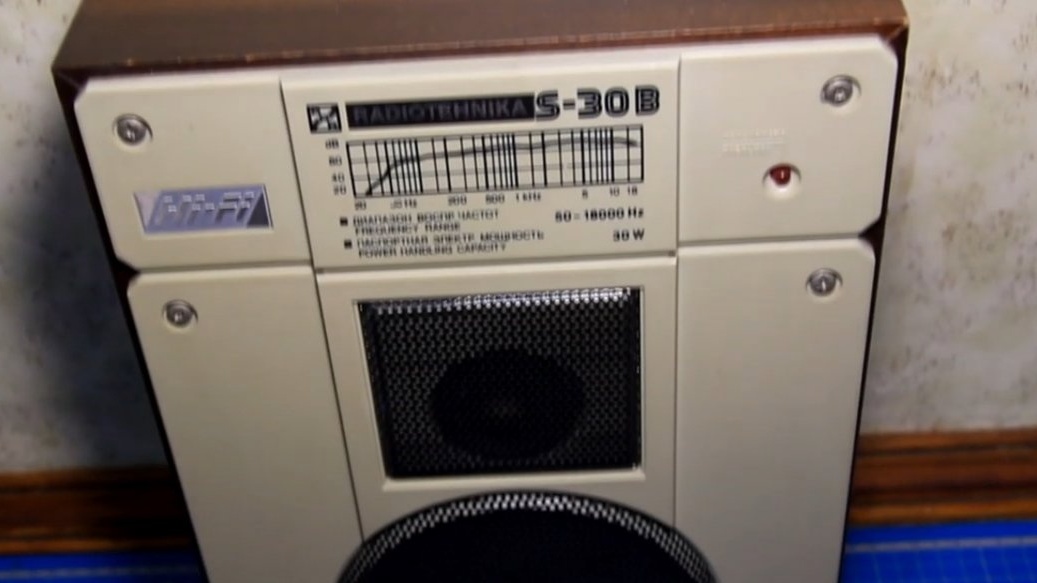
The input and power are connected, and you still need to connect the acoustics. Test acoustics is such a column Radio Engineering S30-b.
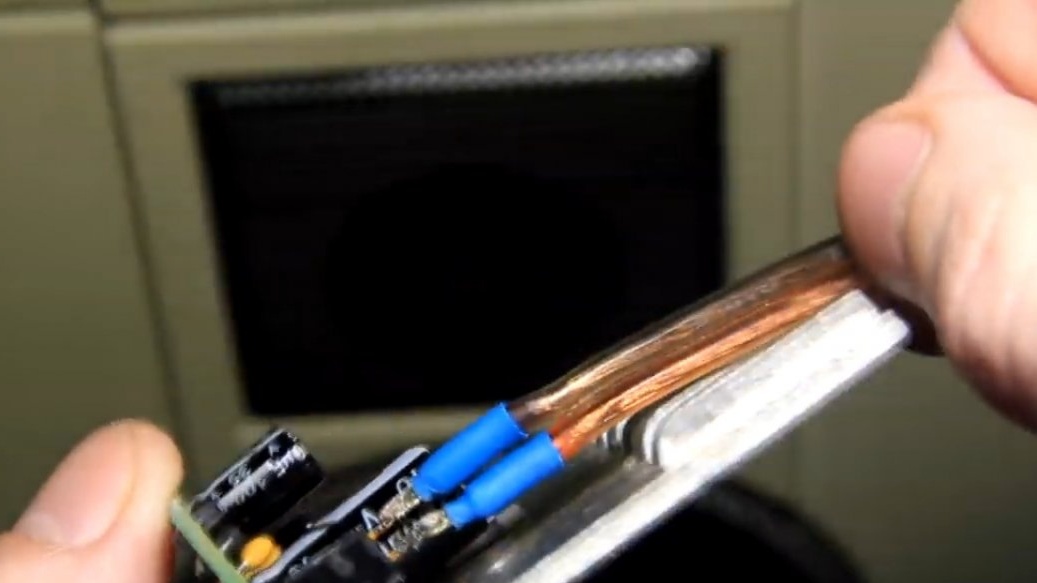
The author soldered the connector to the speaker wire and, observing the polarity, connected the speaker to the amplifier.
Everything is assembled and ready for inclusion. We are trying to connect the power supply.
The amplifier works and buzzes, but this is due to the fact that nothing is connected at the input of the amplifier. After connecting the phone, the buzz disappeared.

From a 12V battery, everything also works fine, but the power is already lower.
Here is such a small amplifier turned out.
If everything is assembled correctly and connected correctly, then everything works fine, there are no extraneous noise. We can say that this is one of the best amplifiers for beginner hams. It is not expensive, it is easy to assemble and connect, it has unipolar power, and even if you manage to burn the chip, then buying a new chip is not a problem at all.
By the way, most likely this is still a copy of the TDA2030a, but there are no questions about the performance, everyone is playing. Yes, the amplifier is far from the best in terms of power, and he needs a radiator, but it is easy to assemble and maintainability, which is sometimes important. By the way, there are no questions regarding the sound of this amplifier, this is class AB, it sounds high-quality both on the top and bottom. The author bought this amplifier precisely because of simplicity, everything is fine, everything works. And then you can already try to build a home amplifier or a portable speaker, etc. on the basis of this amplifier. This is optional. That’s probably all. Thank you for attention. See you soon!
Author's video: