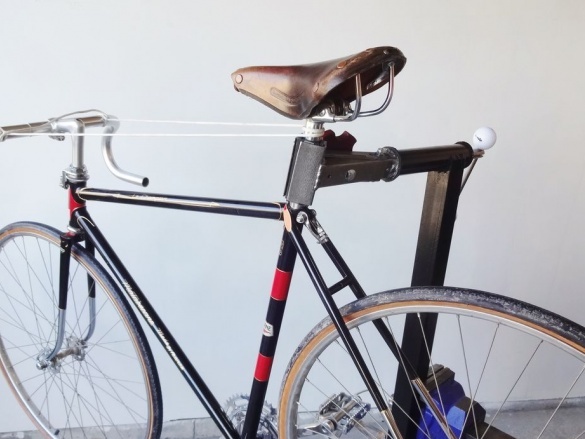
The one who repaired bikeknows how inconvenient to serve him. Even if you lean it against the wall, the front wheel strives to fall on its side, and behind it the whole bicycle. As a result, with complex repairs, you have to turn it upside down, which is not very convenient.
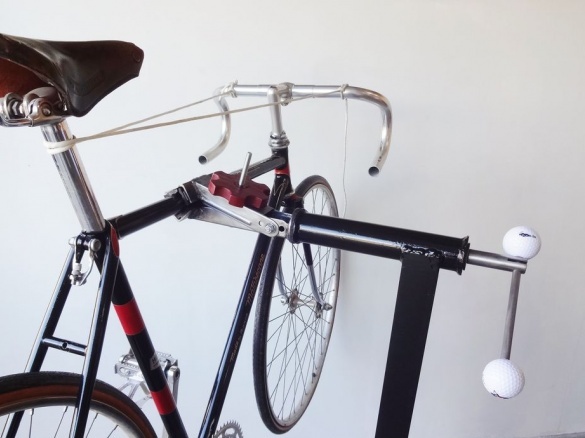
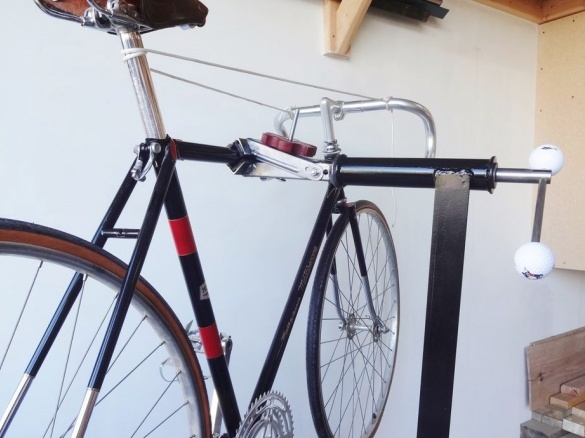
The master often makes bike rides, and he is pretty tired of the problem of trying to leave his bike during repair. To solve it, he made a rack. Thanks to a rack the bicycle is hung up and it is possible to serve it quietly.
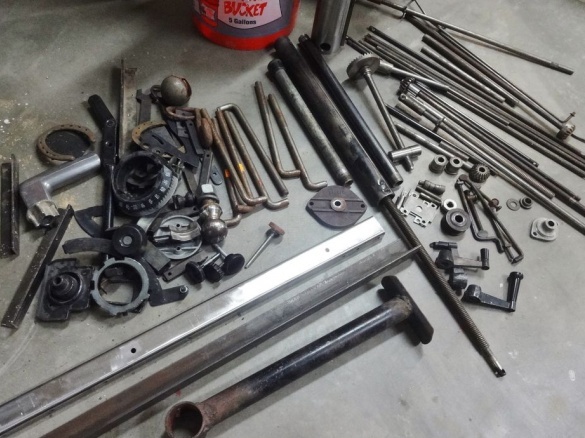
Tools and materials:
-Welding machine;
-Metal brush;
-Aerosol paint;
-Bolts, nuts, washers;
-Trumpet;
- Corner;
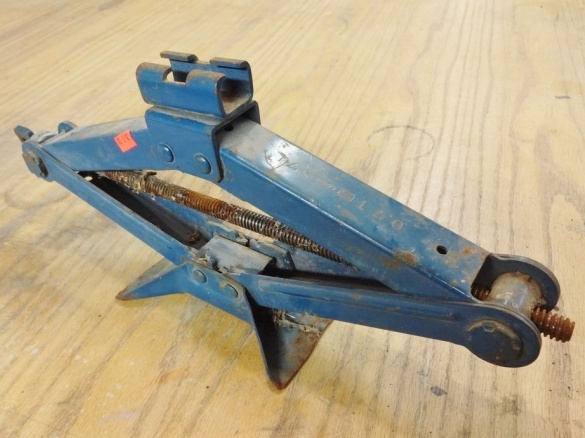
-Old screw jack;
-Ushm;
-Vise;
-Spring;
-Two golf balls;
-Drilling machine;
-Hammer;
- Jigsaw;
-Rubber;
Step One: Clips
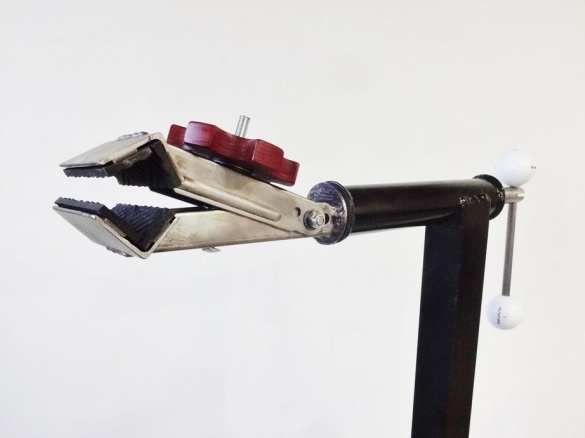
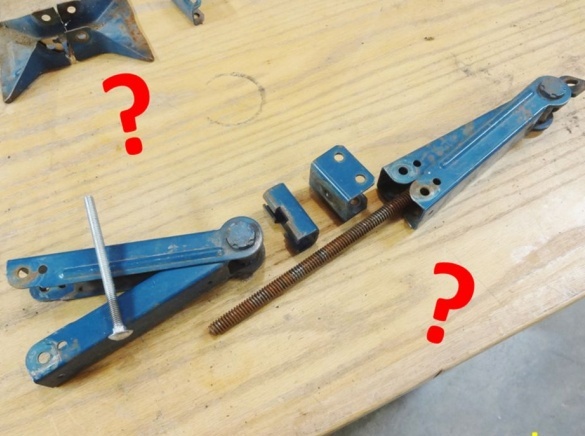
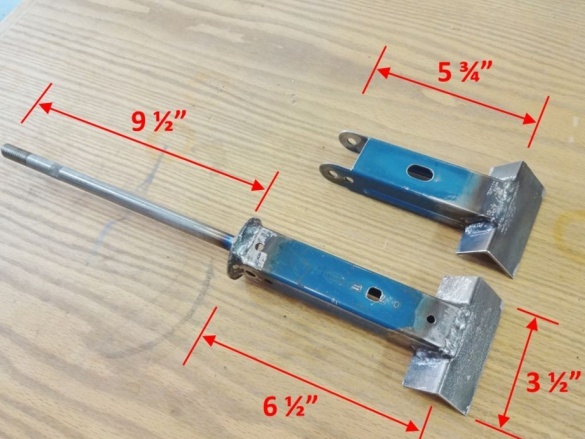
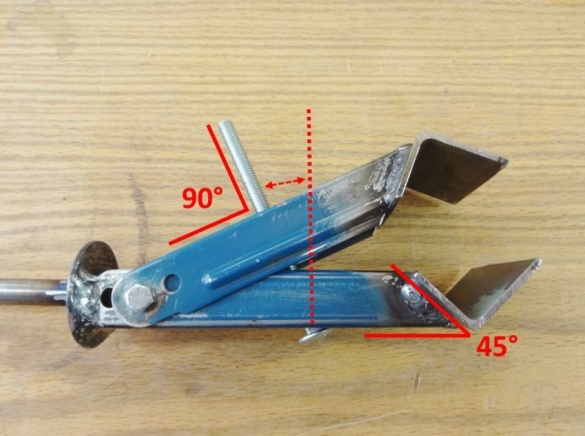
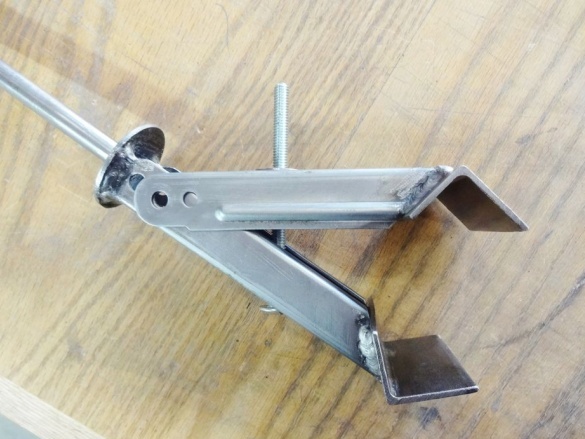
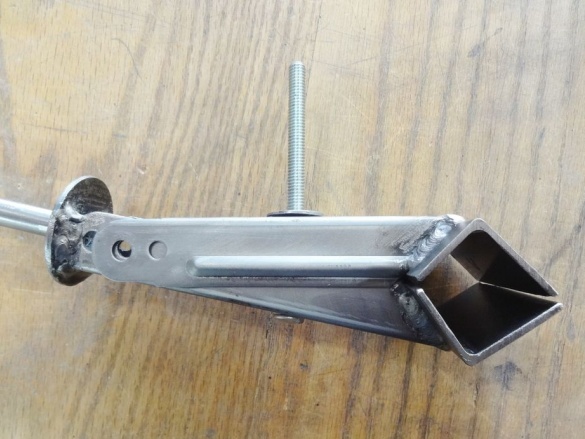
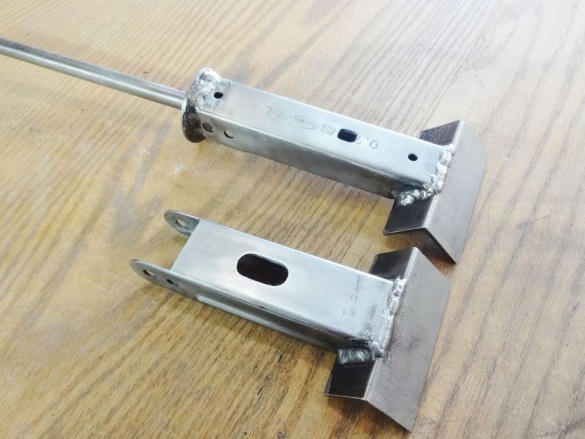
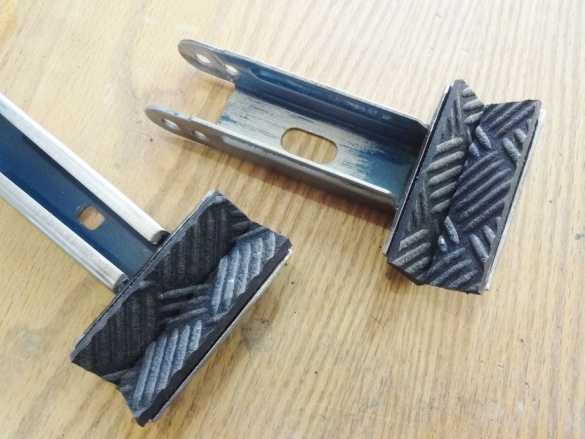
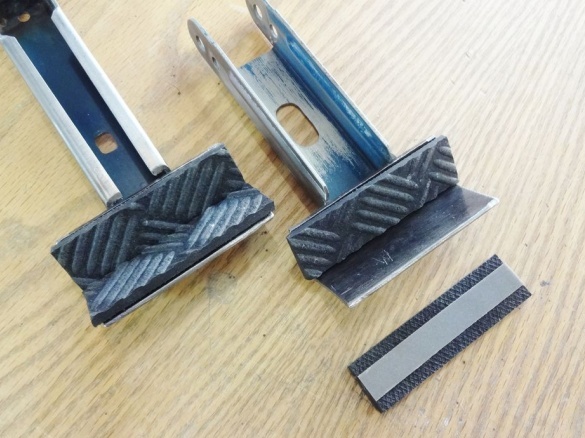
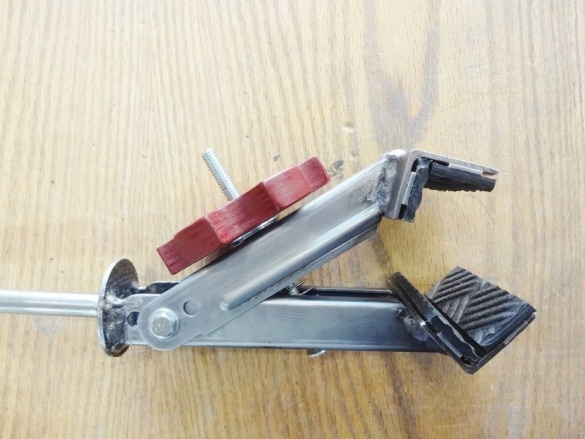
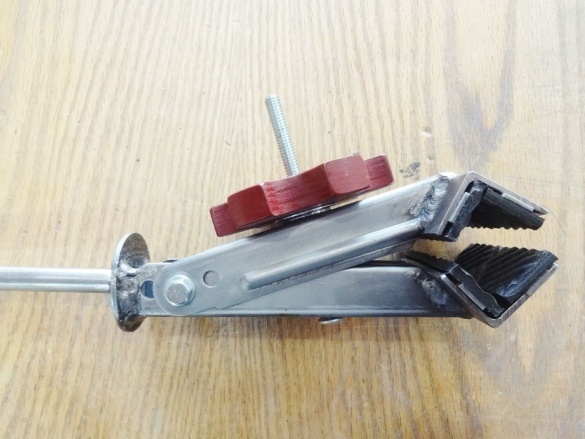
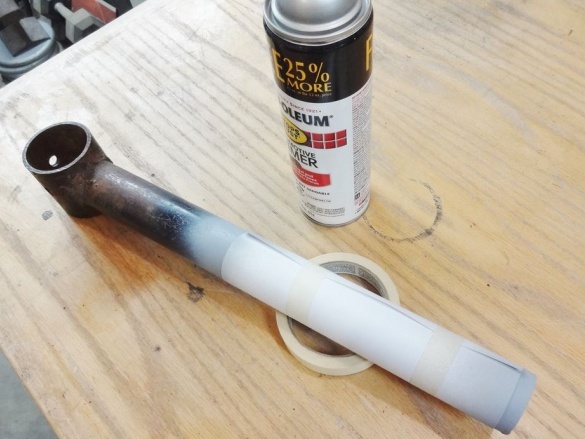
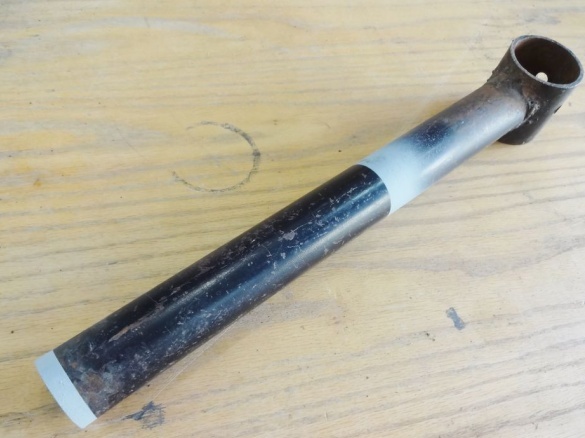
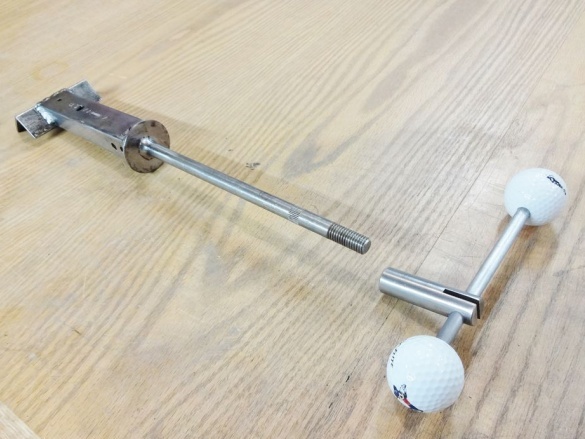
As can be seen in the photographs below, the master made the clamps from parts from the jack and corner. All dimensions are in inches. Parses the jack. A corner is welded to two levers. On one of the halves of the clamp, the master welds the washer, and a stud to it. Drills a hole for the clamp bolt. Paints the details of the clamp.
Step Two: Clamping Bolt
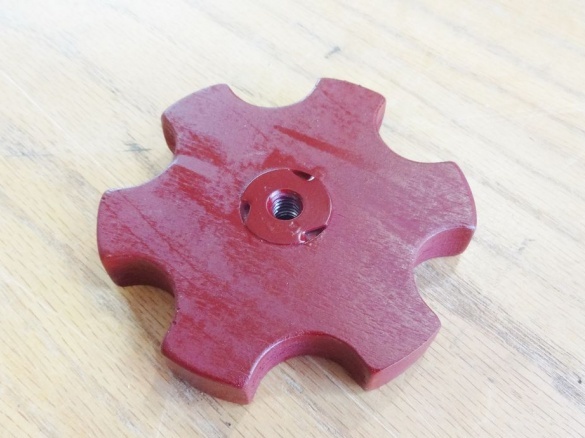
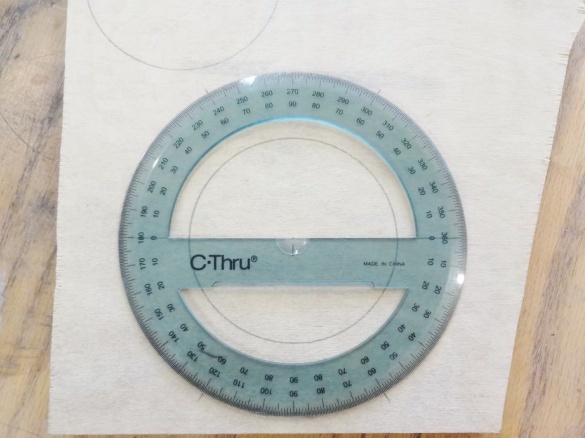
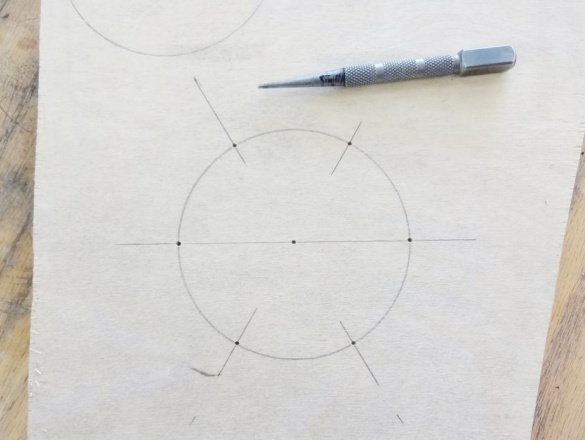
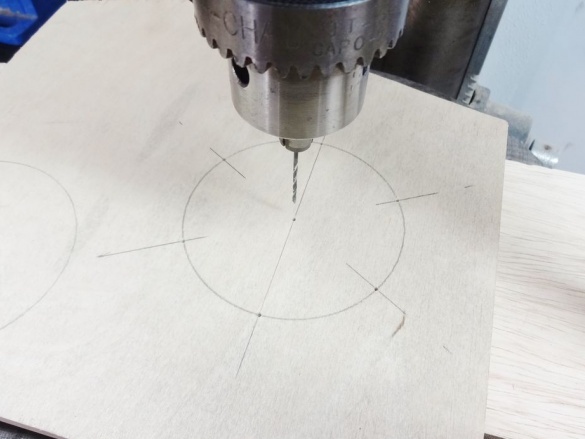
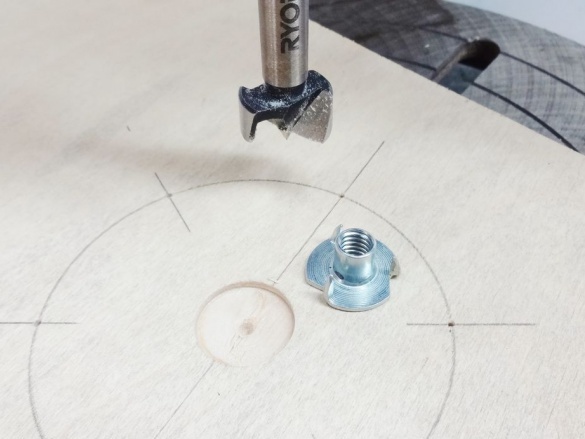
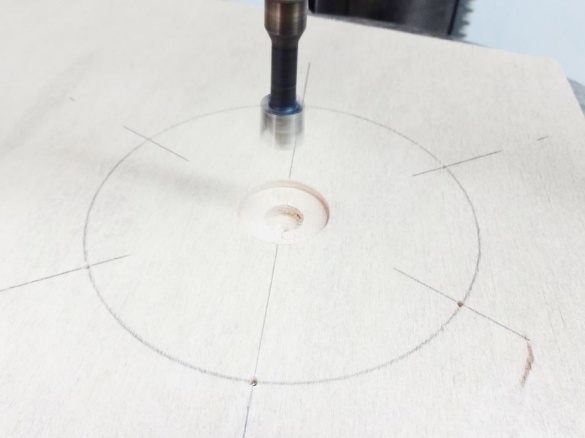
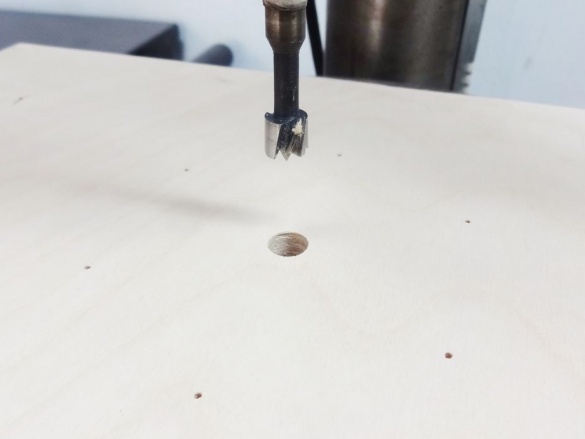
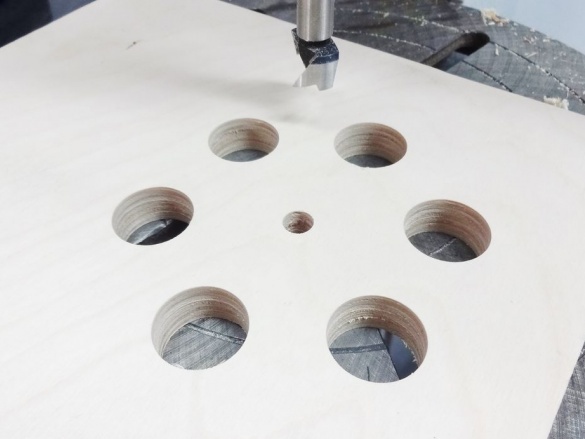
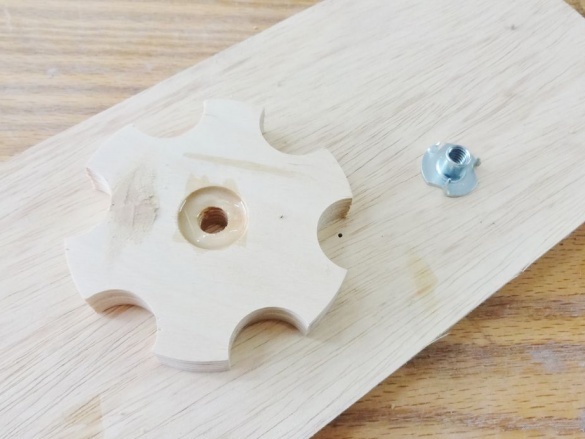
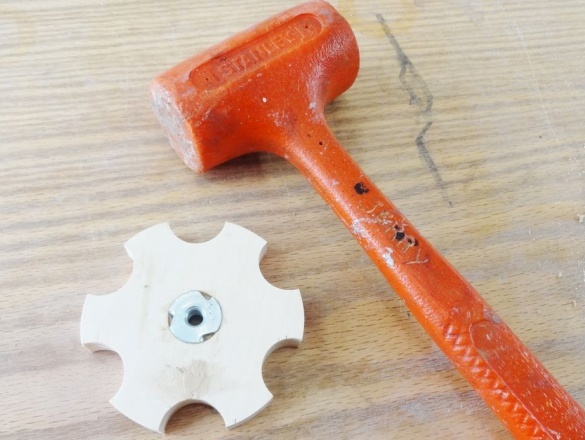
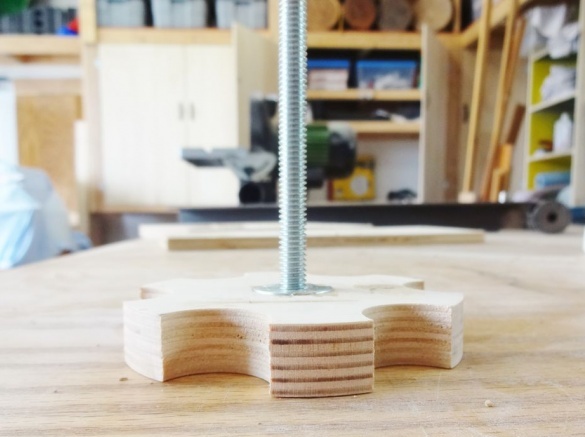
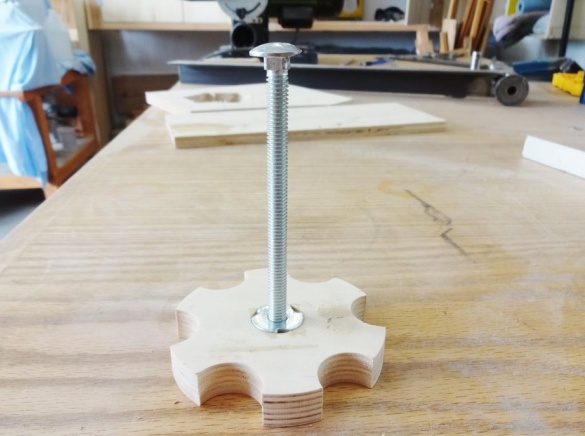
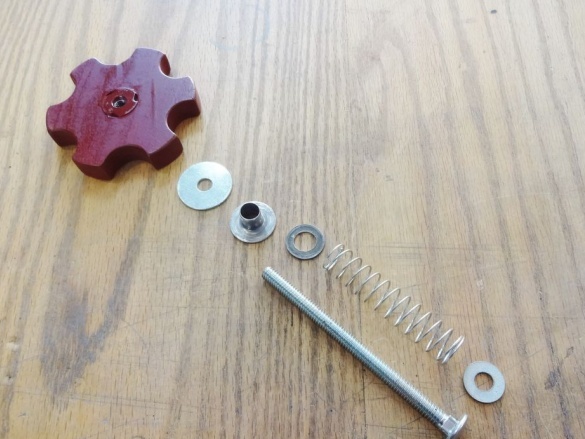
He makes a pen from plywood. Installs a nut in the handle.
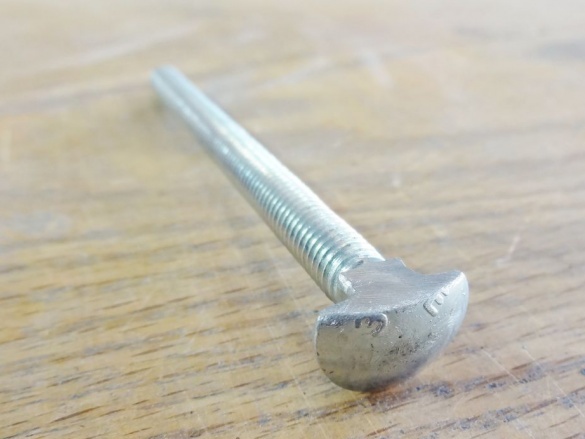
Stitches one side of the bolt head.
Sticks on rubber sponges.
Step Three: Clamp Assembly
Gathers a clamp.
Step Four: Stand
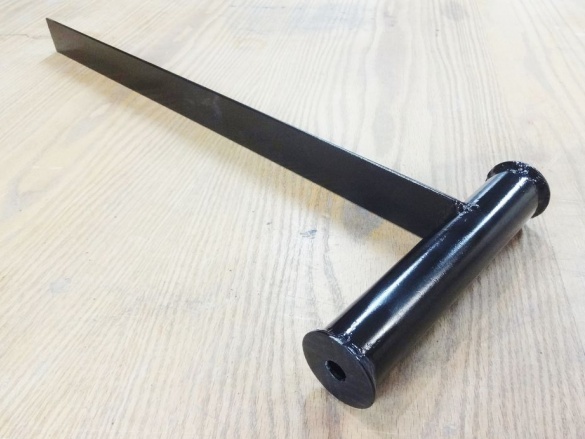
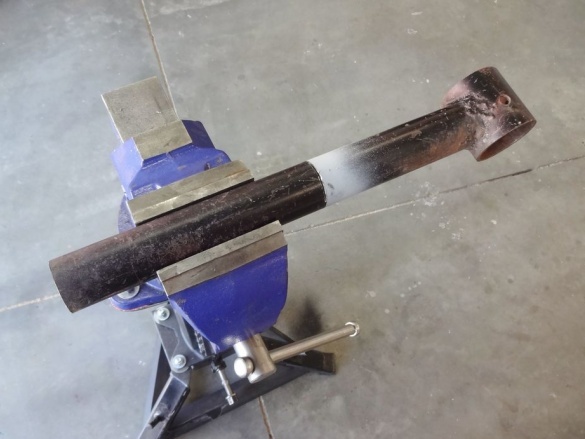
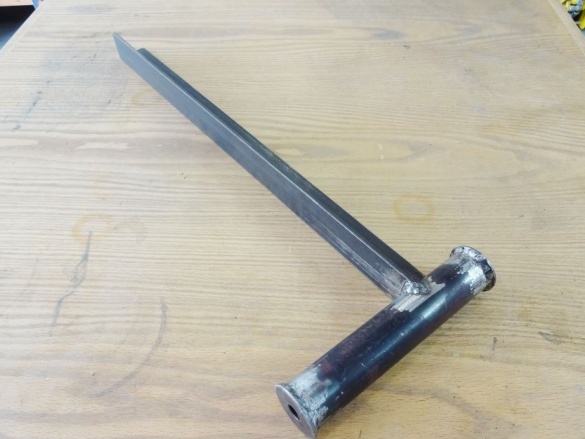
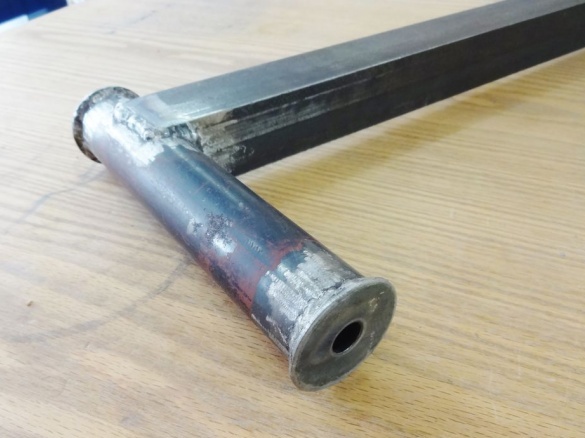
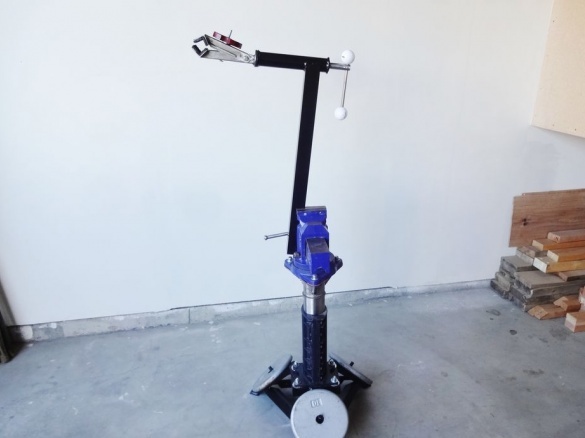
The stand itself is made of tube and corner. The corner is welded to the tube. At the ends of the tube, the washers are welded.
Step Five: Handle Nut
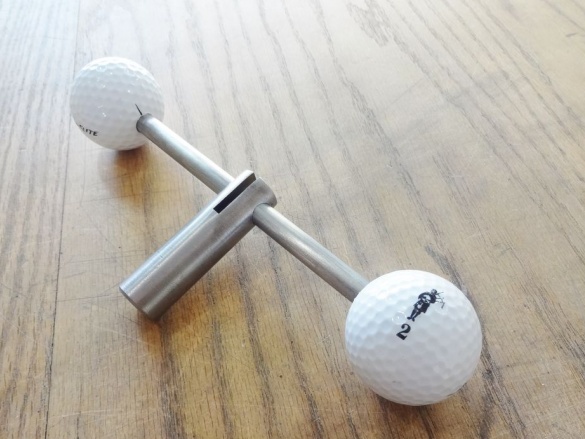
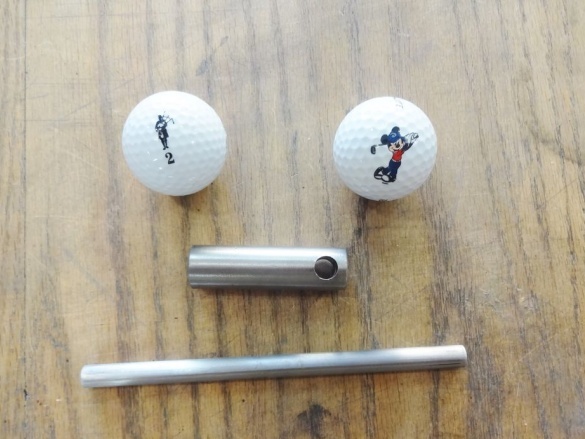
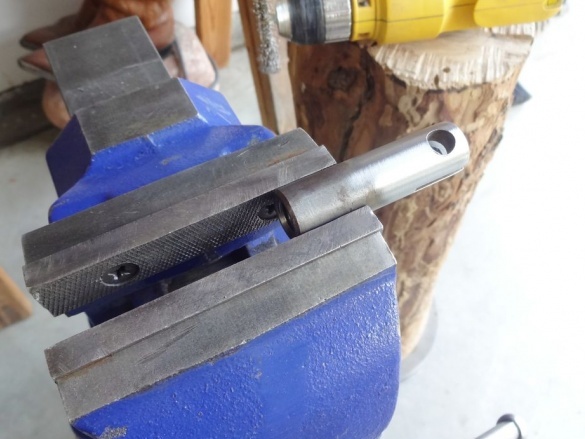
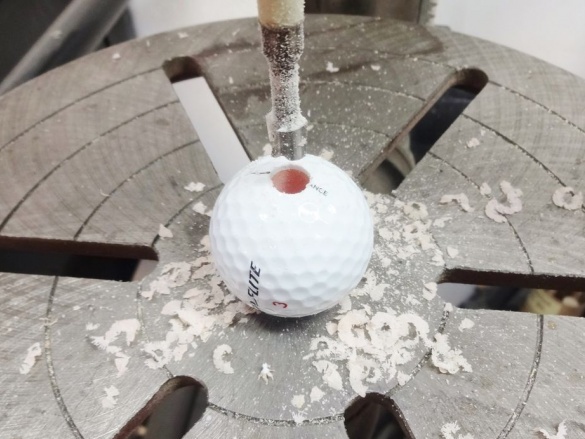
The clamp could be screwed with a regular nut, but the master decided to make a handle. Bushing with thread and hole. A metal rod is inserted into the hole. He puts balls on the ends of the rod, after making a blind hole in them.
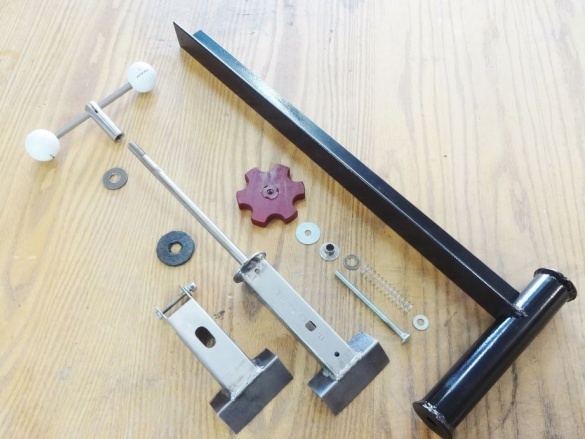
Step Six: Build
Assembles a rack.
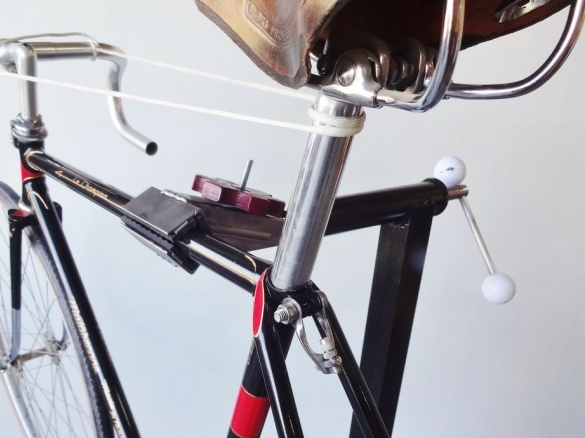
One end of the rack is clamped in a vice, the second is clamped bicycle.
All is ready.

