

Hello friends, today I wanted to show how to make a good probe of electrical circuits. With this probe, you can check the integrity of different electrical circuits from simple to complex. With this probe, you can easily check the performance of bulbs, LEDs, Resistors, and many other electrical circuits. With this probe it is easy to find the reason for the breakdown of a particular part, for example, you bought a bulb, but it does not light up, with the help of a probe we check the bulb's operability. If it is operational, then the breakdown is in the power circuit of the bulb. If it is not functional, then you just need to replace the light bulb. Also, with the help of a probe, you can check not only a light bulb, but also a more complex power supply circuit and more! This probe works like a multimeter tamper. If you liked the description of this homemade, then let's start by watching the video:
Happy viewing !
Tools and materials
- soldering iron
- Flux or rosin
- solder
- A small box
- wires
- Two batteries
- Light-emitting diode
- Drill or boron machine
- 4 mm drill
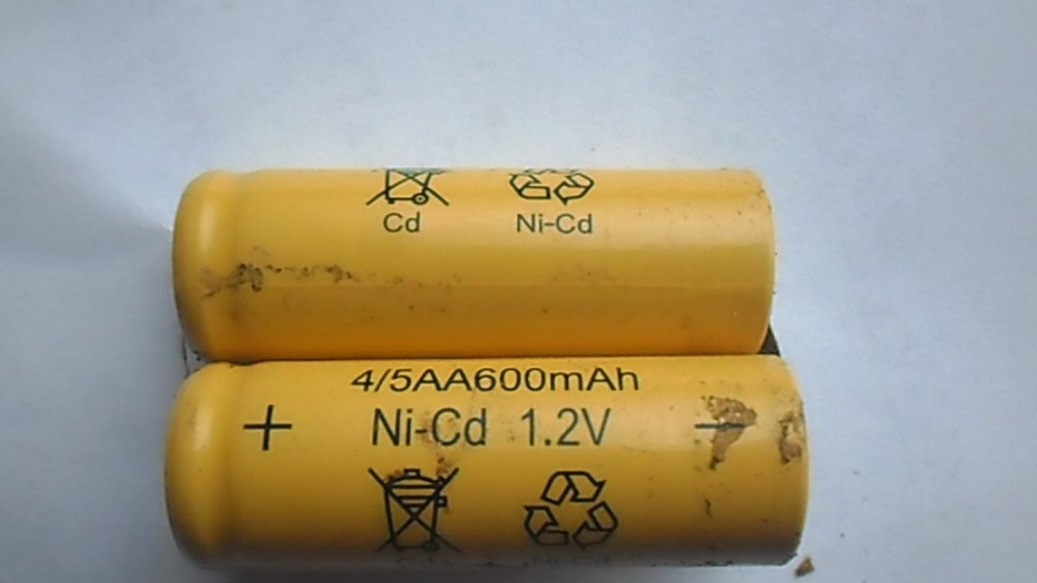
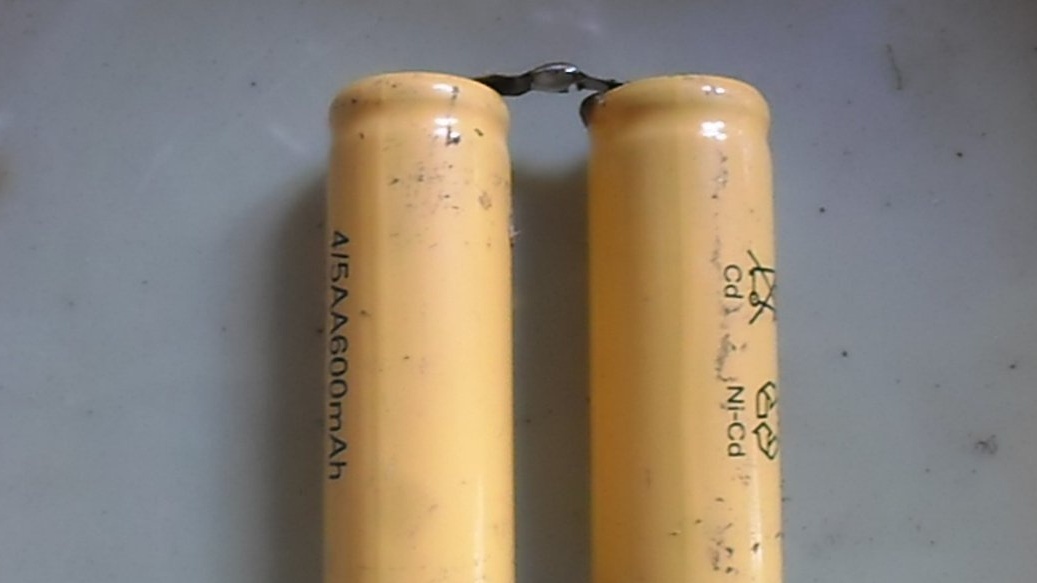
First, take two batteries, I took batteries with a capacity of 1200 mA \ hour each and a voltage of 1.2 volts, it is desirable that the batteries are charged
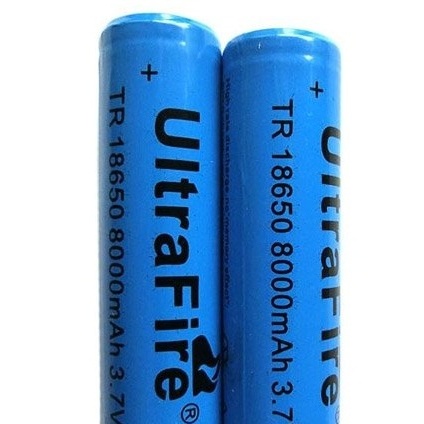
You can also take one battery type 18650 or its analogues
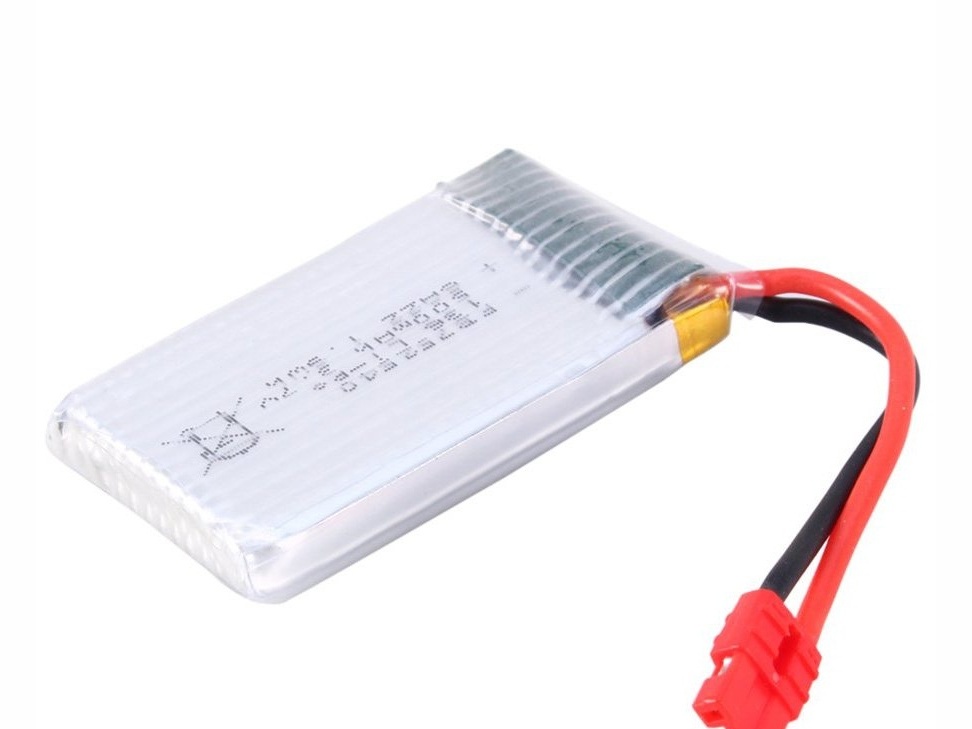
If you have a battery from a quadrocopter or from a cell phone, it is also suitable
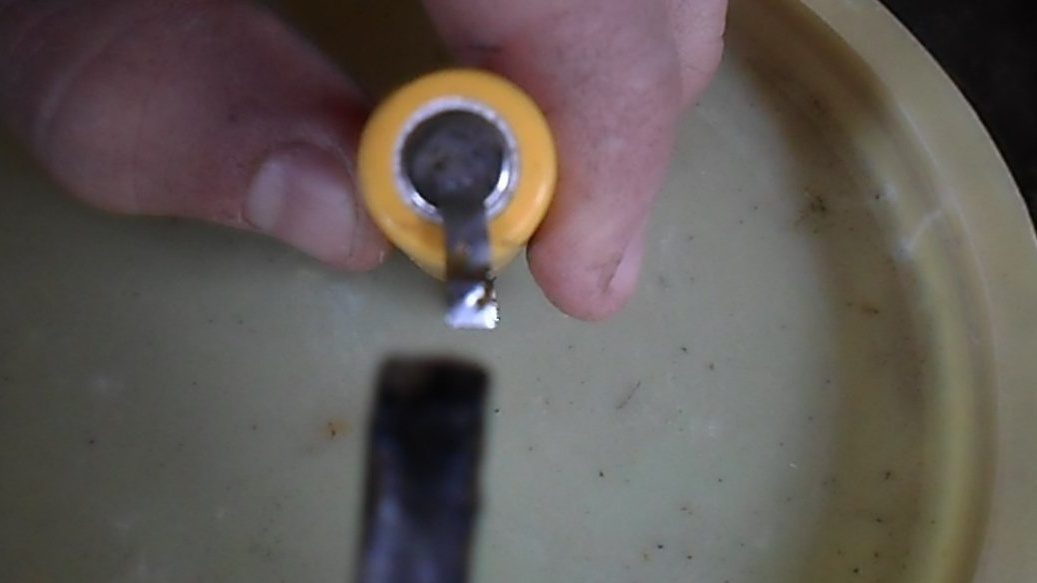
Using a soldering iron, tin the battery terminals
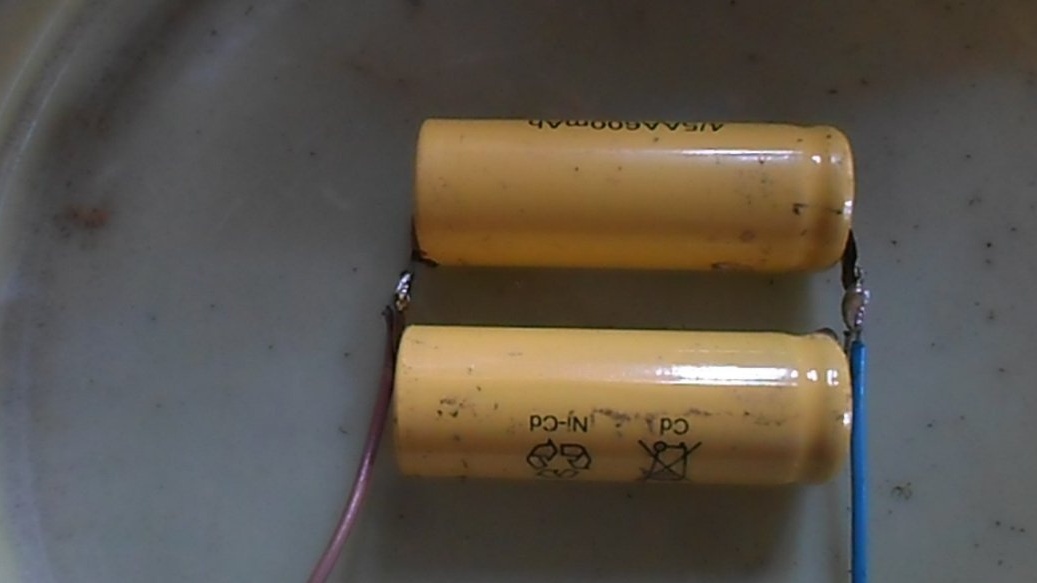
We solder them in parallel, if you took one battery, then just skip this step
Next, solder the wires to the general battery terminals, it is desirable that they be of different colors black (-), red (+)

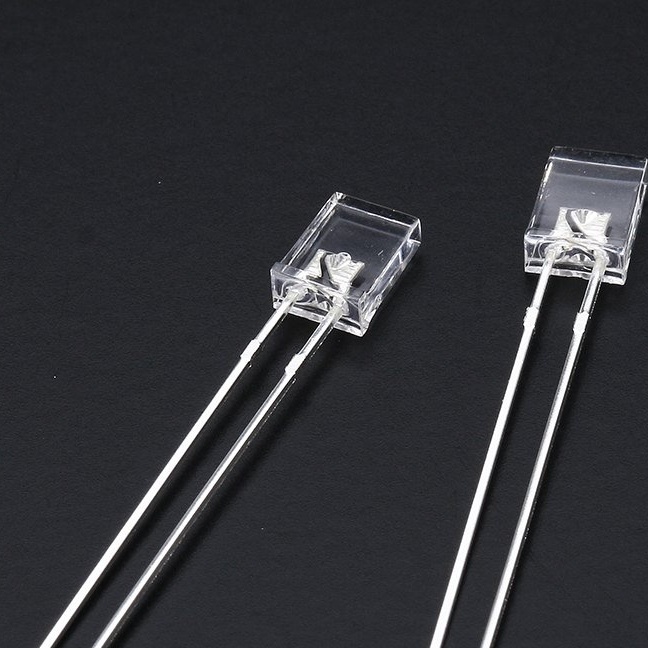
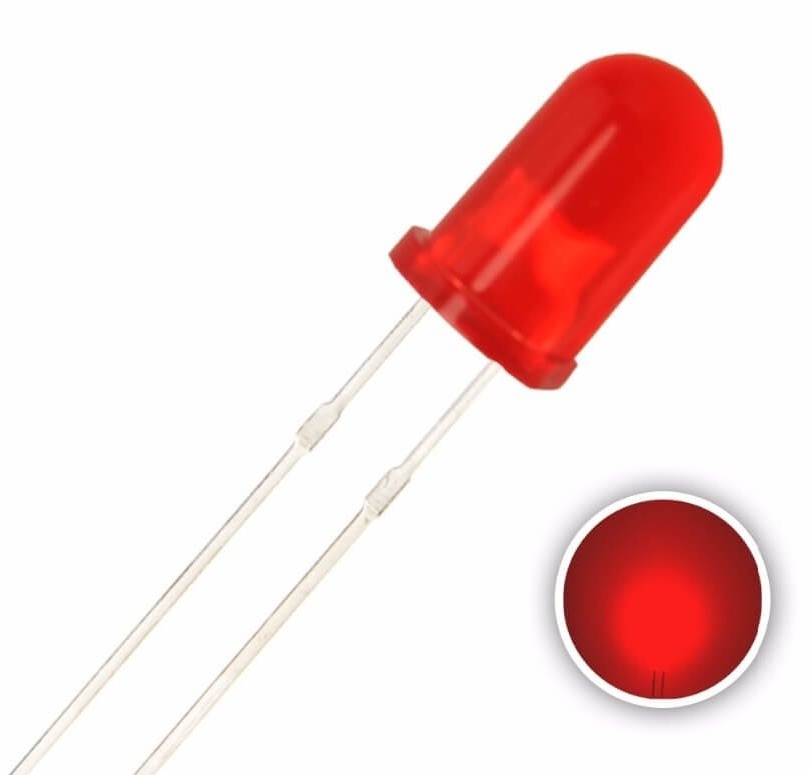
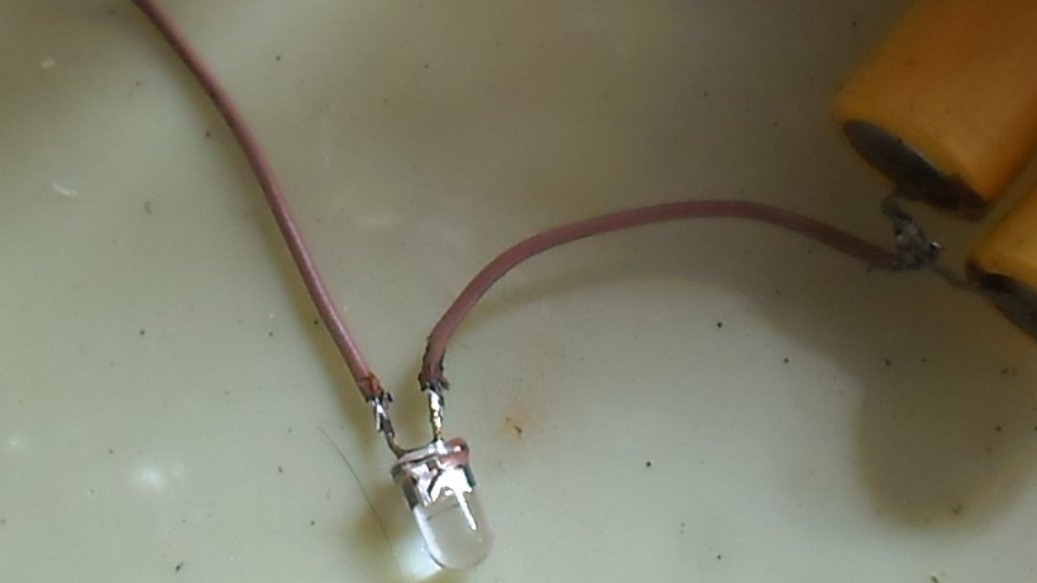
Next, cut one wire, about five seven centimeters from the batteries and solder the LED, I took this
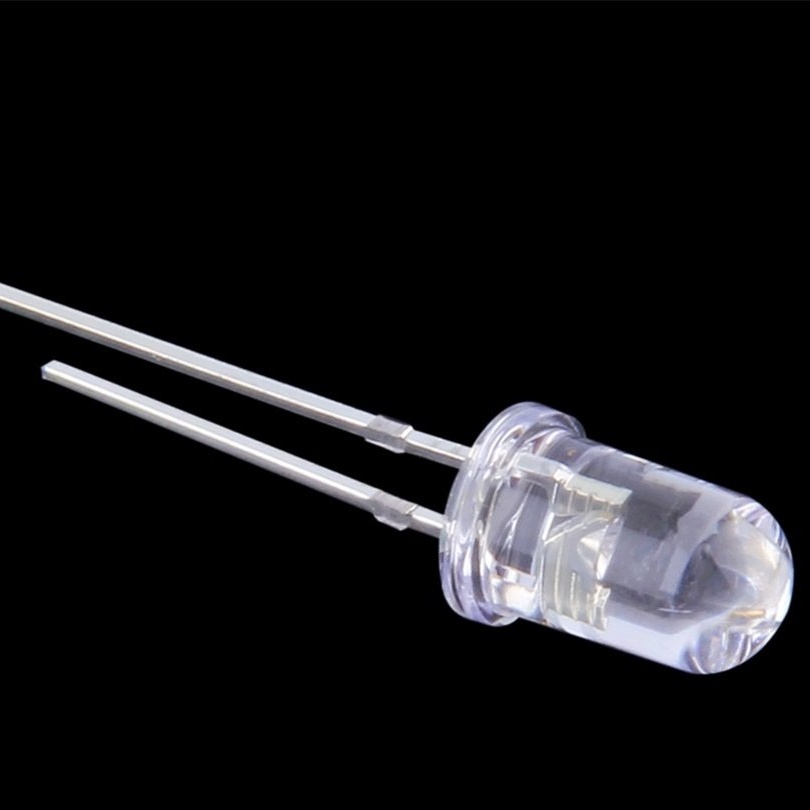
You can also take these, it is desirable that they be bright (red, blue, green)
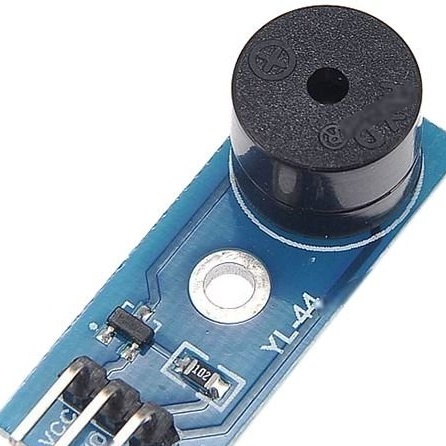
In another wire, you can solder a tweeter, such
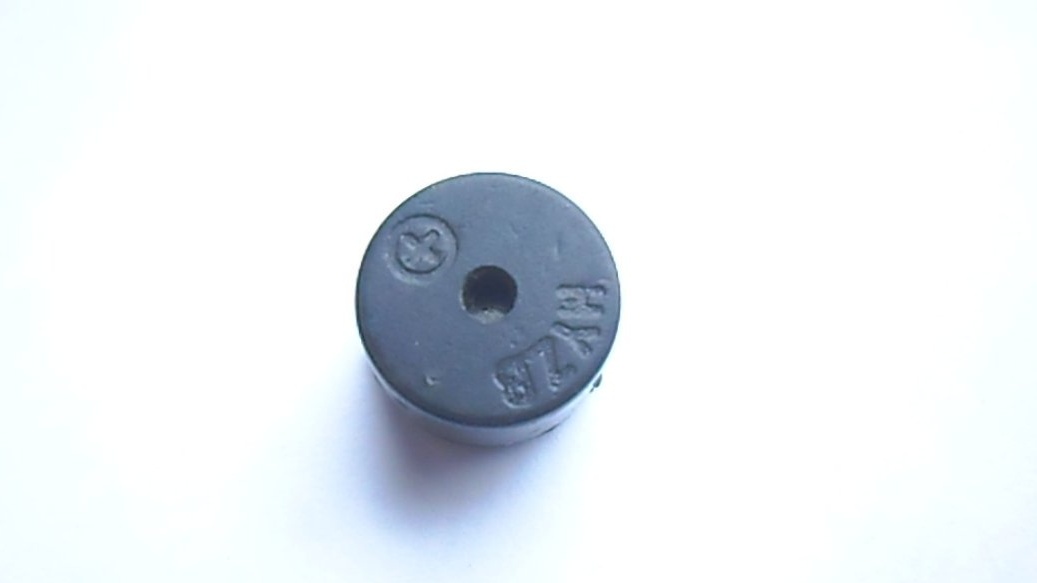
Or such, but I decided not to solder
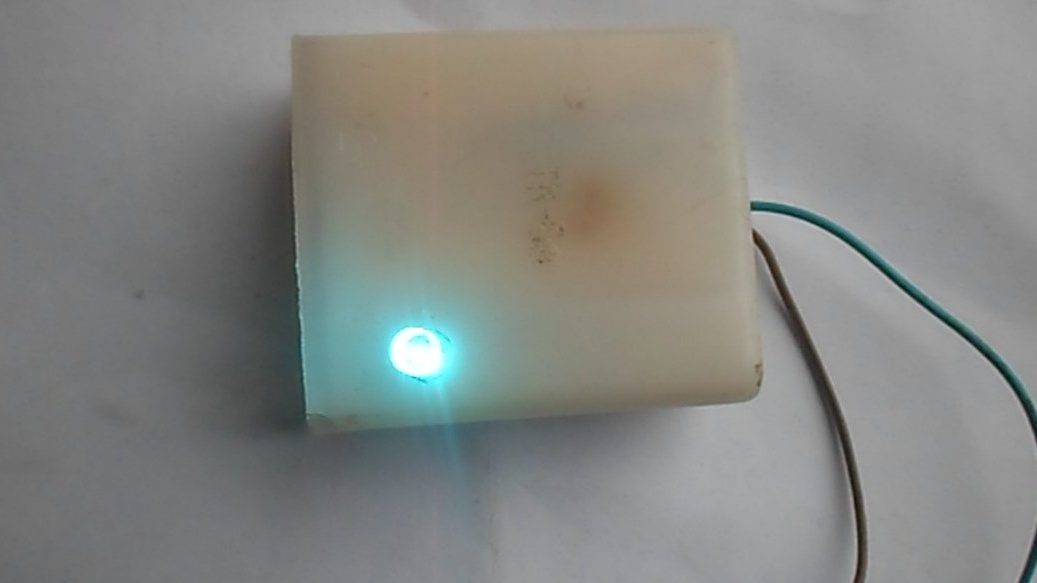
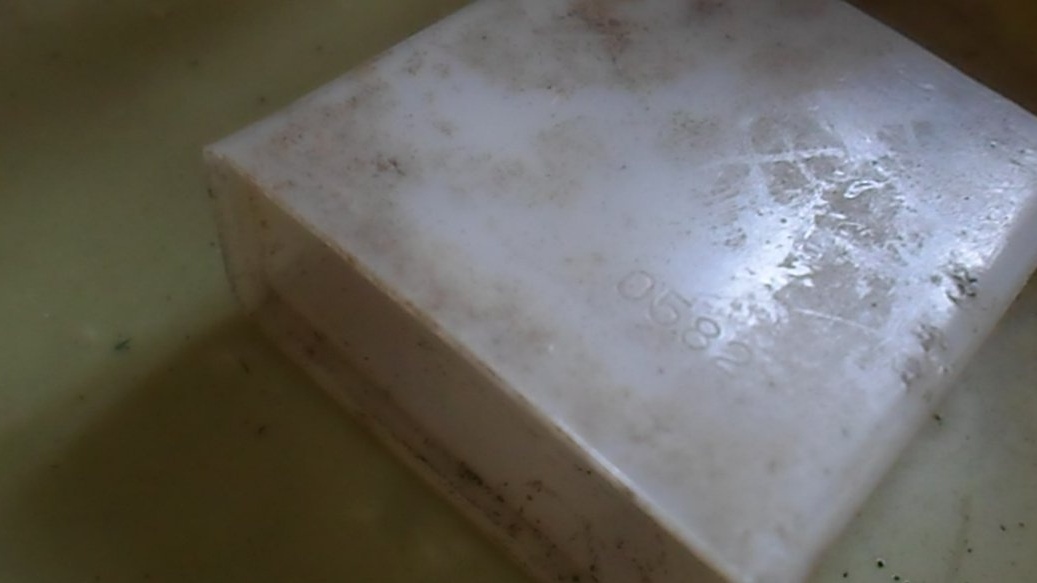
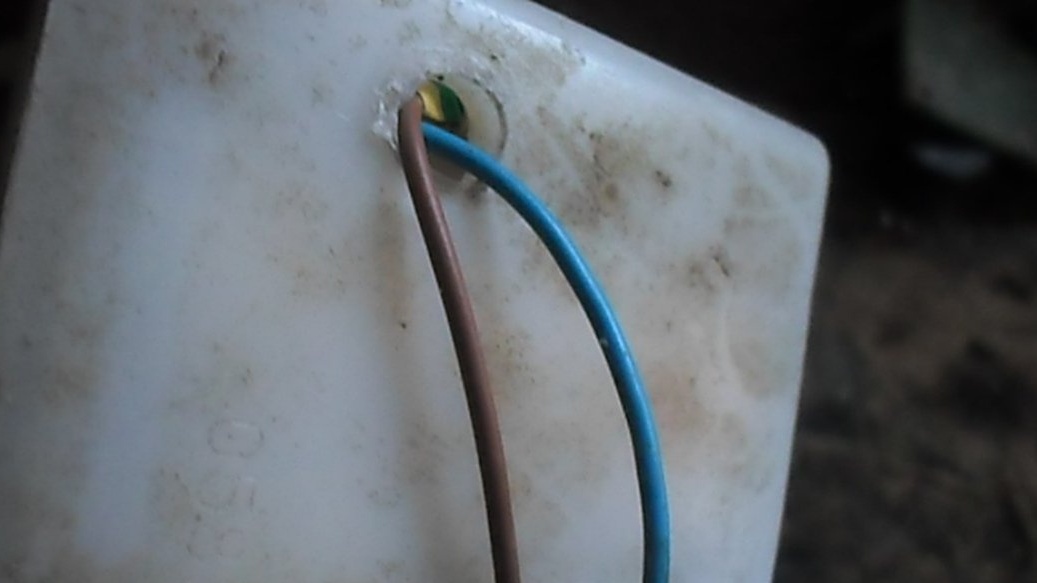
Next I found such a box of plastic
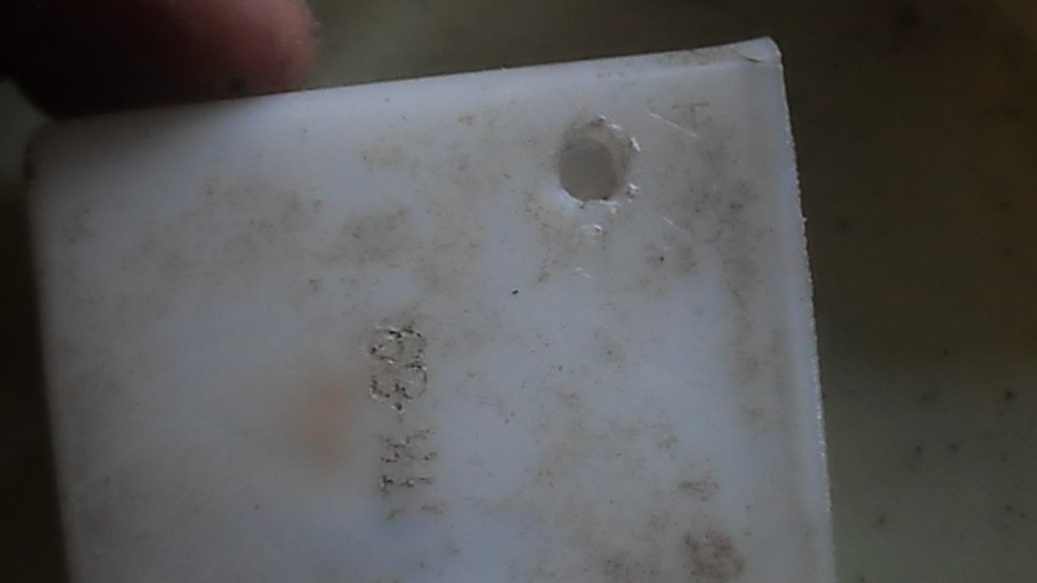
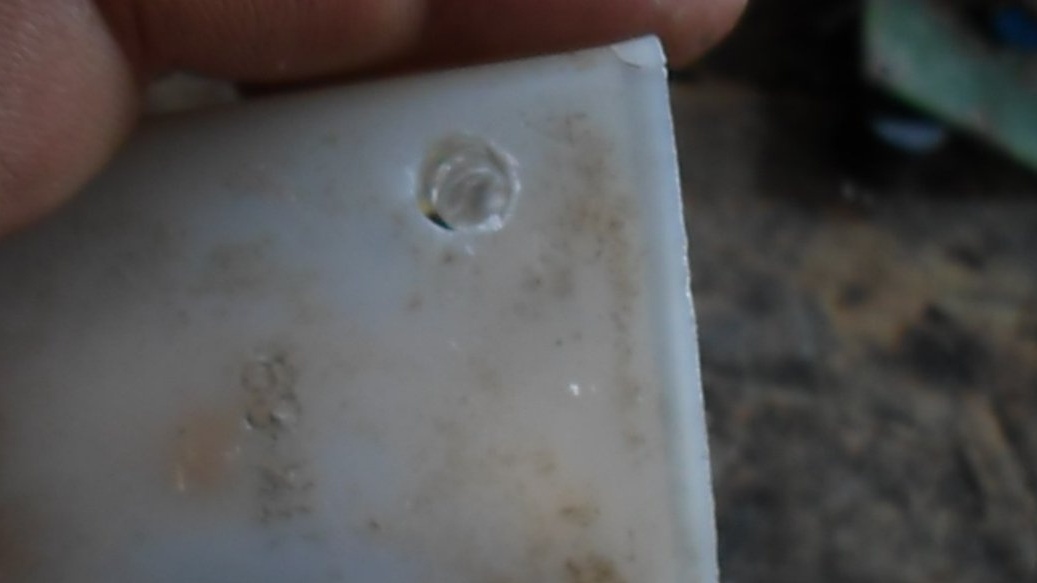
And on both sides I drilled 4 mm holes

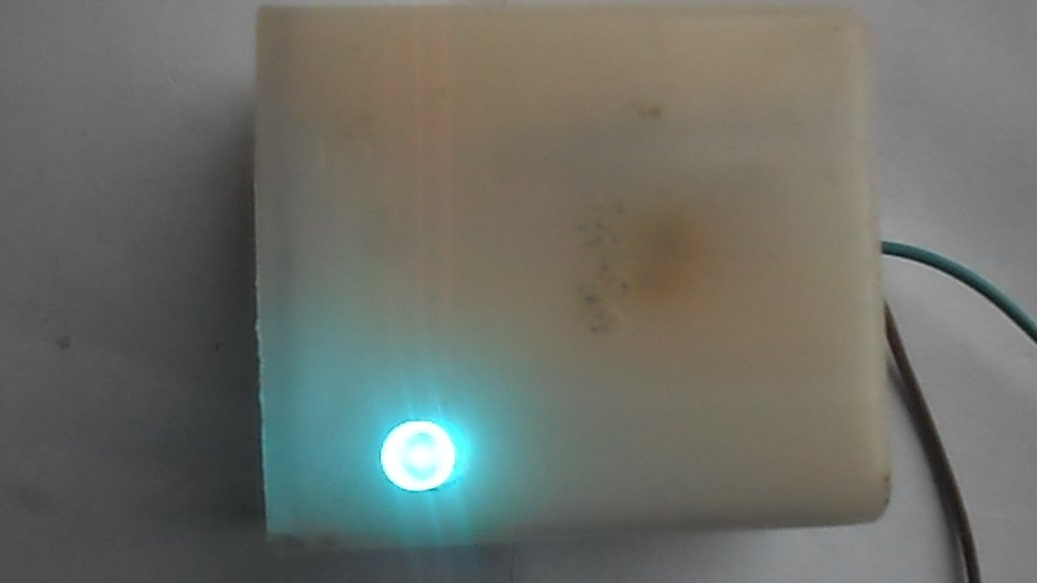
We put our batteries in the case, stick out the wires in one hole, stick the LED in the other, close the side hole with a piece of plastic
Also at the ends of the wires you can solder small probes, to charge the batteries you just need to connect the charger to the probes. For convenience, you can solder any connector.
Thanks for attention !!!