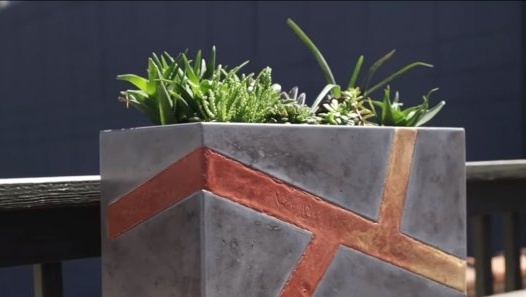
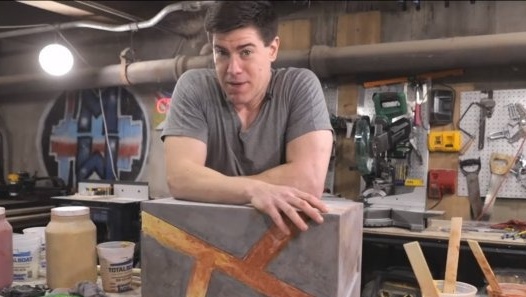
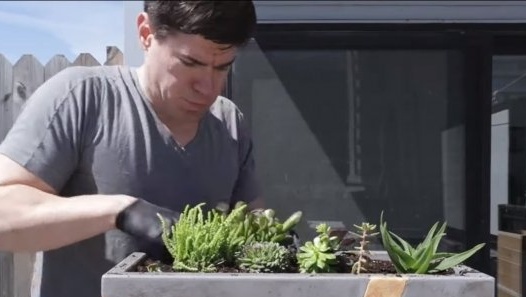
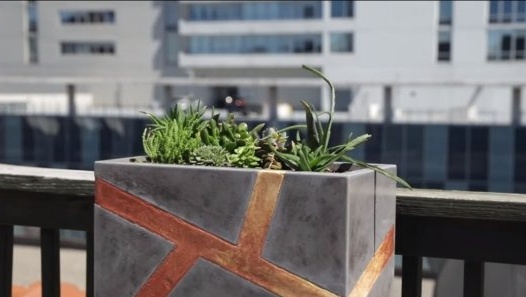
Hello everyone, today we will look at how to make a concrete flower pot in a modern style. The manufacturing technology is quite simple, in this way you can cast a pot of any size, shape and with any pattern. Under the pot, the author made a support of wood, this whole thing looks quite interesting. The volume of the pot is such that here you can plant several flowers or other plants at once. If the project interests you, I propose to study it in more detail!
Materials and tools used by the author:
Material List:
- concrete;
- dye for concrete;
- chipboard or other formwork material;
- self-tapping screws;
- silicone sealant;
- fiberglass;
- boards for the stand.
Tool List:
- glue gun;
- a circular saw;
- ;
- drill;
- nails, carpentry glue;
- hammer;
- masking tape;
- .
Manufacturing process homemade:
Step one. Formwork
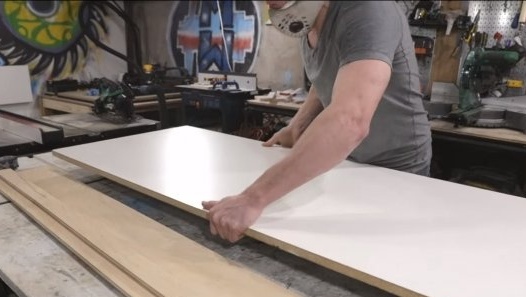
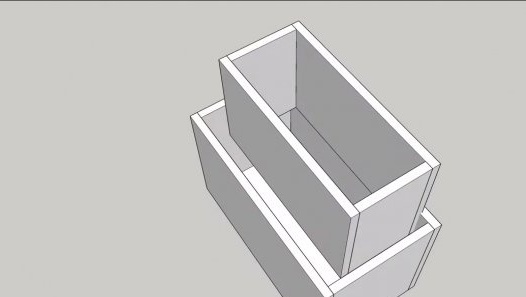
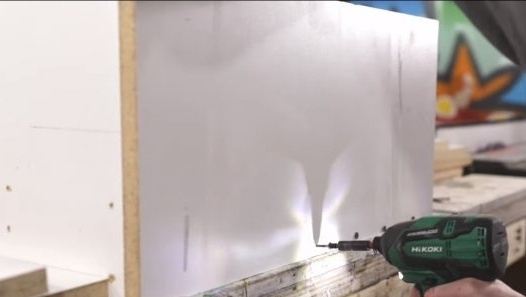
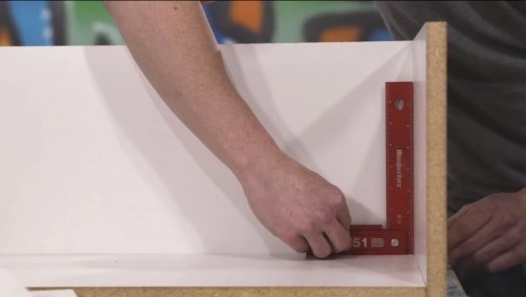
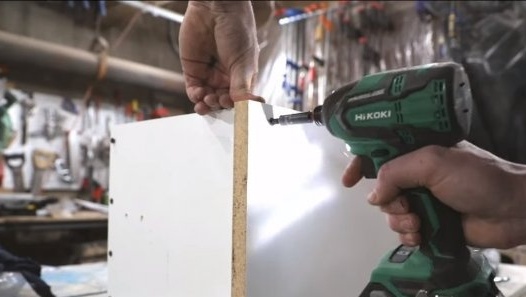
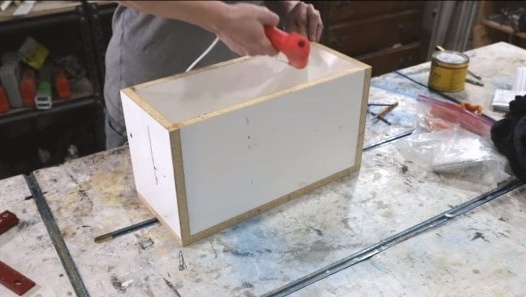
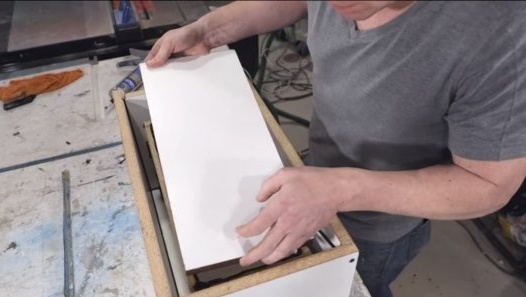
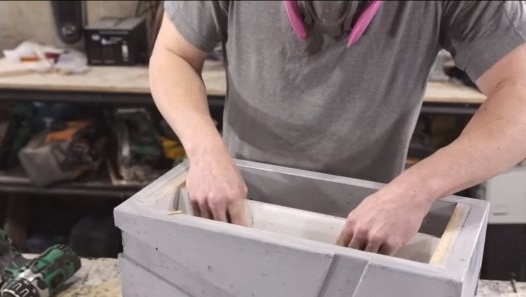
First of all, we will assemble the formwork, here we need chipboard or other similar material. The formwork we have consists of two parts, internal and external. The inner part of the formwork replaces the space where we will have land with flowers. The outer part of the formwork is responsible for the appearance of the pot.
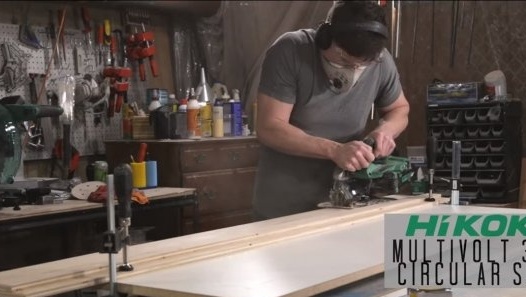
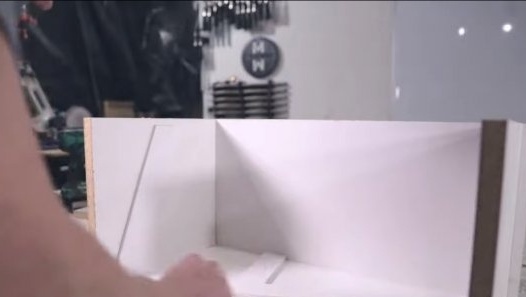
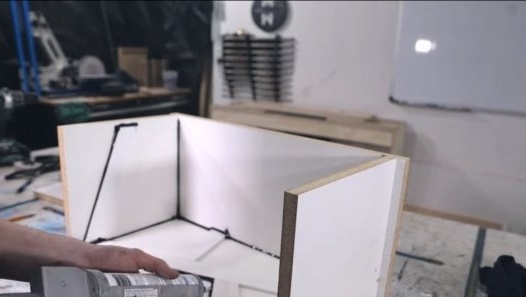
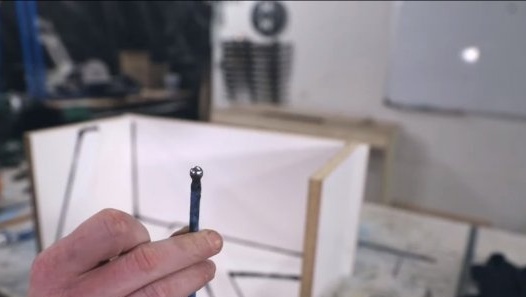
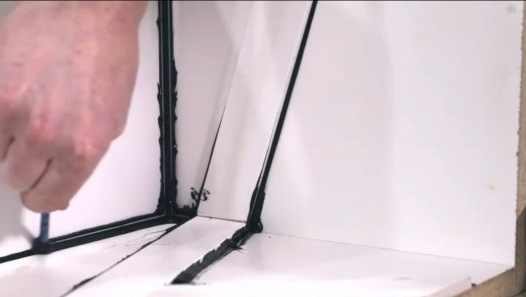
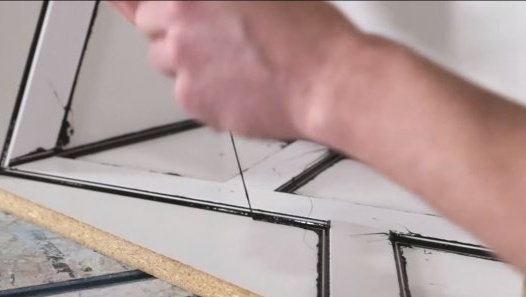
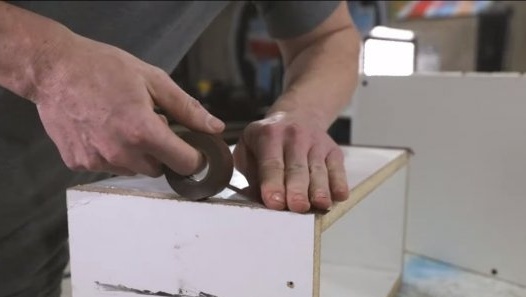
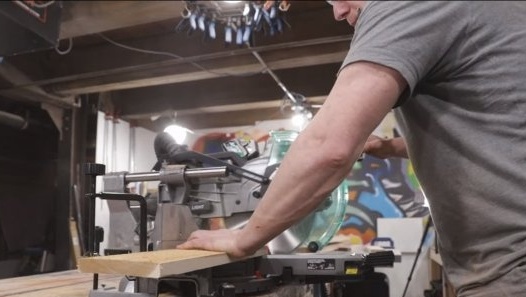
We cut the material with a miter or circular saw and collect the outer part of the formwork. On the inside, we glue the contour, which will form the future pattern of the pot. The formwork is assembled on self-tapping screws, we need silicone to seal the joints. Fill them with joints, and then roll out with a special tool with a ball at the end. Remove excess silicone when it is already dry. As a result, we get excellent pot angles that do not need to be modified.
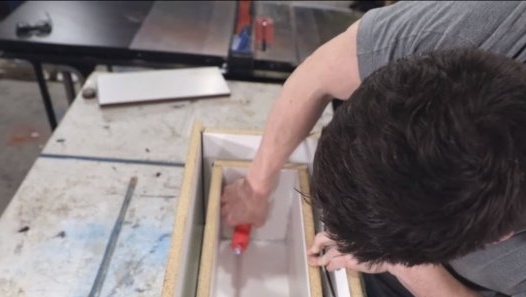
As for the inner part of the formwork, it can already be sealed from the inside with a glue gun. It is also important to securely fix this part on the base, otherwise it will tend to float when pouring concrete. We fasten it with screws and seal it.
Step Two Pouring
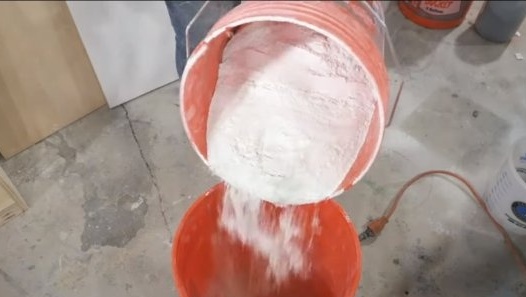
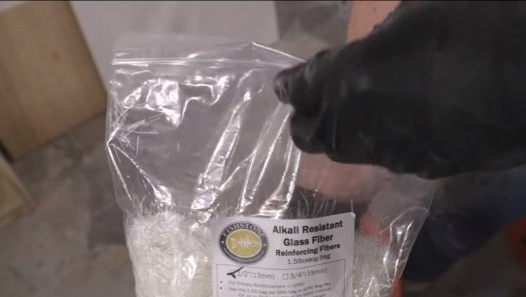
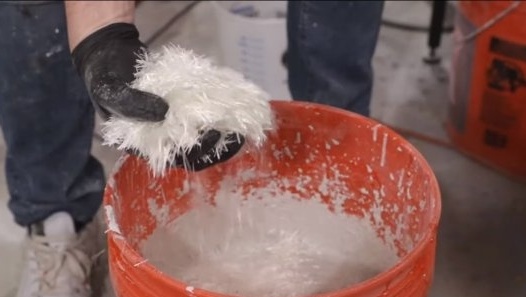
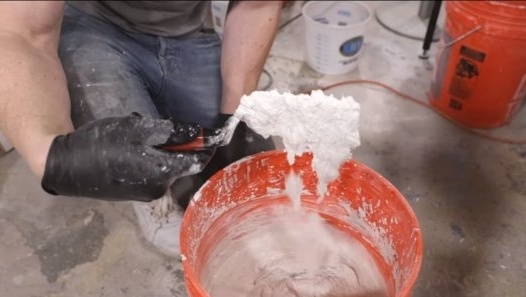
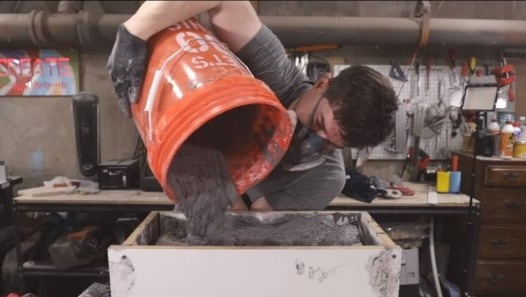
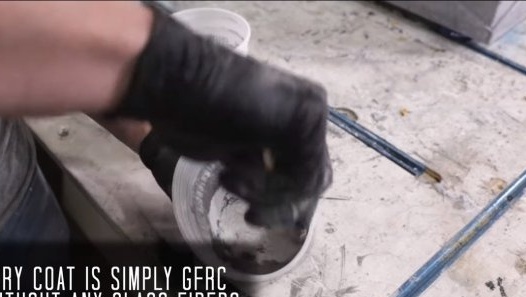
You can start pouring, knead concrete. To make the pot very strong and not fall apart even when cracks appear, we add fiberglass or another bonding element to it.
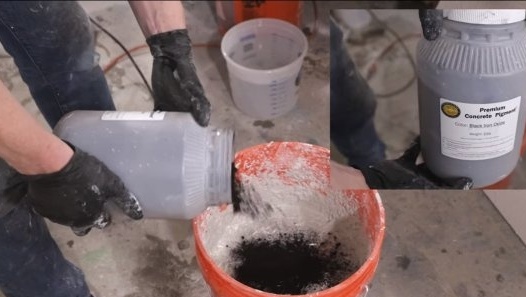
The author also adds a black dye to the solution, as a result, the concrete will be gray.
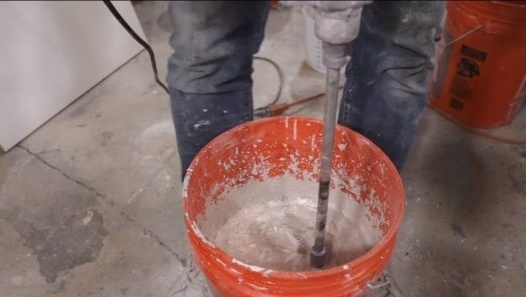
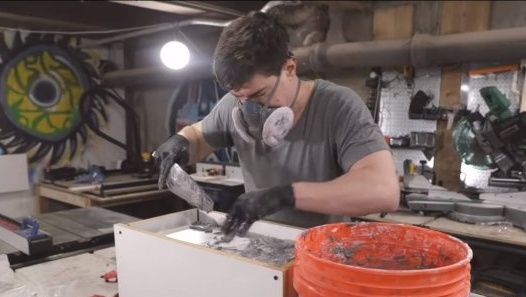
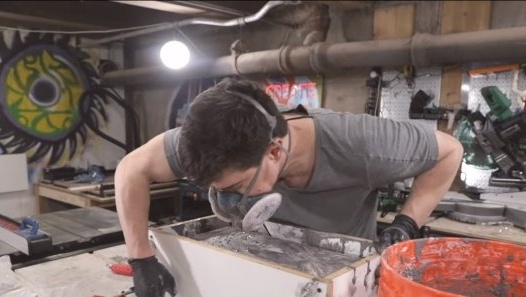
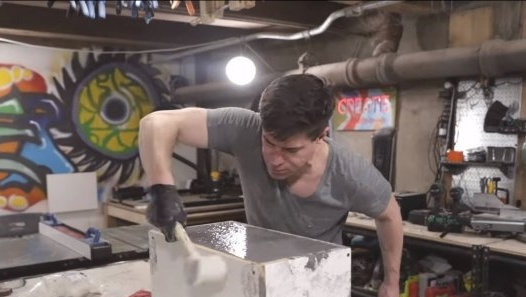
We knead everything with a construction mixer and slowly pour it into the formwork. In order for the solution to fill all the niches, you need to push it with your hands and you need to tap on the formwork.
Step Three Completion
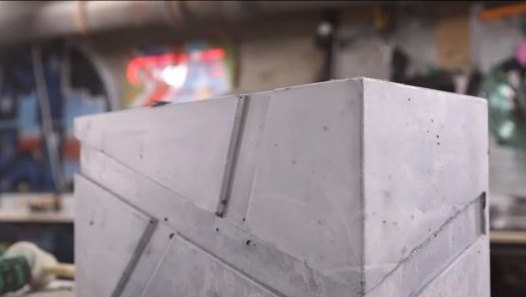
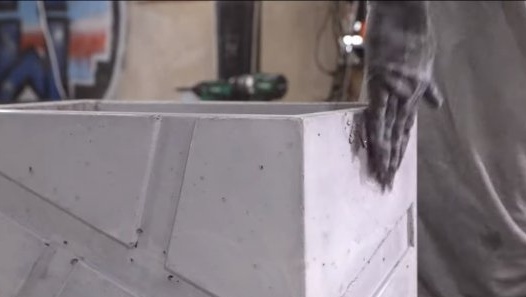
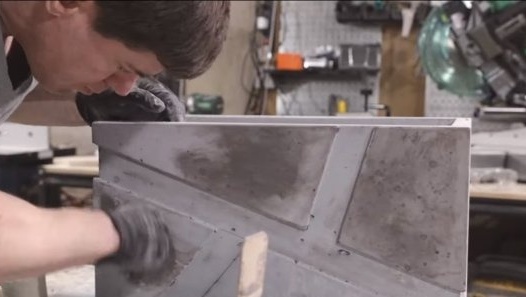
After the concrete hardens, carefully disassemble the formwork and proceed to eliminate the defects. Defects include niches in the pot that are formed due to air bubbles. We cover these and other defects with concrete.
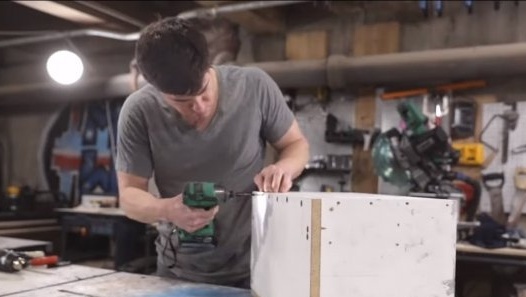
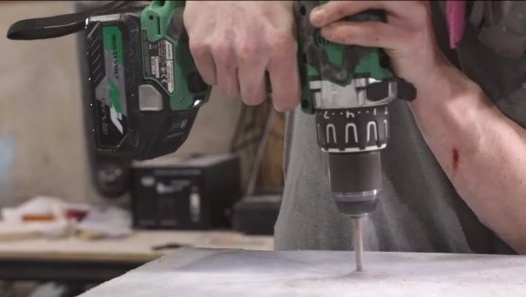
Further, in the bottom of the pot, we will definitely drill holes, without them, air will not enter the earth, excess water will not drain and the plants will disappear.
Step Four Picture
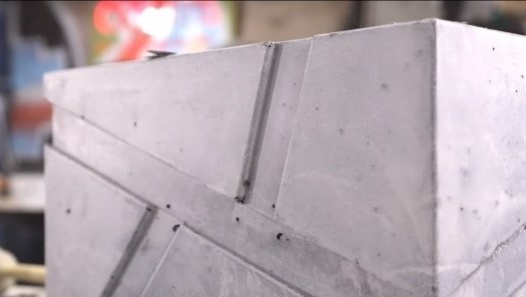
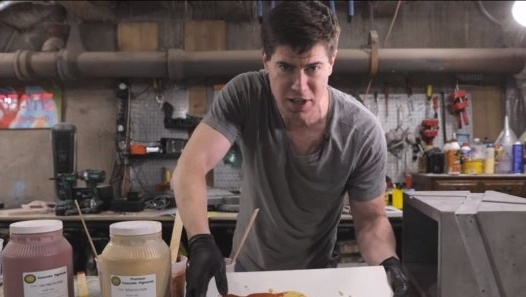
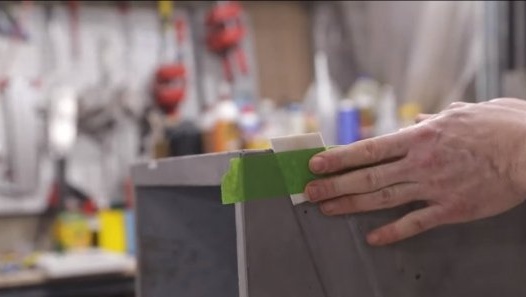
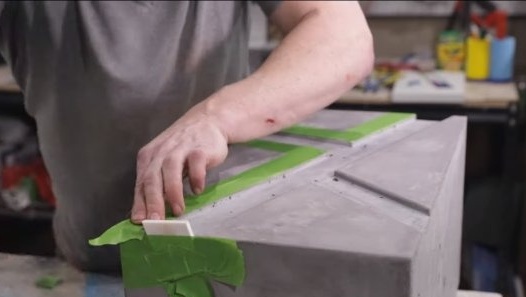
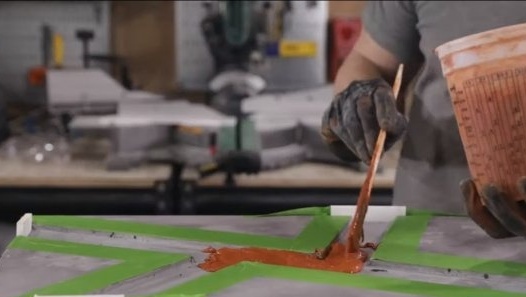
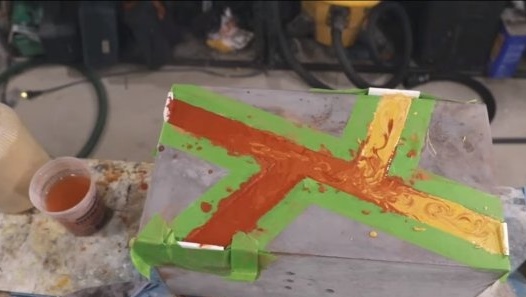
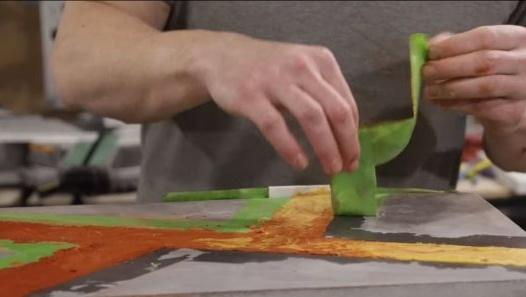
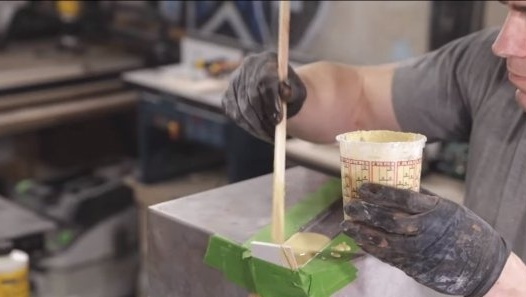
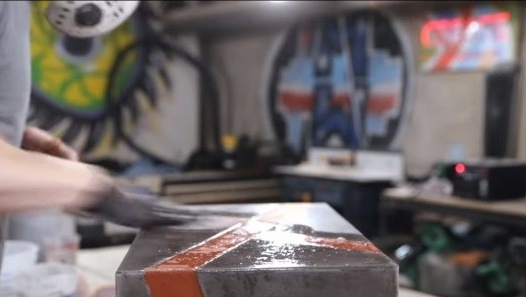
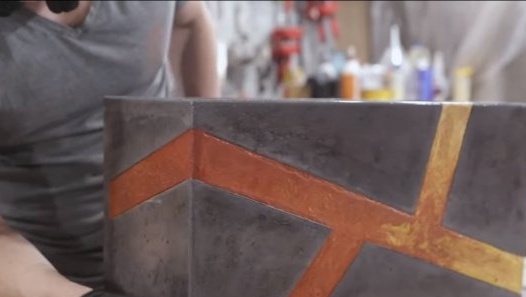
Pour colored concrete into the pot grooves to get the desired pattern. We choose colors at our discretion. We glue the places of filling with masking tape so as not to smear the pot. As formwork, we use pieces of fiberboard or boards, as well as hot glue. Each side is poured separately.
Step Five Stand
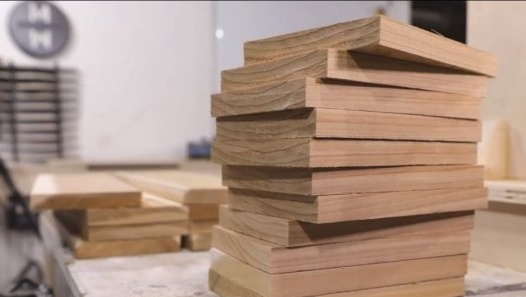
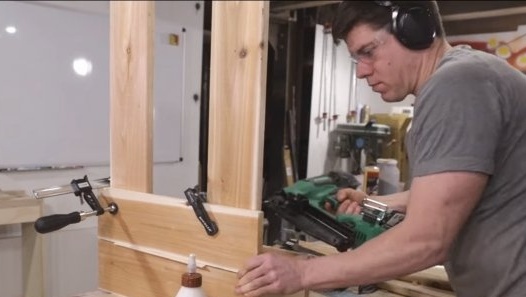
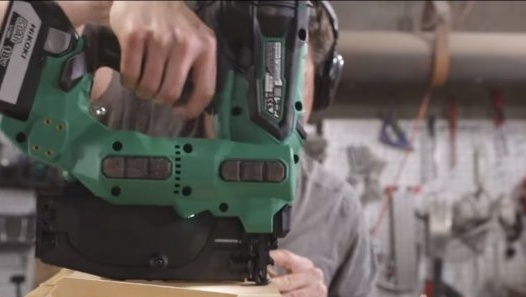
We make a stand for the pot, here we need strong boards with a beautiful pattern. We cut the material and assemble the stand, the author uses carpentry glue in combination with nails as a fastener, everything turns out pretty tightly.
Step Six Final touches
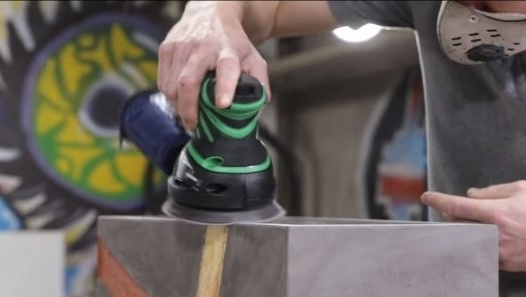
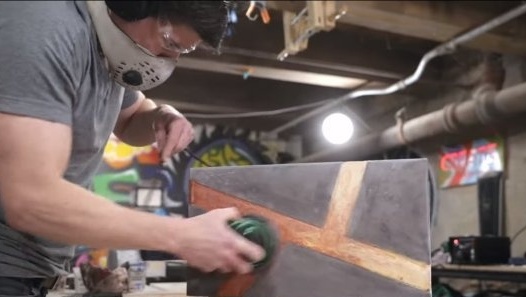
The pot needs to be properly sanded to a smooth state, in this matter the orbital machine will help us. Well, after polishing, concrete can be covered with liquid glass, varnish, epoxy glue and so on.
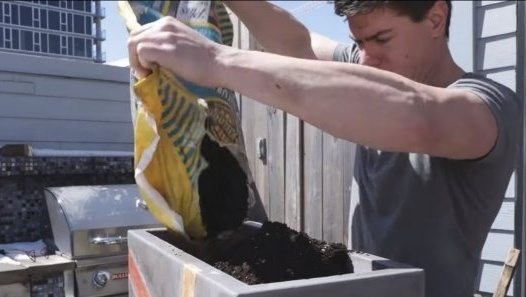
That's all, the pot is ready, pour the earth and plant flowers. The pot looks pretty interesting. We consider the project successfully completed on this, I hope you have found useful thoughts and ideas for yourself. Good luck and creative inspiration, if you decide to repeat this. Do not forget to share your ideas and homemade things with us!

