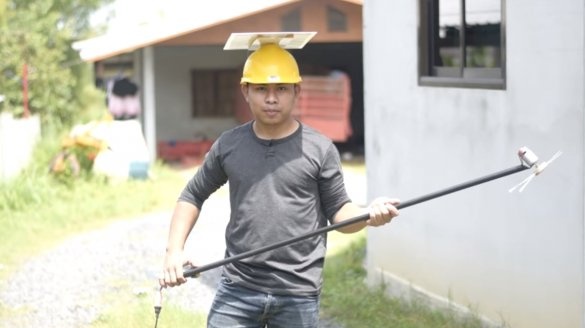
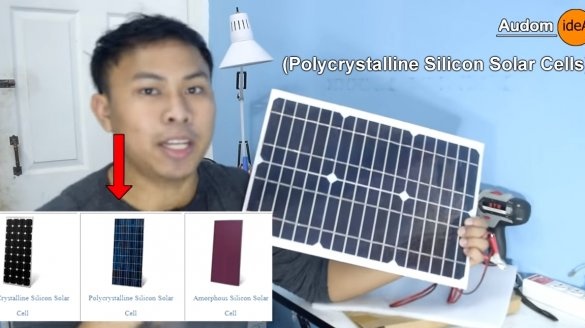
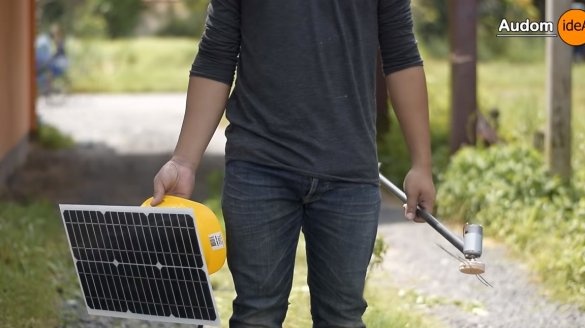
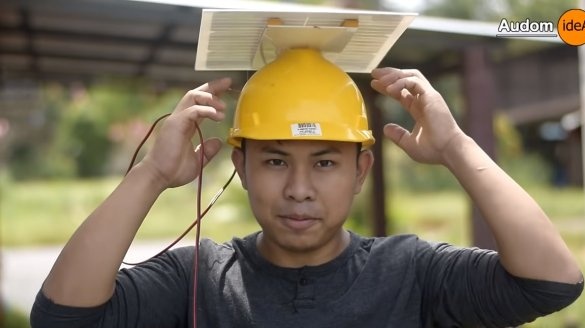
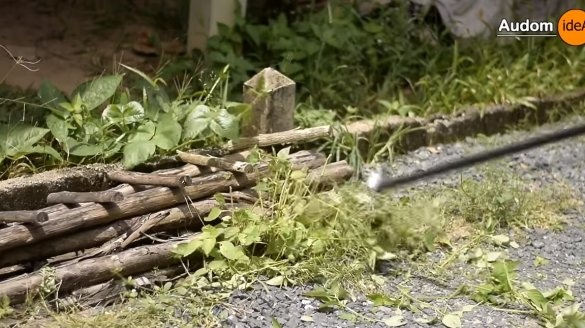
Hello fans to craft, today we will do such a useful thing as an electric trimmer. Feature homemade in that it is powered by the sun, you will not need batteries and you will not need to charge anything. Power comes from the solar panel, which is mounted on the head. In sunny weather, the panel gives out about 20 watts of power, which is enough to power a small 12V motor. Such a scythe is convenient to mow down the vegetation under the fence, in the flowerbed and other similar areas. Homemade safe, simple and convenient to use. If the project interests you, I propose to study it in more detail!
Materials and tools used by the author:
Material List:
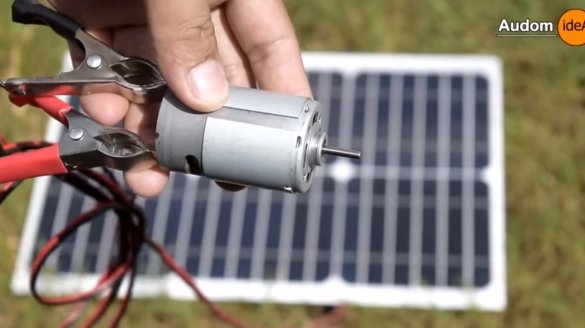
- a small 12V motor;
- ;
- wires;
- switch;
- a piece of iron pipe;
- two iron washers;
- paint;
- helmet made of plastic;
- fiberboard;
- double-sided tape, bolt with nut and other little things.
Tool List:
- grinder;
- welding machine;
- drill;
- vise;
- soldering iron;
- glue gun.
Trimmer manufacturing process:
Step one. Panel test
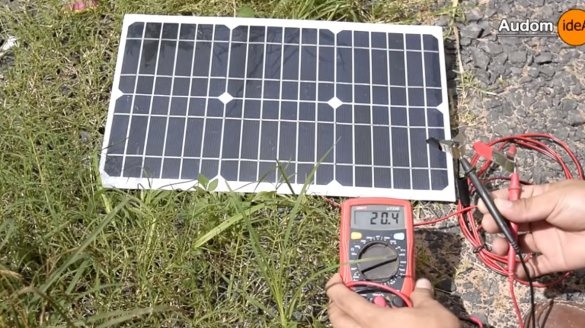
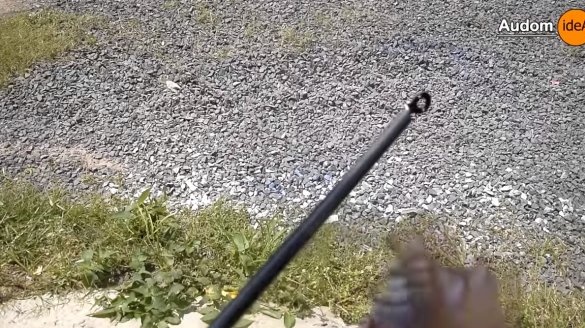
To begin with, we will check the panel, take it out to the sun and measure the voltage, without load the panel gives a voltage of 20V. We connect a 12V motor to it and it starts to work quite briskly. Everything is fine, the design is workable, but for quality work you need the sun.
Step Two The foundation
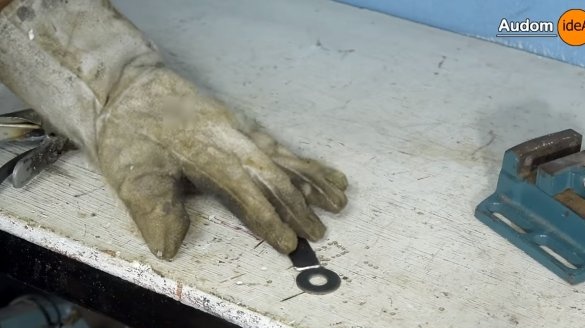
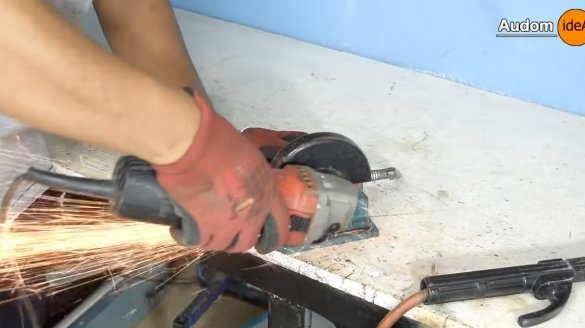
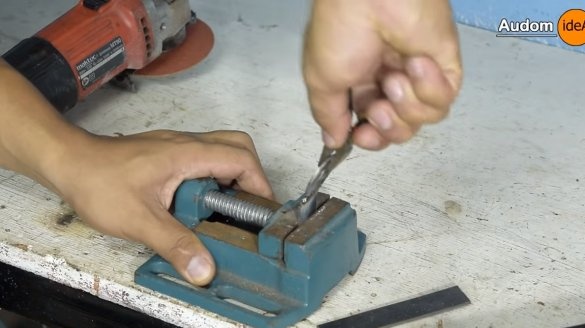
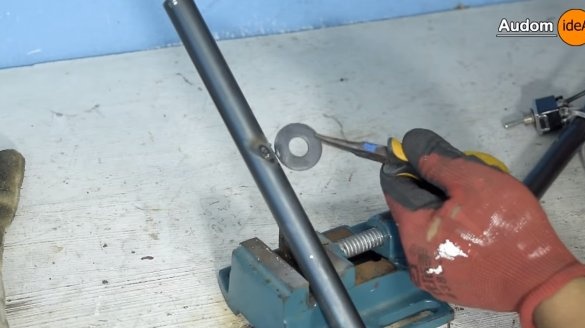
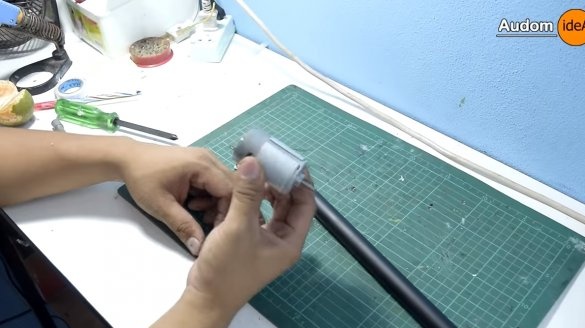
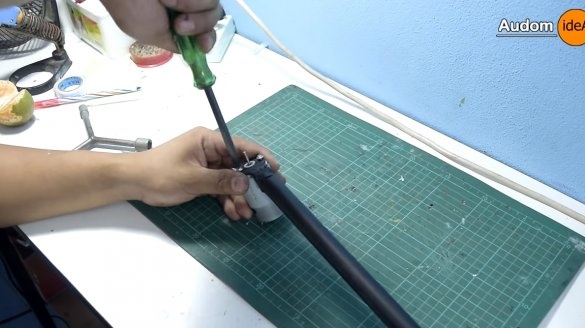
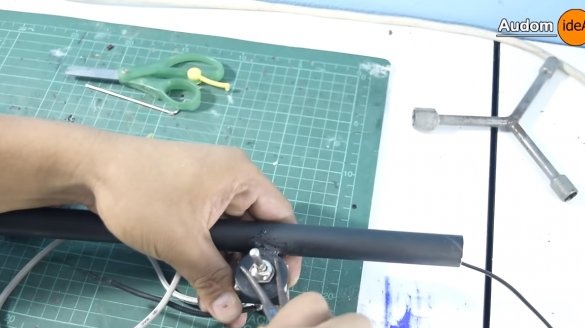
Let's make the basis on which we install the motor and the switch. We will need an iron pipe, preferably with thin walls, so that the structure is light. At the end of the pipe we weld the washer and drill holes for the screws in it. As a result, we get a ready-made bracket for mounting the motor.
We also weld another washer for attaching the toggle switch. At the end, the pipe can be painted.
Step Three Assembly
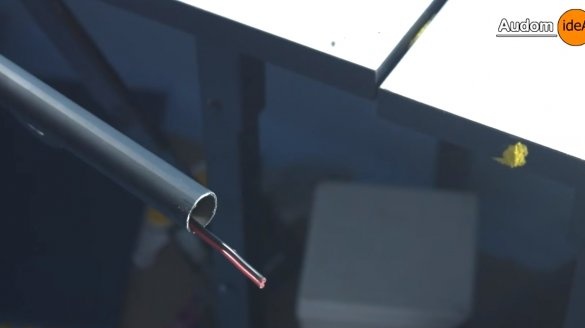
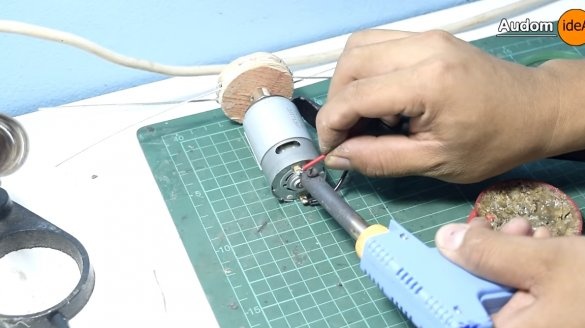
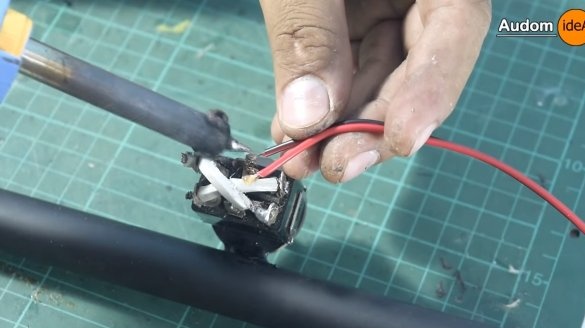
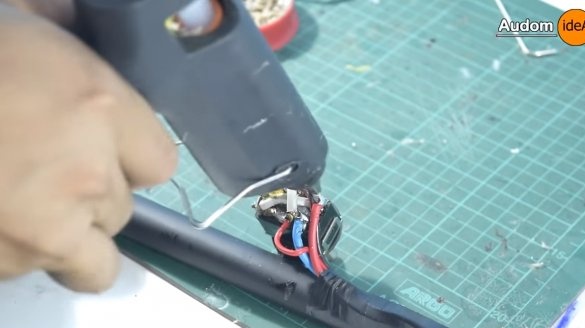
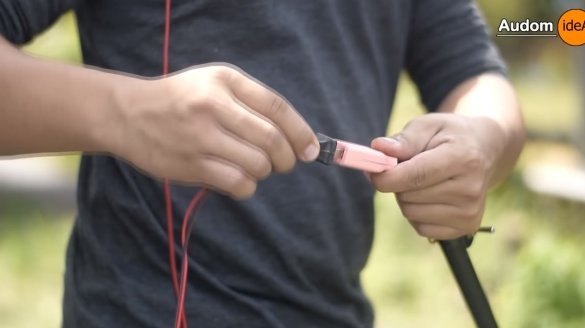
We assemble the trimmer, fasten the motor to the bracket and draw the wires through the pipe. We also install the toggle switch, solder all the wires and fill the contacts with hot glue so that they are not afraid of water.
Step Four Knife
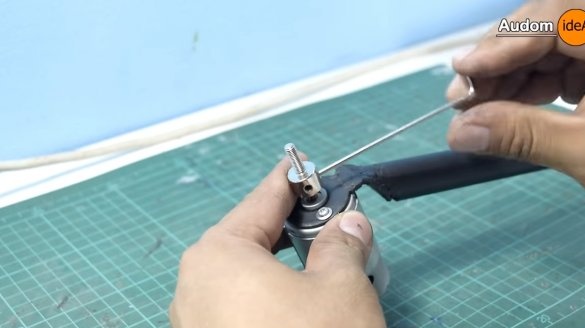
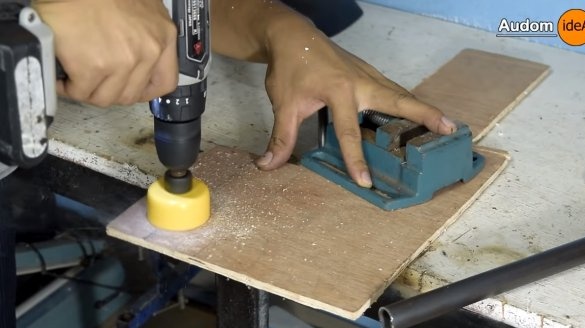
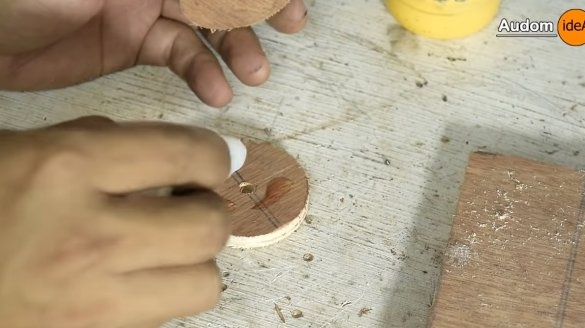
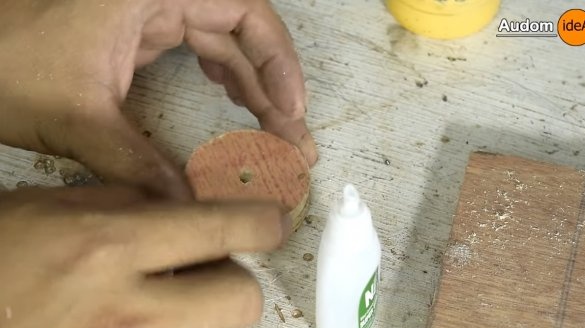
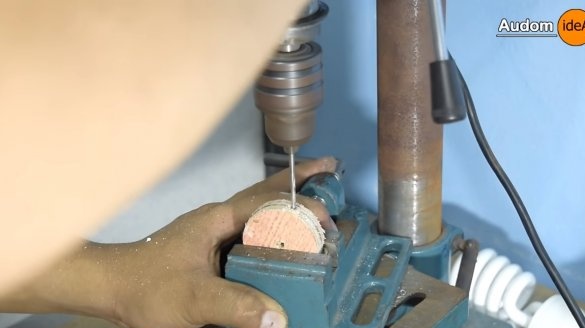
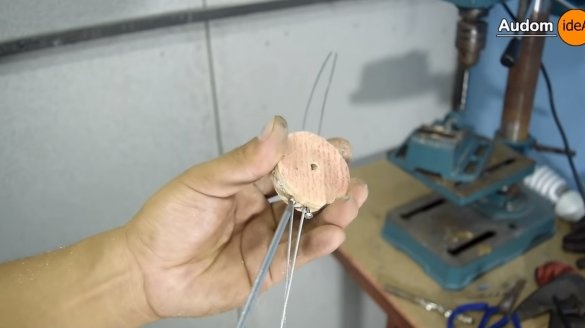
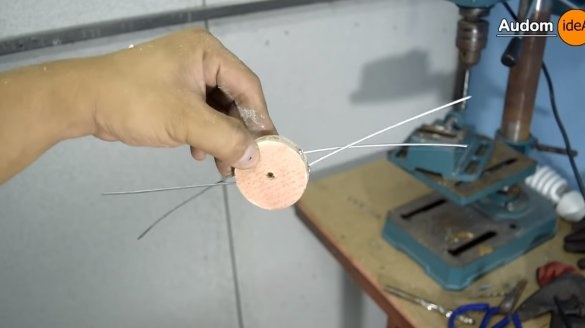
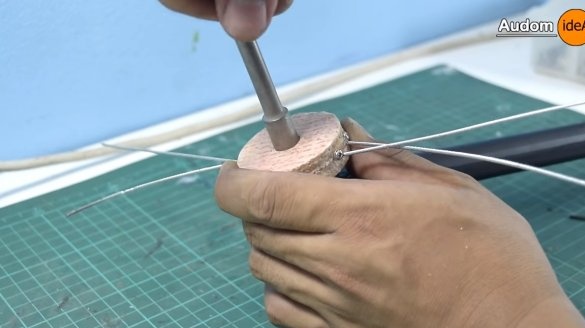
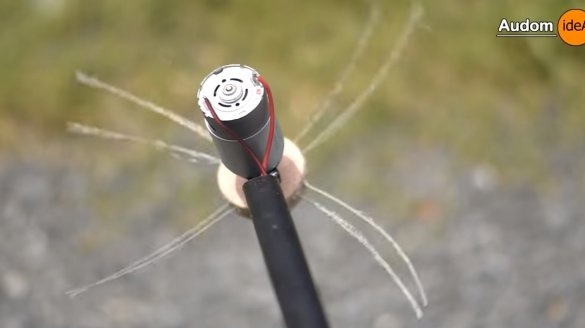
We make a knife for the trimmer, iron cables will cut the grass.To fix them, you will need plywood, we drill out two circles from it with the help of a crown. We glue the disks with superglue and install the cables, fasten them with screws. The nozzle is mounted on the motor shaft through a special adapter.
Step Five Final touches and tests
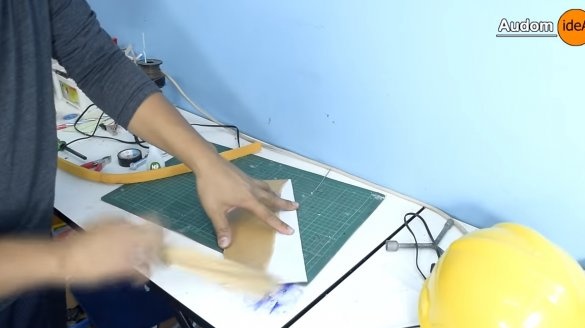
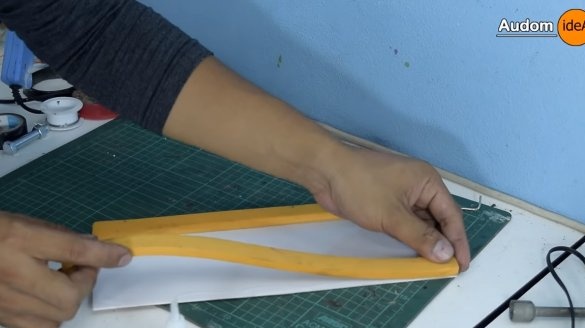
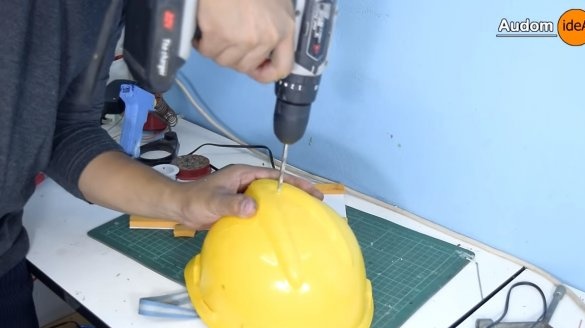
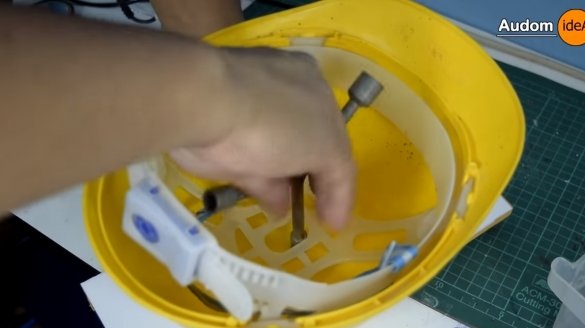
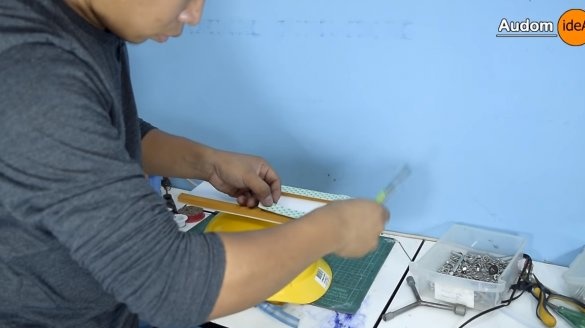
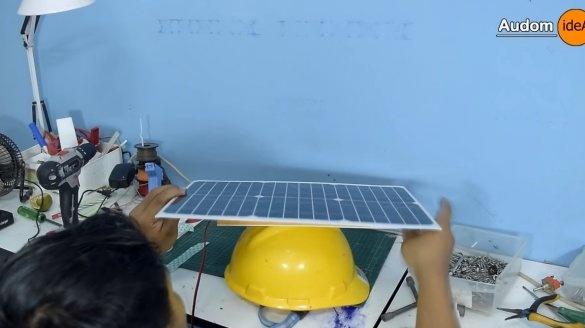
In conclusion, we need to install a solar panel on a plastic helmet. To do this, we fasten a piece of fiberboard or plywood to the helmet, and we already glue the solar panel to it using double-sided tape. We install a plug on the cable from the panel, and we install a socket on the cable from the trimmer.
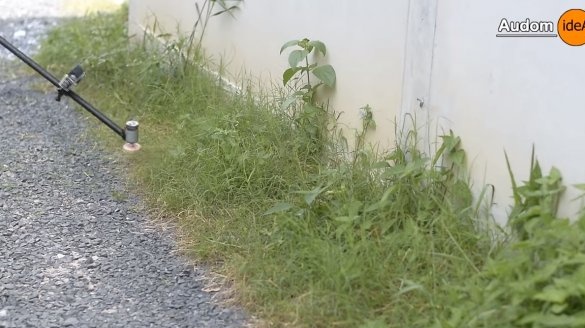
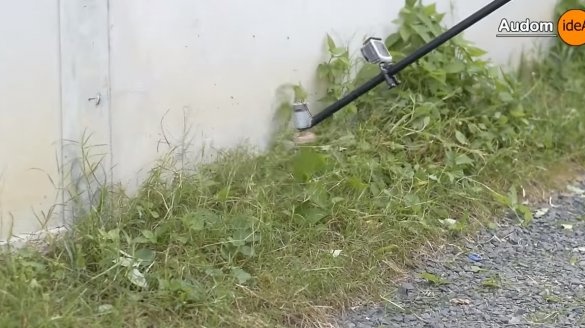
After that, the trimmer can be tested. The homemade work without problems for both its size and capacity. The author quite easily mows the vegetation under the fence. This is the end of the project, I hope you liked the homemade work, and you found useful thoughts for yourself. Good luck and creative inspiration, if you decide to repeat this. Do not forget to share your ideas and homemade things with us!

