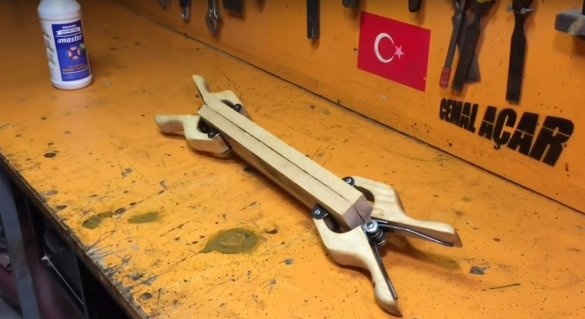
Good day to all. In this article I want to tell you how the author of the channel “cemaL AÇAR” made hand-made clamps from wood. This tool is just not bypassed when working with wood and not only. So, let's begin.
To make this tool, the author used:
Instruments:
Electric jigsaw.
Angle grinder.
Cutting wheel for metal.
Grinding wheel.
Metal brush "piranha"
Welding machine.
Electric drill.
Sawing machine.
Electric jointer.
Clamp.
Electrodes
Rags.
Scissors.
Paper.
Marker.
Materials:
Sheet metal.
Bolts with washers and nuts.
Spring wire.
Wood screws.
Churbak.
Aerosol WD-40.
Machine oil.
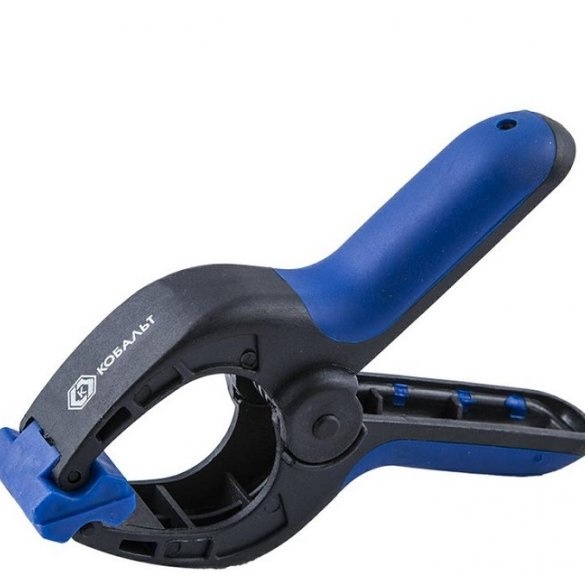
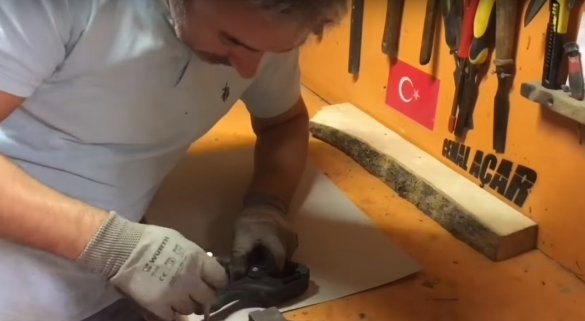
And also as a template, the master will use such a factory clamp.
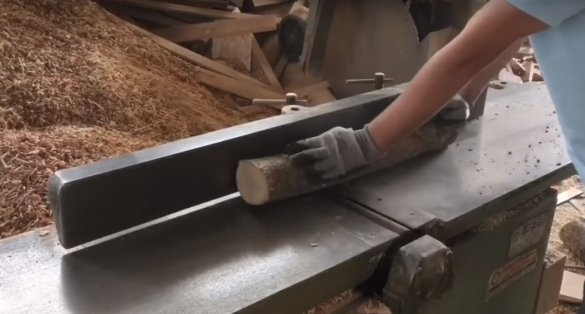
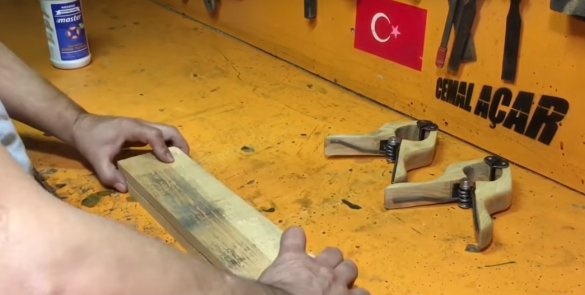
First of all, the author processes the block on the jointer.
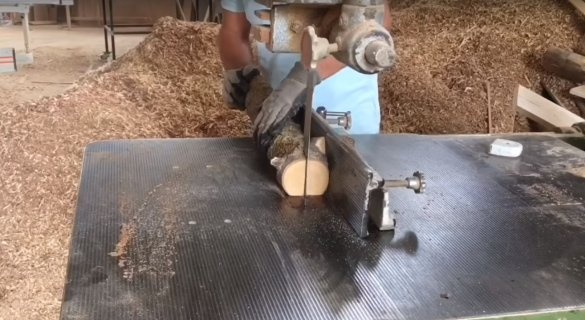
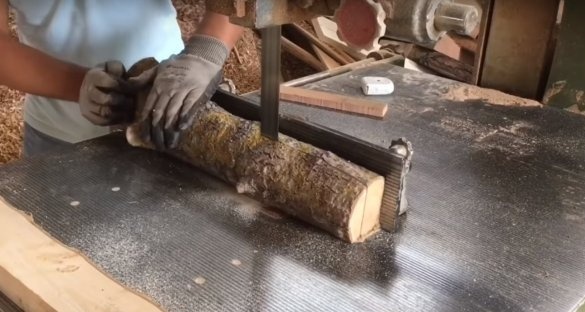
After dissolving it on the machine.
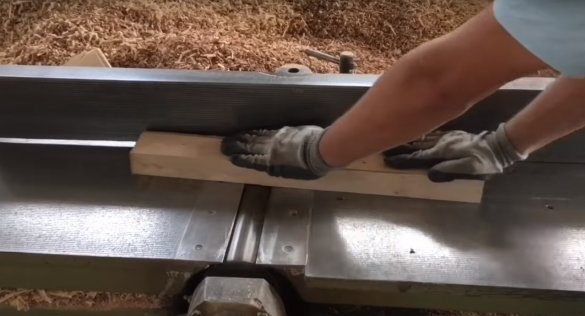
Then the resulting workpiece is again processed on a jointer.
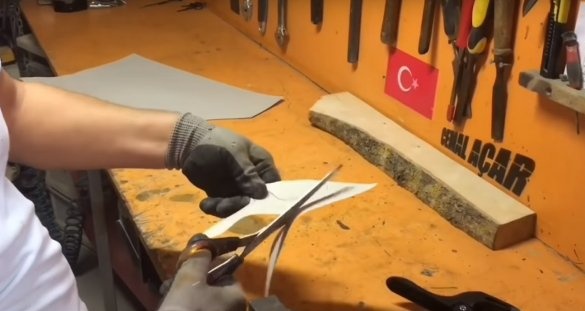
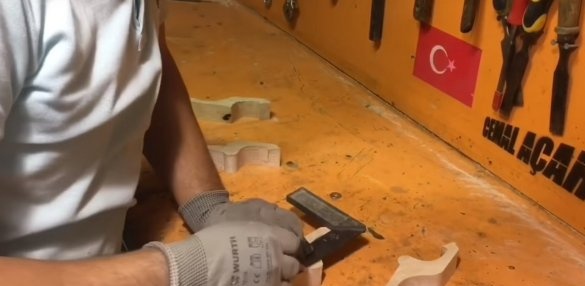
Next, he will make a template out of paper in the form of a factory clamp.
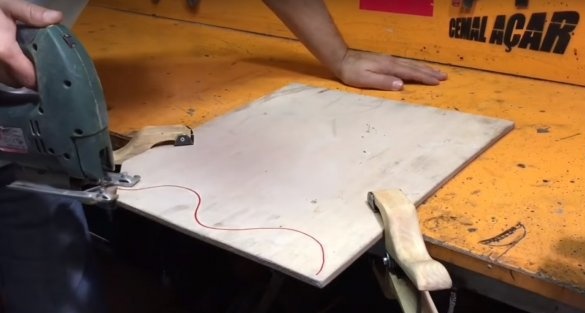
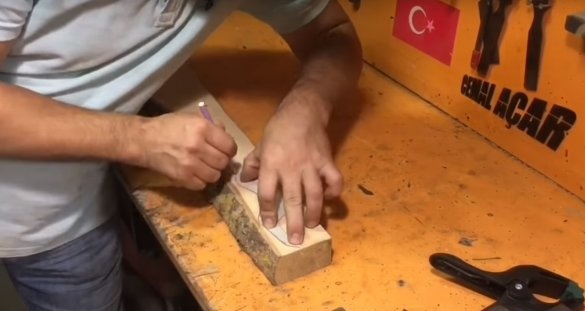
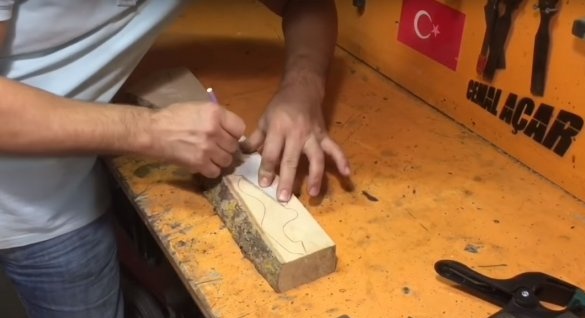
Then transfer the drawing to the wooden blank.
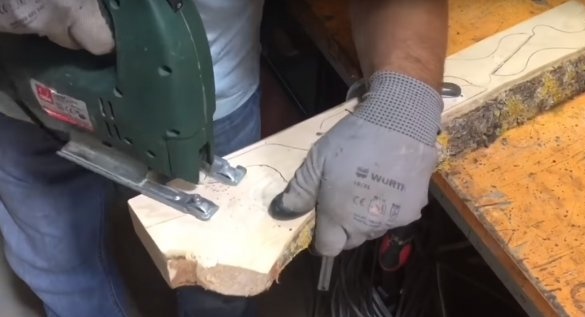
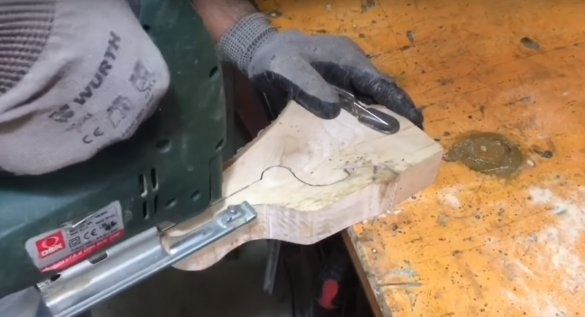
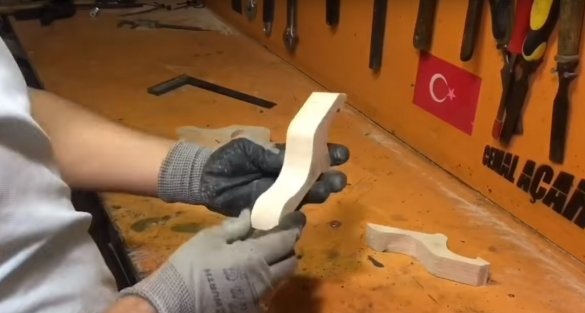
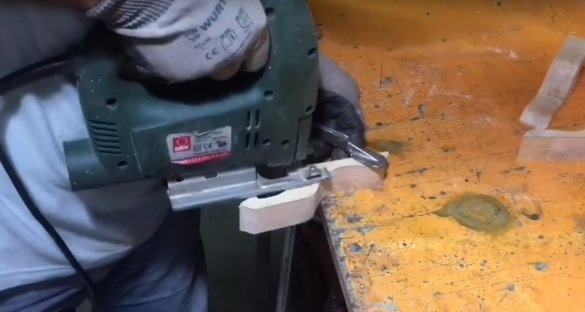
After cutting the details with a jigsaw.
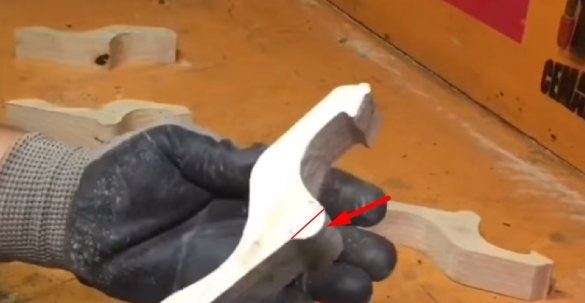
After cut off the excess.
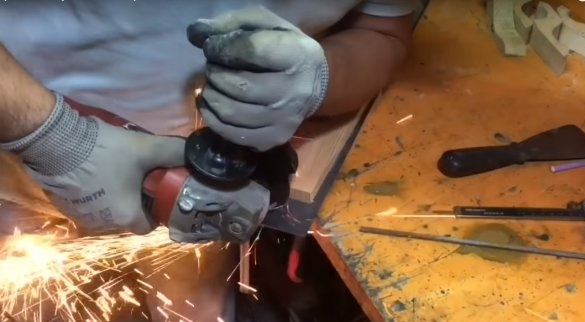
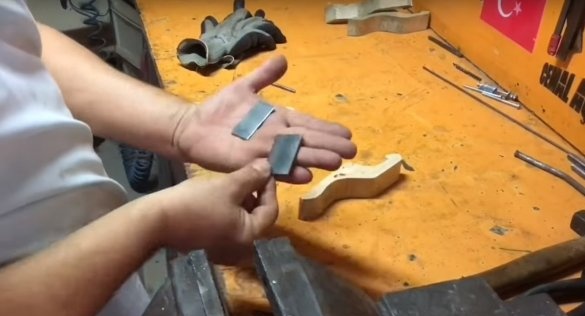
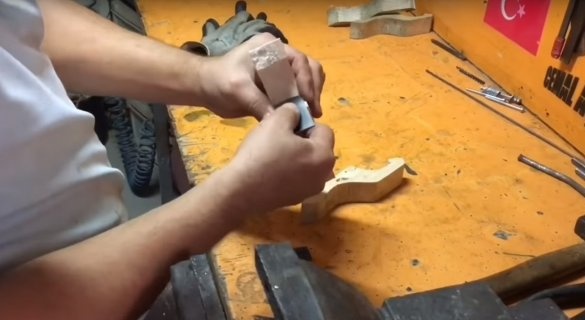
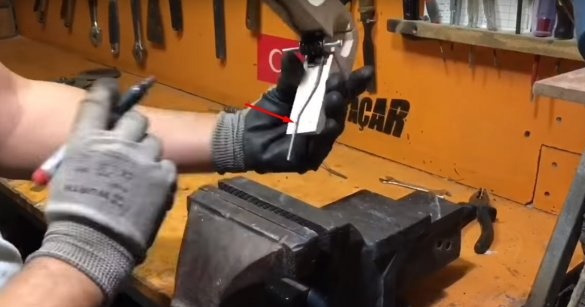
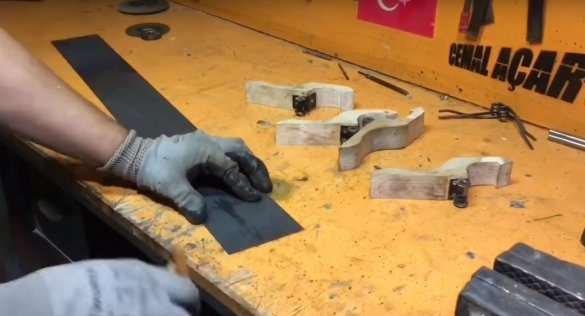
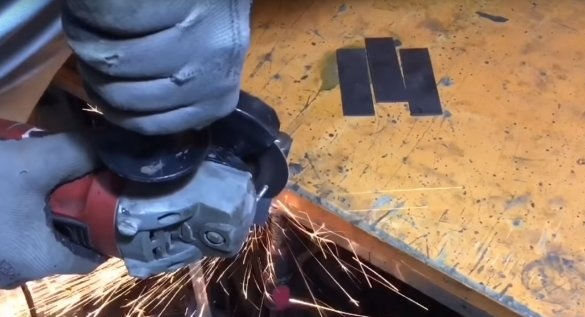
Then, two rectangular blanks are cut from sheet metal.
The width of one of the plates is equal to the width of the wooden blank, and the second plate should be slightly narrower than the previous one.
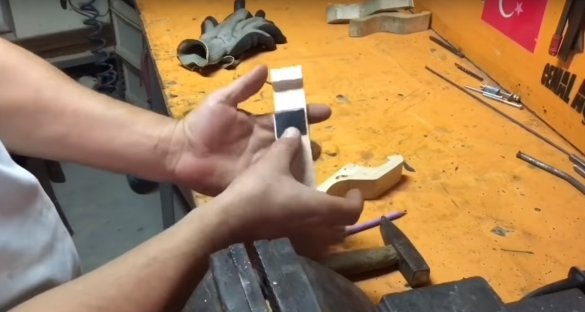
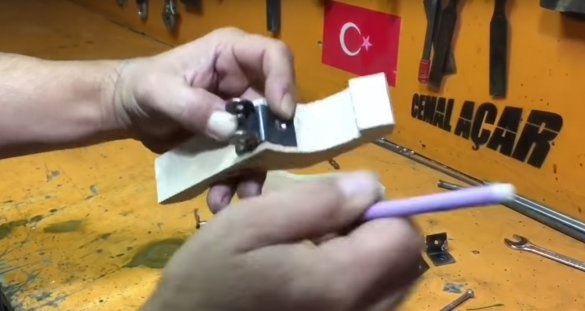
Fitting.
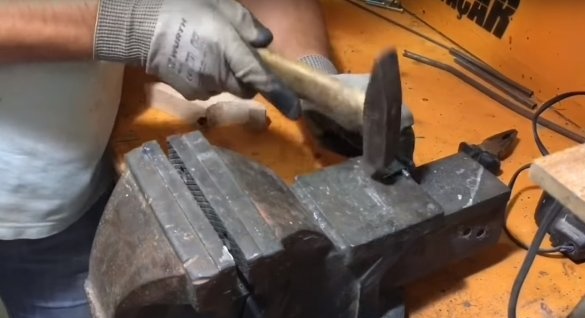
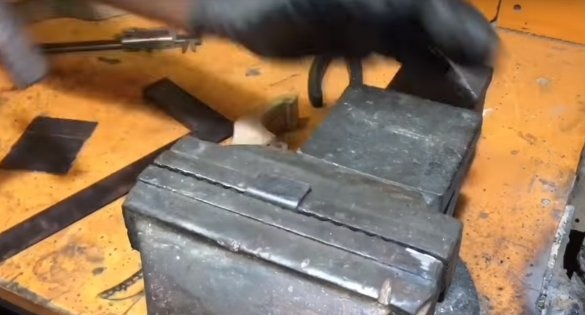
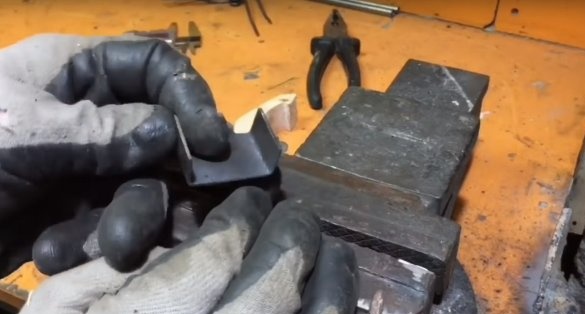
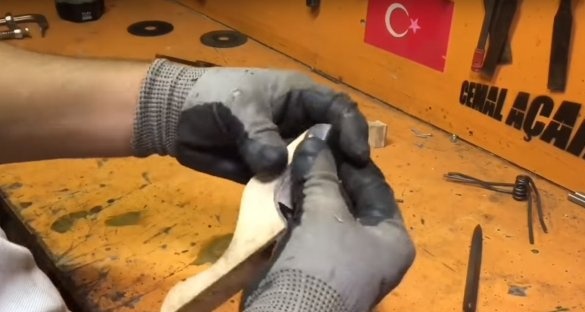
And bending the plates at an angle of about 90 degrees.
Trying on again.
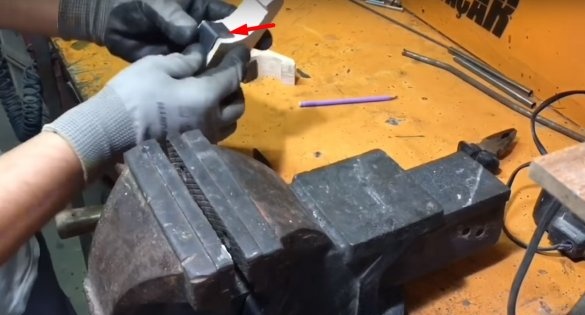
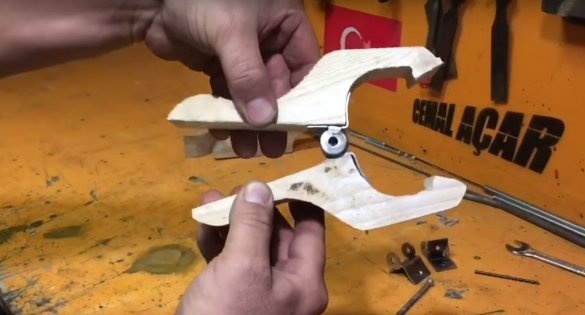
And a slight bend of the plate, in the shape of a wooden blank.
It turned out something like this.
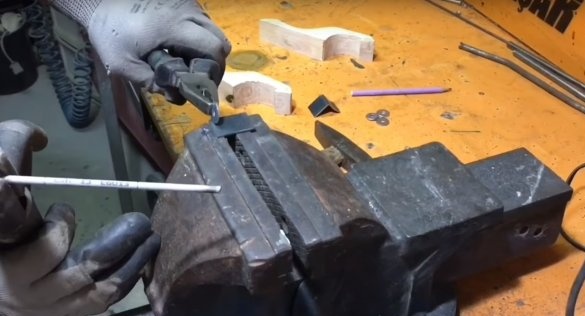
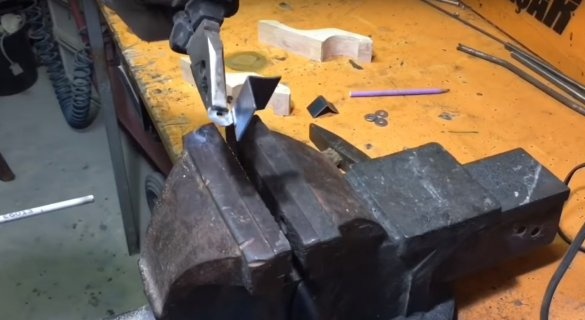
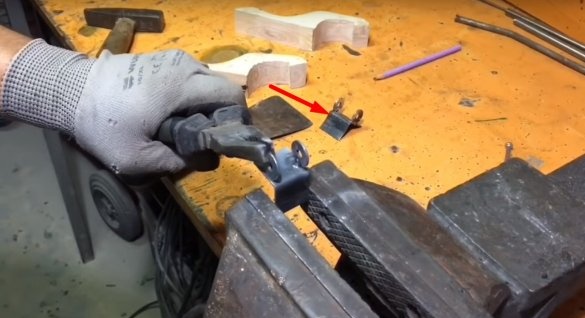
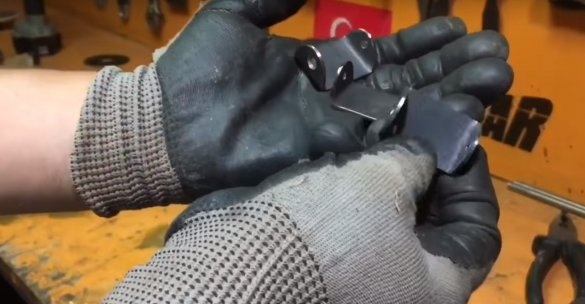
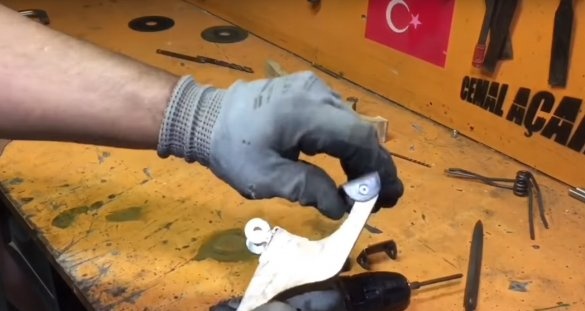
Further, the master will weld a pair of washers on the resulting corners.
Like this.
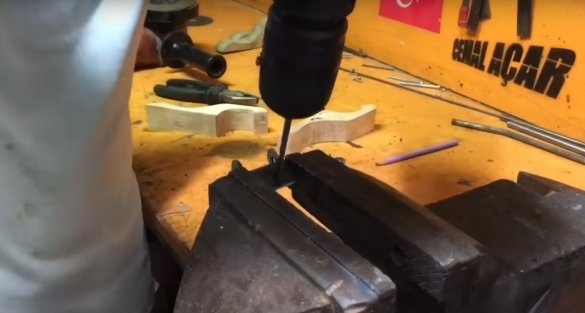
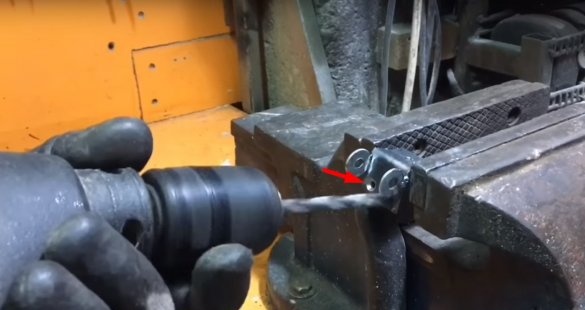
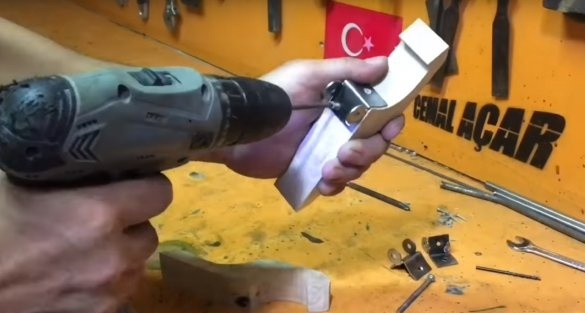
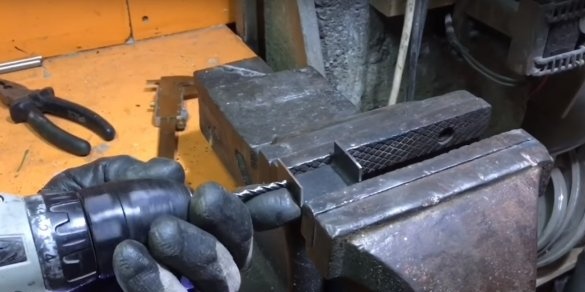
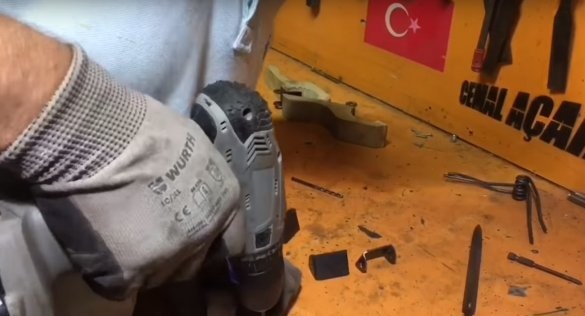
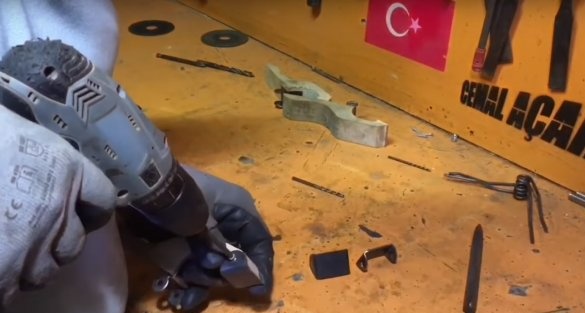
After the corner on the curved wall, the author will make one hole.
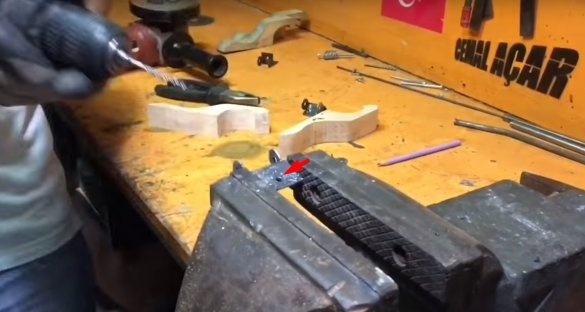
And on a flat wall there are two holes.
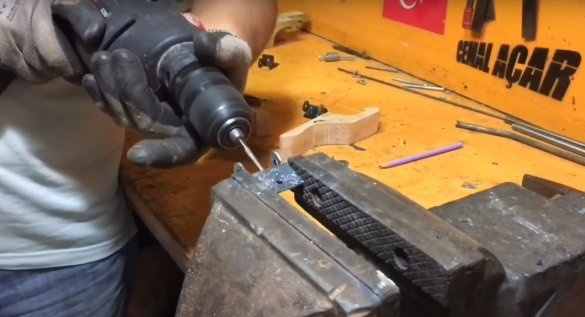
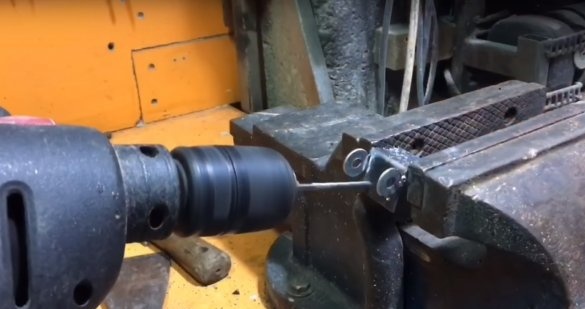
Then with a drill of a larger diameter, it will make not large recesses under the caps of the screws.
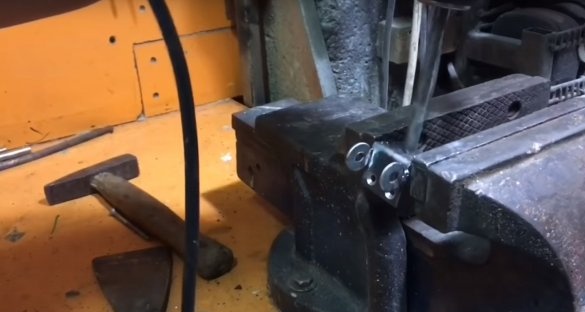
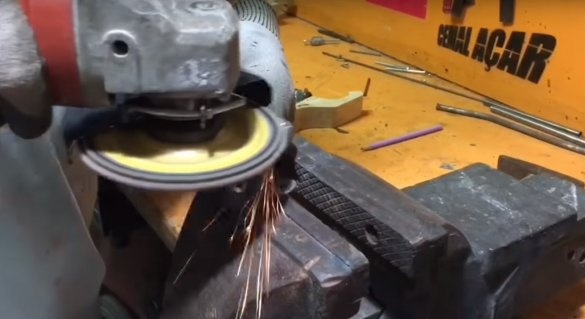
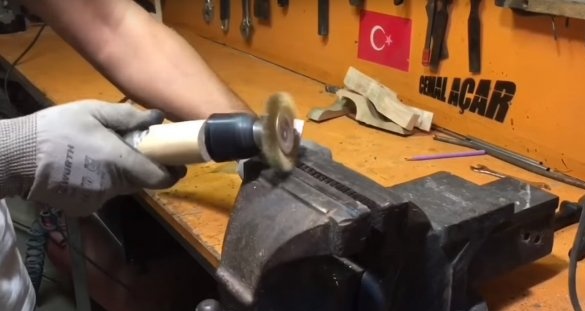
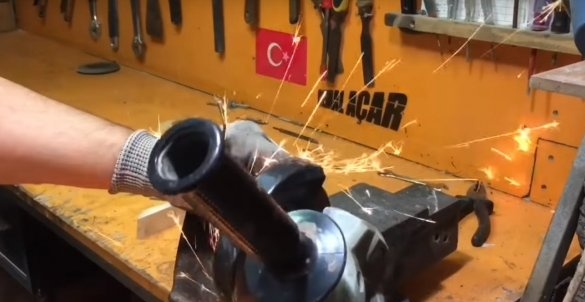
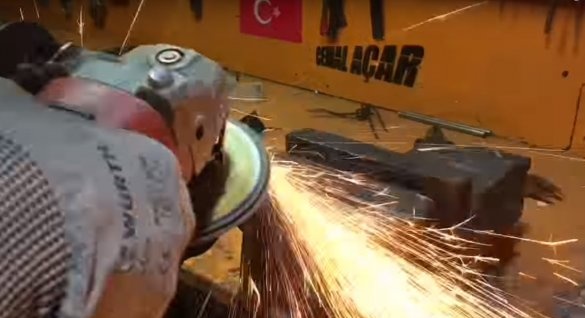
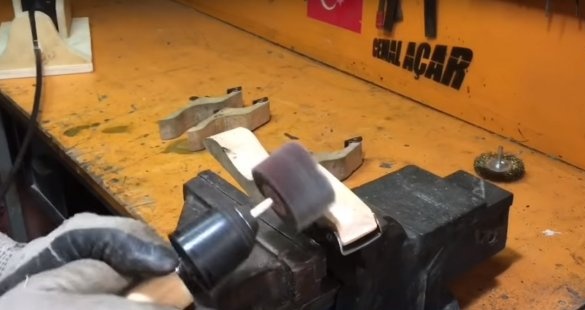
Then it will process welds well.
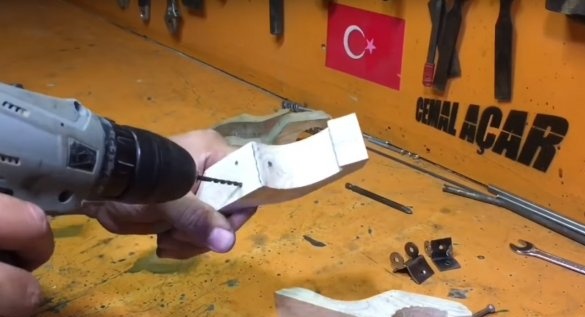
After that, in wooden workpieces, he will make holes for the screws.
And set the corners in place, fixing them with screws.
The result at this stage.
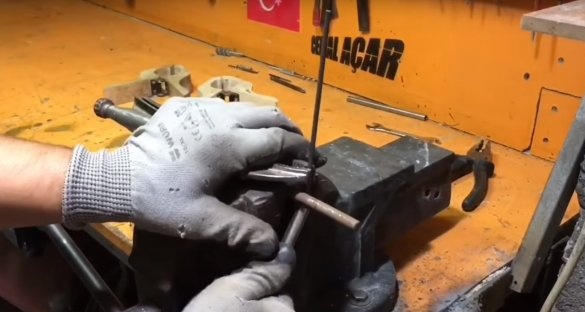
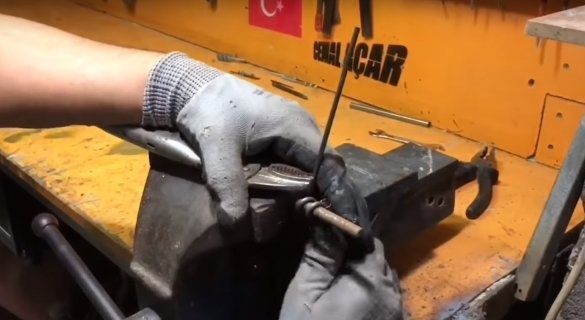
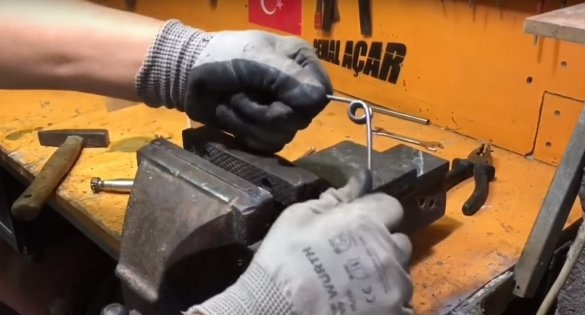
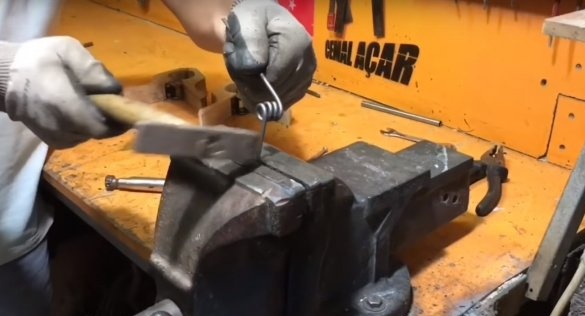
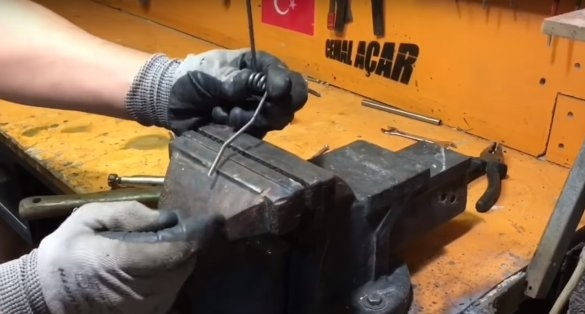
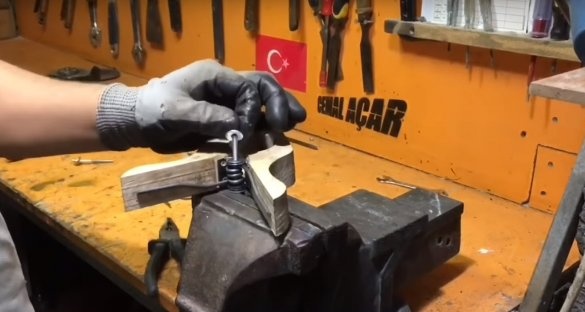
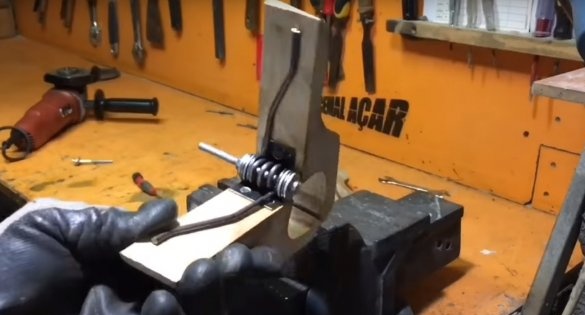
Next, the master will make a spring.
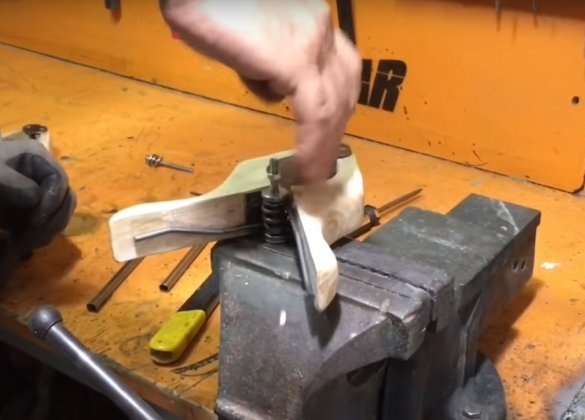
Then slightly bending the edges of the spring.
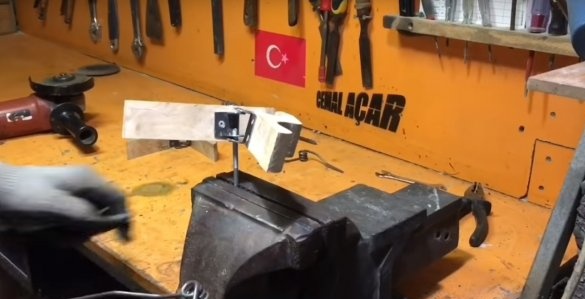
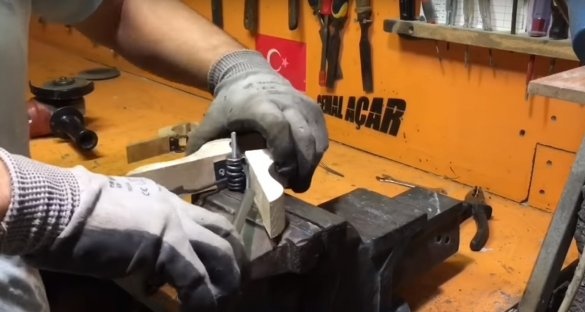
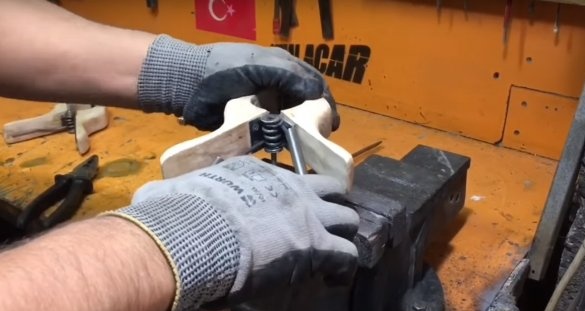
Install it in place, fixing it with a bolt.
After notes.
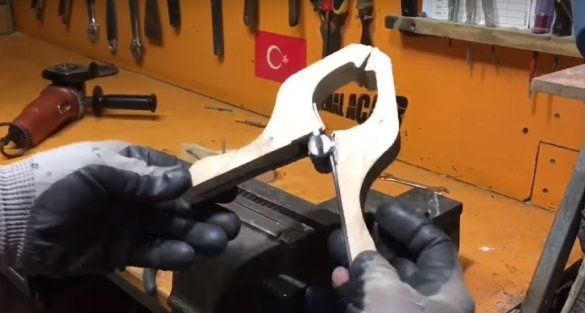
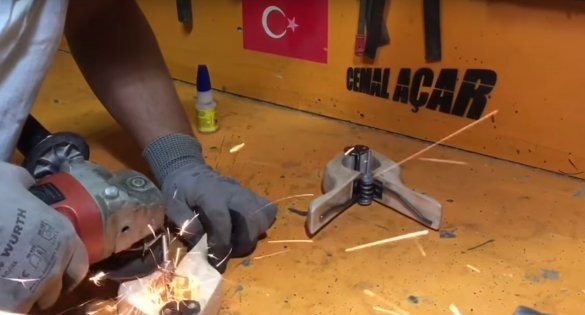
And cut off the excess by removing the spring from the clamp.
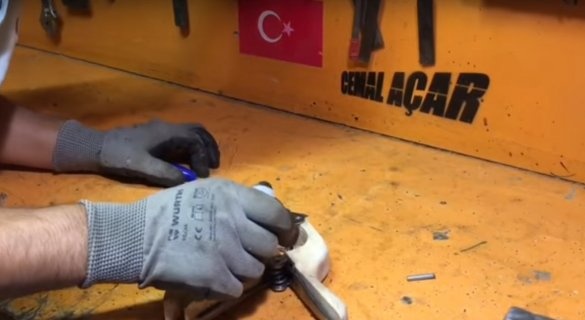
Then install it back (to check the health).
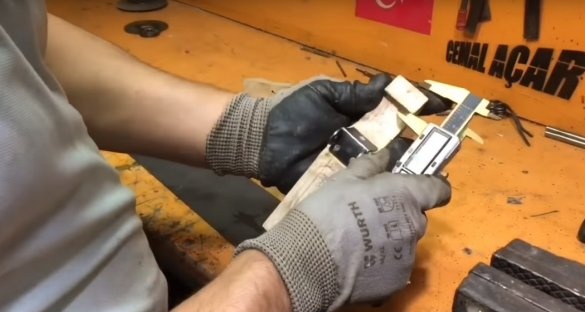
Then he took measurements of the clamping part, the wooden workpiece.
And from sheet metal, made sponges for clamping.
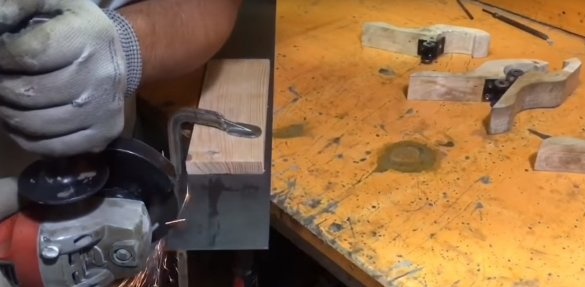
Having cut off four strips of the necessary size.
Processed the edges of the cut.
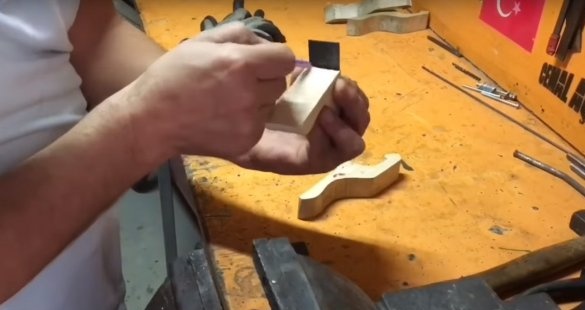
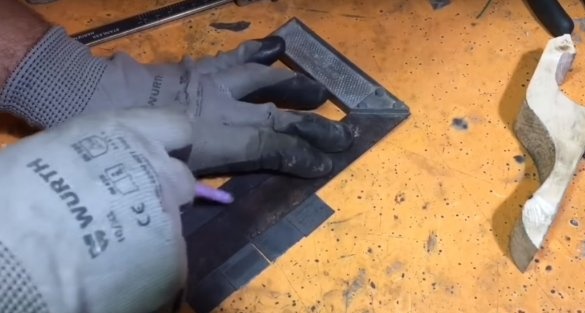
Made a markup.
And he curved the stripes, as shown in the photo.
Then on the side walls, made holes for mounting.
After rounded these walls.
Like this.
And set these details in their place.
Having fixed them with screws, having previously made holes in the wooden parts.
The screws that secured the parts were not specially tightened by the author so that the sponges made of metal could move.
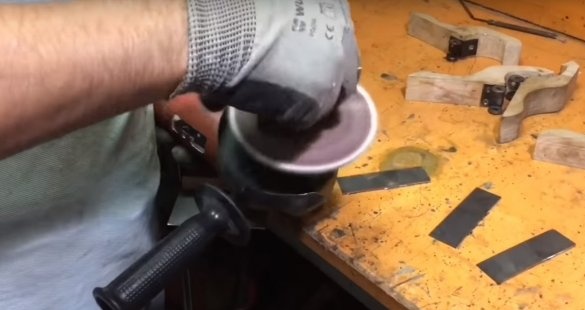
After sandpaper I processed the wooden parts.
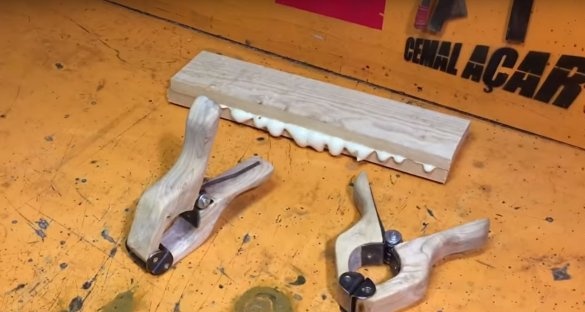
Assembled clamps.
Cut off the excess part of the connecting bolt.
Lubricated the moving parts with oil.
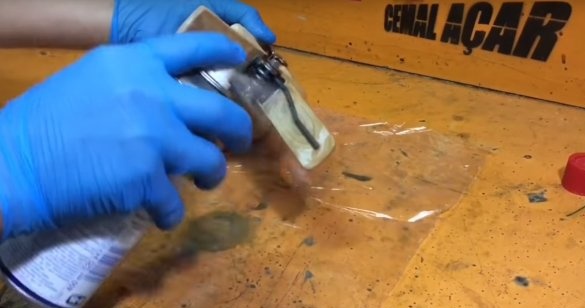
After processed all the surfaces of the WD-40.
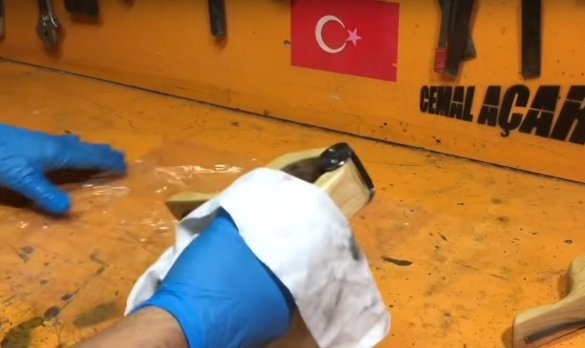
Then he took off the excess with a rag.
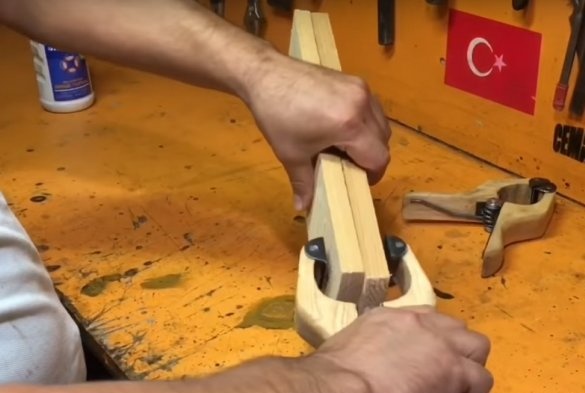
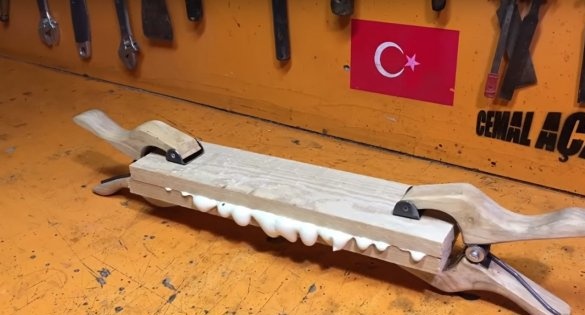
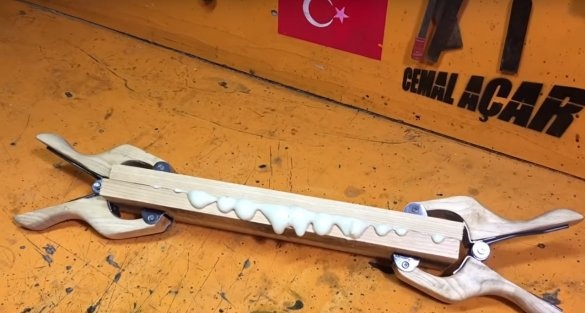
Now the test.
I want to say to the author, many thanks for the useful homemade.
And that’s all for me. Thank you all and see you soon.

