
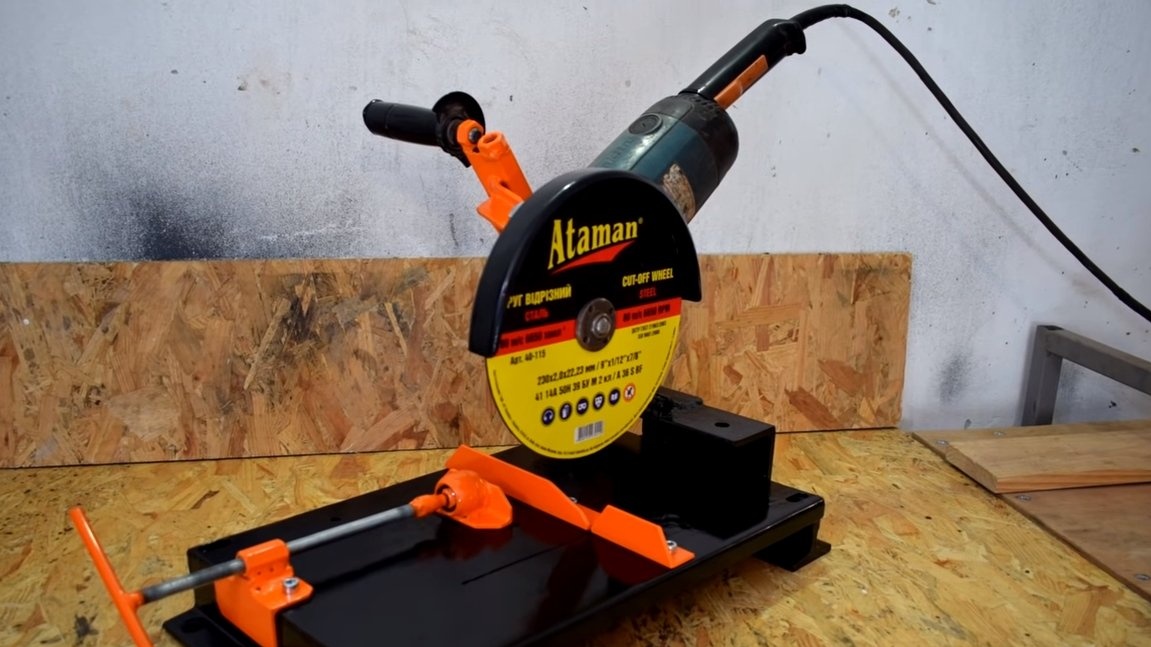
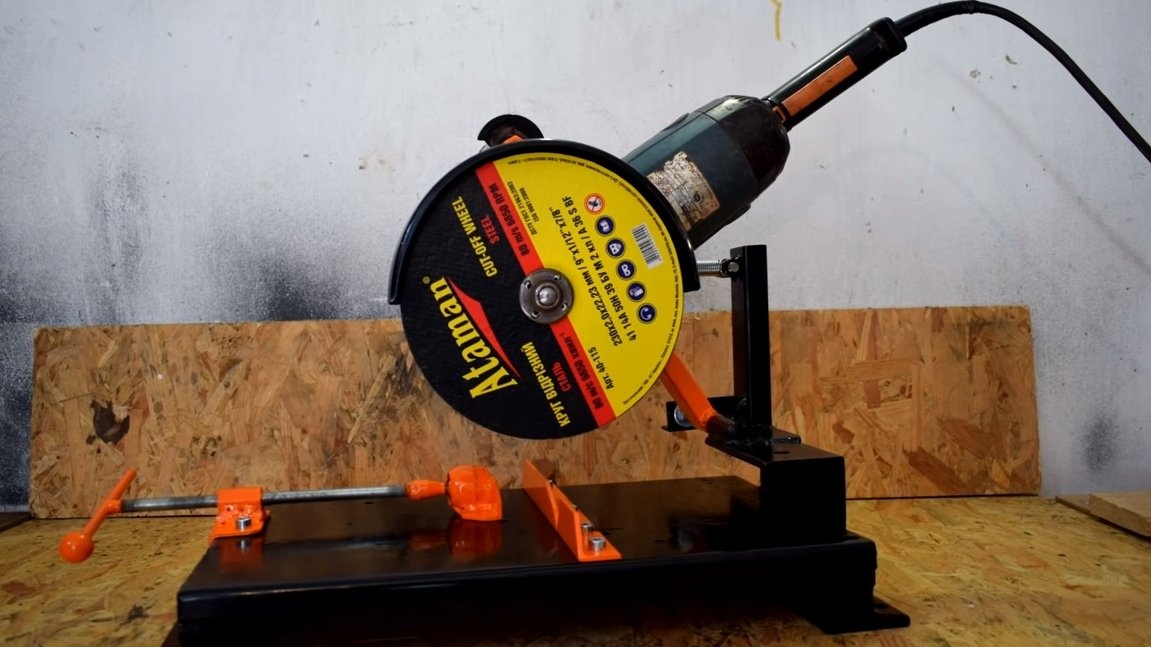
Greetings to fans to craft, today we will make a simple rack for the grinder. As a result, we get an excellent miter saw that will allow you to quickly, accurately and safely cut pipes and other materials. IN homemade There is a convenient clip for fixing the product. All of the available materials are assembled, the hinge is made of a door hinge, and in order to avoid backlash, the hinge is tightened with a bolt and nut. The homemade product is easy to assemble and reliable. If you are interested in the project, I propose to study it in more detail!
Materials and tools used by the author:
Material List:
- spring;
- door hinge;
- bolts and nuts;
- sheet metal for the base;
- channel, corner or other parts for legs;
- corner;
- profile pipes;
- ball joint, threaded rod, steel rod (for vise);
- paint for metal.
Tool List:
- ;
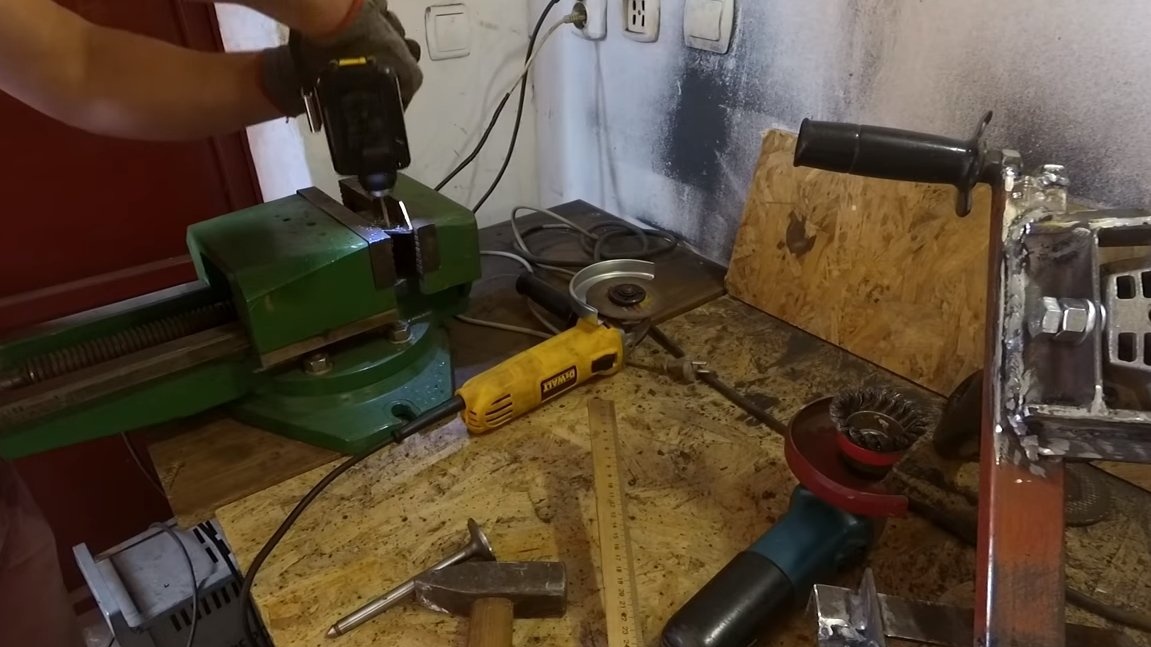
- drill;
- vise;
- ;
- marker;
- square;
- spanners.
Homemade manufacturing process:
Step one. The foundation
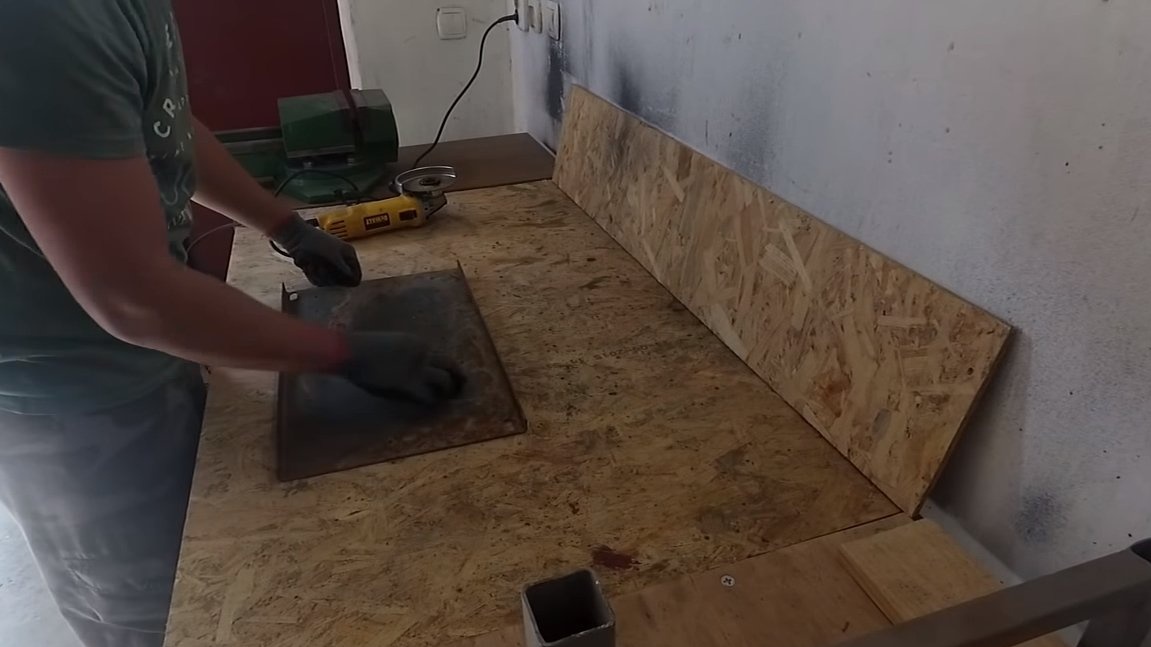
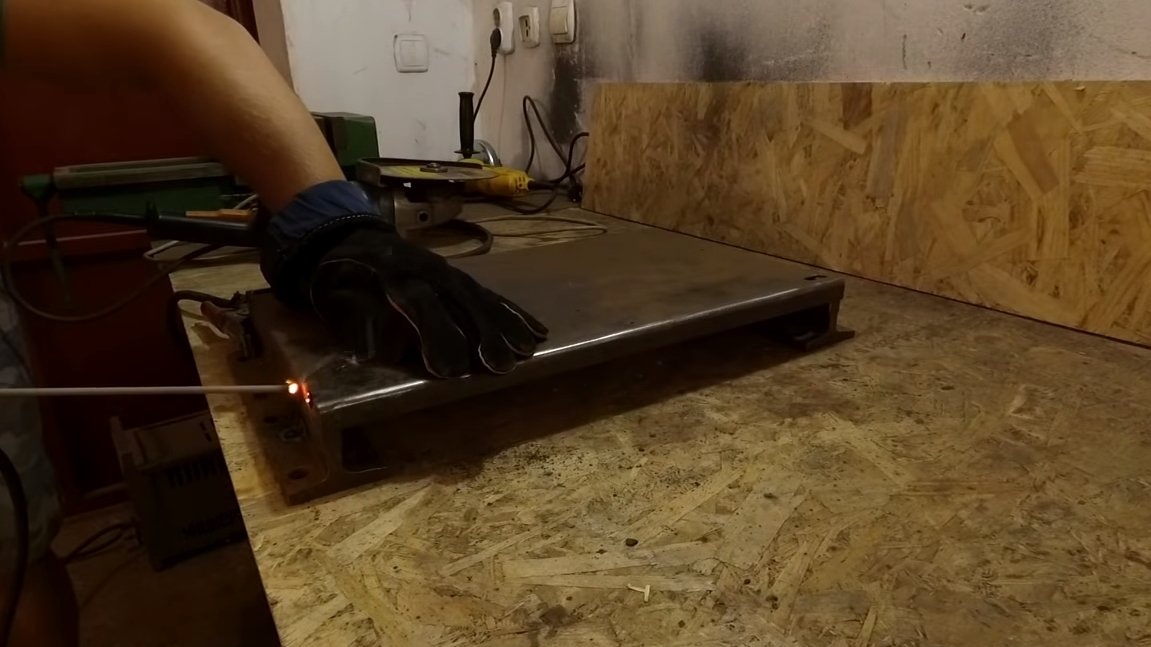
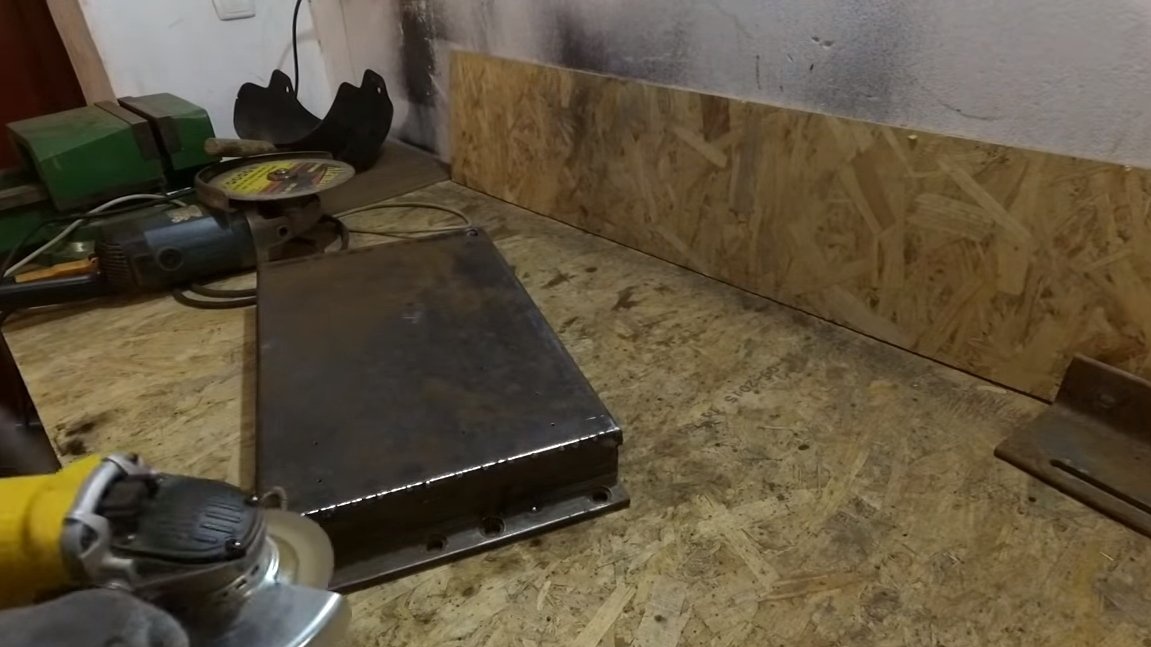
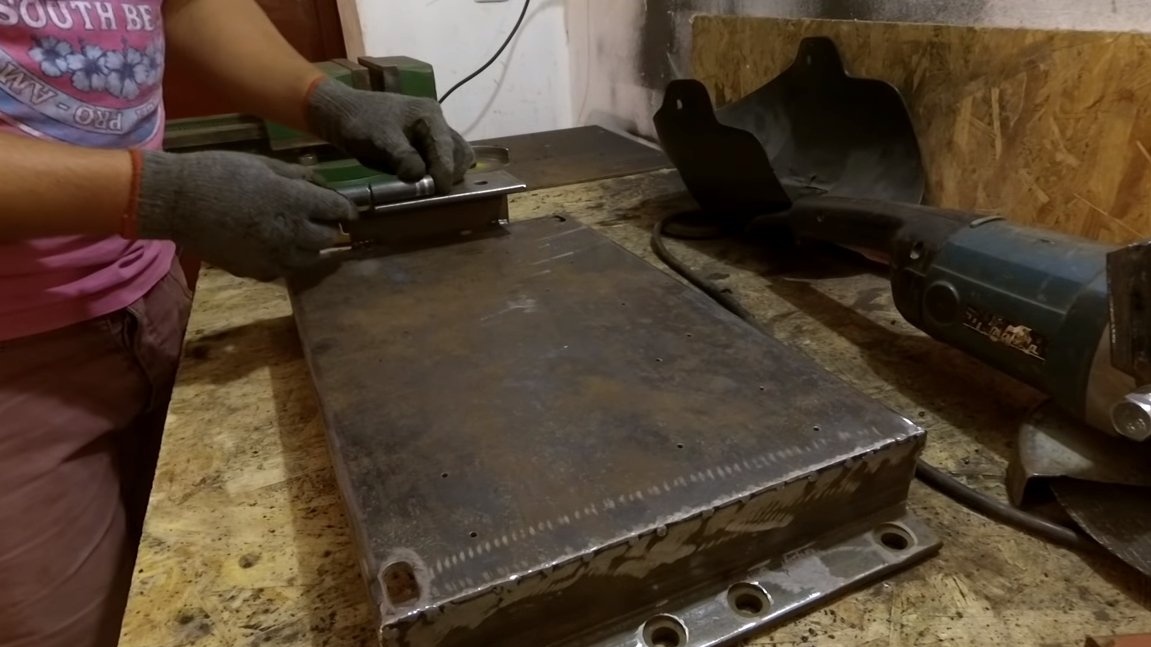
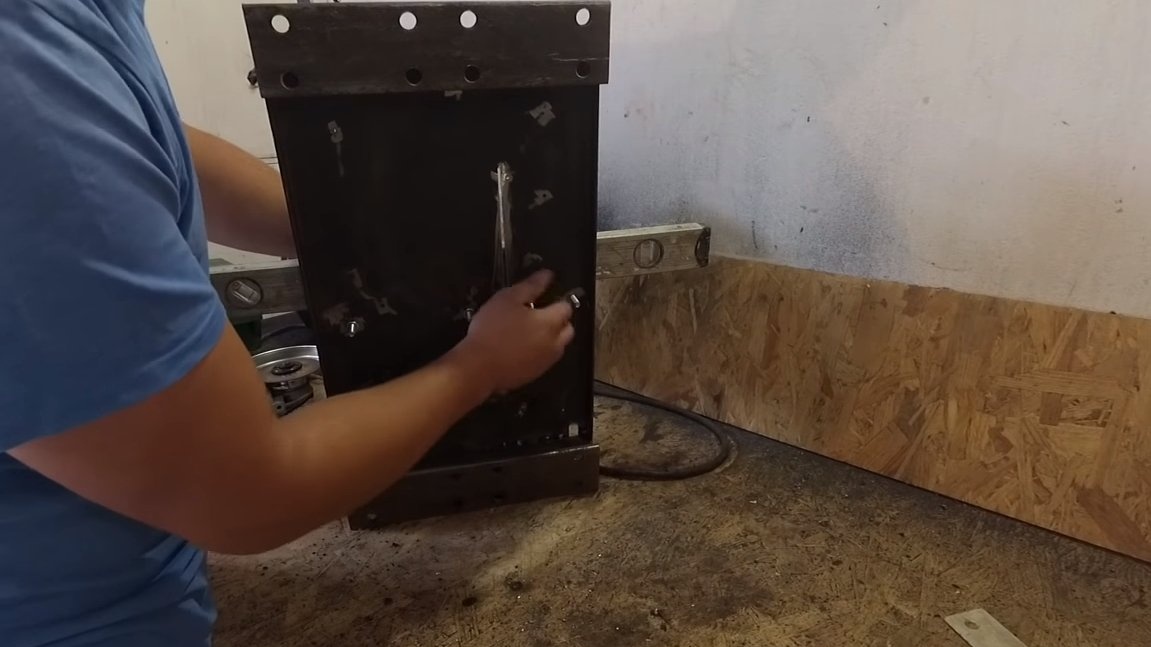
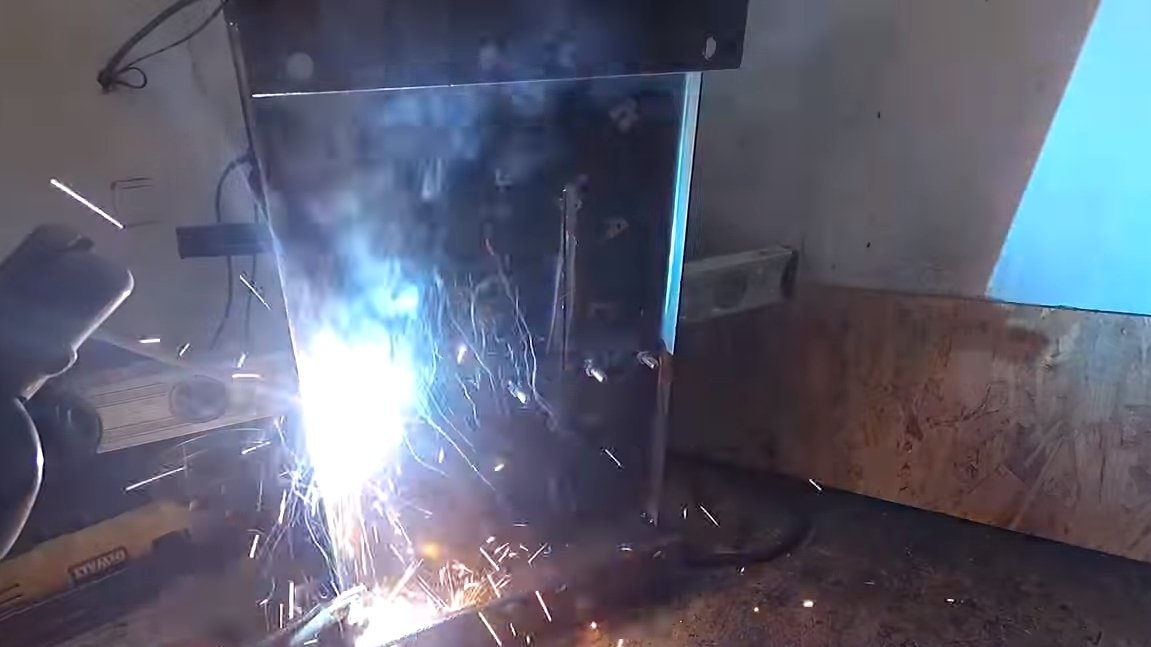
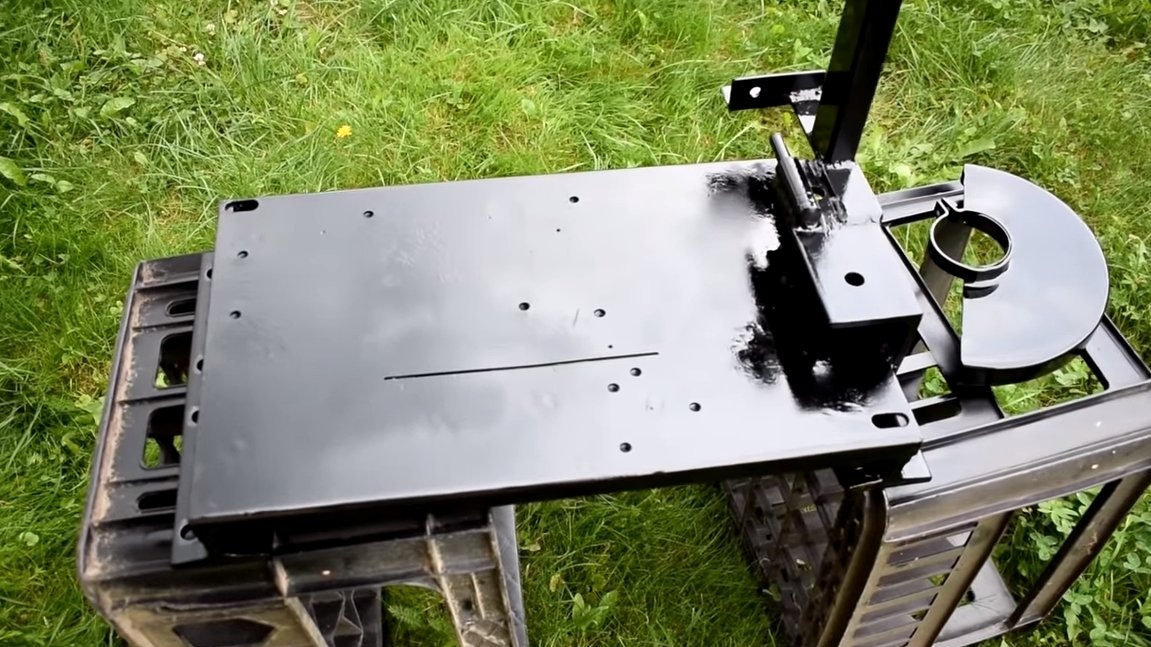
First of all, we will make the basis on which everything will be placed. Here we need sheet steel, cut it to the desired size. You can use stainless steel, such steel is quite strong, in the case of iron, it is better to take metal thicker.
For the base we make legs, here we need corners or other available materials. The legs should have holes for attaching the machine to the table. We clean the welds so that everything looks neat and there is nothing to scratch about.
Step Two Fasteners
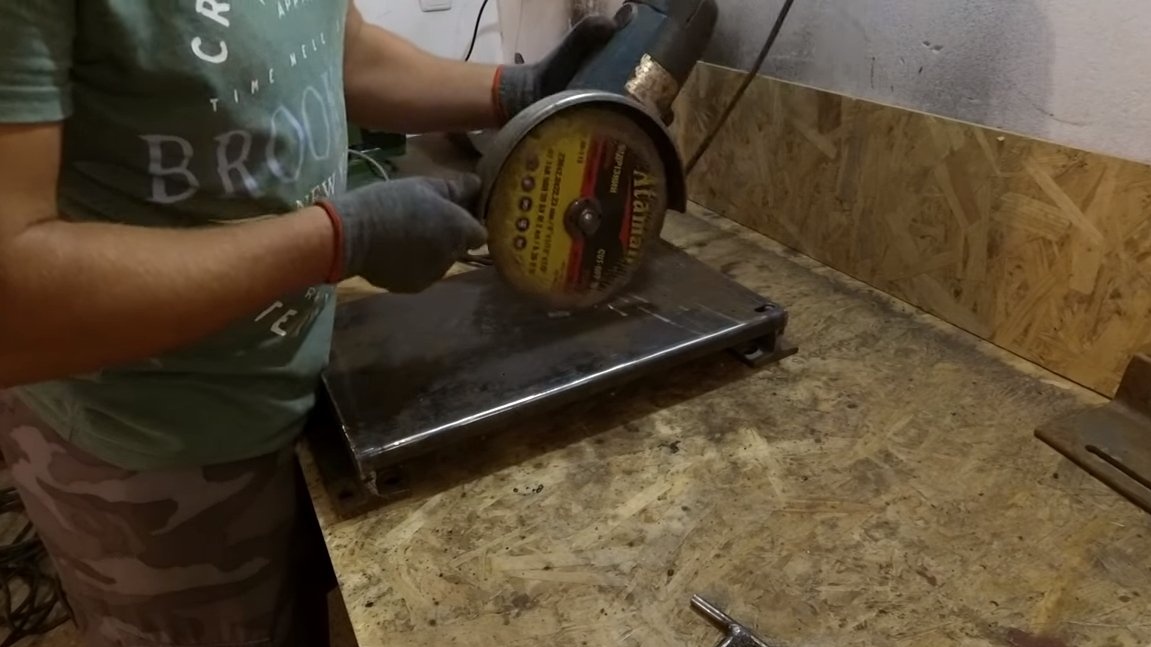
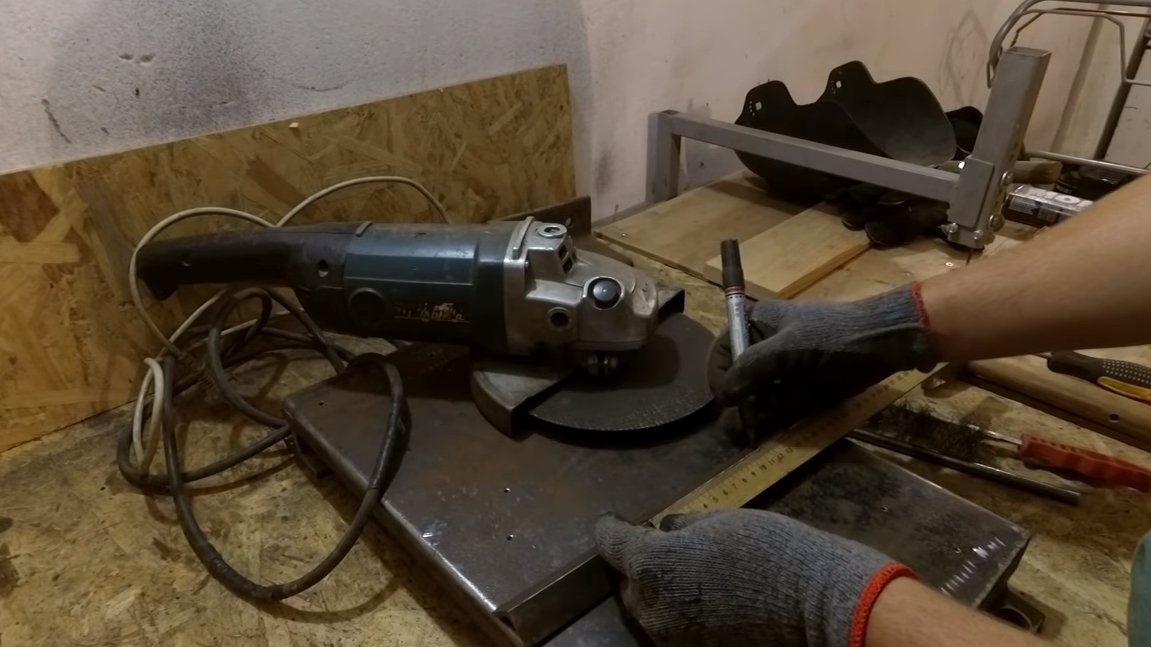
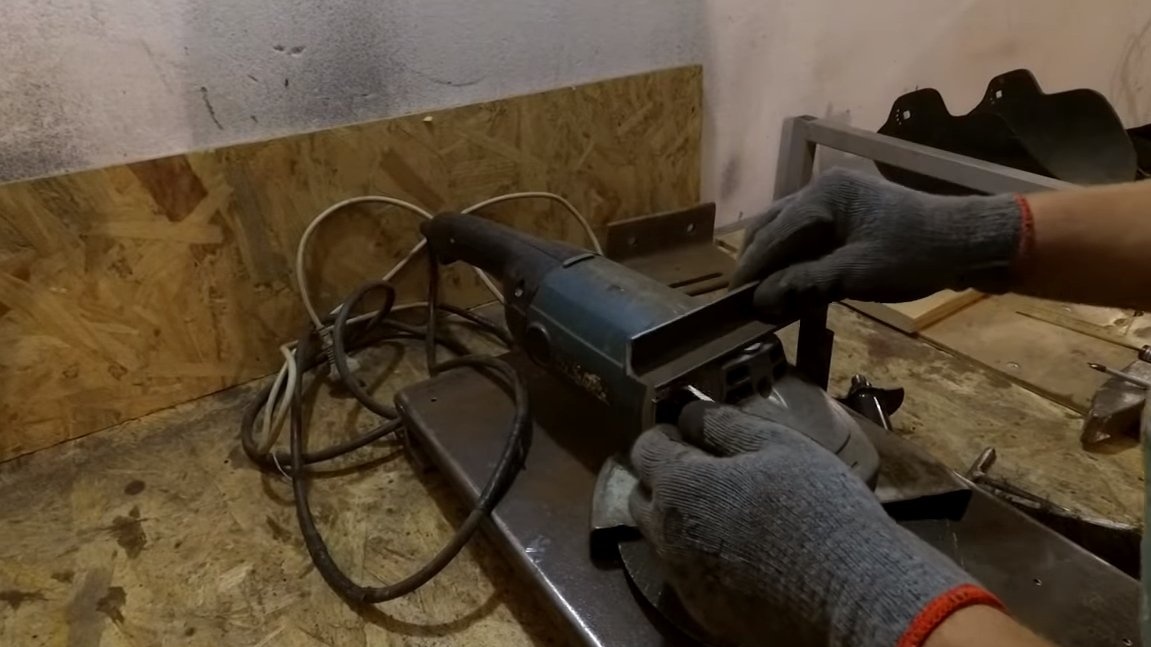
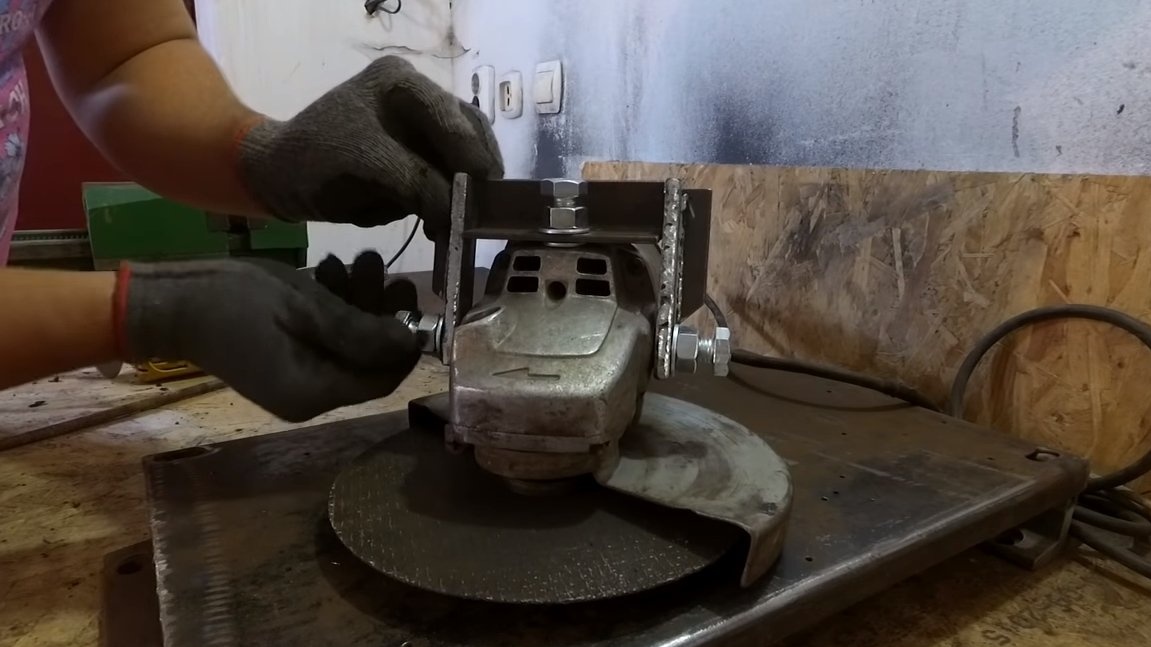
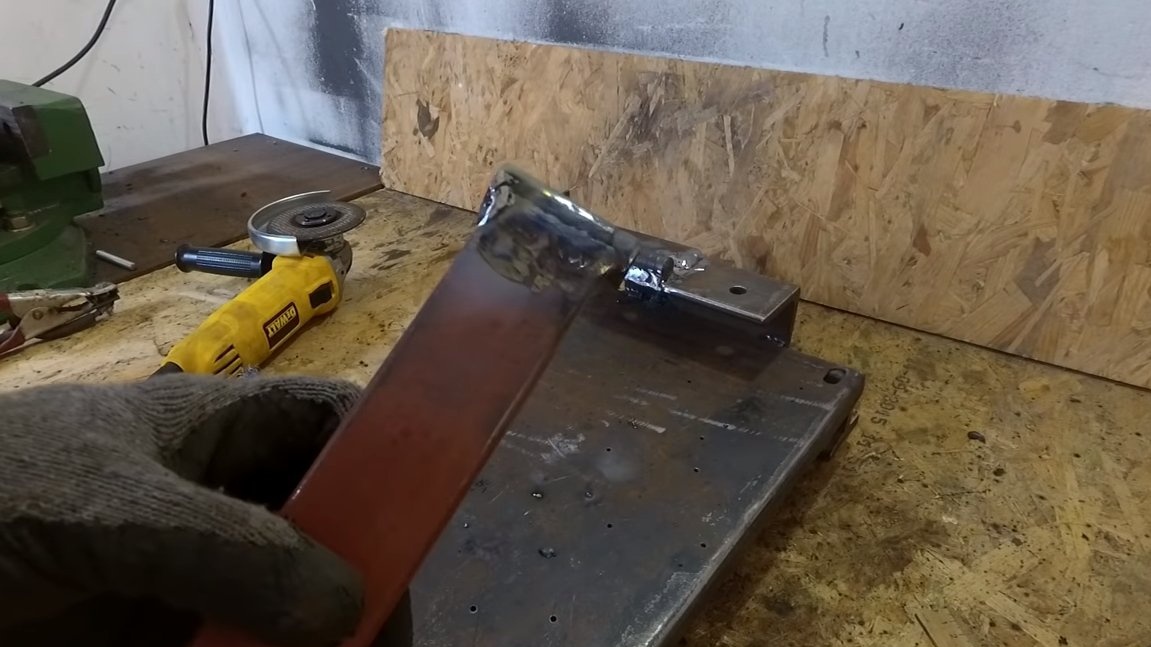
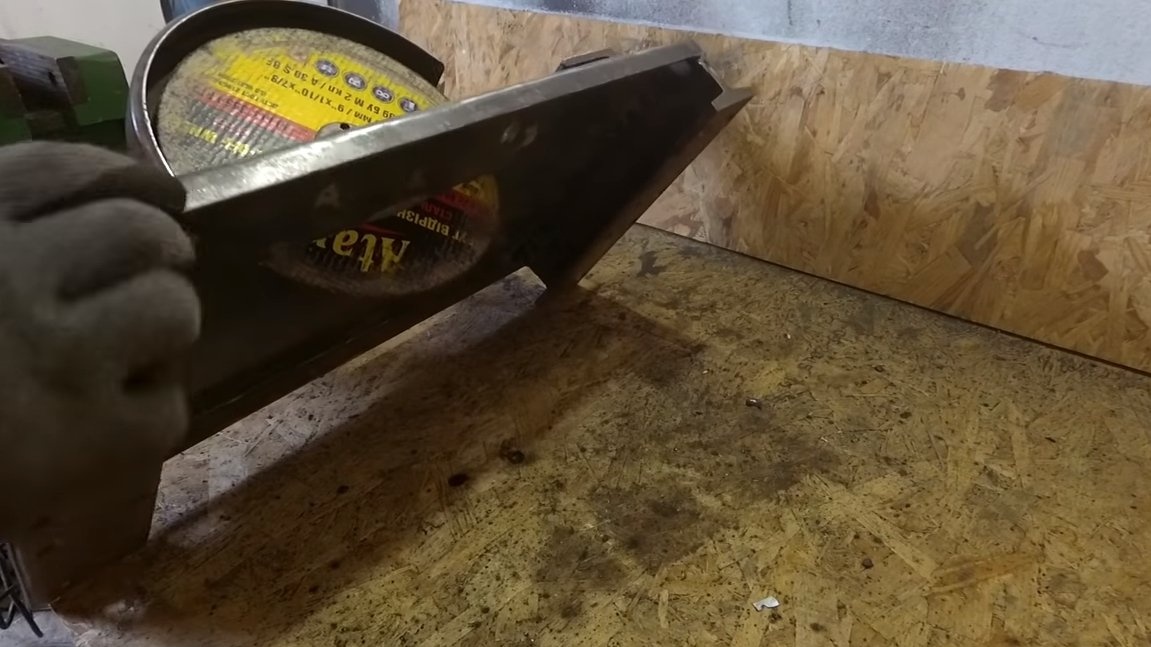
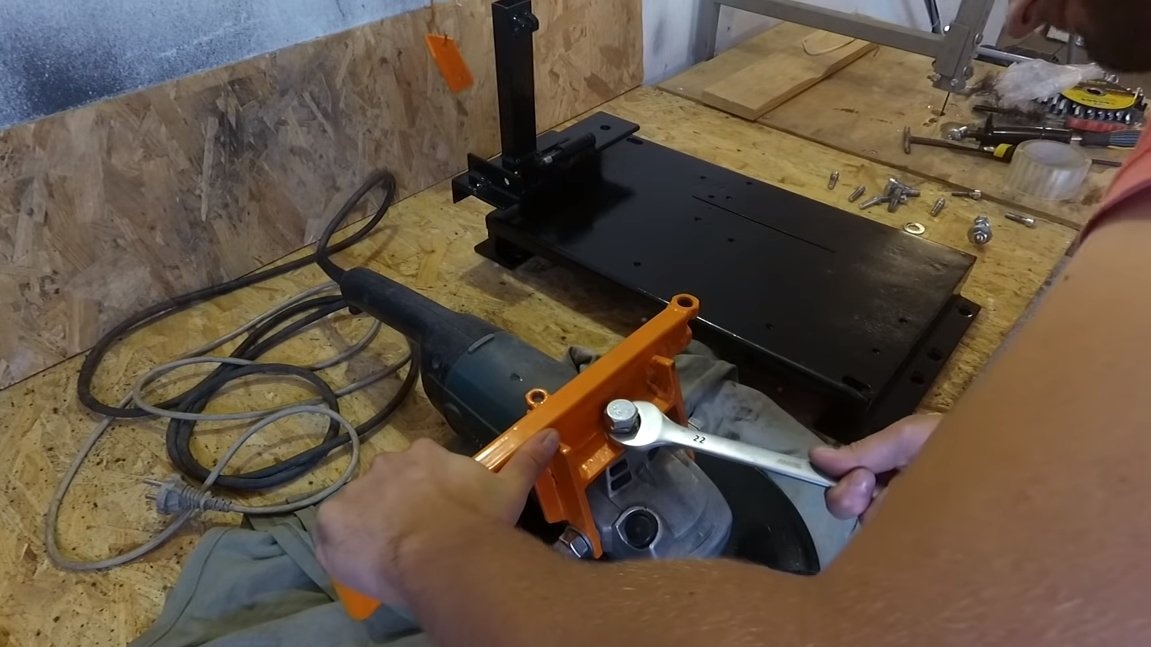
Next, we make fasteners for the grinder, and we will fasten it using the holes on the case into which the handle is wrapped. As a material, we use an iron corner, cut it, customize and drill holes for fixing bolts. Next, we fasten the blanks to the grinder and now in place they can be grabbed by welding. Next, remove the fasteners and boil well.

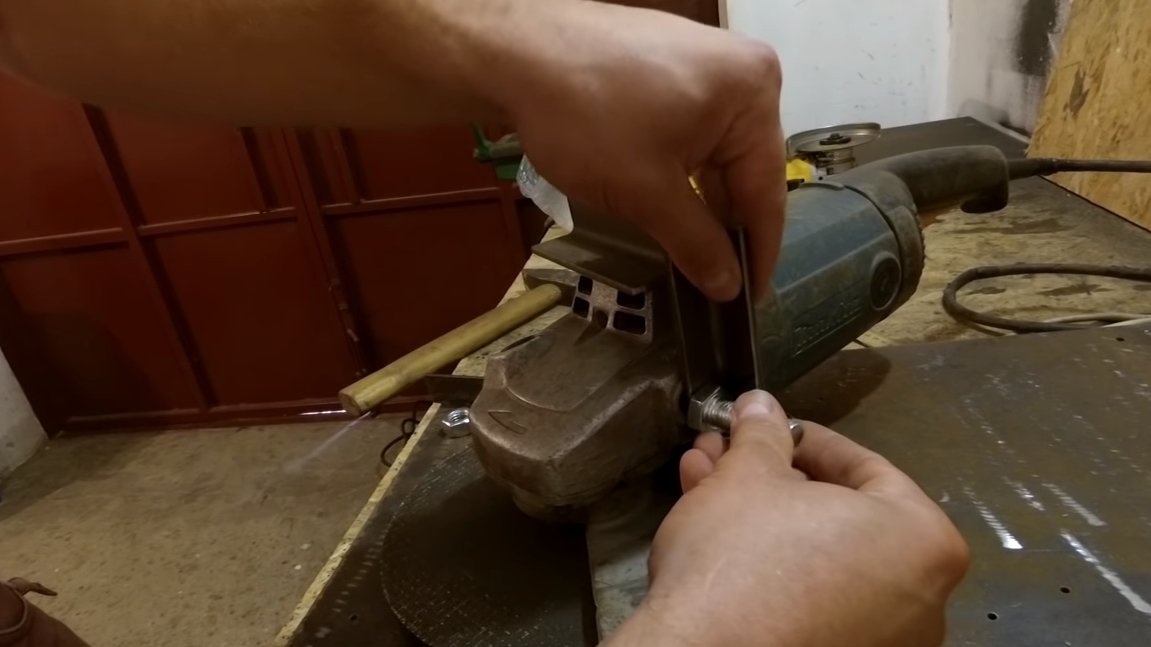
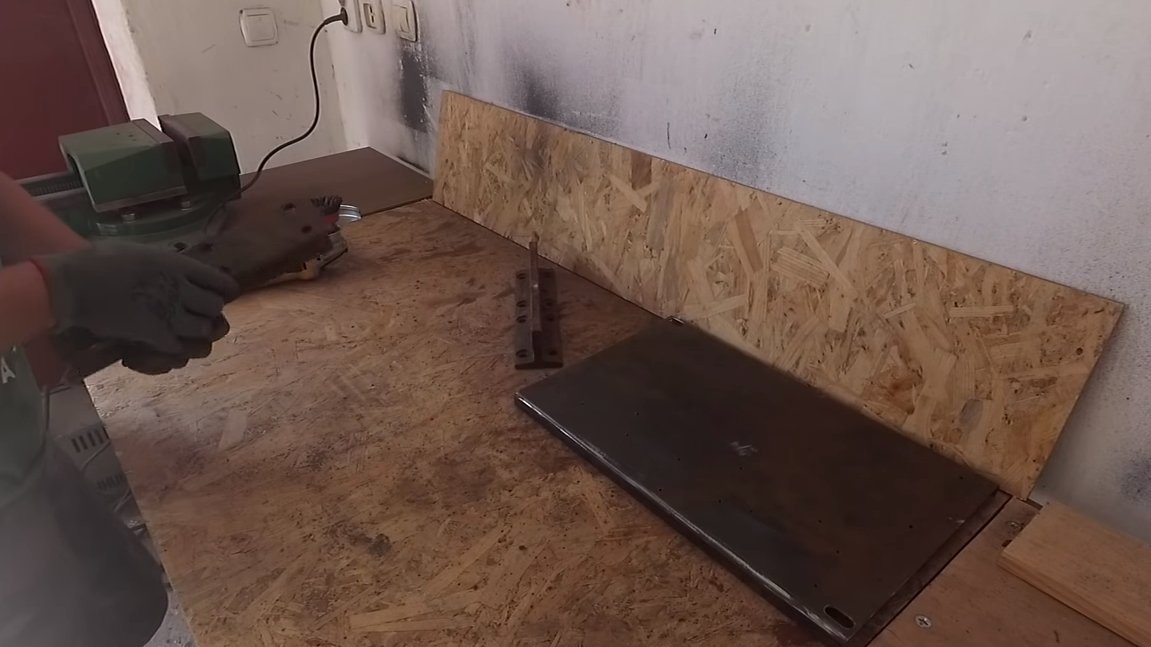
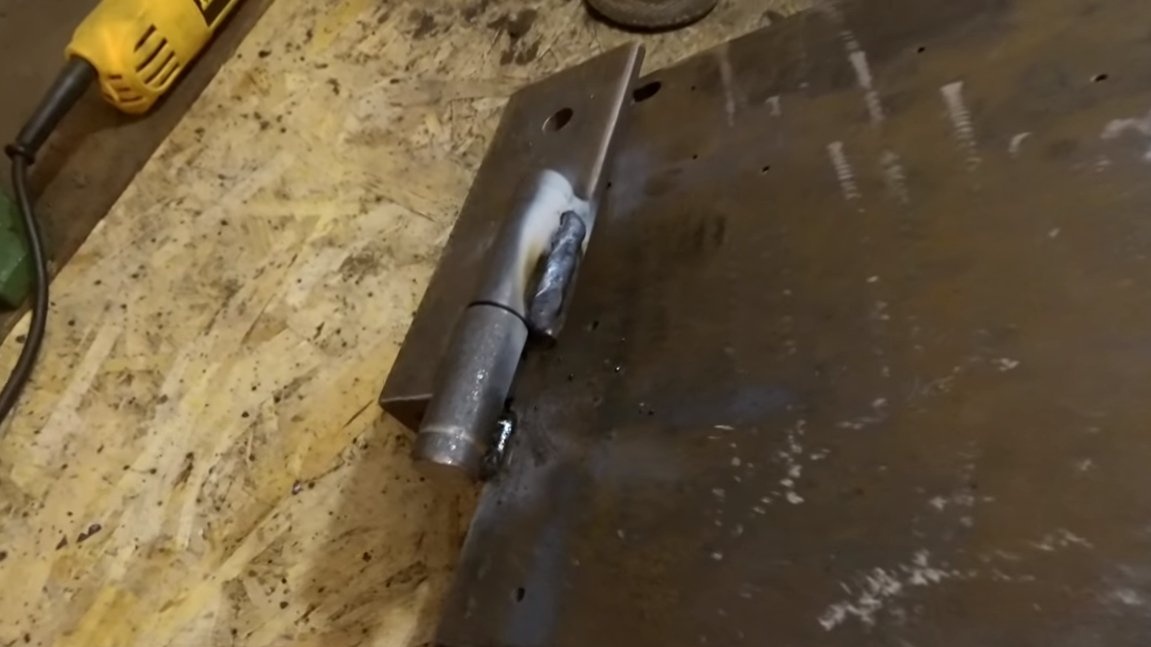
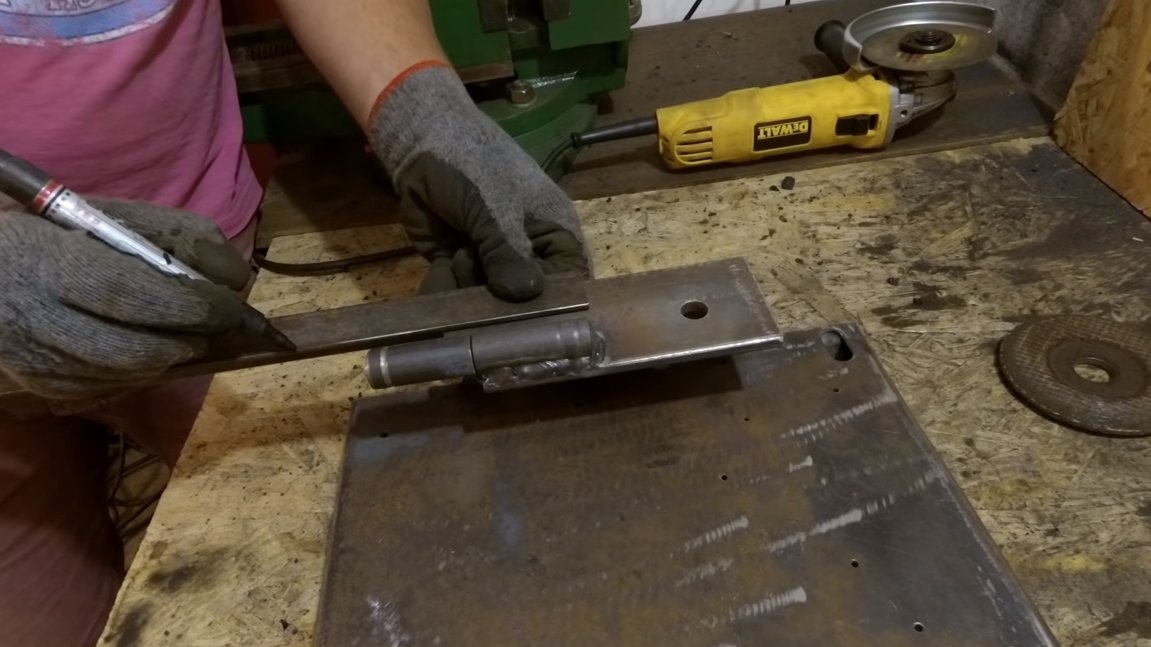
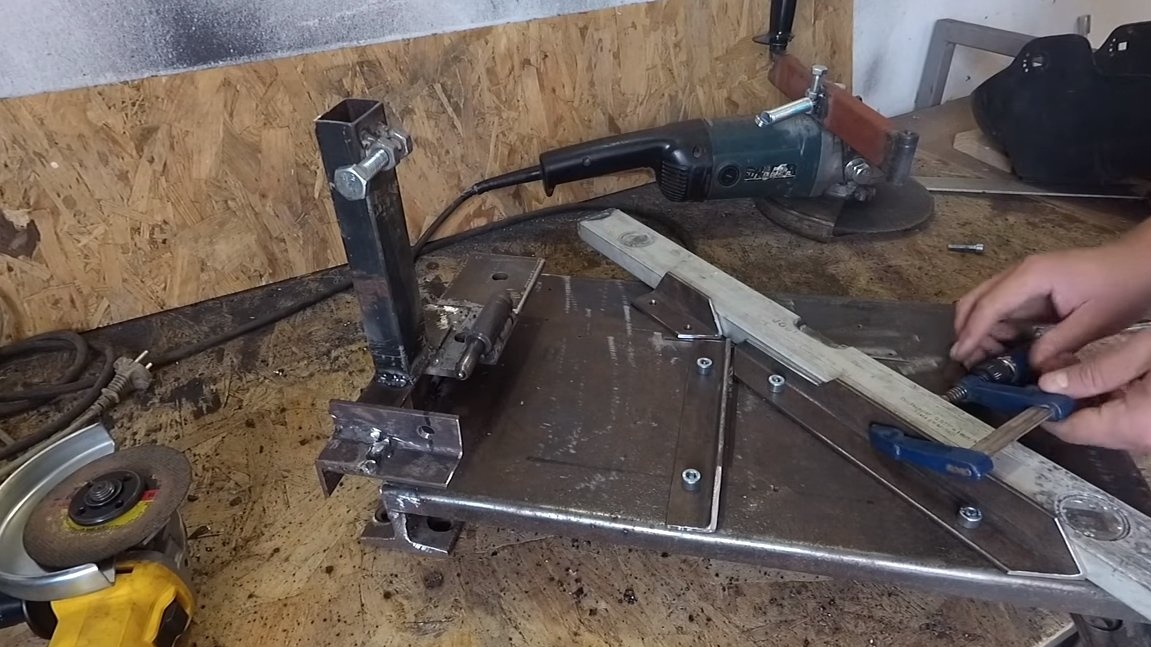
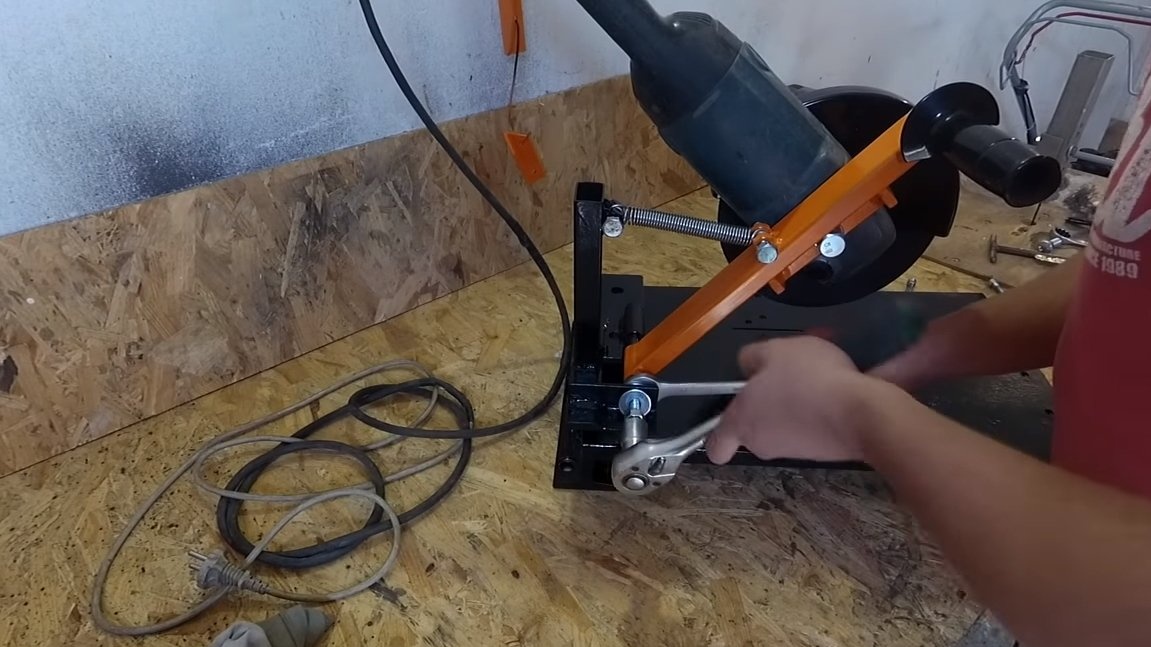
Step Three Hinge
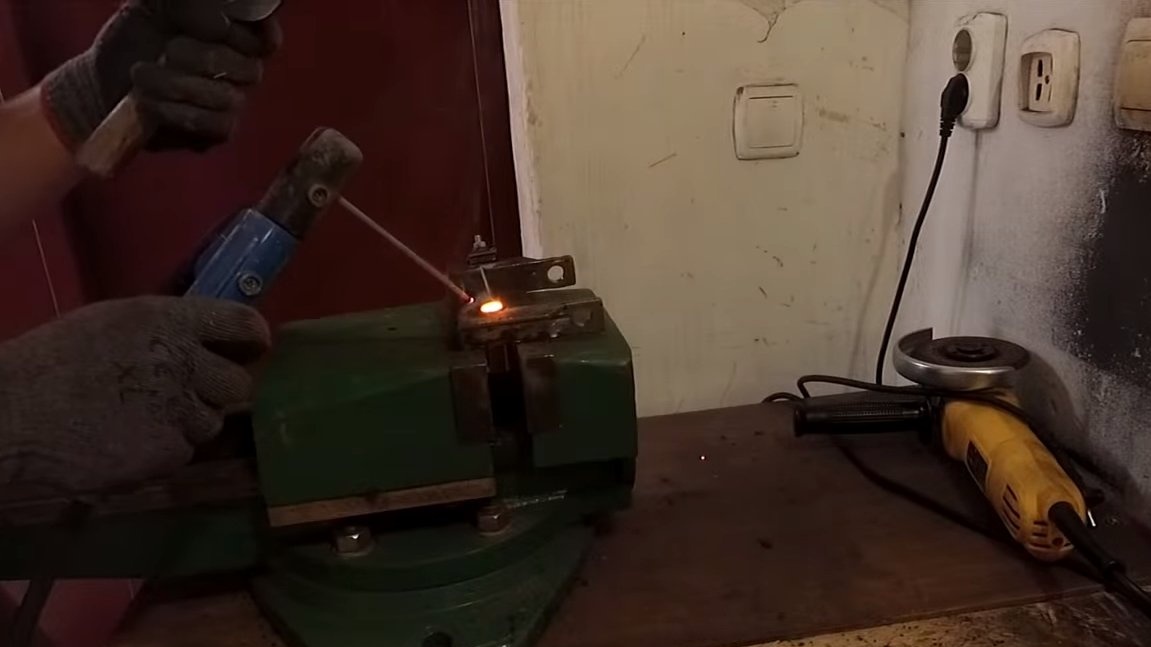
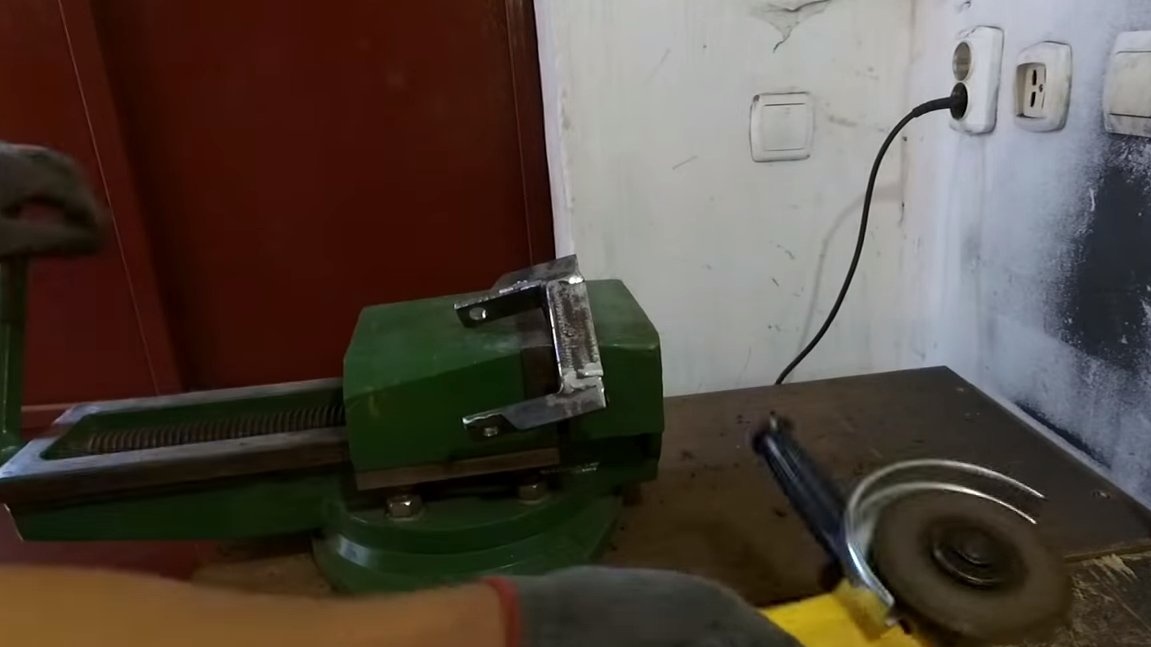
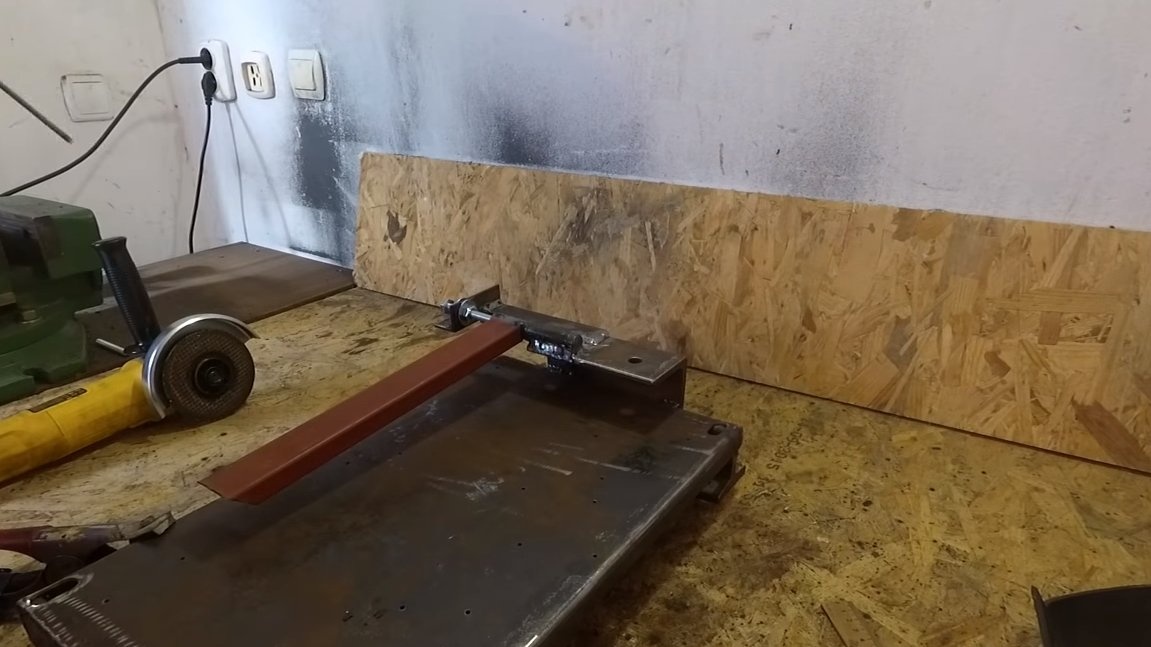
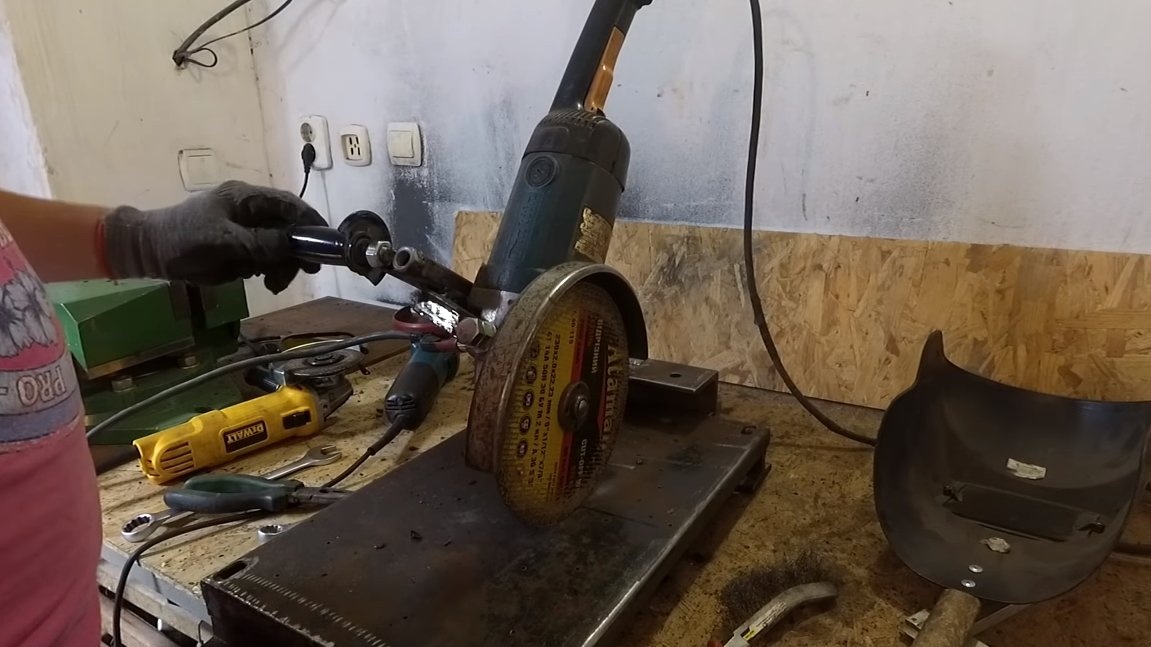
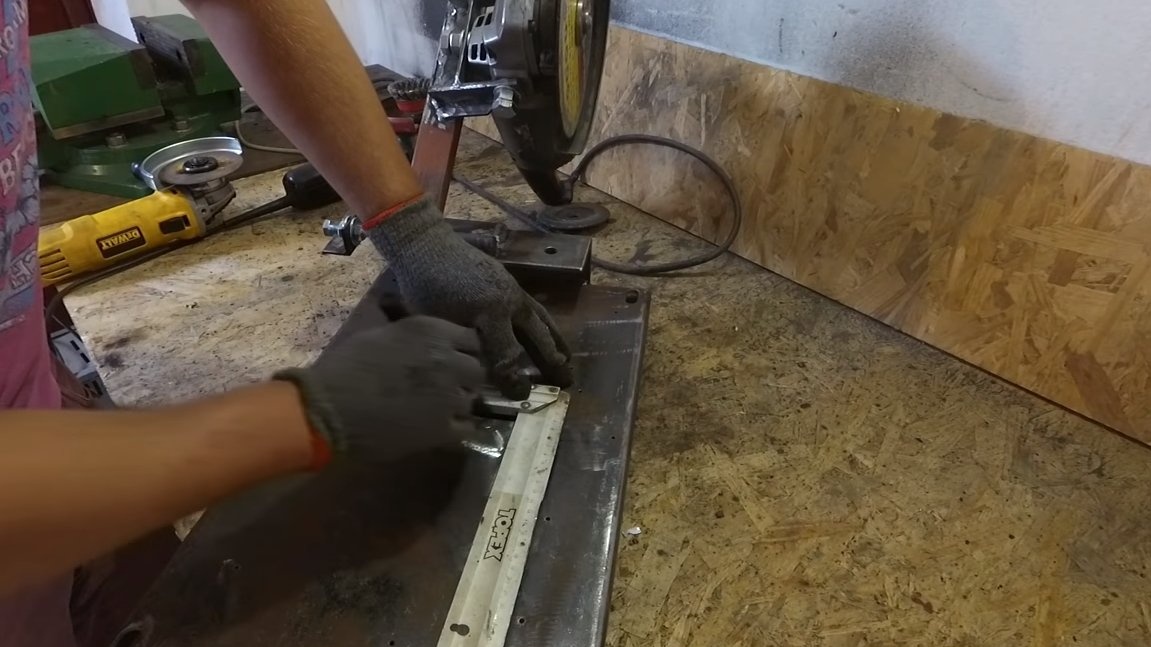
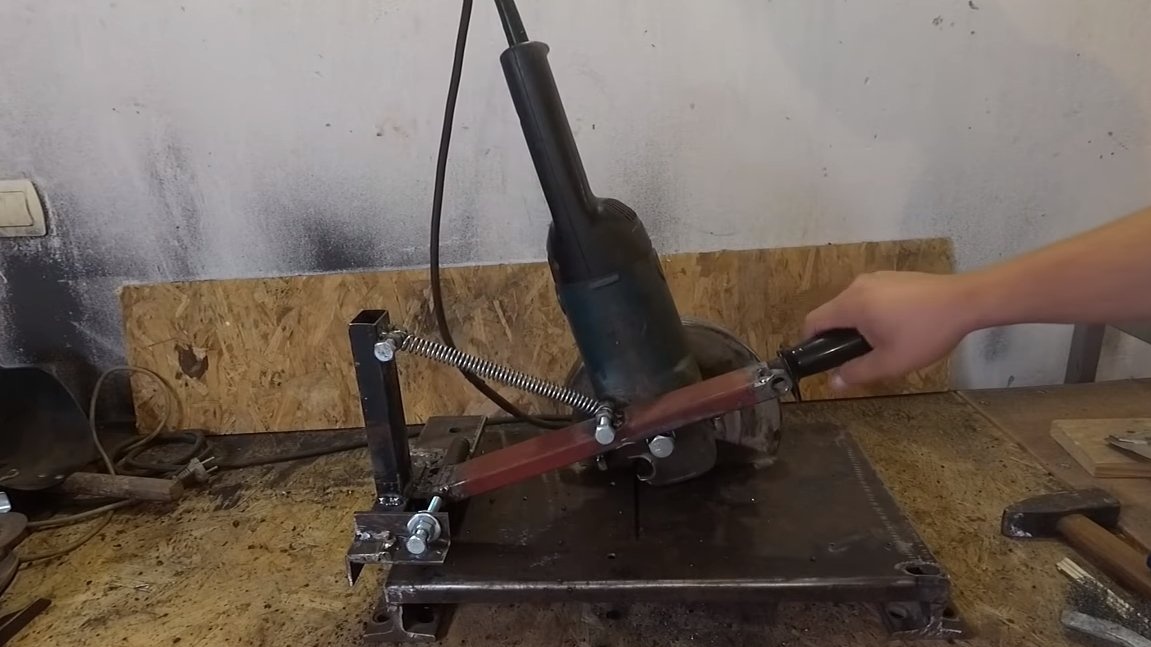
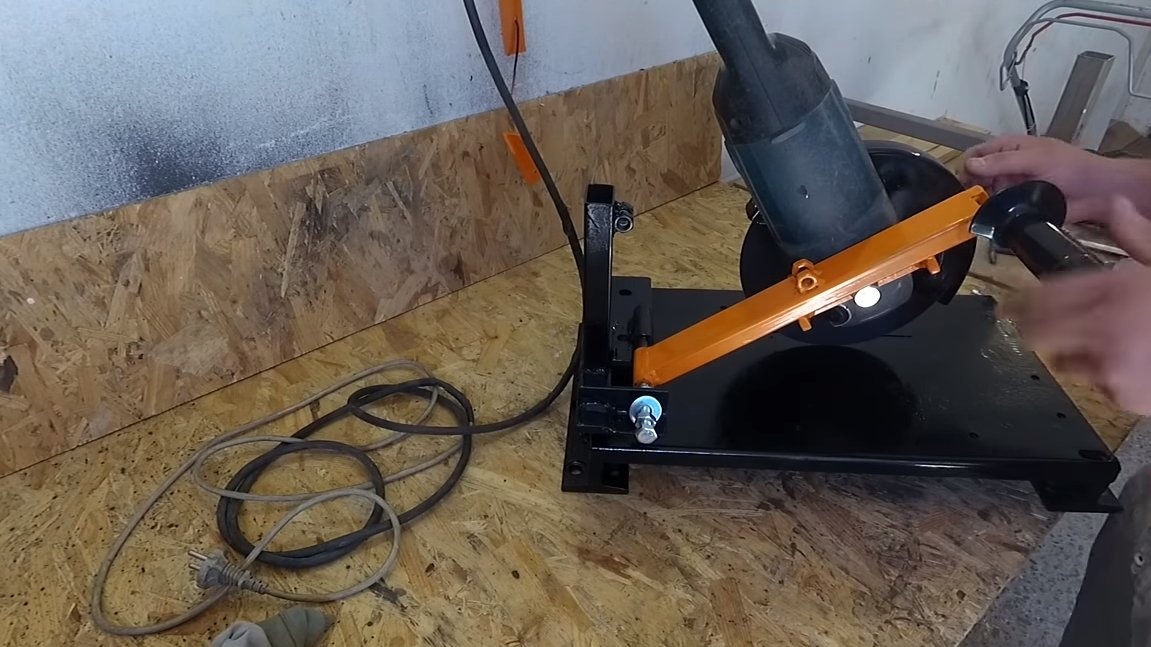
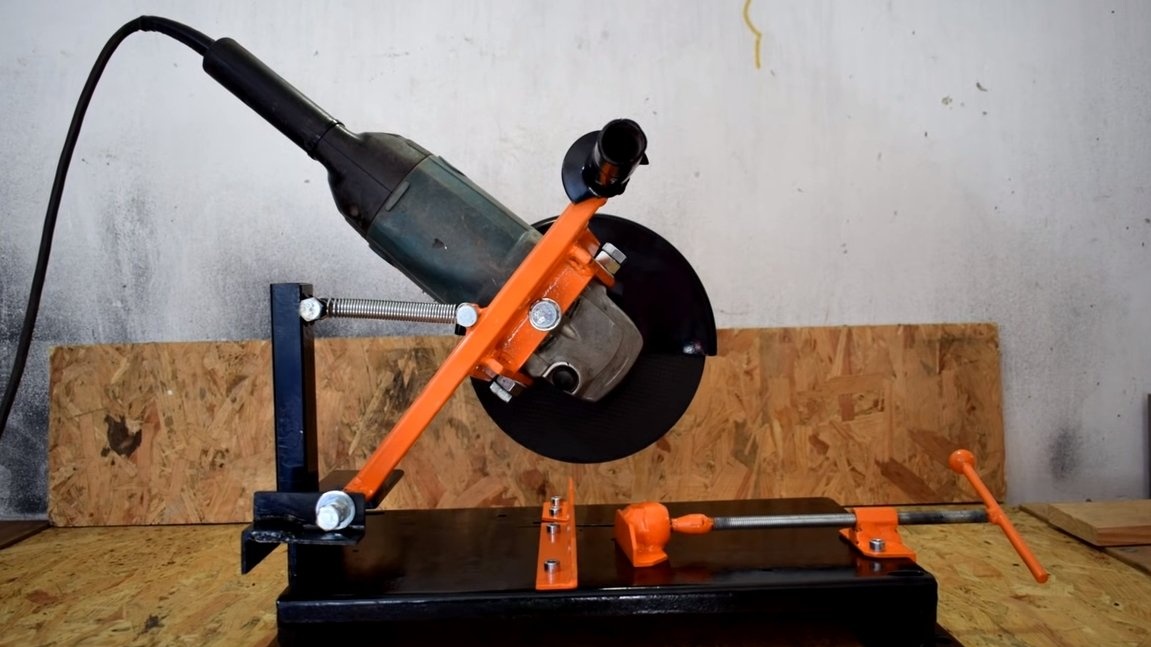
We install a hinge on the base, for this, first we weld a channel piece to the base. We fasten one of the parts of the hinge to the channel. We also need to assemble a construction in the form of the letter “G” from the corner and also weld to the channel. Next, we drill a hole opposite the loop and install a bolt with a nut, with this bolt we will tighten the hinge so that there are no backlashes. Well, to the other part of the door hinge we weld a piece of the profile pipe, and to the other end of the pipe we weld the bracket to which the Bulgarian is attached.
The disc of the grinder should be clearly at right angles to the base.


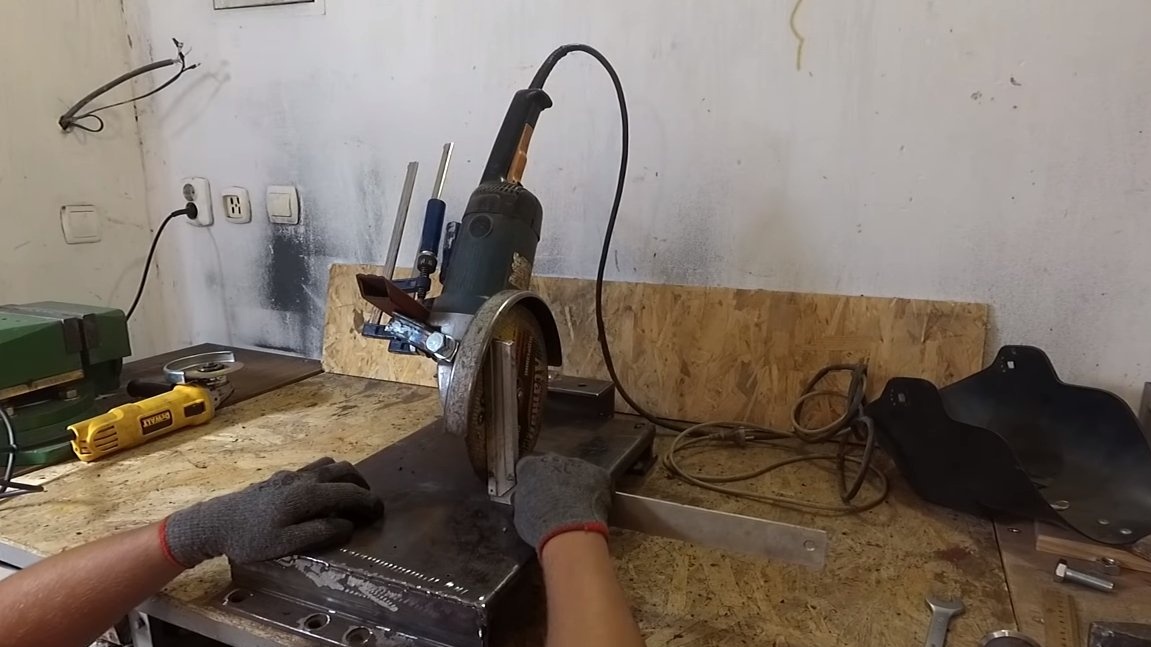


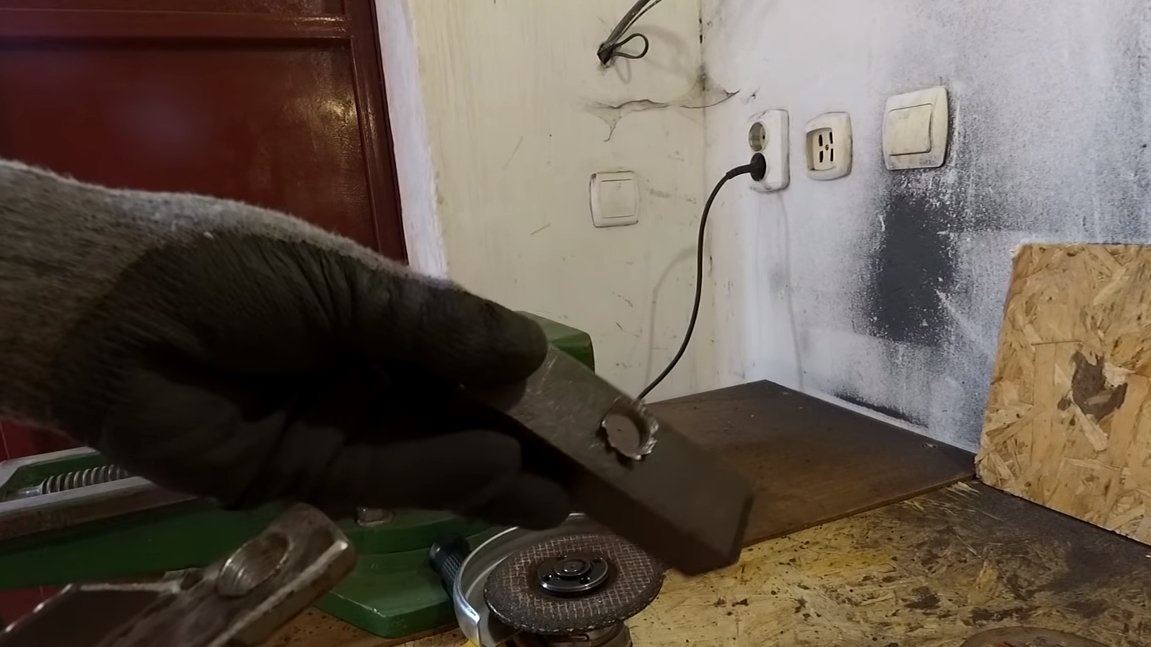
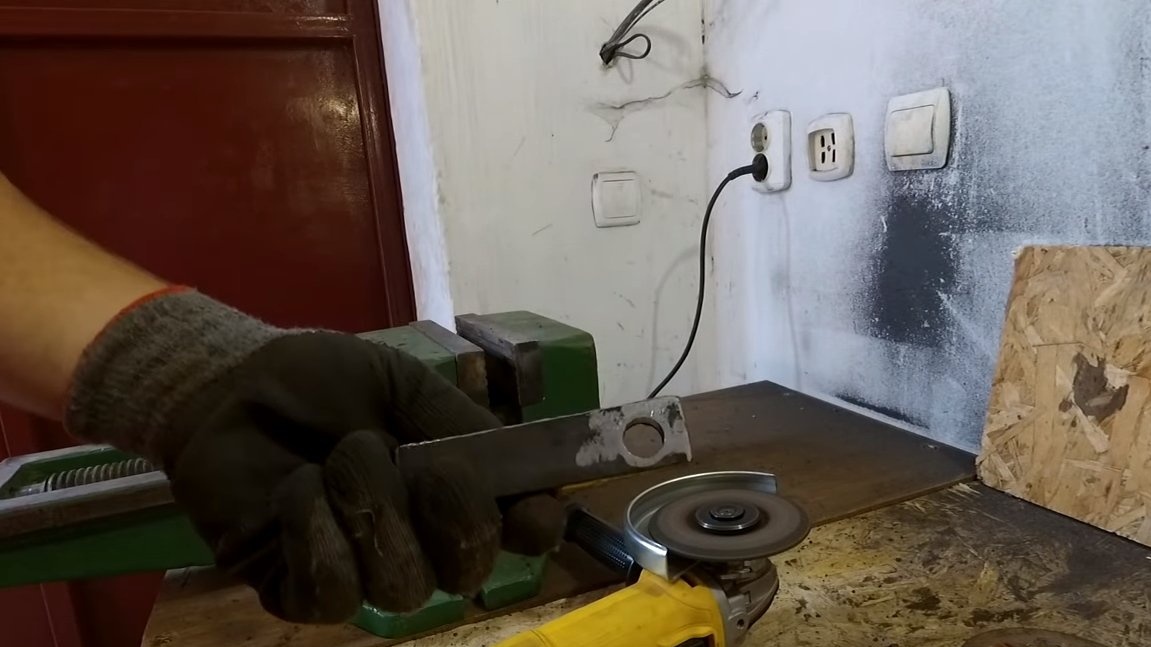
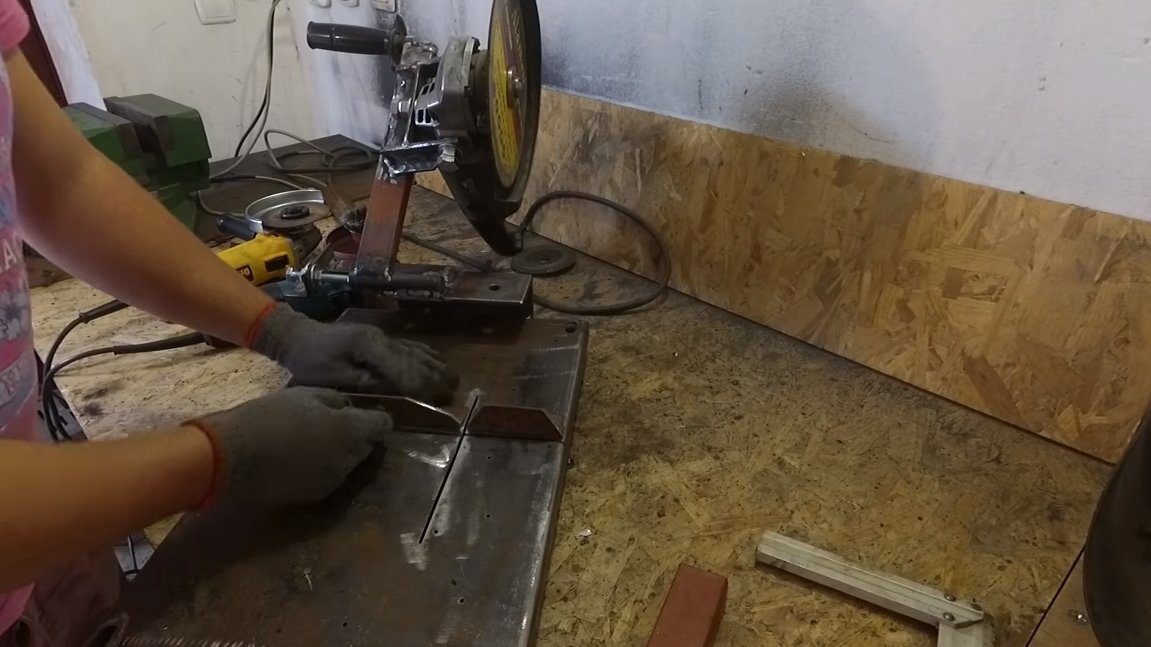
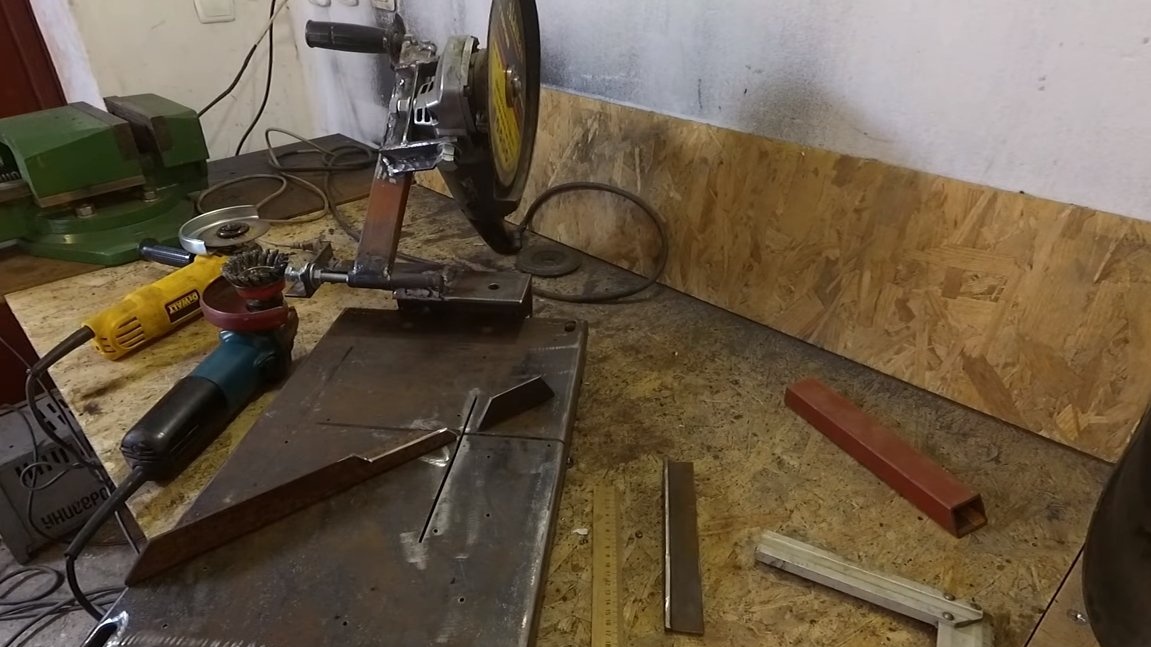
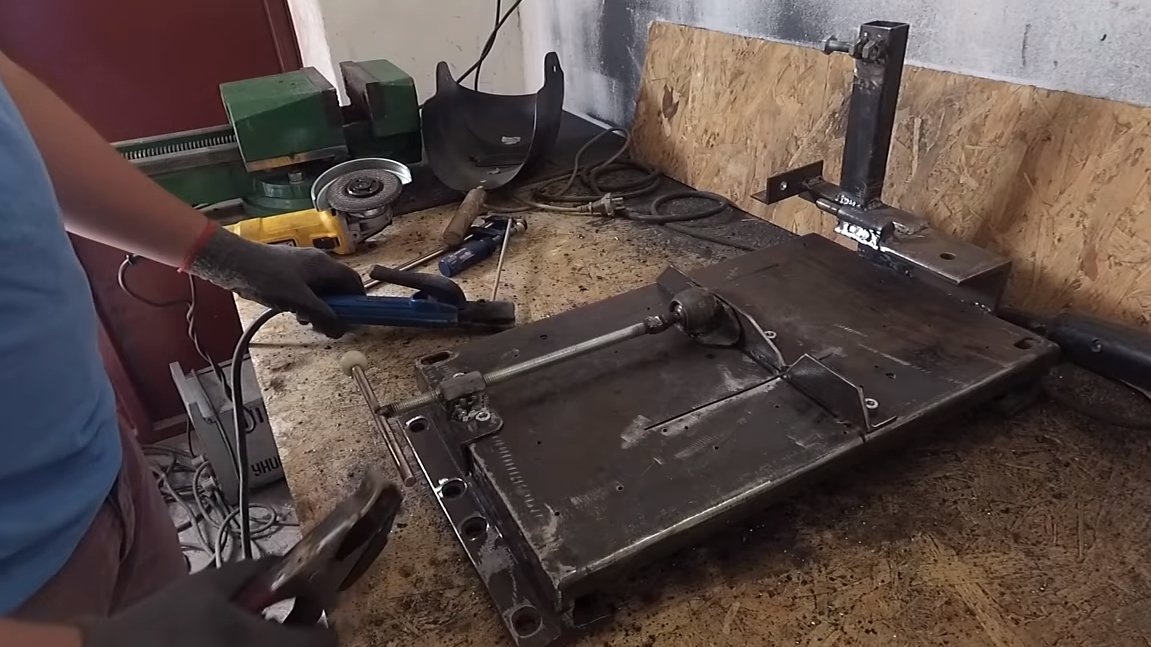
Step Four Emphasis
On the basis should be emphasis, we make them from the corner. The stops should be screwed so that we drill holes in the stops and base. Nuts are welded on the back of the base. As a result, we can quickly rearrange the stops if necessary.

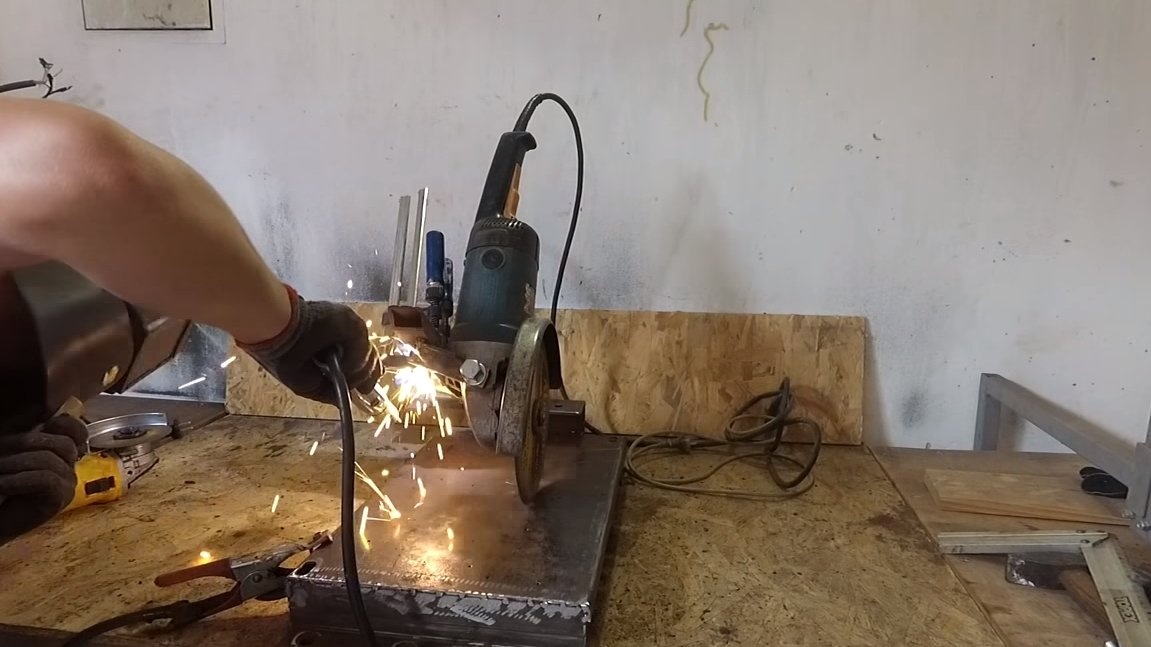
Step Five Spring
In order for the grinder to return to its original position, we need a powerful spring. We weld a vertical stand from the profile pipe to the base, and also weld fasteners for the spring from bolts and nuts. Now install the spring, cut to the desired length. If the spring stiffness is not enough to return the grinder to its original position, you can put several springs.
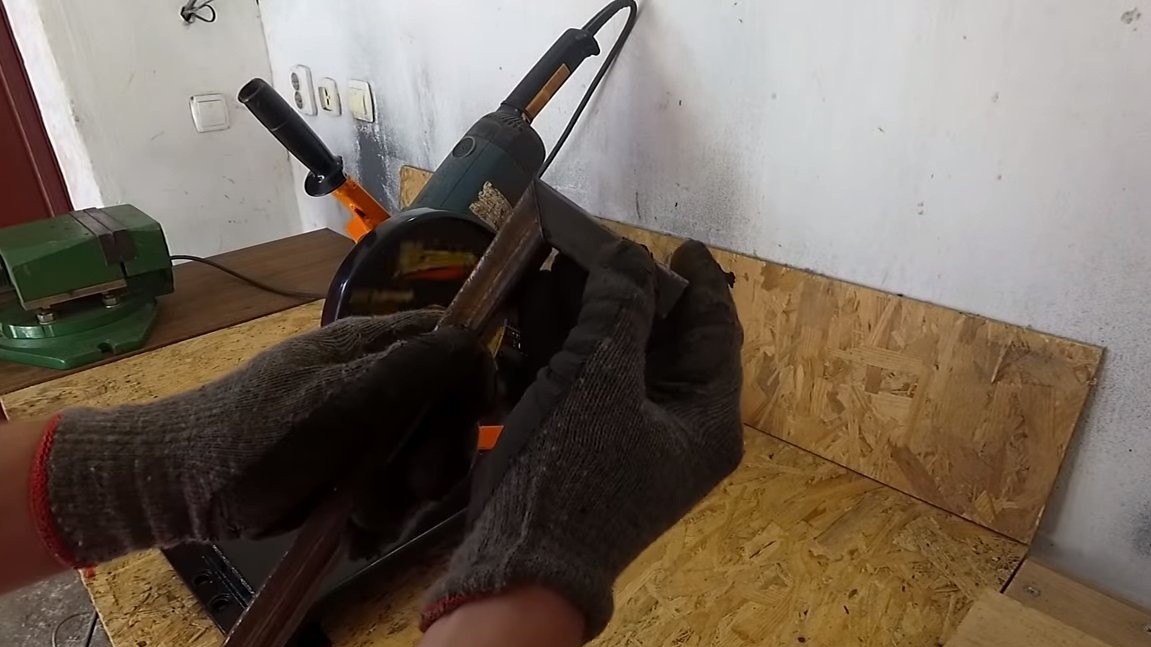
Step Six Clamp
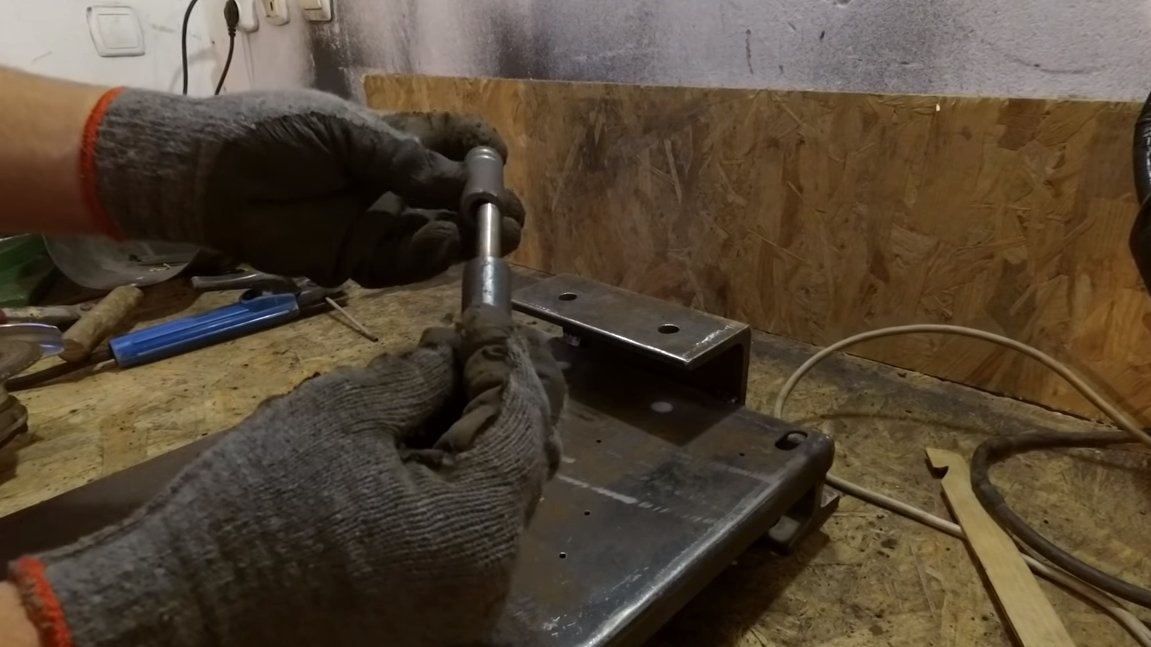
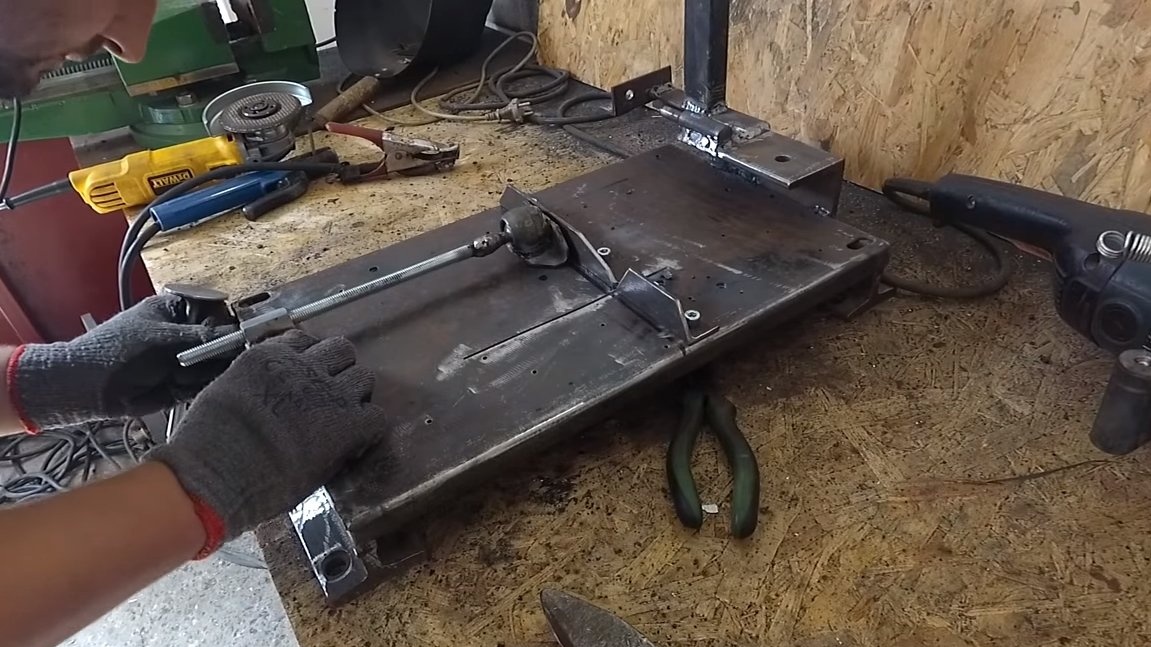
We make a clamp that will hold the workpiece. At the end of the clamp, the author has a ball joint to which the “lip” of the vice is welded in the form of a corner. Due to the ball joint, the lip itself rotates to the desired angle.
A threaded rod on which the nut is located is directly welded to the ball stem. The nut is welded to the fasteners from the corner, which is screwed to the base of the machine with screws. An iron rod is welded perpendicular to the threaded rod, which acts as a clamp handle.


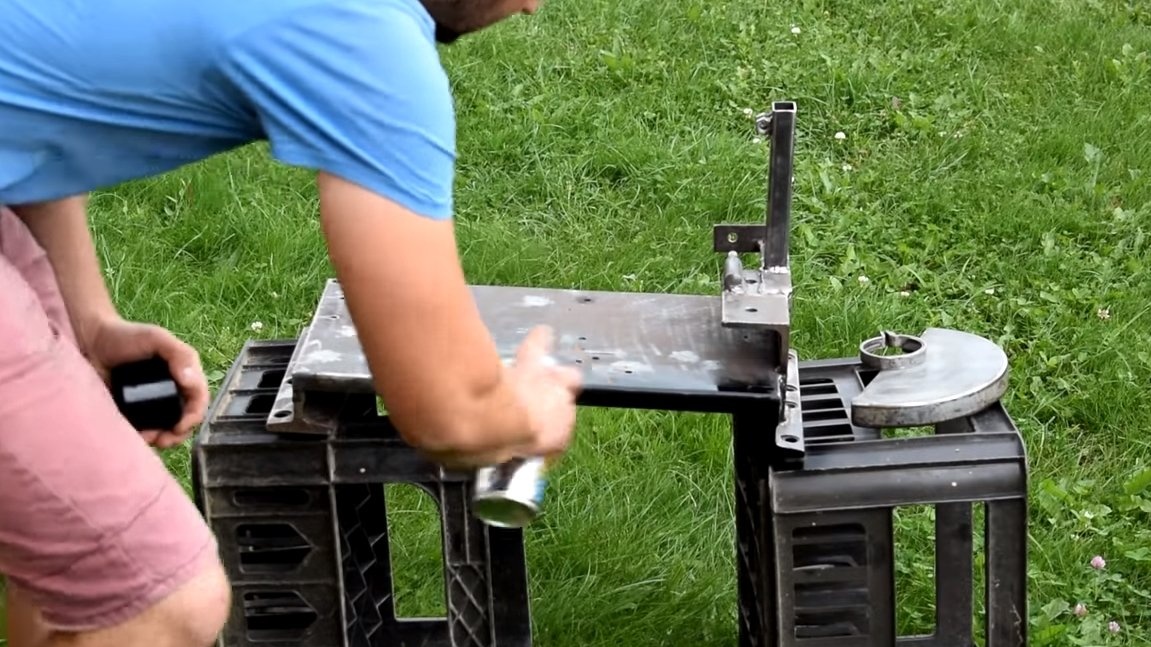
Seventh step. Painting, assembly and testing
We disassemble the car and paint the iron parts so that they do not rust. Now our homemade product also looks great. When the paint dries, everything can be assembled, the threaded rod and hinges must be lubricated. We install the grinder, tighten the hinge to eliminate backlash and now our machine is ready!

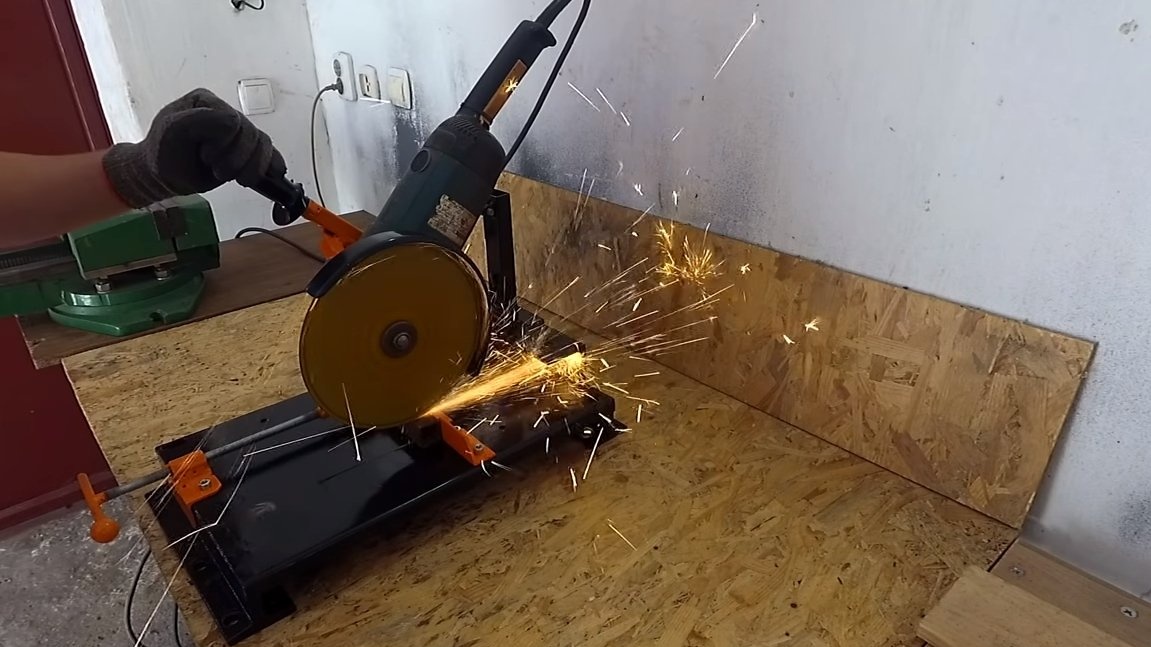
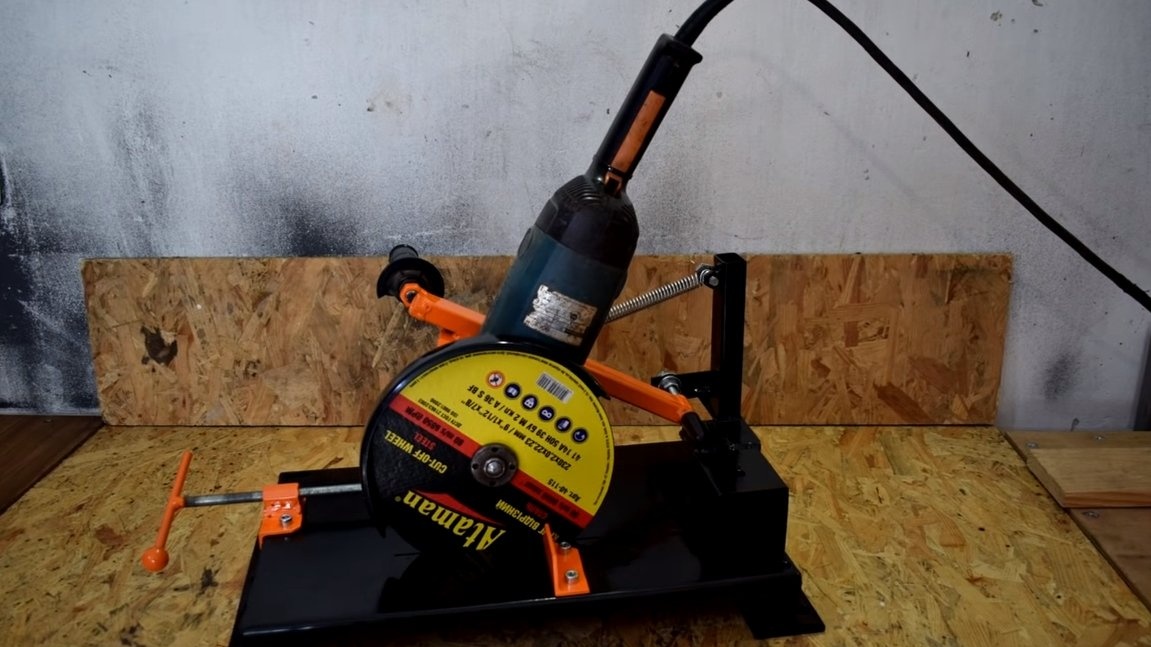
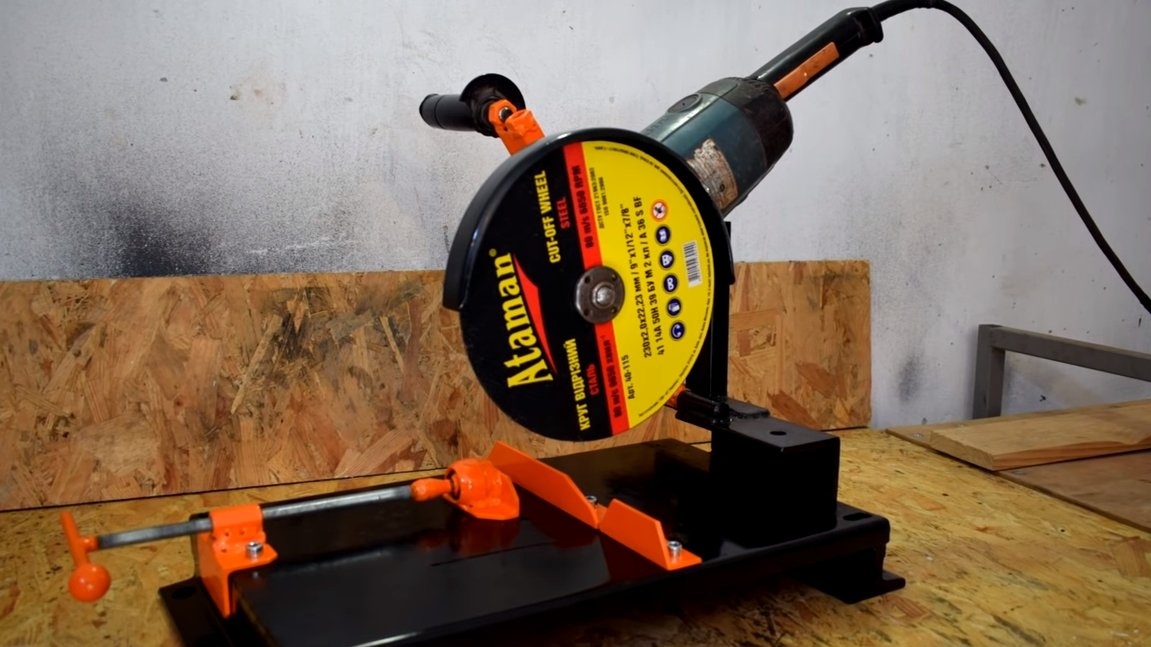
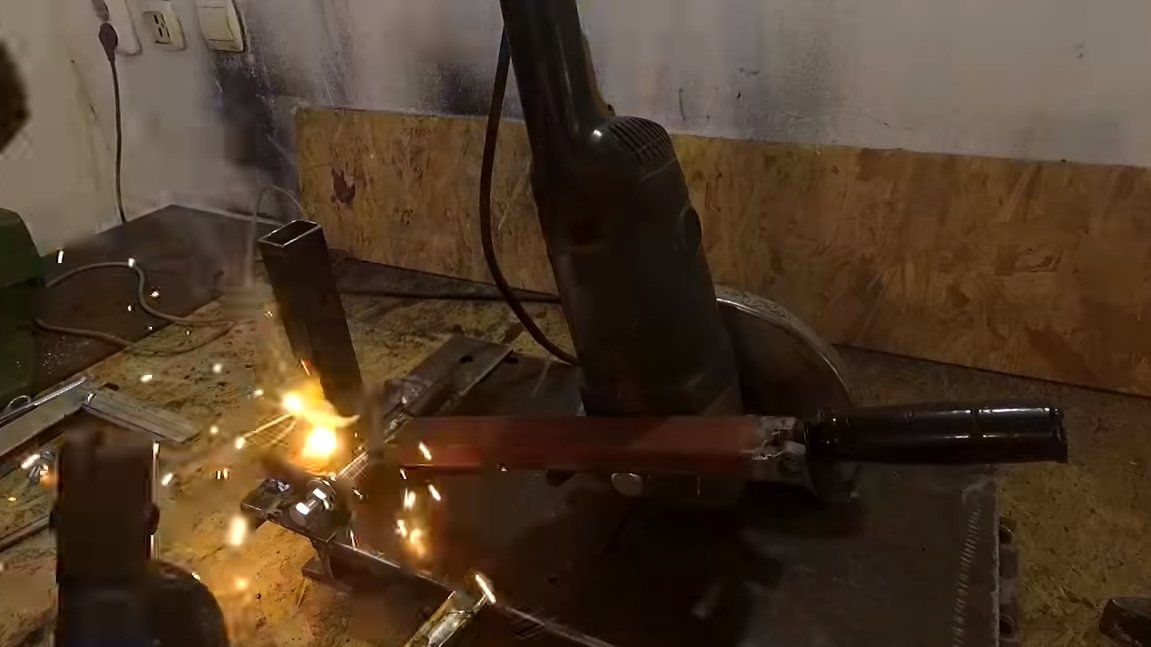
The machine perfectly cuts pipes and other parts at an exact angle of 45 or 90 degrees. For safer operation, it is recommended to install a socket with a switch on the bed to quickly turn off the grinder in case of something. On this project can be considered successfully completed, I hope you liked it. Good luck and creative inspiration, if you decide to repeat this. Do not forget to share your ideas and homemade things with us!