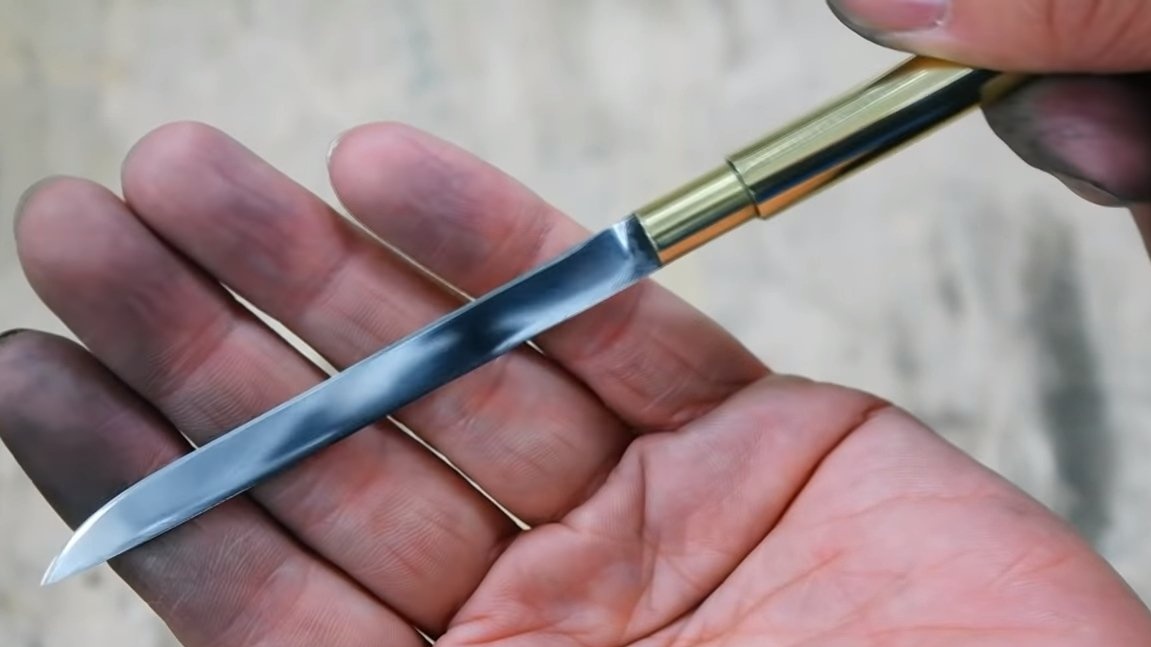
I welcome fans to craft, today we will make a miniature knife of an interesting design. The handle of the knife is made of brass tubes, and the knife also has a sheath, which is also made of brass tube. As a result, in the assembled state, the knife resembles a brass rod. Looks homemade beautifully, the knife can be safely carried in a pocket or a purse. Of course, in order not to lose the knife, it would be nice to solder the ring and hang it on a chain. The homemade product is quite easy to assemble, the blade is made of a saw blade and has been hardened. The knife is sharpened to the state of a razor; it easily cuts paper. If you are interested in the project, I propose to study it in more detail!
Materials and tools used by the author:
Material List:
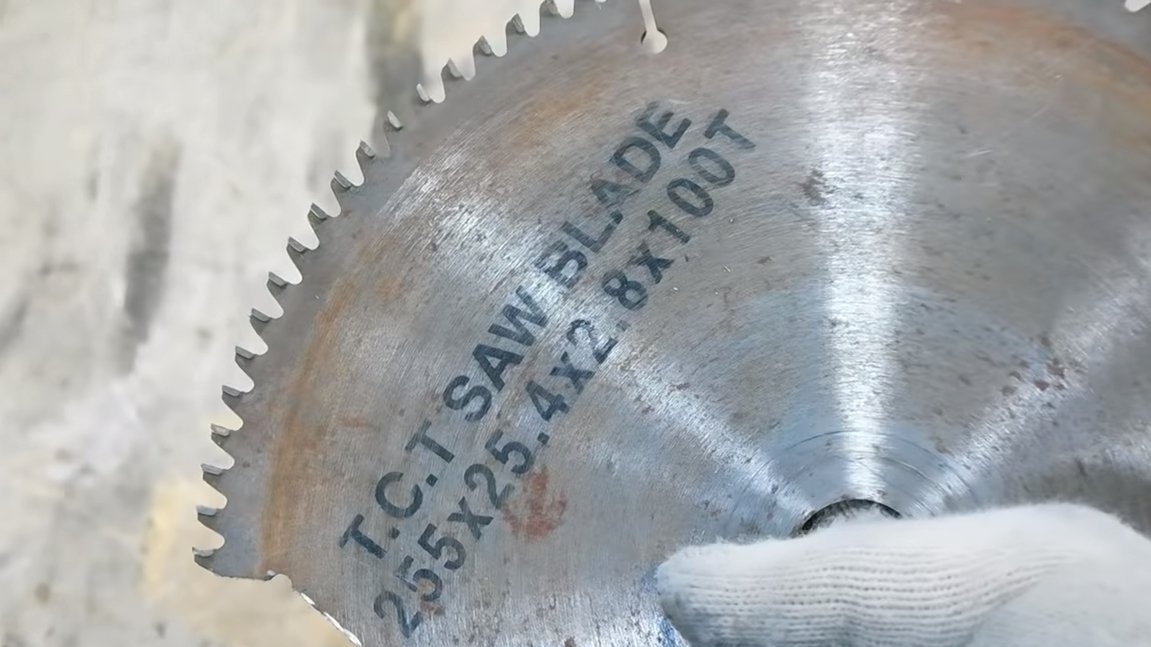
- saw blade;
- epoxy glue and dye;
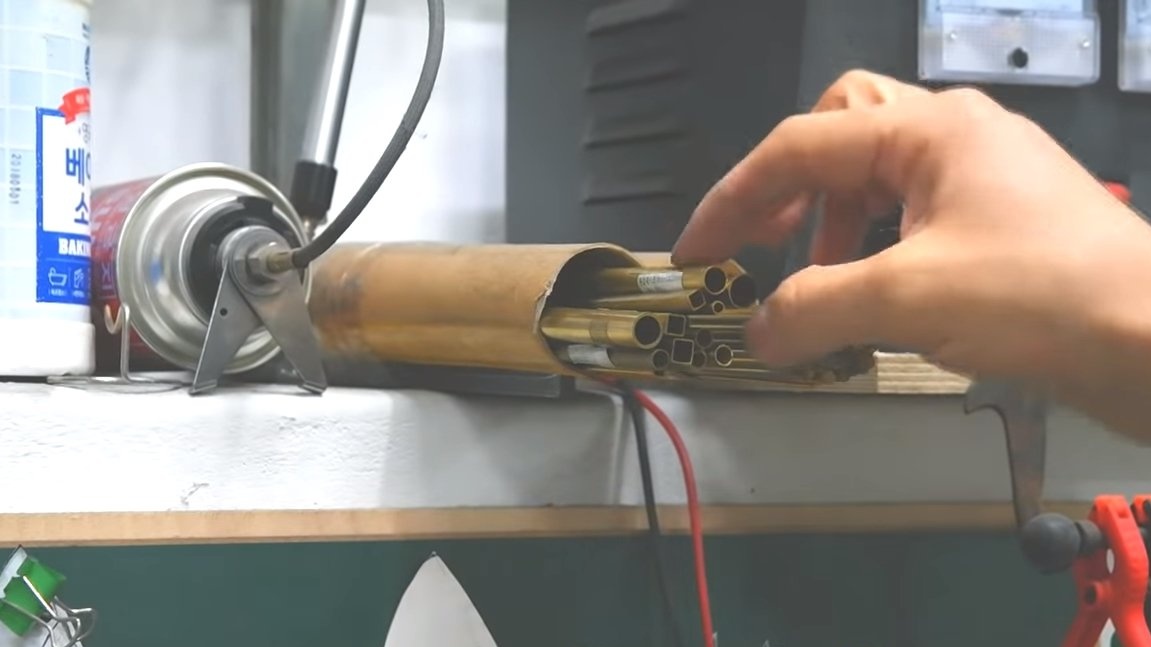
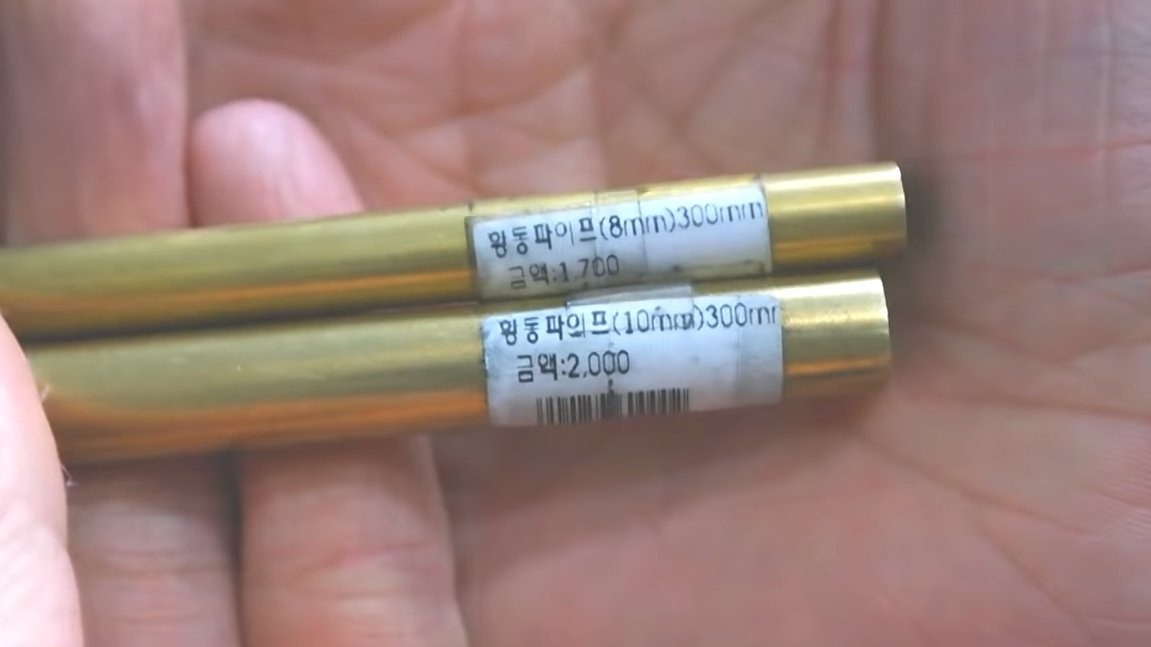
- brass tubes with an external diameter of 8 and 10 mm;
- a wooden core;
- car polish.
Tool List:
- drill;
- ;
- belt sander;
- a hacksaw for metal;
- gas burner and oil (for hardening);
- sandpaper;
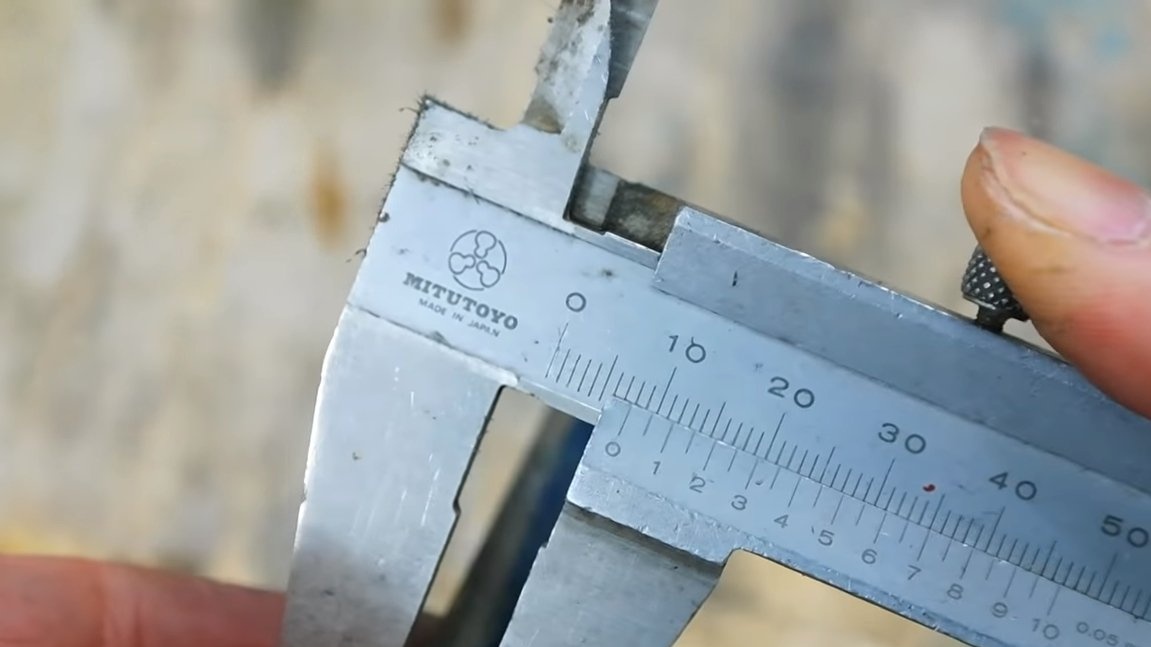
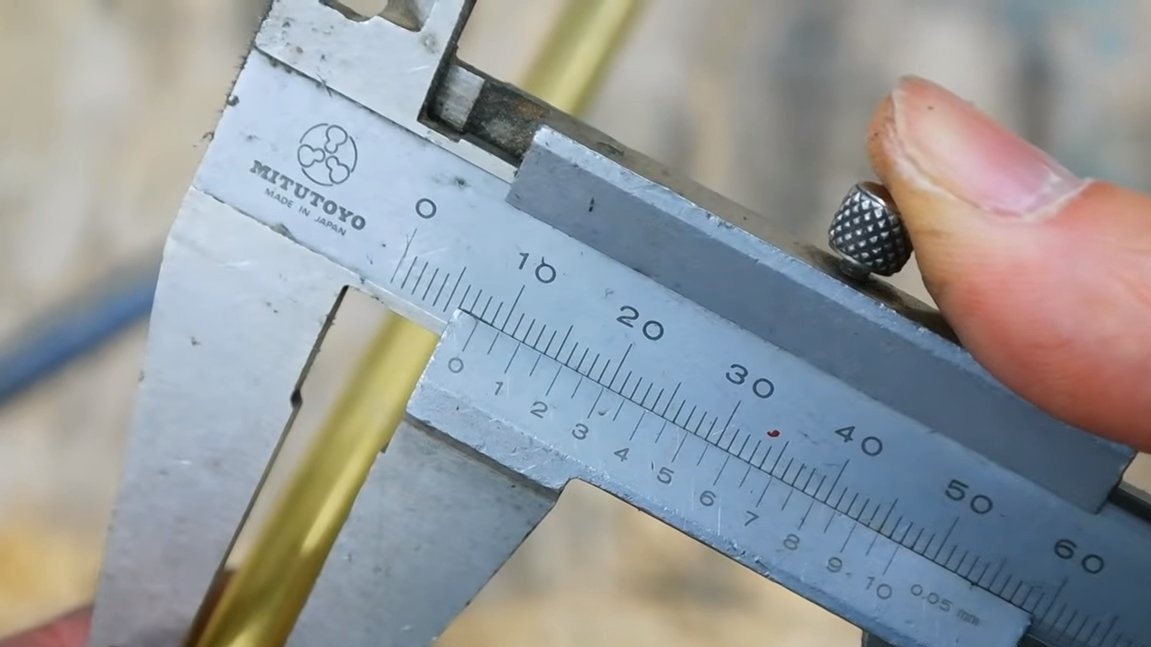
- vernier caliper;
- marker;
- triangular or square file for metal.
Homemade manufacturing process:
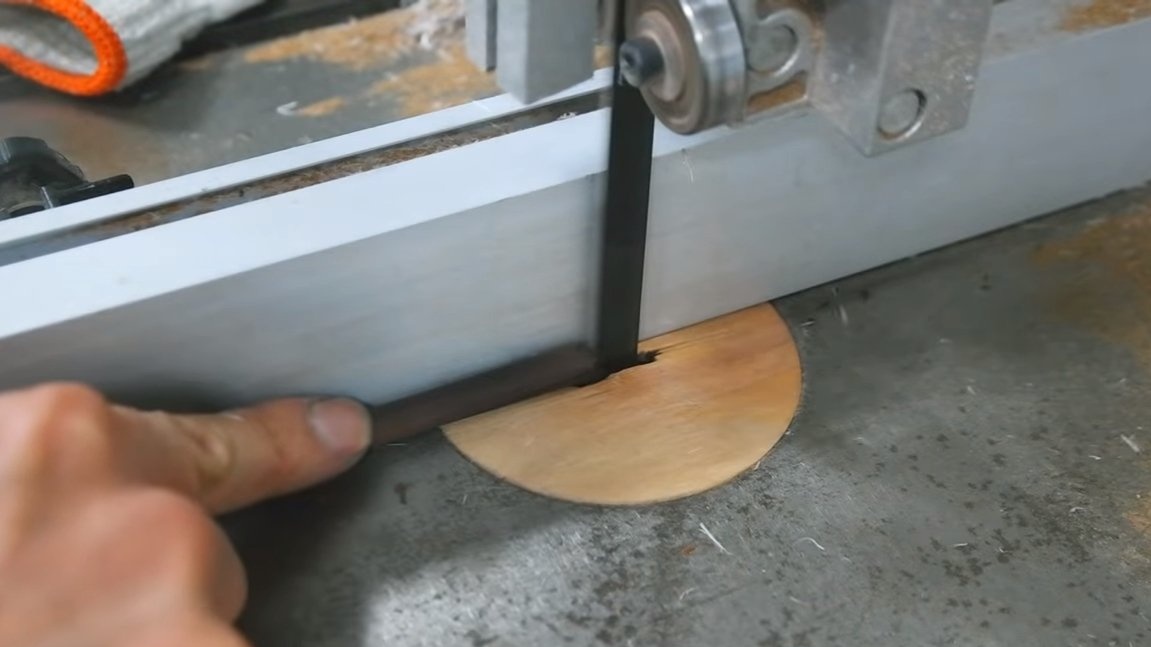
Step one. Blade profile
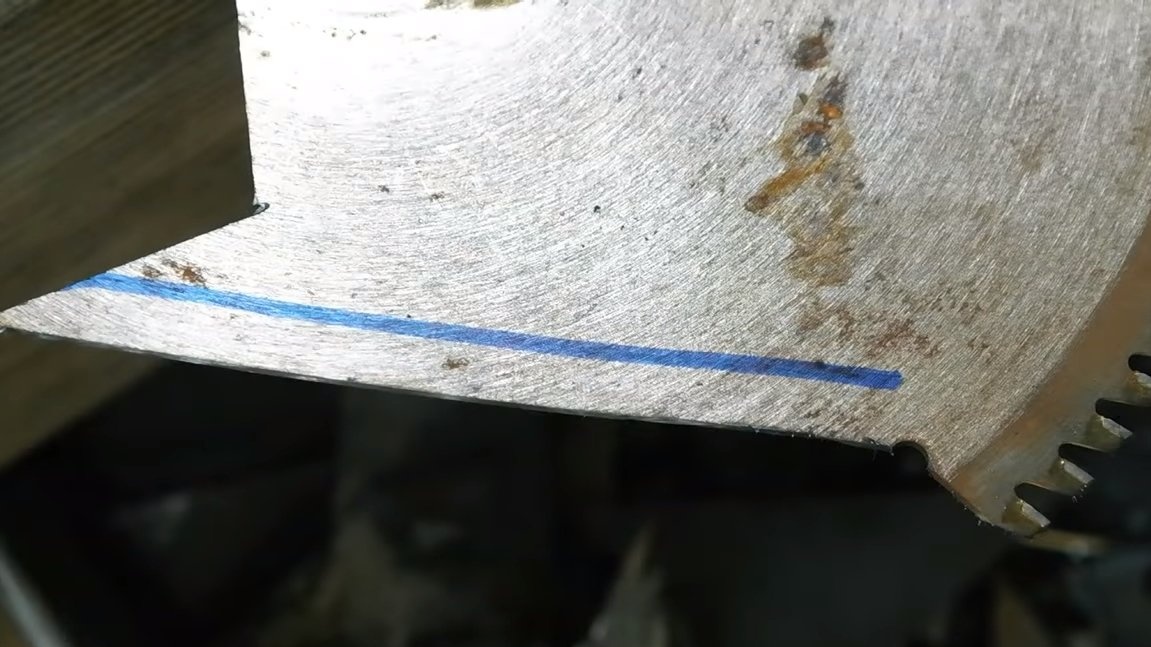
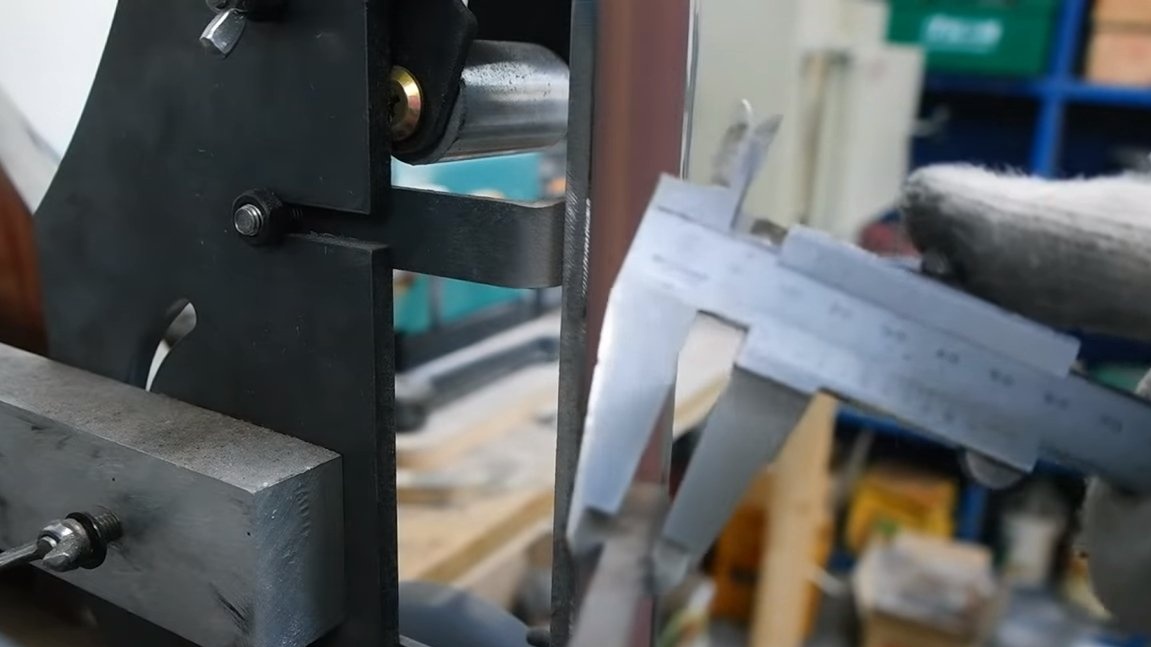
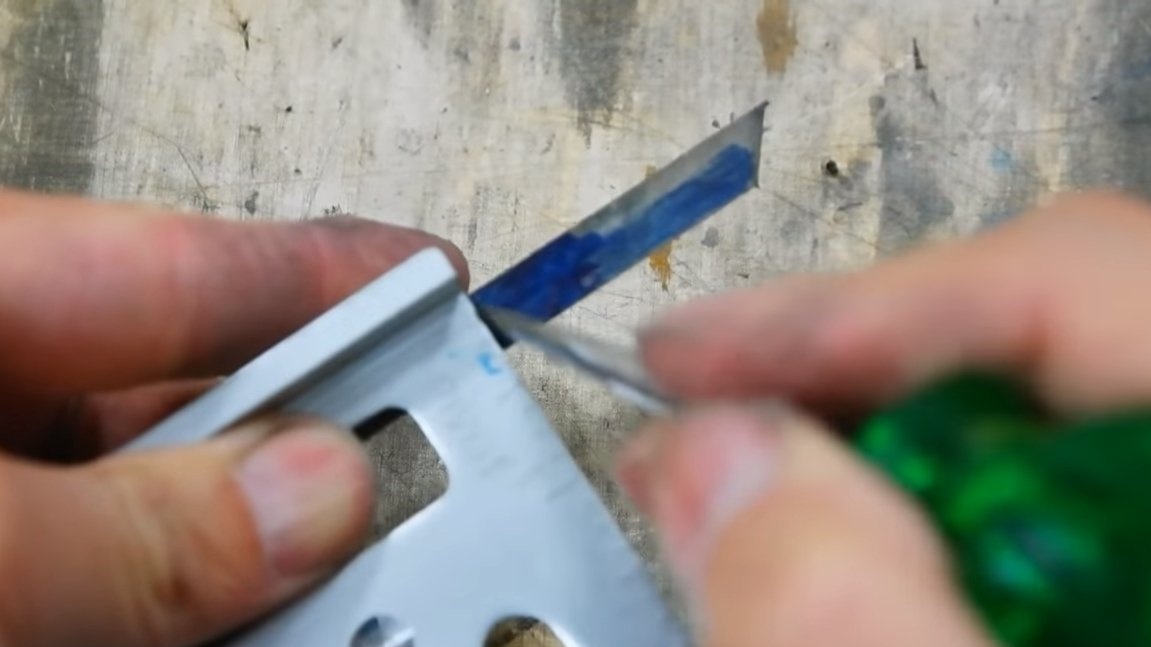
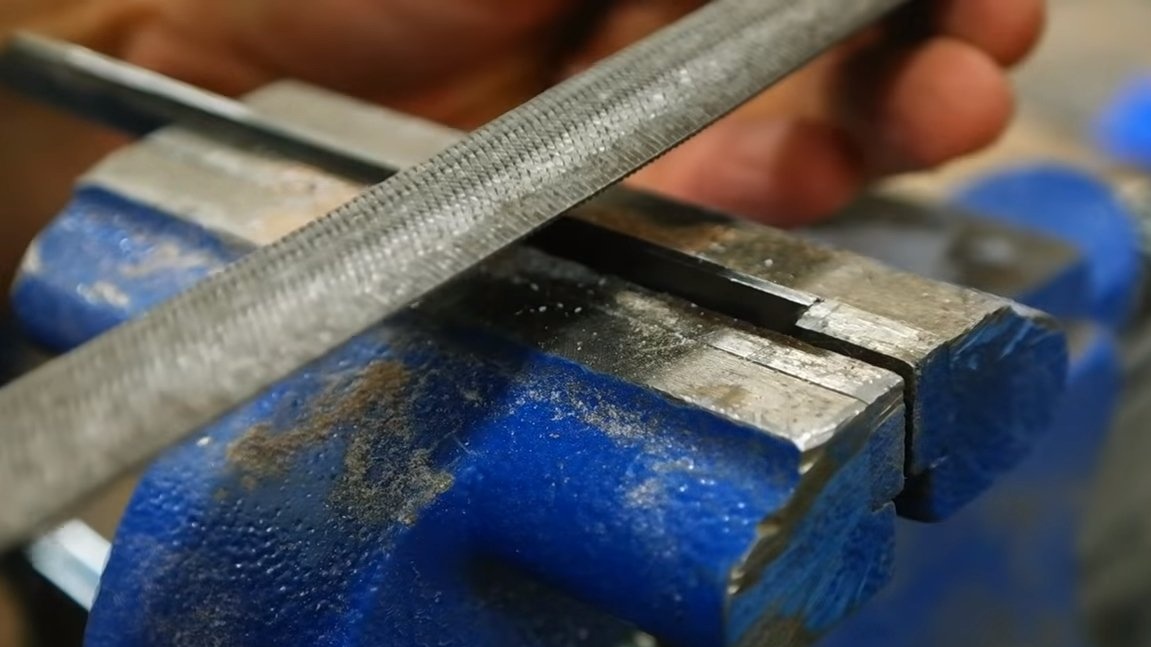
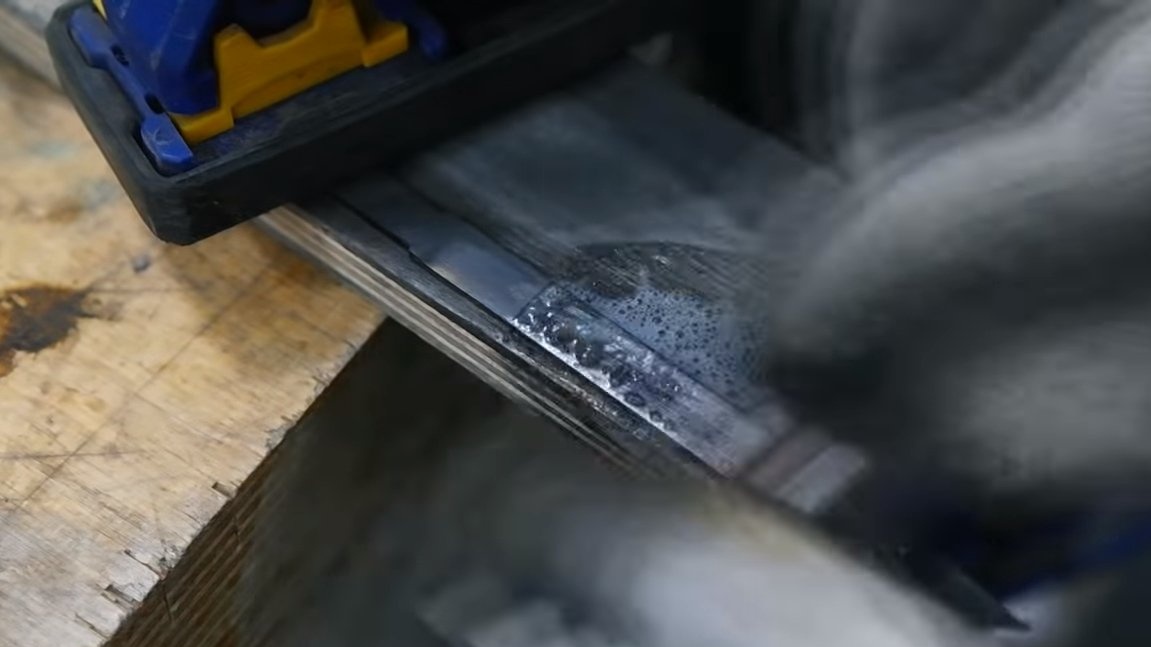
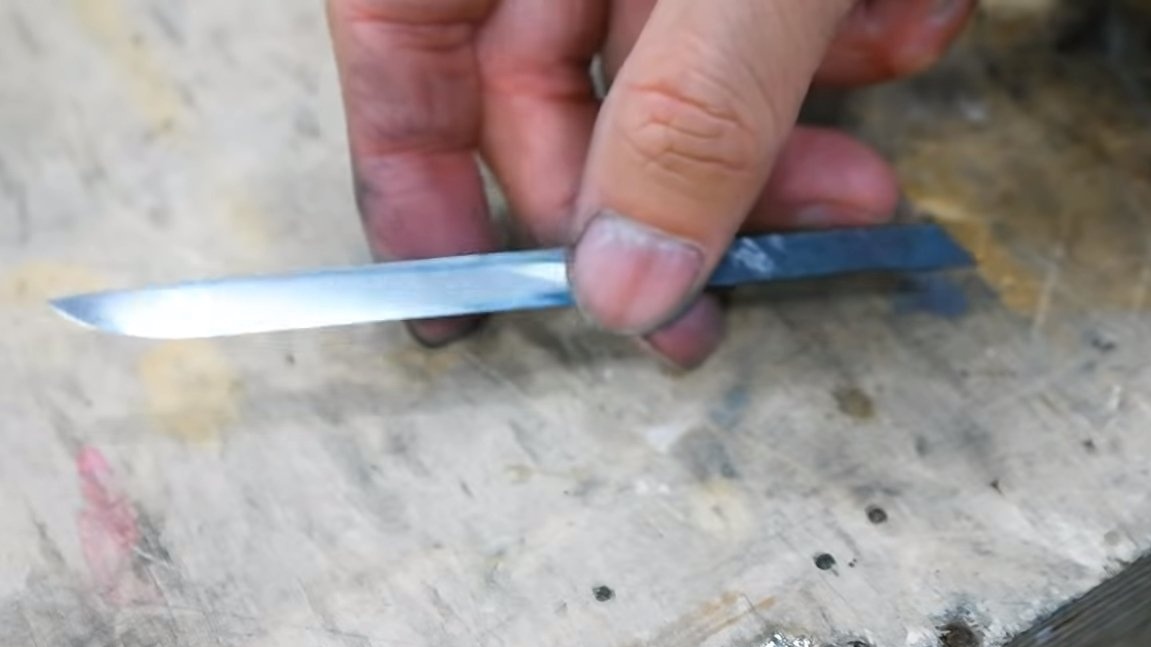
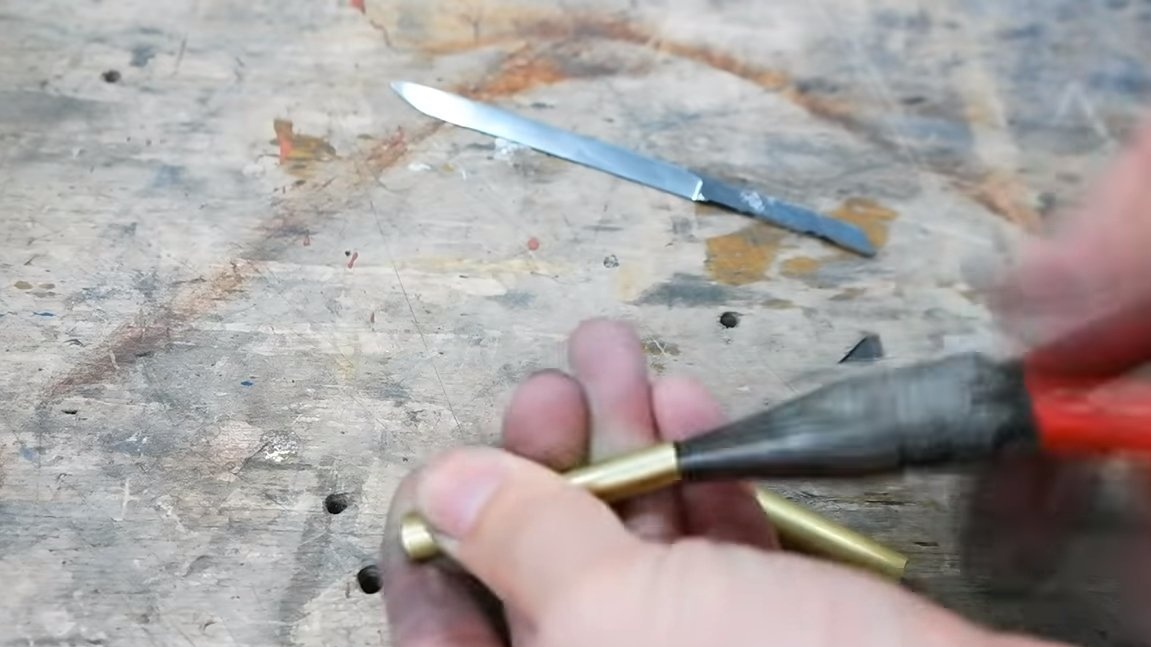
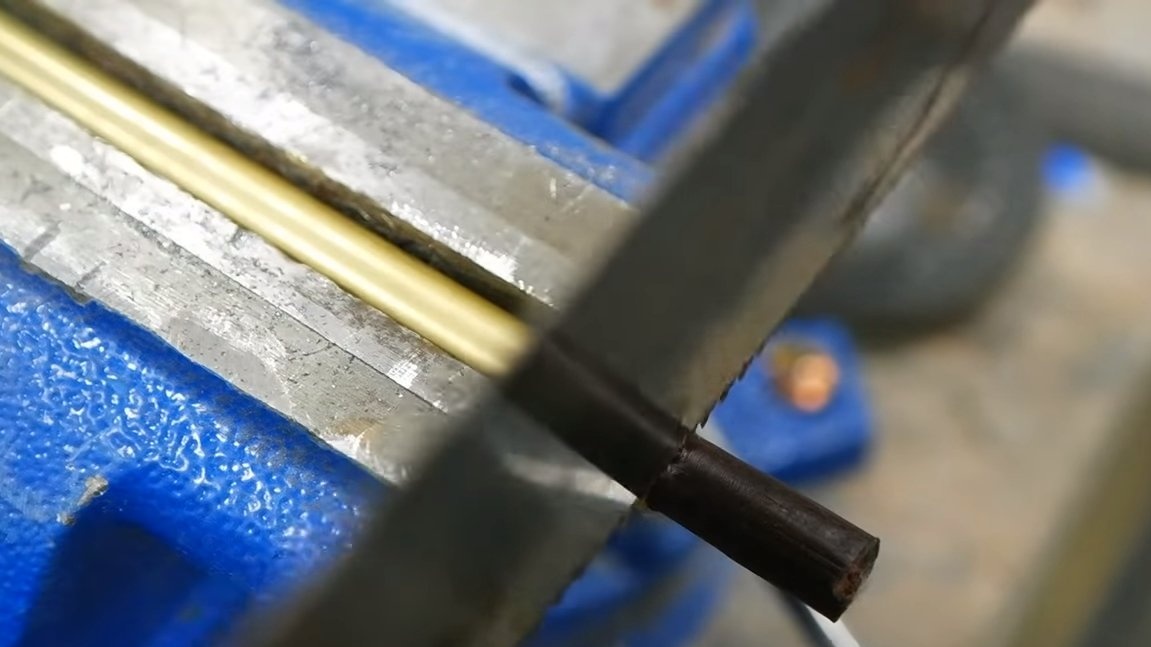
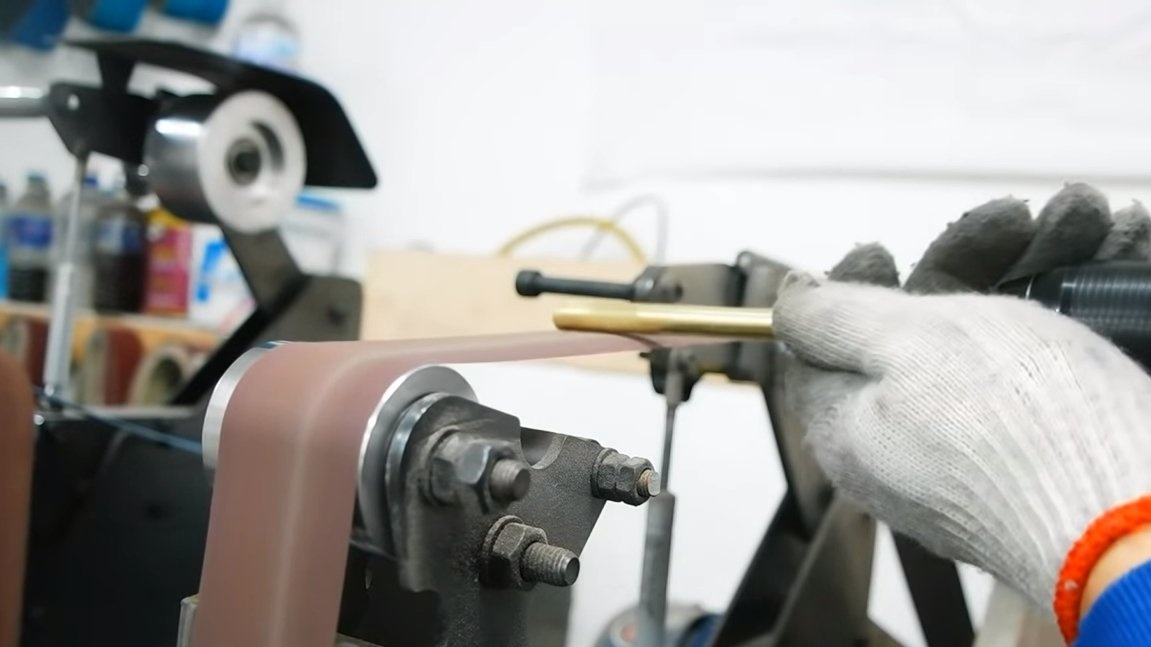
First of all, we cut out the profile of the blade, our blade is quite small, so there will be little work. We cut a piece from the saw blade and then grind the profile on a belt grinder. The width of the blade should be about 8 mm, such an inner diameter of the tube with an outer diameter of 10 mm.
Before making a knife from a saw blade, it is important to first check the steel for hardening. Good steel is found in old discs; modern discs can be made of iron and other alloys unsuitable for making a knife.
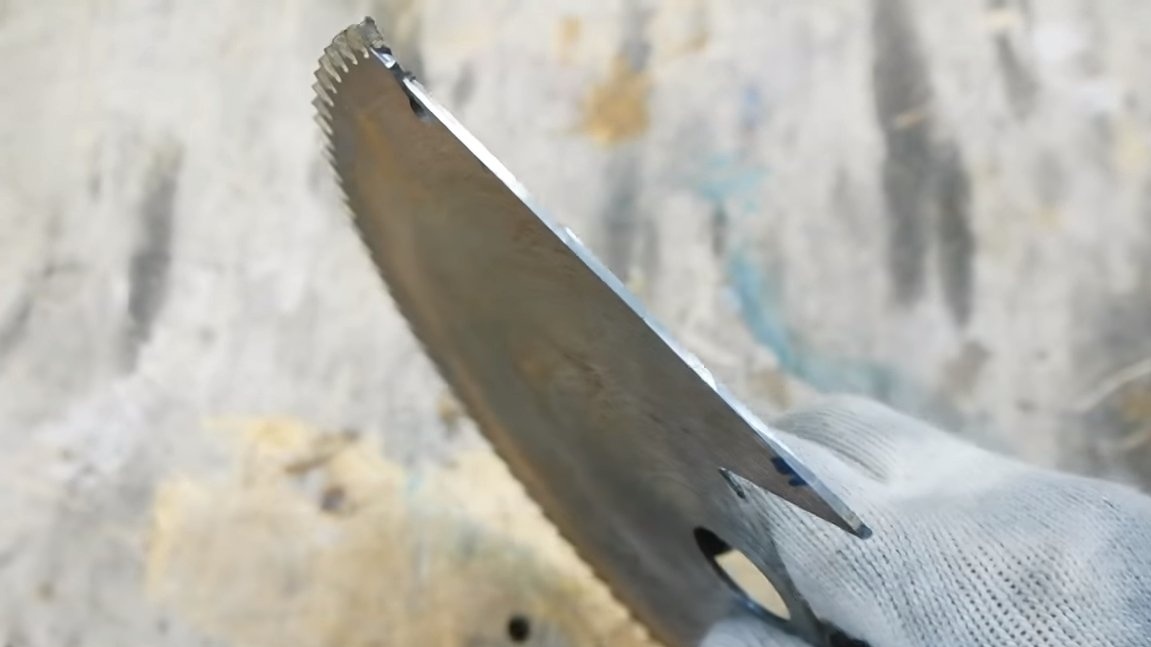

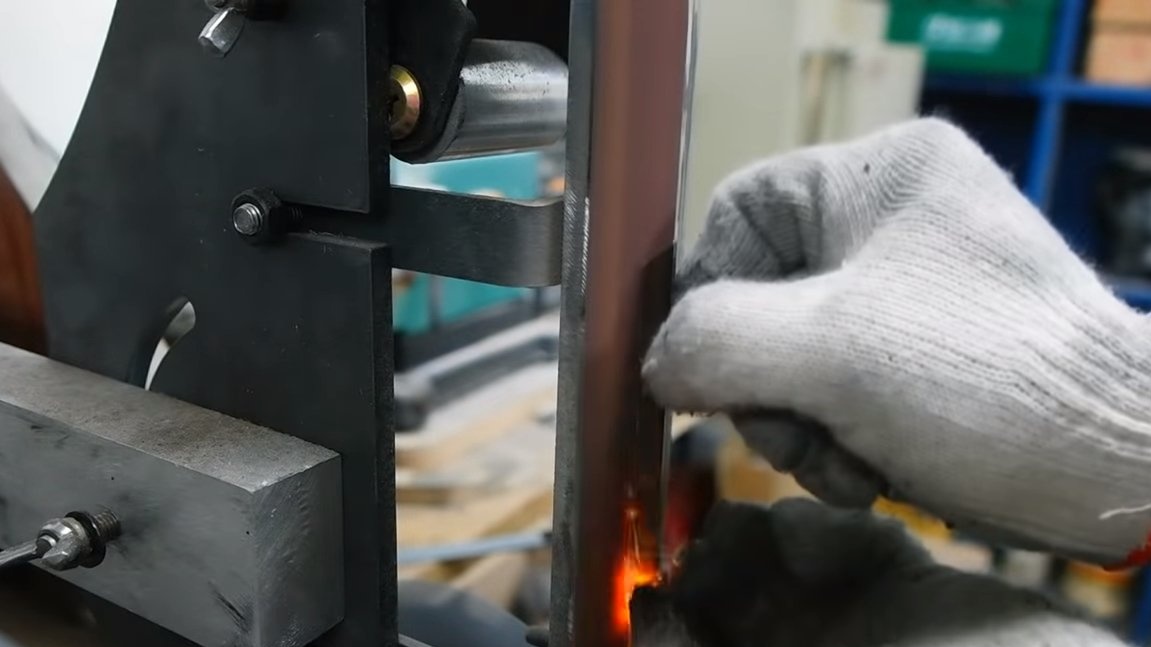
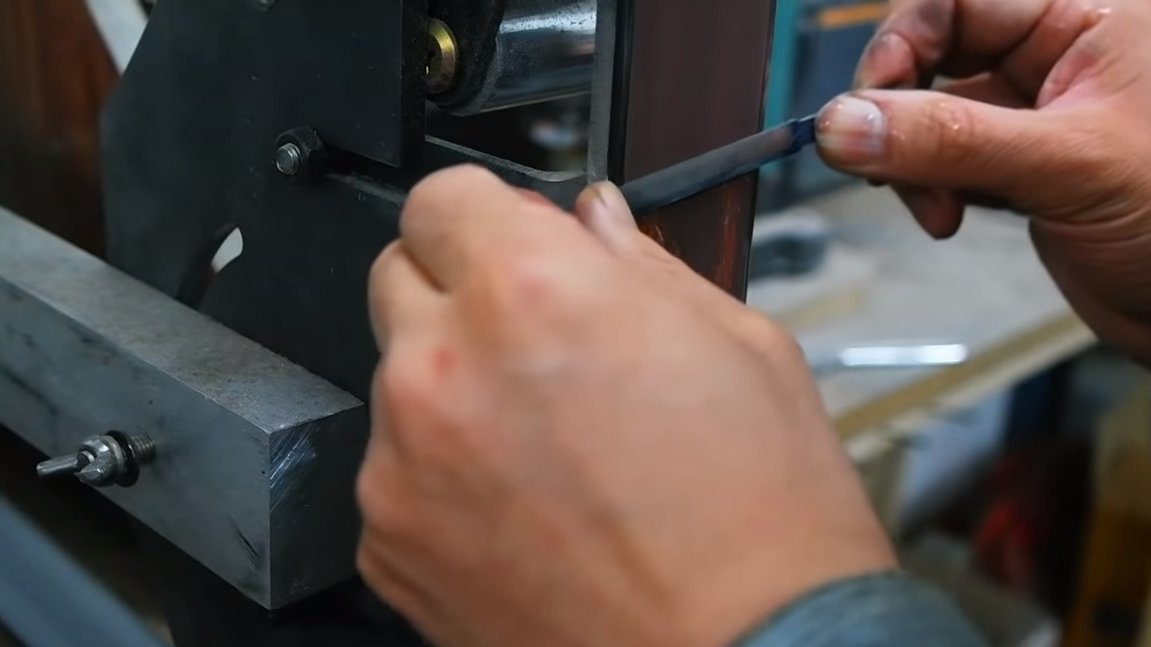
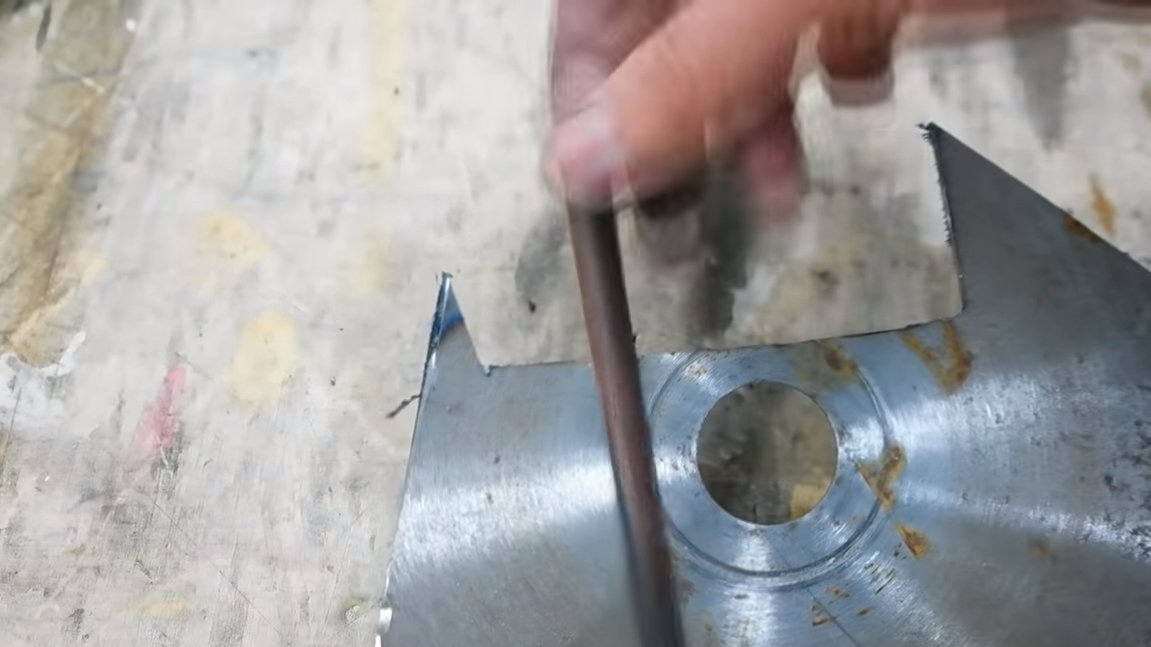
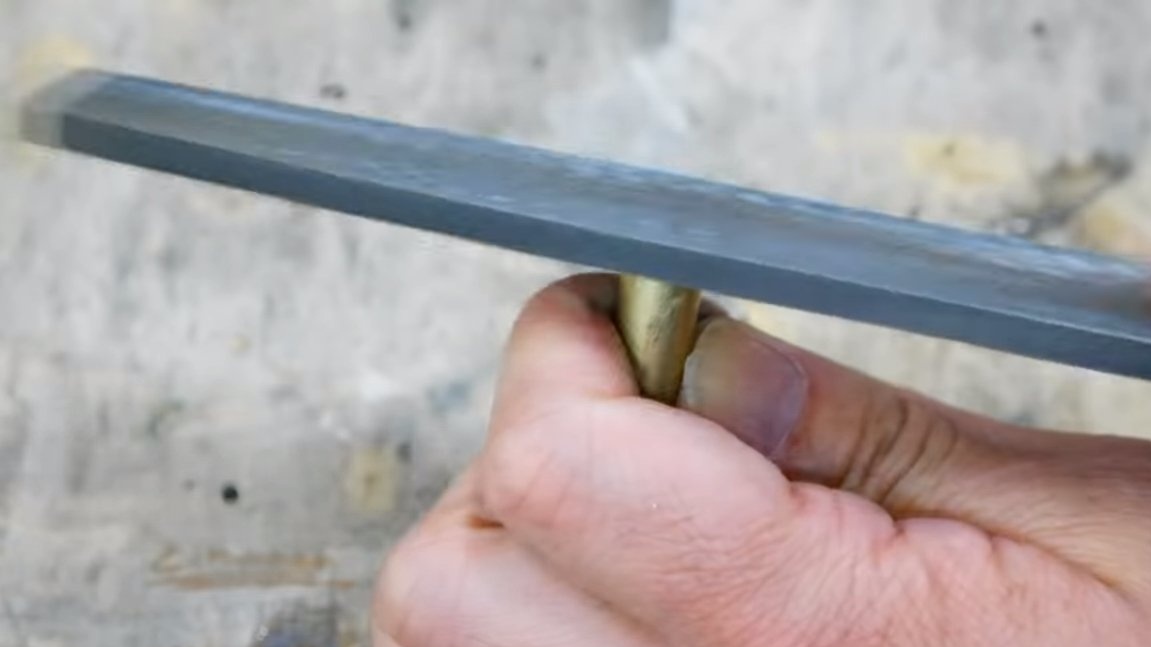
Step Two Shank
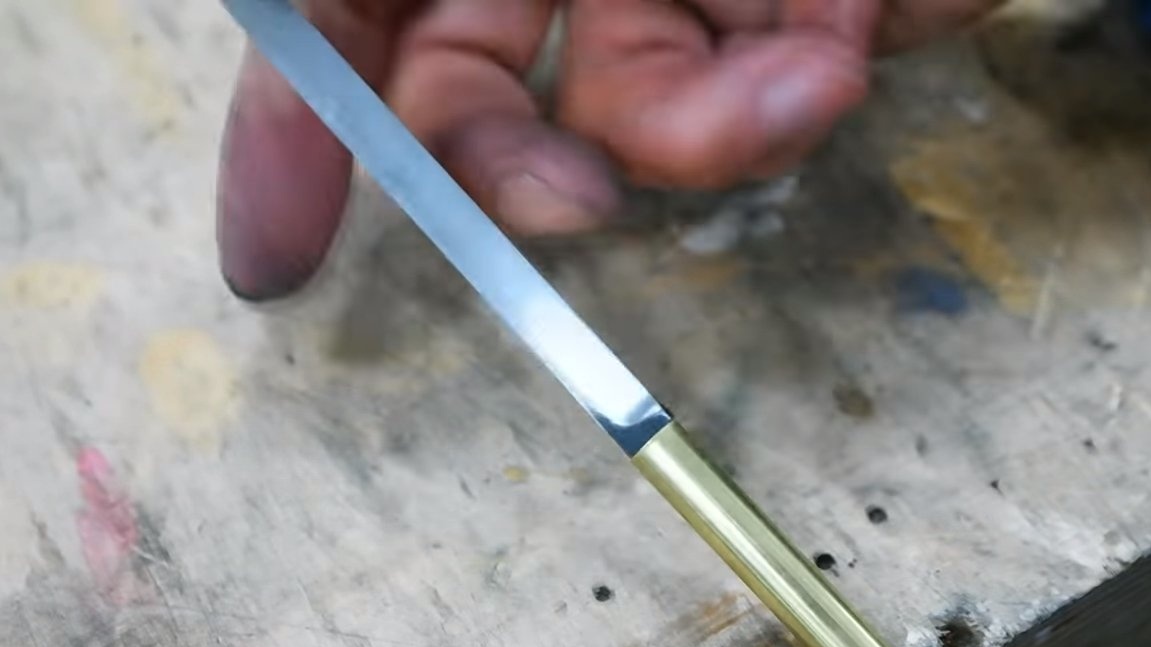
Next, you need to modify the shank of the knife. Its width must be reduced to such a size that the shank fits snugly into the tube, with an external diameter of 8 mm. The author removes excess metal with a file so as not to grind excess.
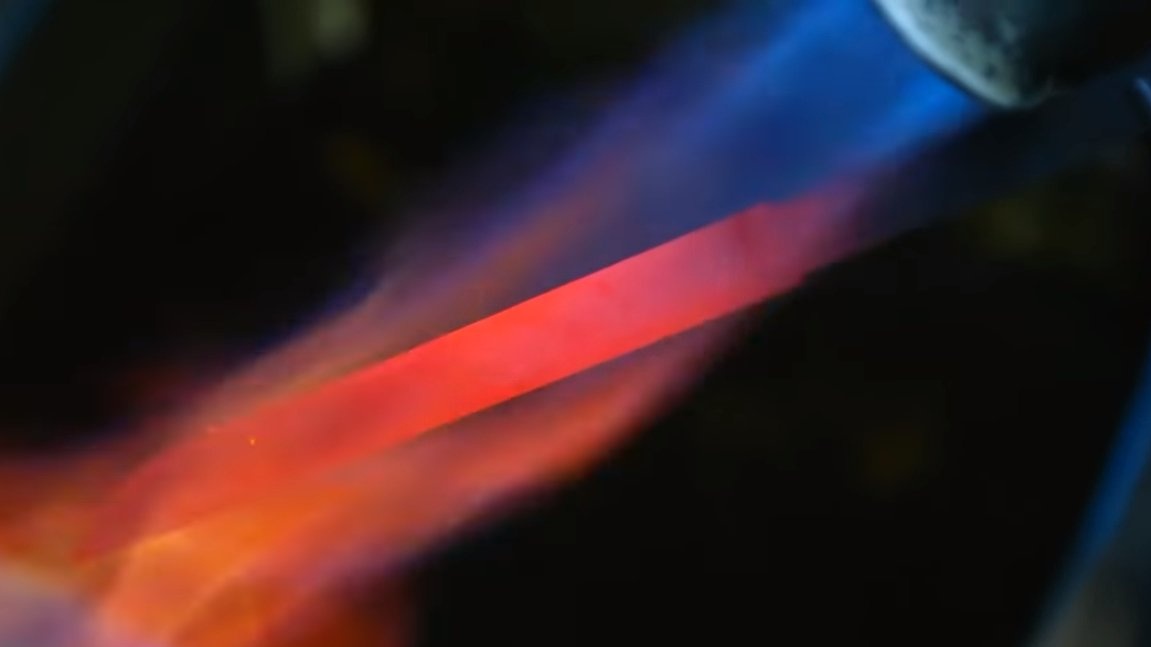
Step Three Heat treatment
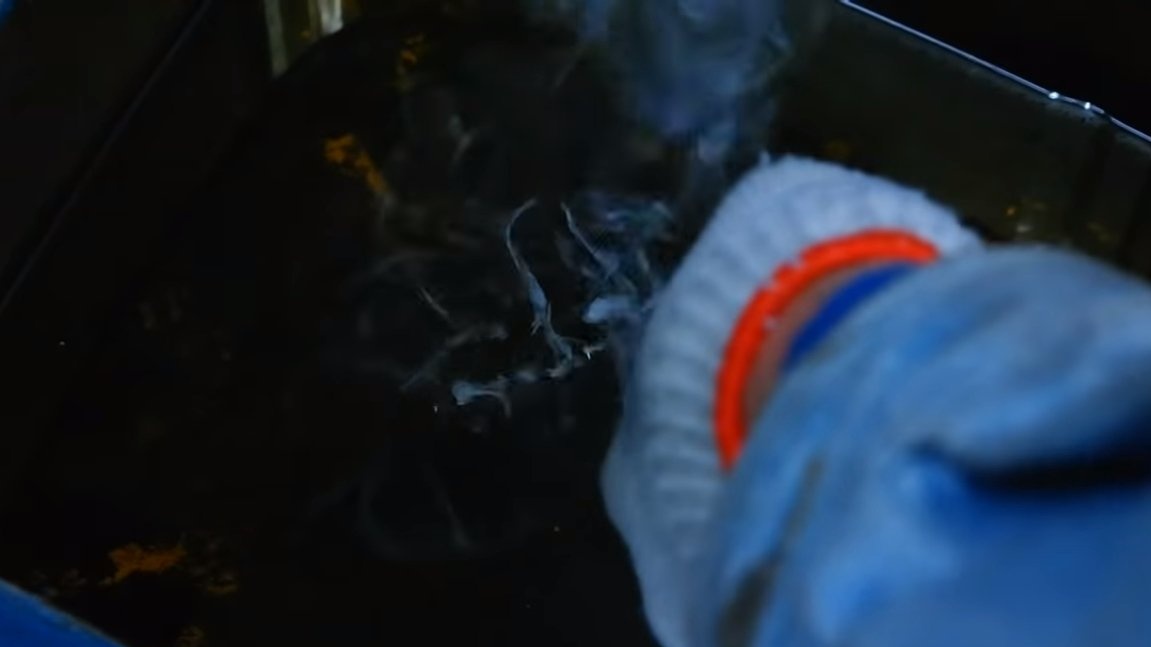
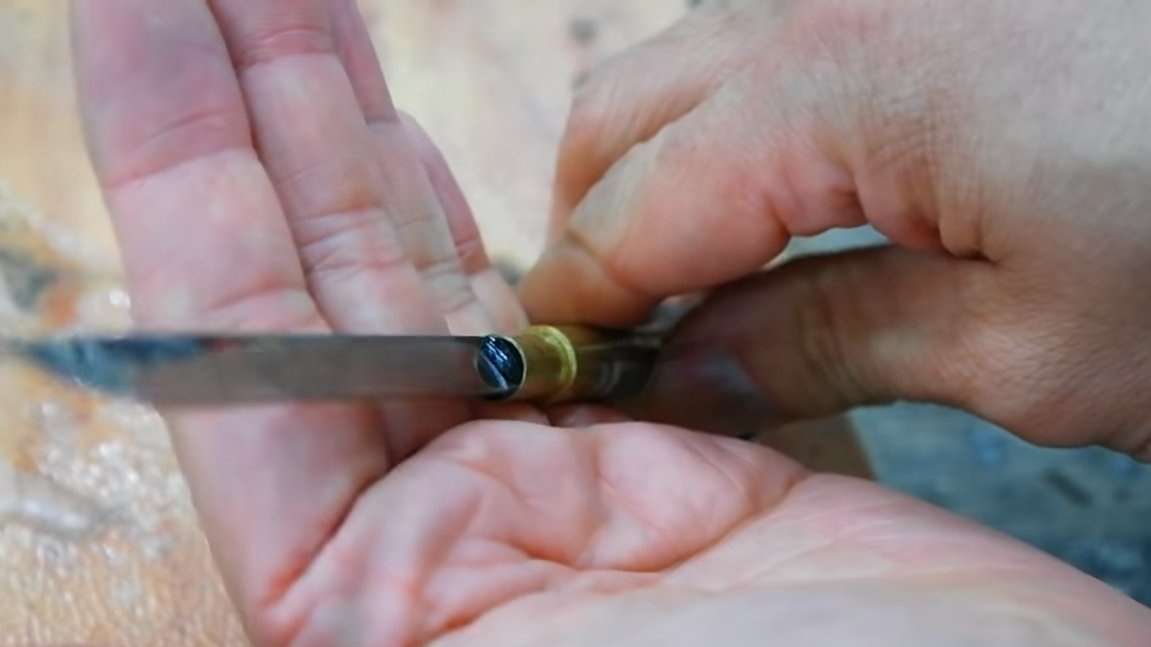
If you want the blade to be strong and hold sharpening well, steel needs to be hardened.Our blade is small, so it can be heated with a gas burner. We heat the steel until a yellowish glow appears and lower it into oil. If the steel is hardened, a characteristic ringing will appear. Still hardened steel should not be taken with a file. After hardening, the blade must be sanded with fine sandpaper, and to make the process more productive, we wet the paper in water.
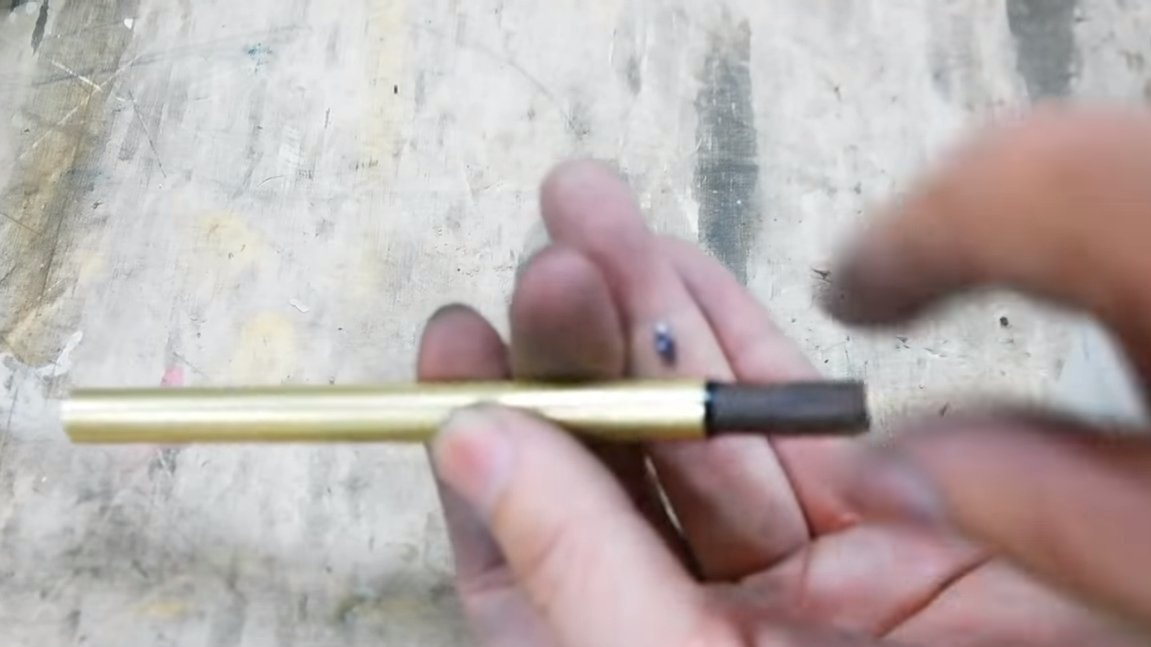
Step Four Pen making
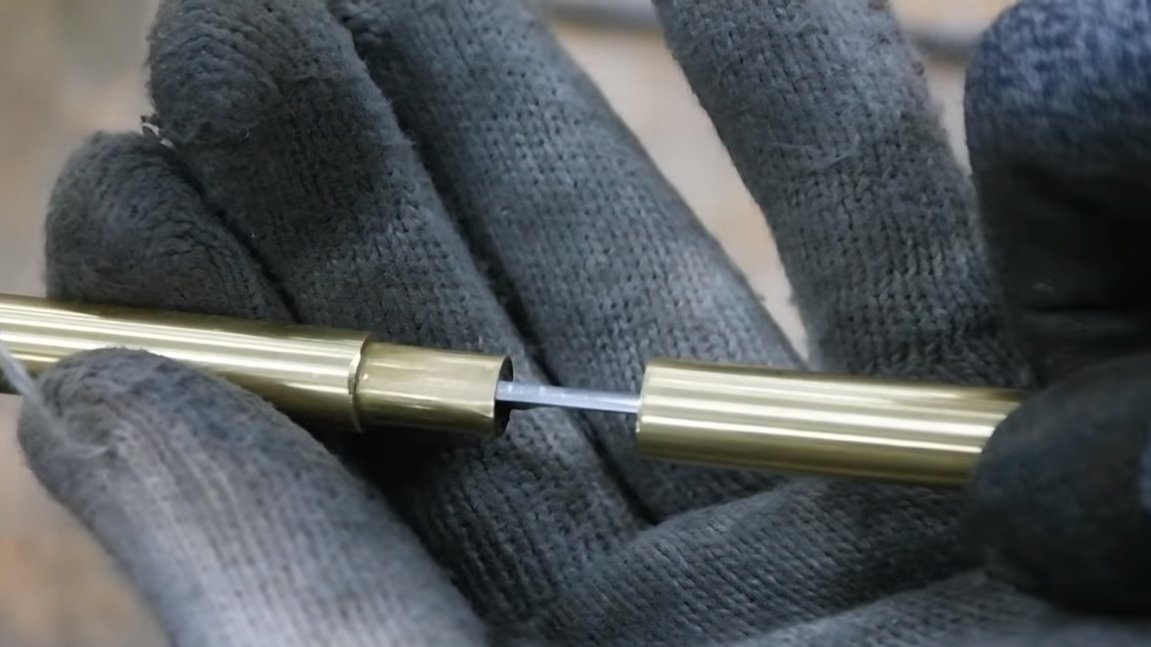
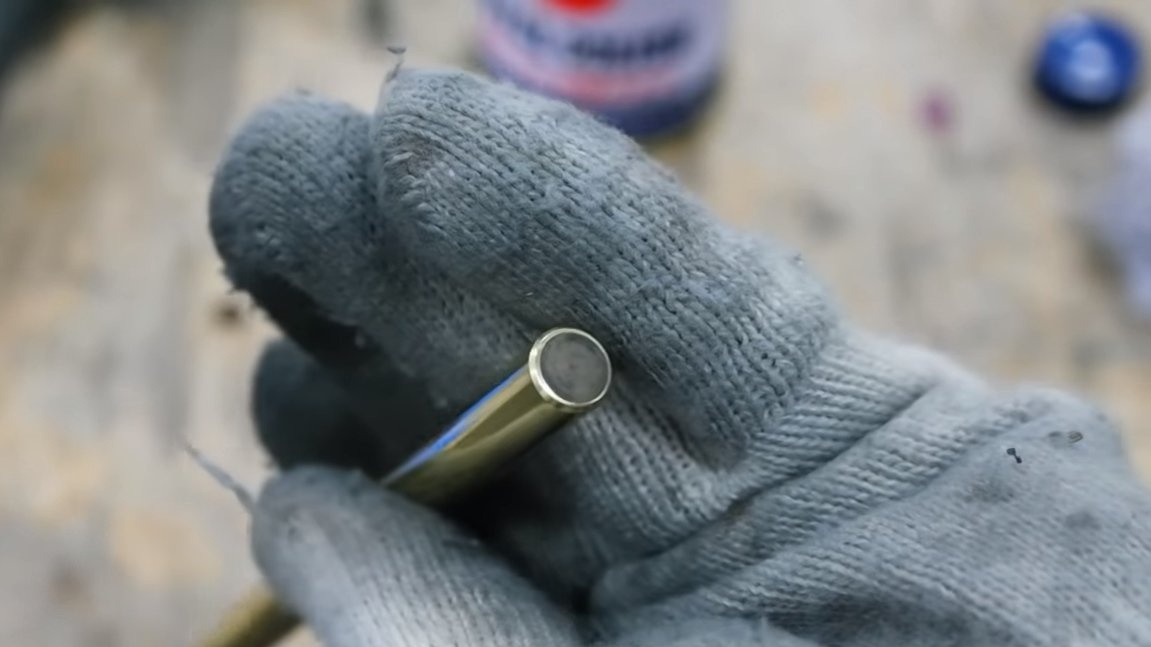
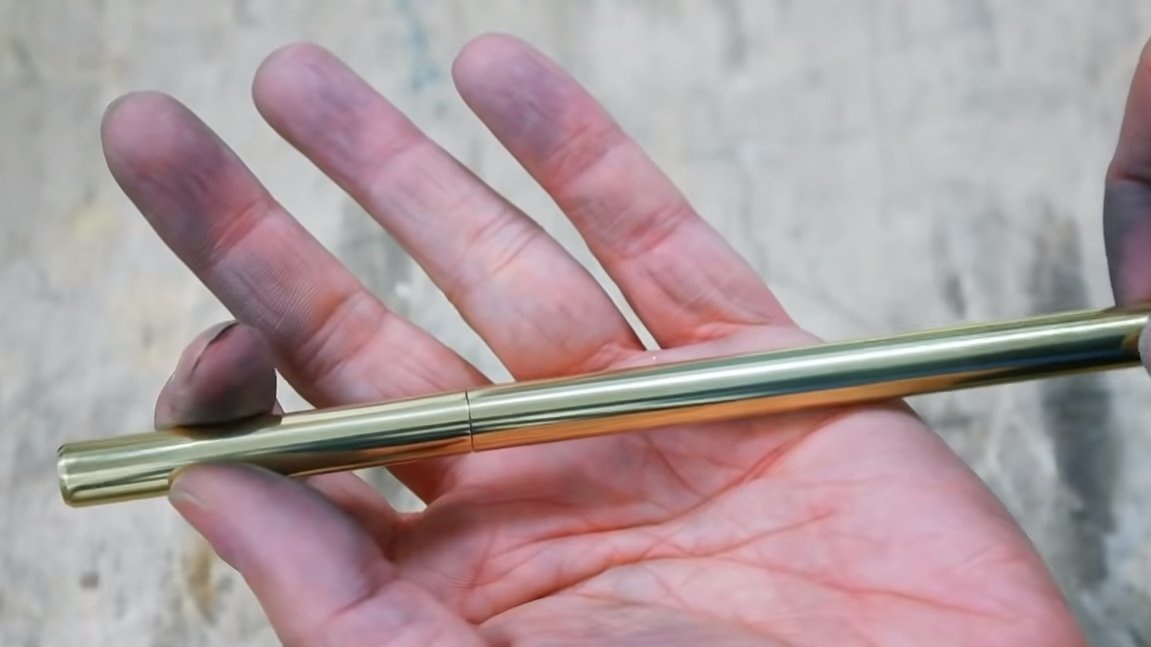
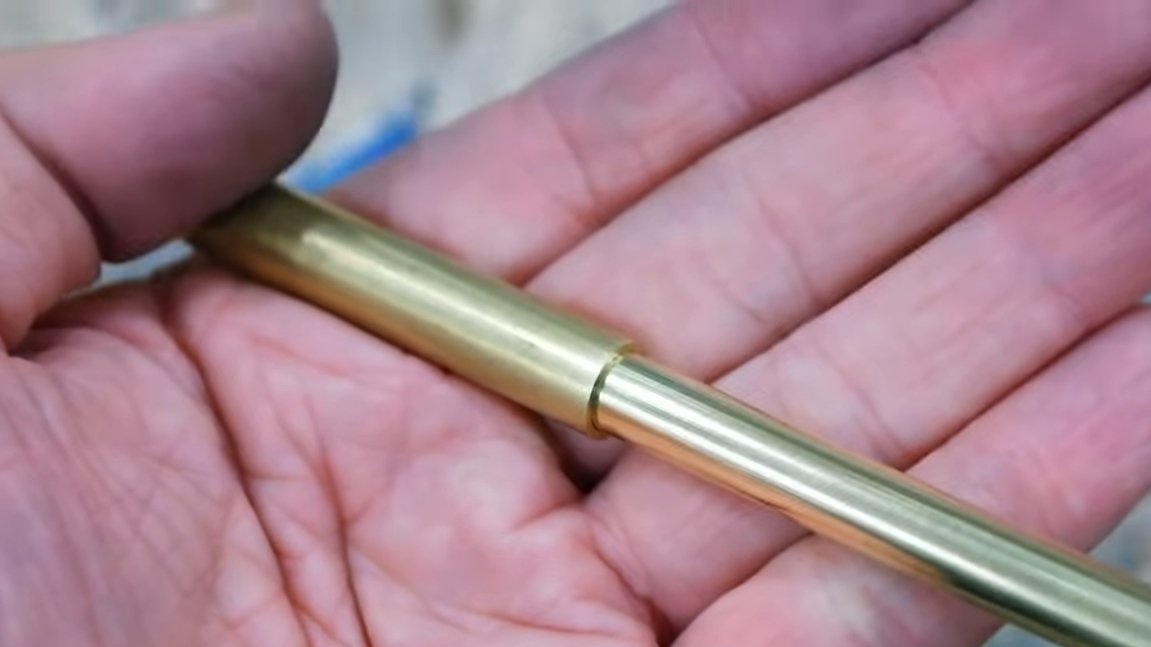
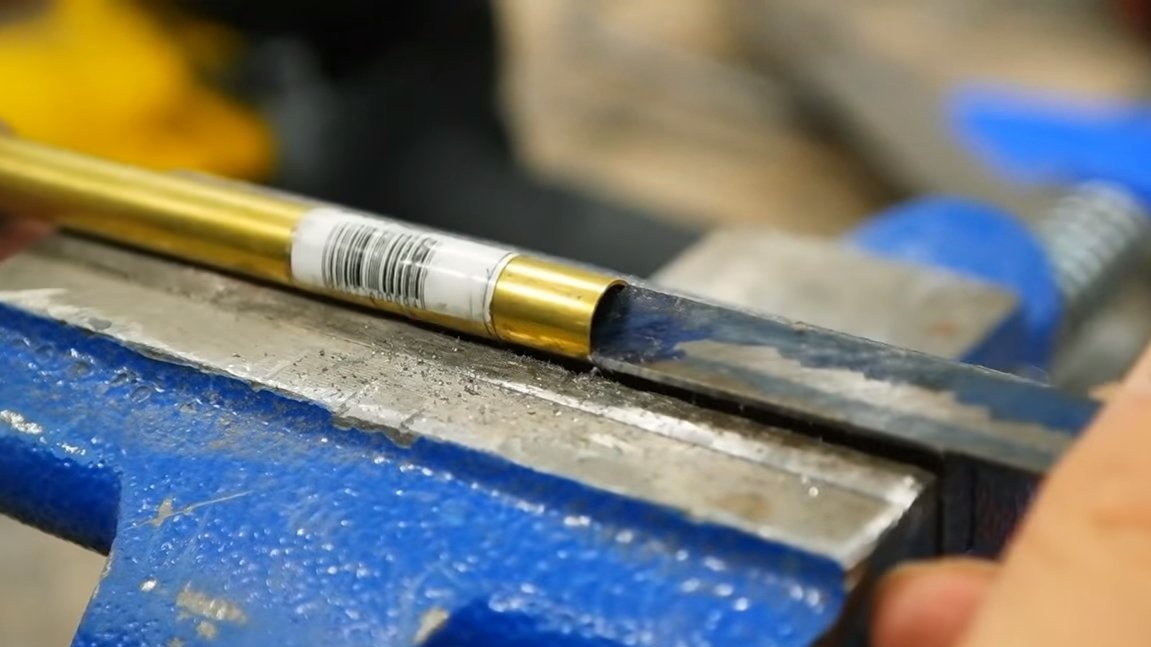
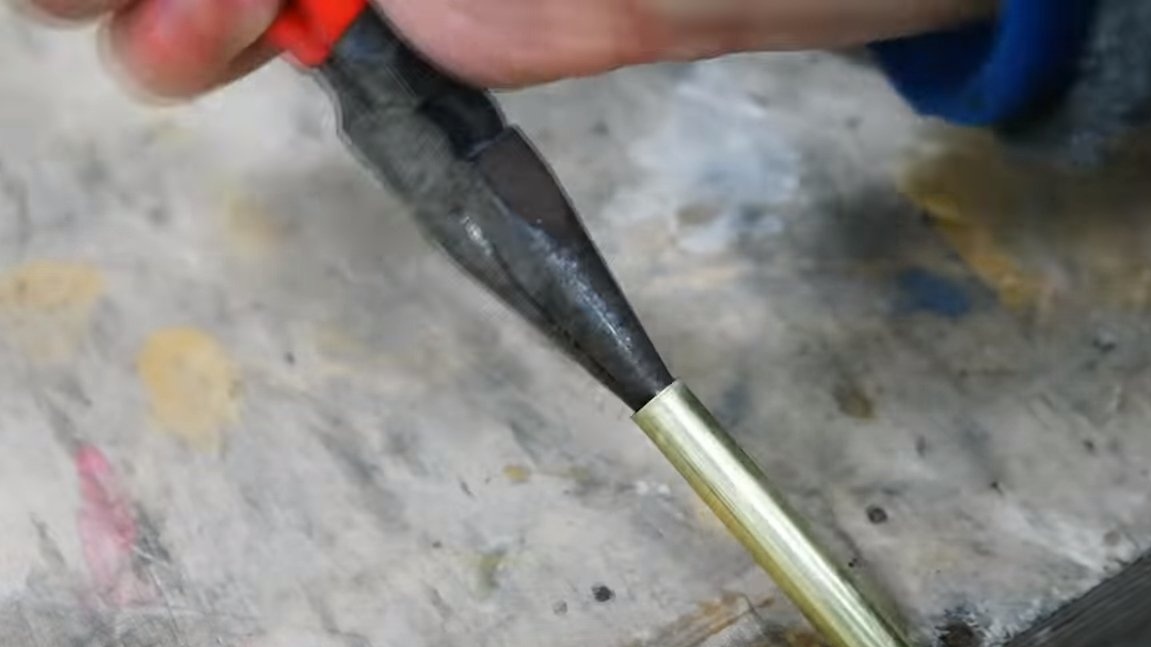
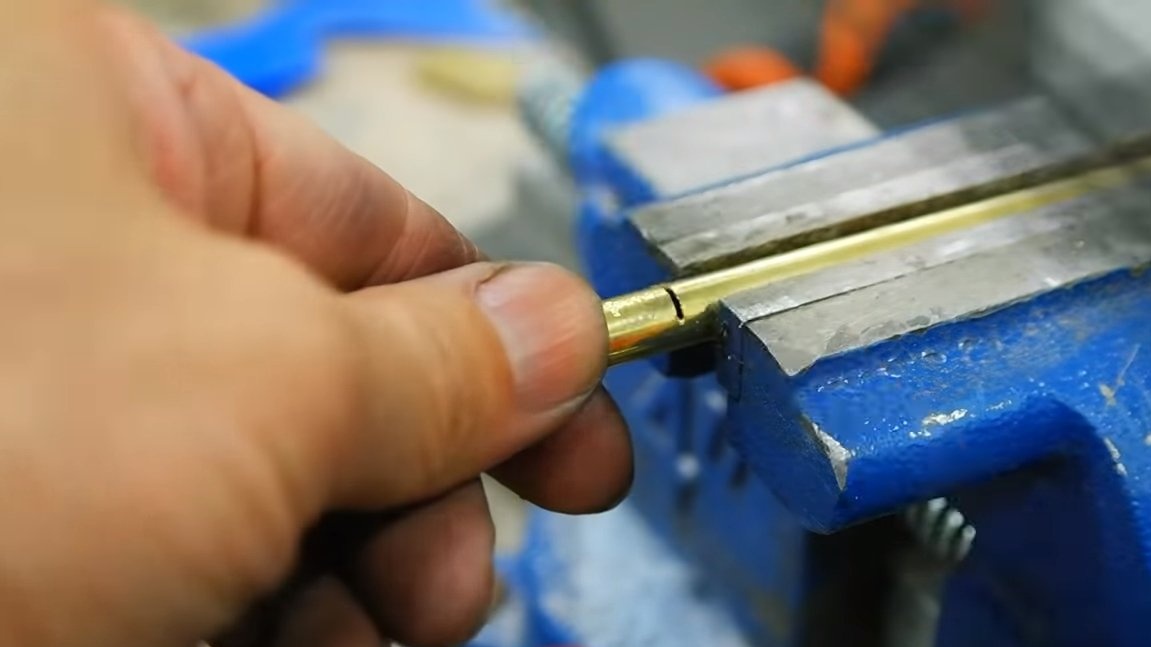
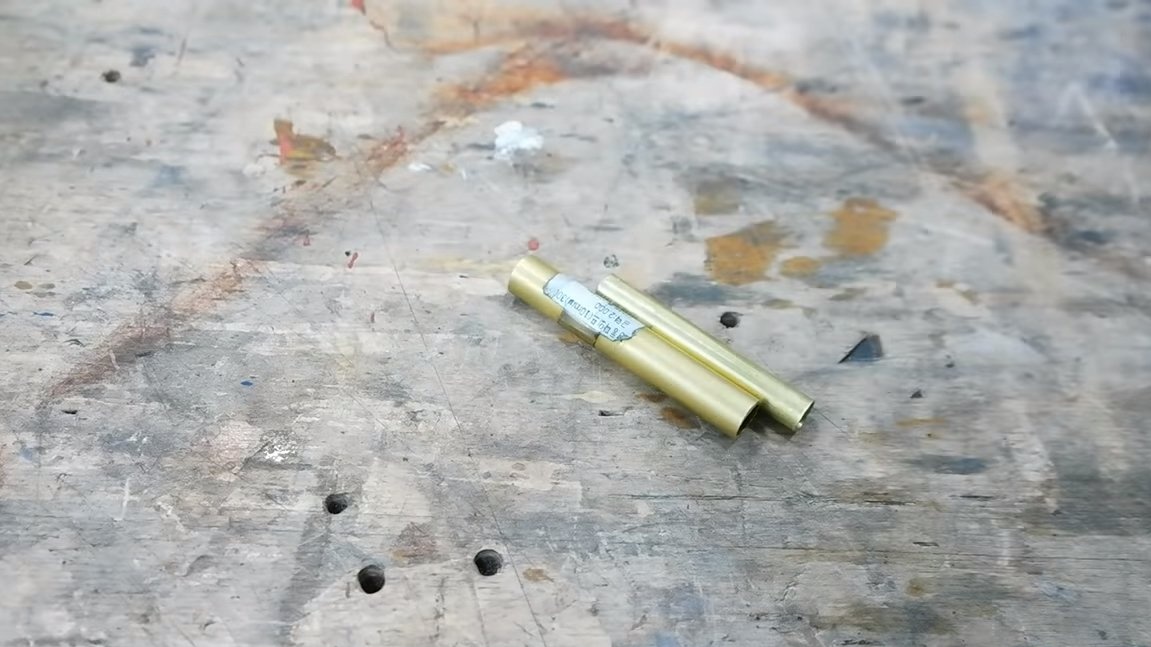
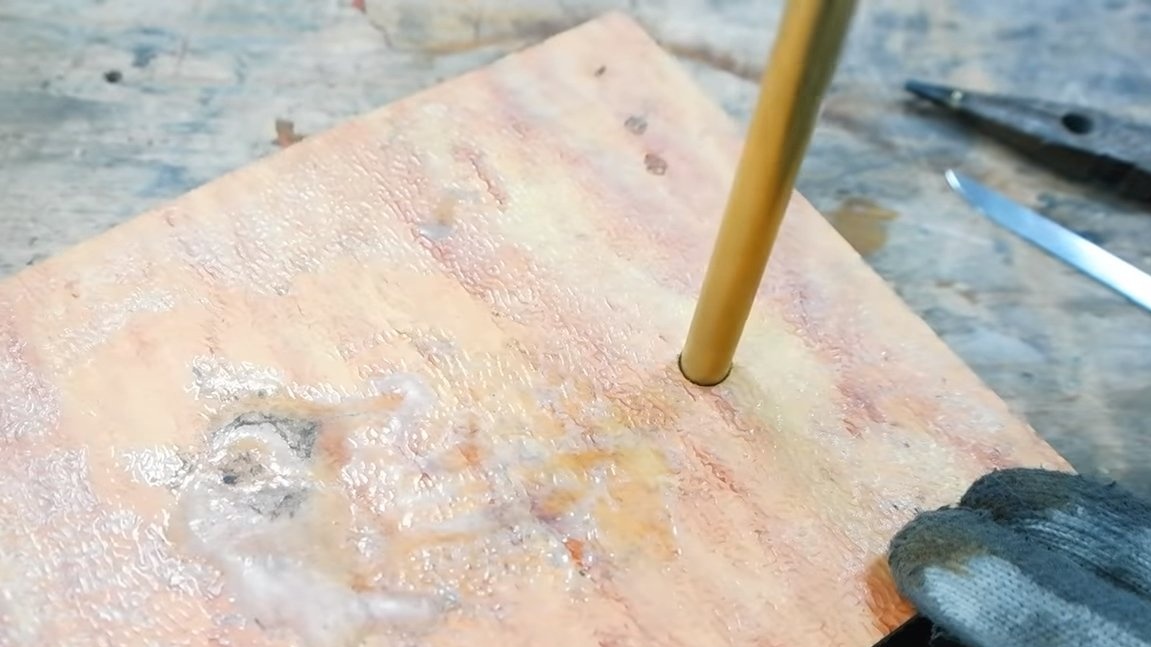
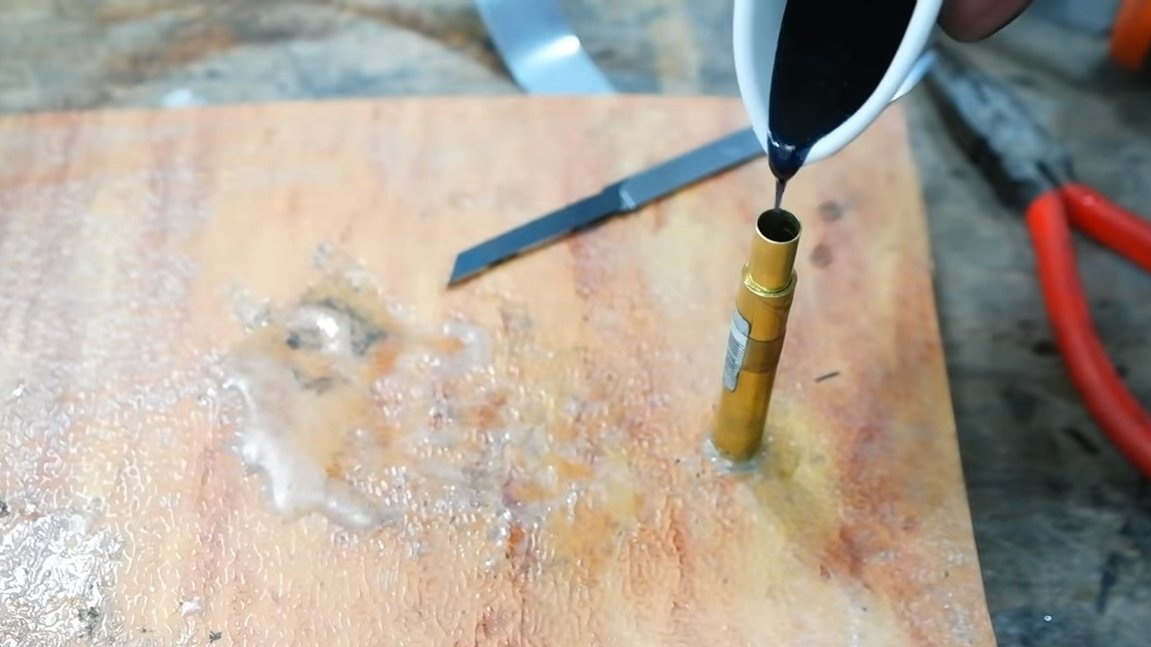
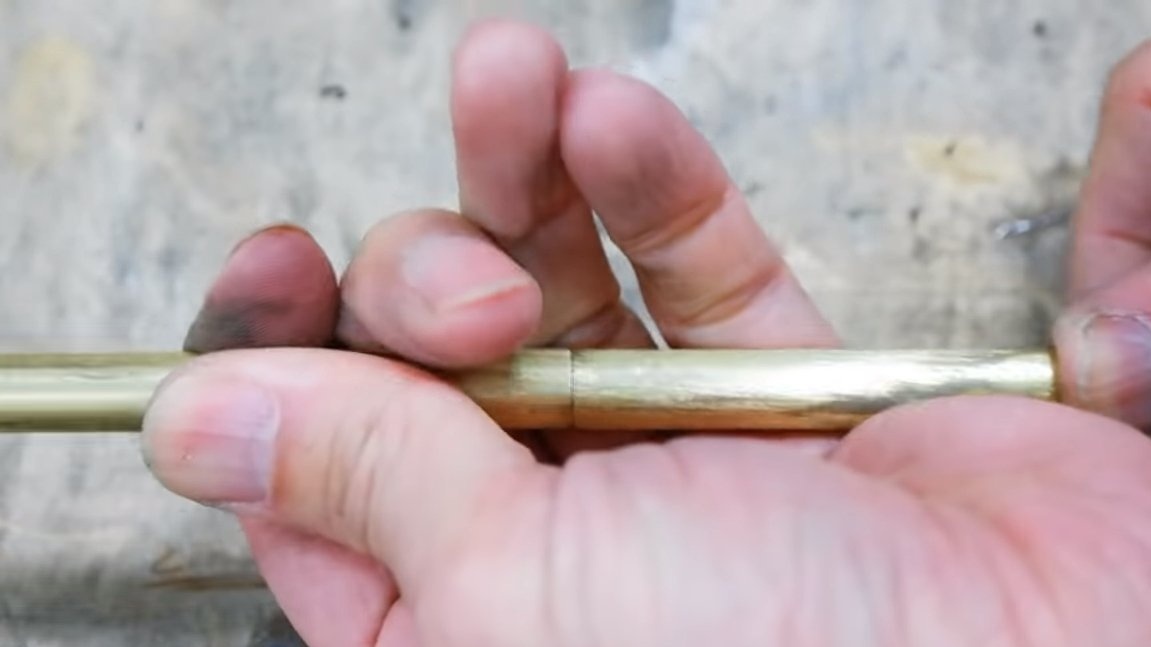
To make the handle, we need two pieces of brass tube with an outer diameter of 8 and 10 mm. The shank is inserted into the 8 mm tube, and this tube is then inserted into the 10 mm tube. So that the tubes fit tightly into one another, we expand the end of the thin tube using round-nose pliers or another tool.
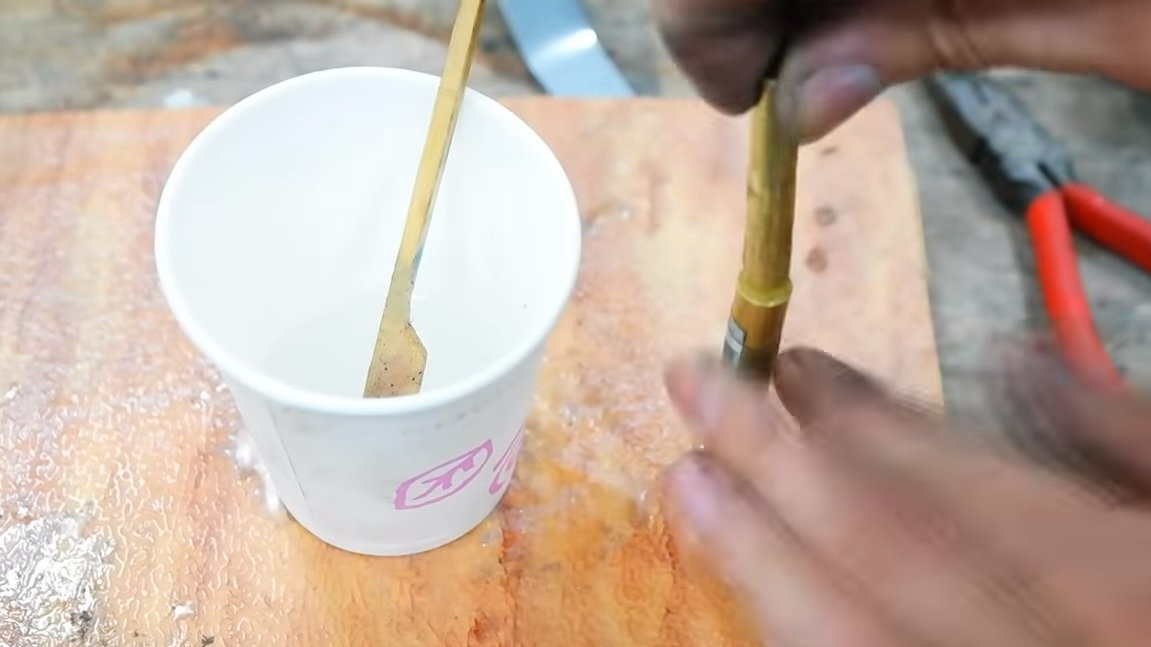
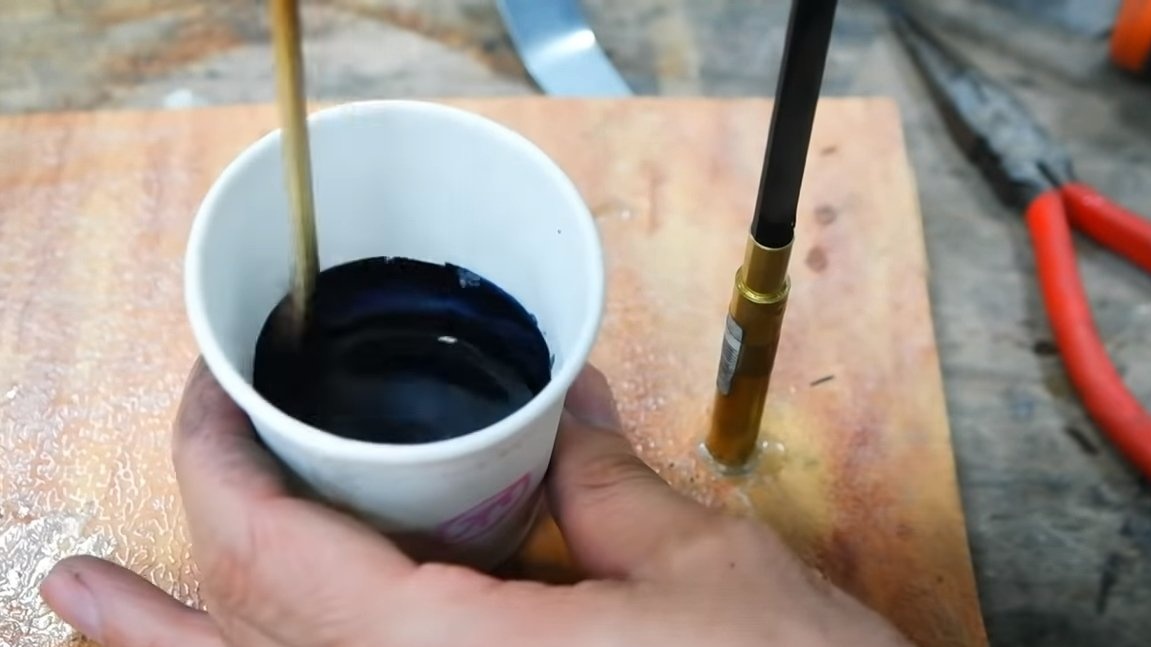
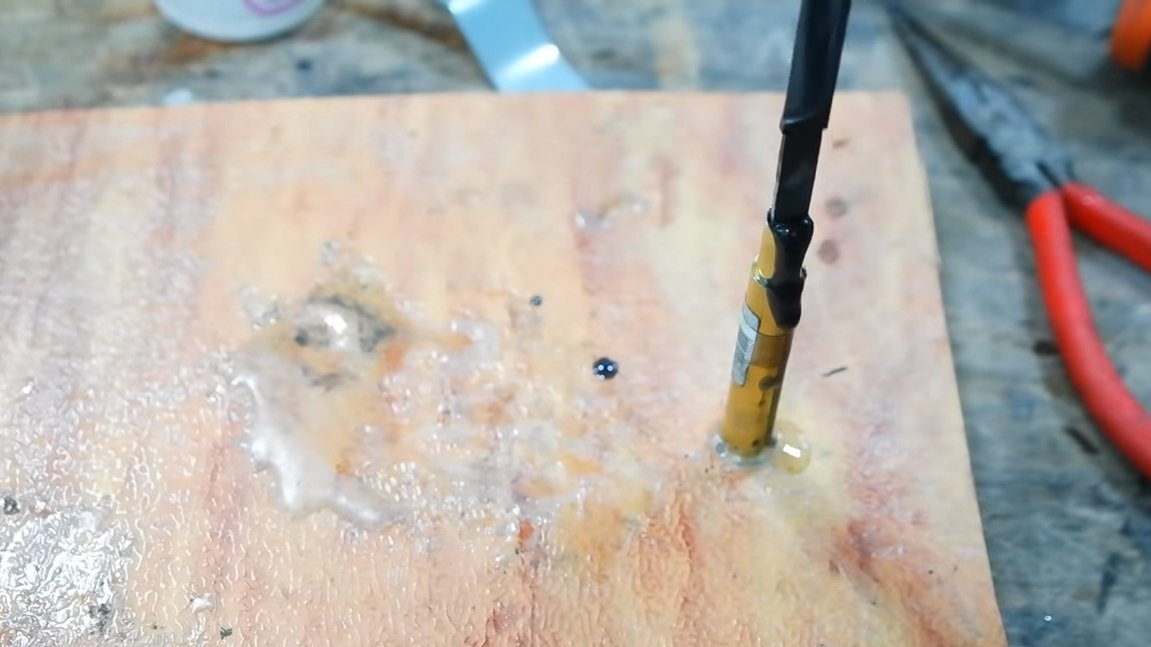
Next, we assemble the future structure in an upright position, we also install the knife vertically, with the shank in the handle. To glue this whole thing, we need epoxy glue. We glue the tubes together with transparent glue, and to fill the shank, the author added a dye of dark color to the resin. As a dye, ink from a string or laser printer is well suited, as well as ink from a writing pen. We immediately wipe off any excess glue and leave the whole thing to dry.

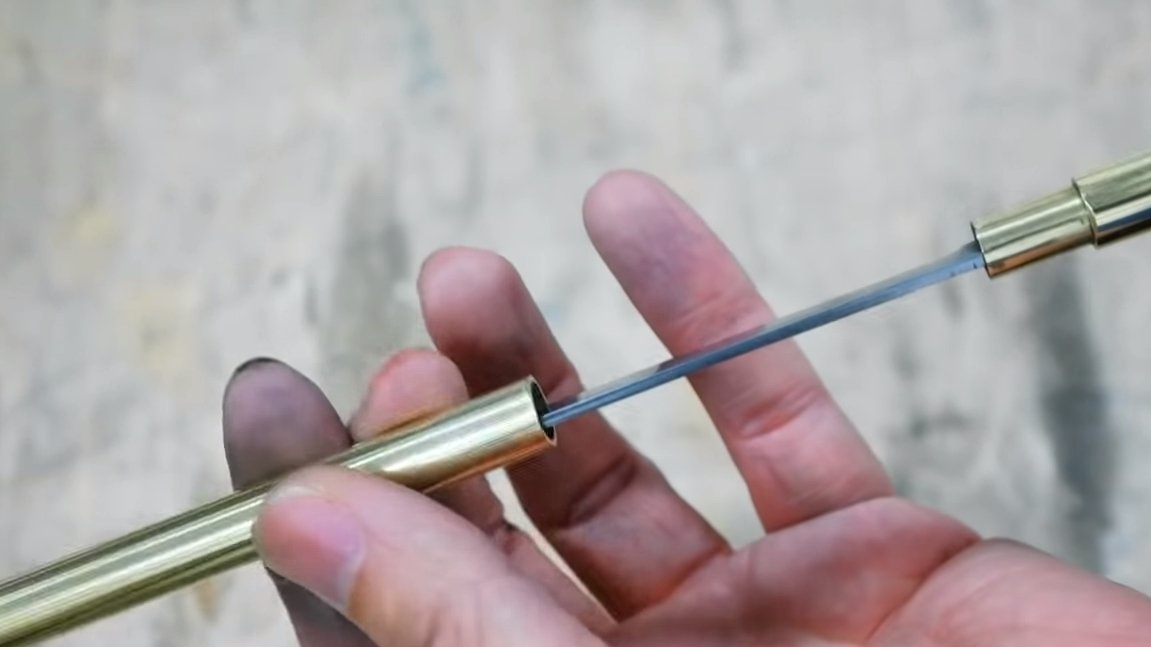
Step Five Sheath
We make the sheath for the knife, for this we cut a piece from the tube with an outer diameter of 10 mm. The scabbard should be tightly worn on the blade, as such a seal we need a wooden rod. With a drill, file and sandpaper, we reduce its diameter so that the rod goes into the brass tube. We make a cut along the rod, a blade will go into this gap.
Next, we glue the wooden rod into the sheath on an epoxy.

Step Six Final touches
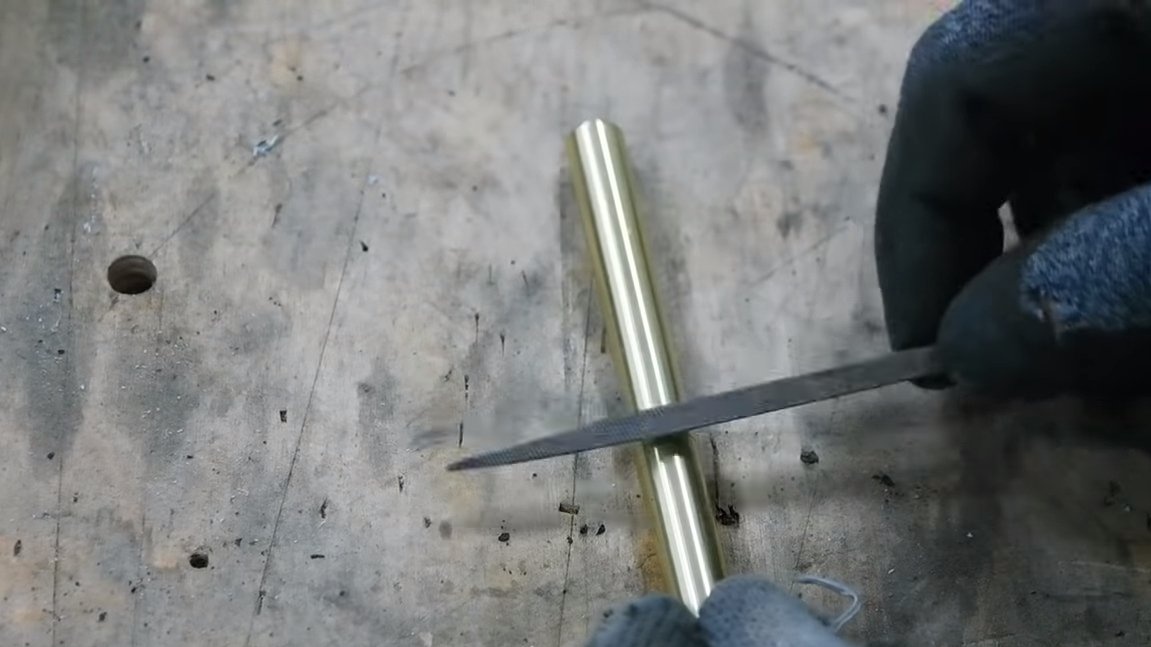
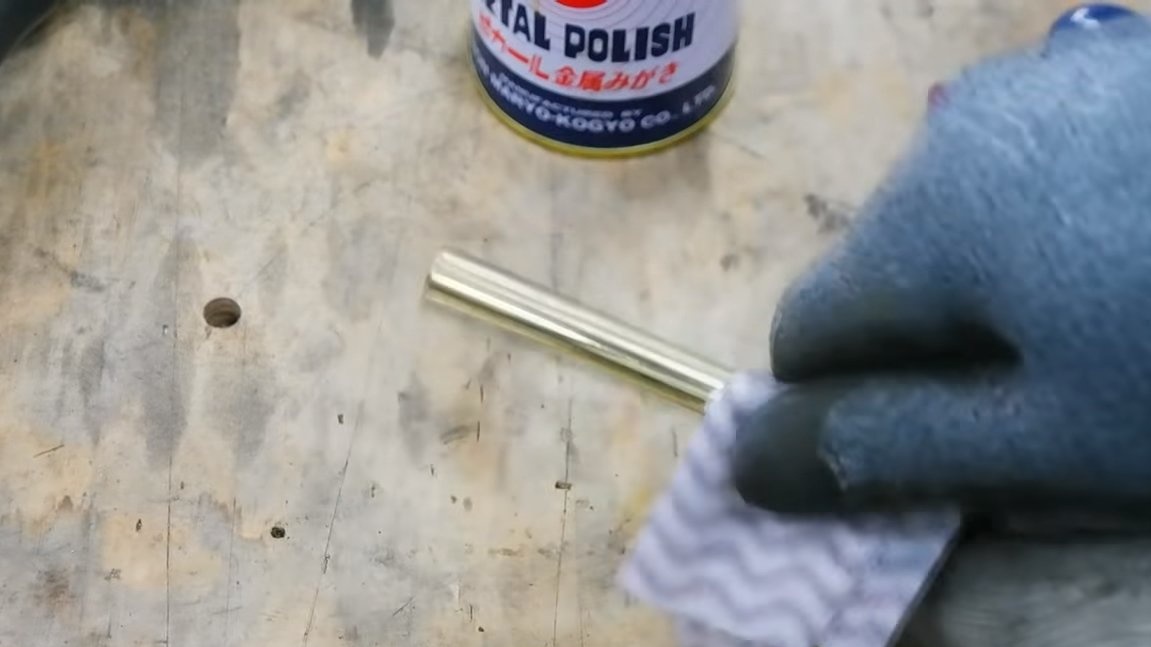
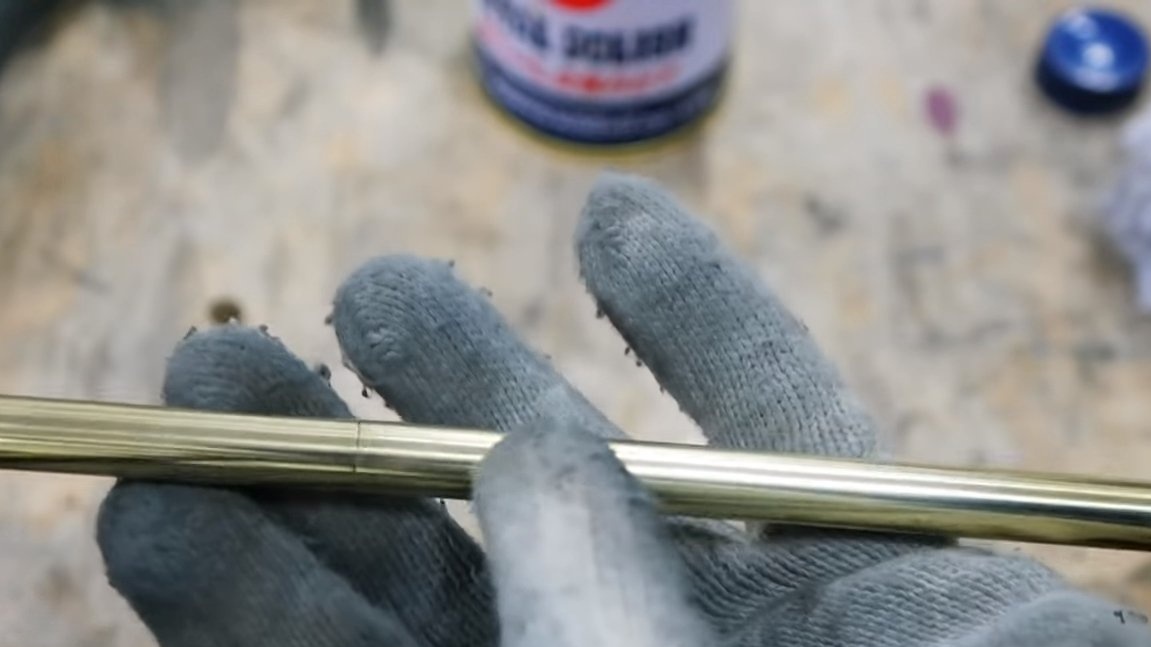
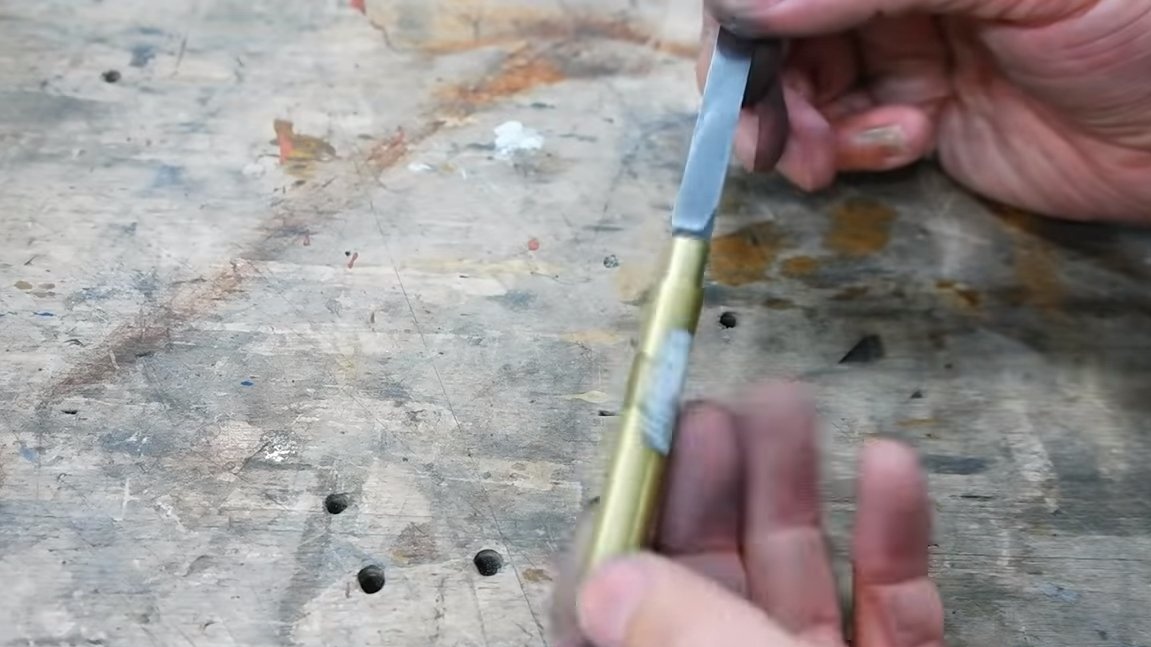
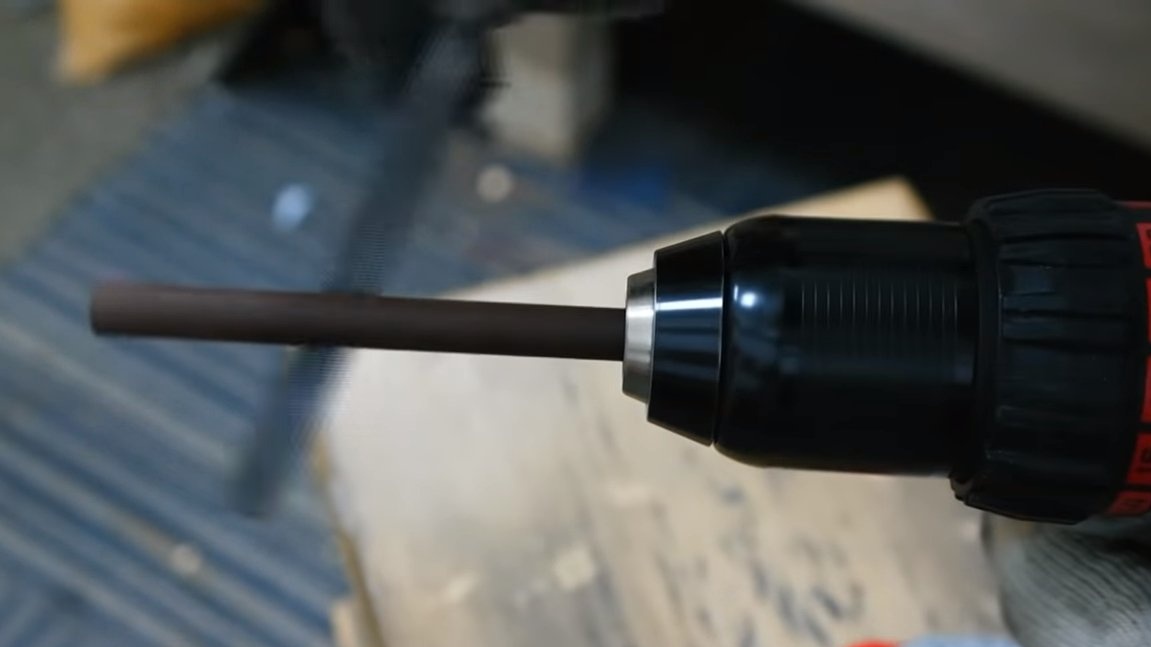
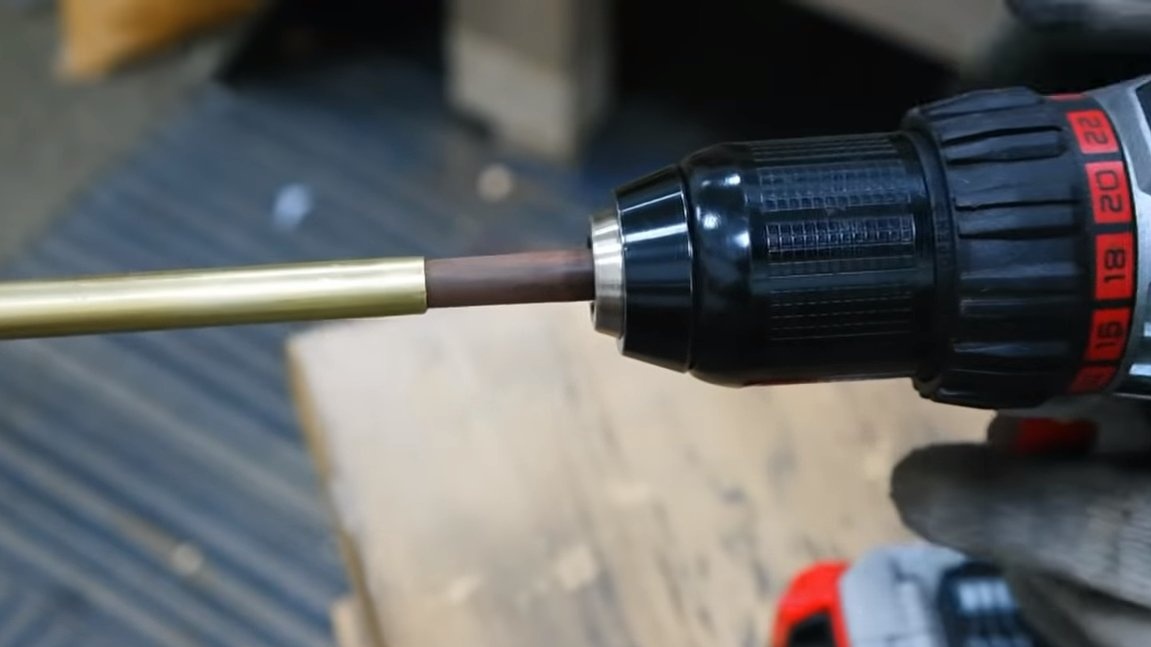
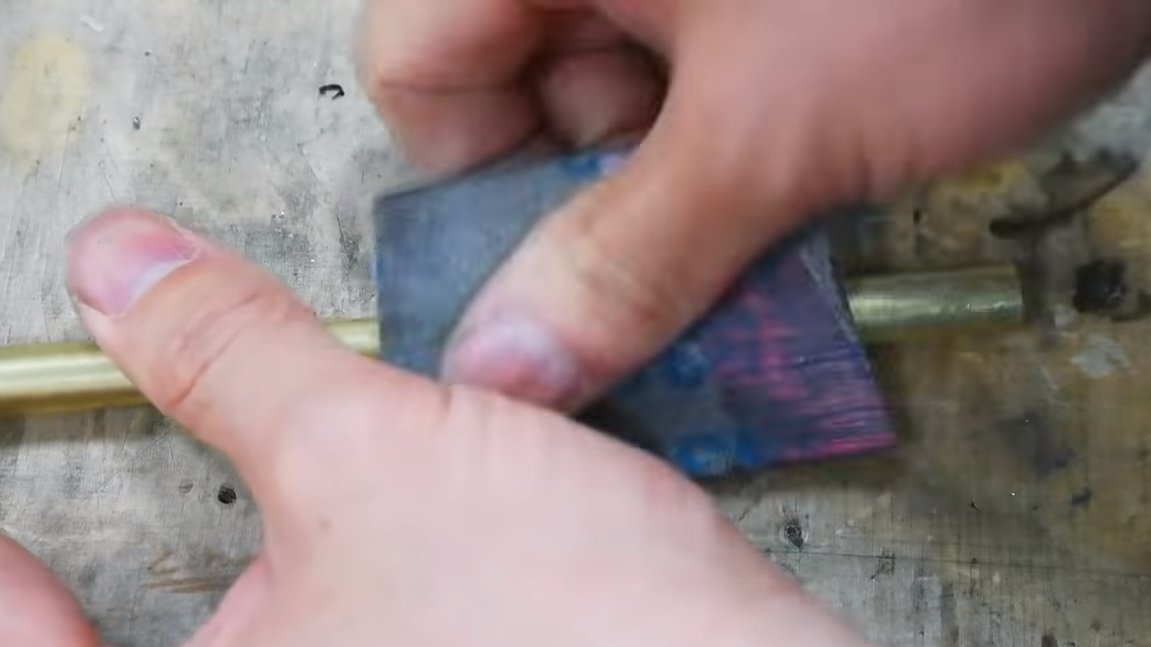
At the end, we carefully grind the assembled structure and polish it with a drill. And for finishing polishing, you can rub the brass with a car polish, so the brass will not darken.
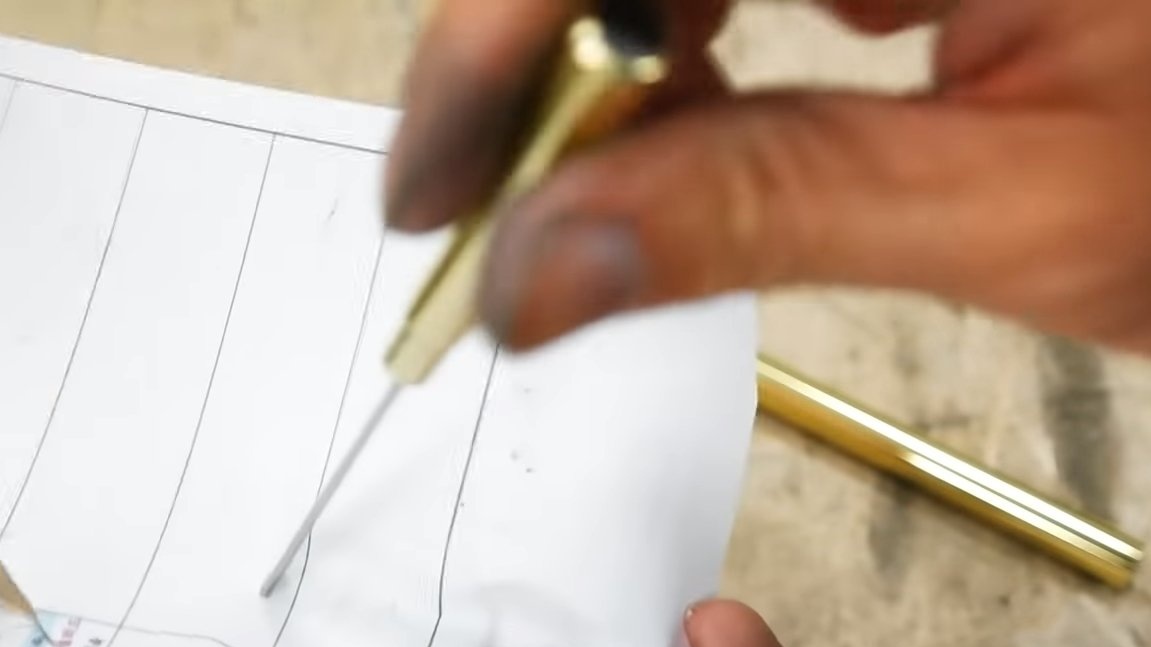
To understand where the pen is and where the sheath is, a pen can be marked on the pen with a file. That's all, our wonderful knife is ready, it turned out to be small, comfortable and sharp. I hope you enjoyed the project and found useful thoughts for yourself. Good luck and creative inspiration, if you decide to repeat this. Do not forget to share your ideas and homemade things with us!