
Good day to all. Today, the author of the channel “Alexander Dikovinniy” will show us how to assemble an aquarium compressor do it yourself. To make your own homemade Alexander used.
MATERIALS:
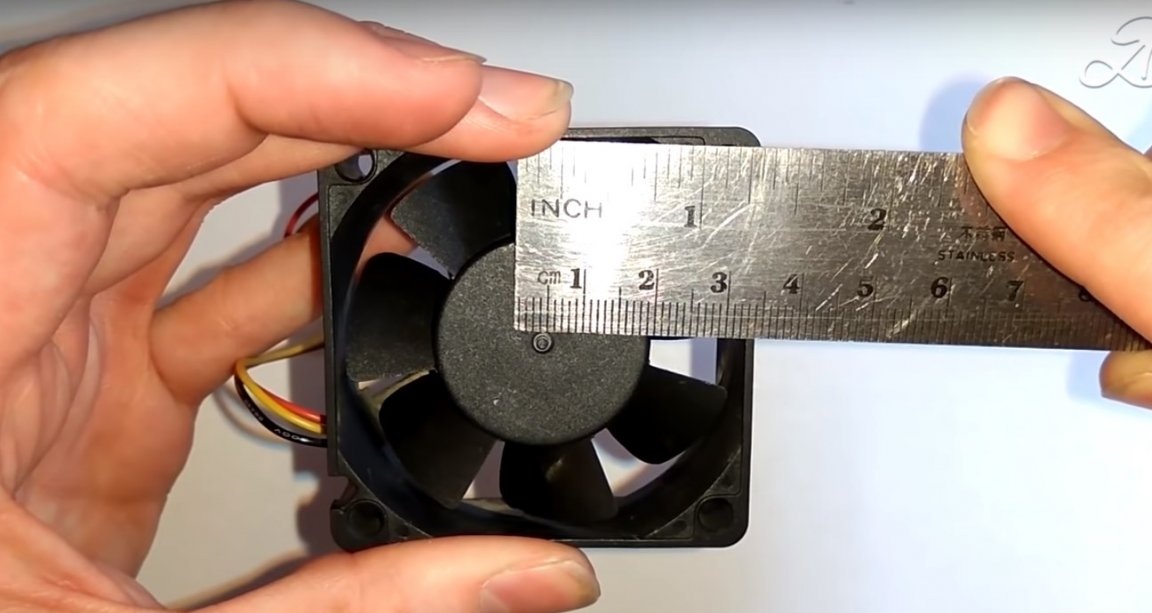
Computer cooler
Hard disk screw with washer and nut
Small switch
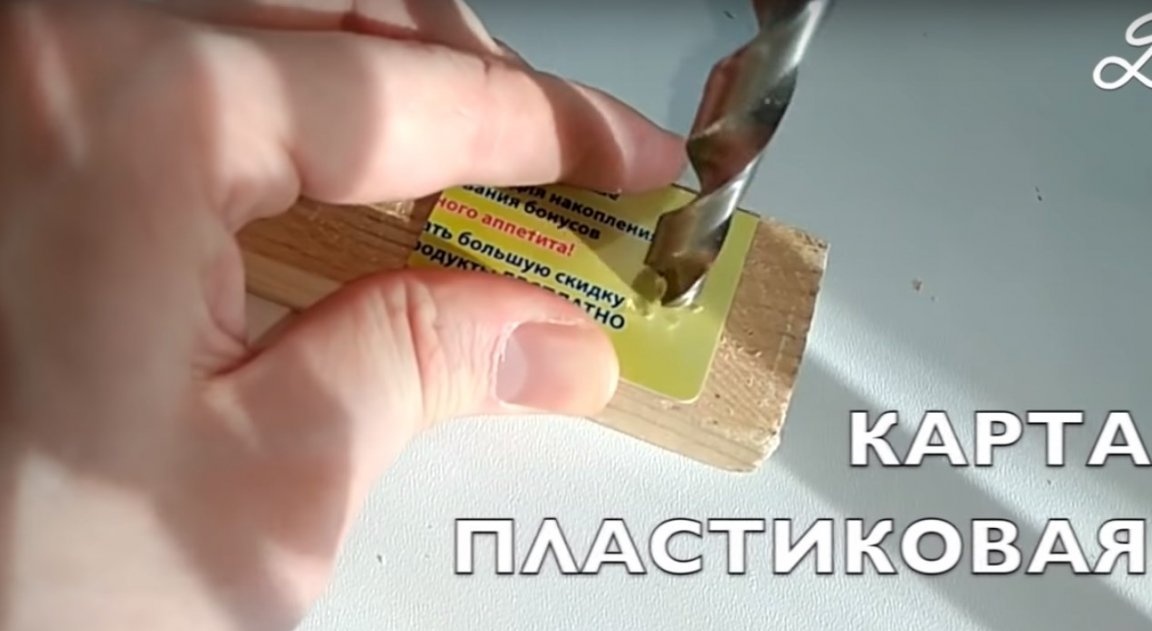
Plastic card
Power connector
Silicone hose
Paper clip 2 pcs
Double-sided tape
Duct tape
Glue "second"
Board
12v power supply
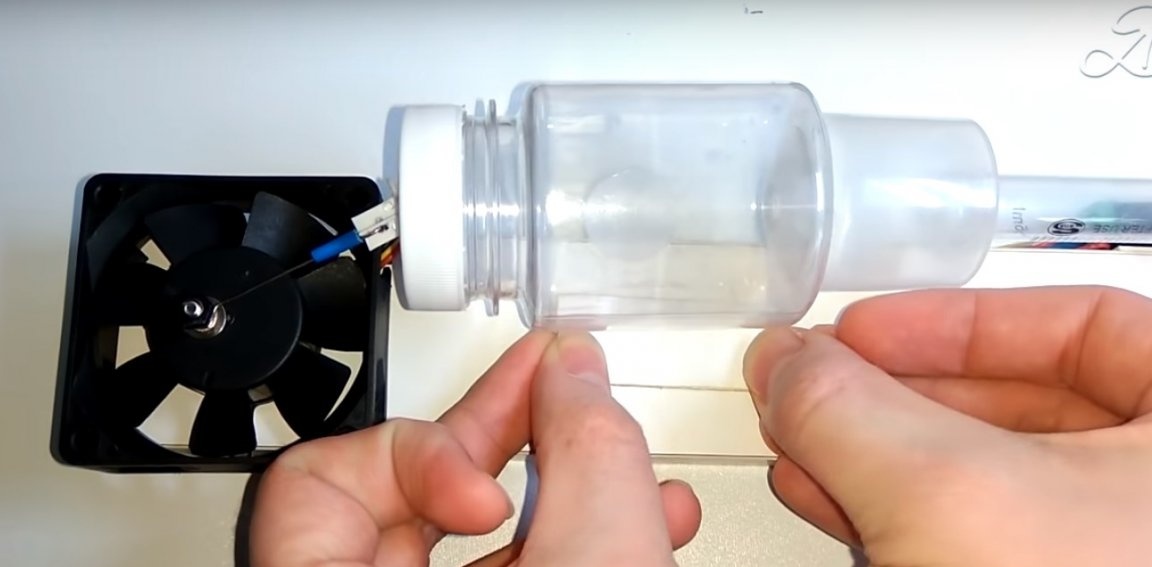
Plastic jar with a lid
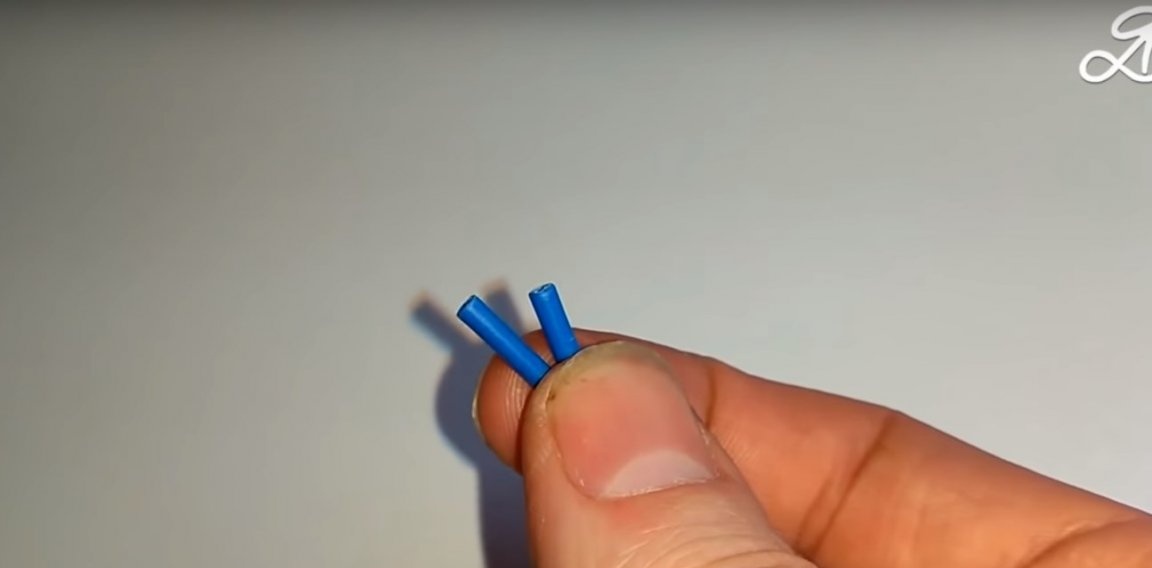
Not a lot of wires
Silicone membranes
Syringe
Deodorant Bottle Cap
Plastic corner.
INSTRUMENTS:
Electric drill
Drill
Wood crown
Sandpaper
Scalpel or knife
Ruler
Metal file
Scissors
Pliers
Lighter
Cotton pads
Alcohol.
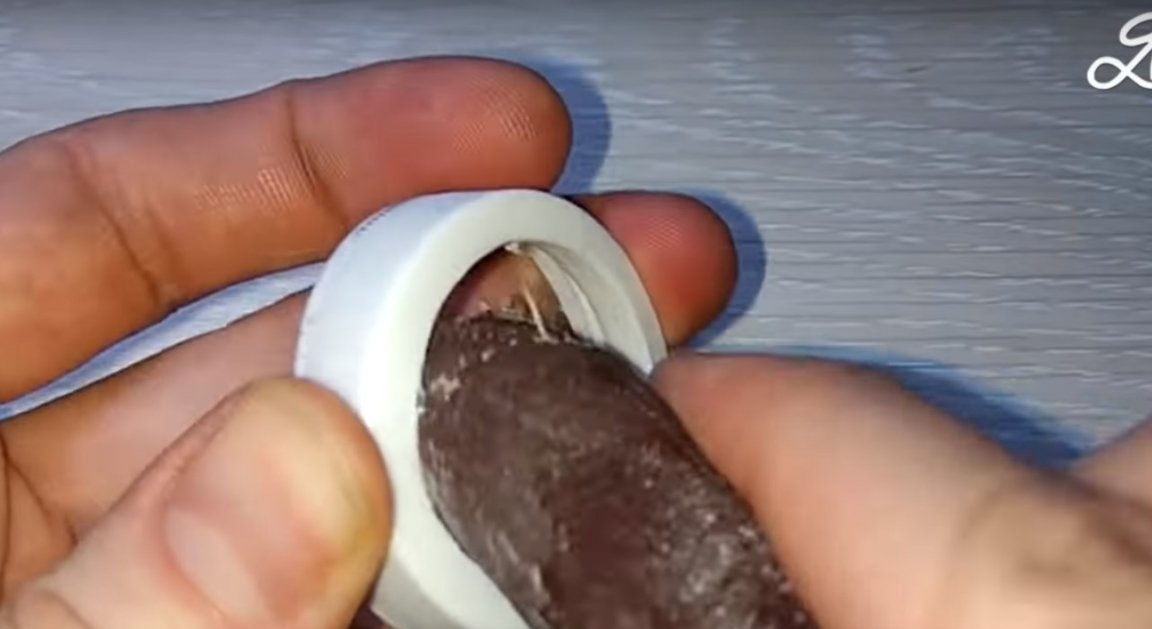
First of all, the author made a hole in the plastic cover with a crown.
After the scalpel he removed the burrs.
And cleaned the edges with sandpaper.
Then I cut the side from the inside of the lid.

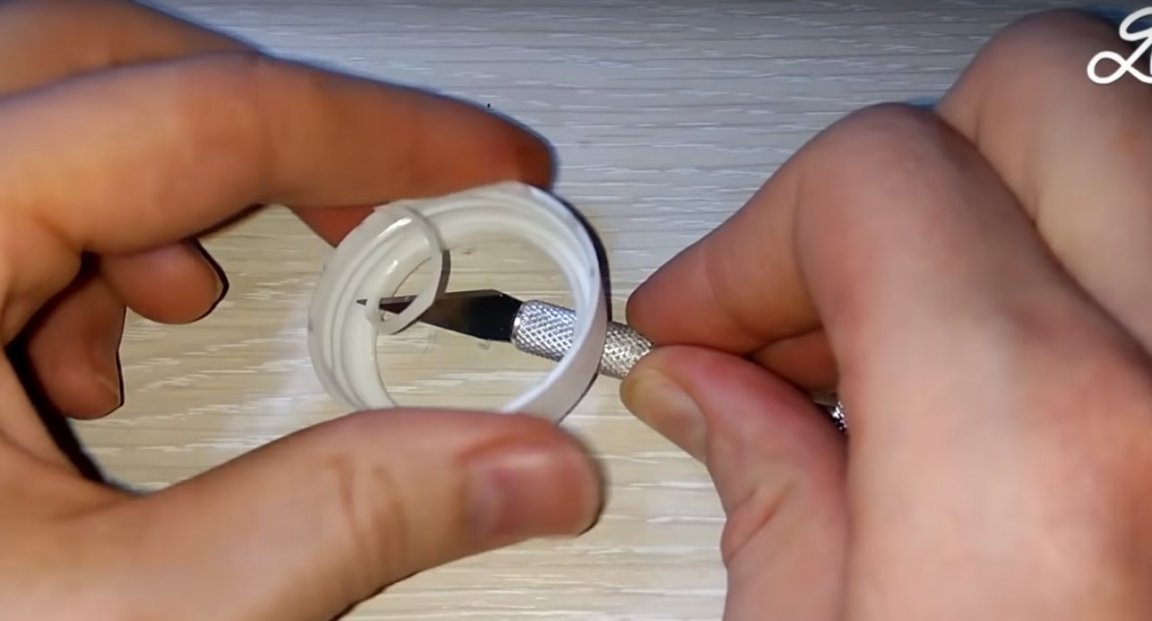
And he smoothed out the same with paper.
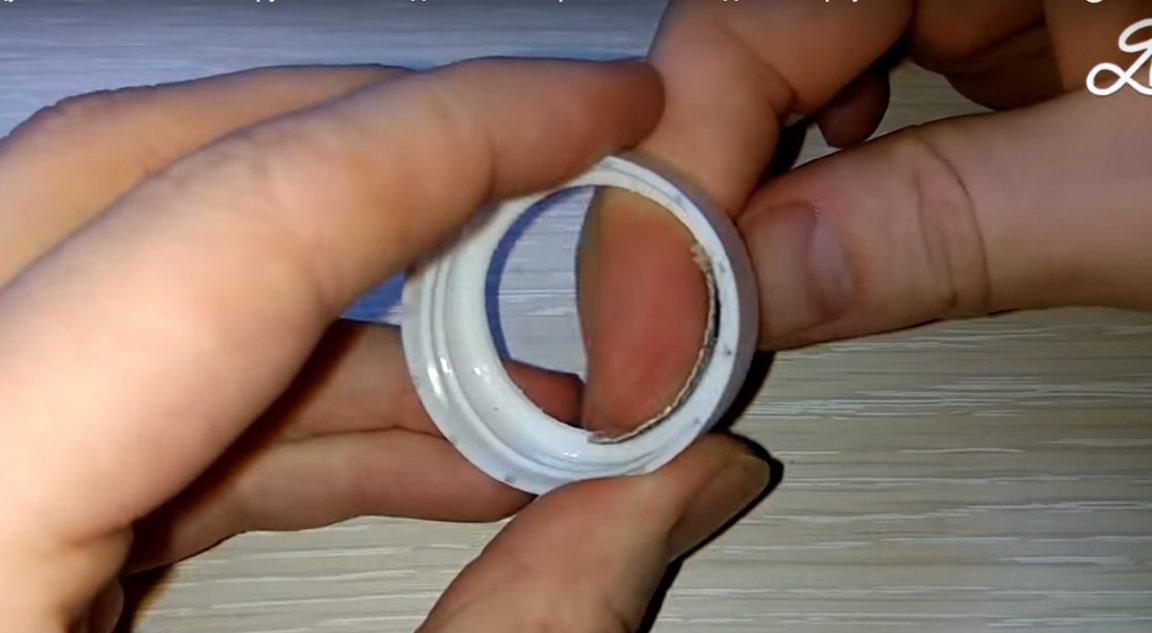
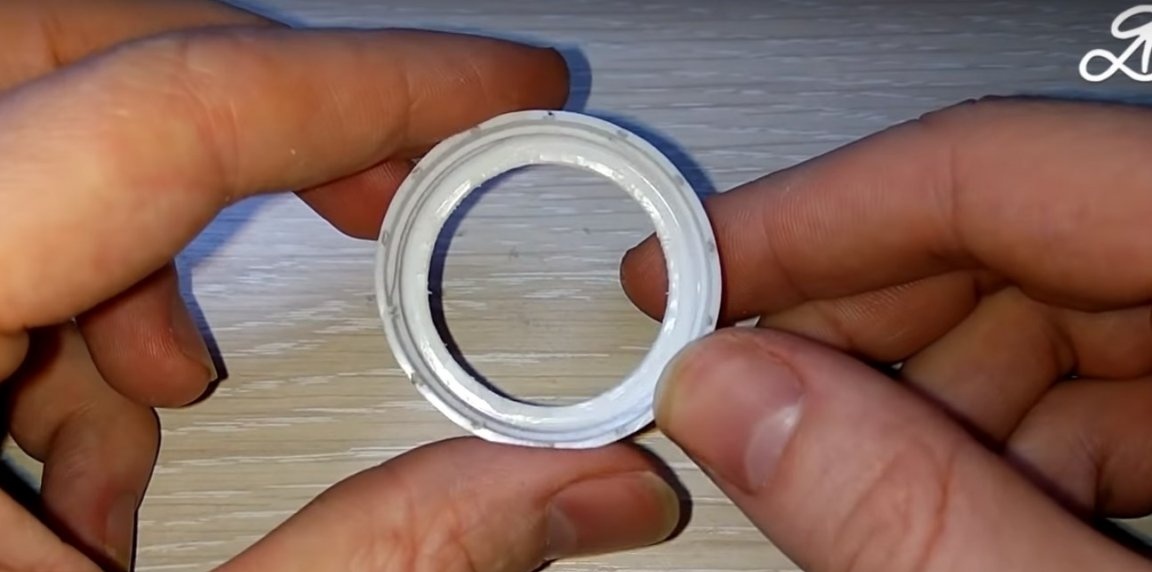
So it happened.
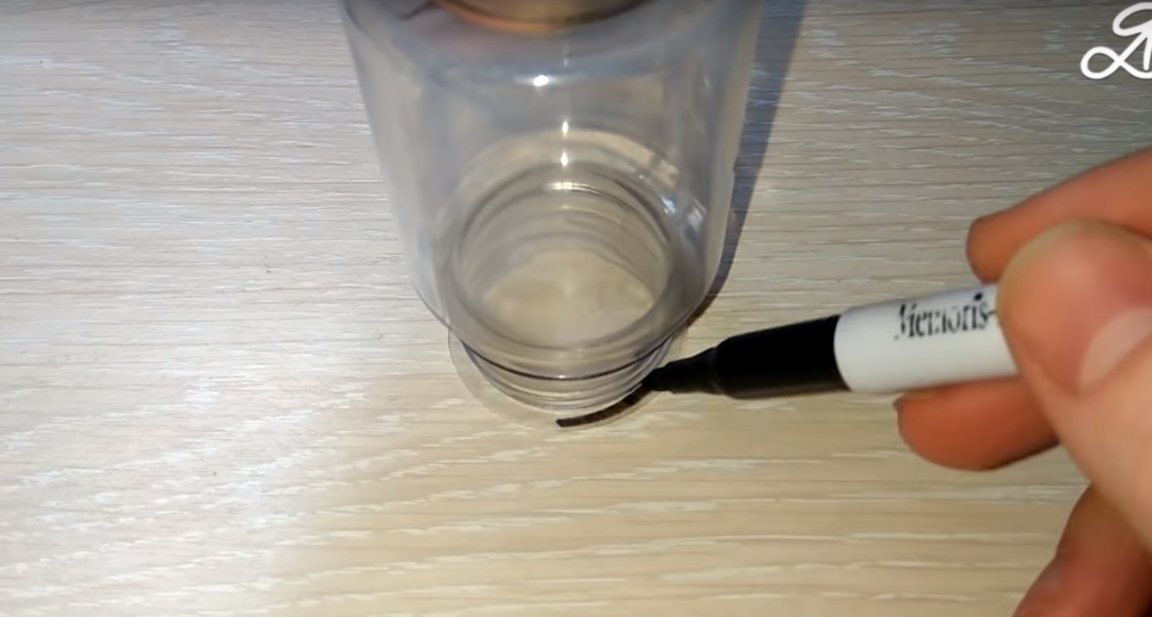
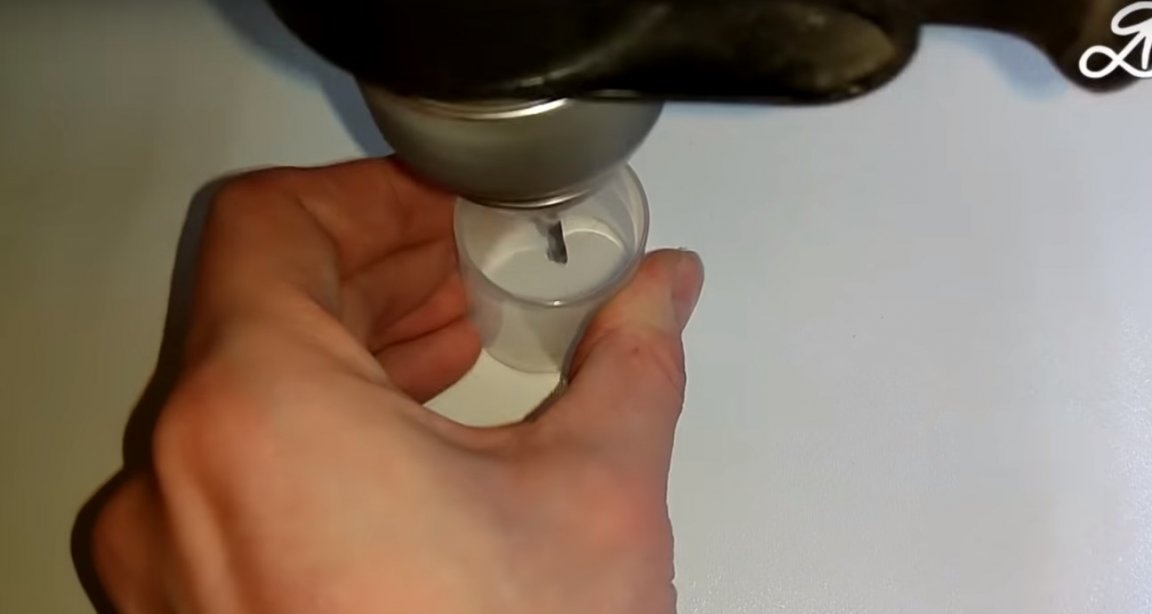
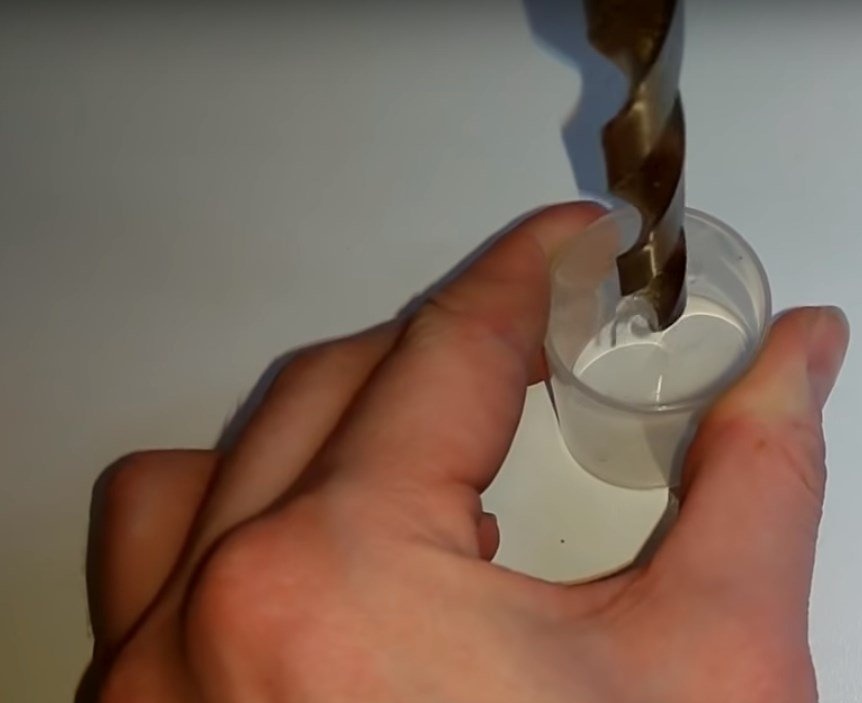
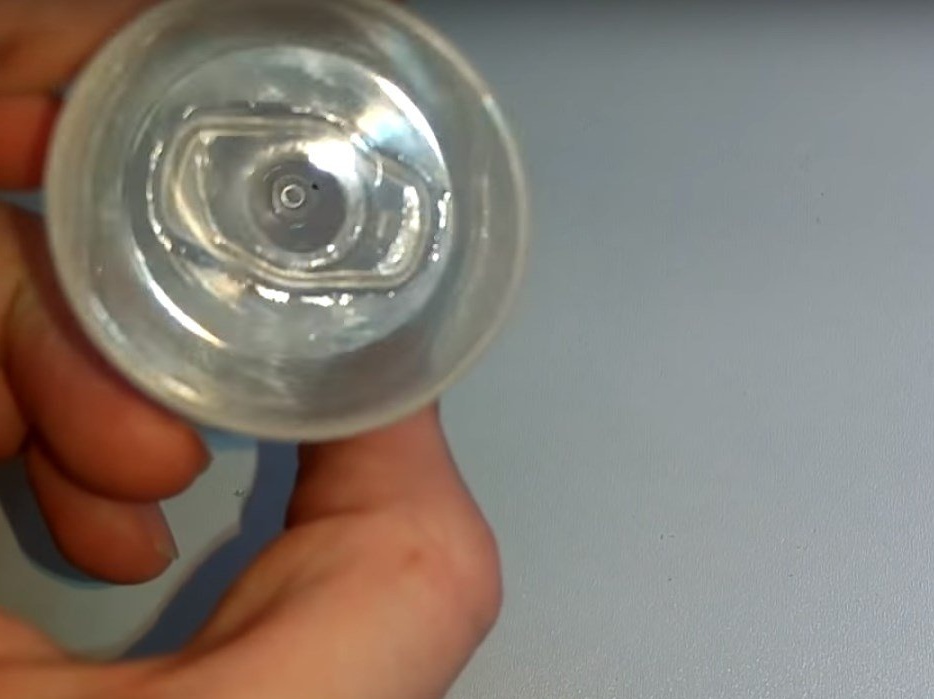
After a drill of 5 mm, made a hole in a plastic bottle. As shown in the photo.
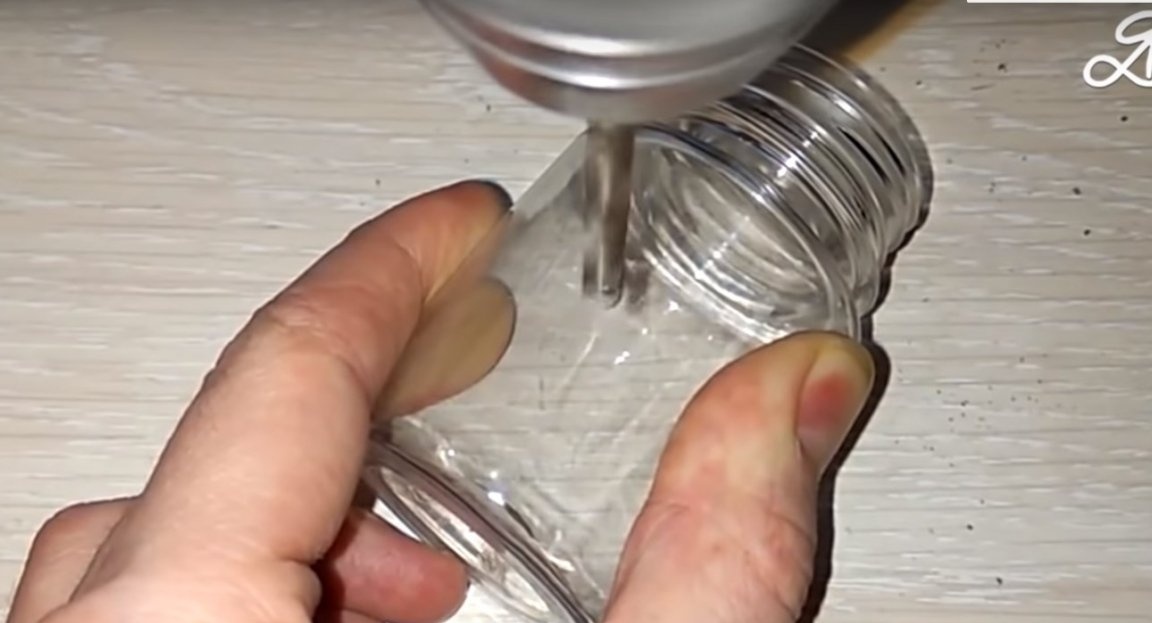
Deburred again and cleaned with paper.
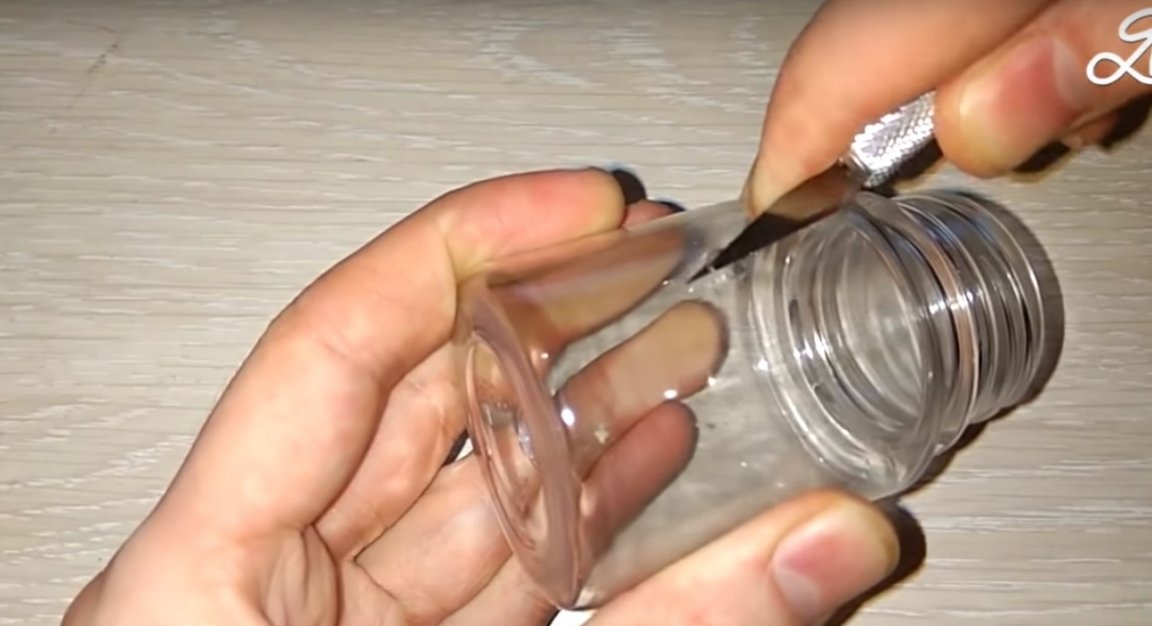

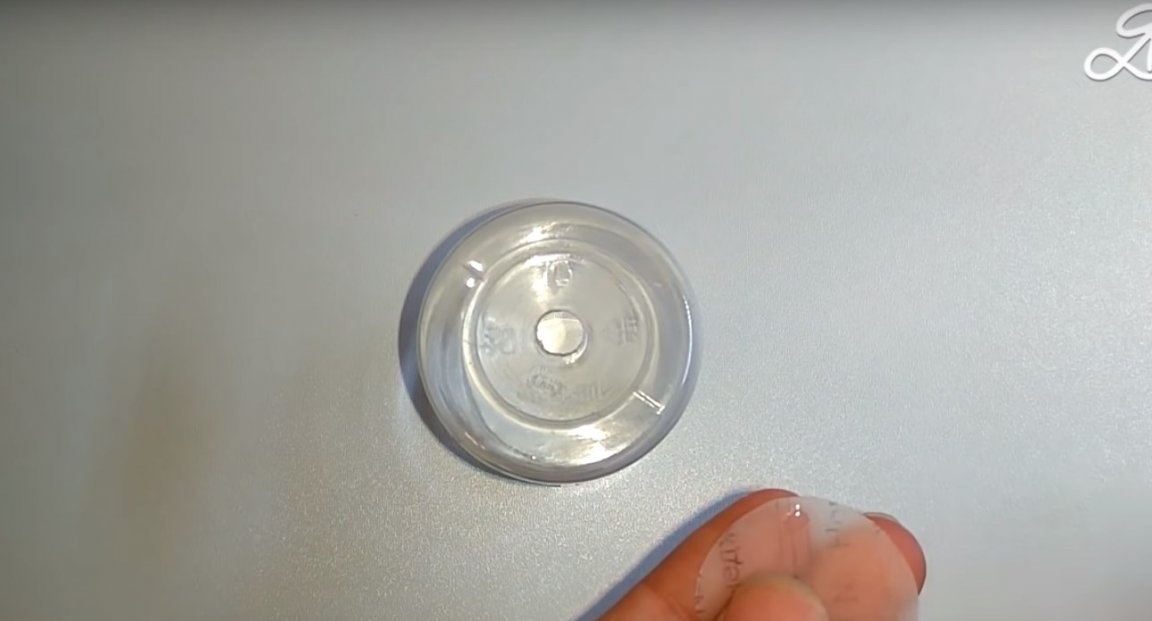
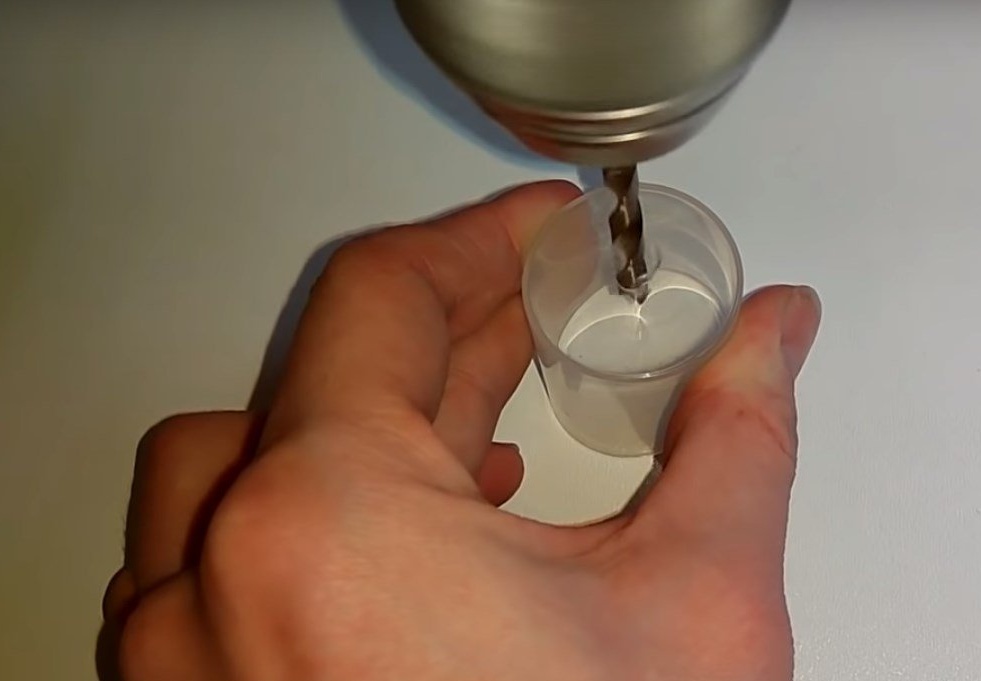
At the bottom of the bottle, he also made a hole, only with a 10 mm drill.
And again I cleaned it with sandpaper.
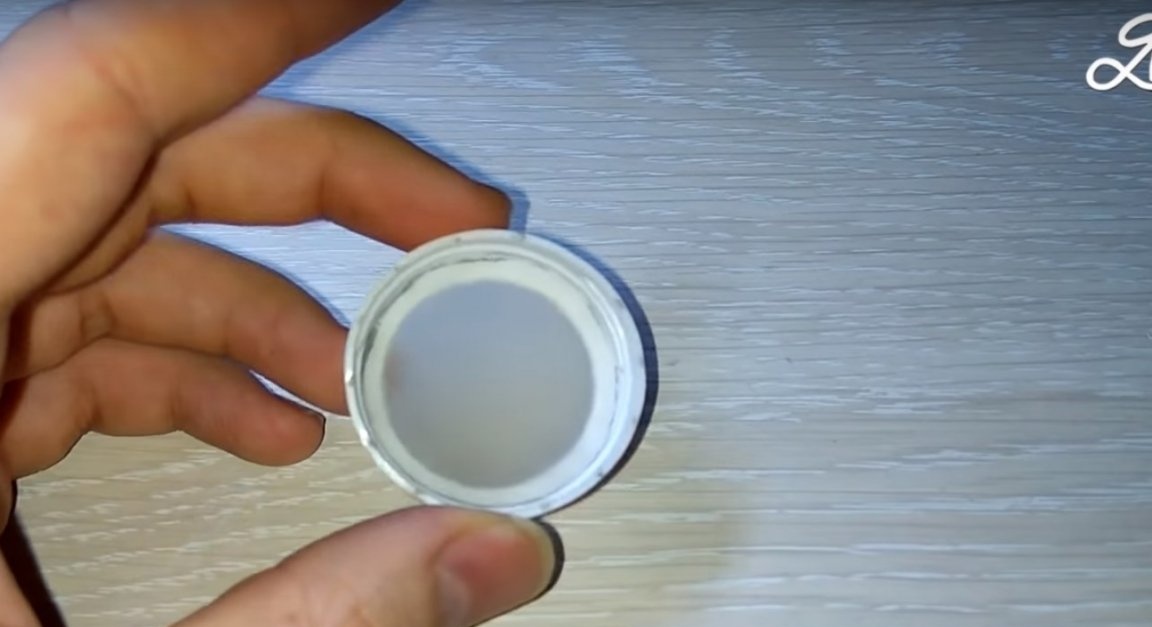
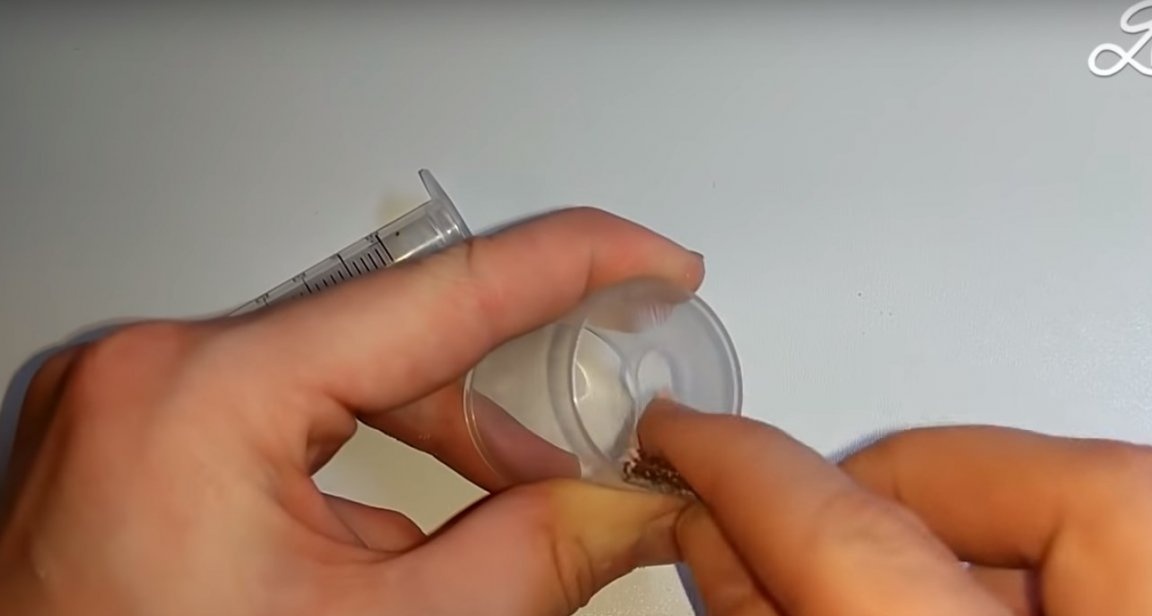
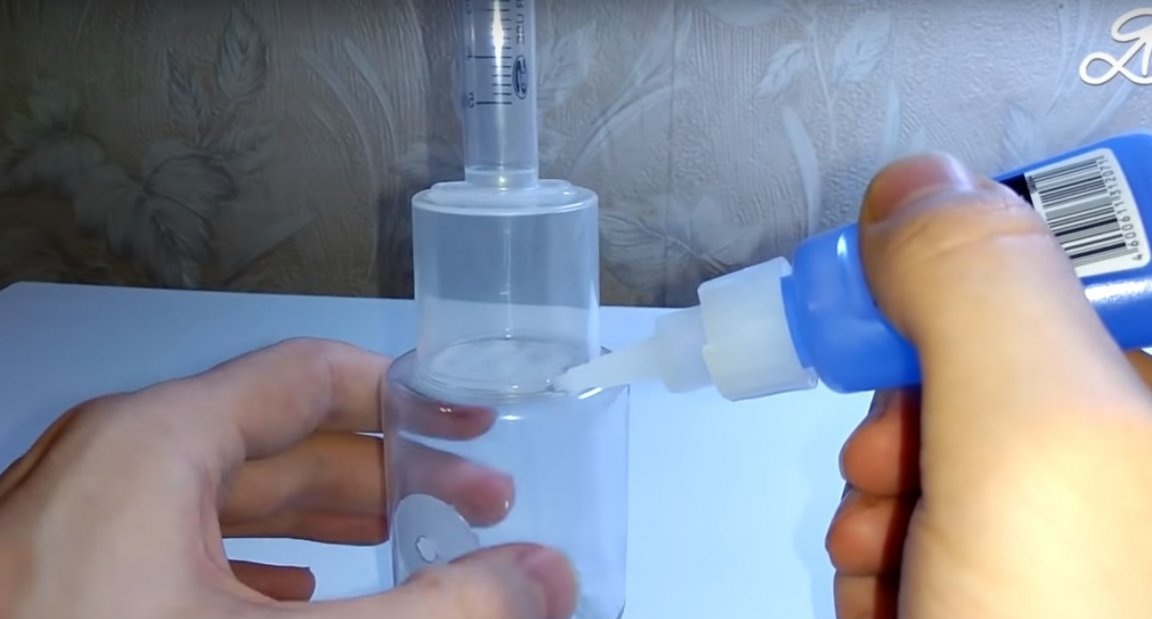
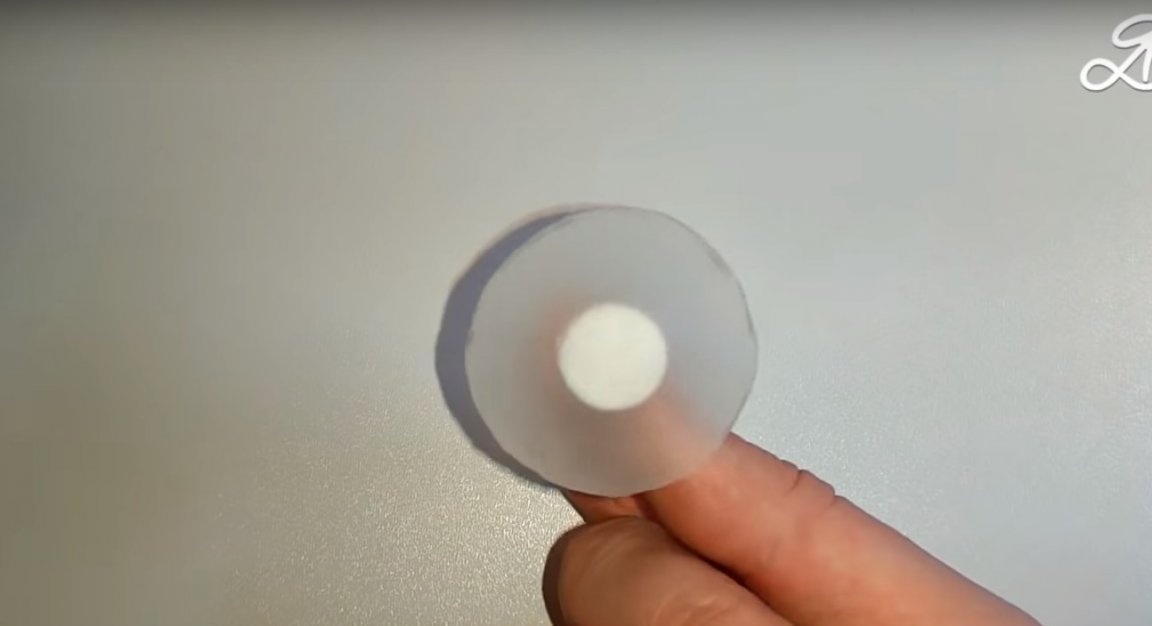
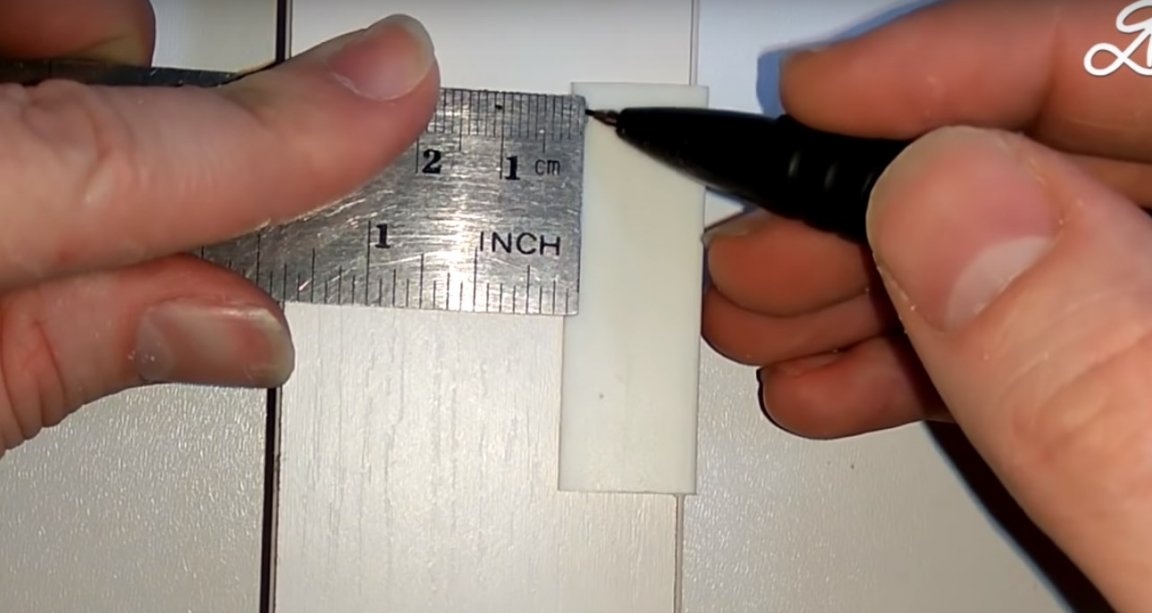
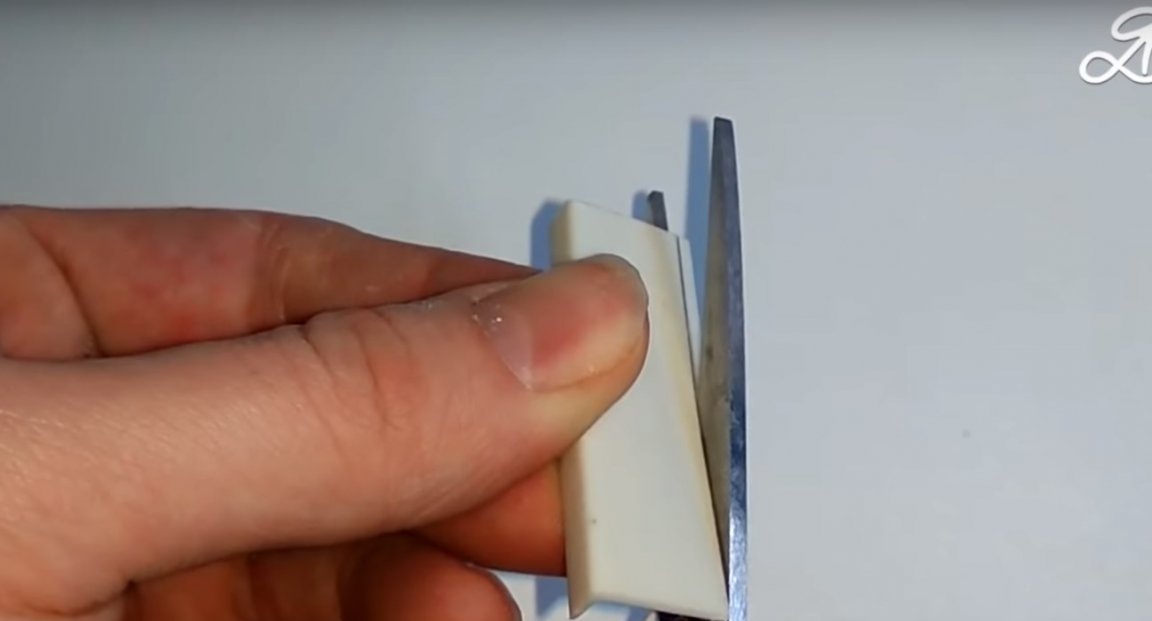
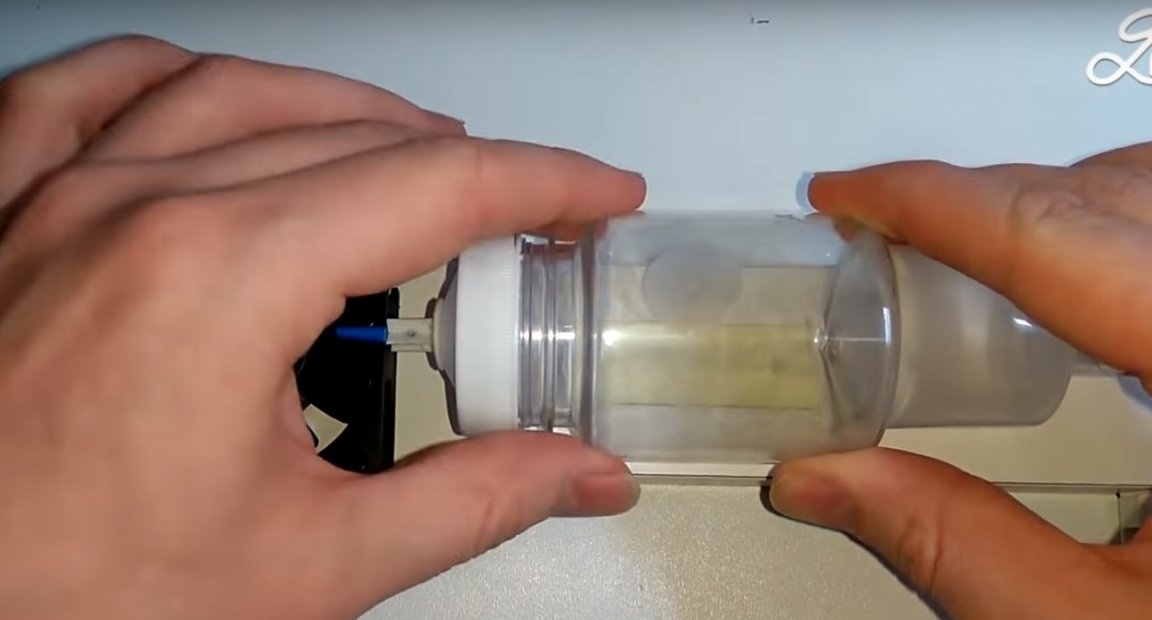
After that, the author cut out one of the silicone membranes with a size equal to the outer diameter of the neck of the jar.

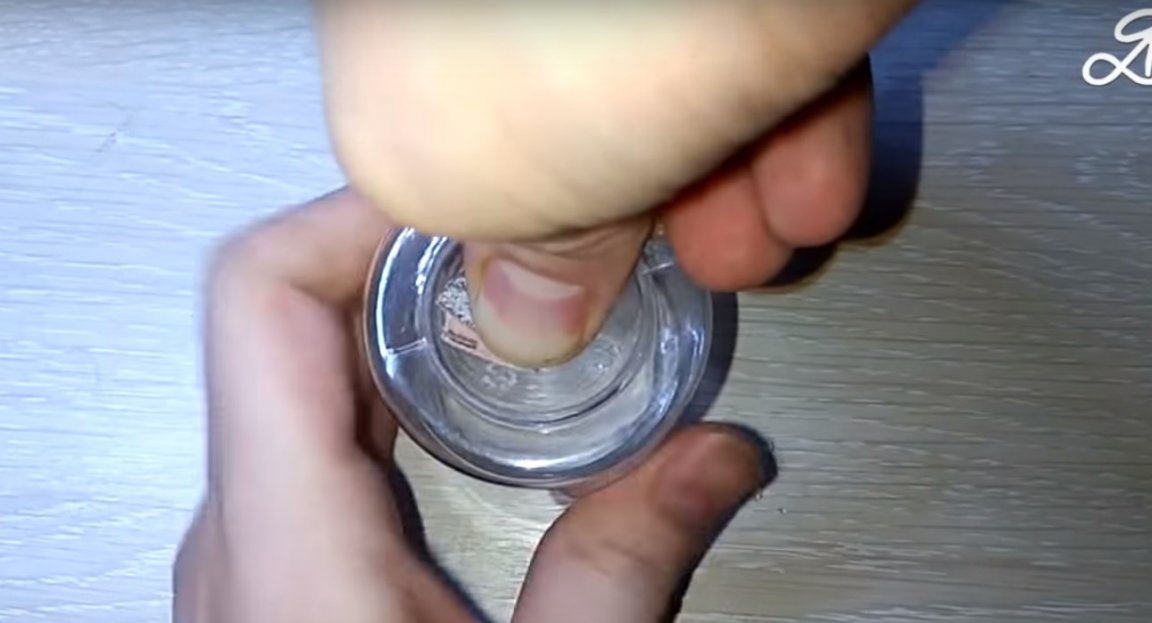
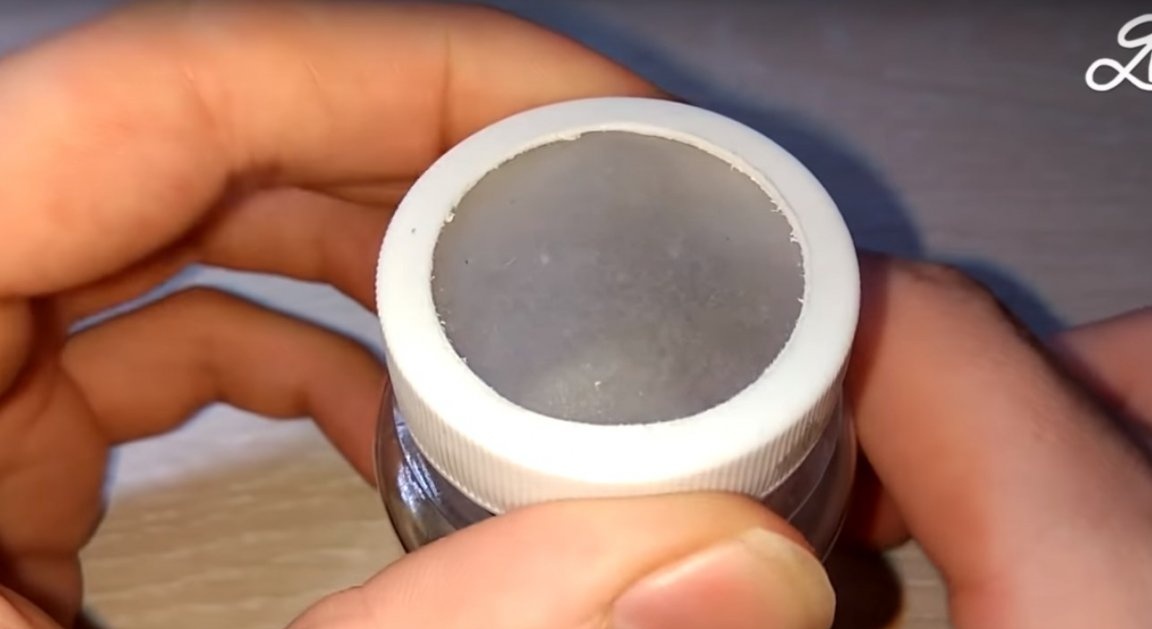
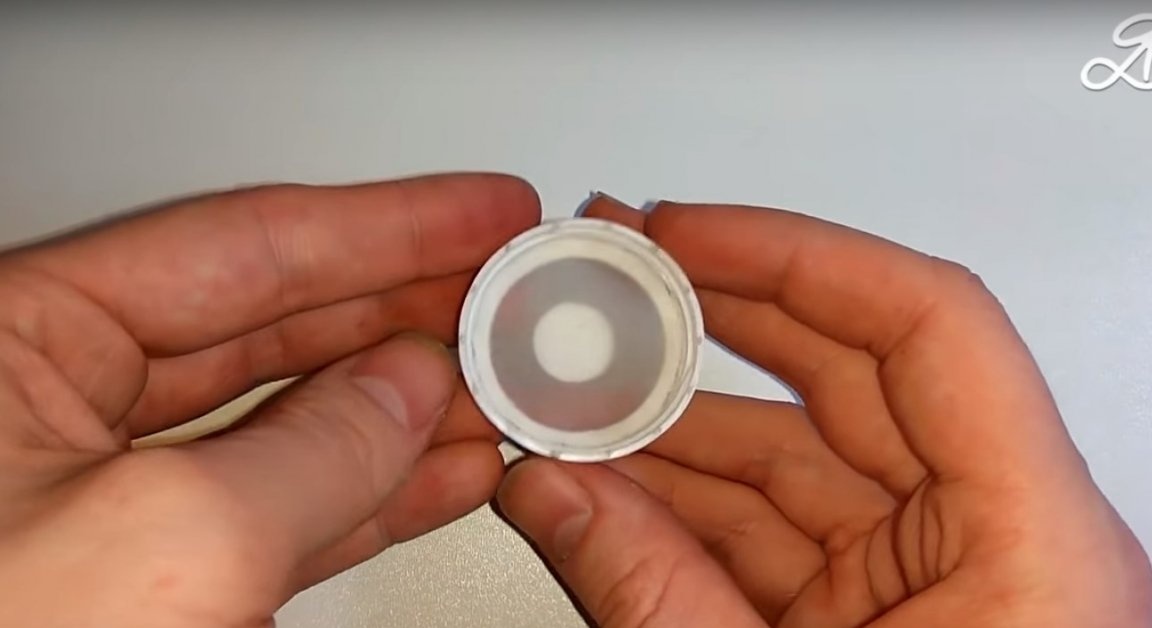
Then I installed this membrane in the cap.

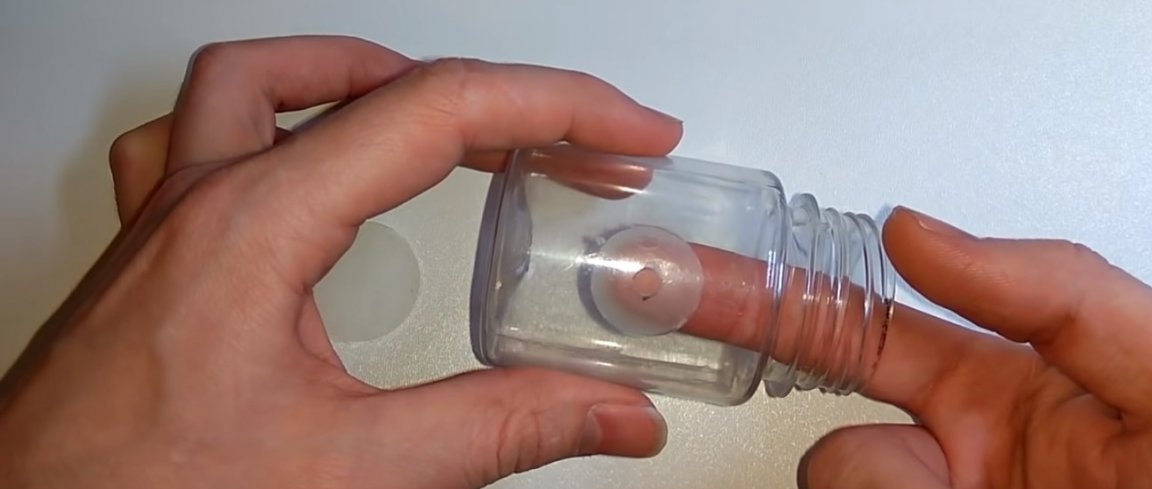
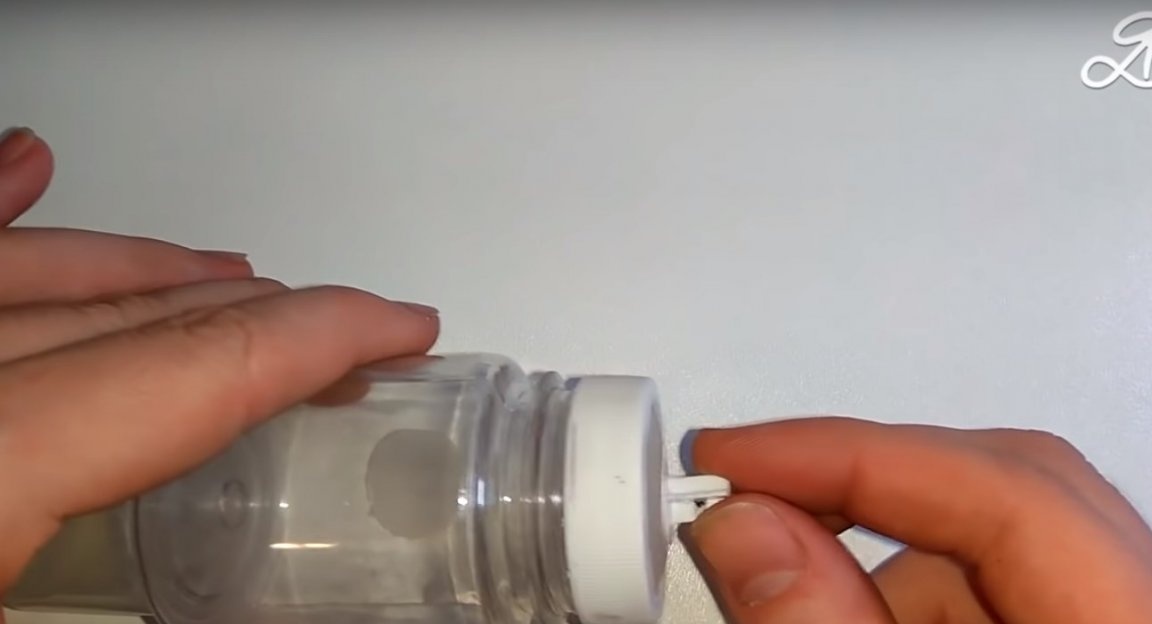
And set the lid on the jar.
Verification
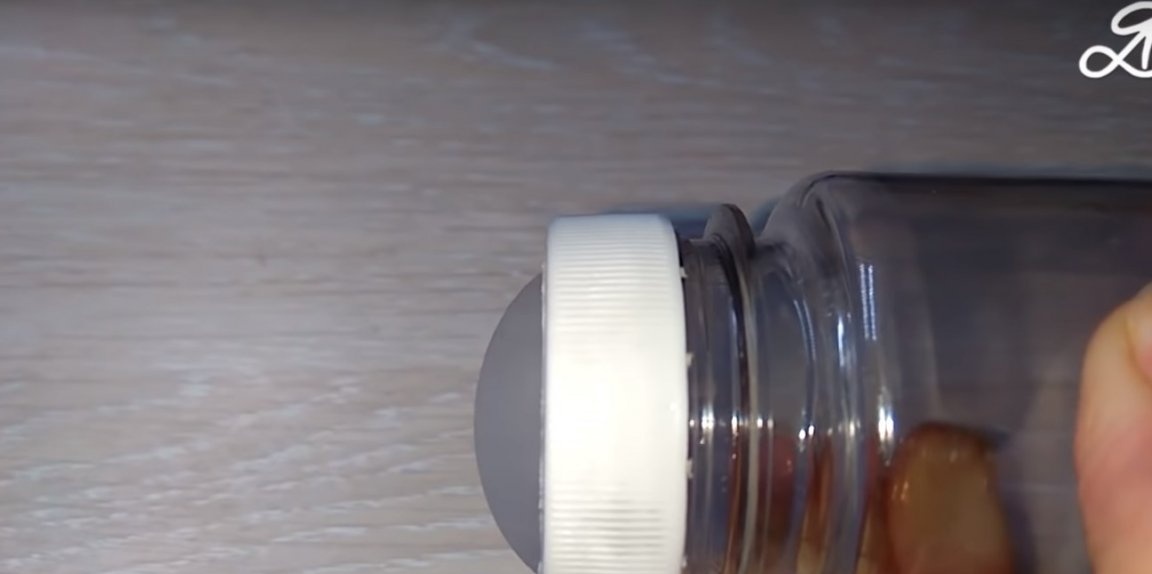
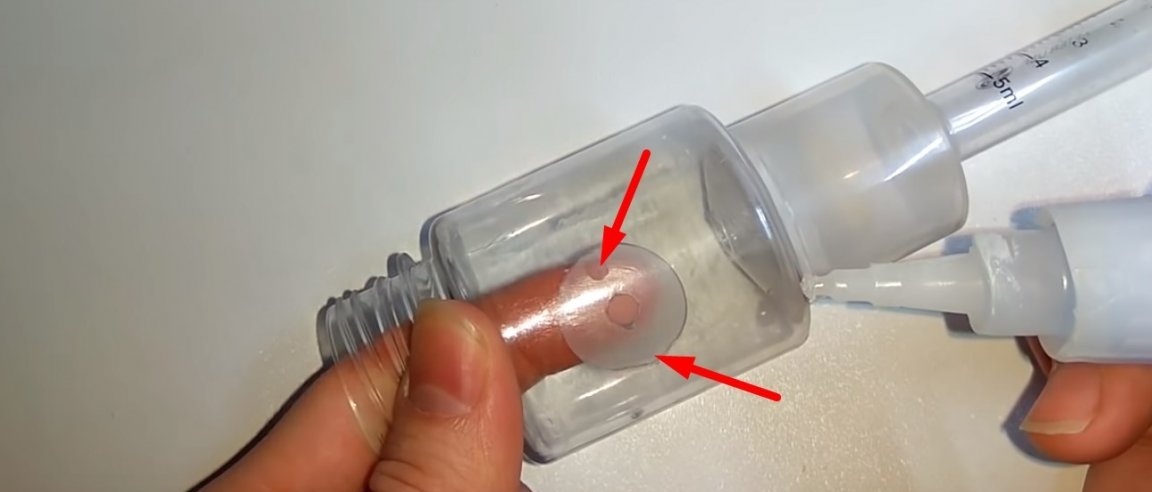
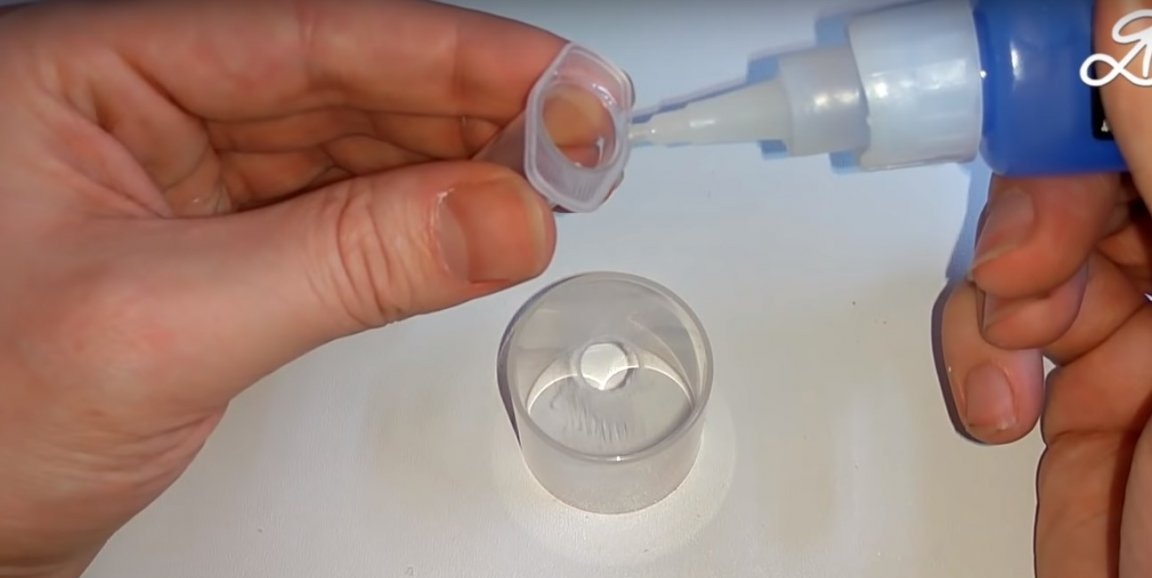
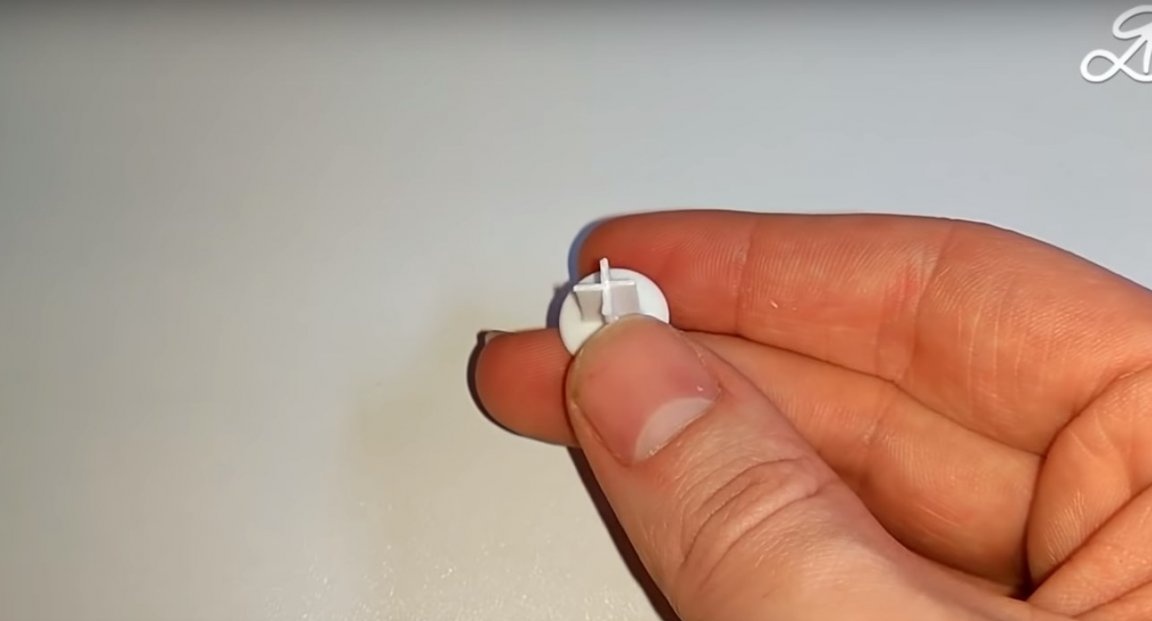
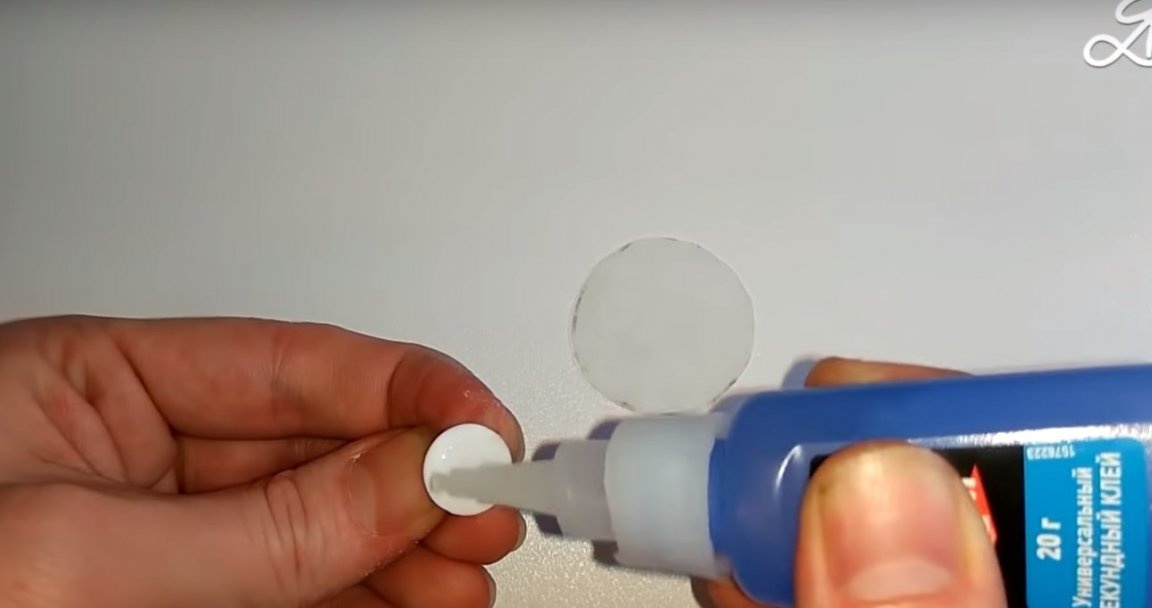
After he cut out, from the second membrane, not a big detail in the shape of a circle, and glued it to the side opening of the jar, on the inside.

After applying a couple of drops of glue, as shown in the photo. The result is an intake valve.
Next, Alexander made an exhaust valve. To do this, he took the last membrane and glued it to the hole at the bottom of the jar.
For one drop of glue.
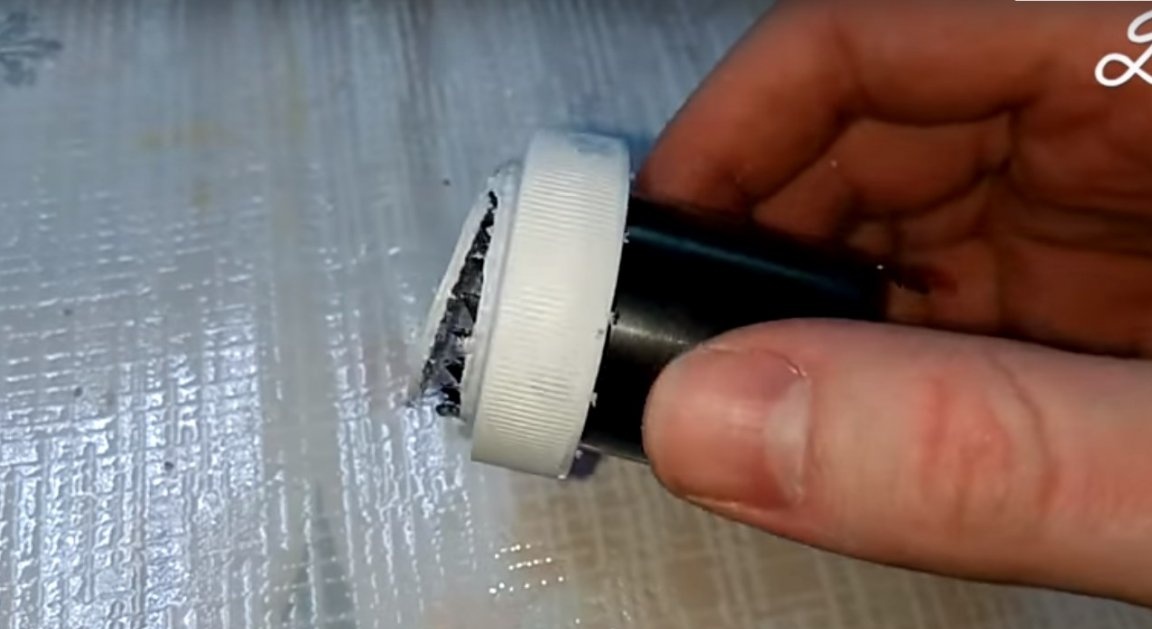
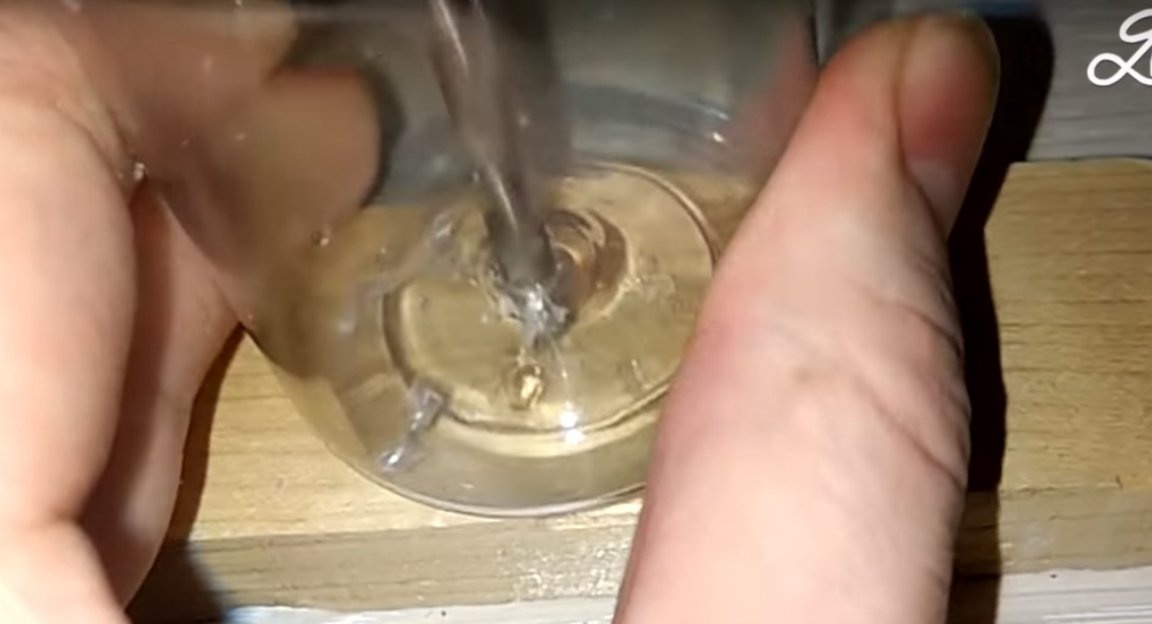
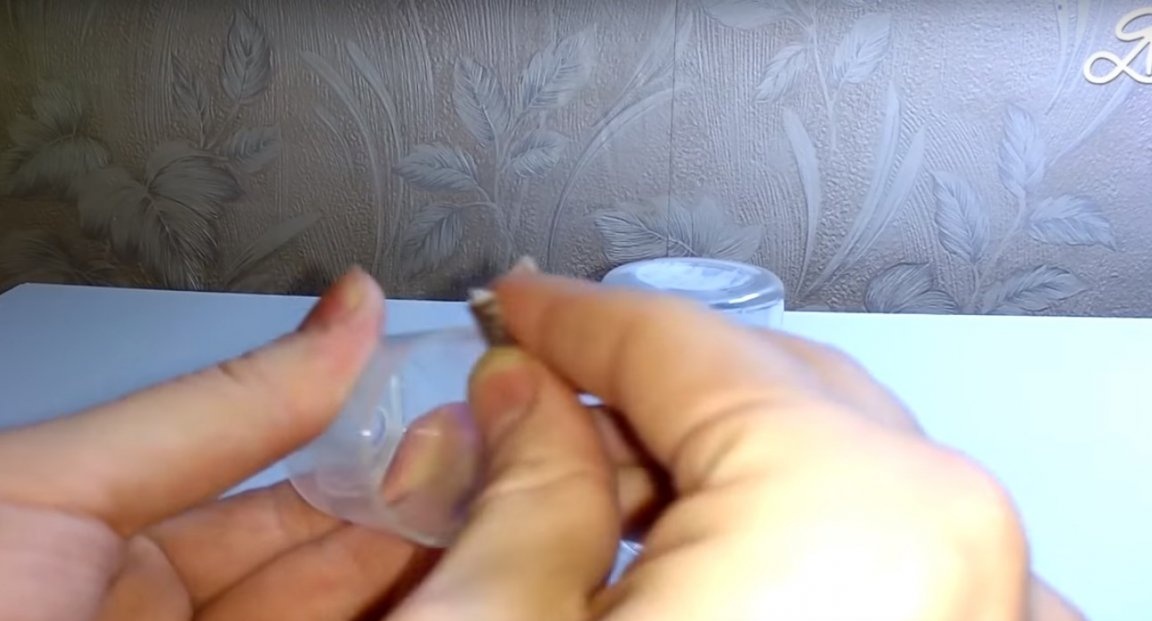
Then in the cap from the deodorant, the author needs to make a hole with a diameter of about 10 mm. The author made the hole in several stages: first with a small drill, then with a larger drill, and at the end with a drill of the required diameter.
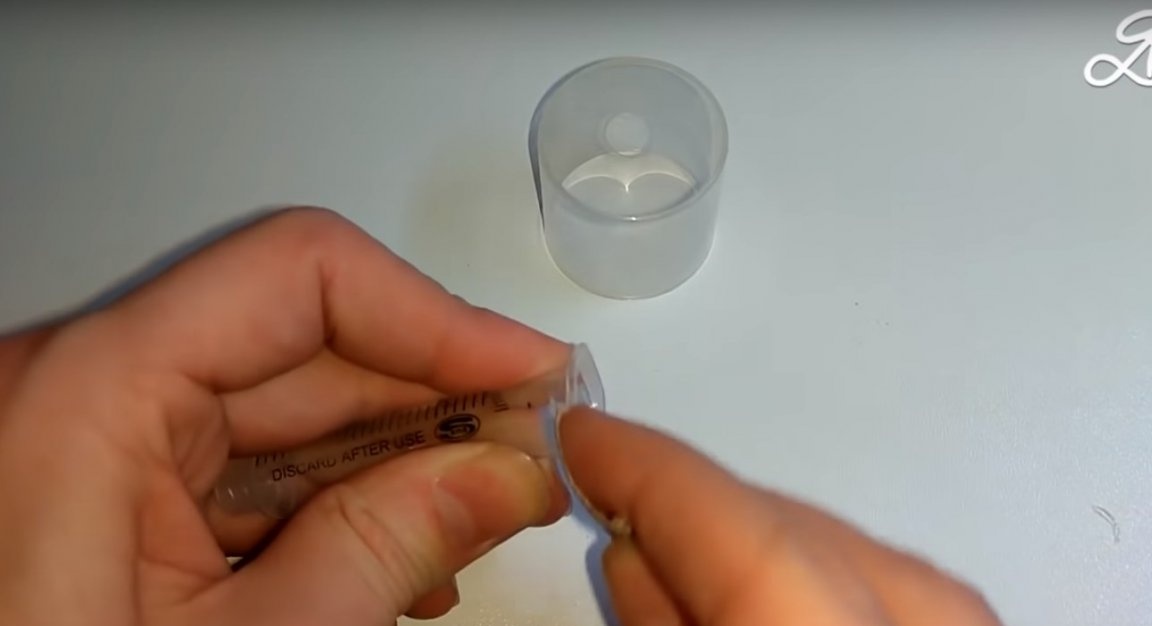
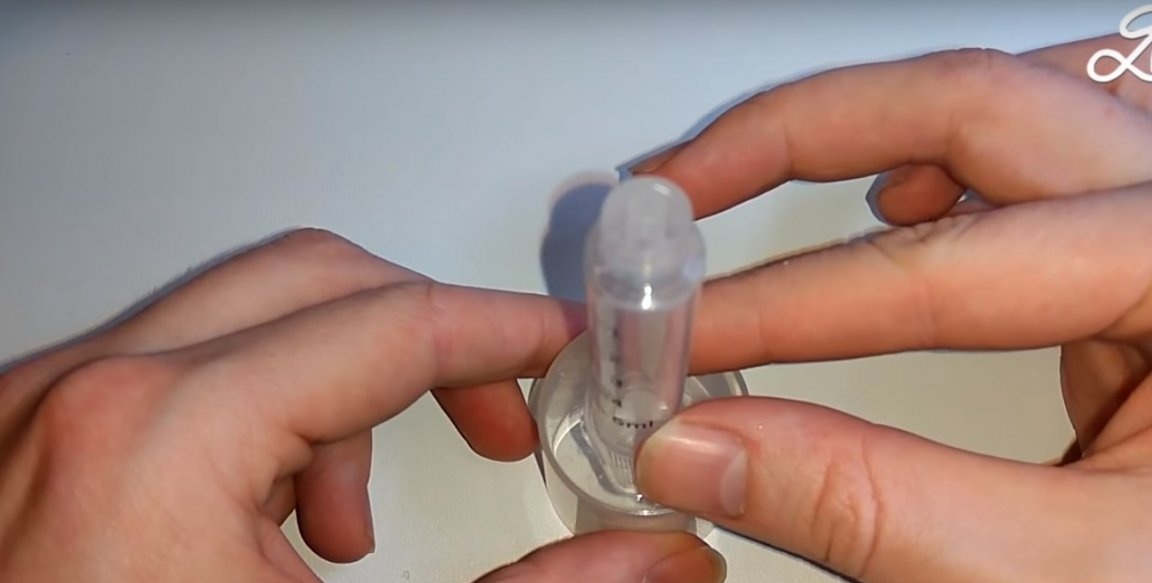
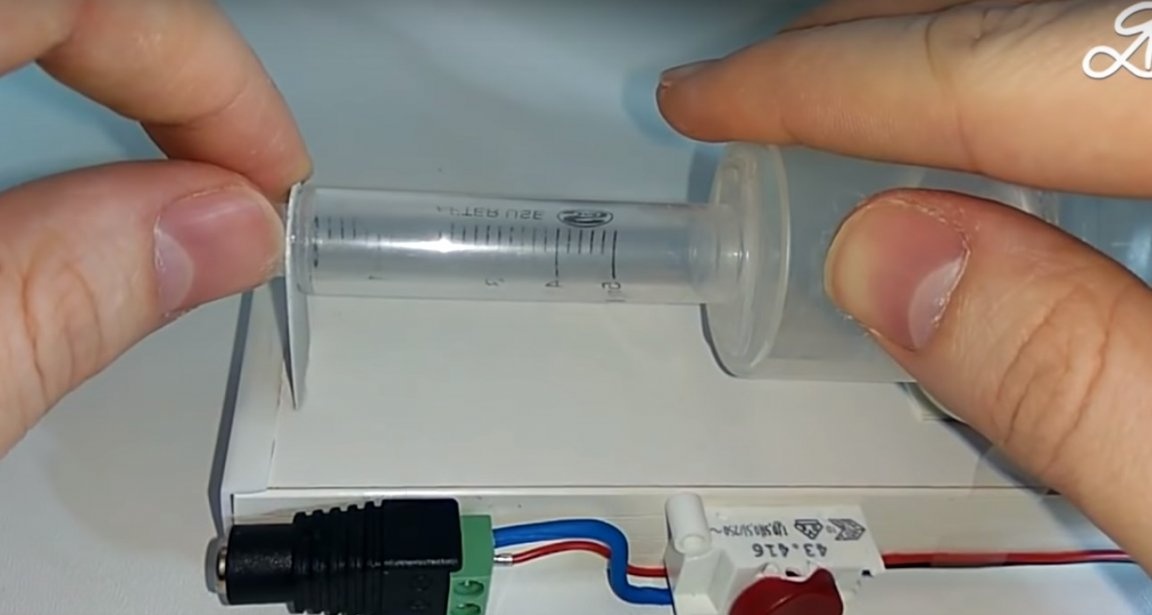
Next, the master removed the stem from the syringe.

I cleaned the edge of the syringe and the place around the hole on the cap with sandpaper.
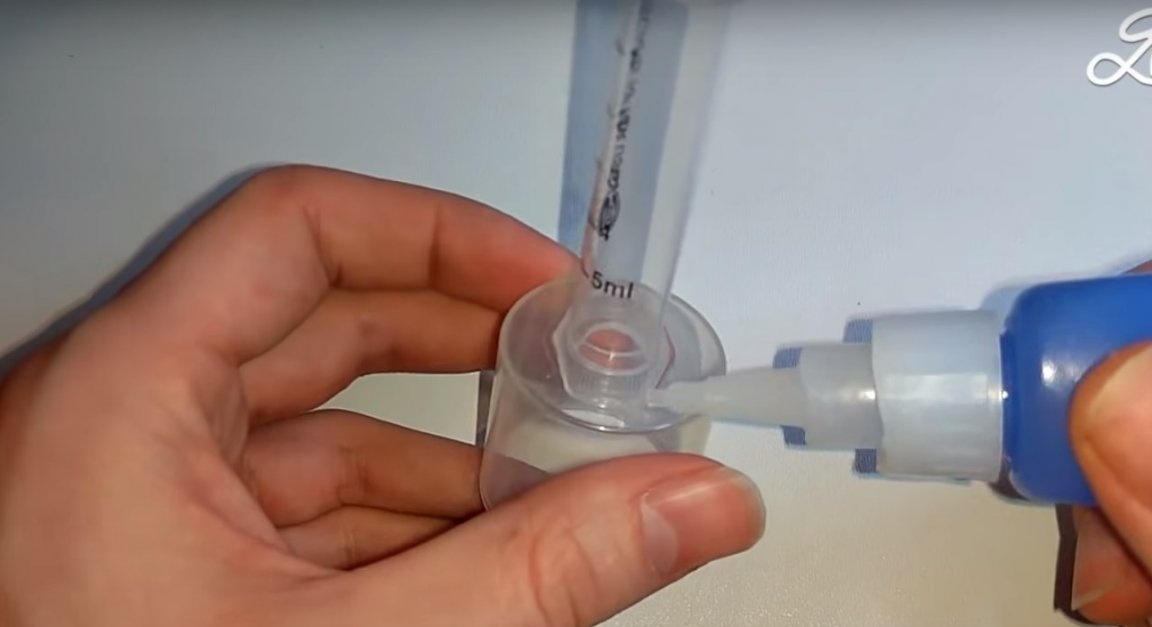
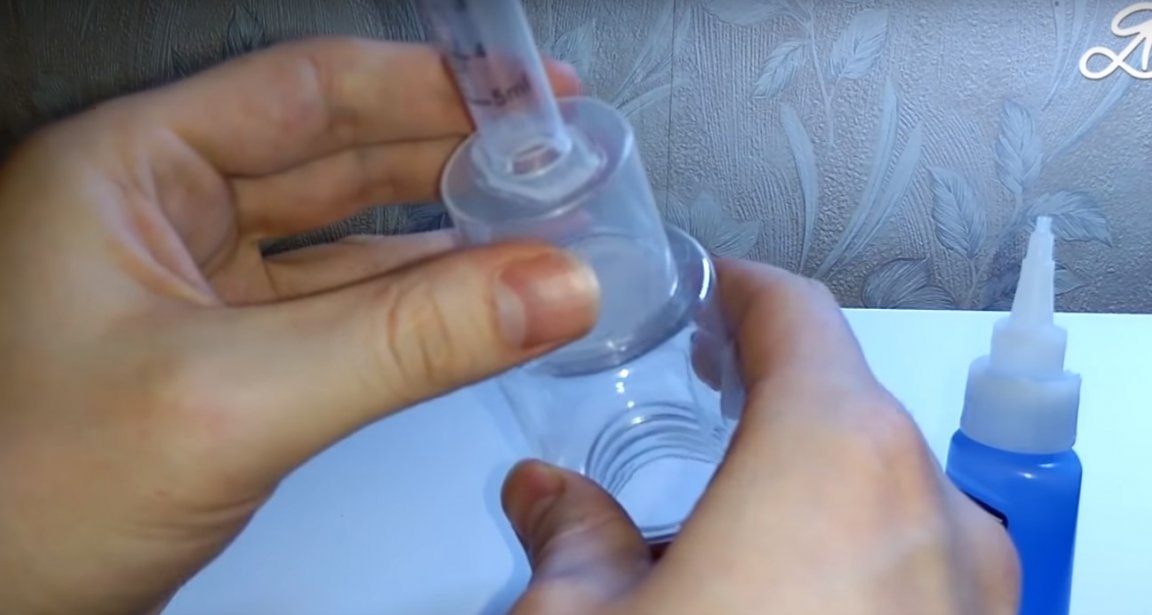
He applied glue and glued the syringe to the cap as shown in the photo.
Then he well missed the junction with glue.
Like this.
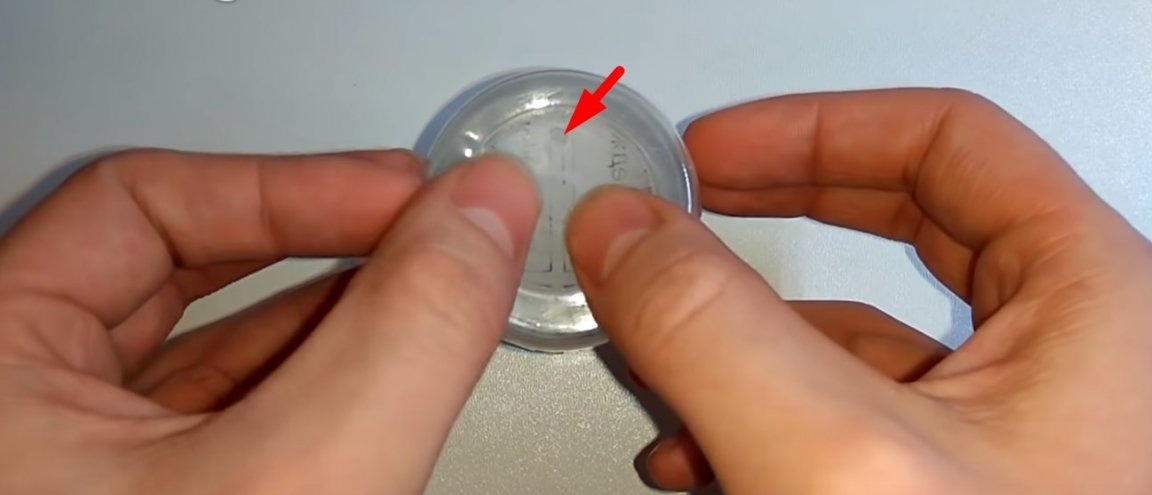
After I cleaned the edges of the cap and the bottom of the jar.

And connected both parts with glue.
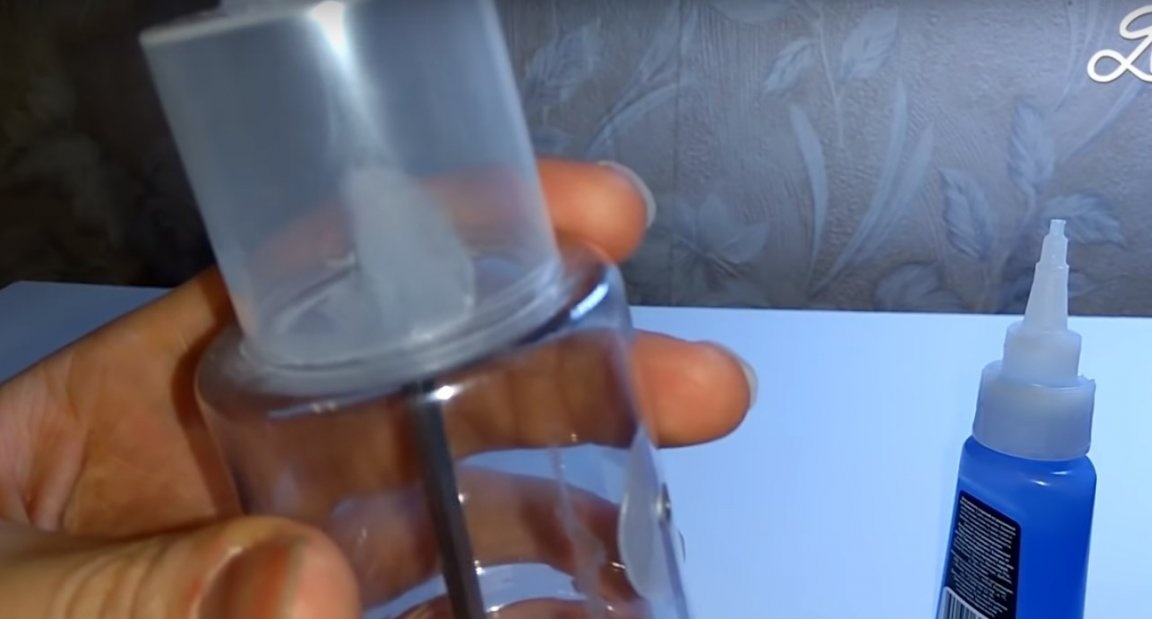
After the junction well missed with glue.
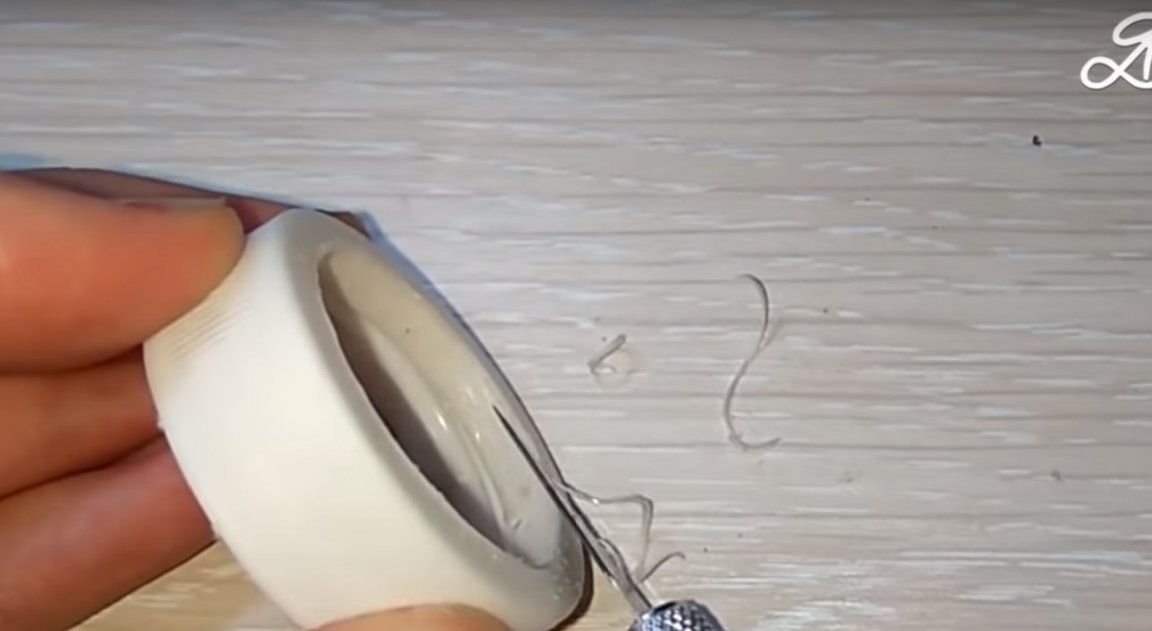
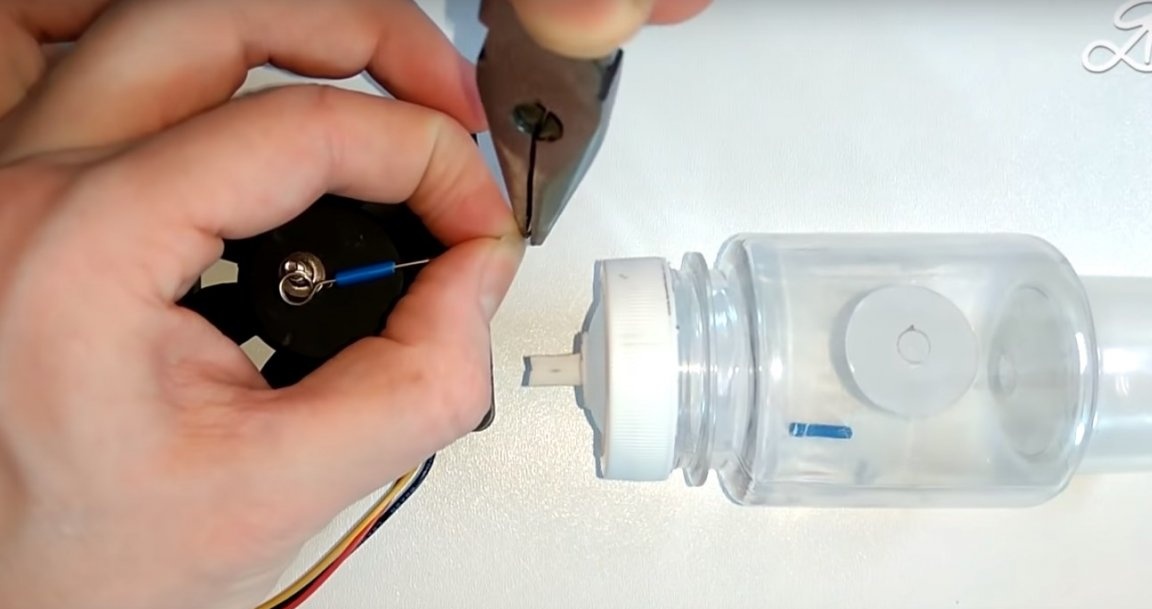
Then he cut off an unhealthy piece on the upper side of the stem.

Further heating the paper clip over the fire made a hole.
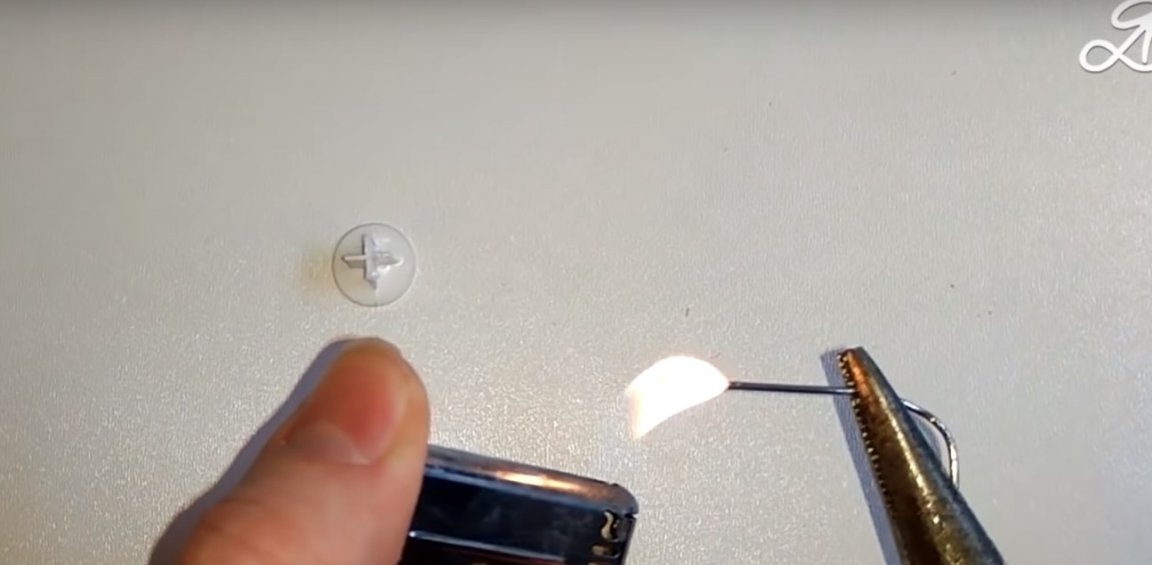
In this place.
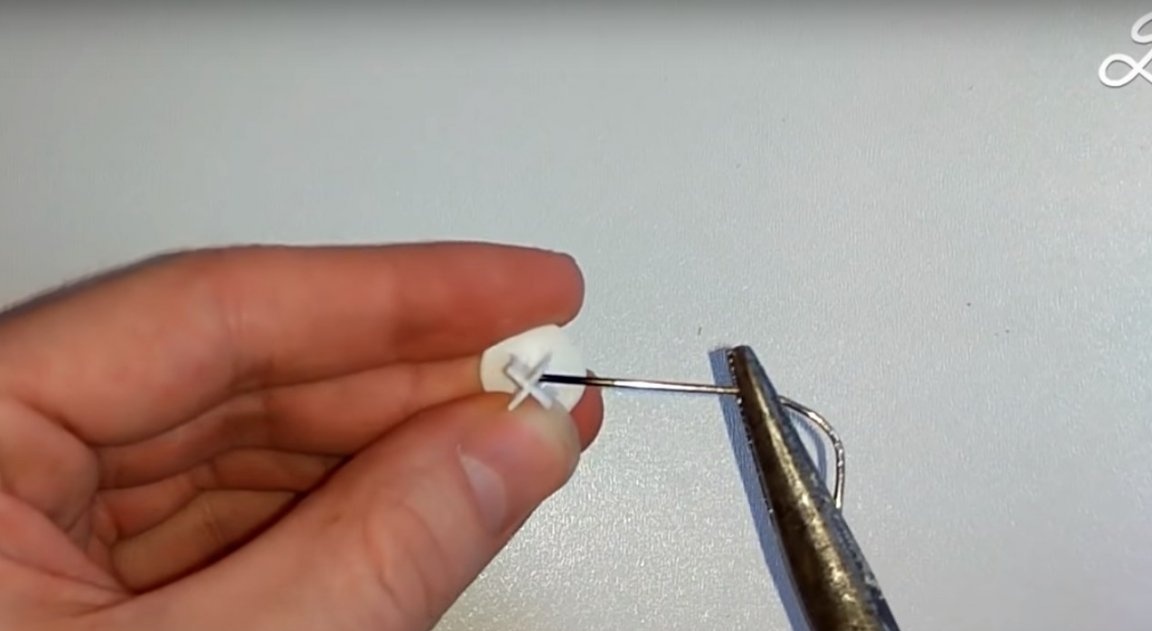
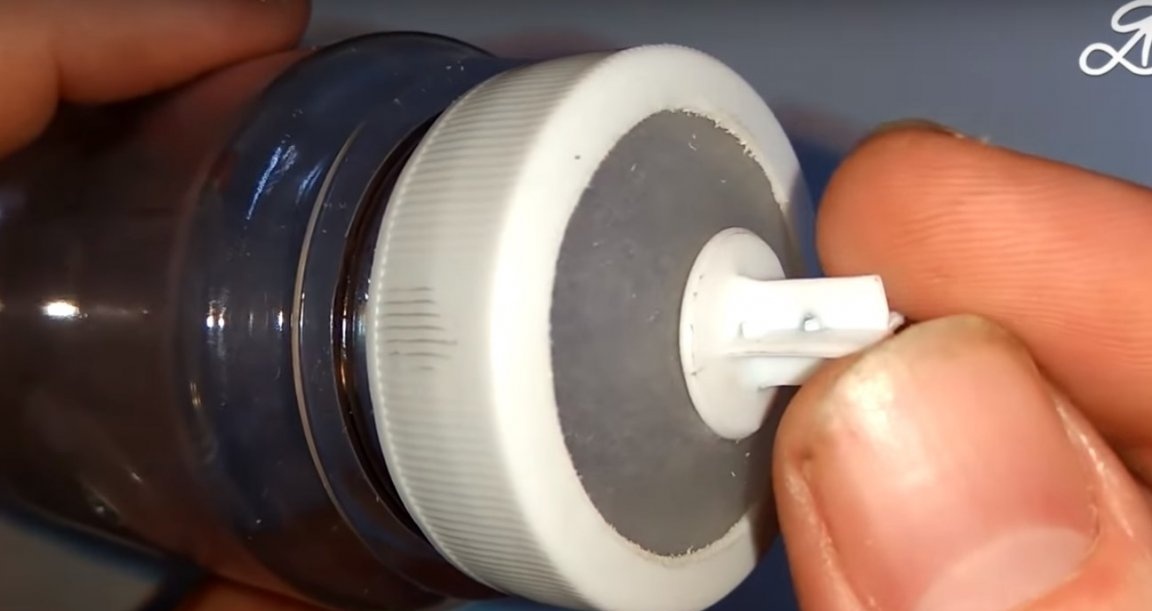
And having cleaned the “heel” of the cut piece of the rod, I glued it to the first membrane, from the outside.


Set the membrane back into the cover.

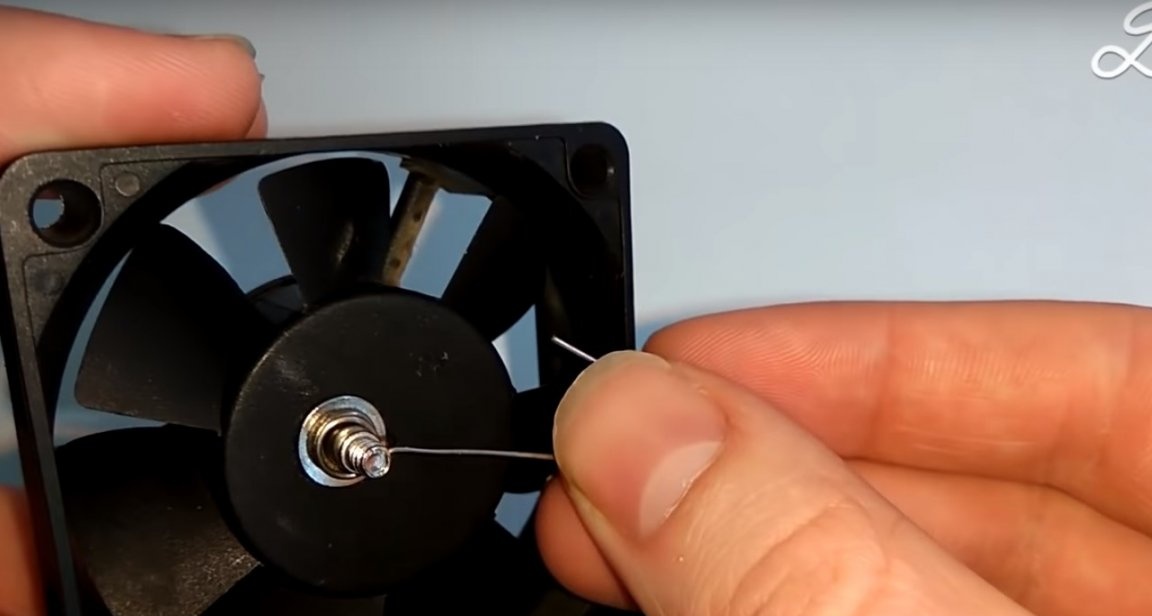
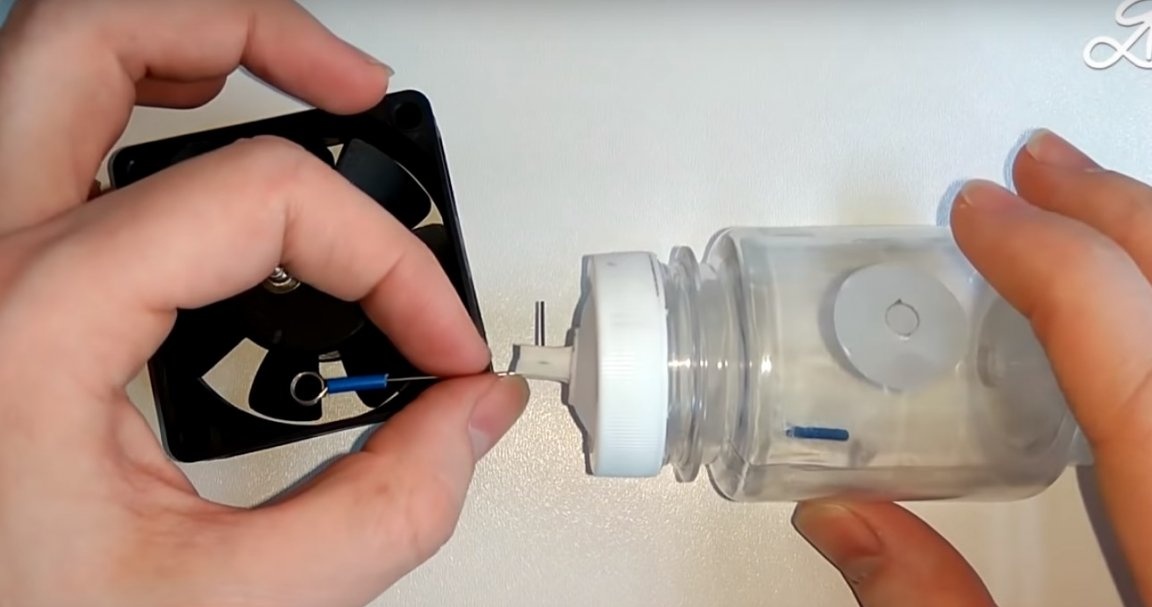
Now made a stop.
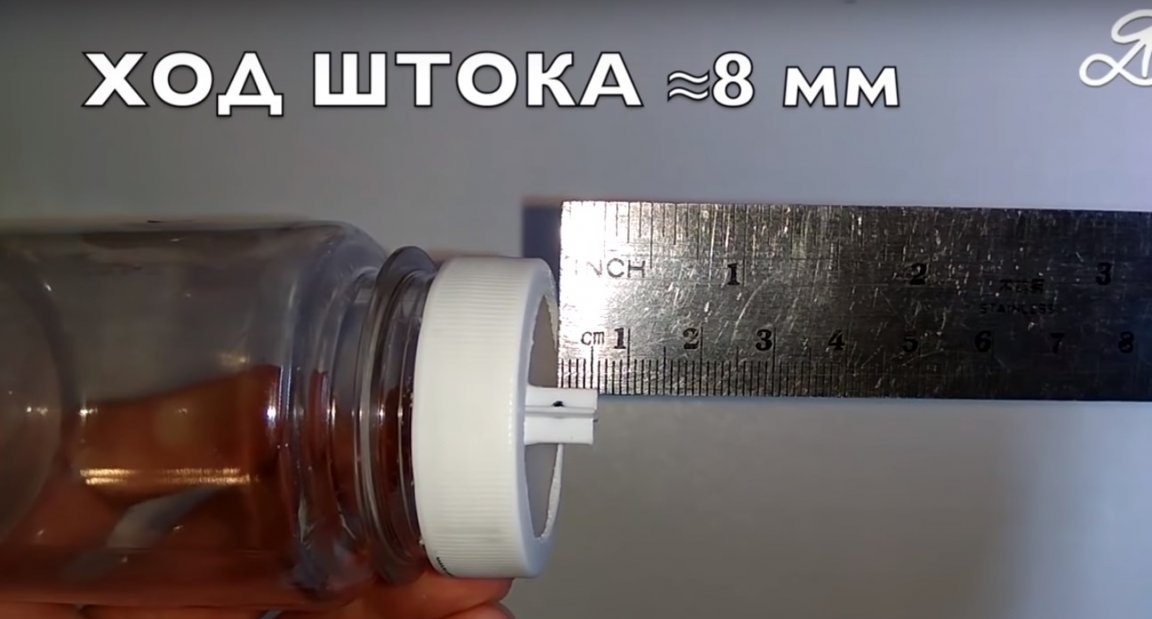
After measured the desired distance from the center of the cooler.
And stuck a screw in this place.
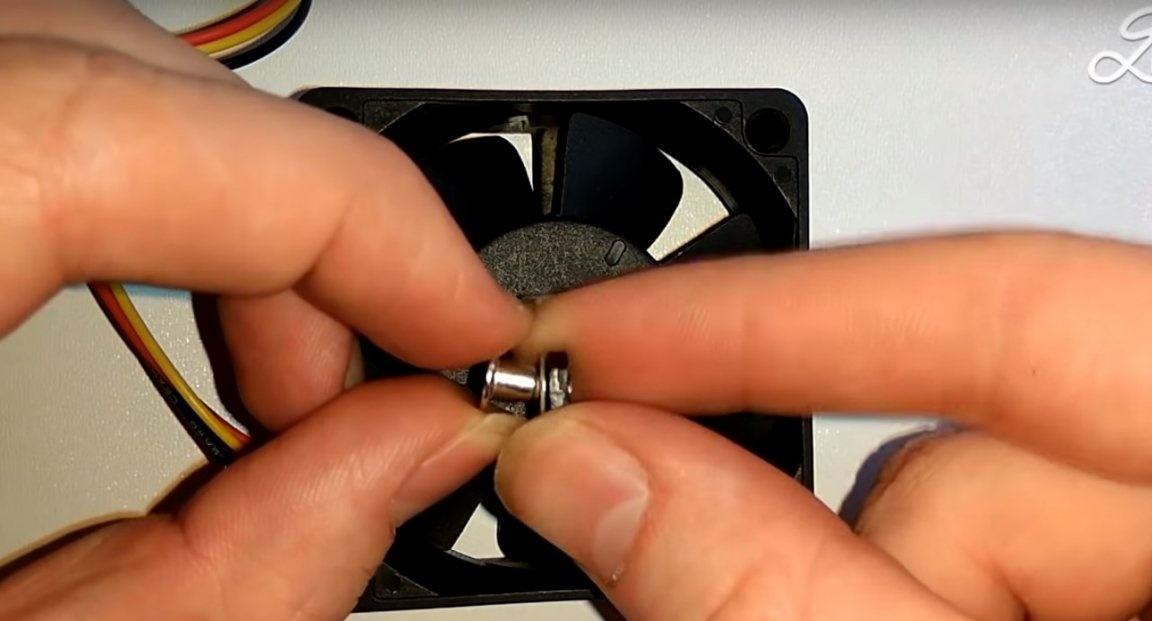
Previously, I cleaned the cooler case in the place where the screw will be glued.

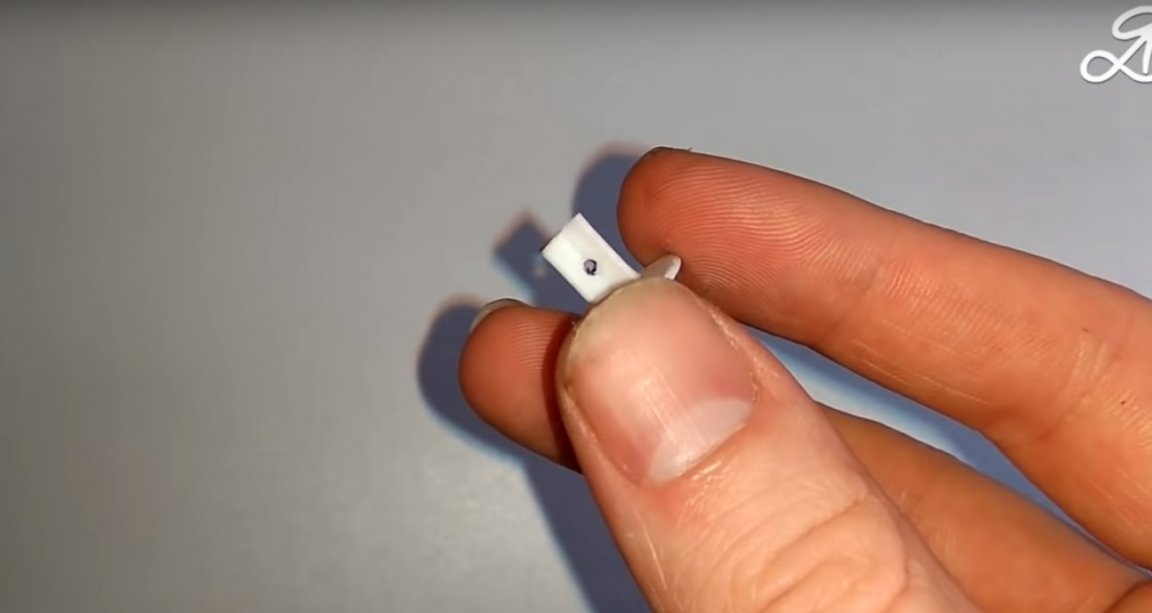
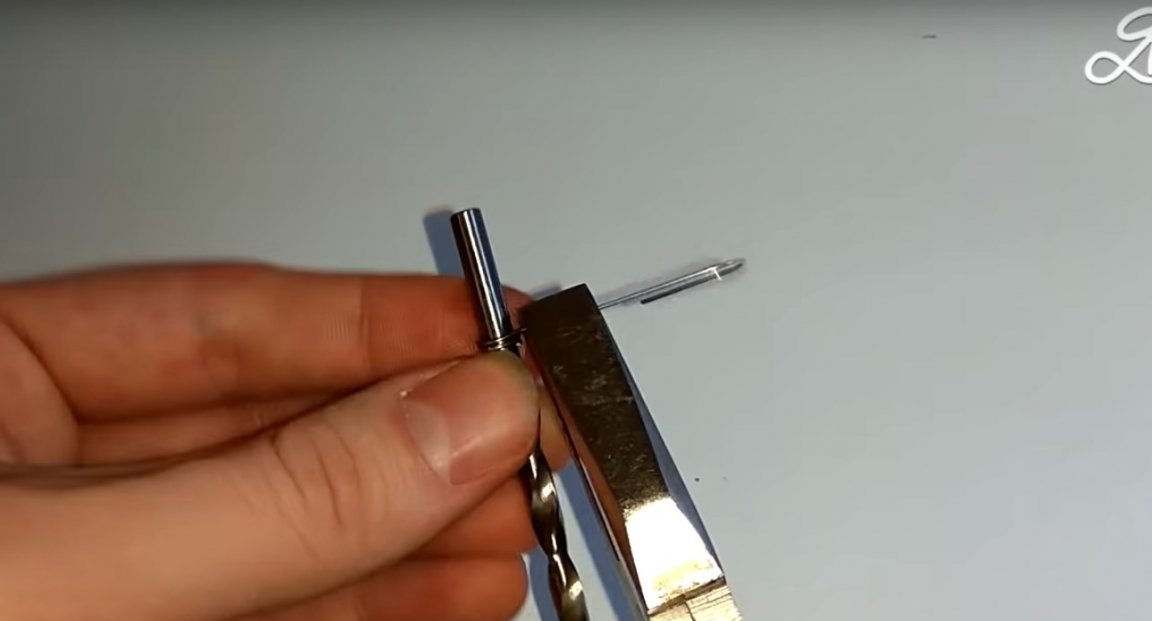
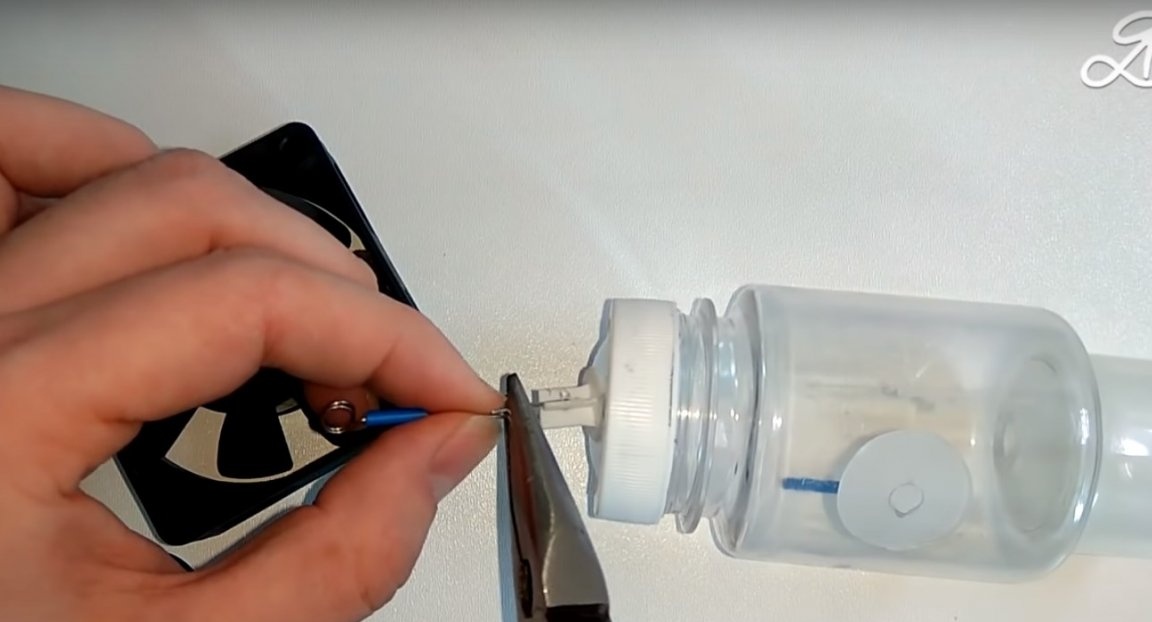
Then straighten one edge of the paper clip.

And he made a couple of turns around the drill, the diameter of which is equal to the diameter of the screw.
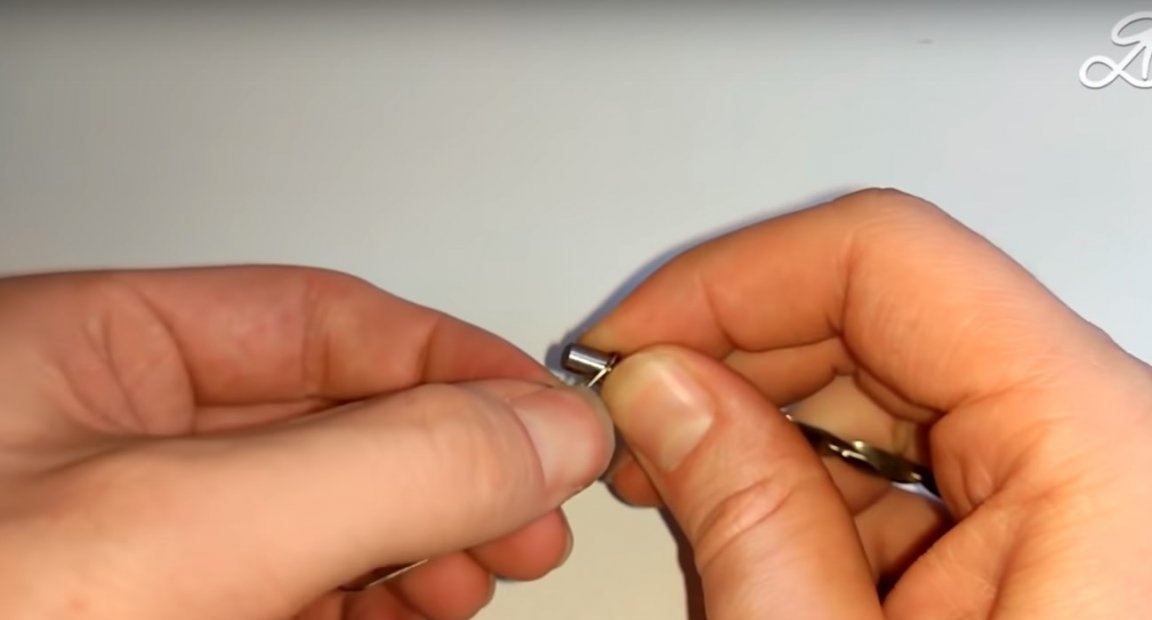
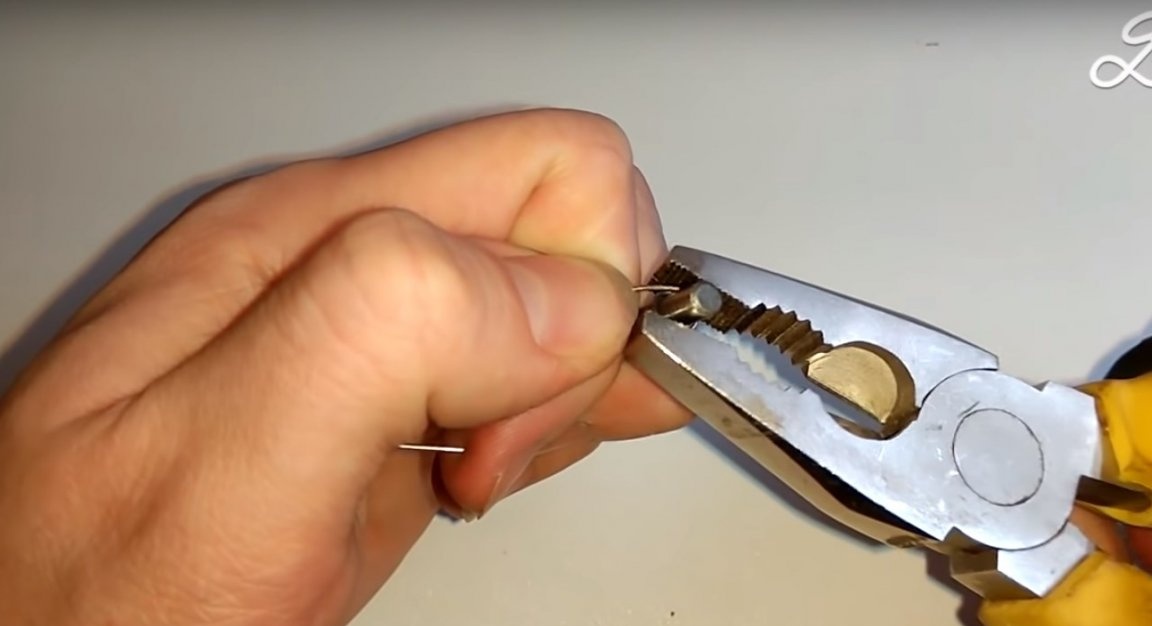
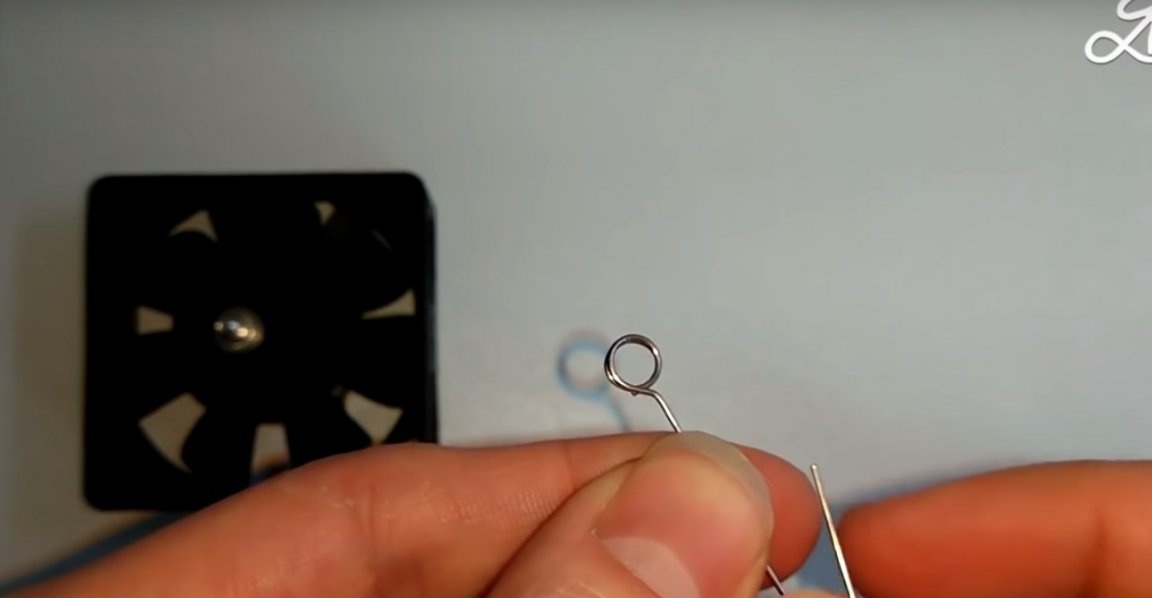
The result is such a detail.
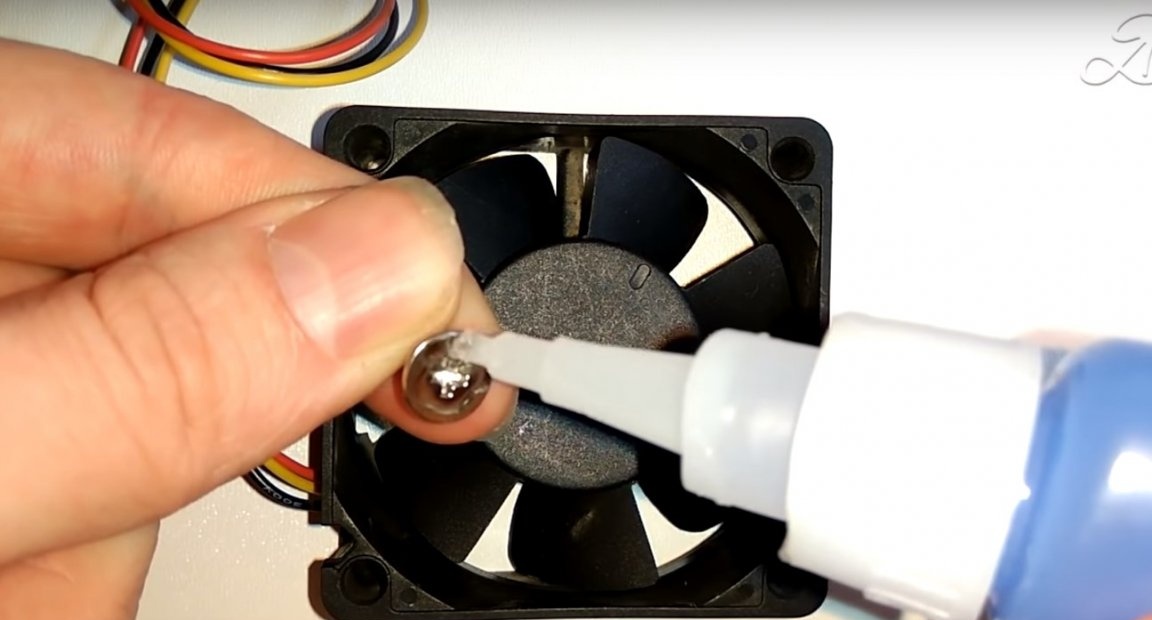
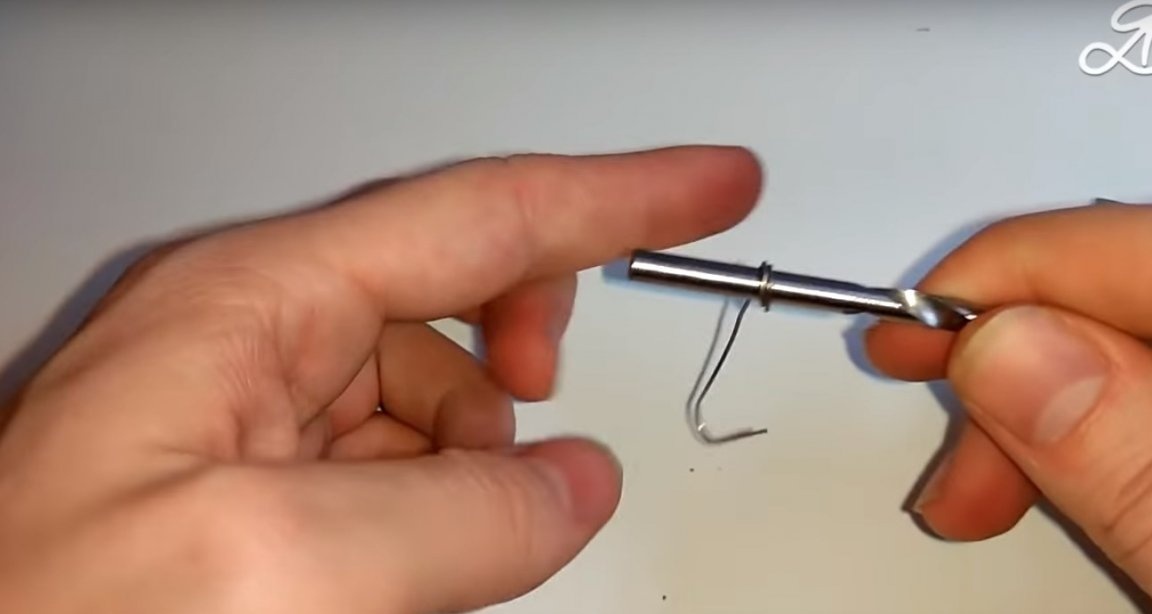
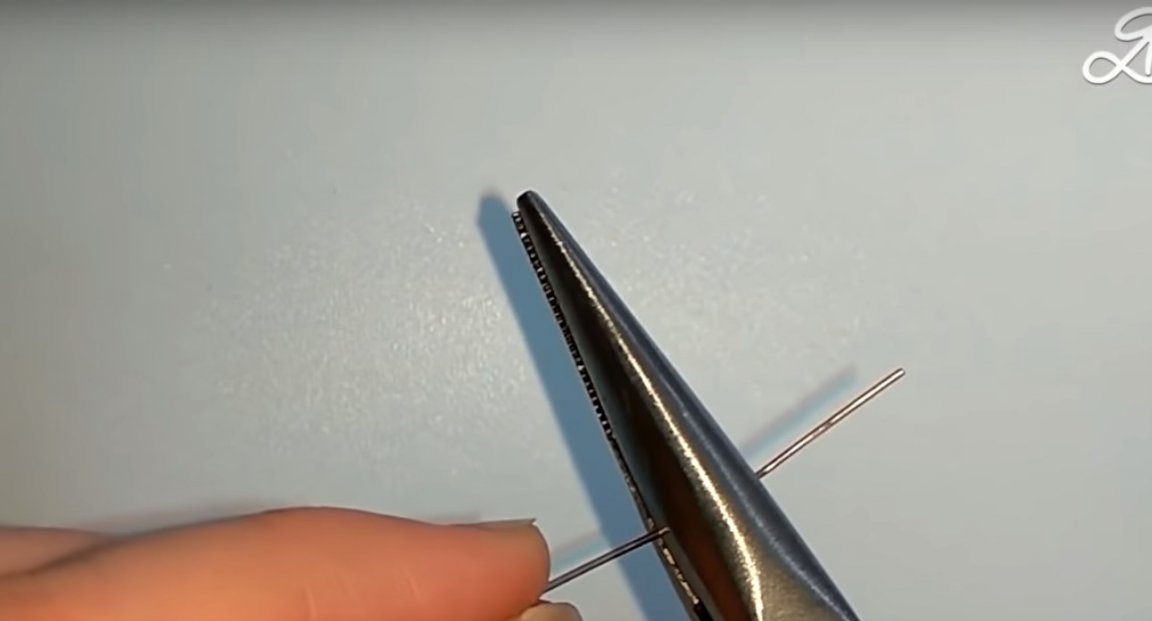
Then, the author installed this part on a screw.
And having measured, the necessary distance, cut off excess.
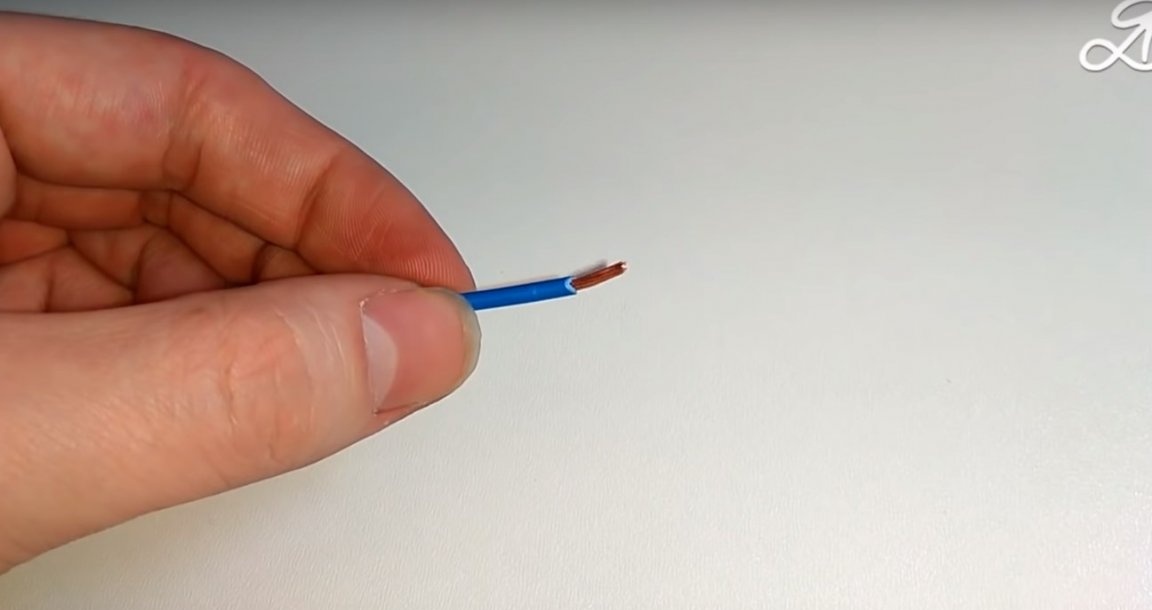
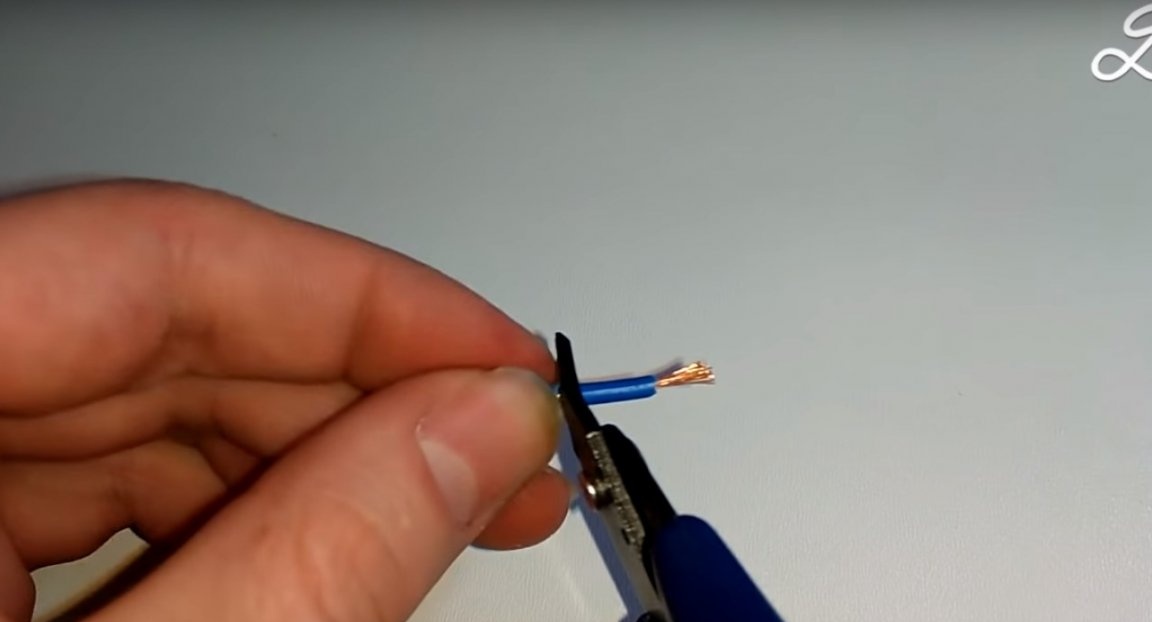
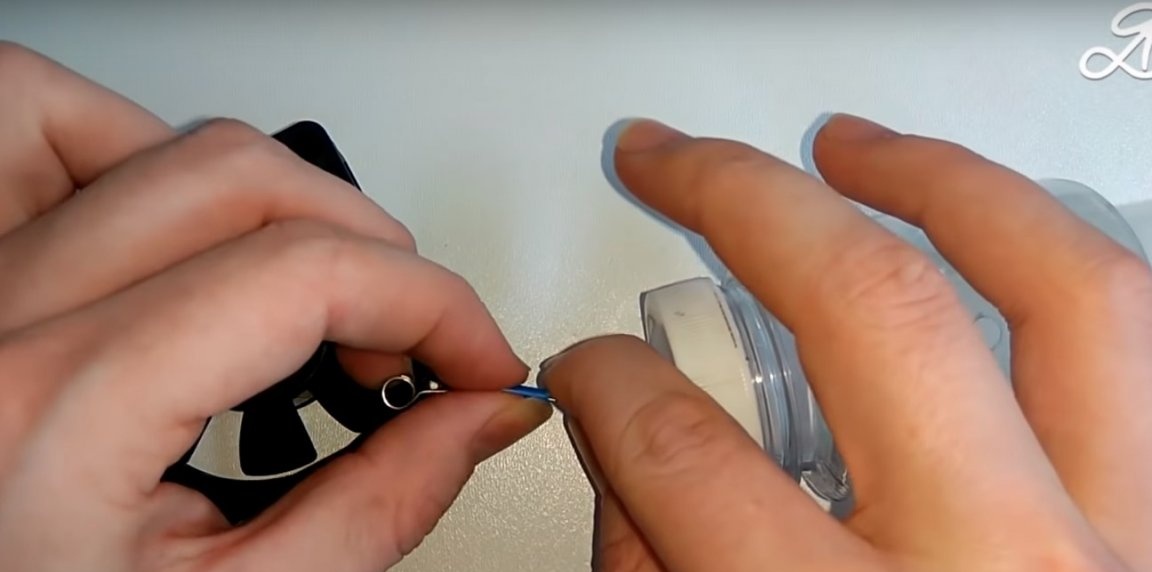
After removed not a big piece of insulation from the wire.
Next, put insulation on the flat edge of the paper clip.
And bent it at an angle of about 90 degrees.
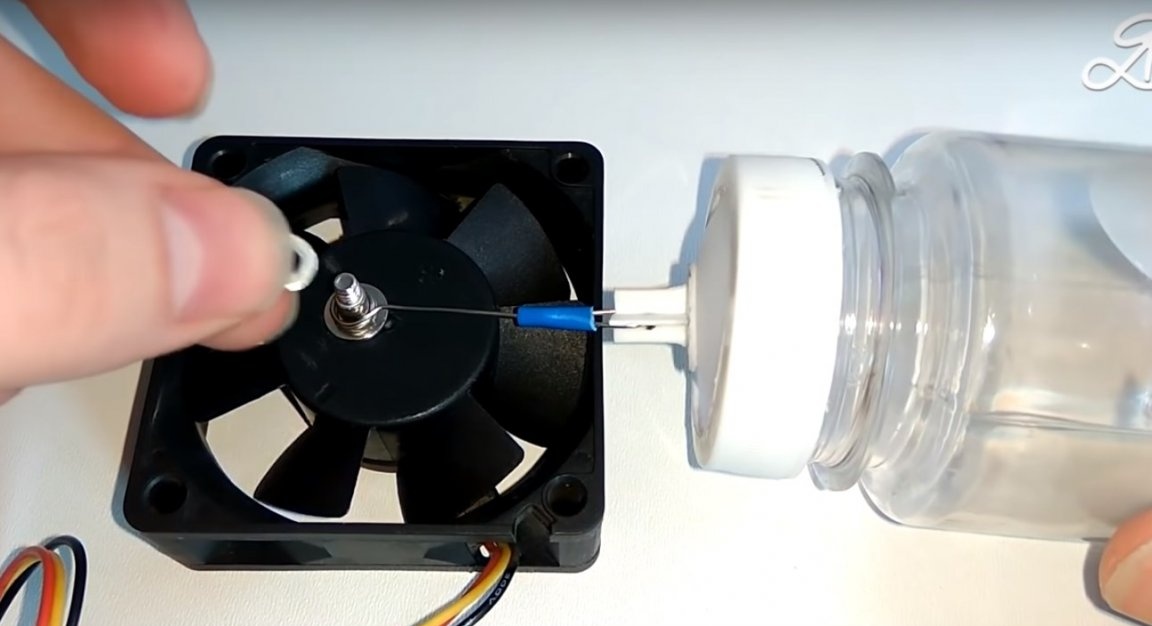
Then he passed the curved edge into the stock.
And he bent the edge.
And in order that he does not unbend during the work, the author fixed it, with a piece of isolation dressed earlier on a paper clip.
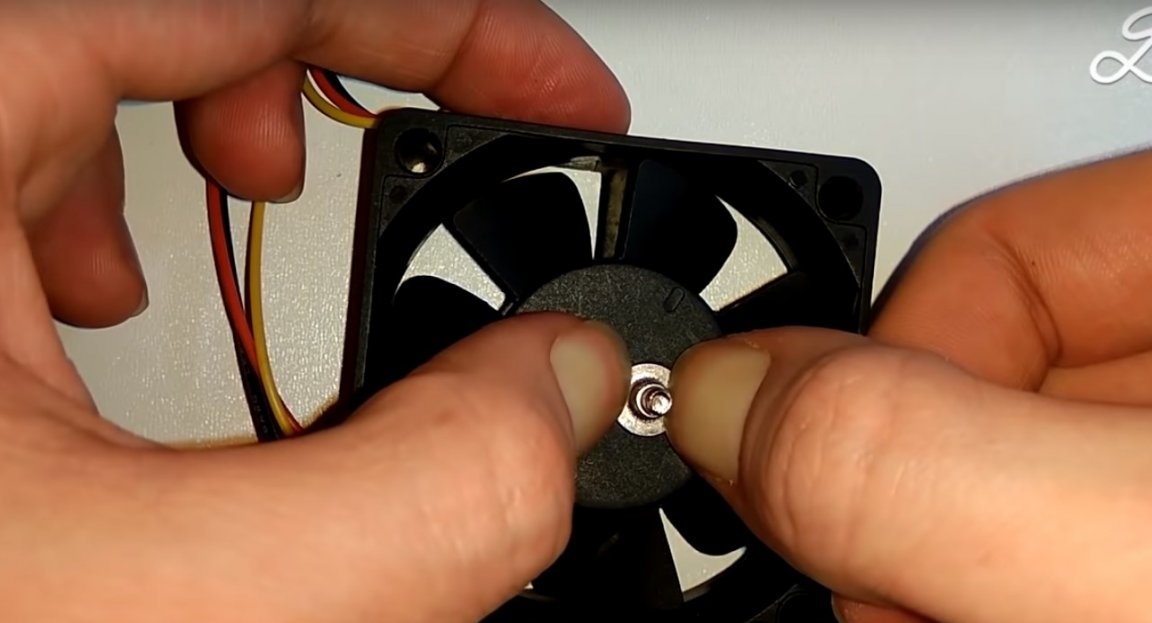
The author installed the second edge of the paper clip on the screw, then installed the washer and nut on top.
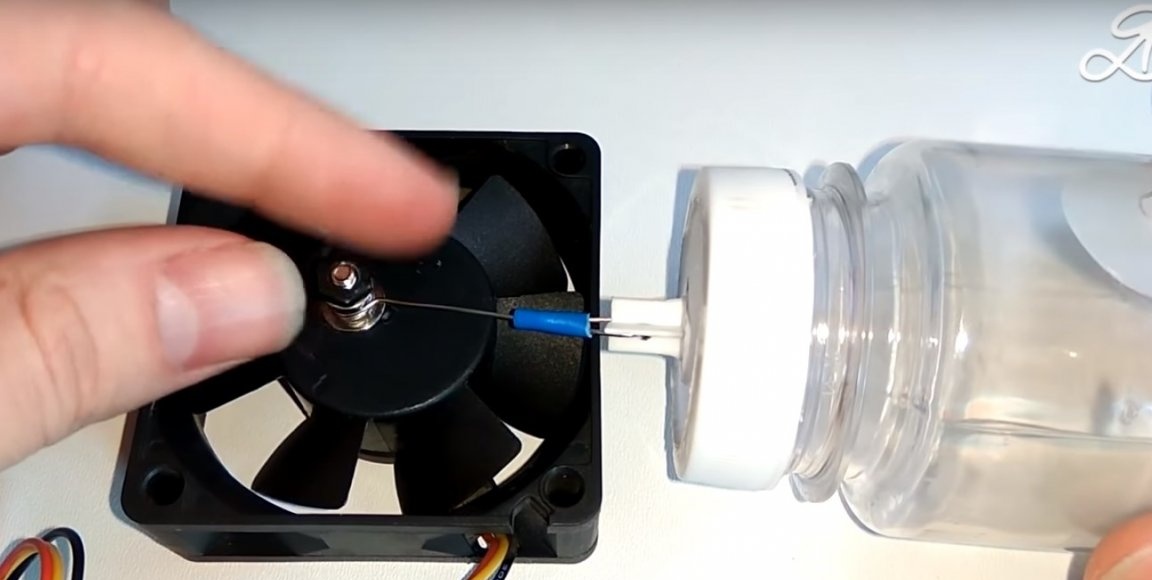
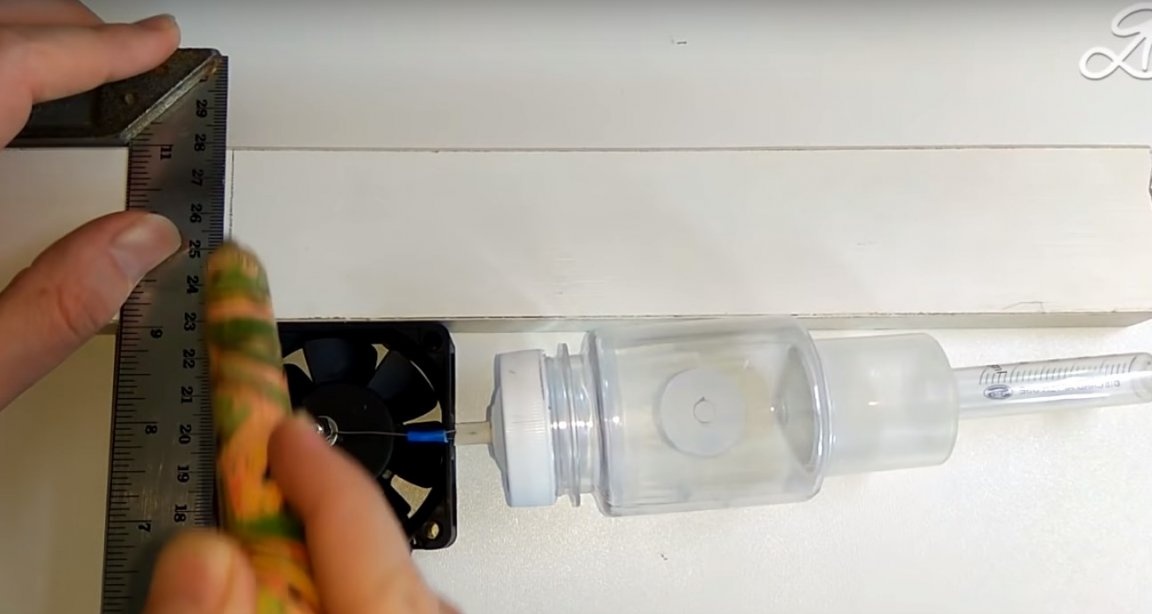
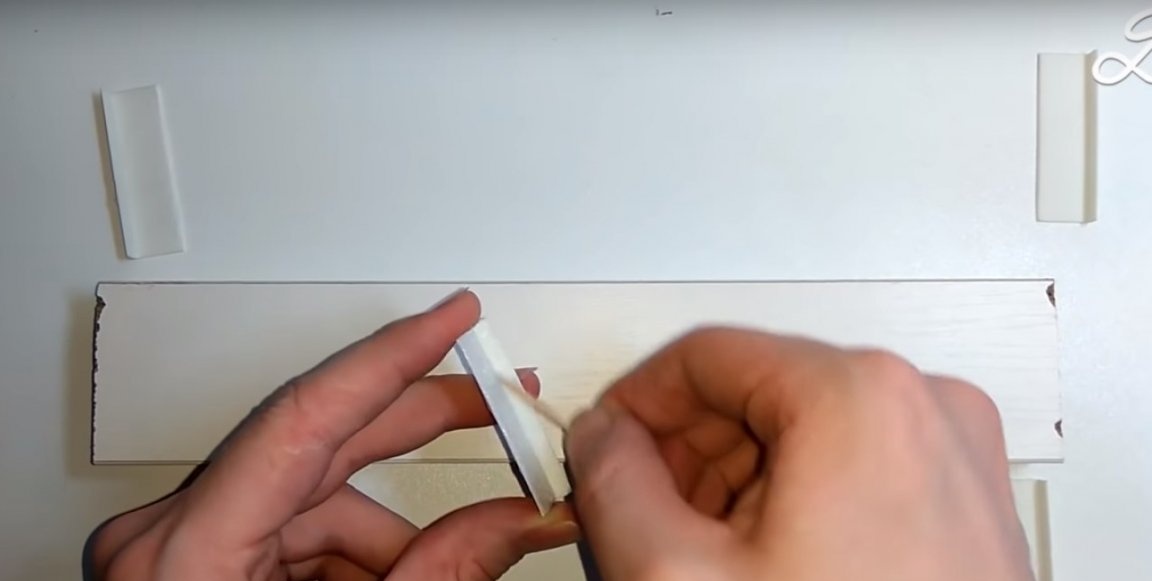
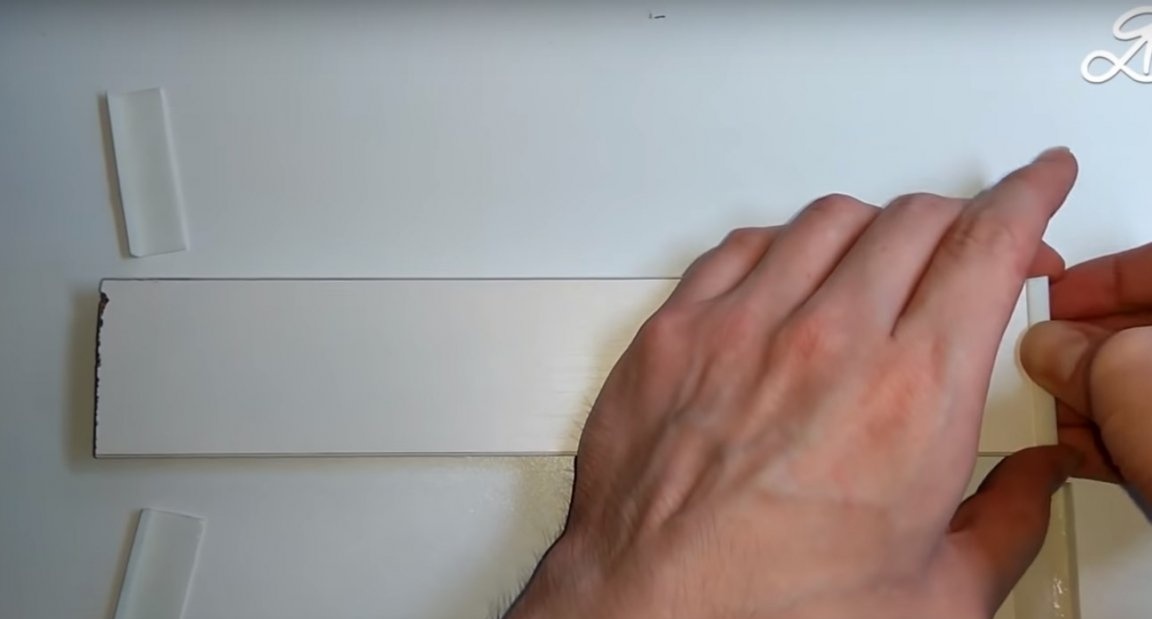
The pump is almost ready. Next, the author will make a bed on which the pump and the electrical part will be mounted. To make the bed, the author will take a board and measure out a piece of the required length, cut off the excess.
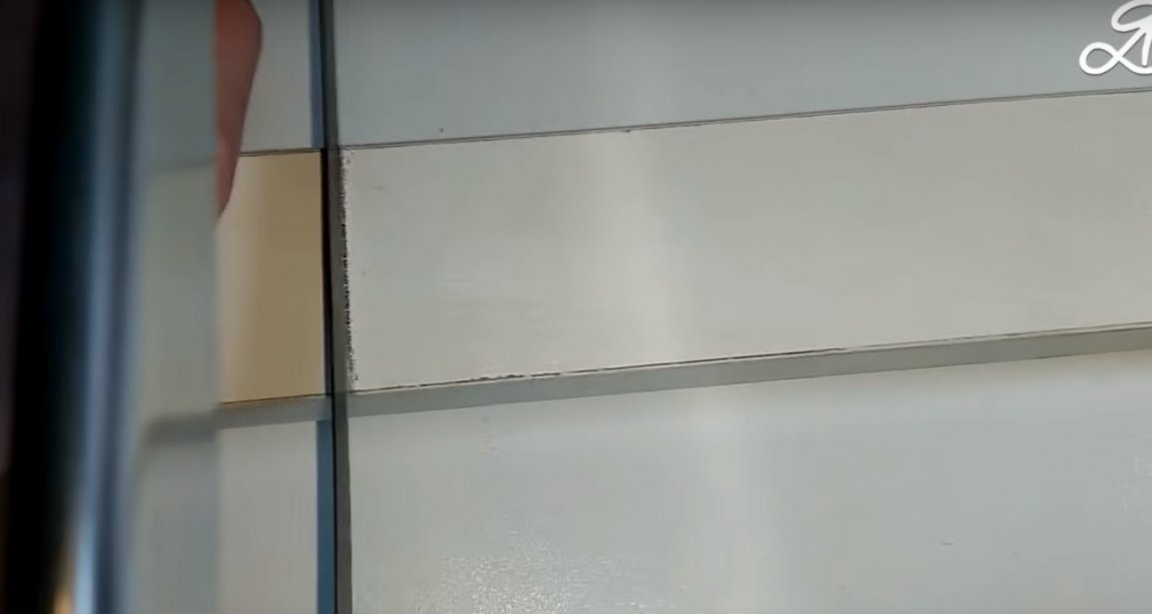
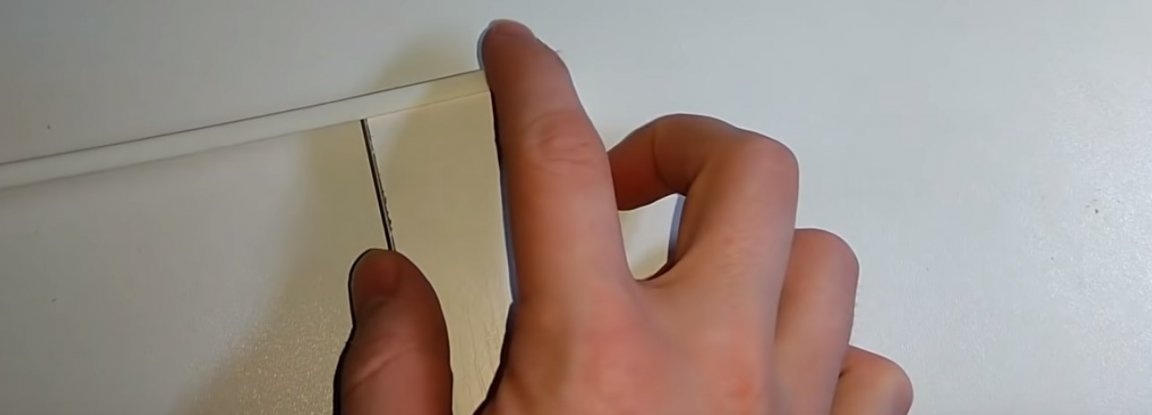
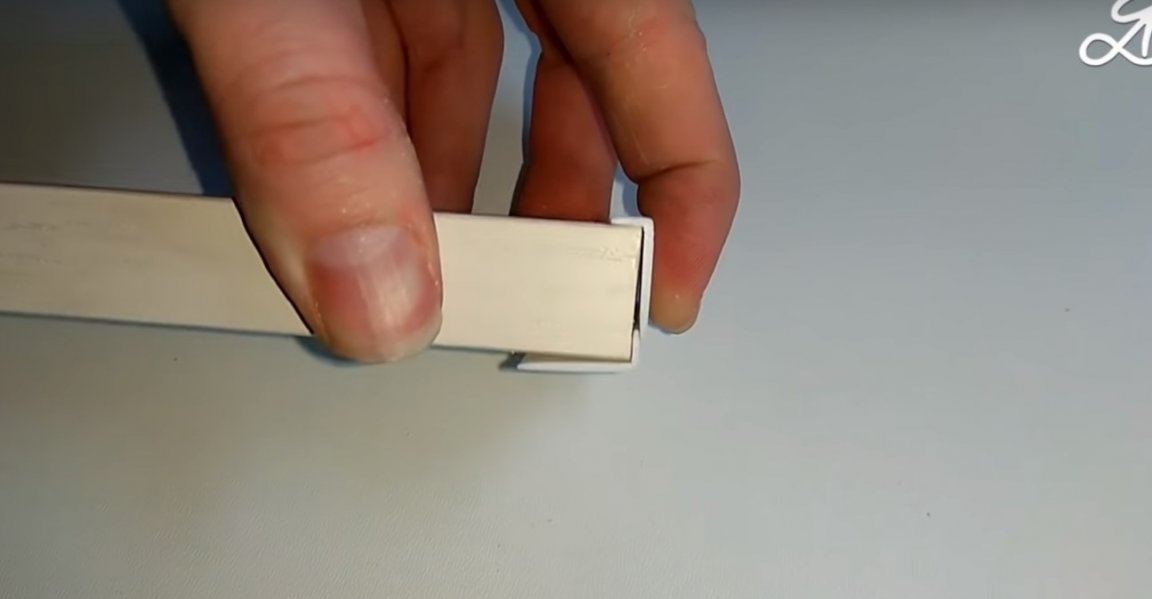
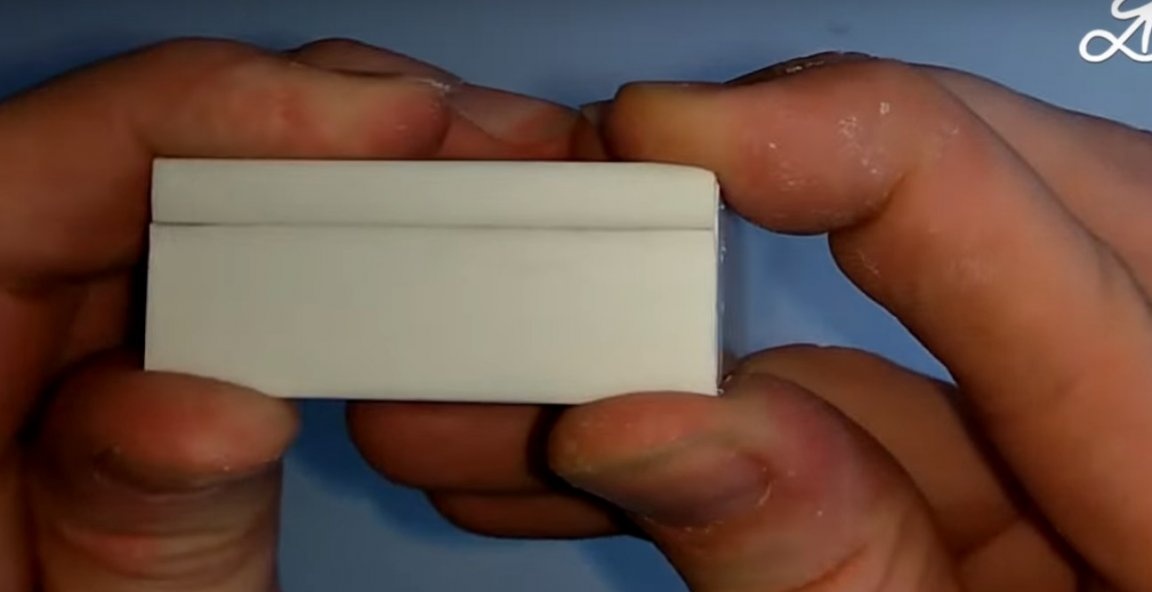
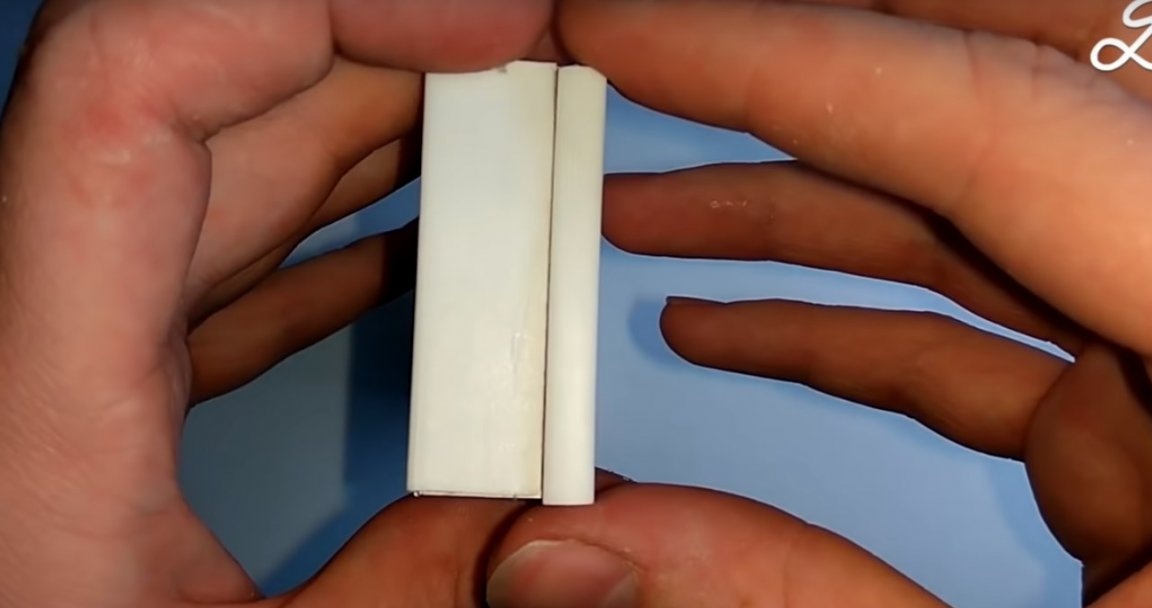
Then he will cut four pieces from a plastic corner.
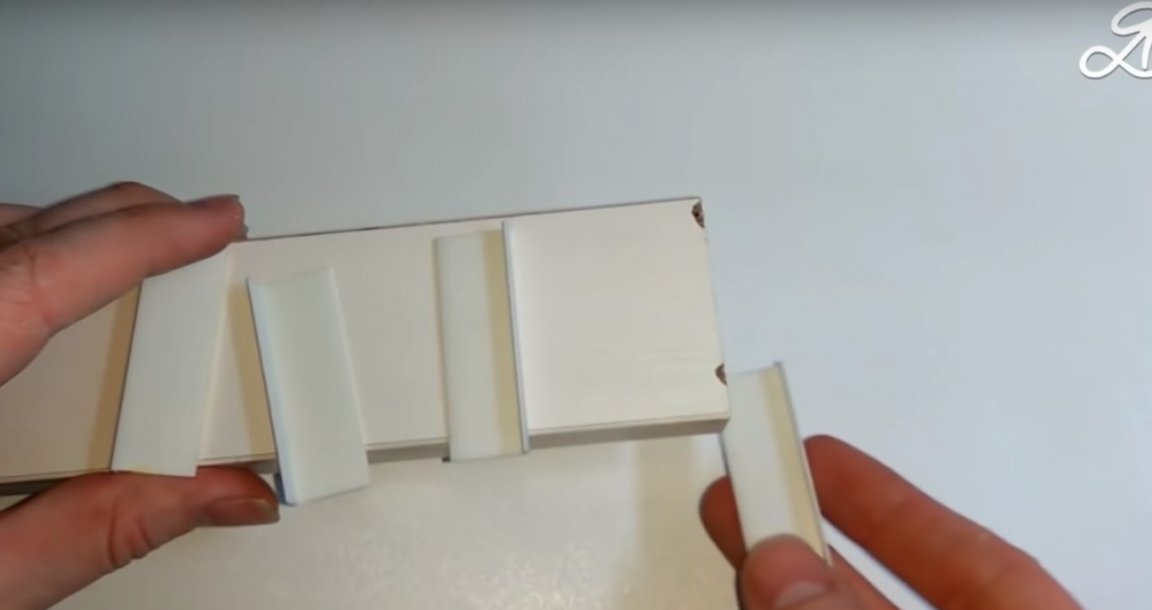
Fitting.
Then measurements.
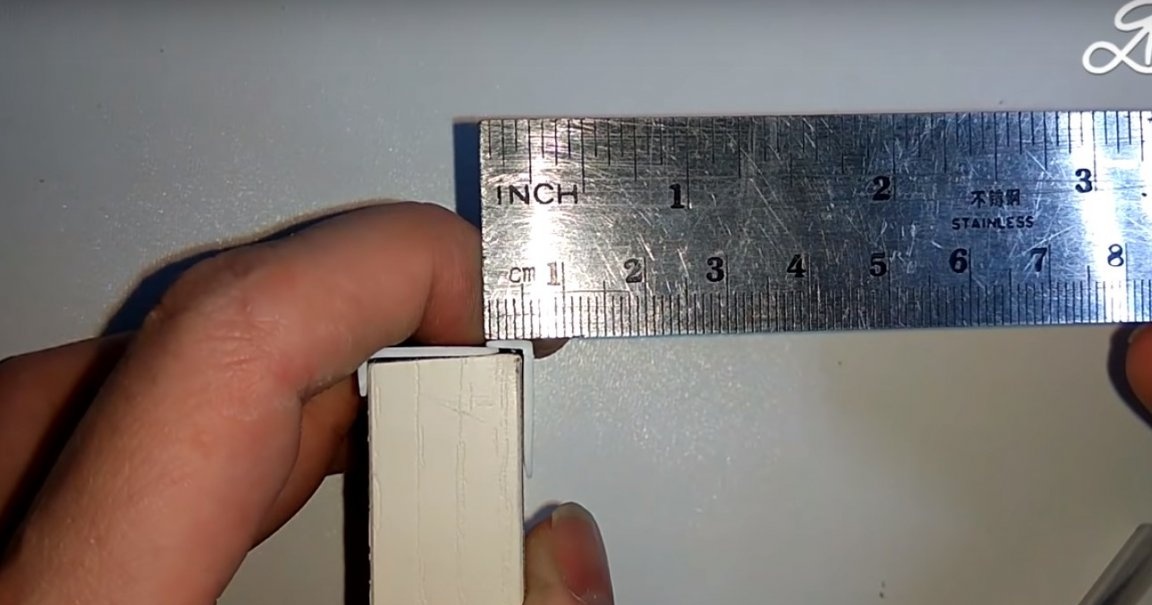
And removing the excess.
Trying on again.
And making sure that everything fits well, the master glues the corners to the end edges of the bed.
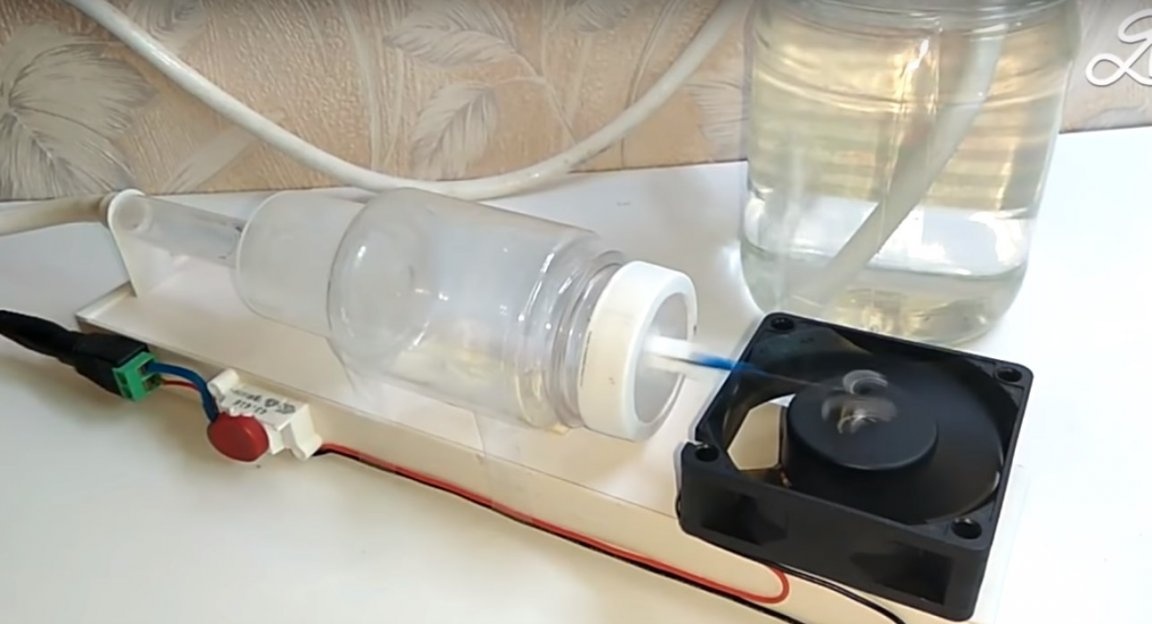
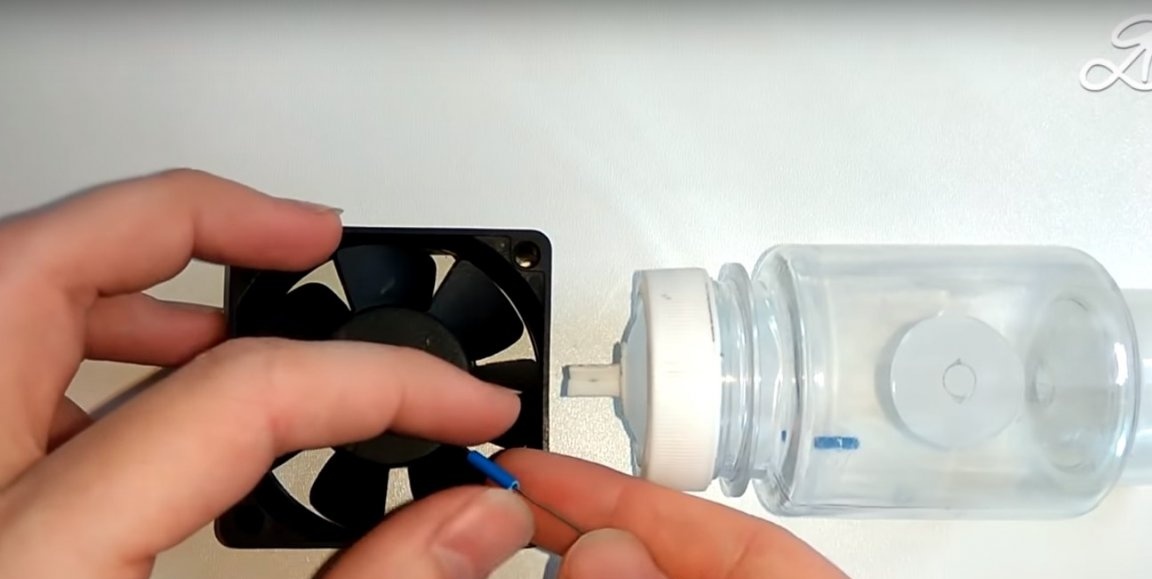
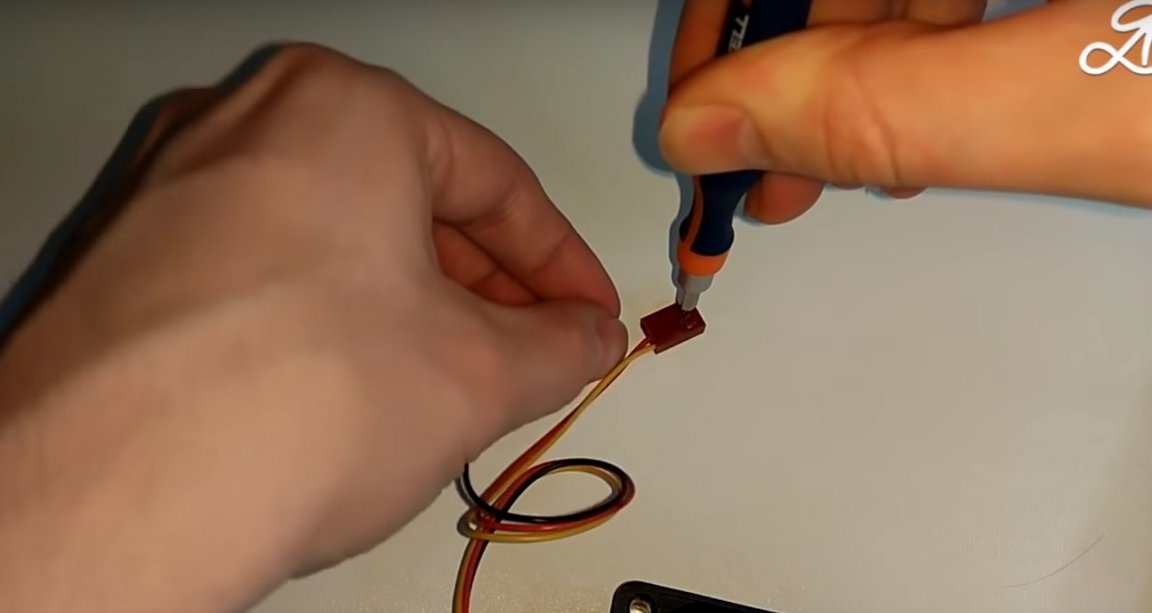
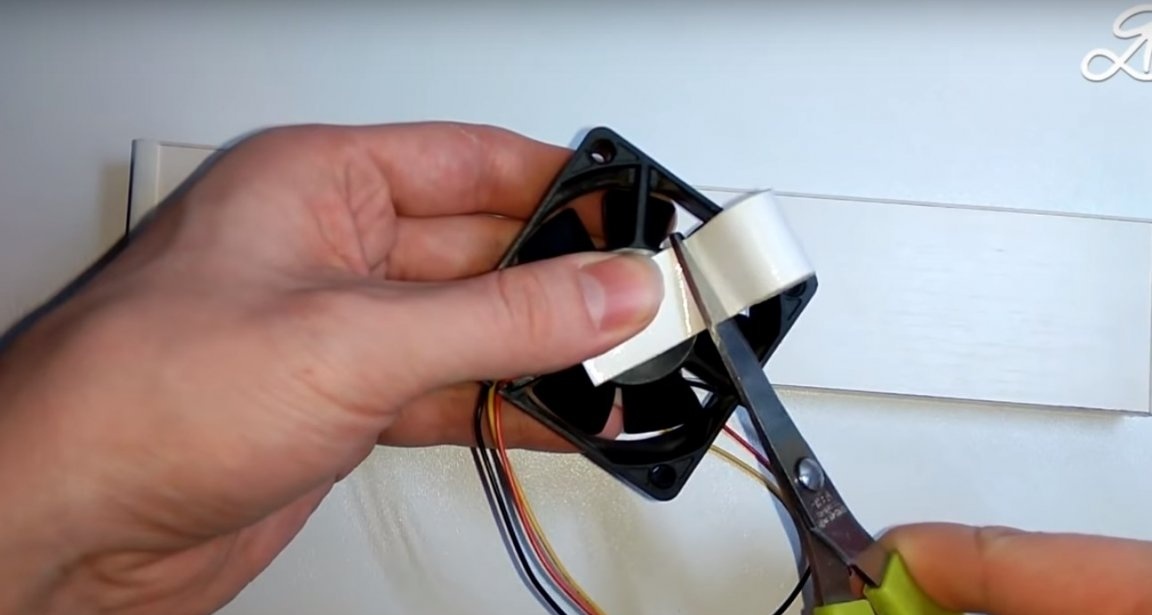
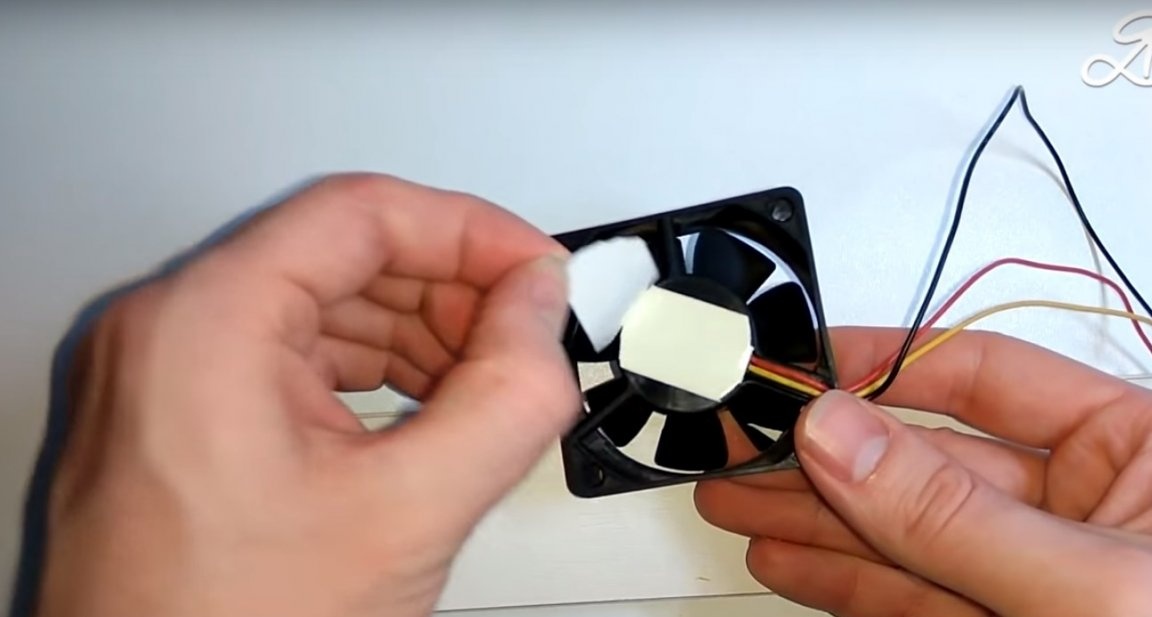
Then, from the cooler wires, the author will remove the plug.
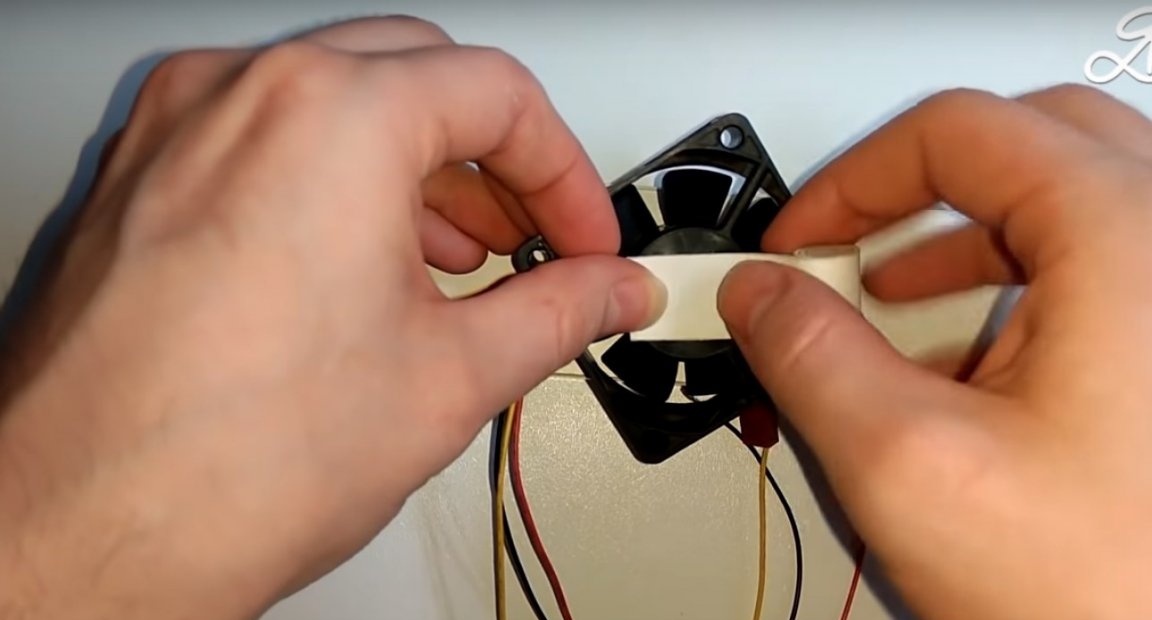
Alcohol will degrade the attachment points.
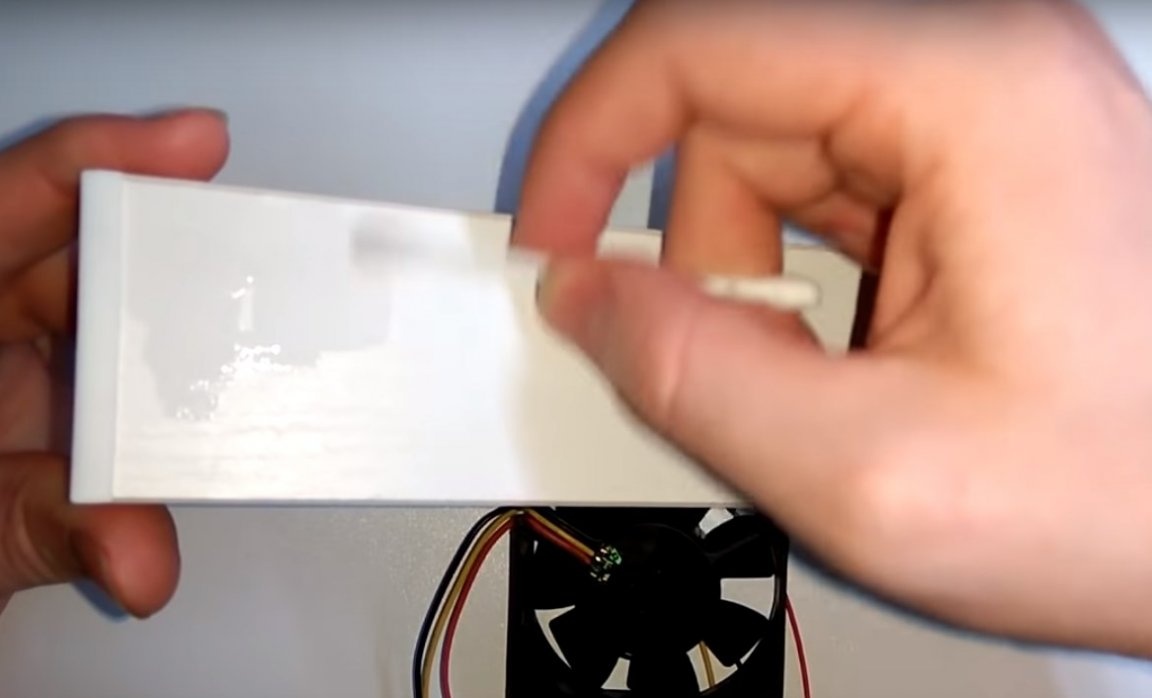
And fix the cooler to the frame on a double-sided tape.
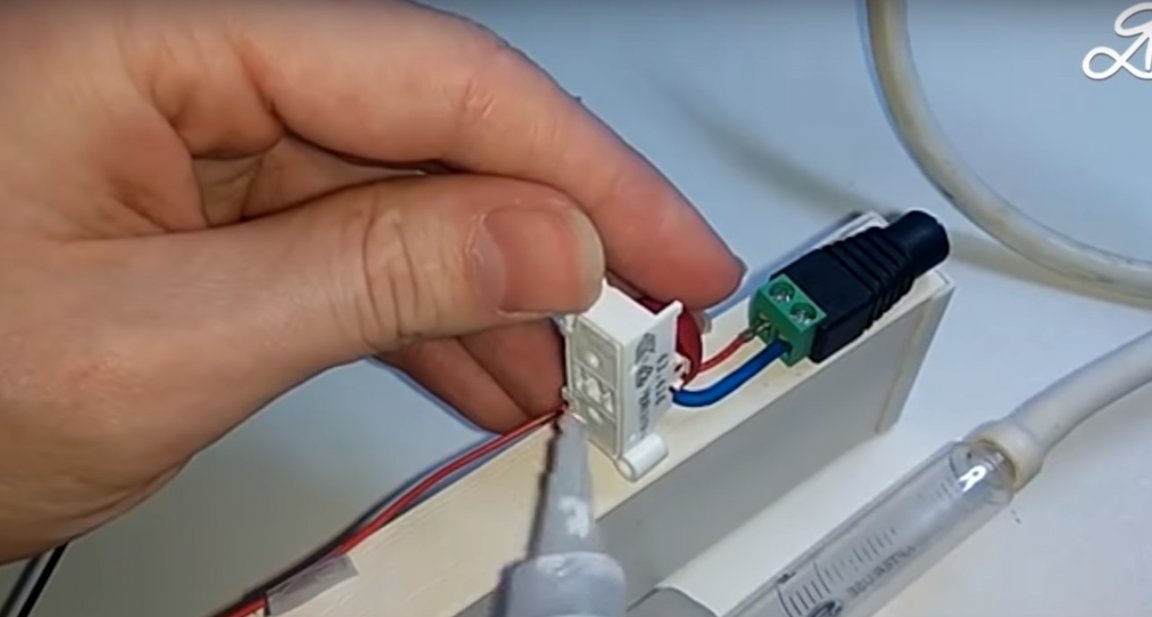
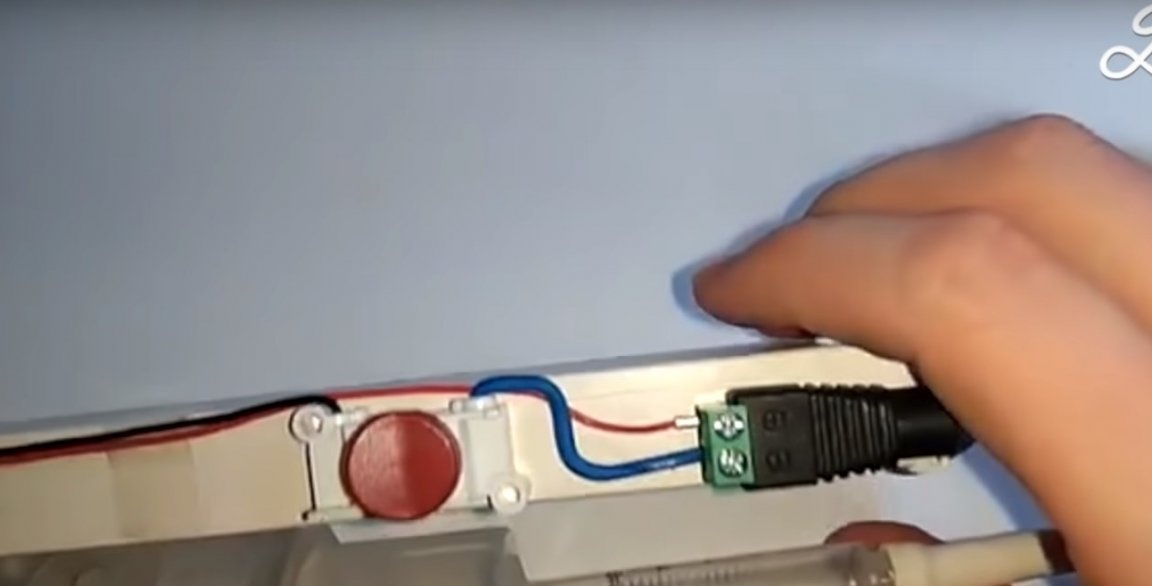
After that, on the side wall of the board, the author will glue the power connector and switch.

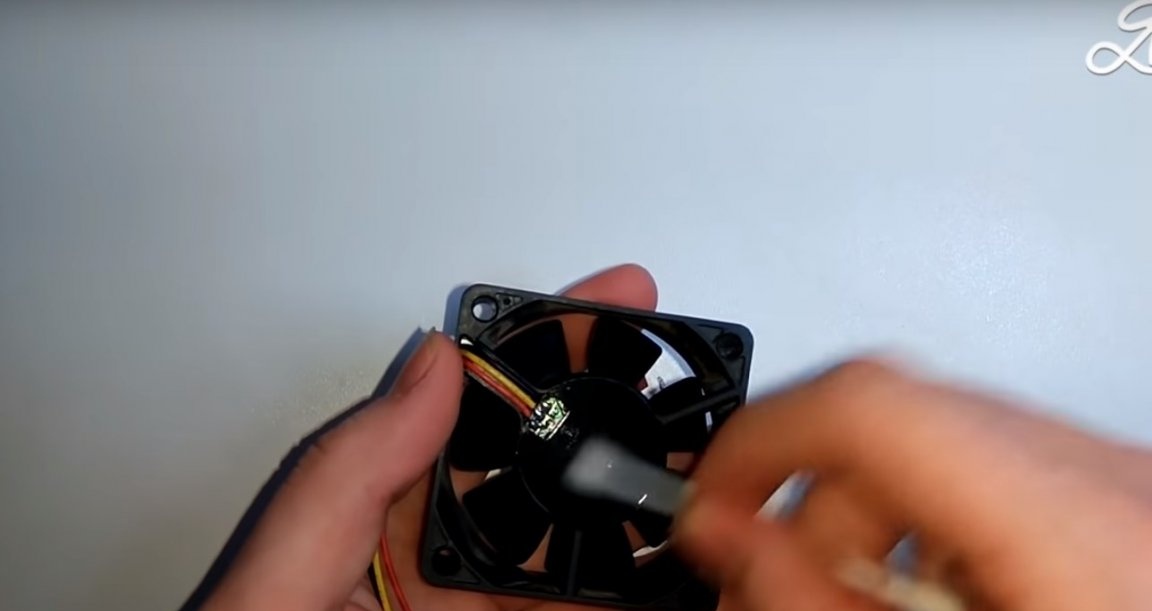
The author has a three-wire cooler, so he will remove the speed sensor wire. Leaving only “+” and “-” power. Usually these are red and black wires. The connection is the most common: plus (red) wire, from the cooler directly to the connector, and minus (black) to the connector through the switch.
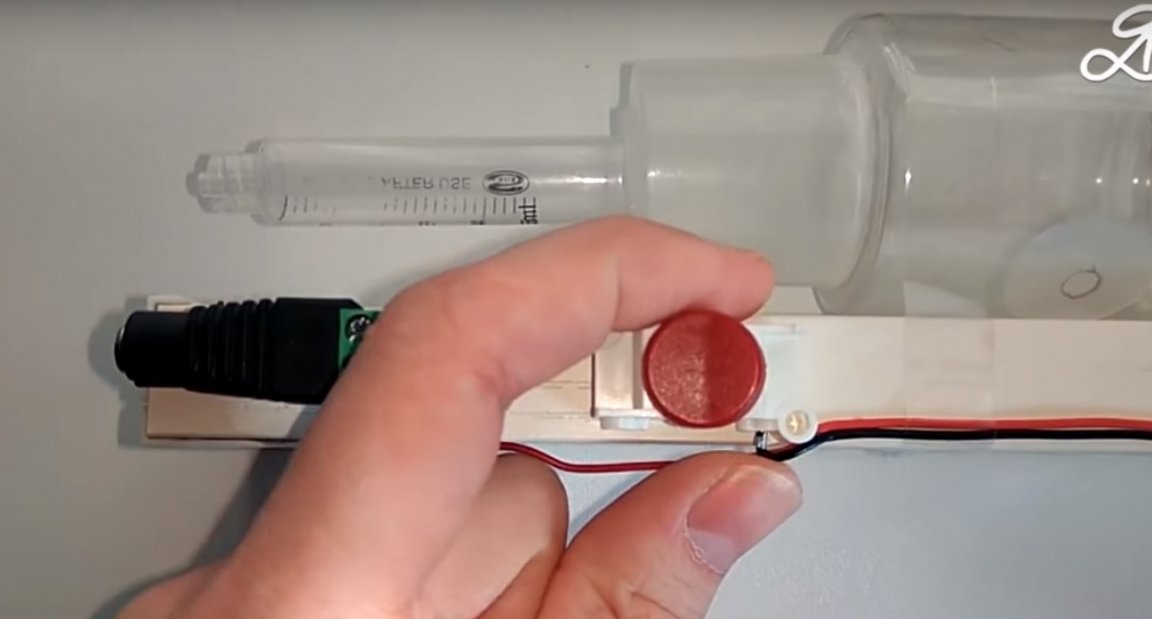
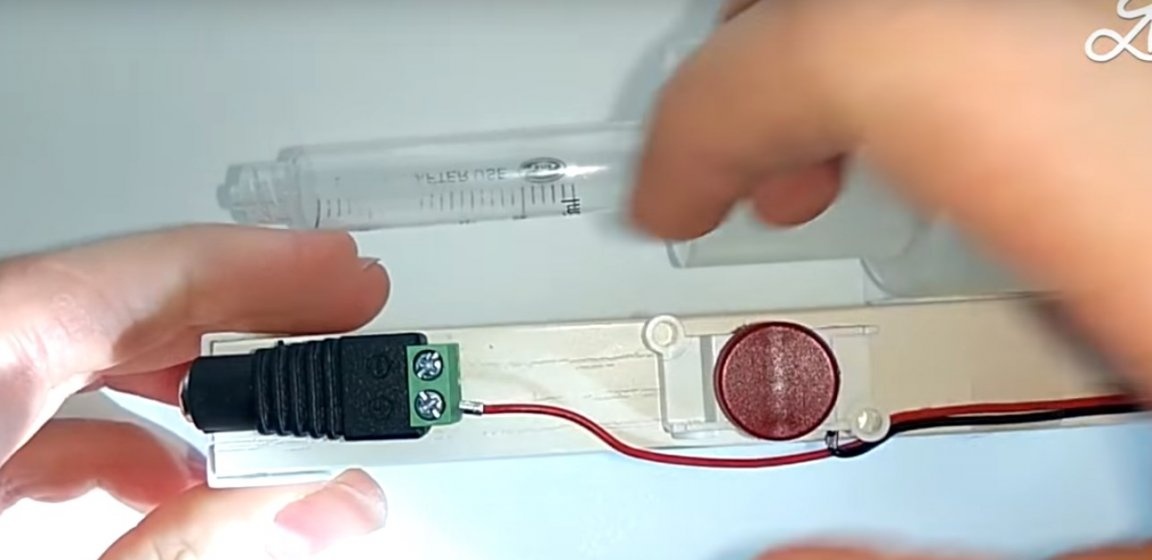
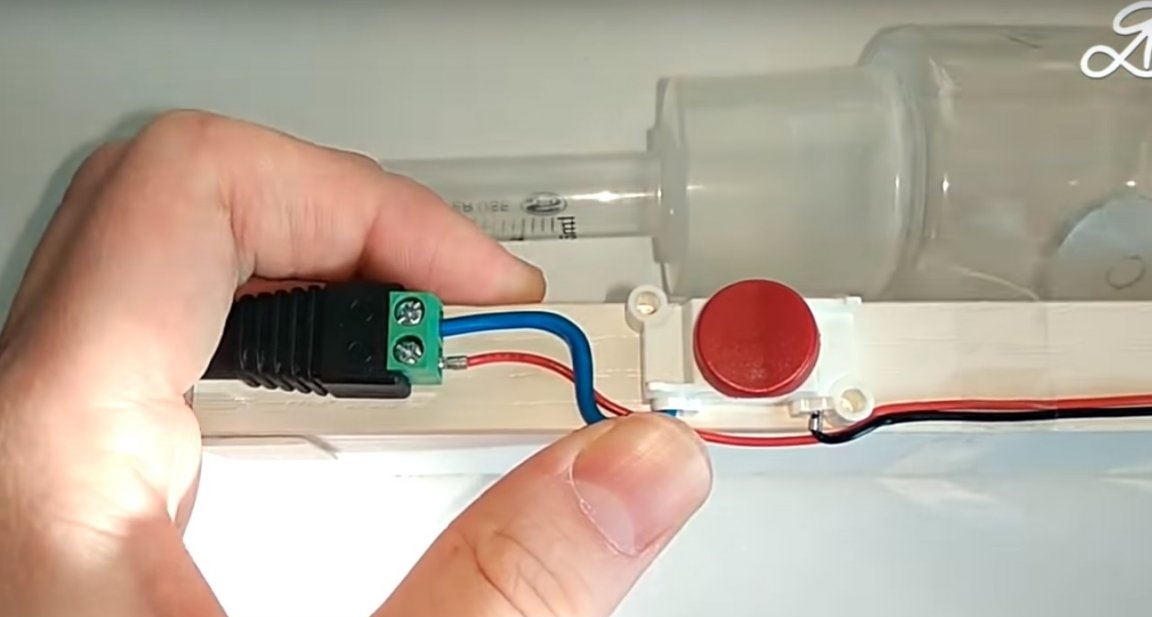
Like this.
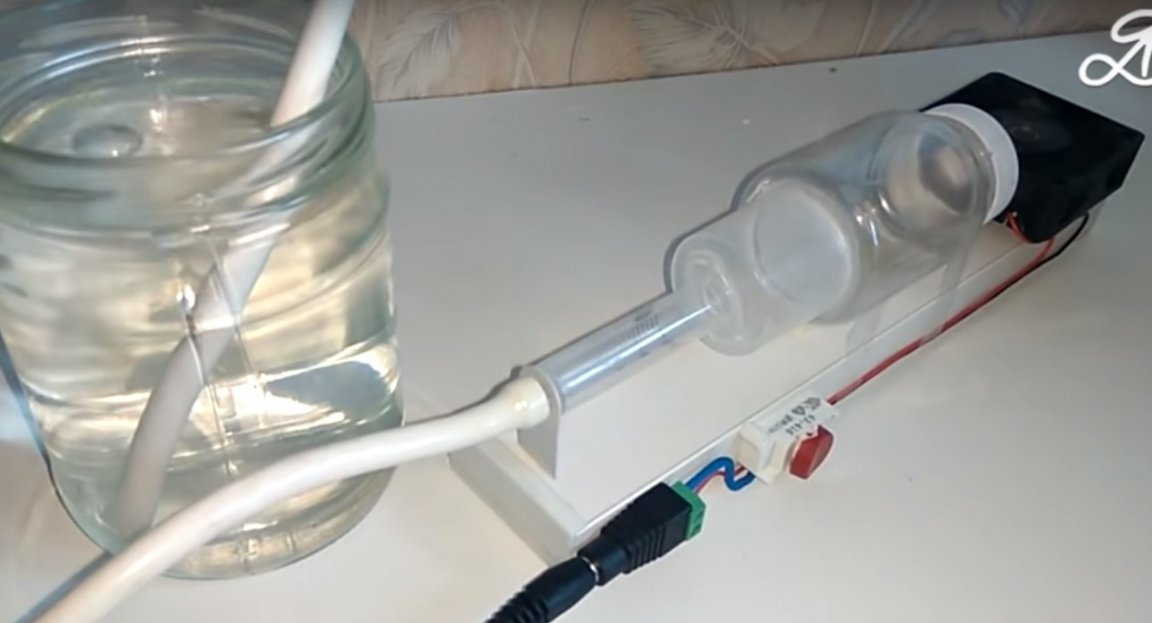
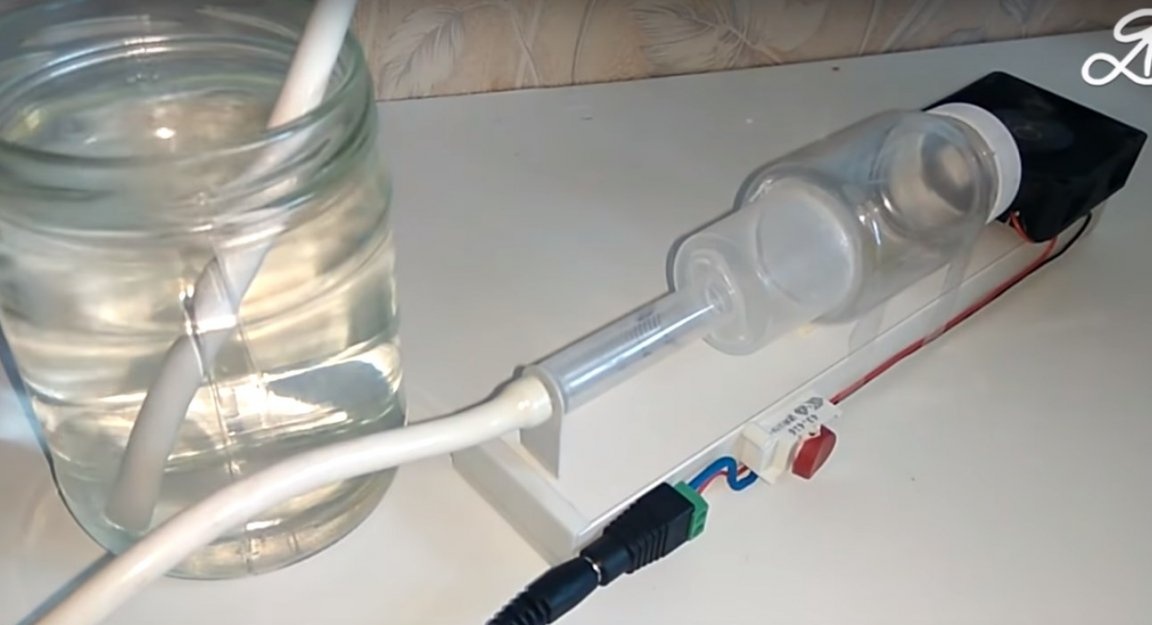
After attach the bottle to the base on a double-sided tape.
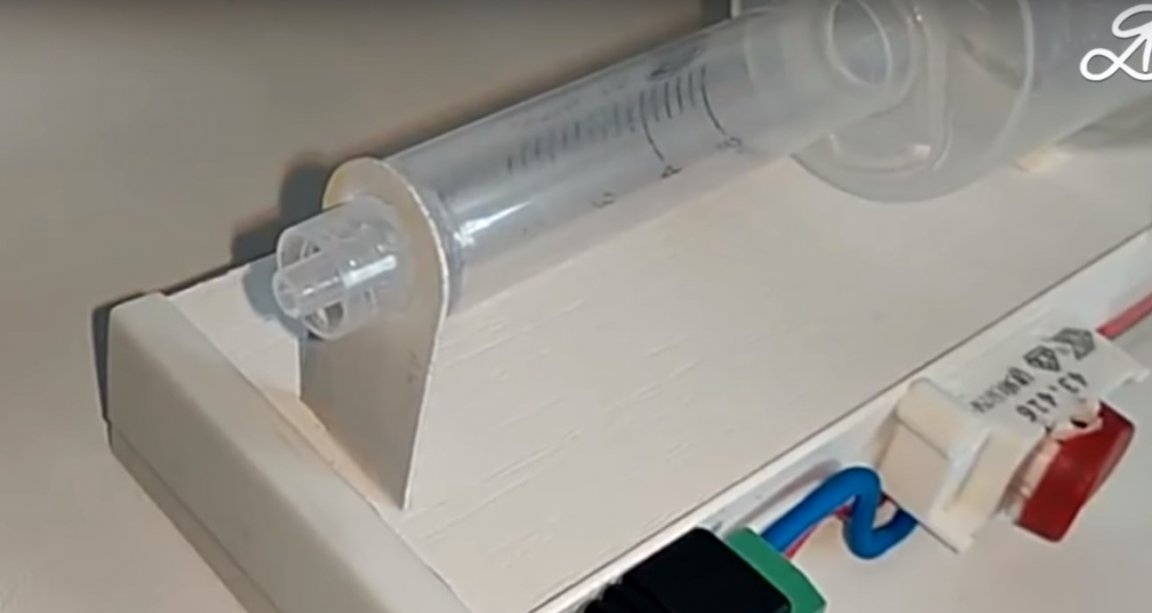
Then he will take a piece from a plastic card and make a hole with a diameter of 10 mm in it.
After gluing this part to the syringe and base.
Like this.
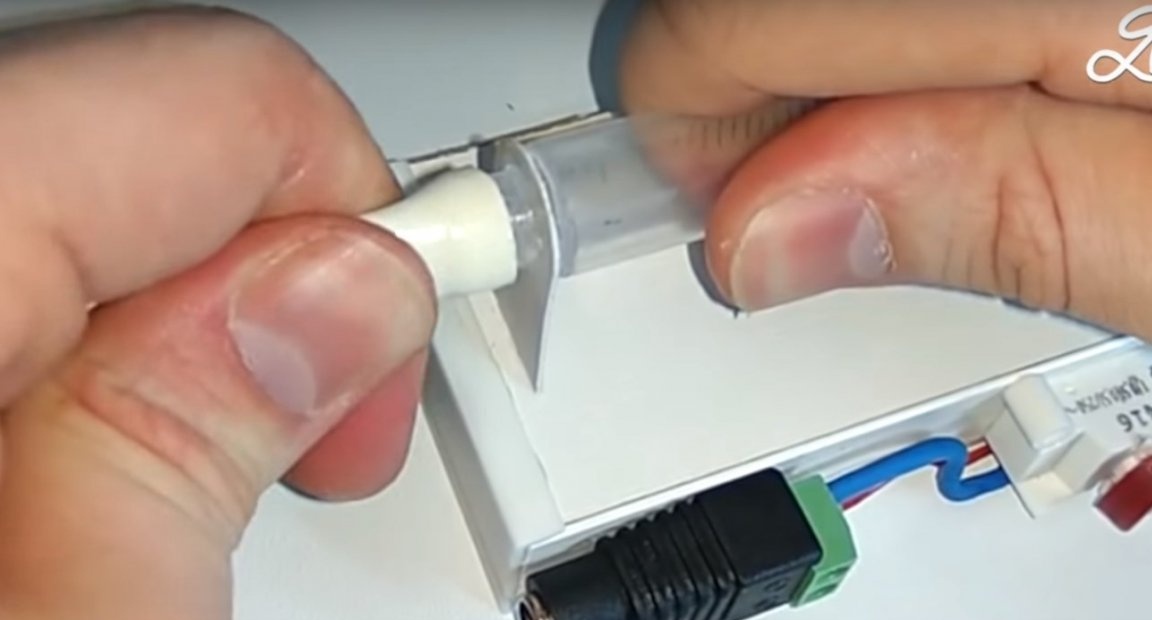
Then puts a silicone hose on the nozzle of the syringe.
Connects the power supply.
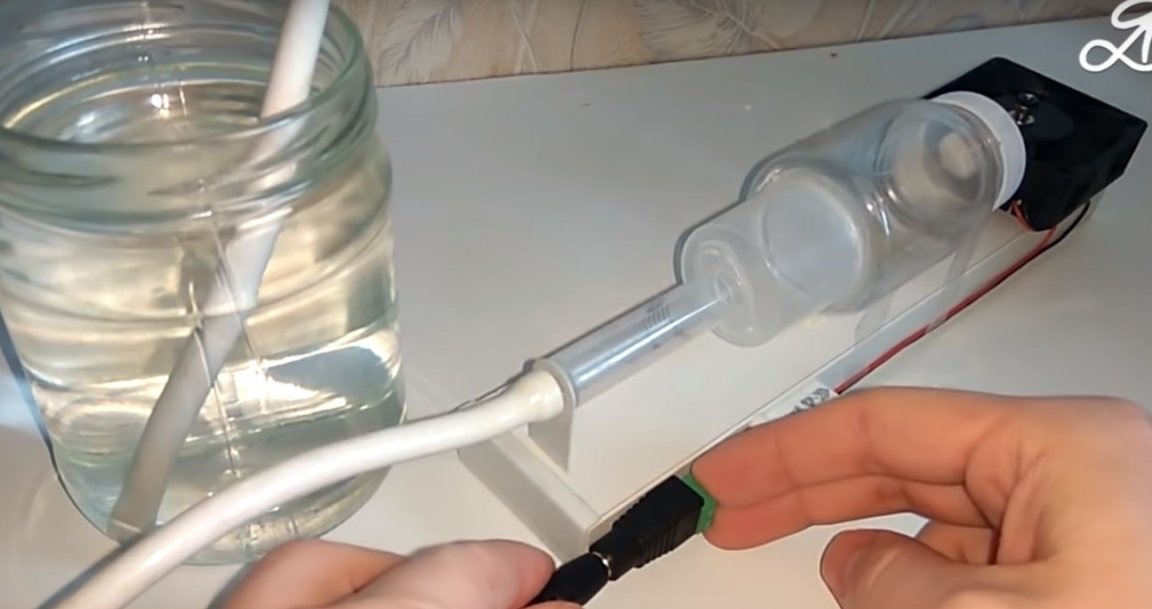
It starts the pump and everything works fine.
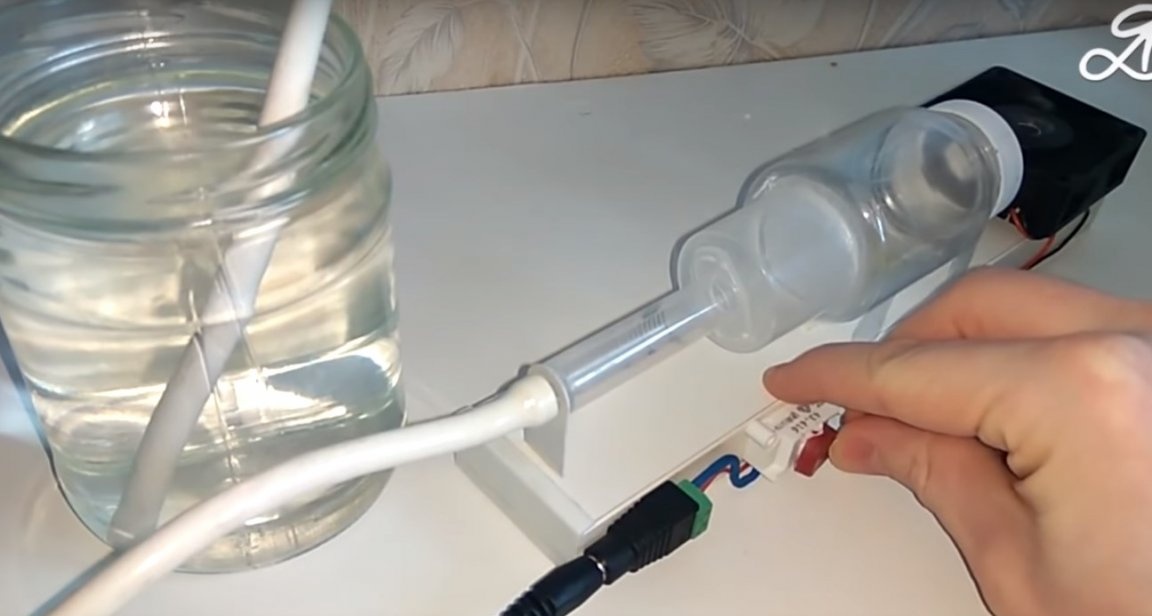
Such a compressor turned out at our hero of today's article.
Thanks to Alexander for such a homemade product.

And that’s all for me. Thank you all for your attention!