Hello to fans of craftsmanship, today we will consider how you can transfer an image from a photo to a tree. Everything is done quite easily, but homemade It turns out spectacular. Such a product can be a great keepsake. If you are interested in the project, I propose to study it in more detail!
Materials and tools used by the author:
Material List:
- a printer;
- cut a tree;
- carpentry glue;
- .
Tool List:
- belt sander;
- tape cutting machine or other tool for cutting wood;
- electronic Libra.
Homemade manufacturing process:
Step one. Foundation preparation
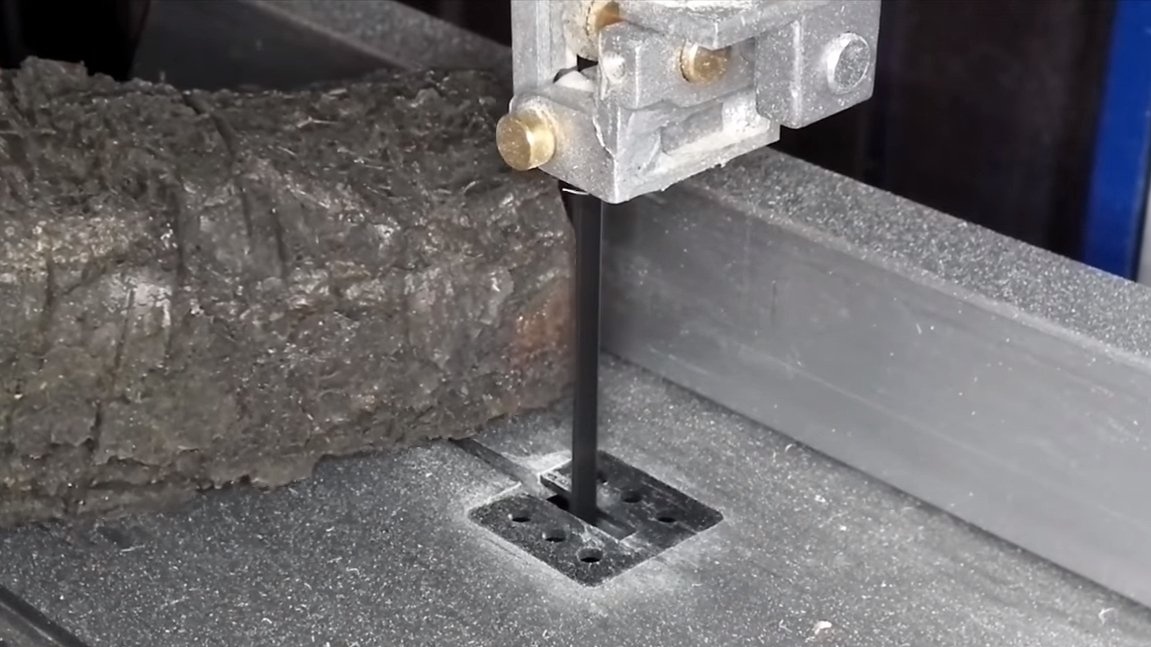
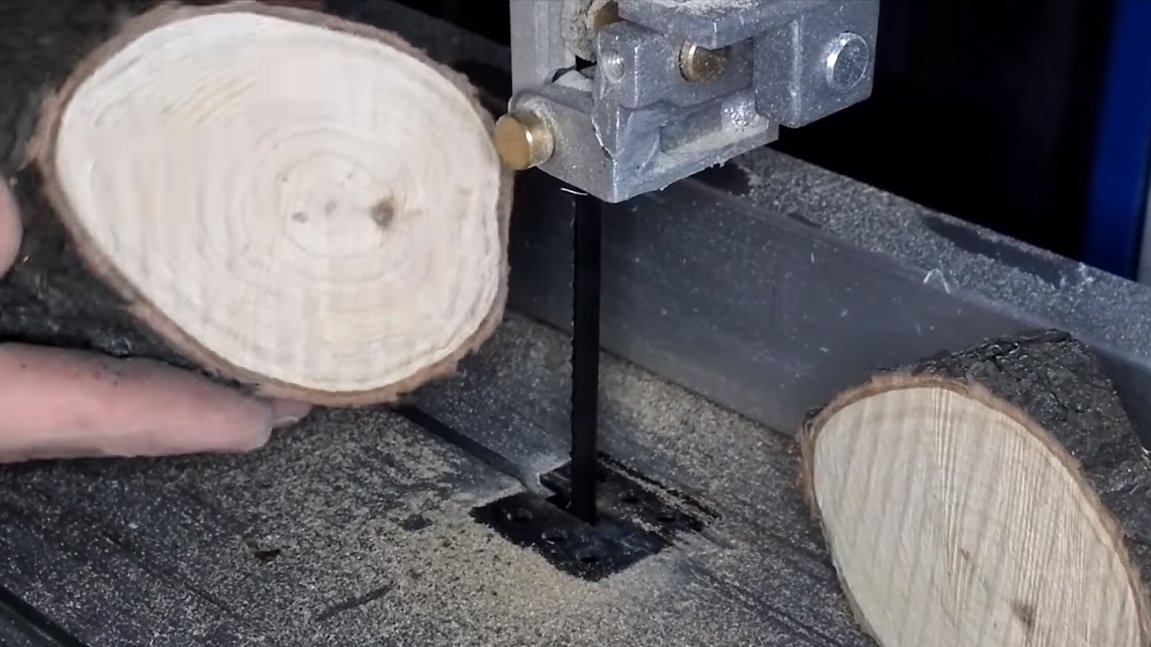
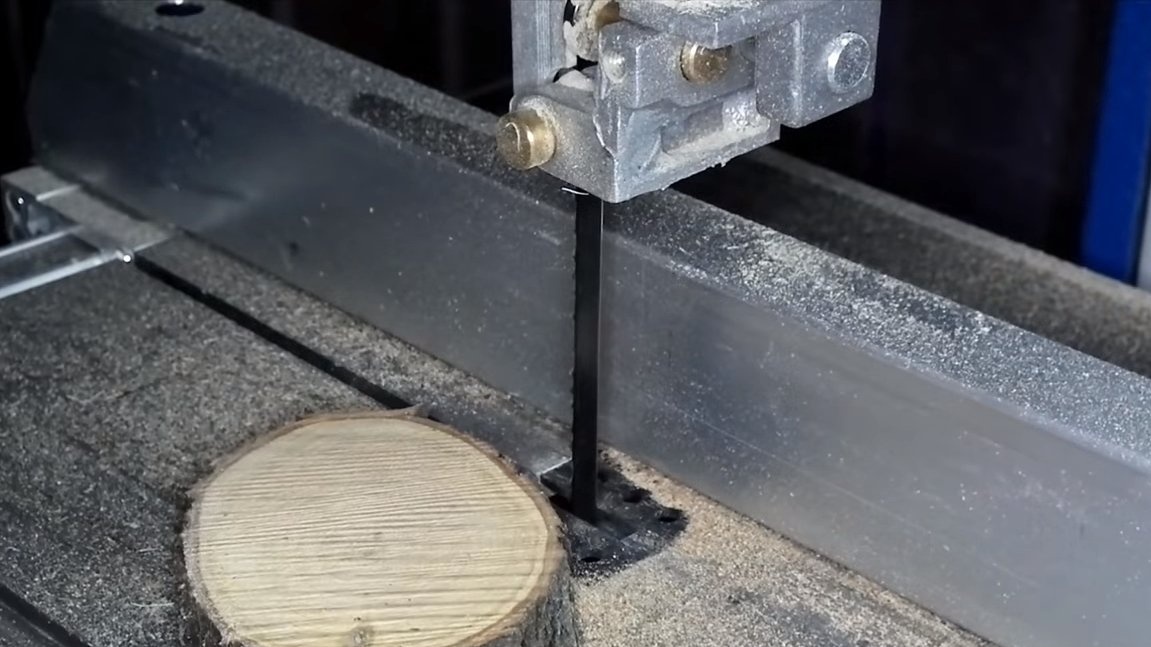
First of all, we will prepare the basis, here we need a tree trunk or part of a branch. It is very important that the tree is well-dried, otherwise the saw cut will crack and the product will be damaged. We cut the desired workpiece using a tape cutting machine, circular saw or other tool.
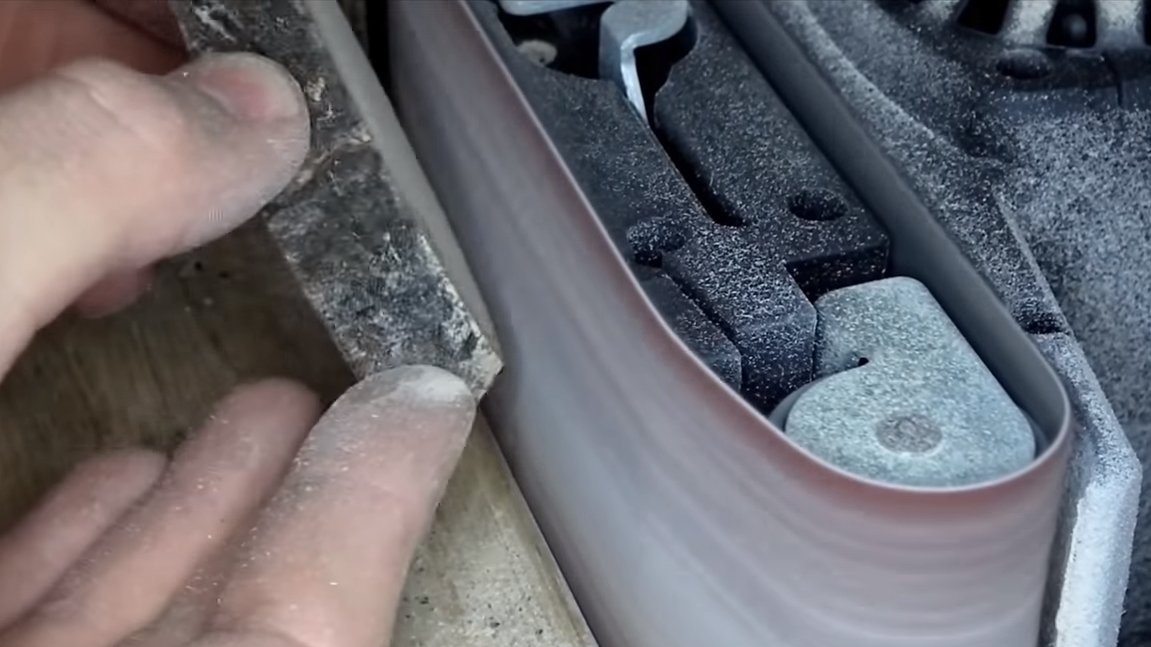
The planes of the saw cut must be well ground, here we need a belt sander or any other. If there is no grinder, then it is quite possible to handle with sandpaper.
Step Two Image transfer
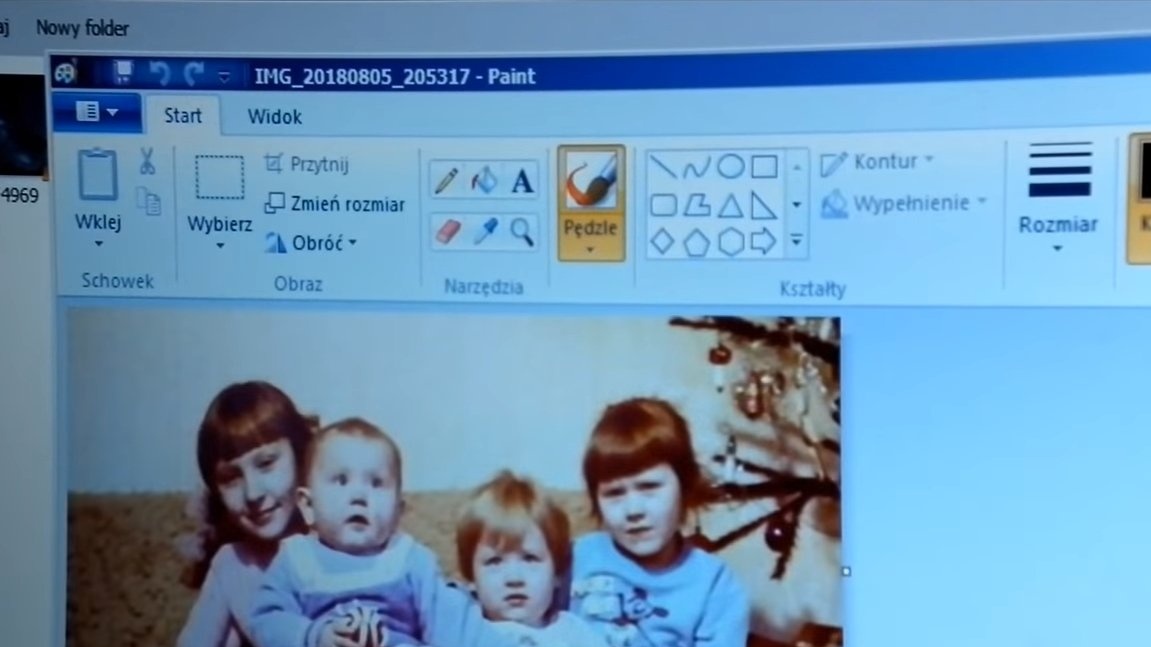
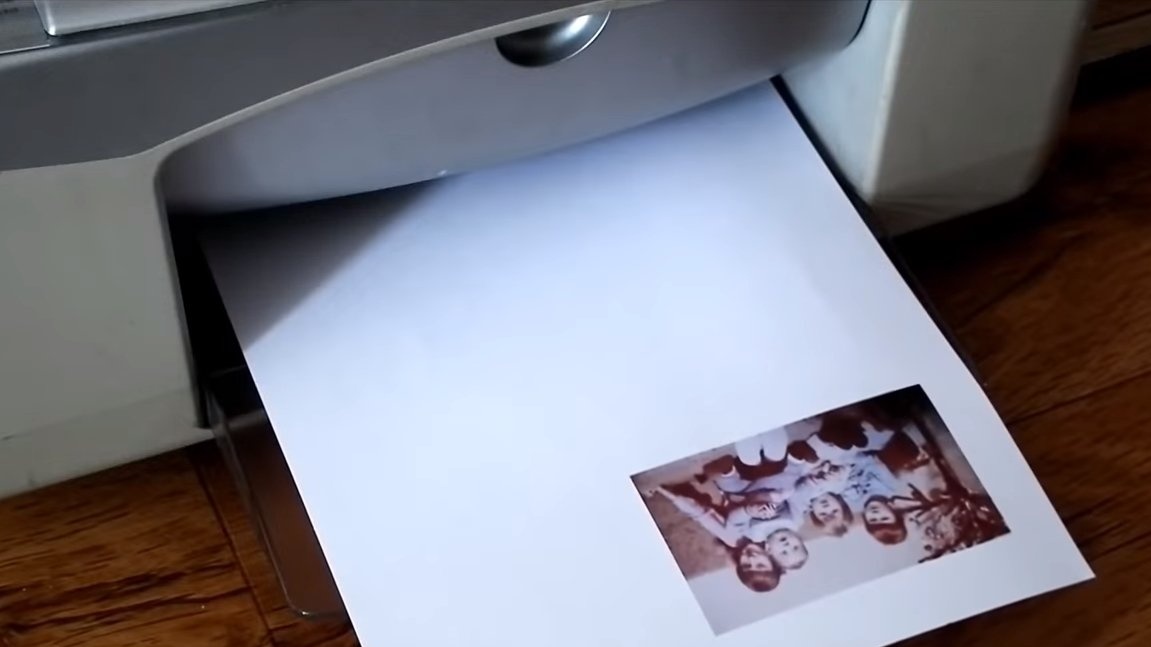
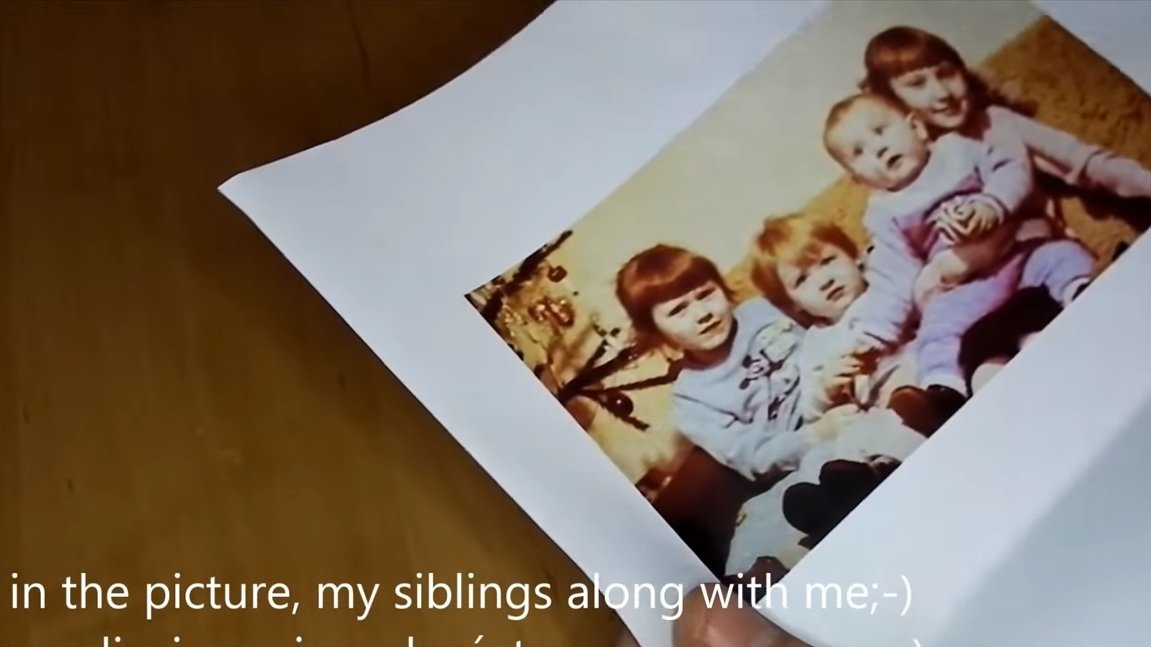
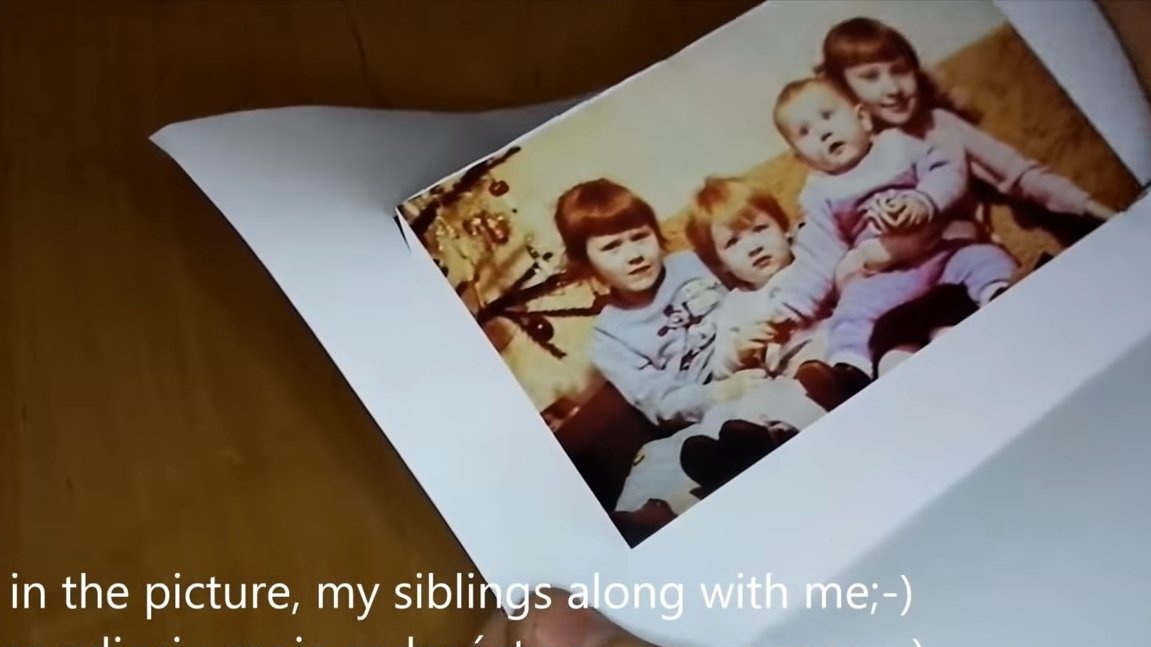
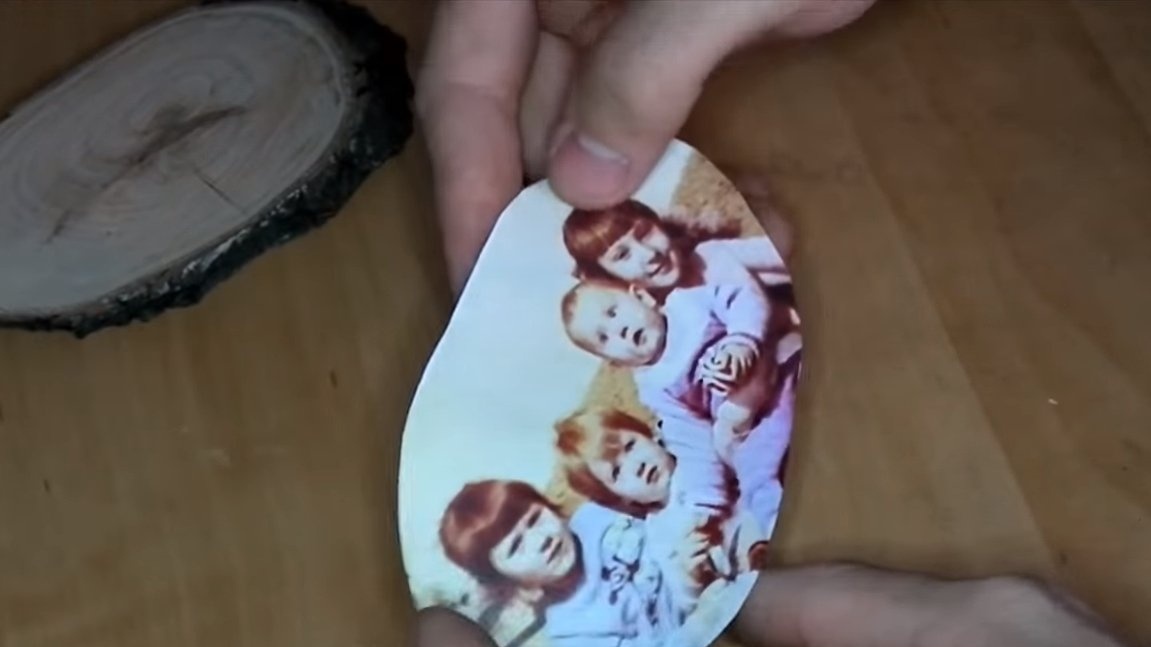
Next, we need to prepare and print the image, keep in mind that the photo will be transferred mirrored, so it is better to initially reflect it on the computer. Next, print the photo on paper, we will need a laser printer, since using the inkjet it may not work.
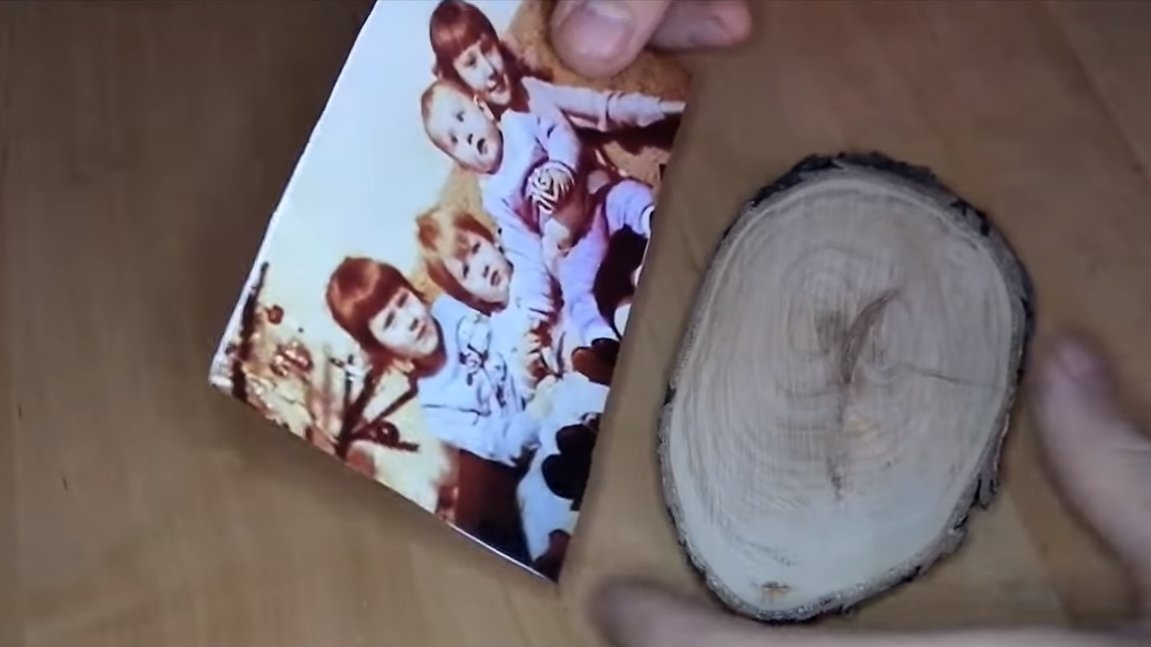
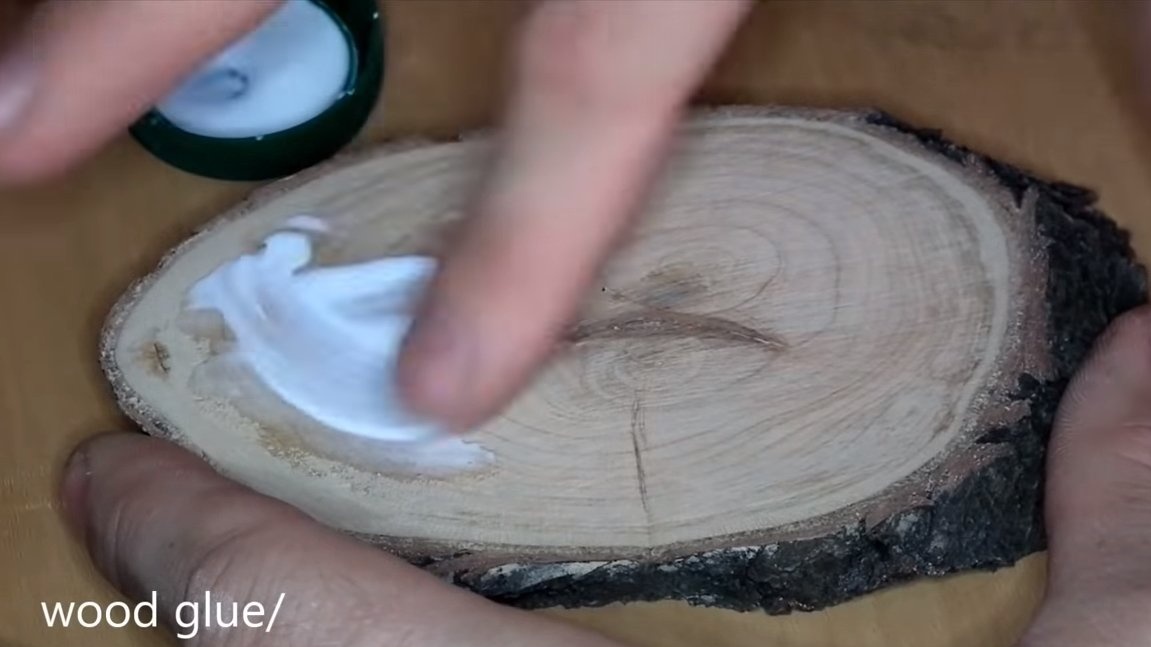
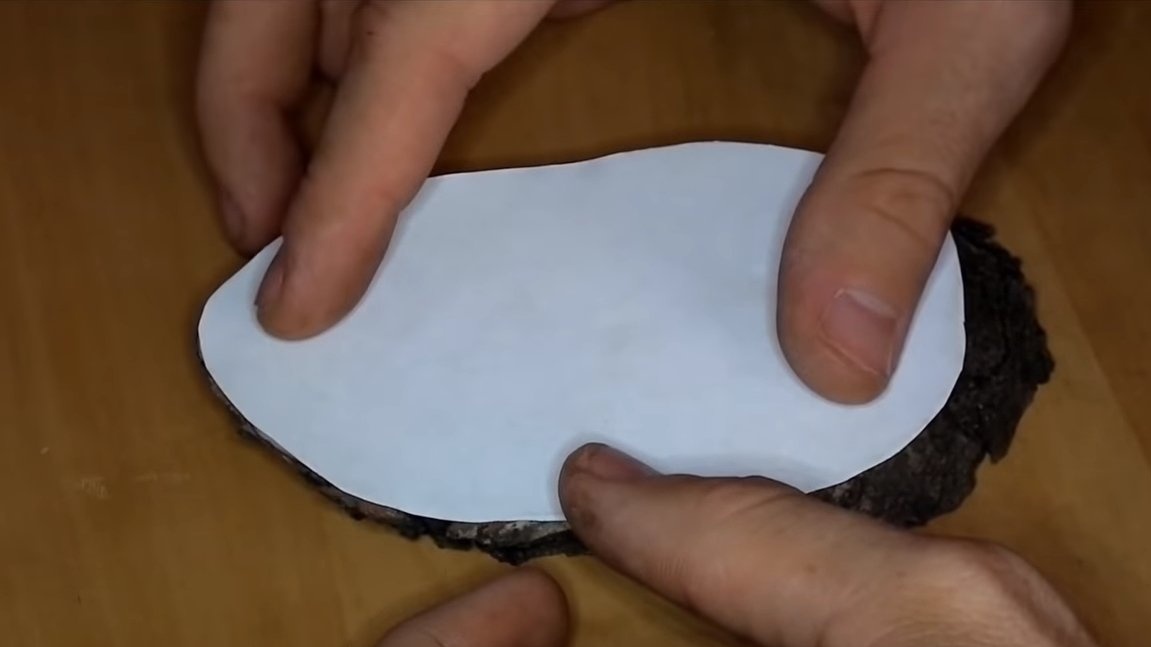
We cut out the photo with scissors and customize it under the saw cut, cut off the excess. Next, we need glue for the tree, we smear it with the saw plane and glue the photo on the side where the paint is.
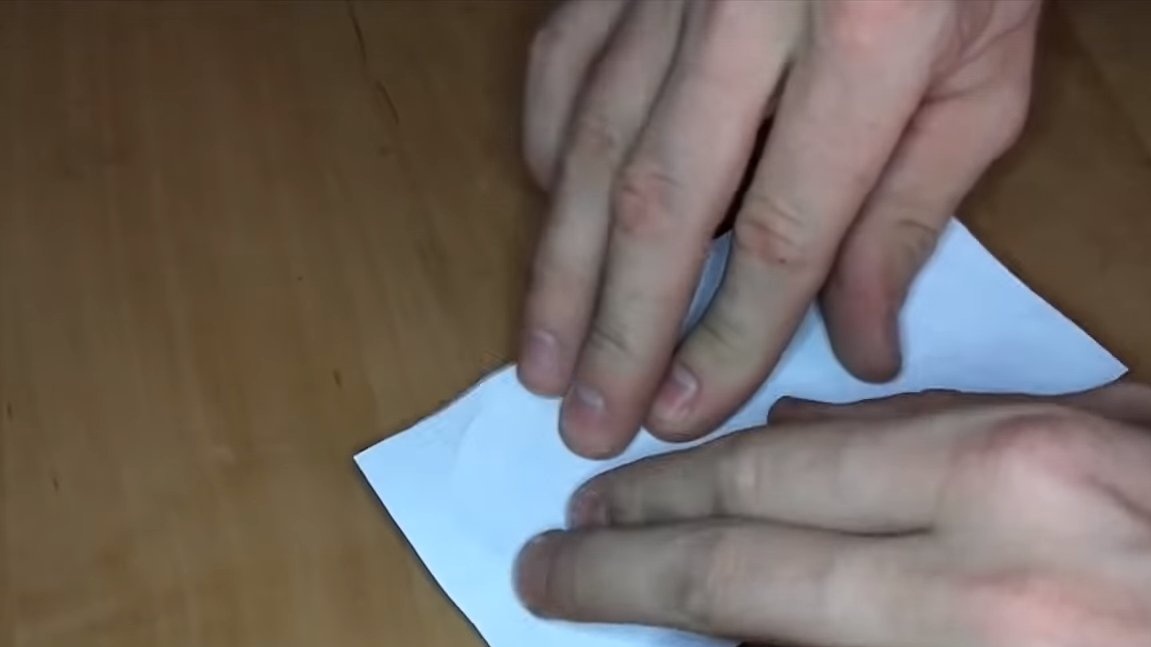
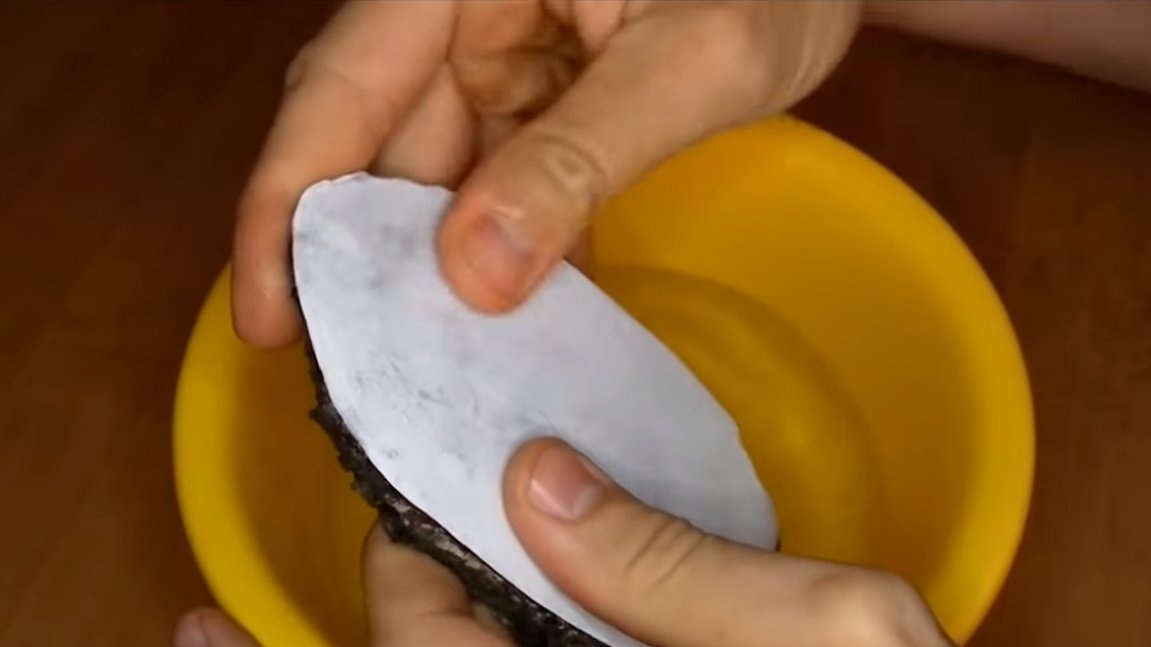
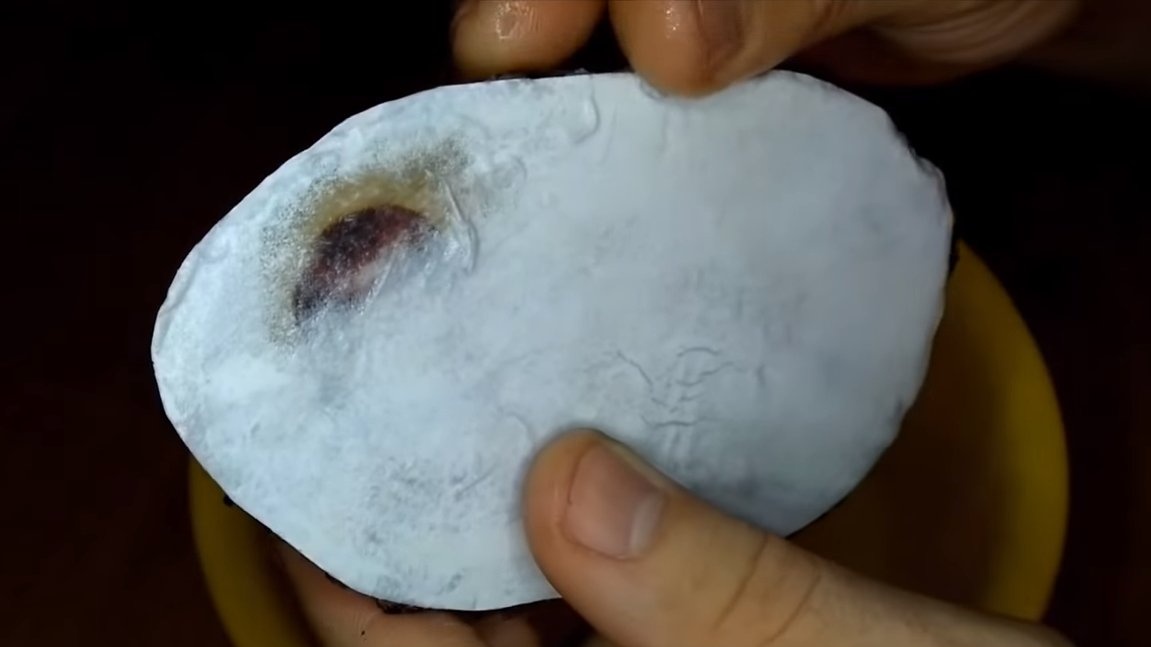
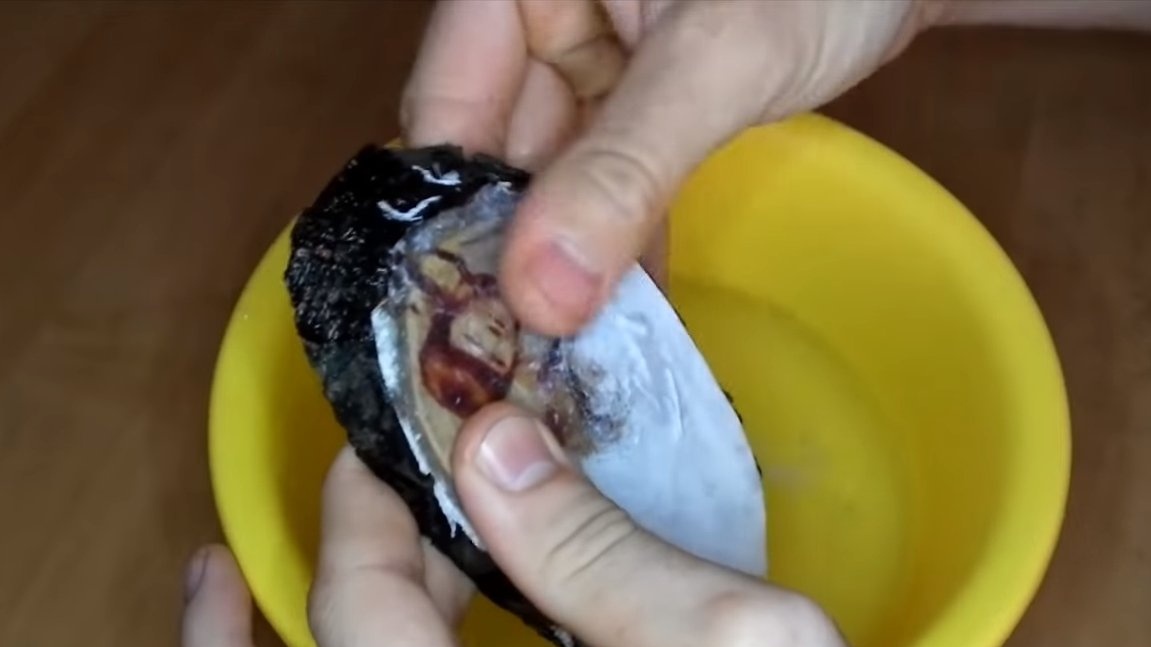
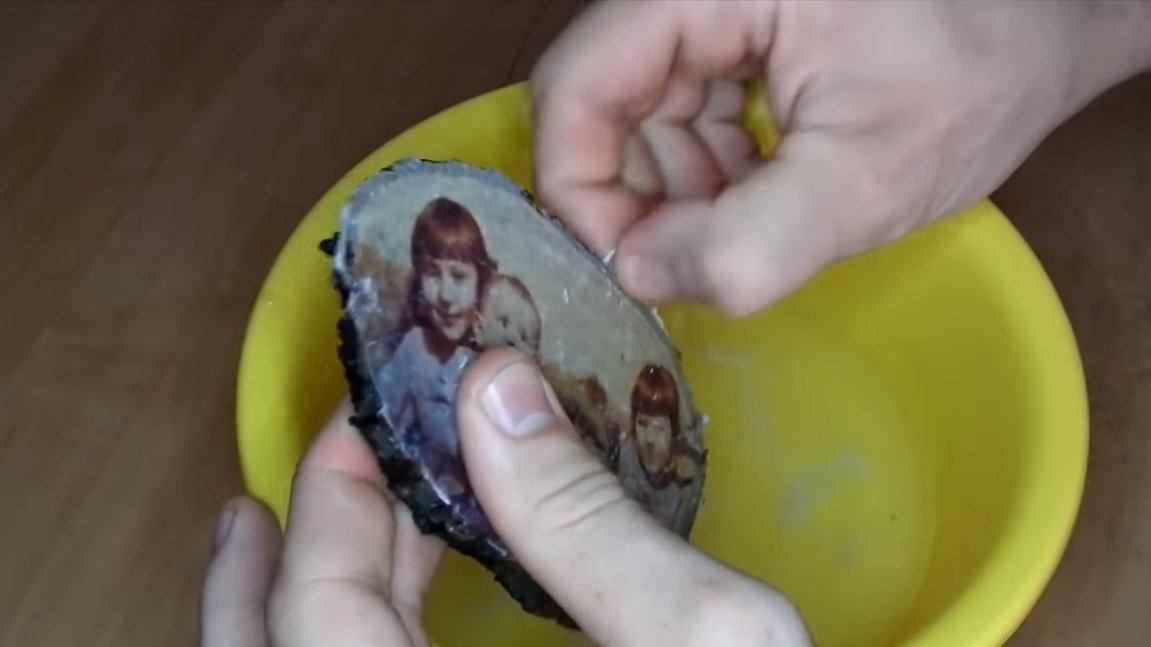
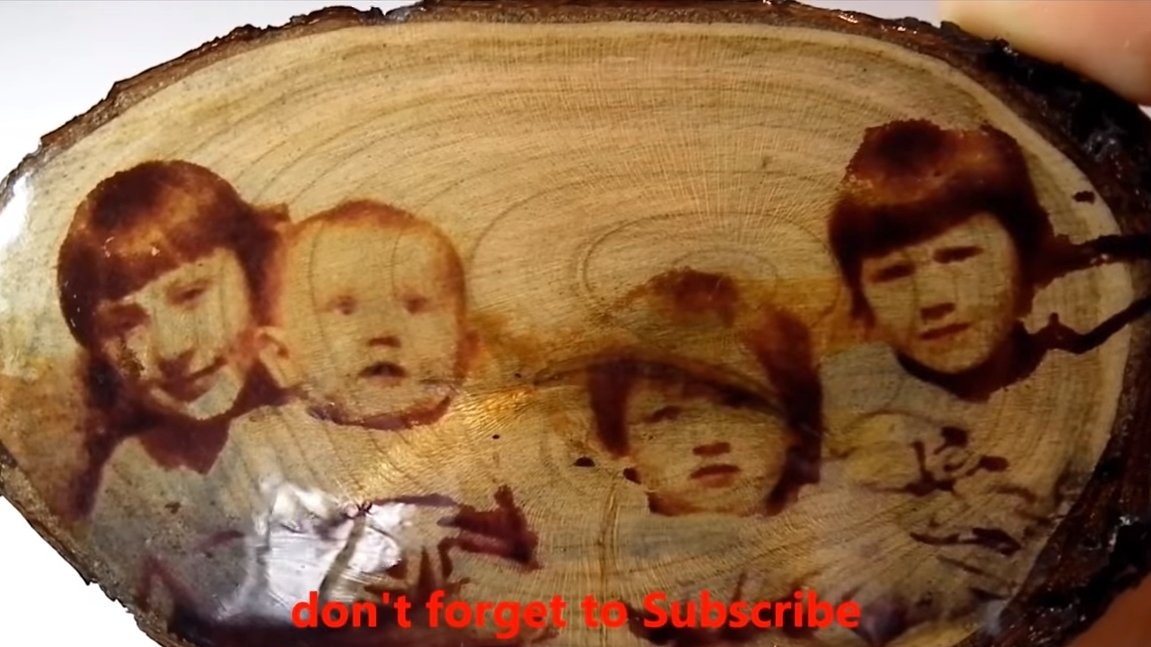
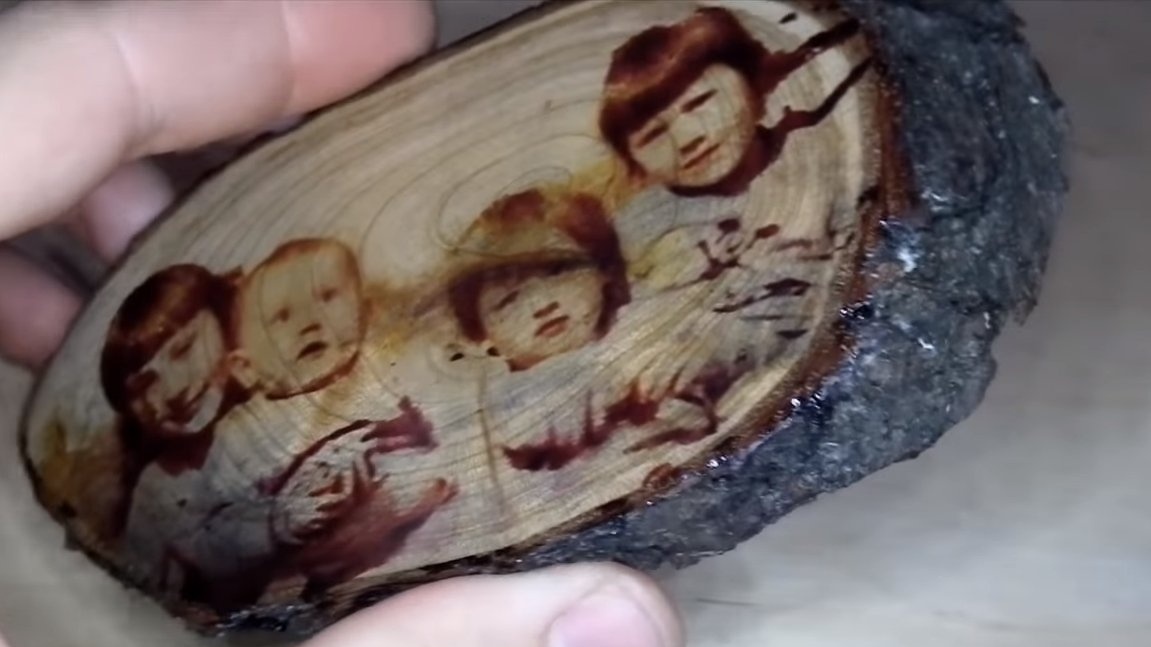
When the glue dries, we need water, soak the paper in it and then it can be cleaned by hand. With a little effort, a photograph begins to be visible on a tree. The paint will now be fixed on the glue, which does not dissolve with water. After this, the workpiece will remain to dry.
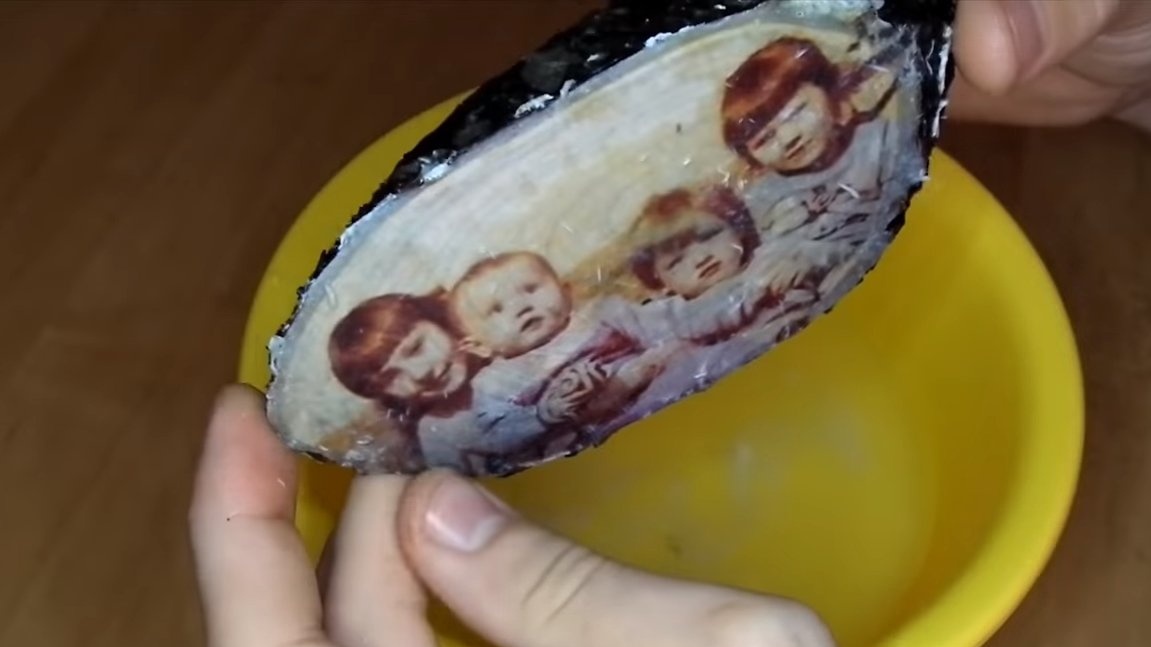
Step Three Coating
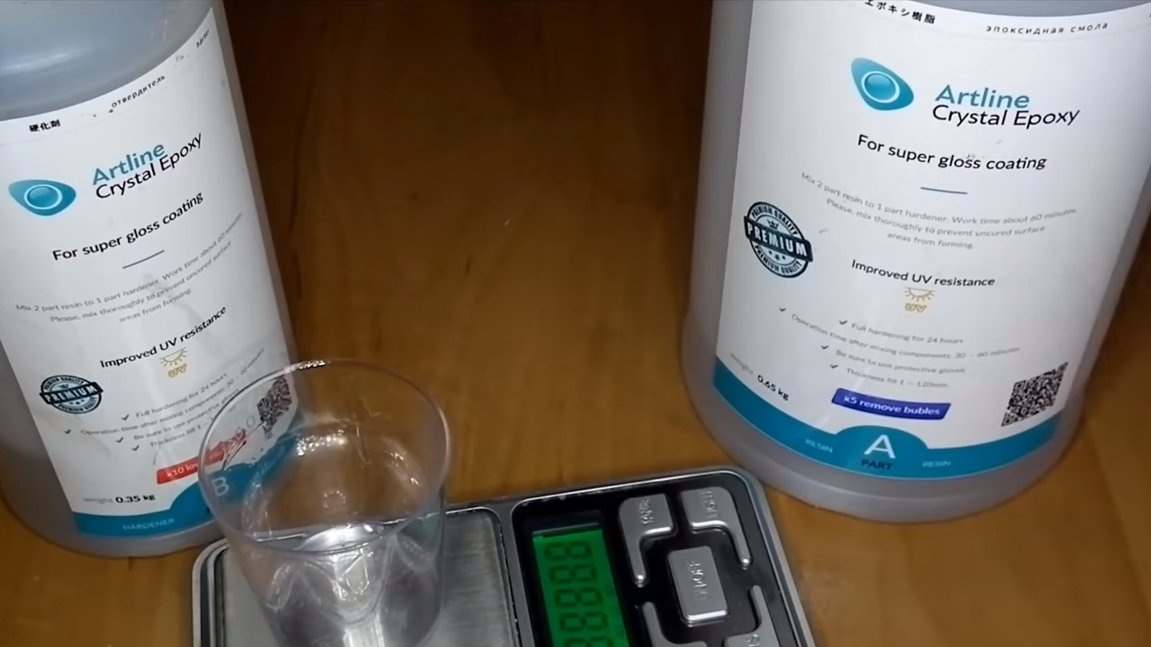
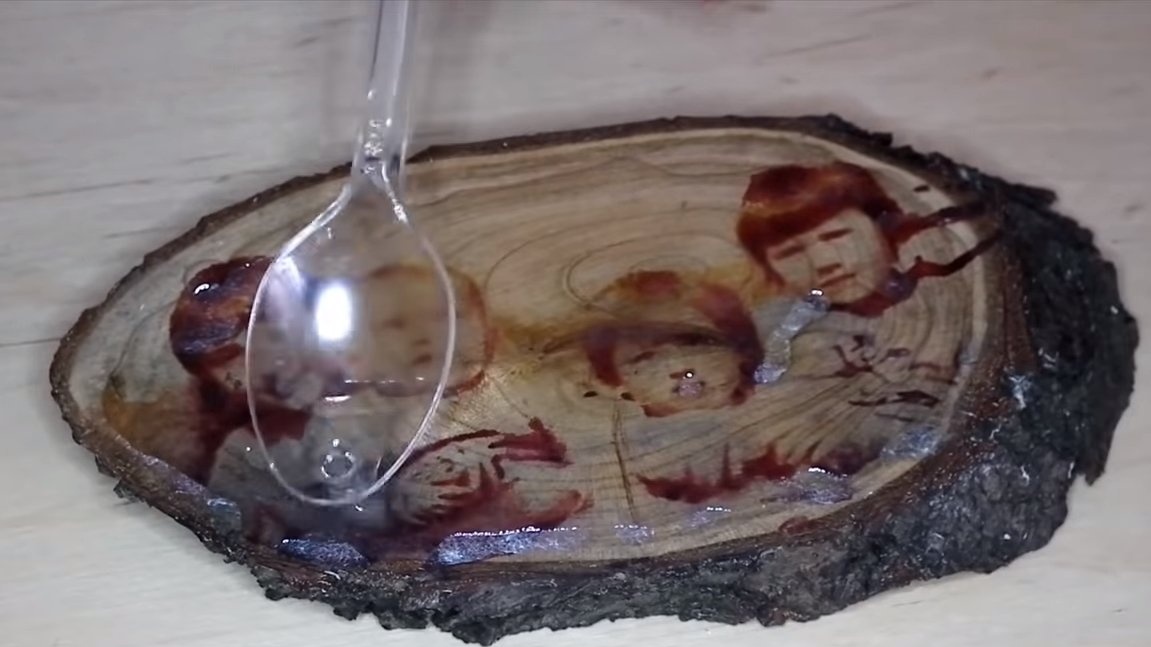
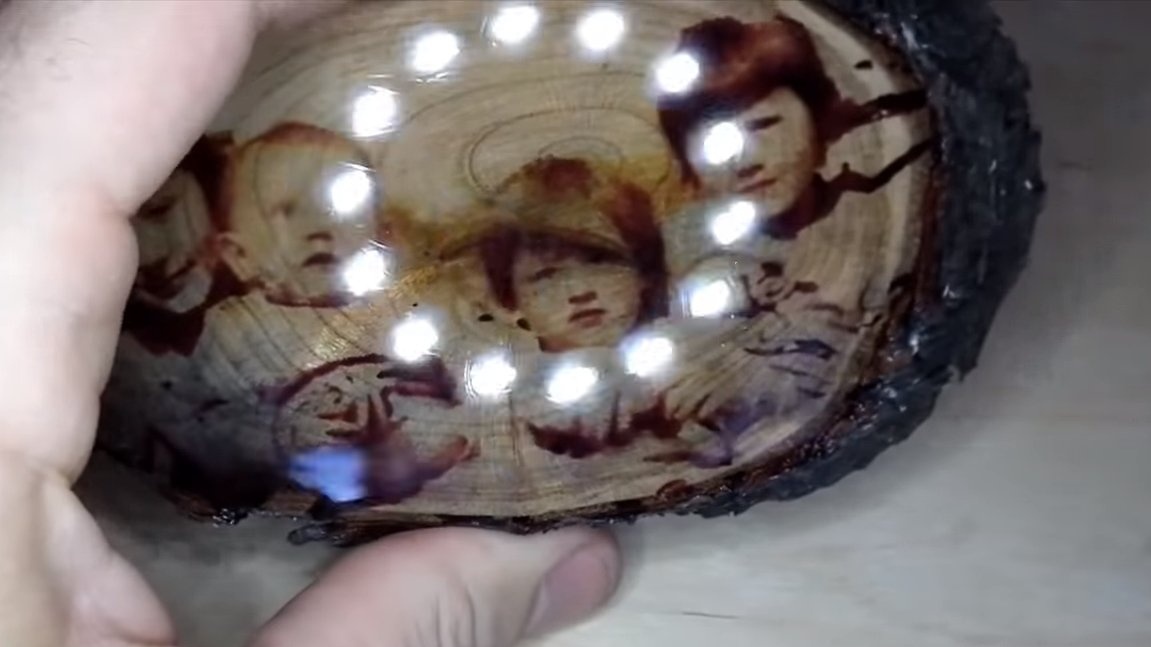
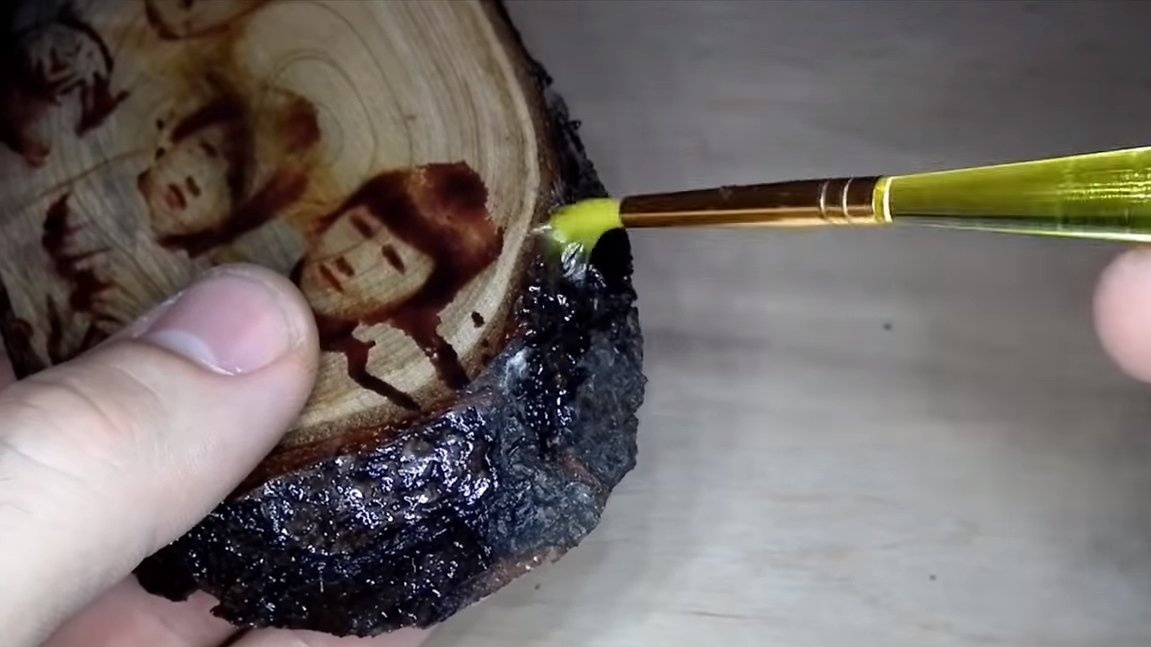
The image must be preserved, the author uses epoxy for such purposes.Take a brush and coat the image with epoxy. The result is a beautiful transparent coating, the image below it looks amazing. Also, with epoxy resin, it is possible to coat all other sections of wood so that the tree is not afraid of water and nothing falls from it.
That's all, now the homemade product is completely ready. I hope you enjoyed the project and found useful thoughts for yourself. Good luck and creative inspiration, if you decide to repeat this. Do not forget to share your ideas and homemade things with us!