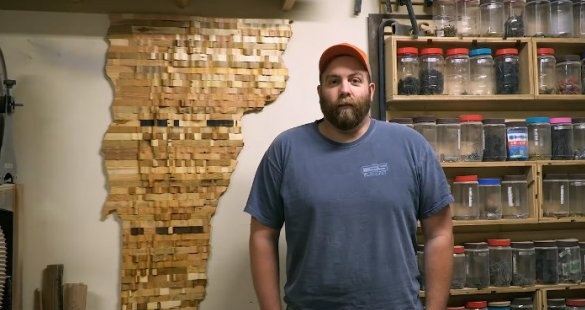
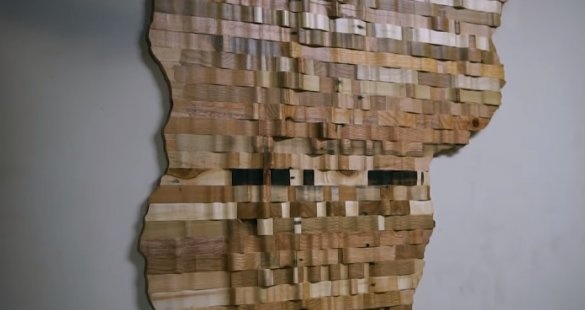
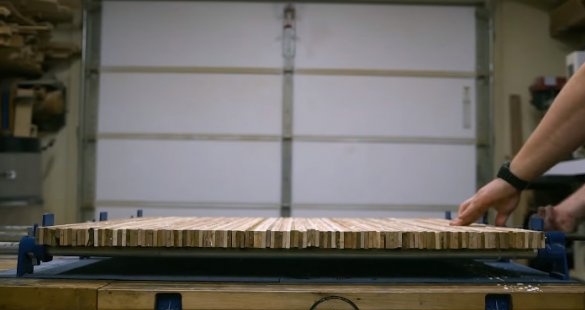
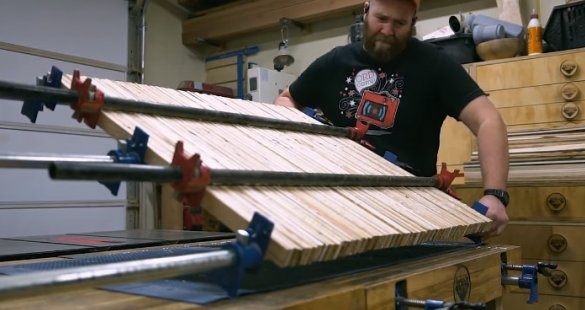
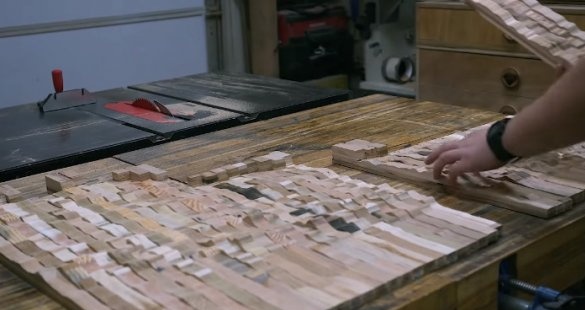
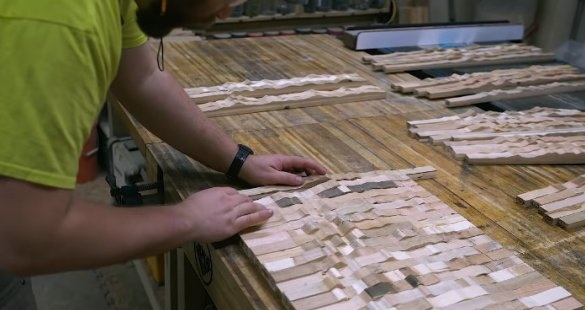
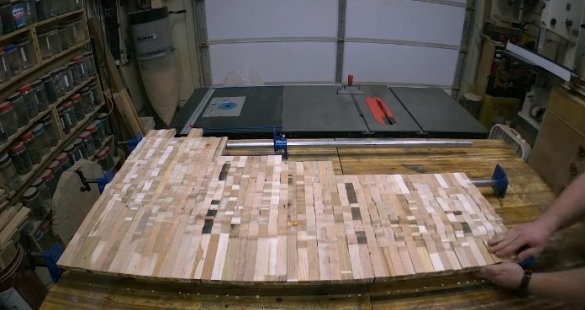
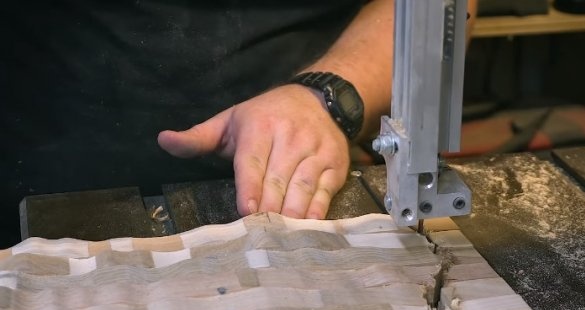
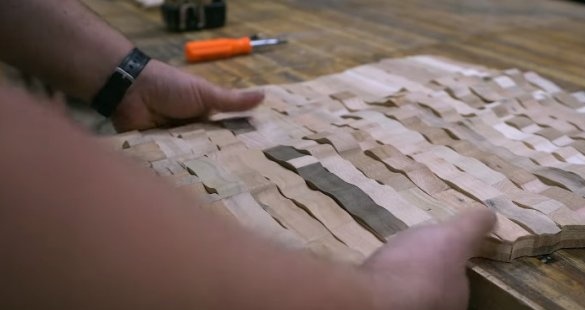
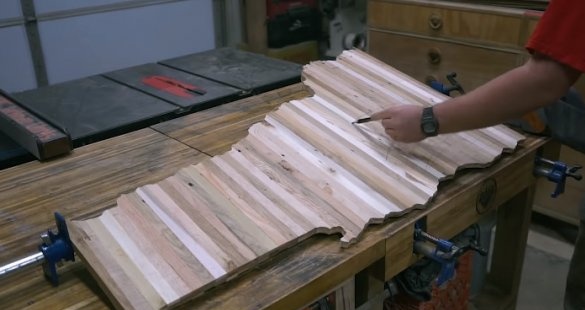
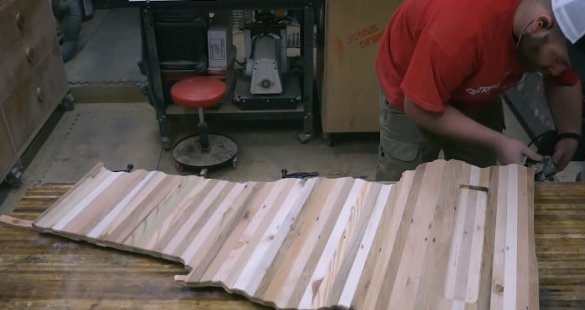
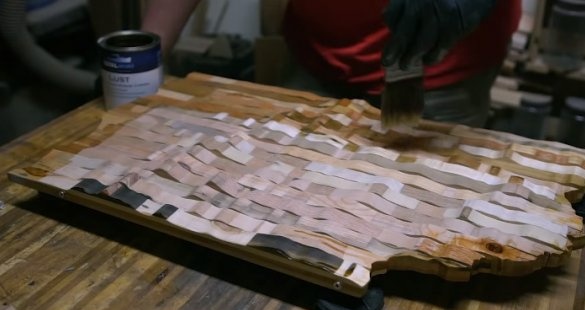
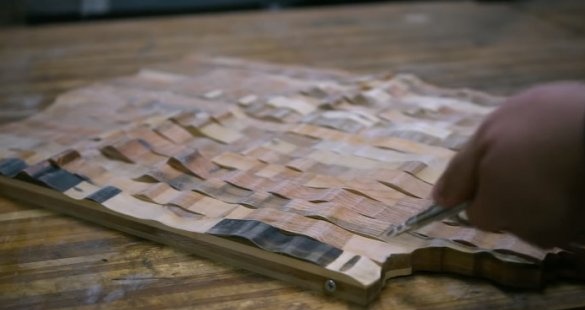
This card is made from recycled wood of conventional pallets. It is made of planks of sawn planks of pallets glued into sticks in 5 layers. Each of these sticks has a width of 2.5 cm and corresponds to the topographic profile of the state of Vermont in each 2.5 cm section. The master made a map of his staff, but technology is important to us, and if you wish, you can make such a map of any locality.
Tools and materials:
-Pallet;
- Glue for wood;
- epoxy resin;
- Varnish;
- Metal detector;
- Pneumatic hammer;
-Nail puller;
- Bottle with glue roller;
- CNC machine;
Cutters;
Grinding machine;
-Sandpaper;
- Mini disc grinder;
Step One: Dismantling the Pallet
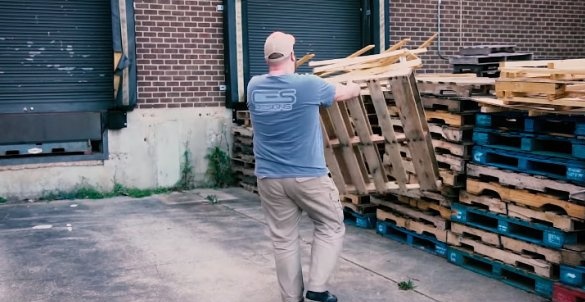
As already mentioned, the product is made of a pallet.
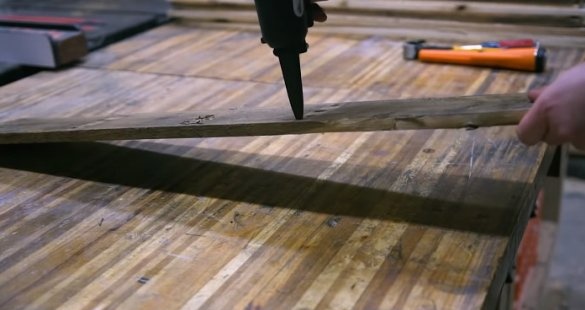
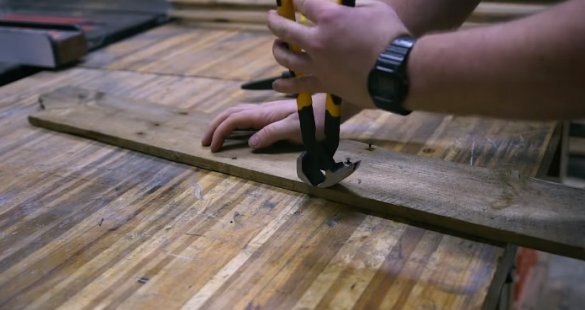
The master parses the pallet. A metal detector finds all nails in the boards, removes them.
Step two: board preparation
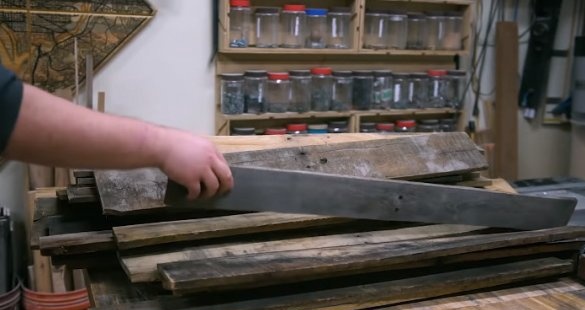
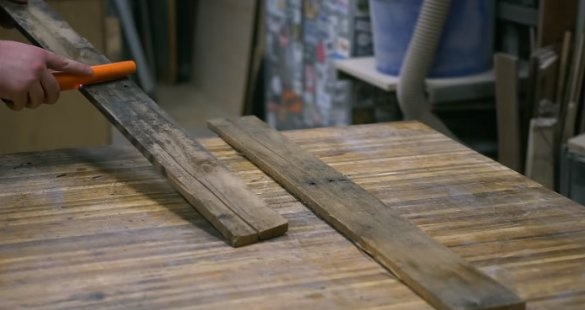
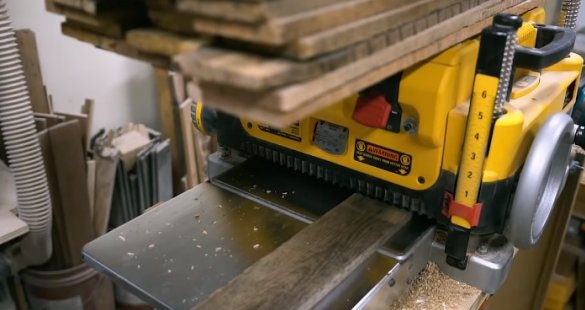
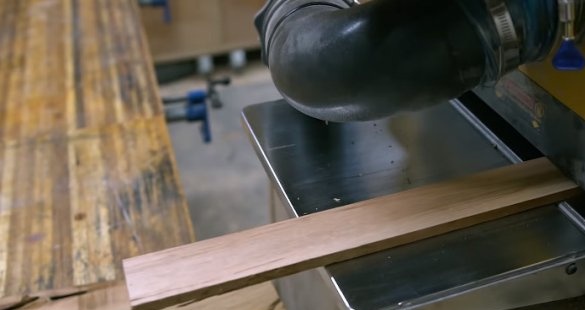
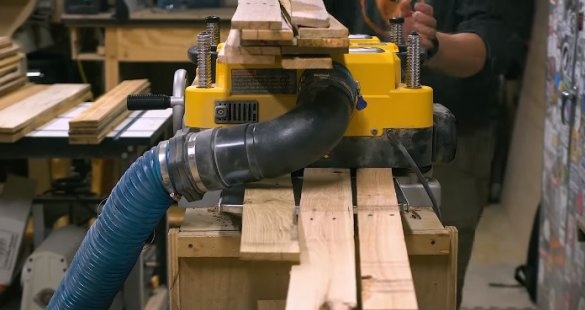
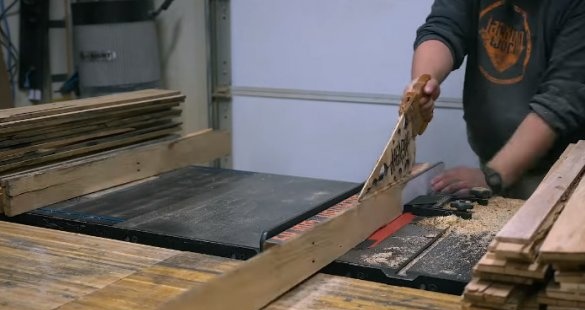
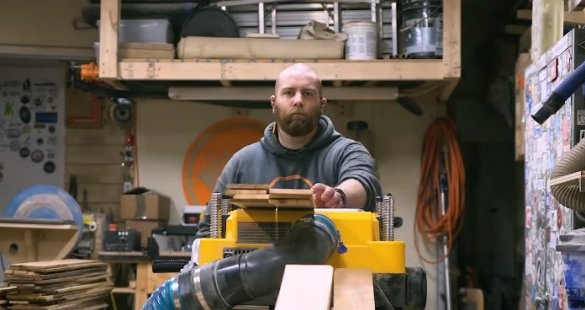
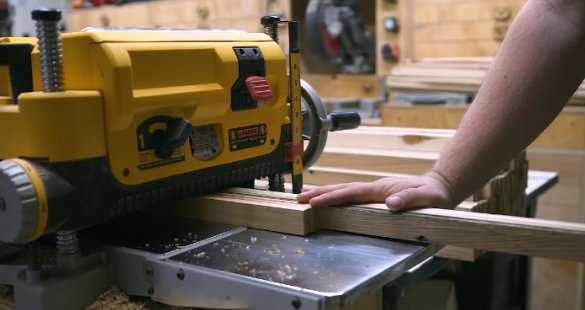
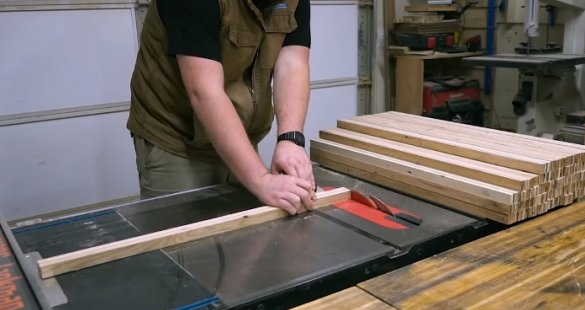
Now you need to prepare the board. First, the master scribbles them. Then you need to adjust them in thickness. The master unfolds the boards, and then processes the planks on the planer.
Step Three: Bonding Planks
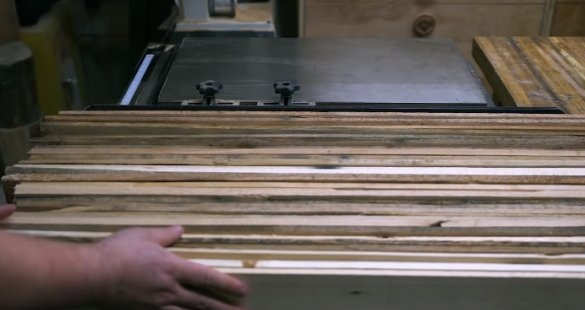
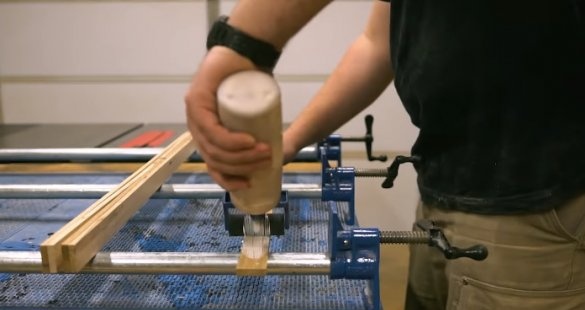
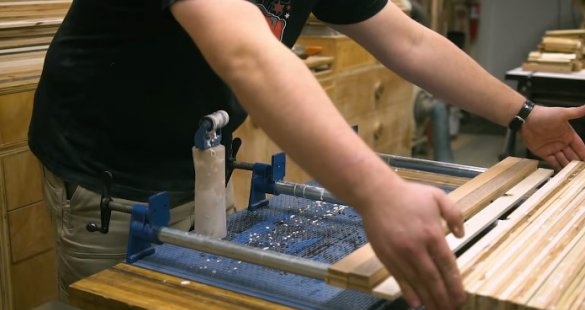
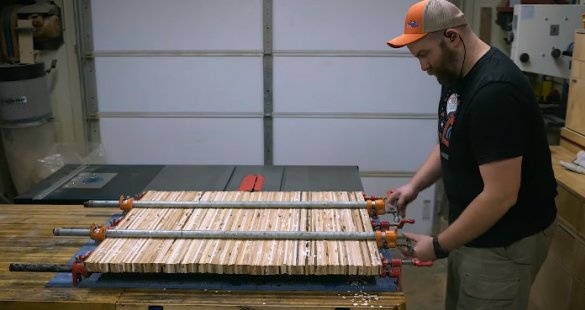
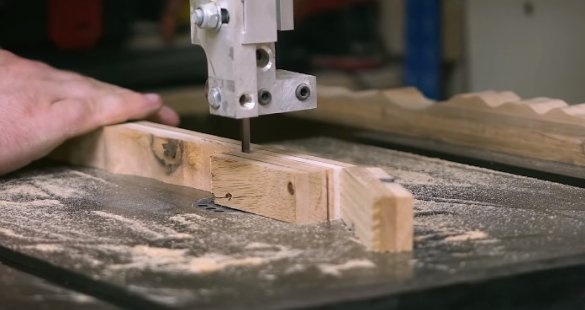
Next, the master glues strips of 5 pieces.
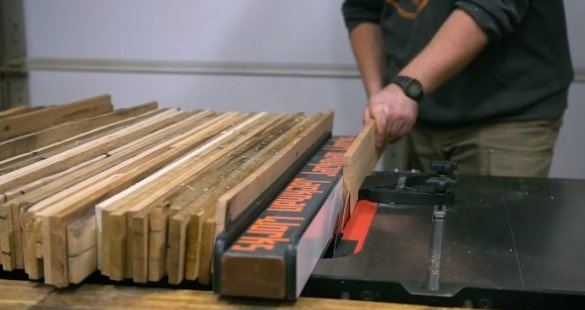
After gluing, it processes the planks on the planer and cuts it.
Step Four: Milling
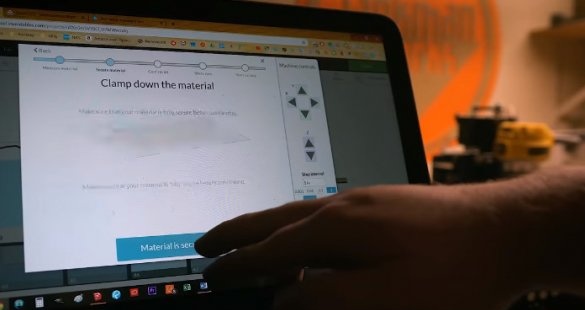
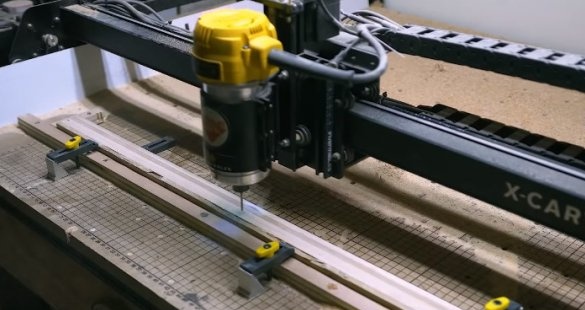
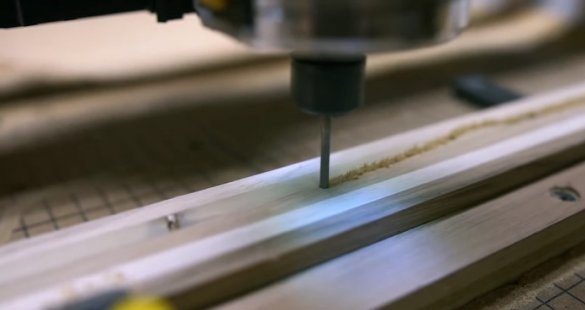
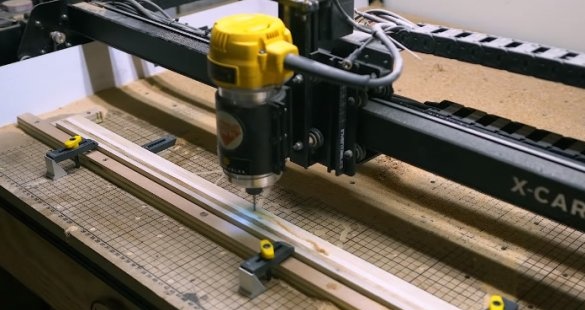
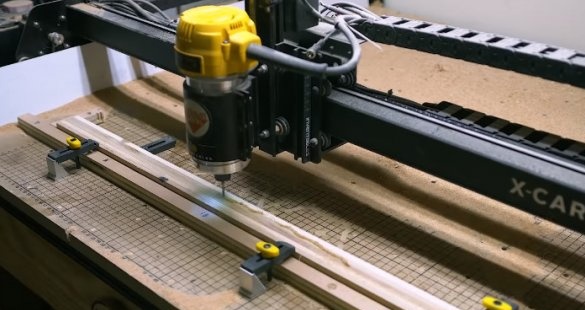
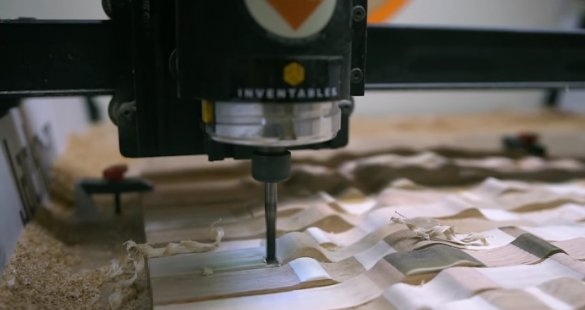
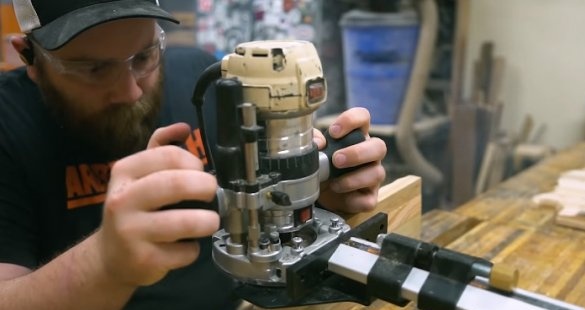
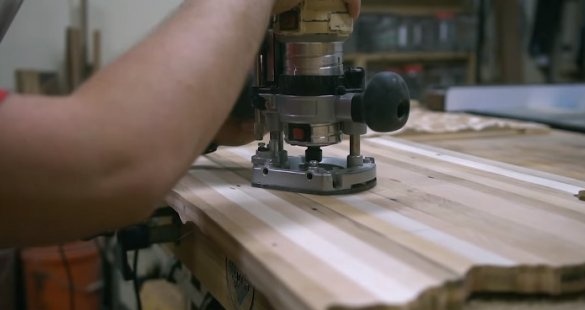
Now you need to put your part of the card on each board glued from 5 planks. The master runs each bar through the CNC machine. After processing, each part is numbered.
Step Five: Trimming and Grinding
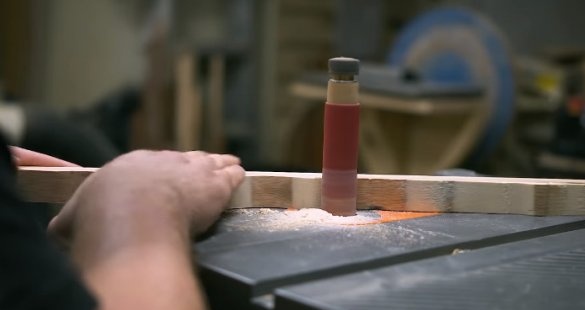
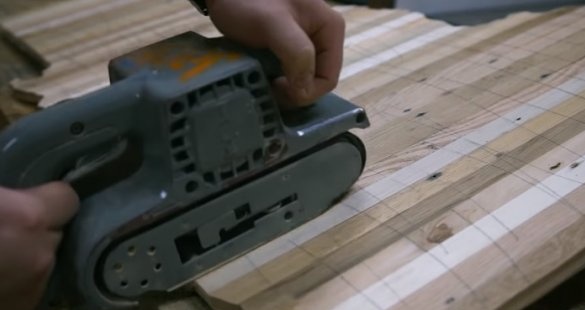
Trim boards lengthwise and grind.
Step Six: Troubleshooting
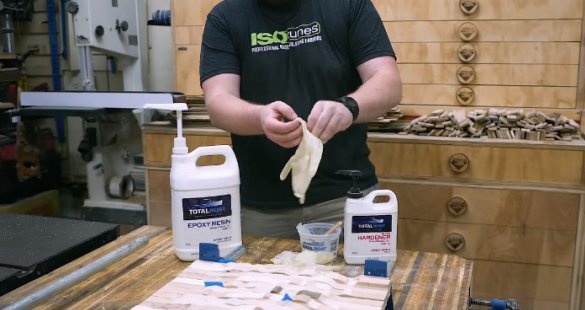
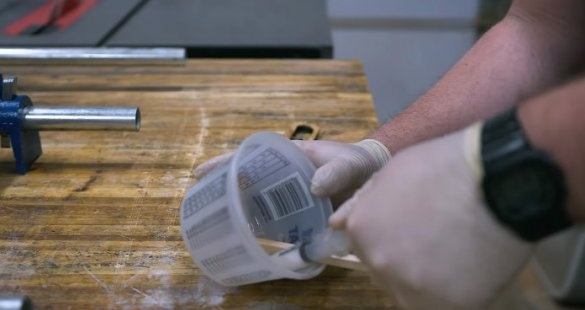
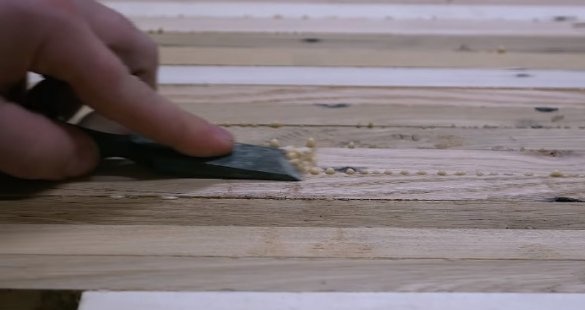
The boards have various crack defects, holes from nails, etc. The master removes them with epoxy. Scans each board and marks defects with a blue ribbon. Then, with a spatula or syringe, apply epoxy. After the resin dries, it polishes the defective boards.
Seventh step: gluing the card
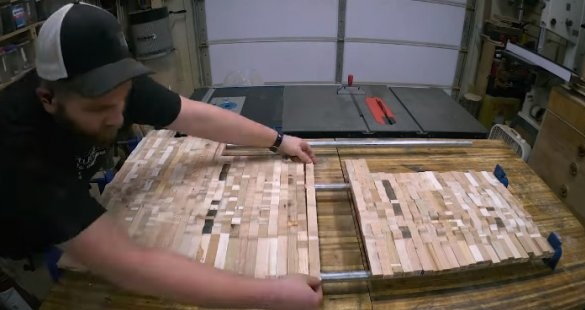
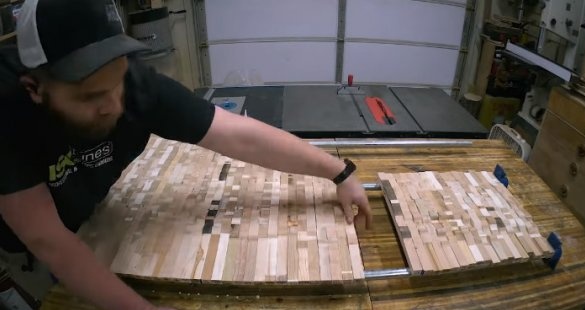
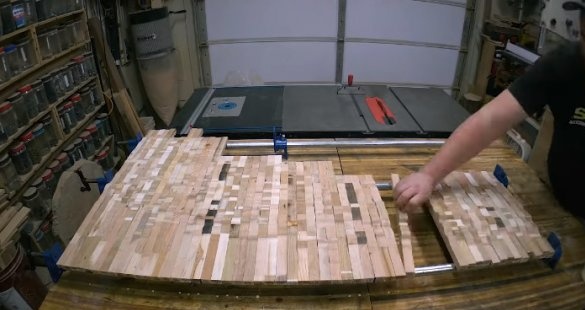
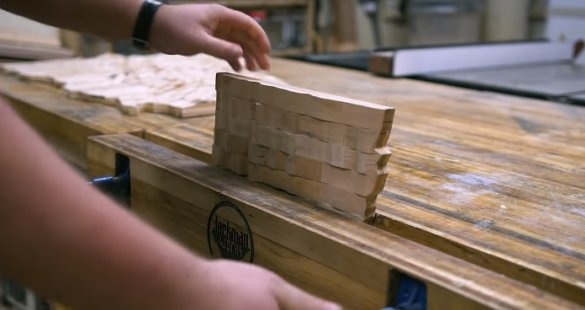
Now the blanks are ready for gluing. Workpieces are glued according to numbers. The card is not glued in one piece, but in three parts. After drying, removes glue residue.
Step Eight: CNC again
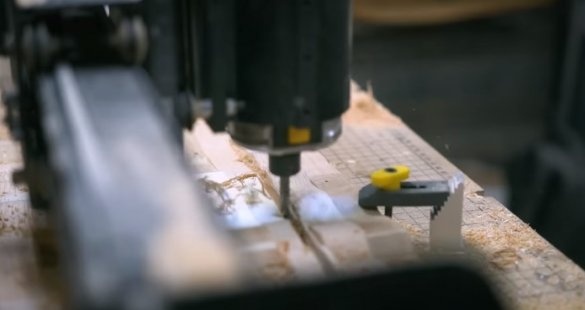
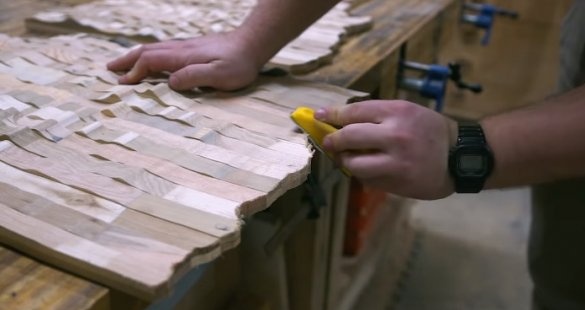
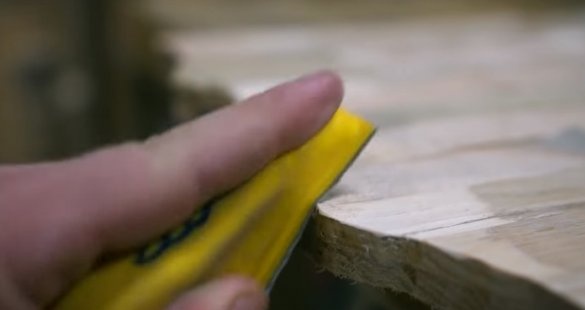
Now cuts each of the three blocks along the perimeter, according to the borders of the state of Vermont. After trimming, skin the edges.
Step Nine: Connect
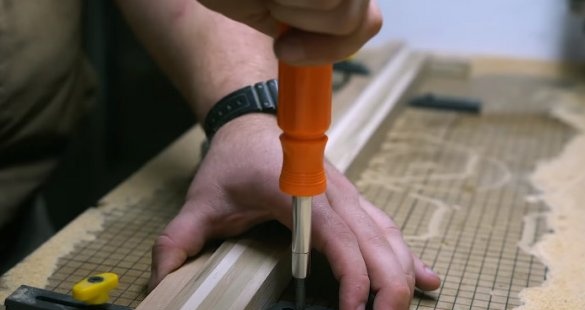
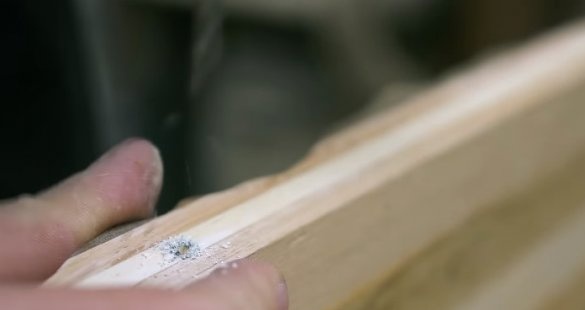
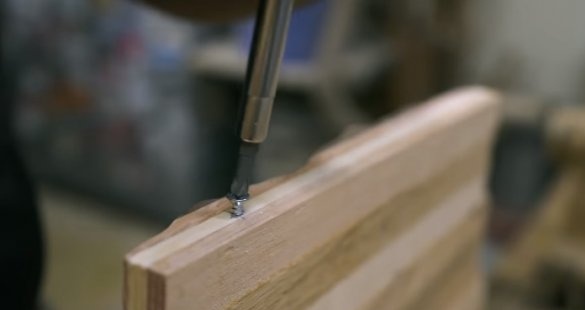
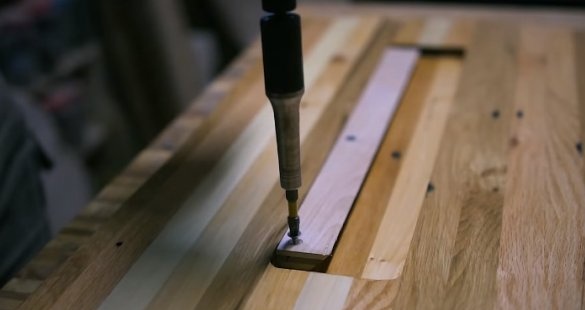
Parts To connect the parts of the card, the master, on the end of the mating surfaces, makes, on the one hand, a groove in the shape of a keyhole, and screws a screw on the other. Now you just need to align the screw head with the groove and slightly move it.
Step Ten: Sanding the Back
The master shades the back of the product and polishes it. Hatching shows well the surface roughness.
Step Eleven: Suspension
The card will be mounted on the wall with the help of a "French suspension". Who does not know, this is a suspension consisting of two oblique slats, one of which is fixed to the wall, and the other on the back side of the fixed object, with angles to each other.
On the back of the upper part of the card, the master cuts a groove. Screws the bar inside the groove.
Step Twelve: Covering
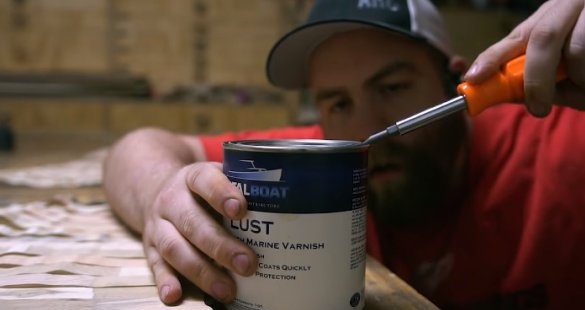
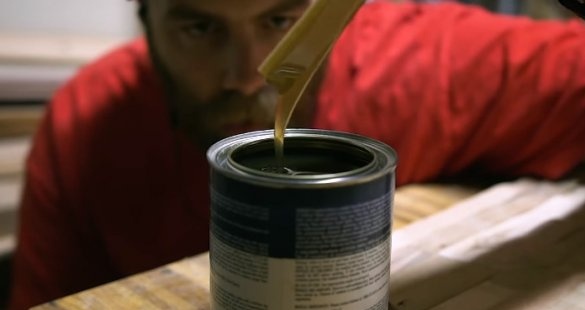
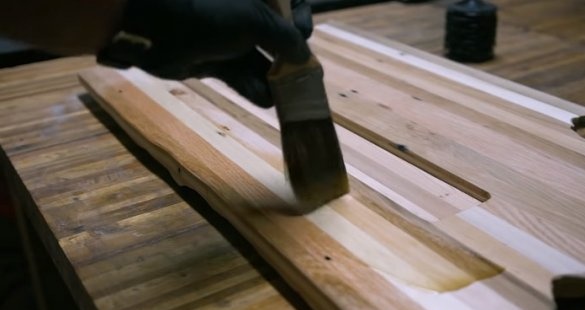
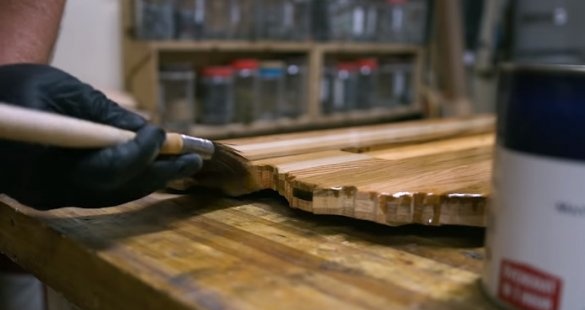
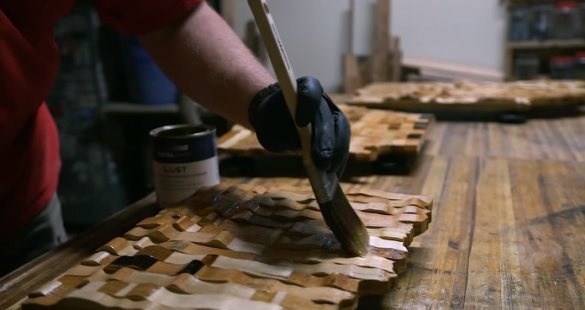
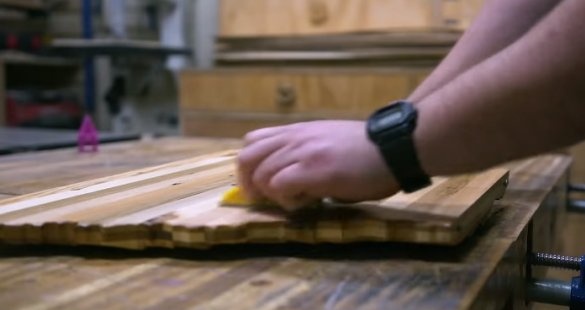
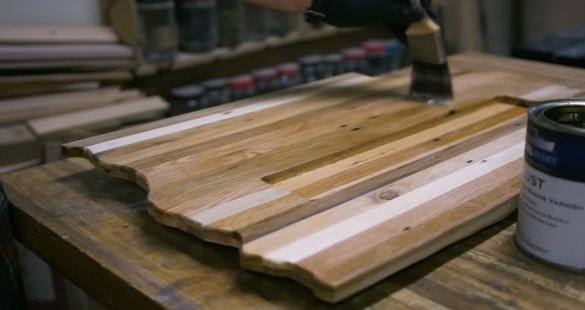
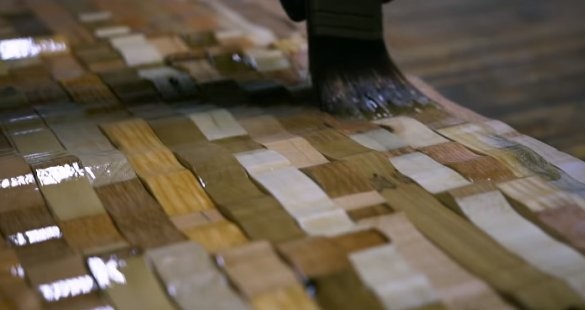
Covers the surface of the card with varnish in three layers, with sanding between the layers.
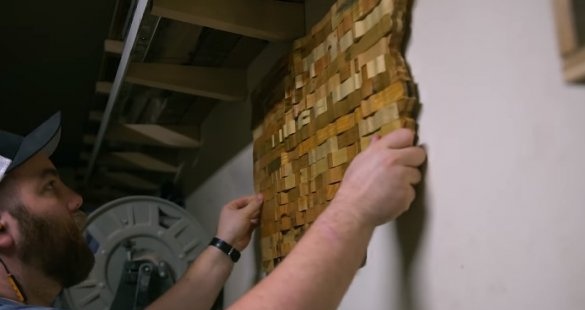
Everything is ready and it remains only to hang the card on the wall.
The whole process of making a card can be seen in the video.

