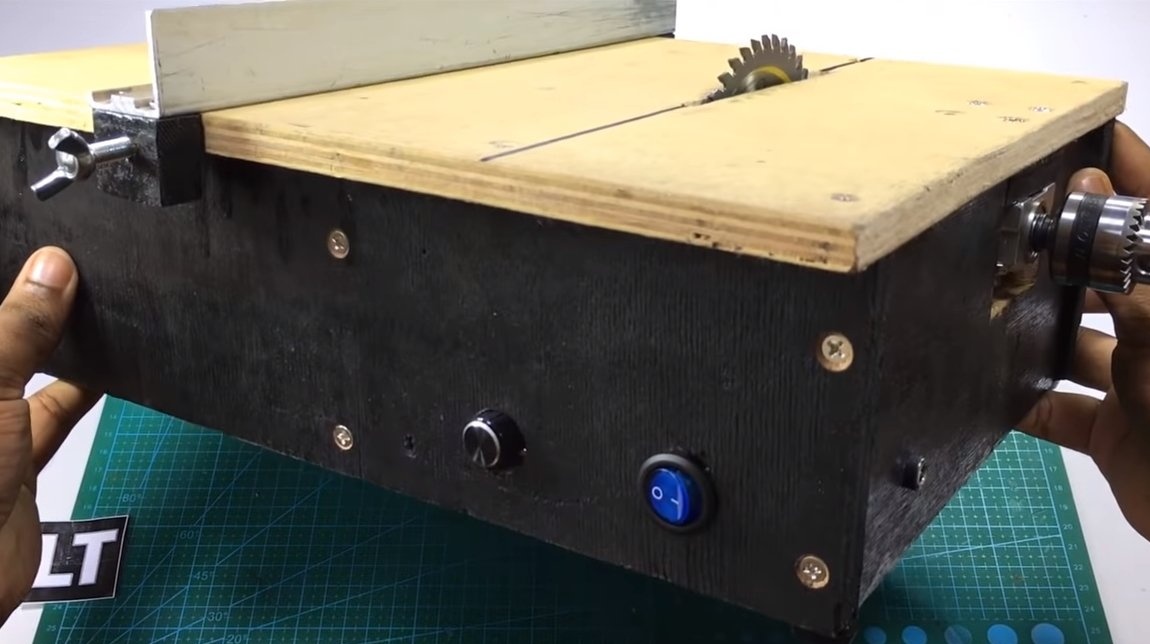

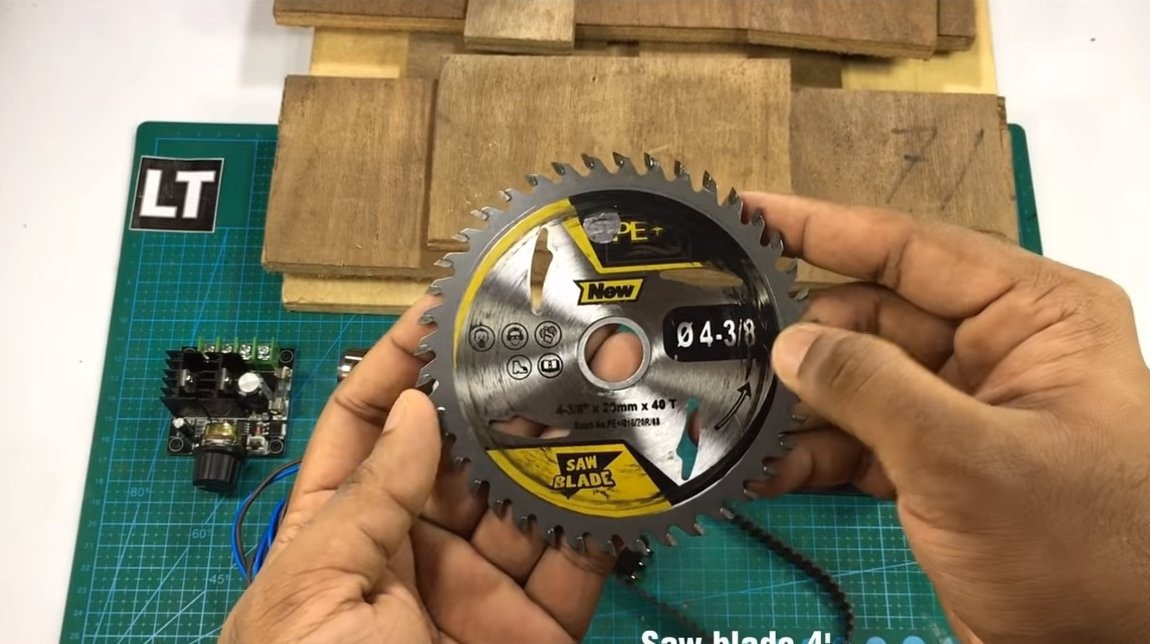
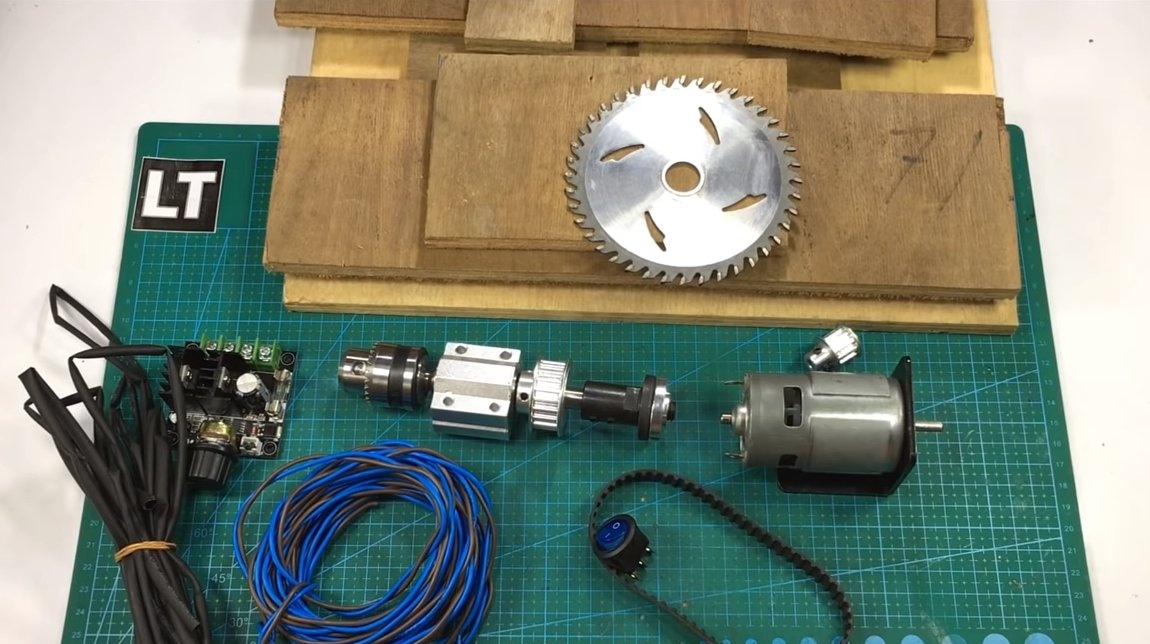
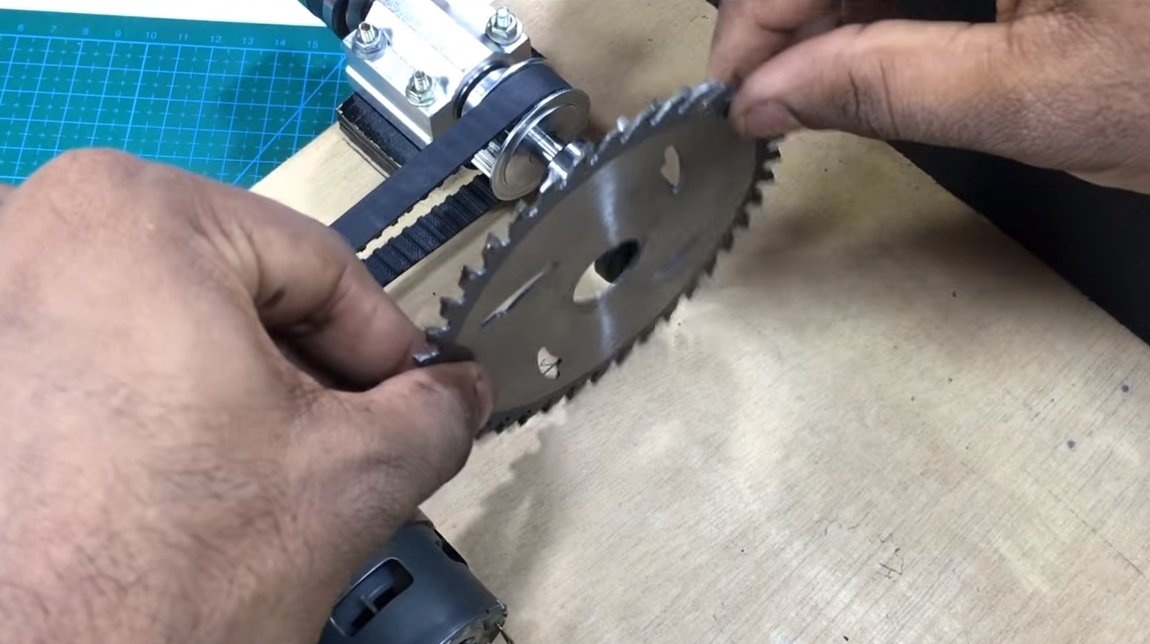
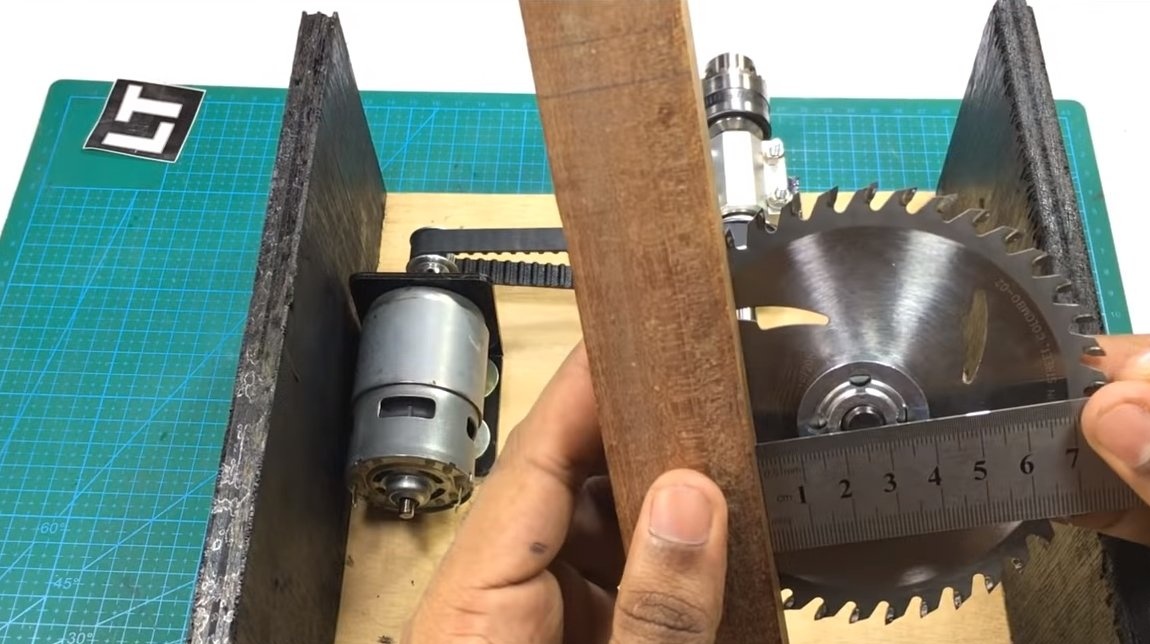
Greetings to lovers of craftsmen, today we will consider how to make a small machine for cutting and drilling. Such a machine can be powered by a battery, it uses a 775 motor, which is powered by a voltage of 12-24V. The machine is equipped with a 4-inch circular drive disk, homemade perfectly cuts plywood, planks and other material. The disk is installed using the same clamp that stands on the grinder, this makes it possible to install metal discs on the machine.
The machine is also equipped with a drill chuck, you can put here not only drills, but also various polishing, grinding and other nozzles. If you are interested in the project, I propose to study it in more detail!
Materials and tools used by the author:
Material List:
- ;
- 4 inch cutting disc;
- ;
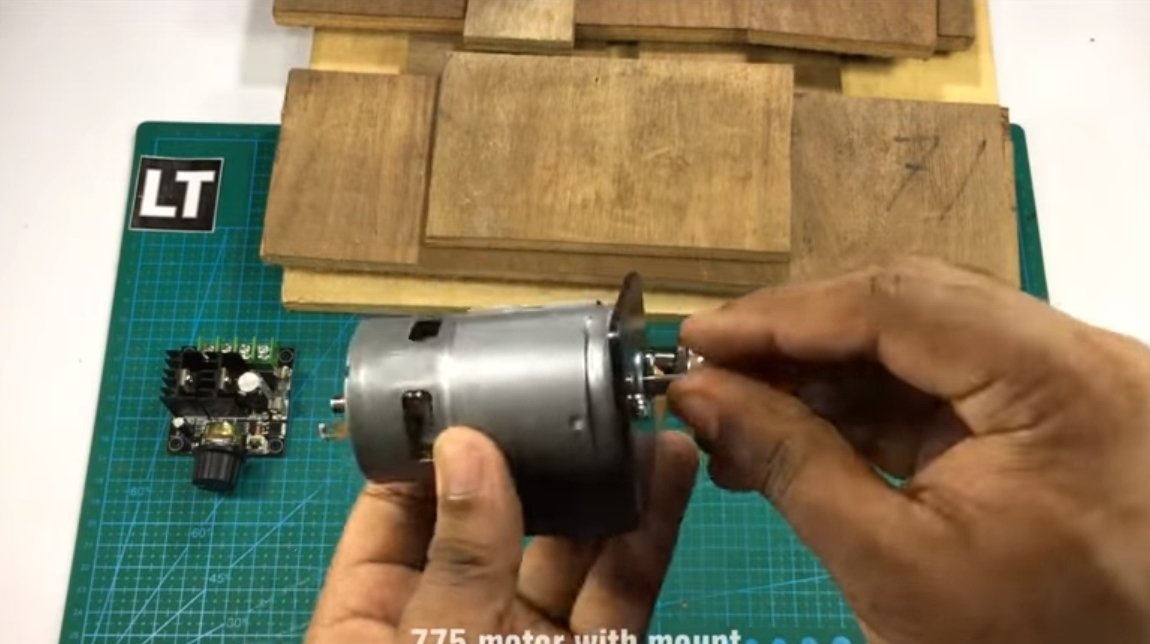
- an arm for the engine 775;
- ;
- an aluminum corner or the like (for a guide);
- plywood;
- adapter for installing discs from the grinder;
- self-tapping screws;
- switch;
- socket for connecting the power supply;
- rubber legs for the machine;
- bolts and nuts;
- paint.

Tool List:
- jigsaw;
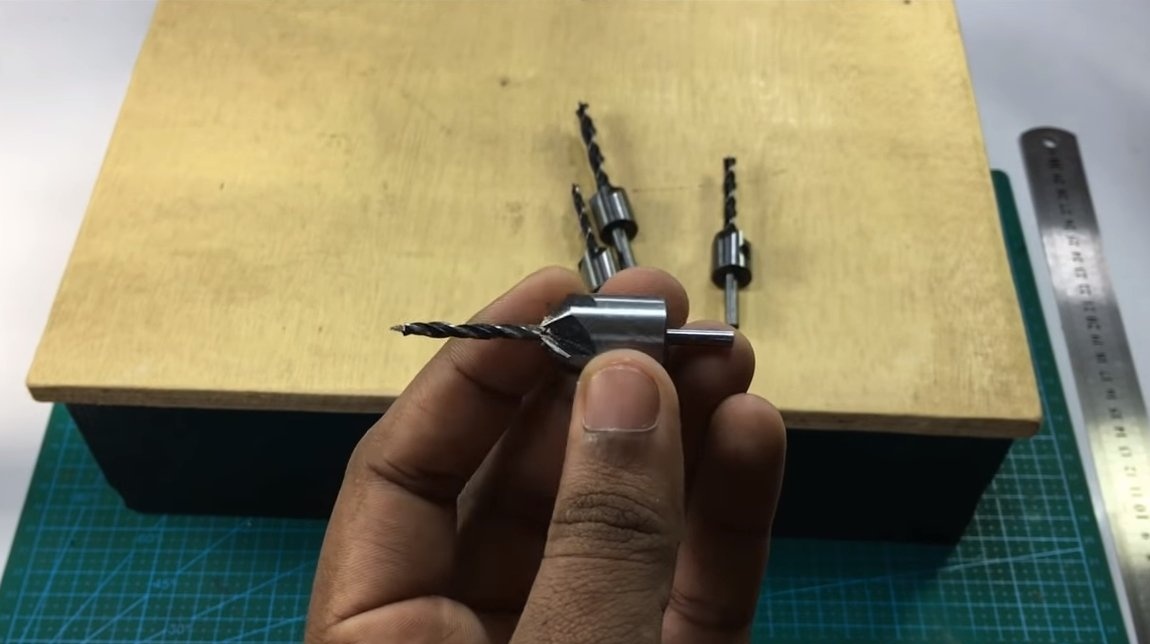
- drill;
- screwdriver;
- ruler;
- marker;
- soldering iron;
- flat file.
Homemade manufacturing process:
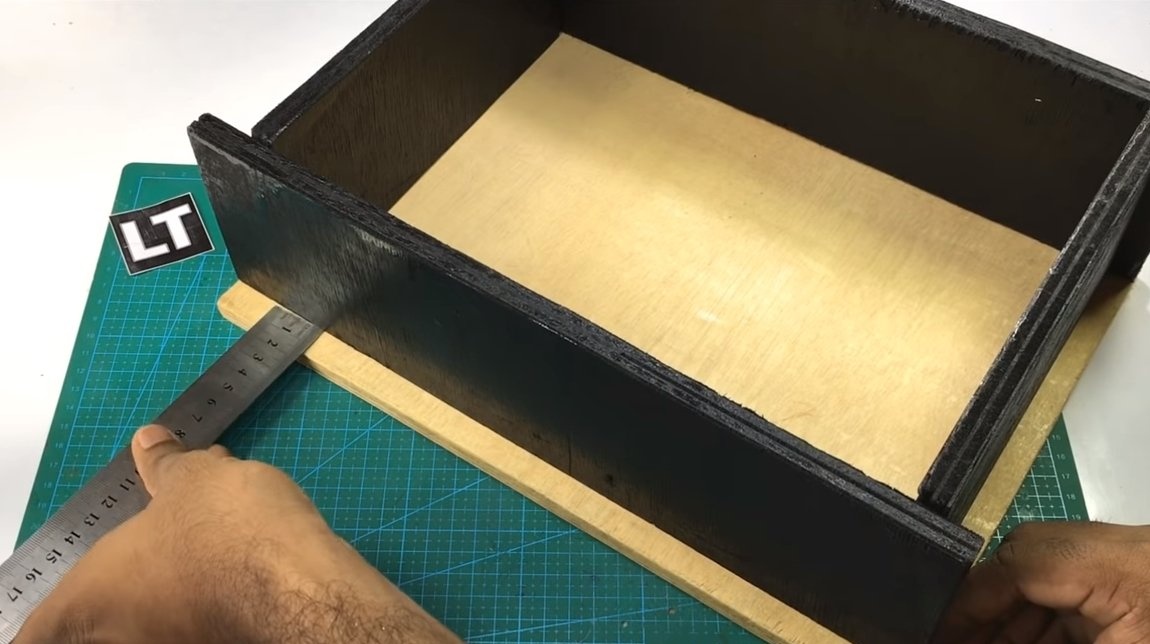
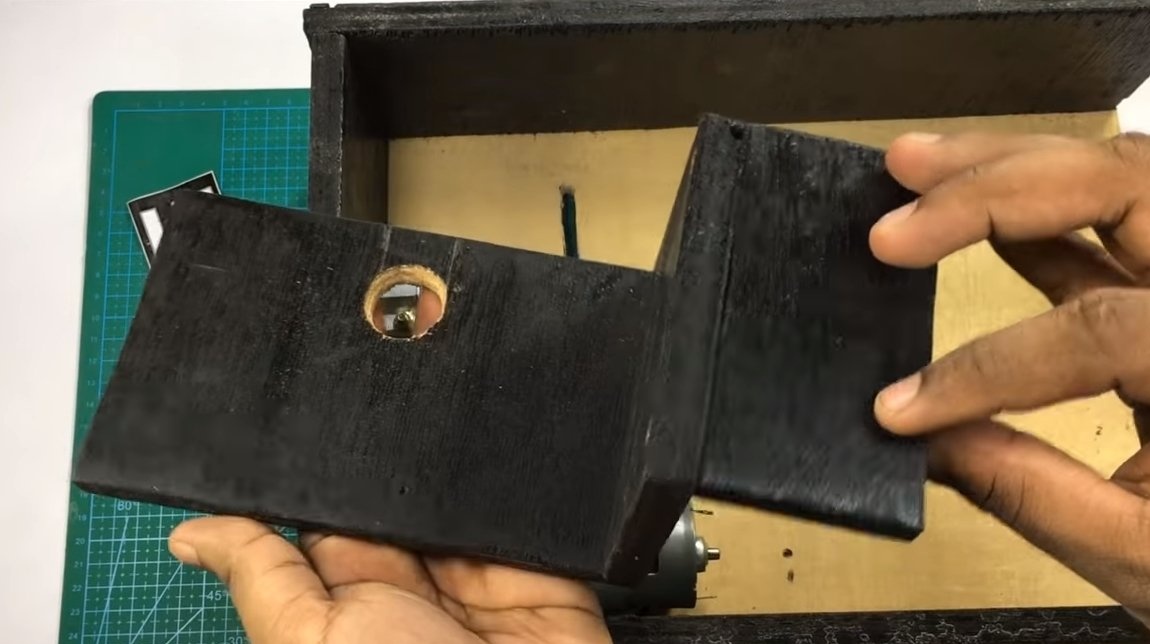
Step one. Housing Parts
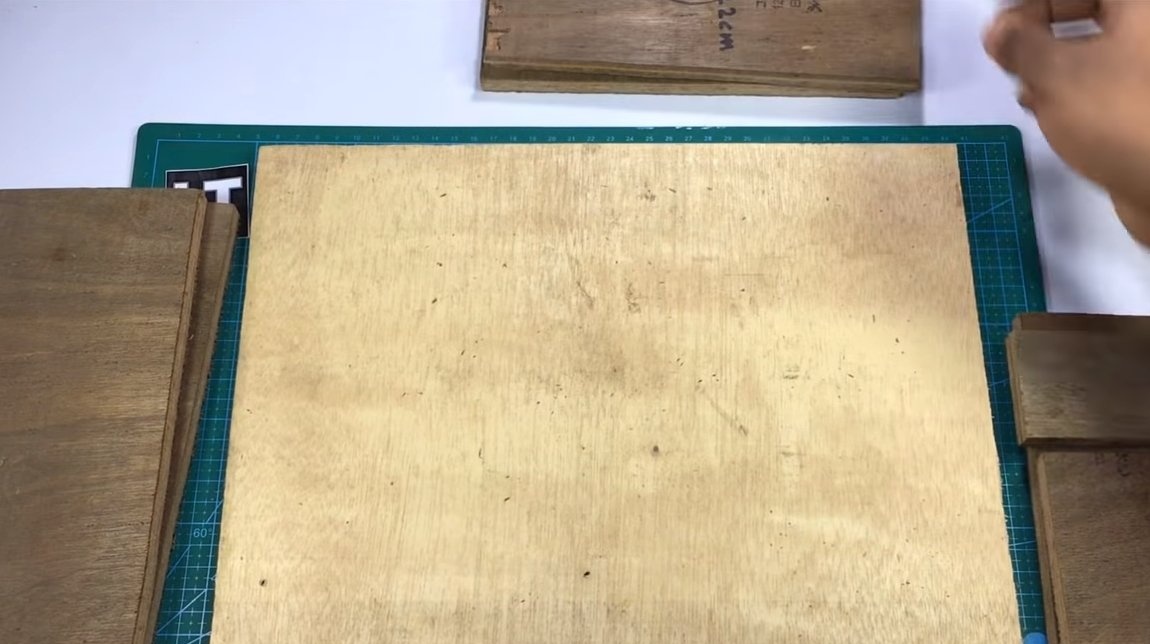
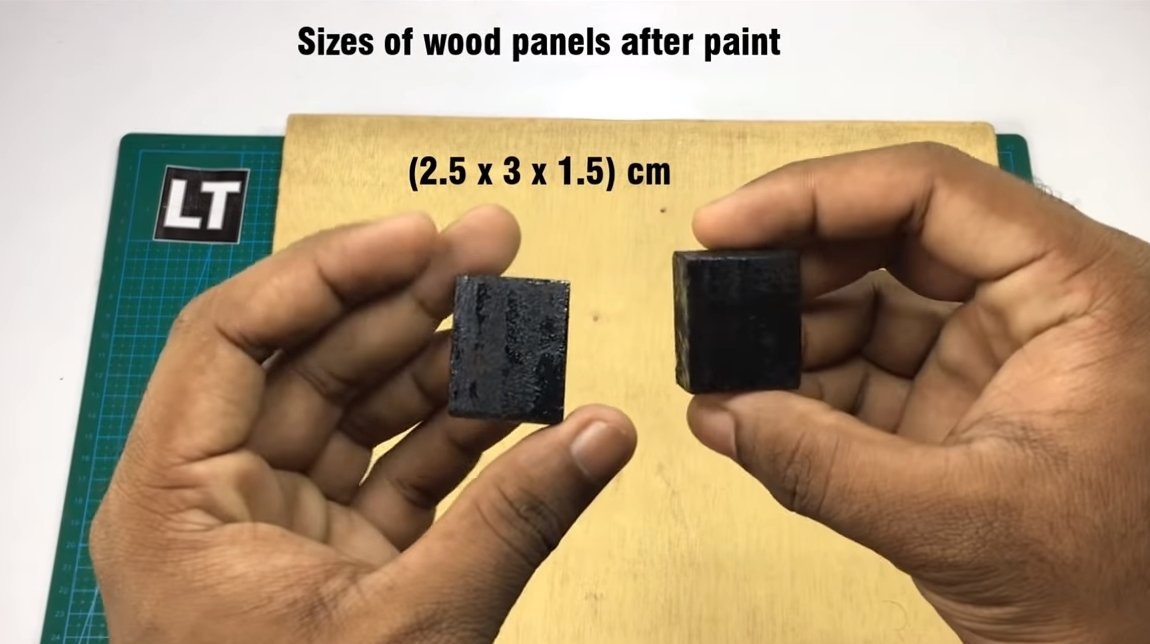
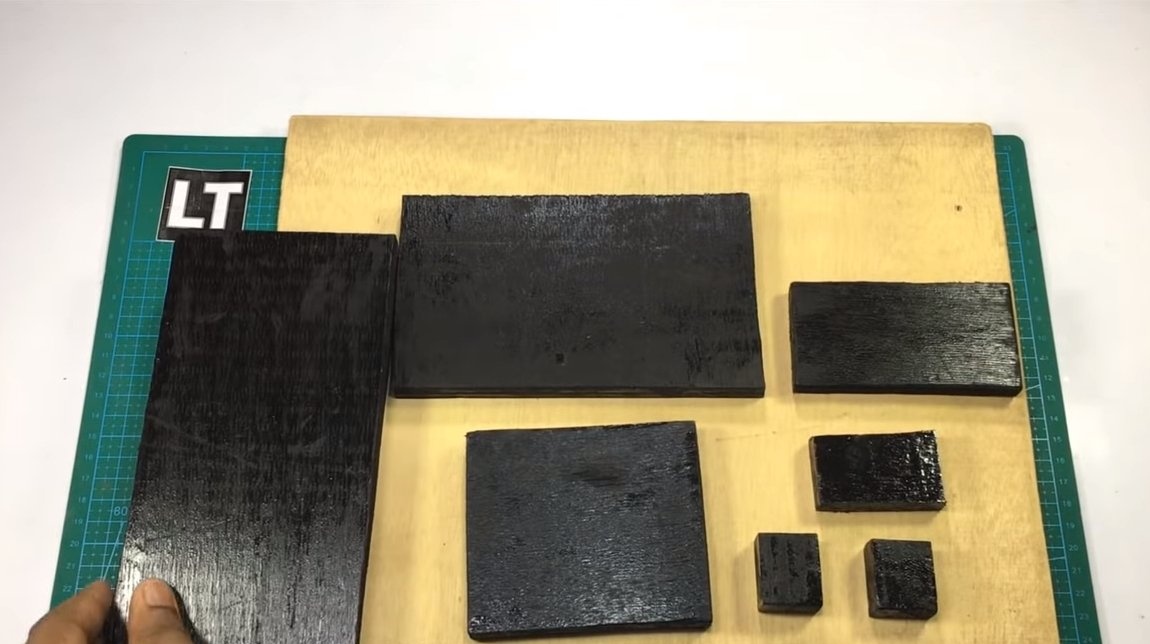
First of all, the author cut out all the necessary components for the body. Plywood was used as a material, it is not afraid of water, durable, still quite strong. You can also use boards or other available materials. All details can be sanded and painted so that everything looks fine.
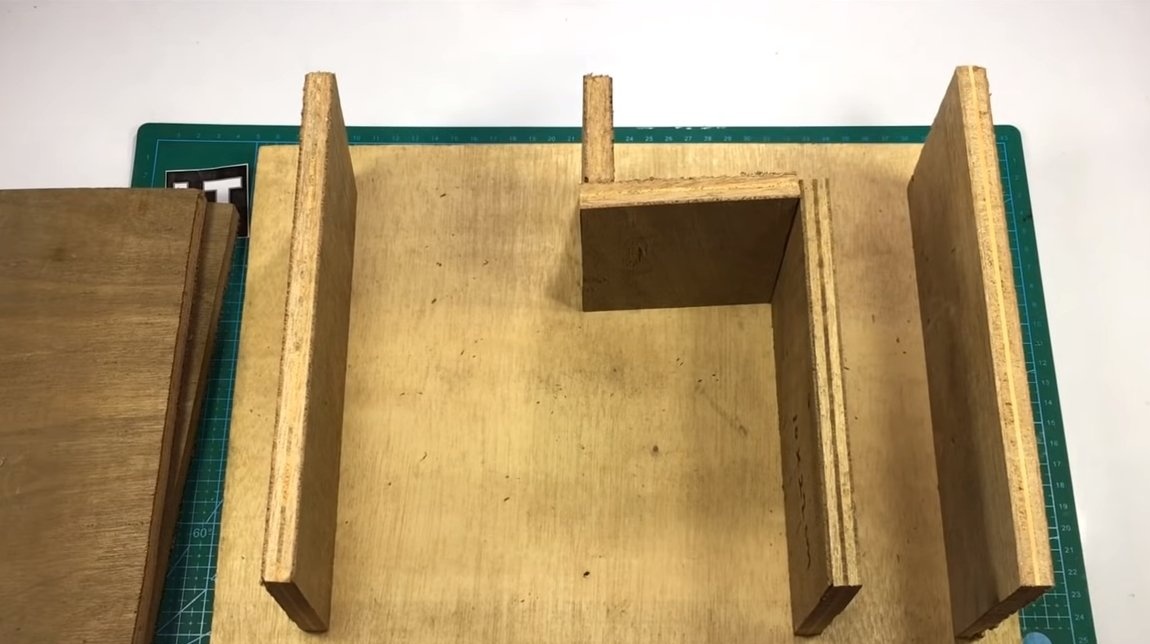
Step Two Base and main assembly
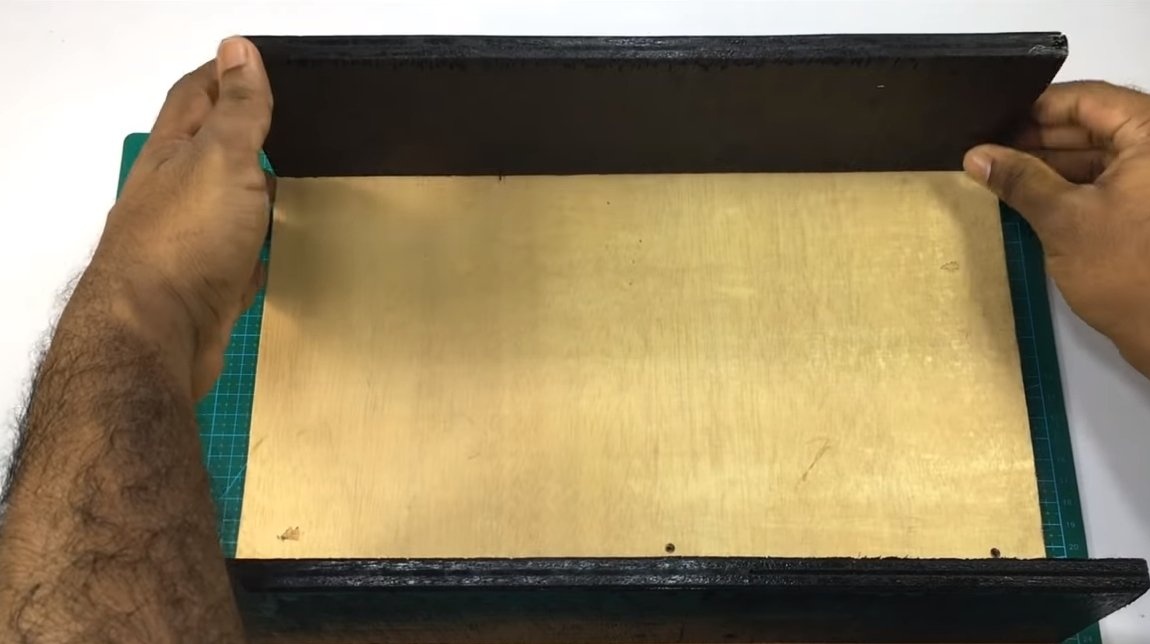
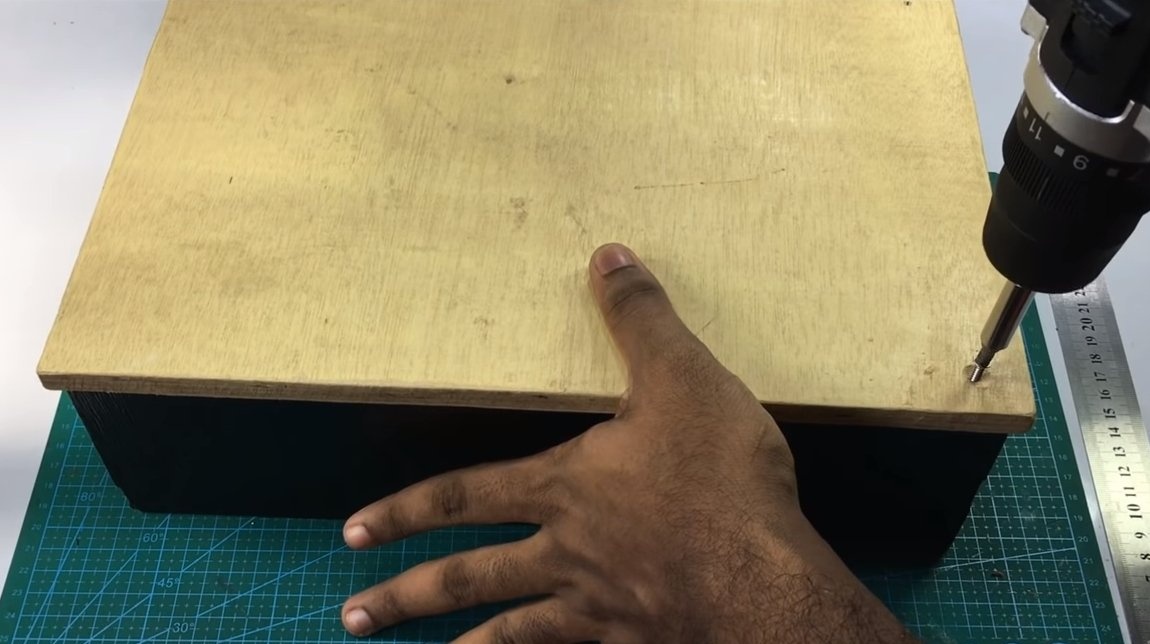
As a basis we use a sheet of plywood, it will also be a tabletop for a saw at the same time. We screw two pieces of plywood perpendicularly to the countertop, these will be the legs, and also the details are part of the body.
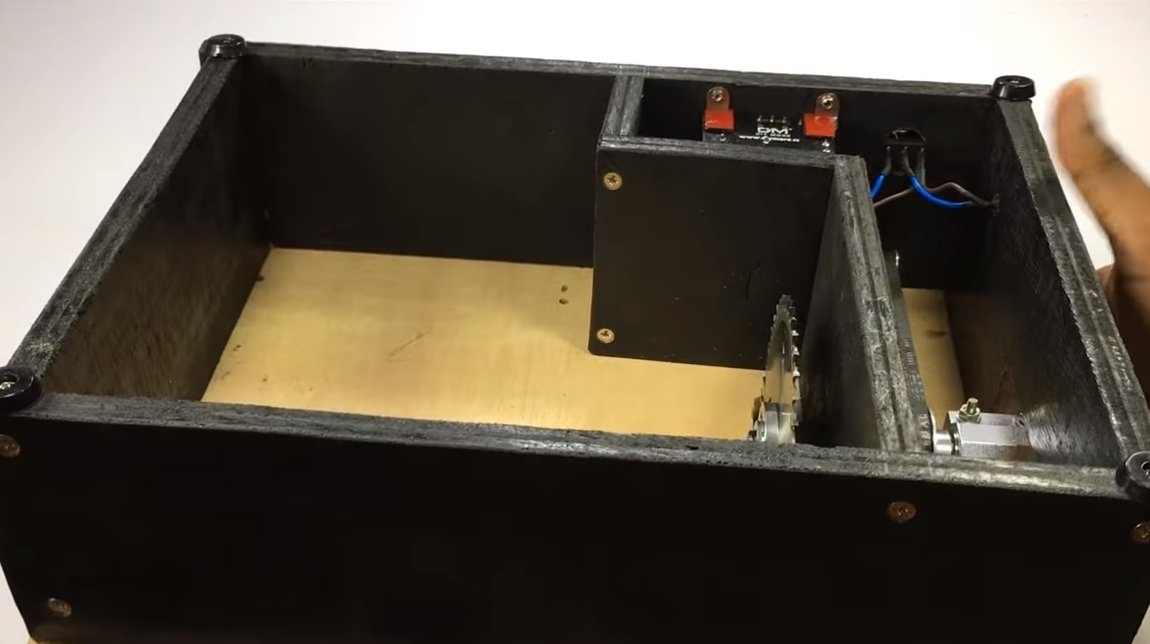
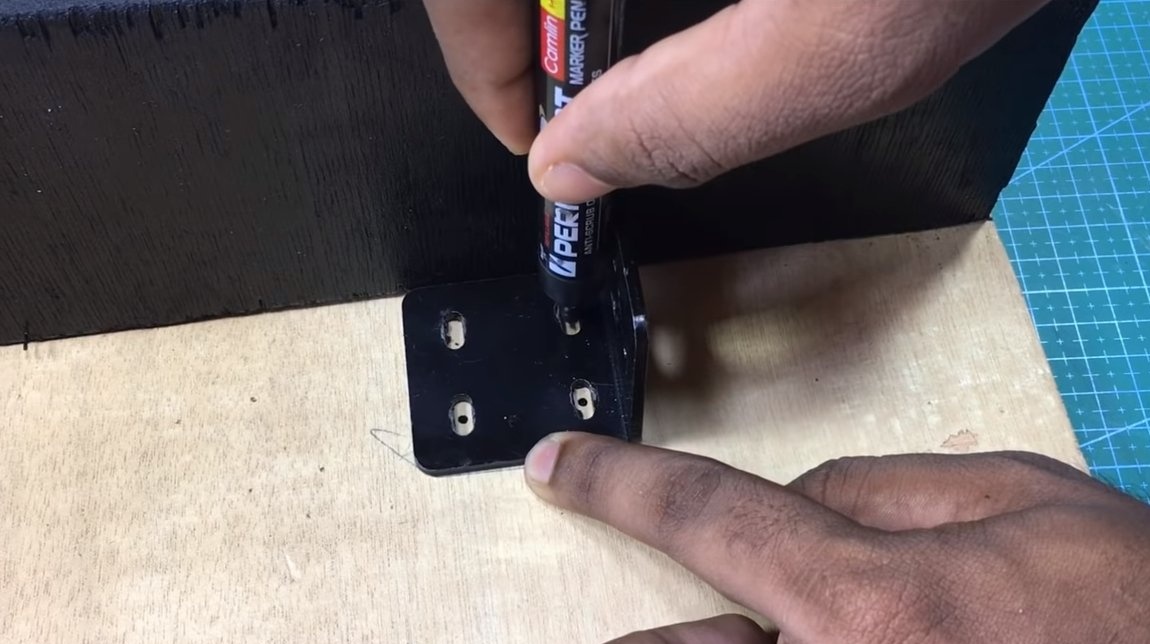
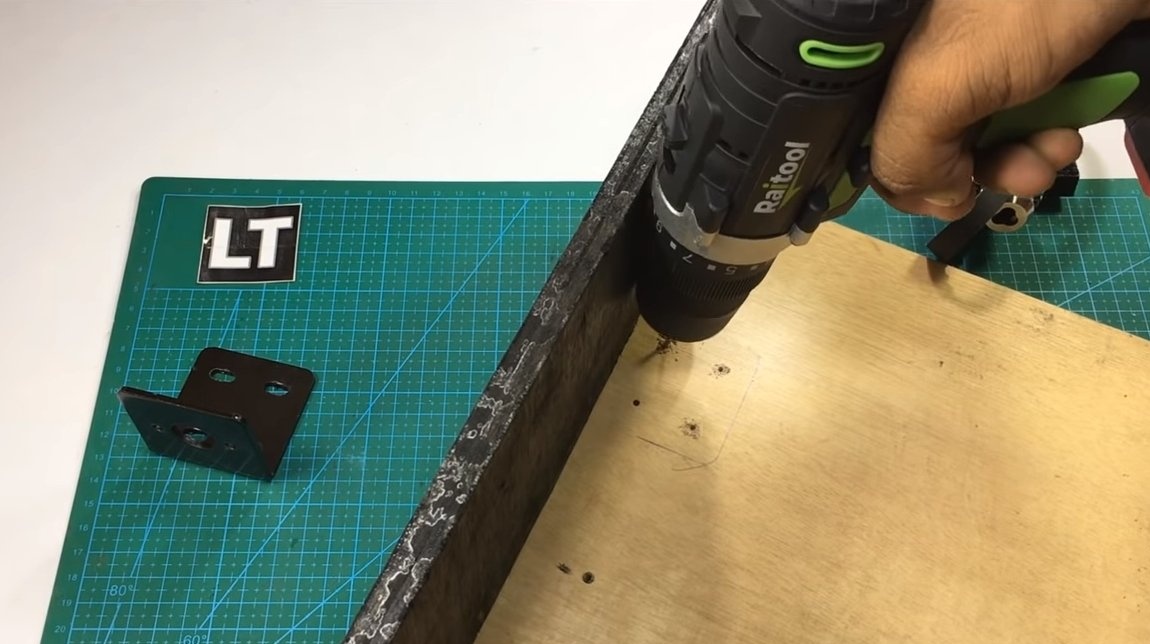
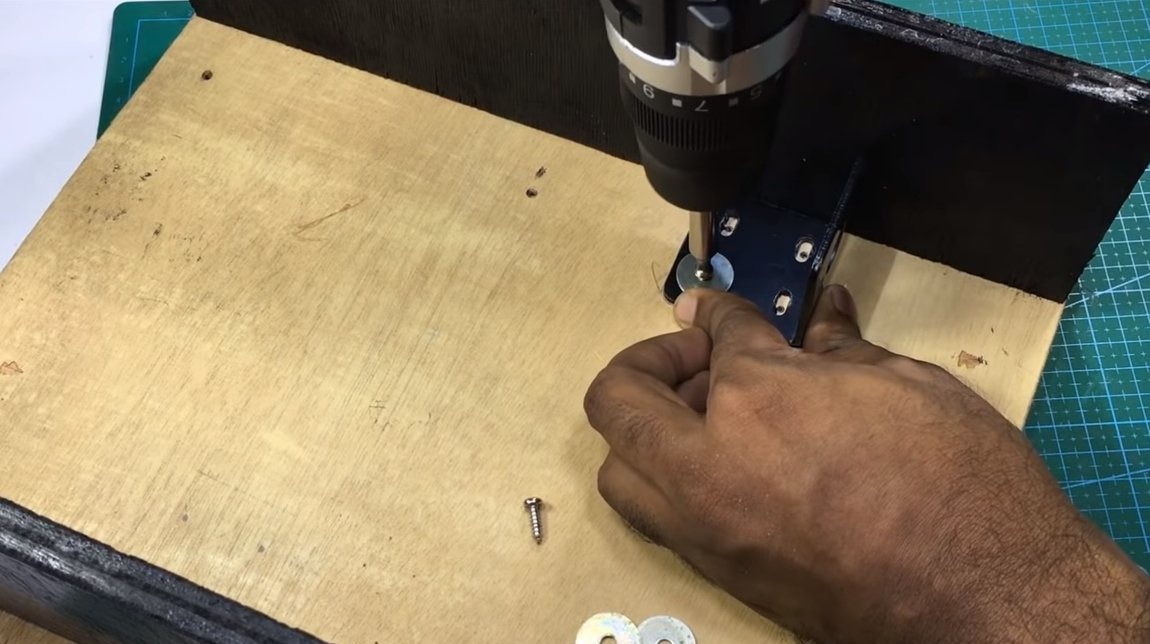
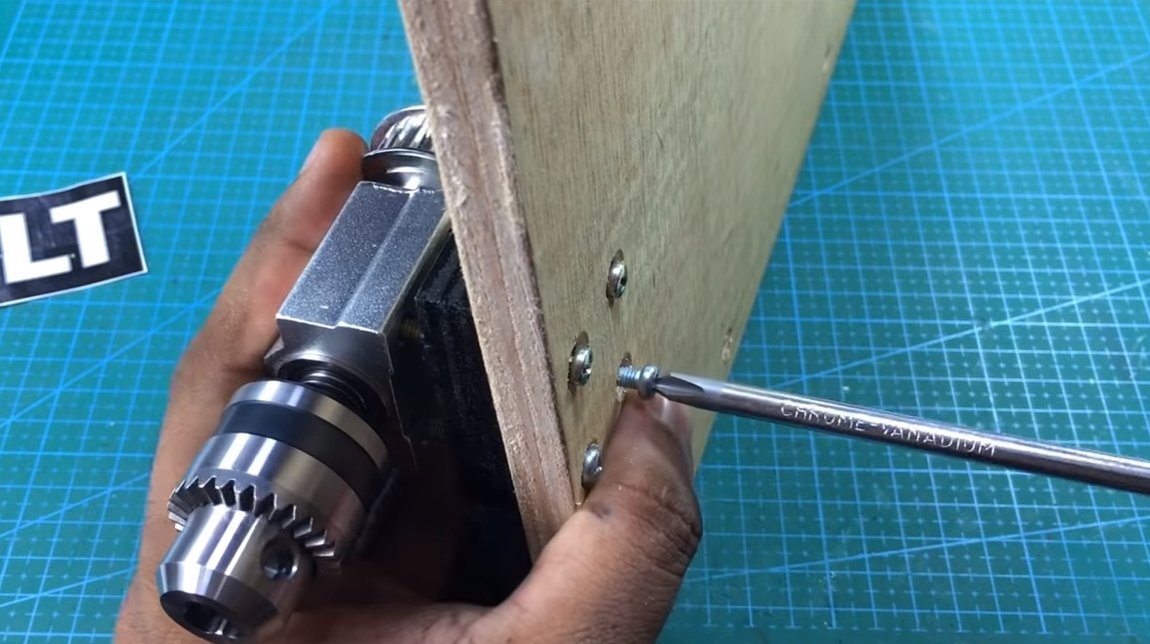
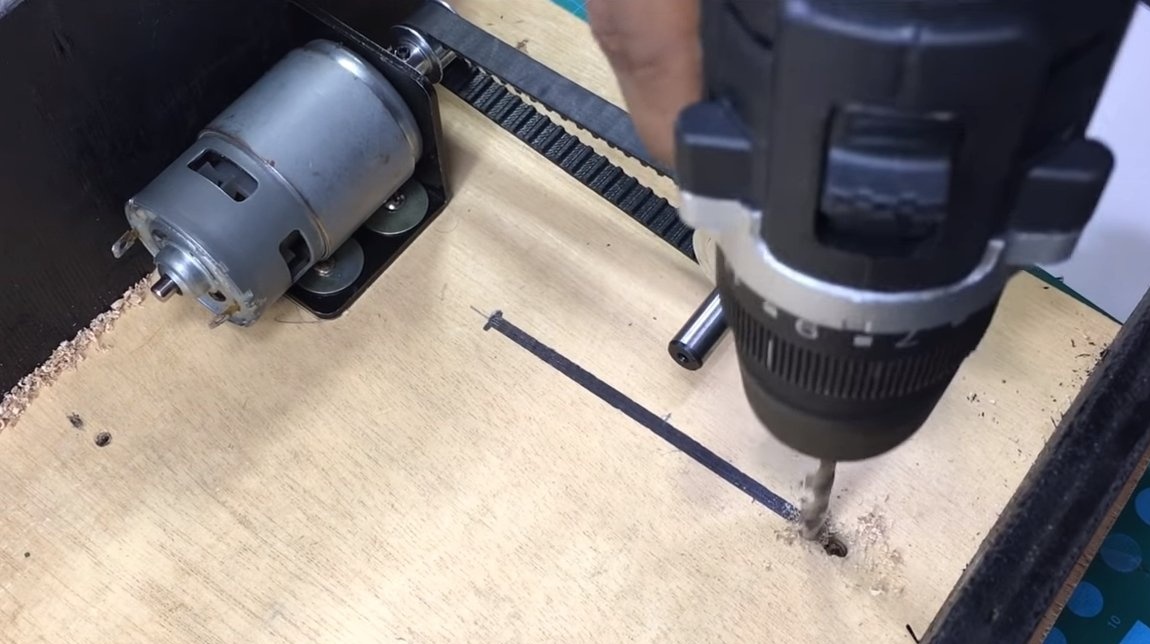
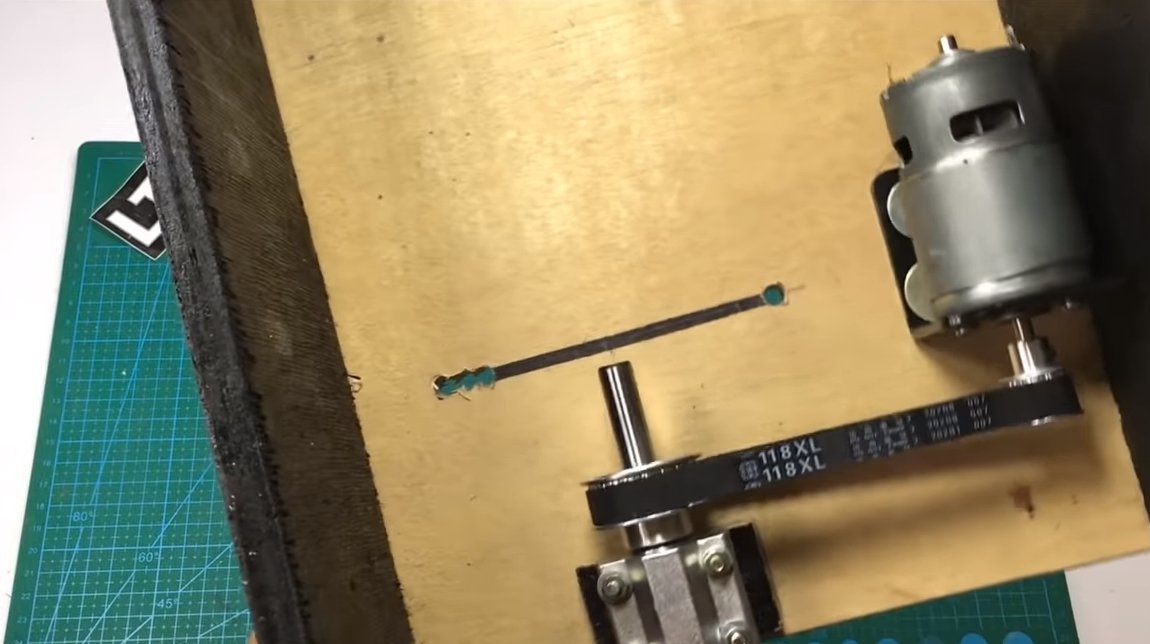
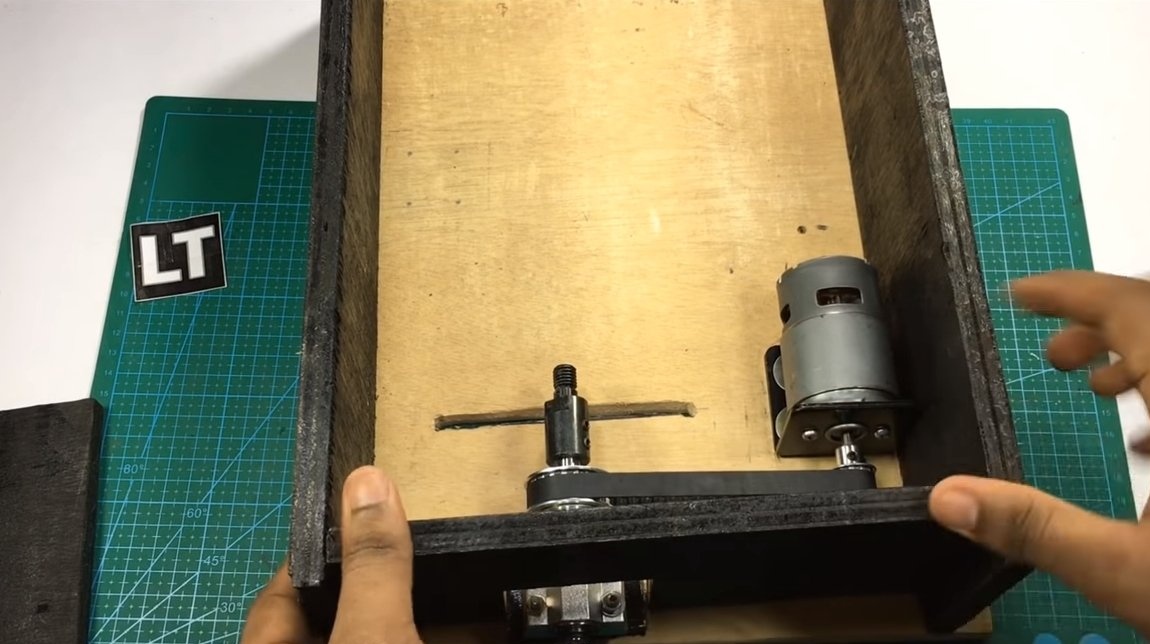
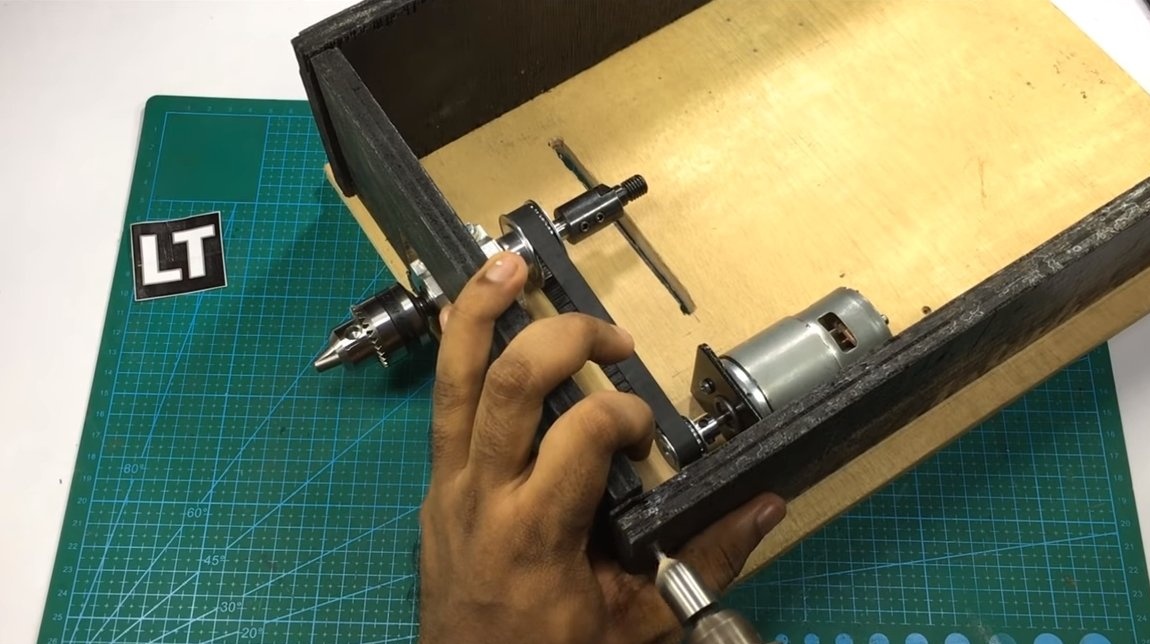
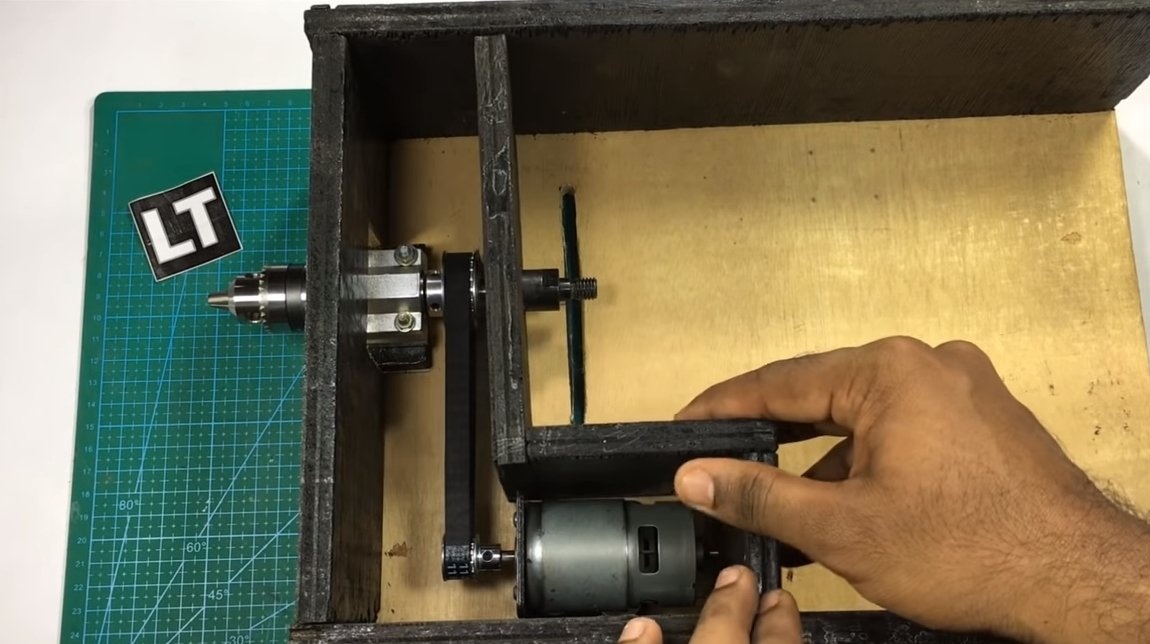
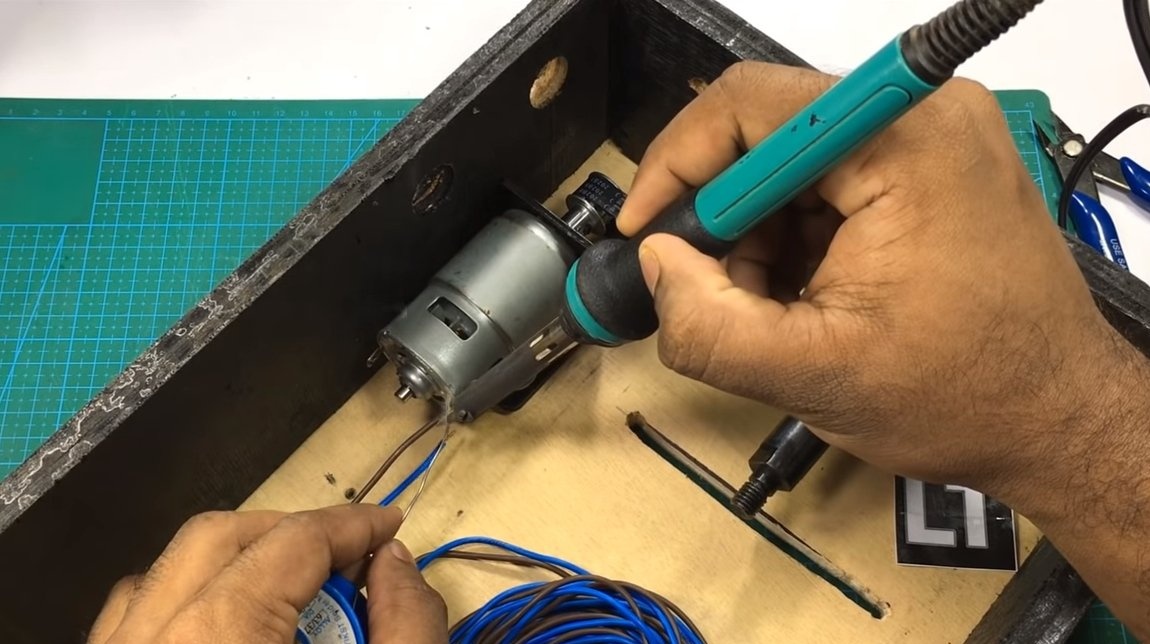
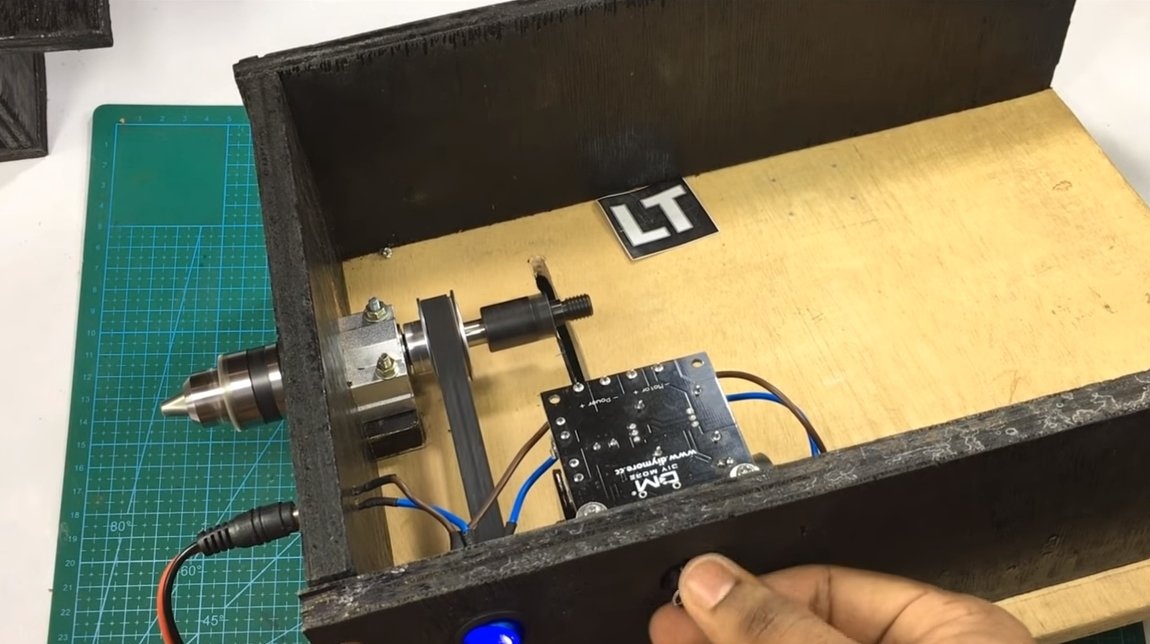
Then, on the basis of it, you can arrange the main parts of the machine, this is the engine, as well as the axis on which the circular disk rotates, and the drill chuck is fixed here. To mount the engine, we need a mounting bracket for the engine, you can do it yourself using a corner. The author mounts the bracket to the base using self-tapping screws and washers. But for reliability, it is better to use screws with nuts.
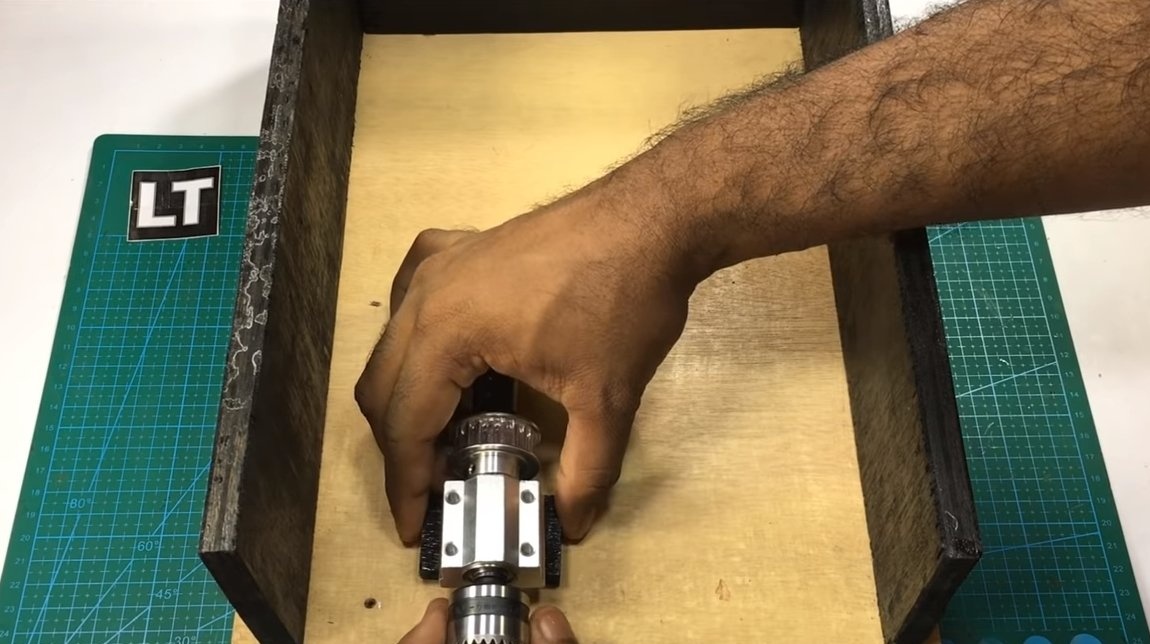
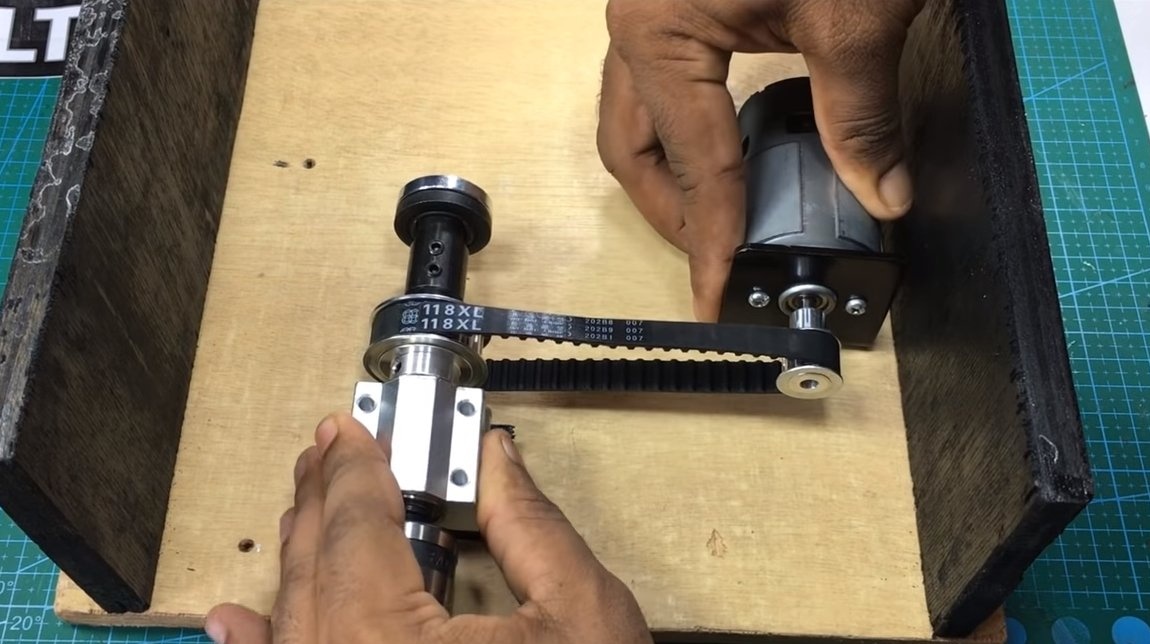
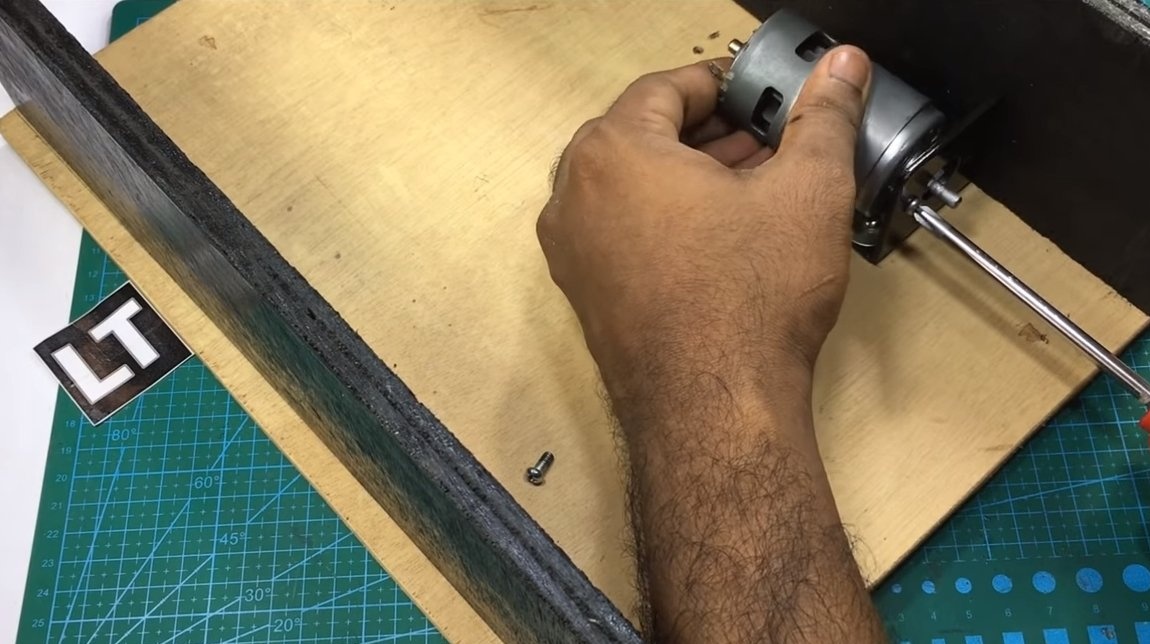
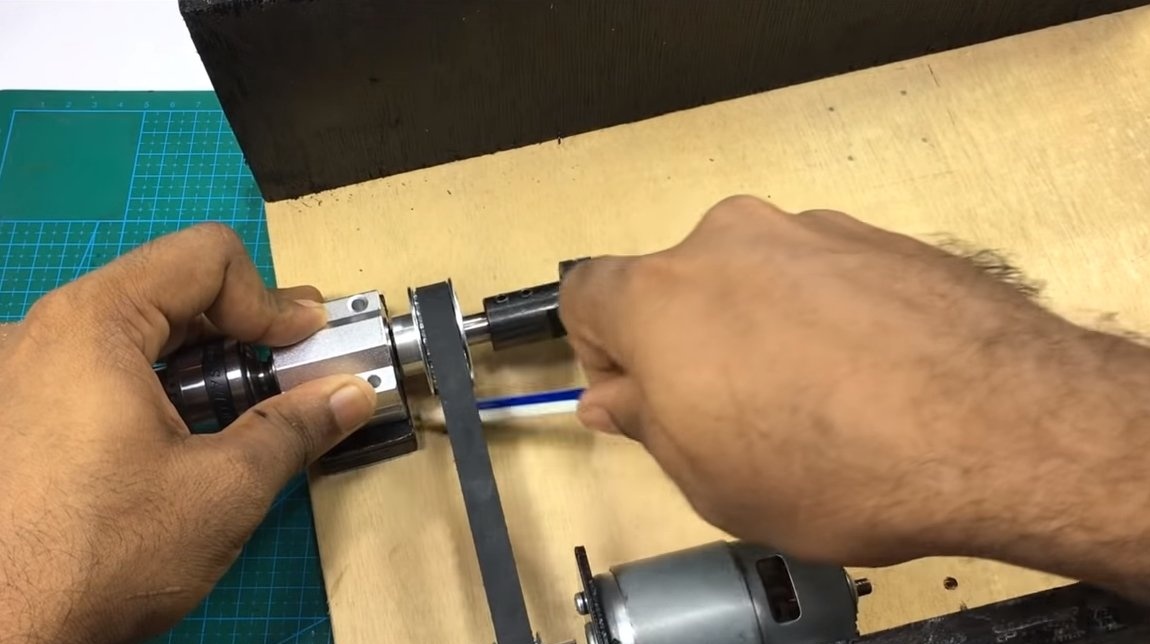
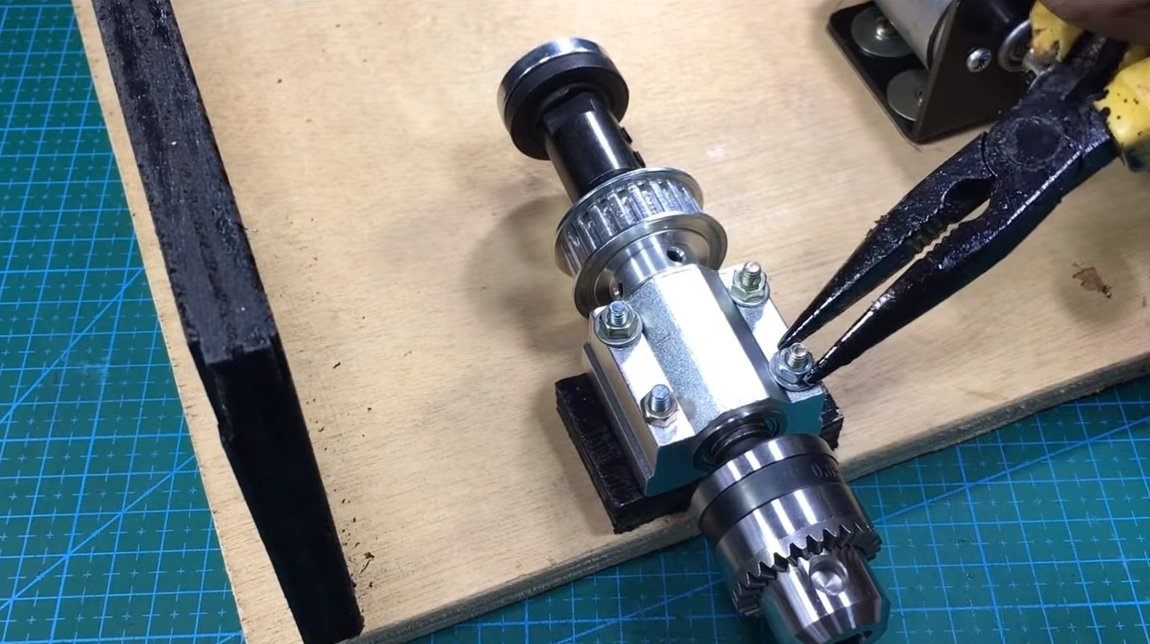

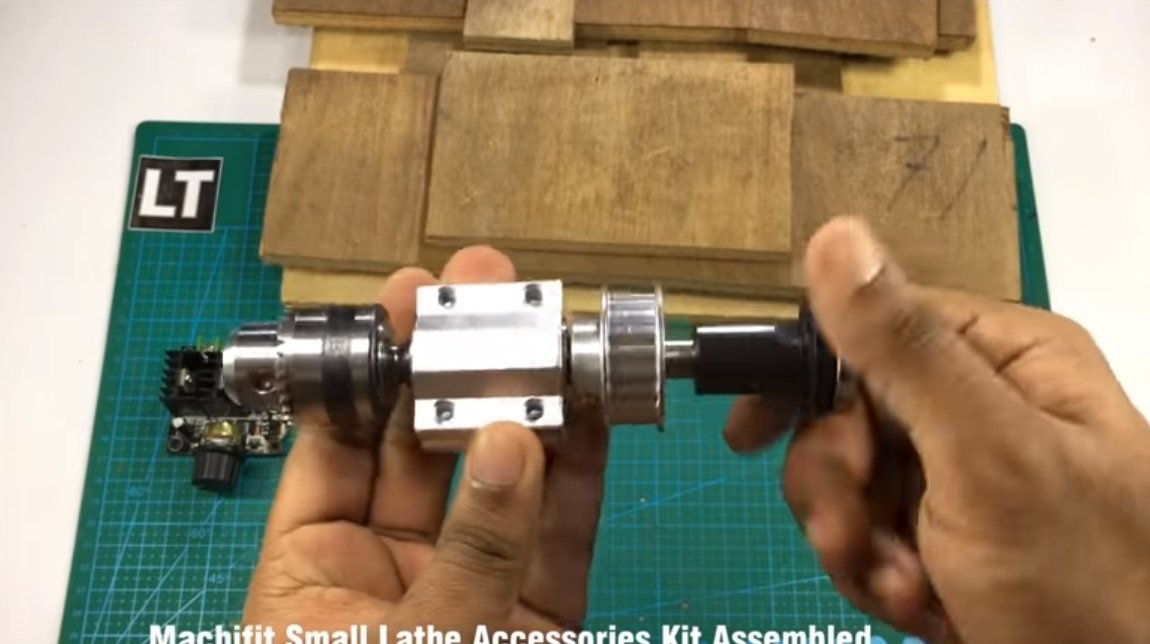
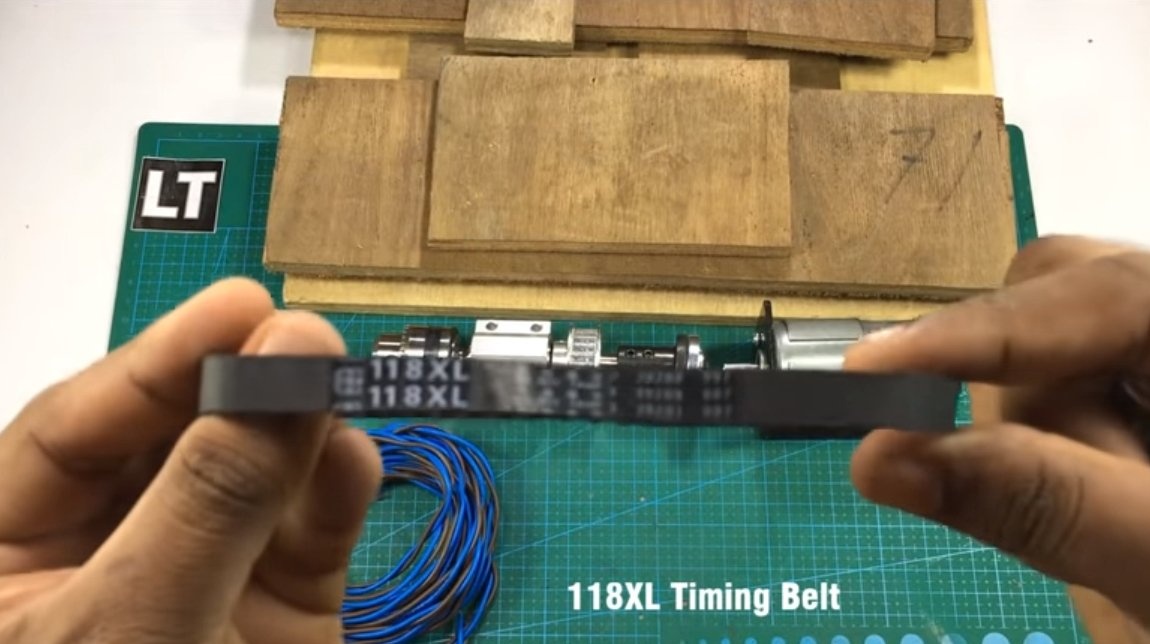
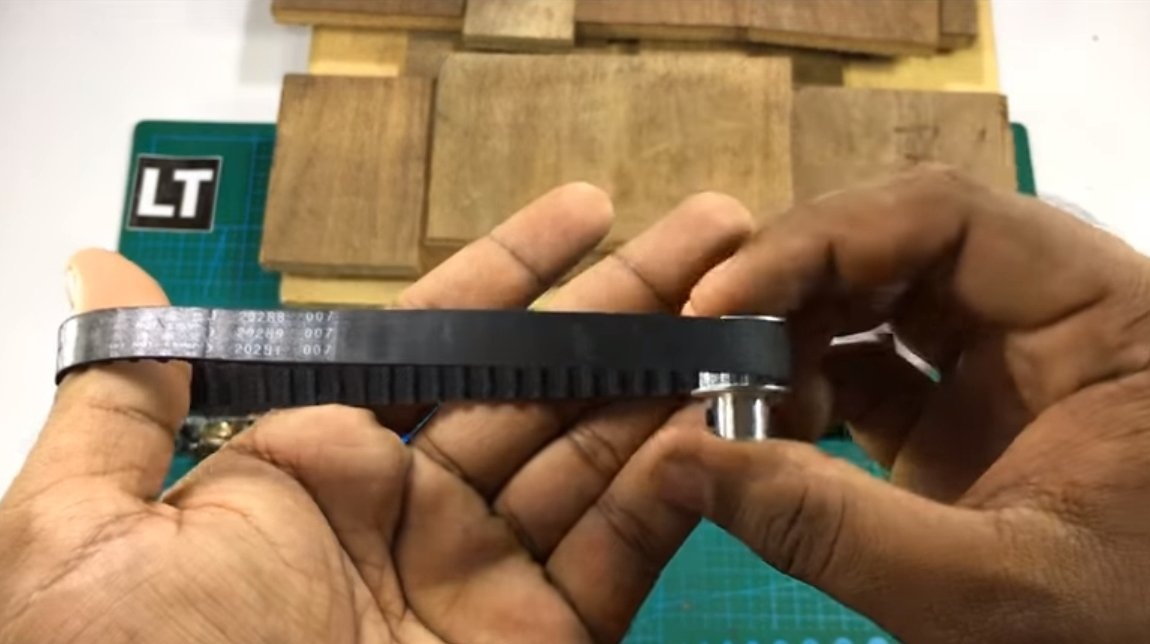
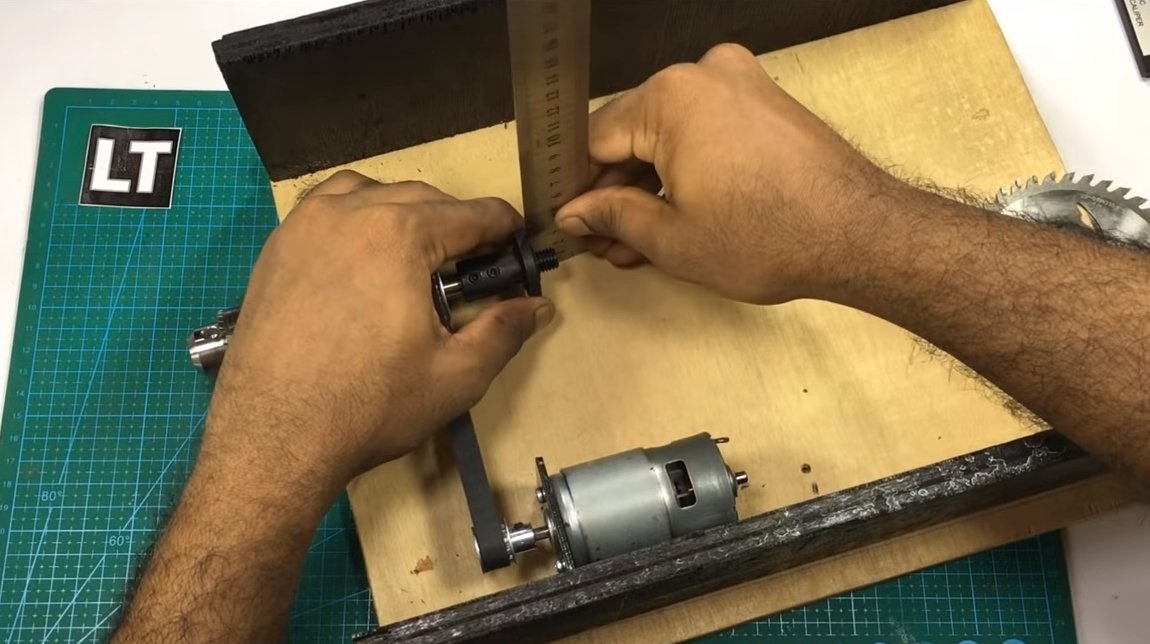
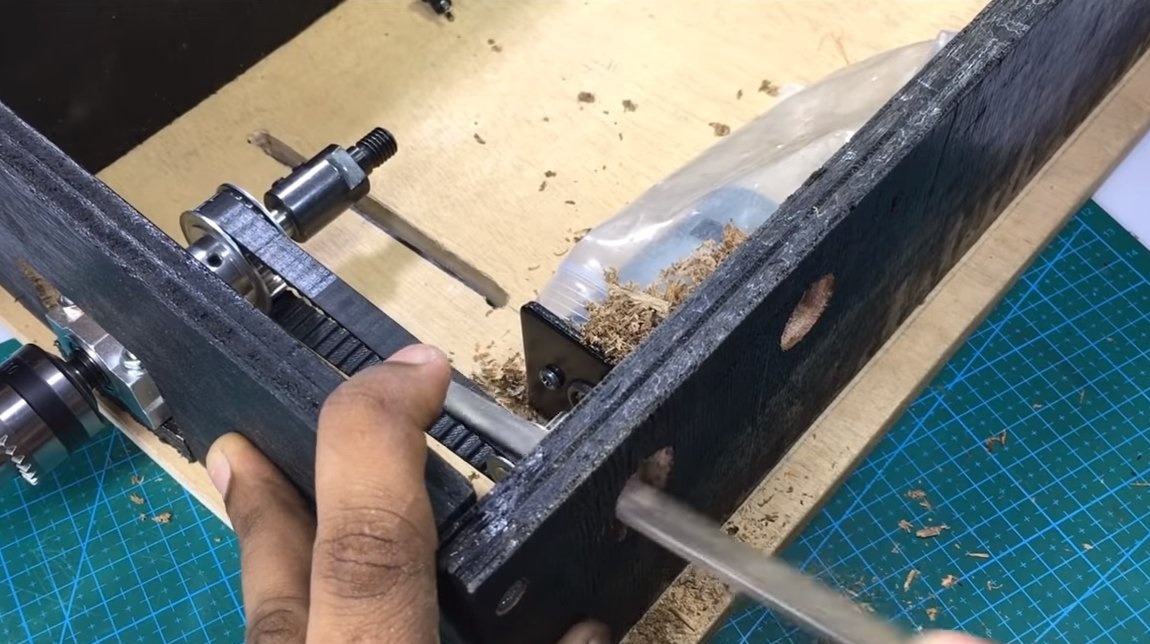
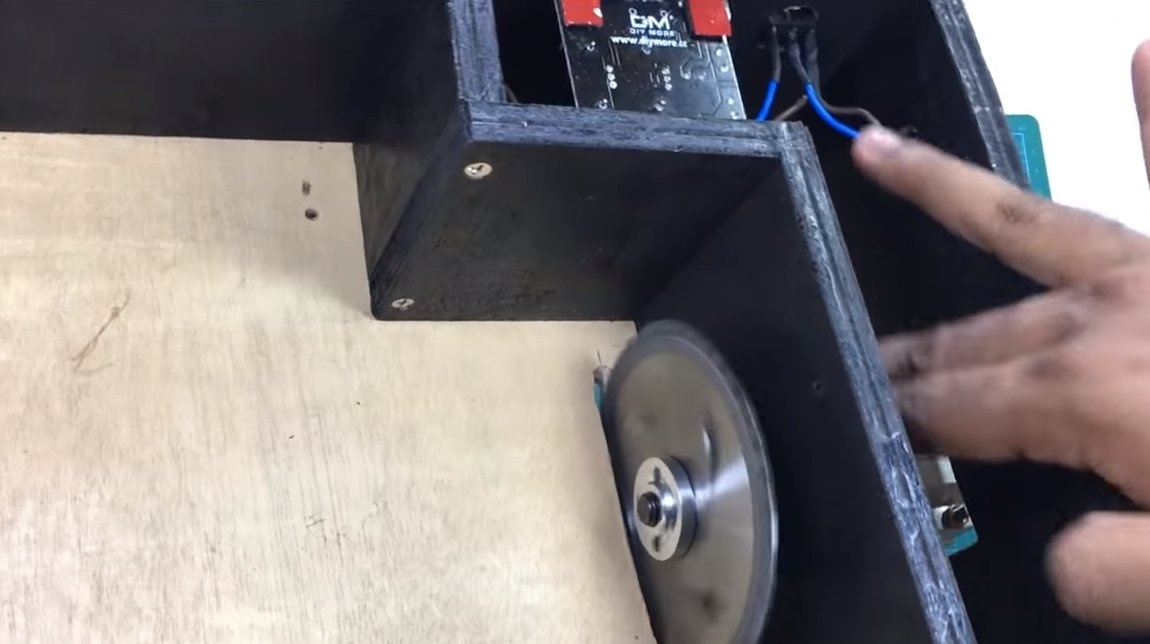
Next, install the working axis, its author is already fastening with bolts and nuts.The working axis will need to be slightly raised above the main one, for this we use a special plywood substrate. We install a belt drive, on the working axis, the speed will decrease, and the torque will increase. Thanks to the reduction gear, the disc will not slow down so much when cutting thick and hard materials.
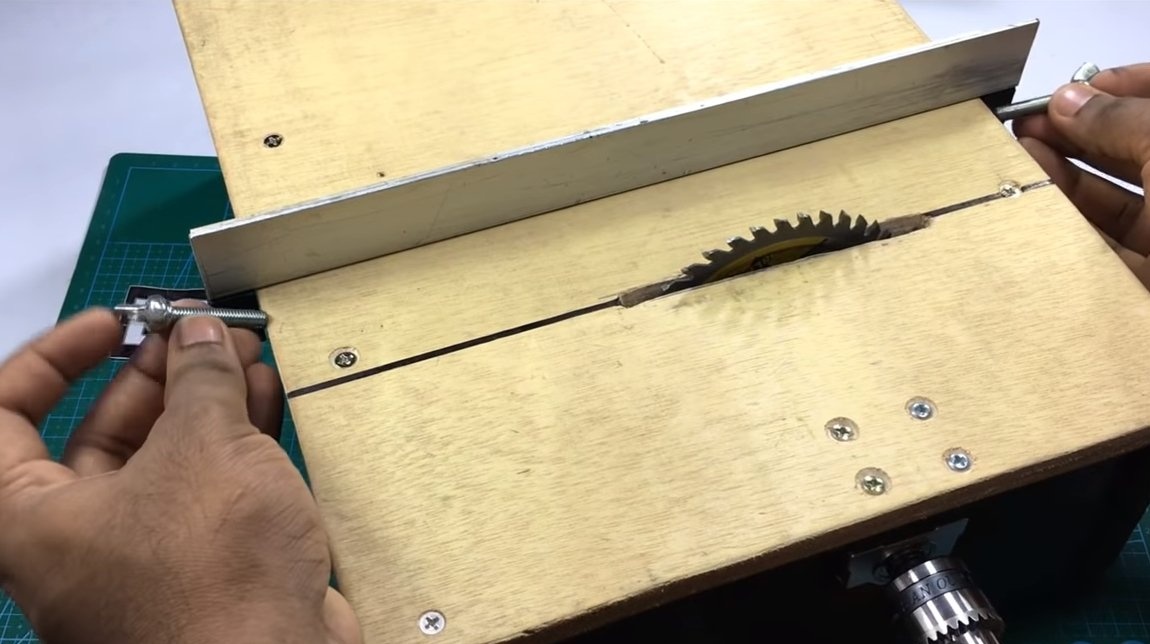
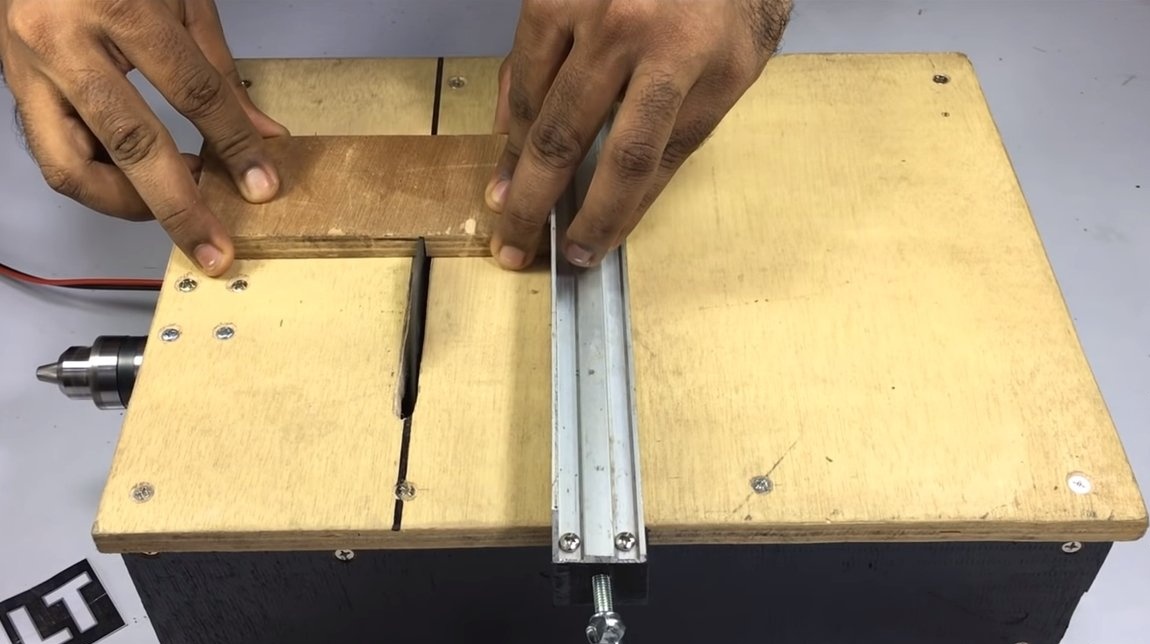
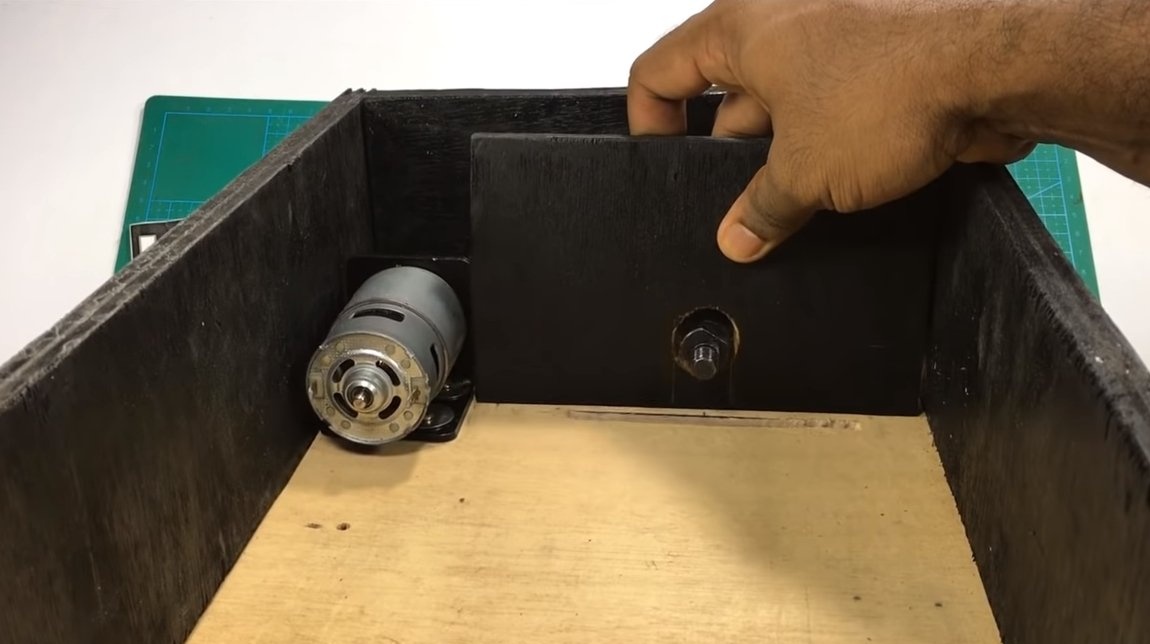
Step Three Saw blade
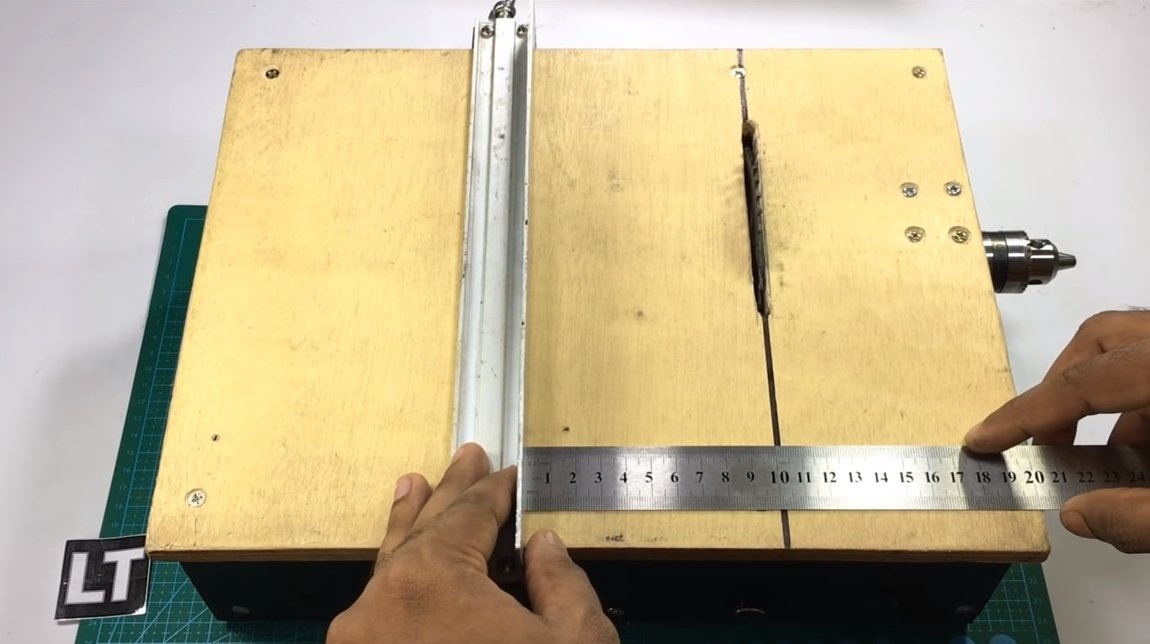
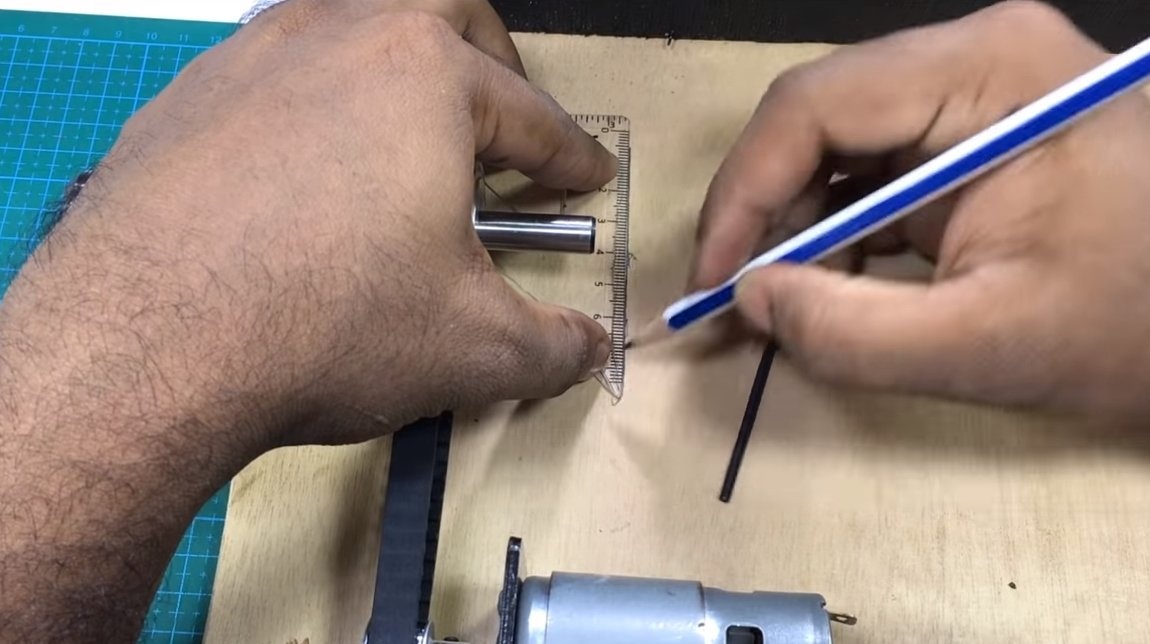
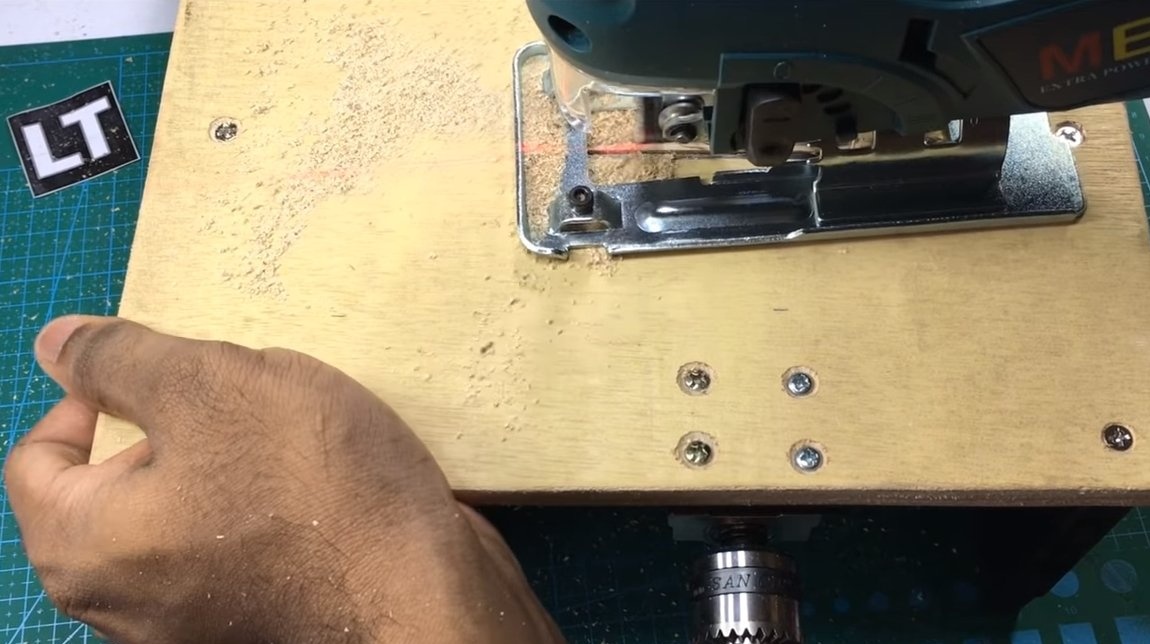
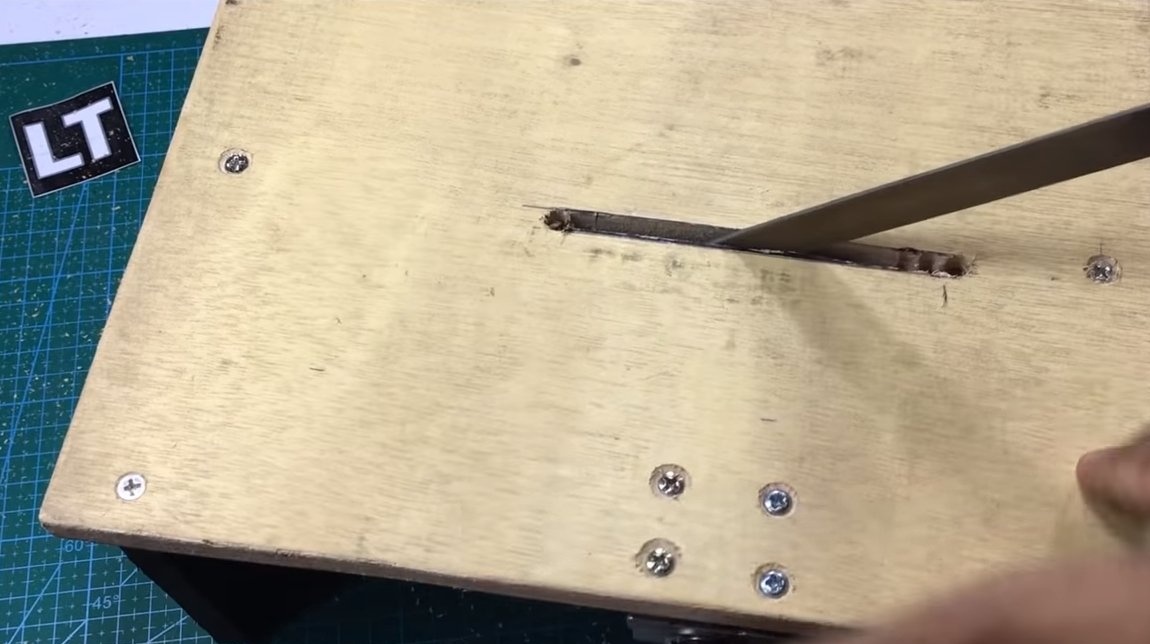
In the countertop, you need to make a slit hole through which the saw blade will go out. We take a ruler, make the necessary measurements and cut a hole. The author first drills a hole with a drill, and then works with an electric jigsaw. The slot will be finalized with a file.
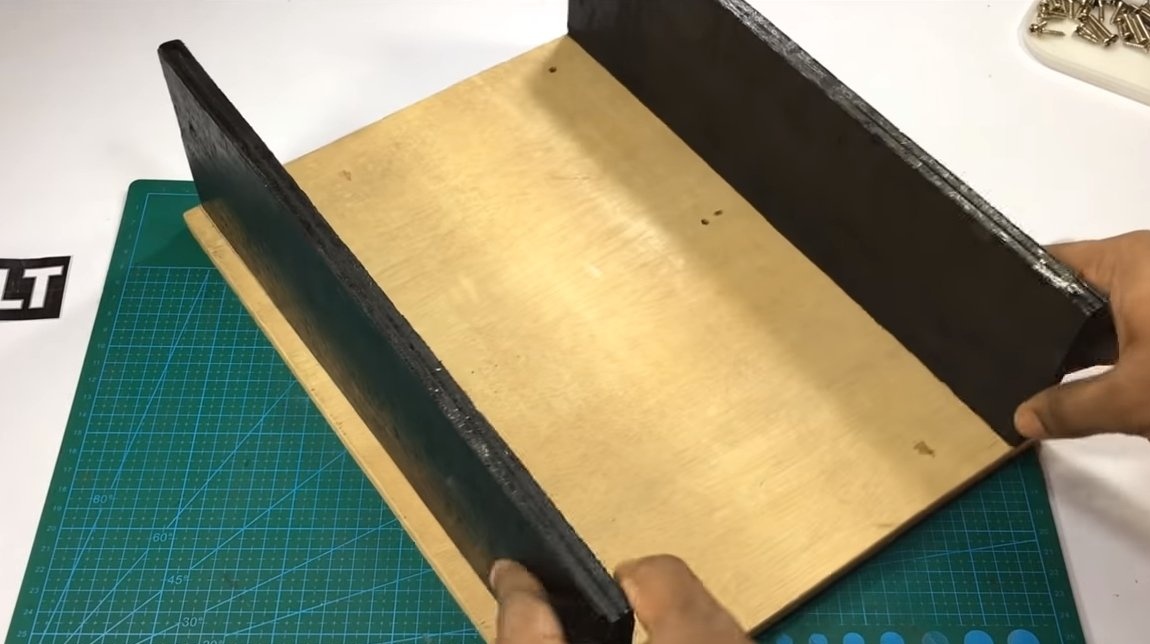
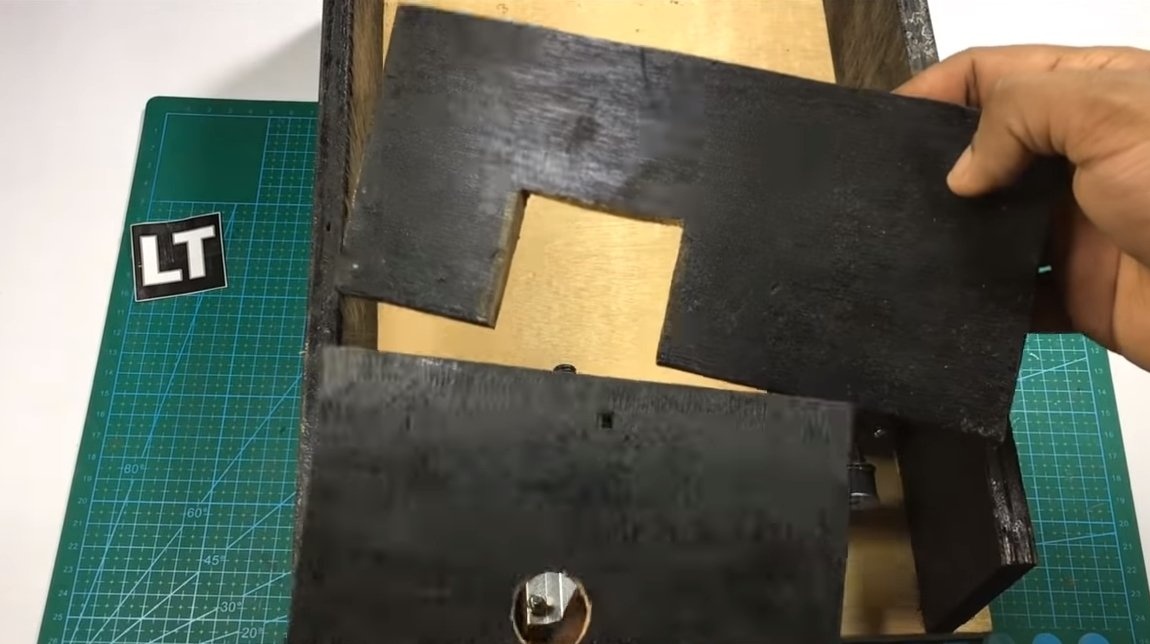
Step Four Reinforce the frame
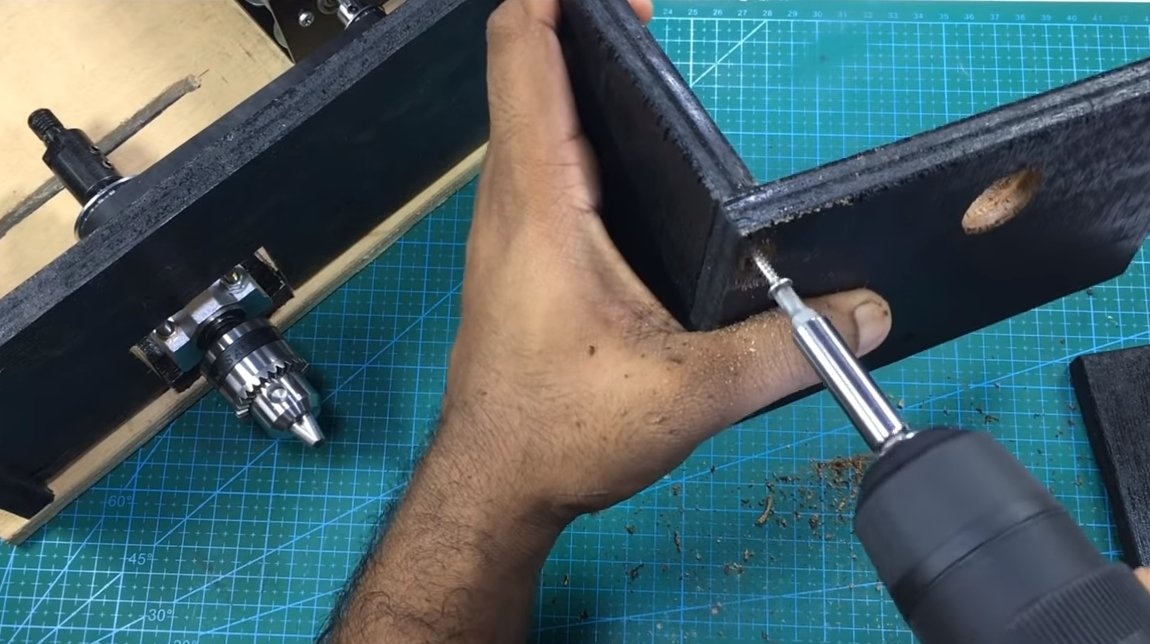
Inside the case, it would be nice to make struts that will hold the side walls. Cut the plywood, fasten the parts with screws.
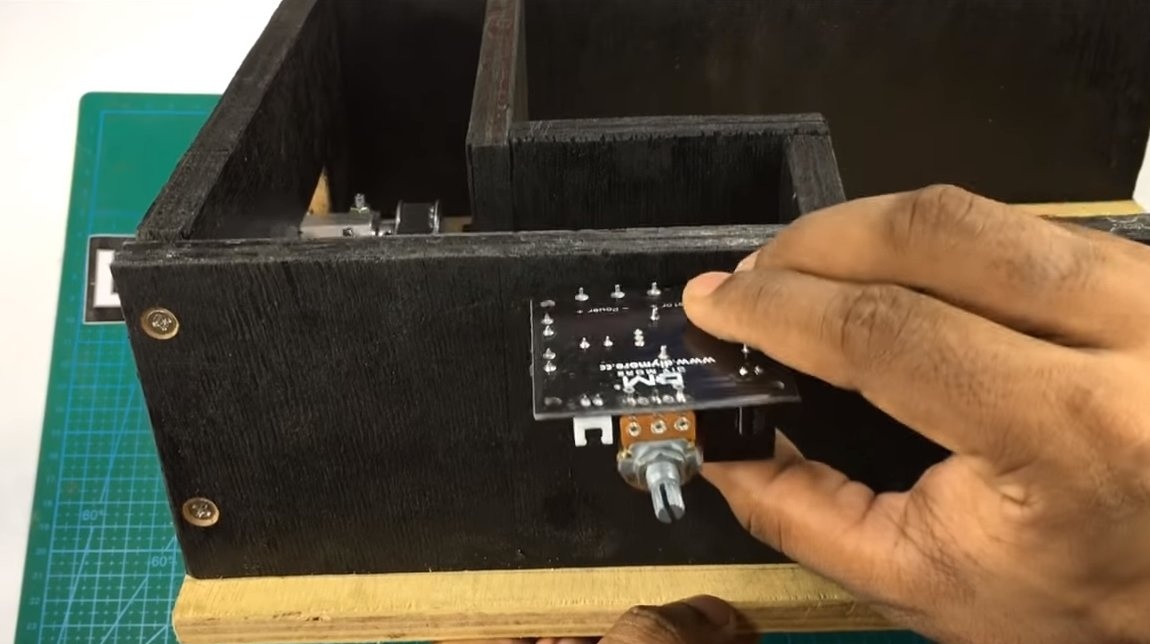
Step Five Electrician
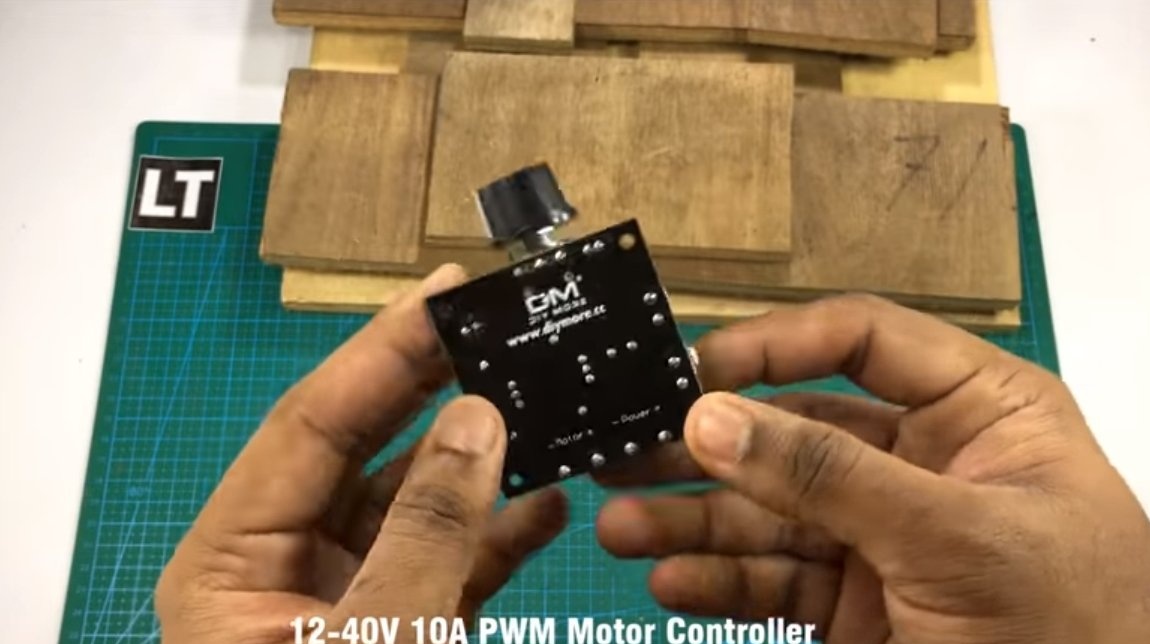
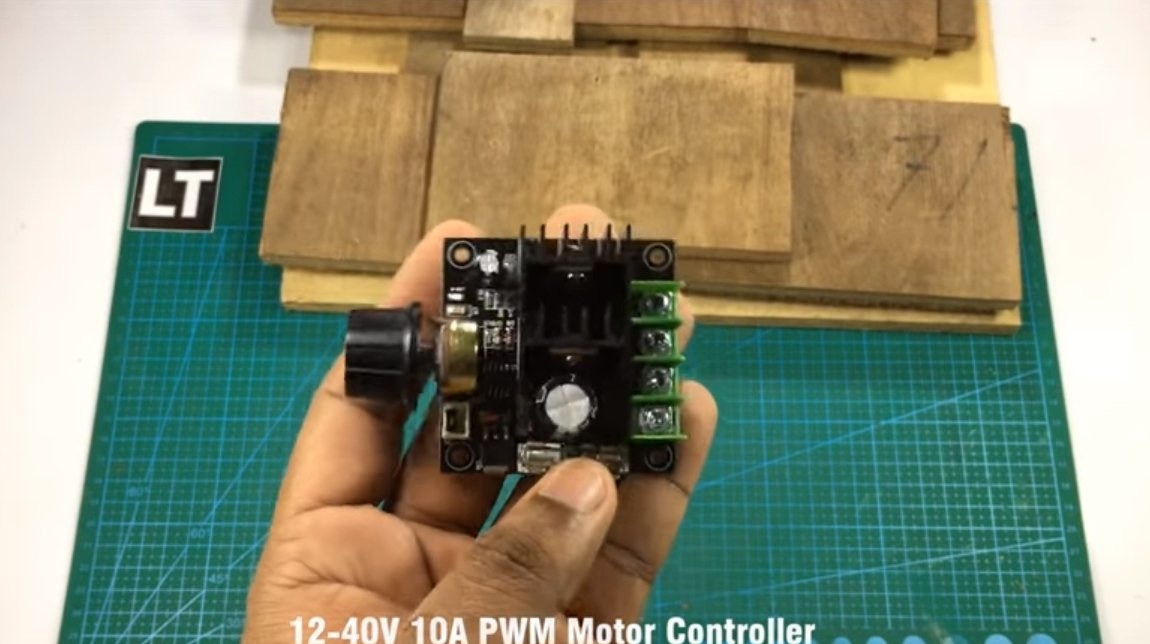
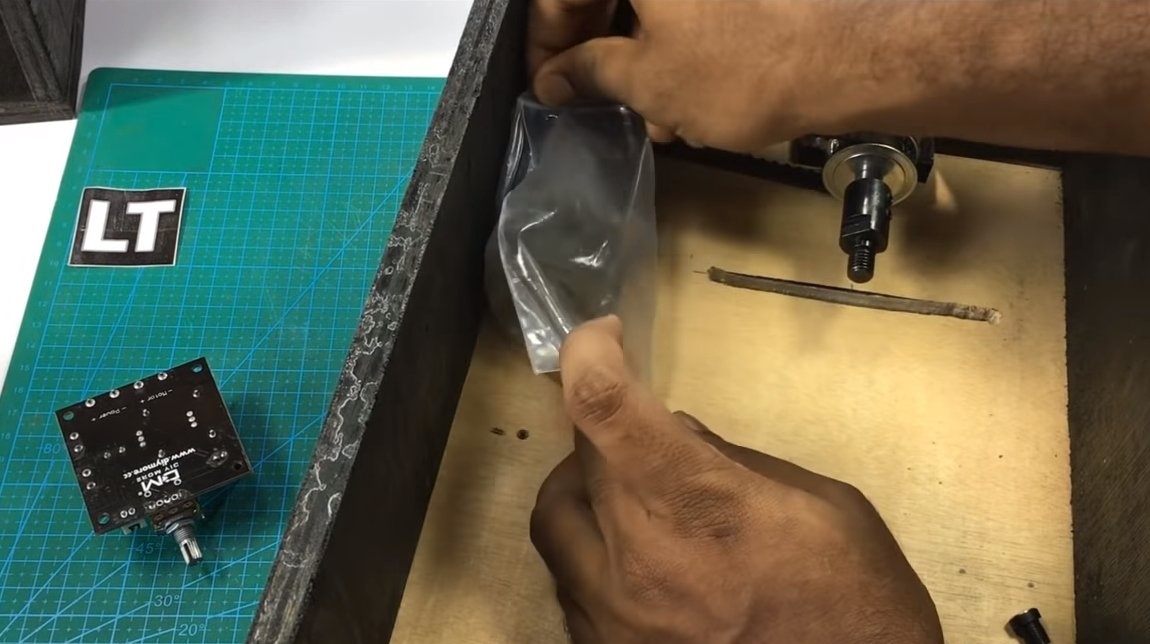
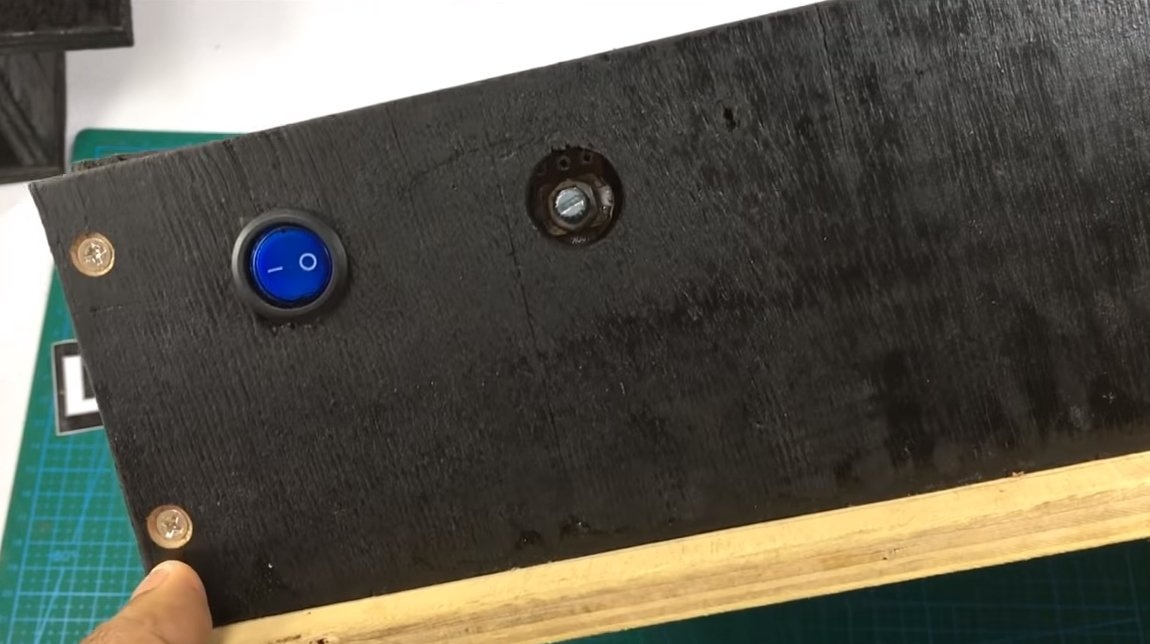
The design of the homemade provides a speed controller, it must be designed for a current of at least 10A and a voltage of at least 24V. It is very convenient to work with such a regulator on the machine, since the disk can develop quite high speeds, which you may not need. We install the controller, drill a hole with a pen drill for the adjustment knob. We also need to install a switch and a socket for connecting the power supply.

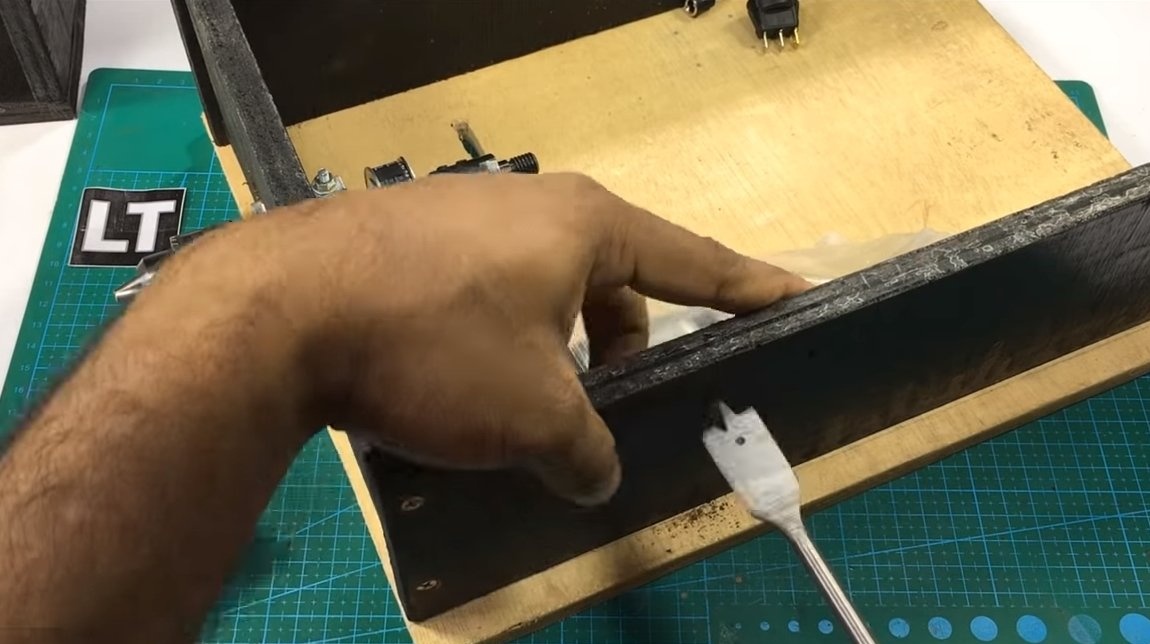
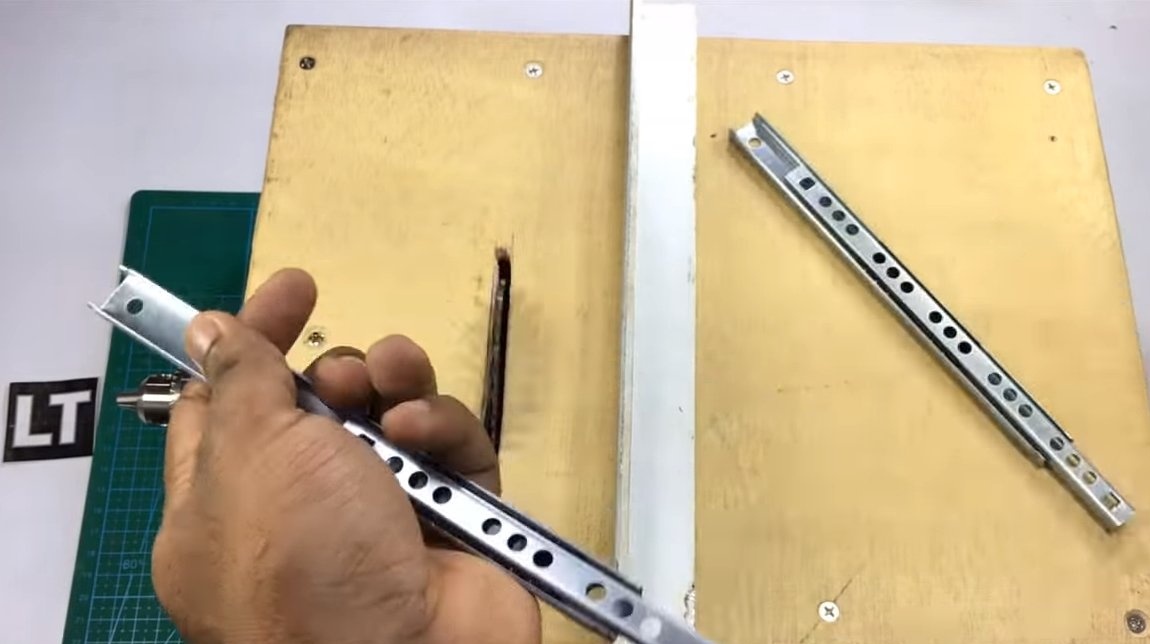
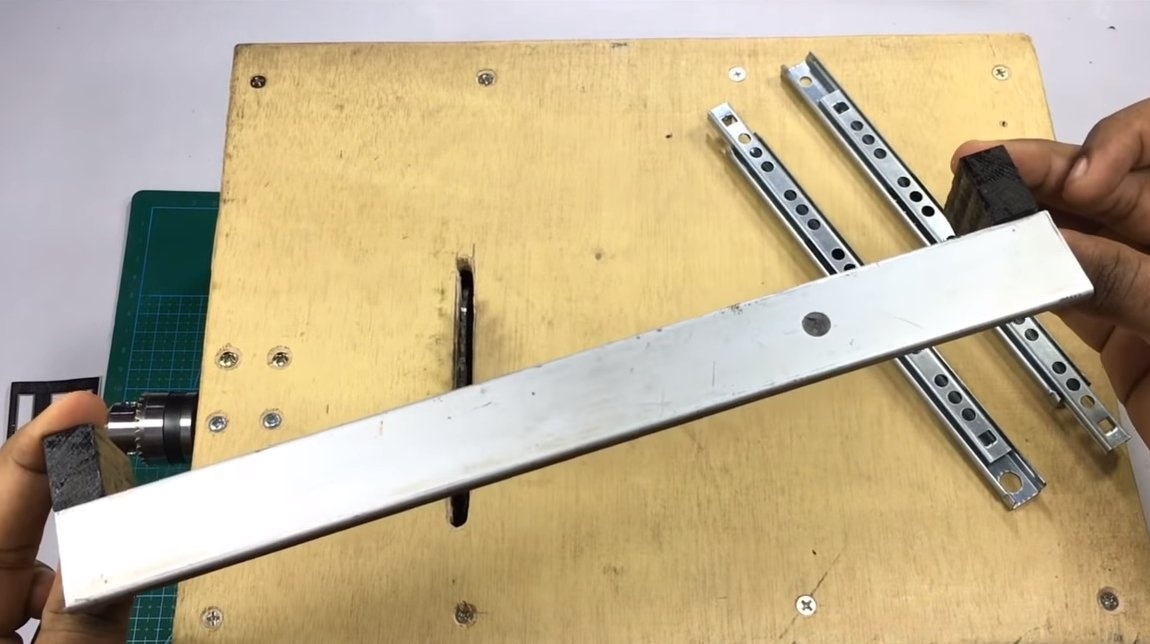
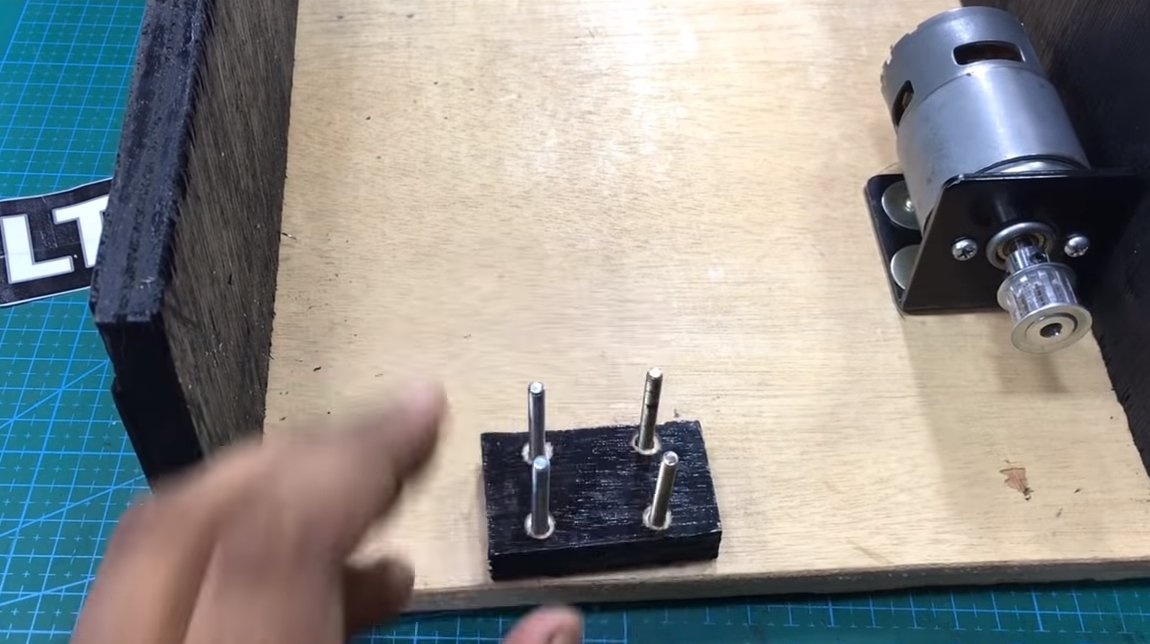
Step Six Emphasis
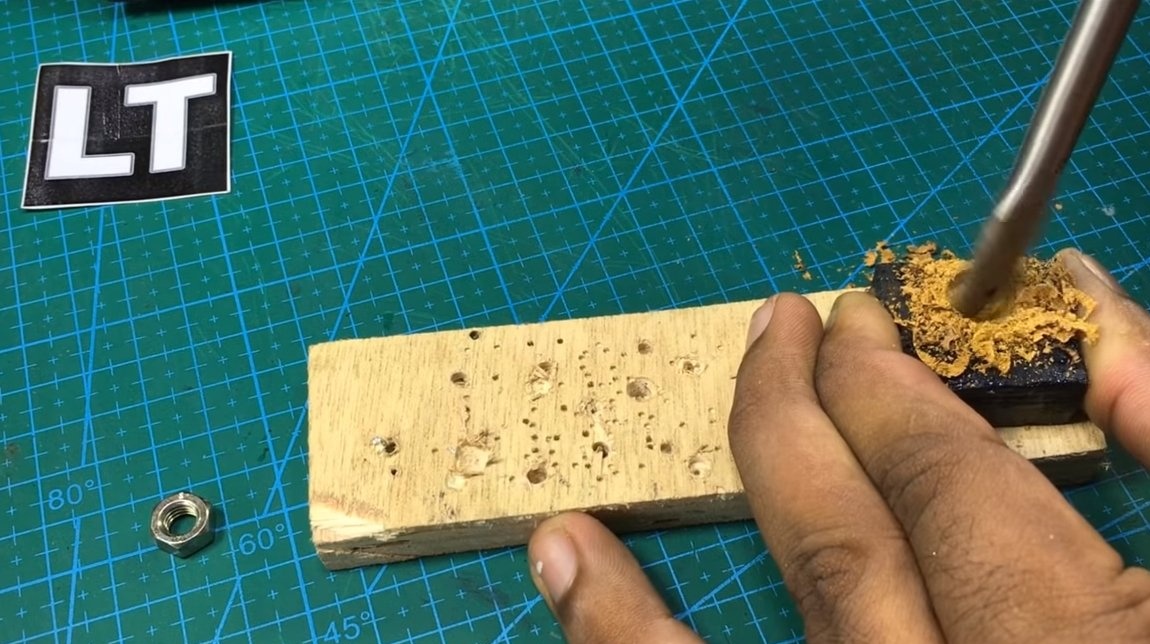
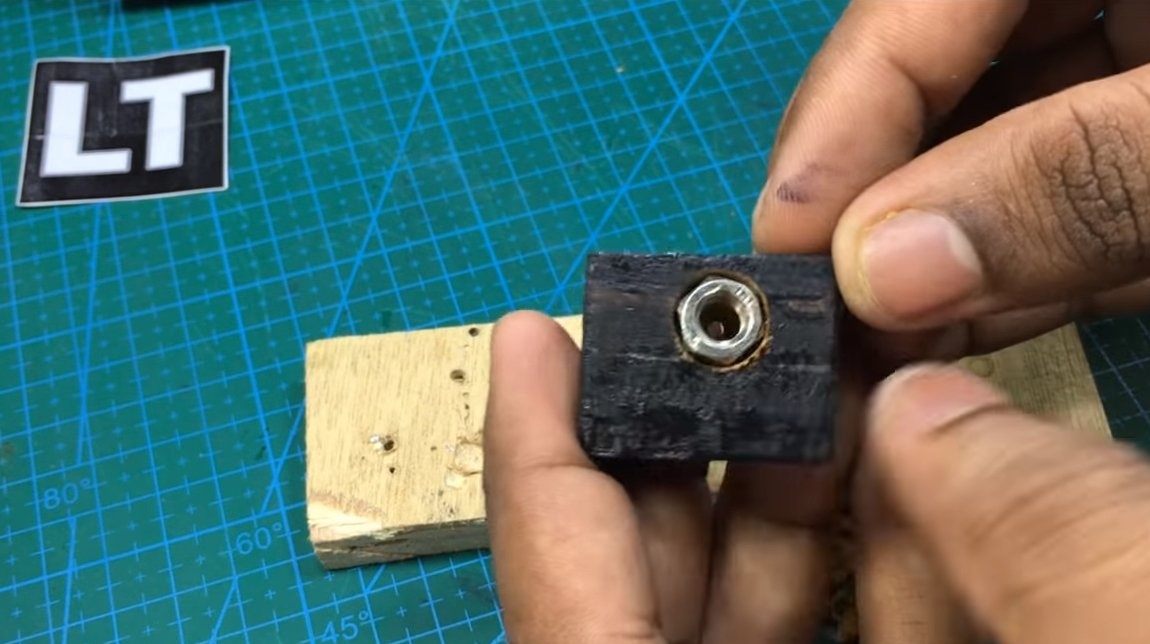
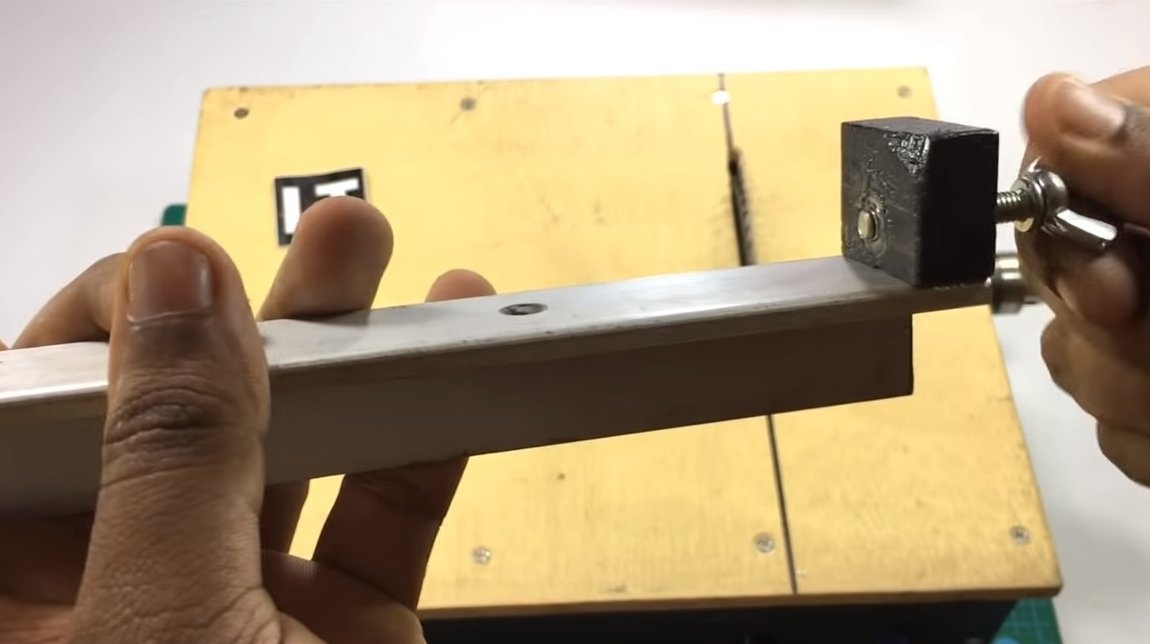
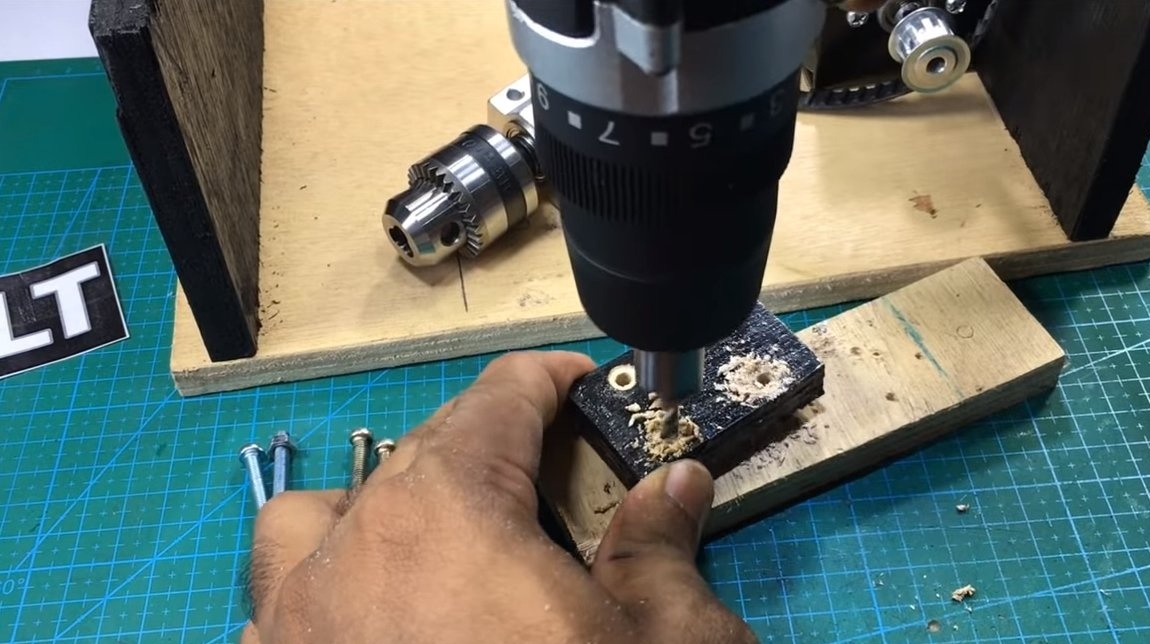
We will focus on cutting, here we need an aluminum corner or other similar detail, the author used a part from a furniture slider. The emphasis should be adjustable, the author adapted special clamps from bolts, nuts and plywood. The nuts must be glued to the epoxy glue in the details of the plywood. For ease of use, bolts or screws can be screwed and put on the “wing nuts” glue, so you do not need keys and screwdrivers.
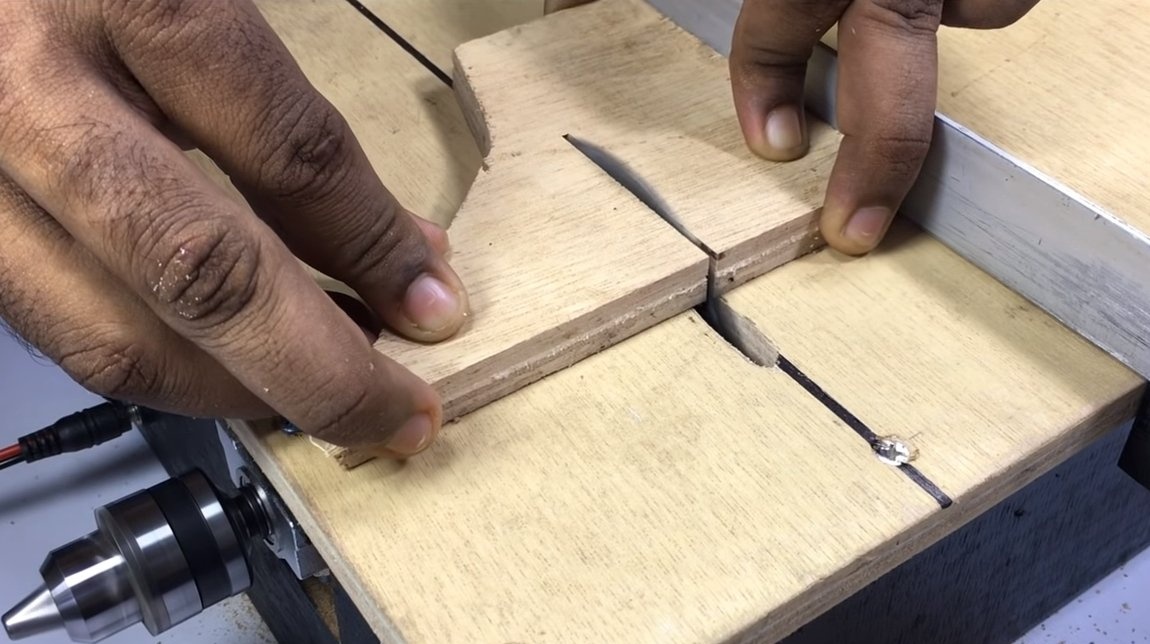
That's all, the car is ready, you can experience it. Turns on the machine are perfectly regulated, you can start cutting. The author cuts plywood on the machine, the machine feels the load, but copes with the task. In general, it turned out to be an excellent assistant for an amateur craftsman. Do not forget to lift the machine and remove dust that will accumulate under it.
On this project is over, I hope you liked the homemade. Good luck and creative inspiration, if you decide to repeat this. Do not forget to share your ideas and homemade things with us!