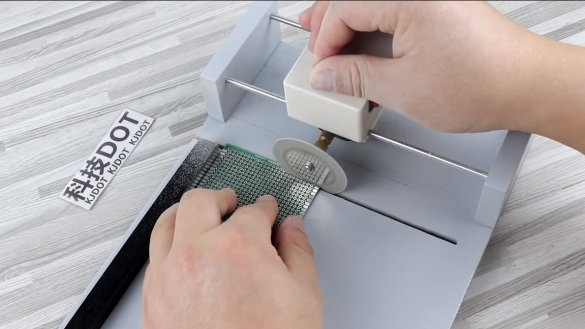
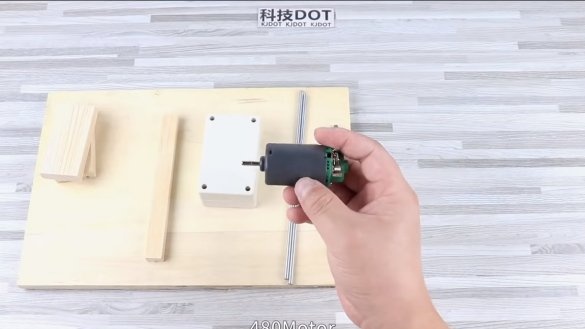
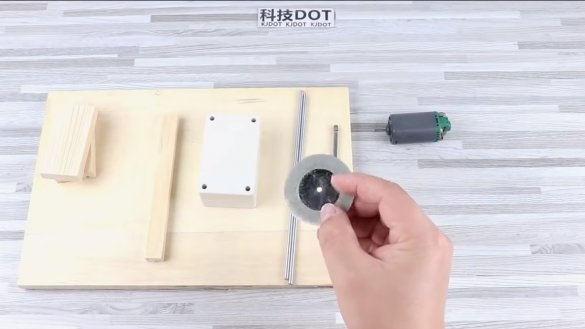
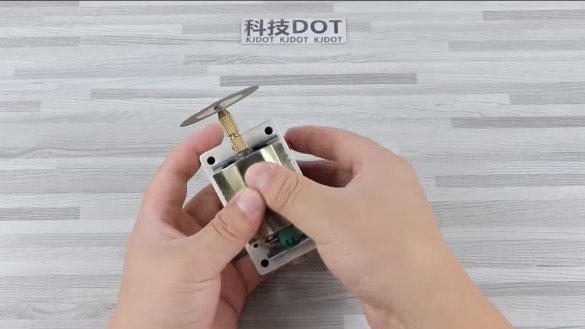
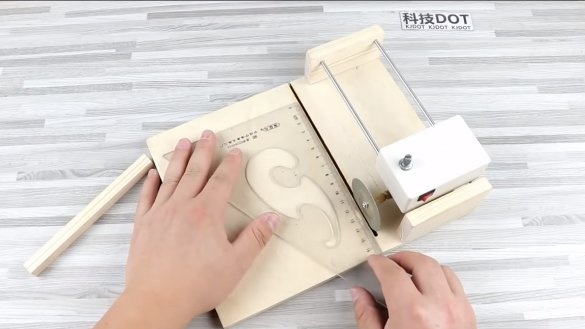
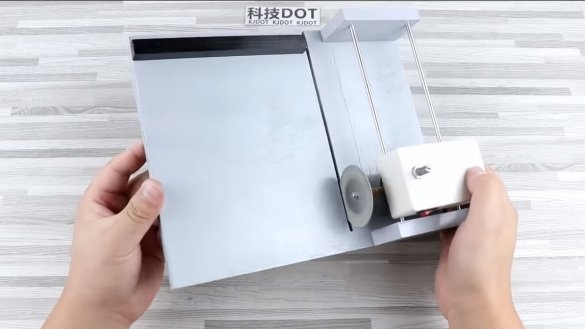
I welcome fans to craft, today we will consider how to make such a useful homemade like a PCB cutting machine. The homemade product is easy to manufacture, and it can even be powered by a battery. A small motor is used here, with a diamond-coated disk mounted on its shaft. We have a broach machine, so you will cut the material evenly, clearly in a straight line. The author uses the engine model 480, with a power supply of 11.1V, the motor shaft is capable of 36,000 revolutions. If these revolutions are high for you, a dimmer is provided in the system for adjusting revolutions. If you are interested in the project, I propose to study it in more detail!
Materials and tools used by the author:
Material List:
- ;
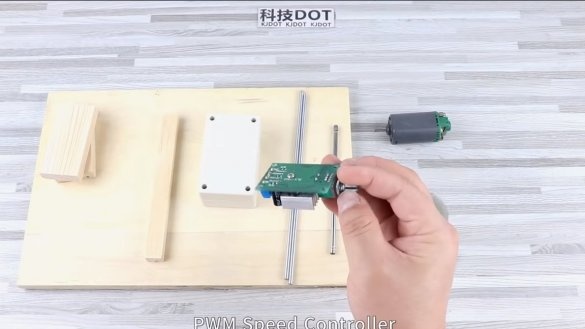
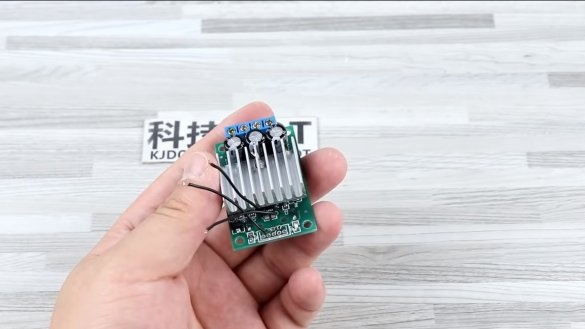
- speed control for the engine;
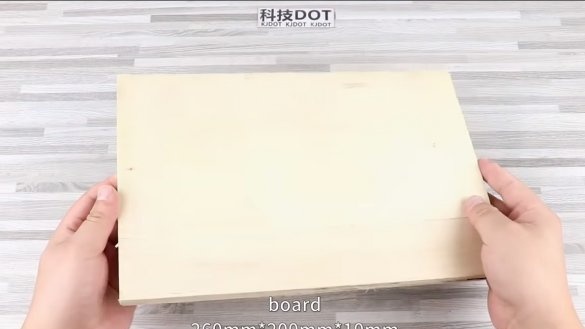
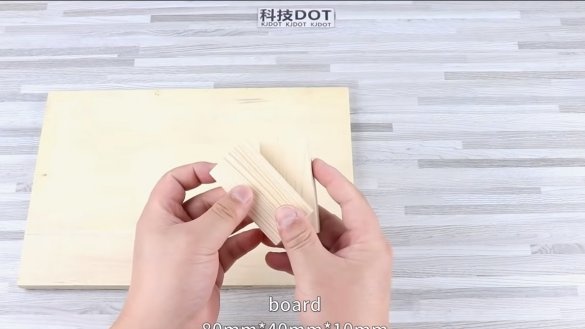
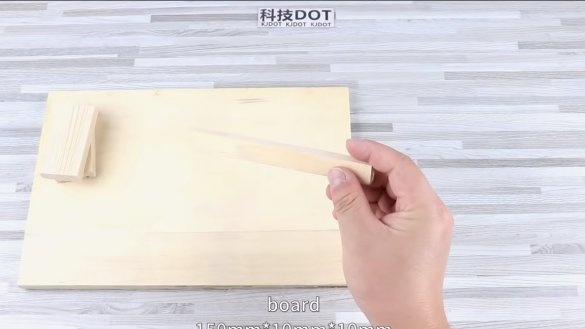
- boards for the frame;
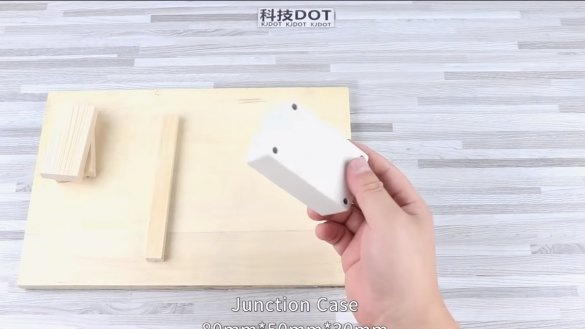
- plastic case;
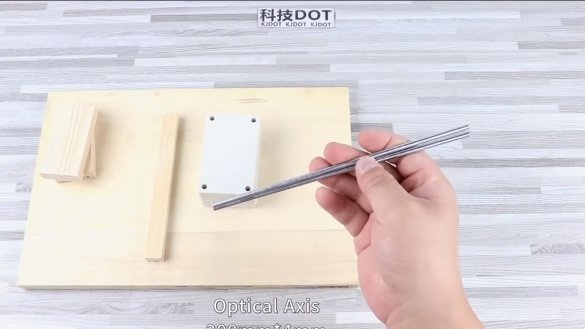
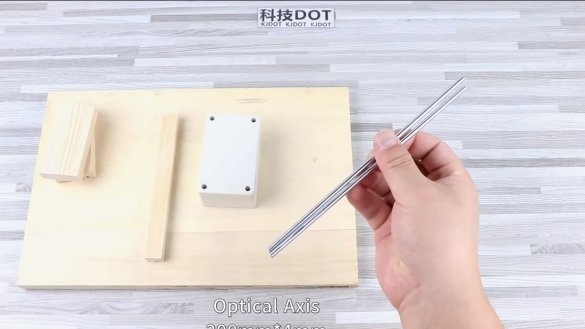
- iron rods;
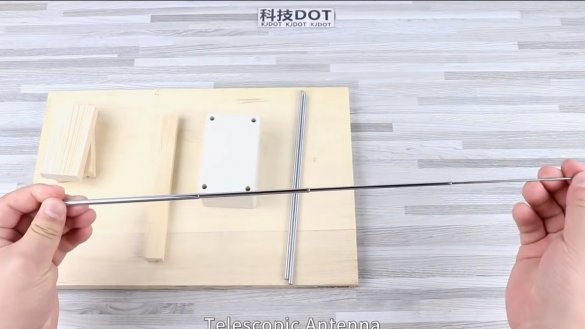
- telescopic antenna (or similar tube);
- ;
- ;
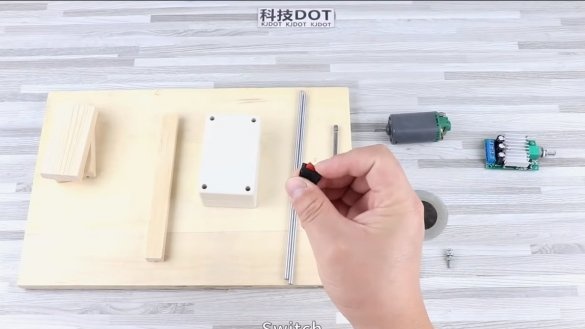
- switch;
- wires;
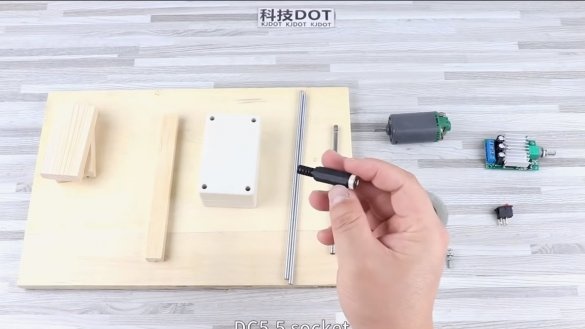
- socket for connecting the power supply;
- Super glue;
- a piece of tin;
- epoxy adhesive.
Tool List:
- soldering iron;
- a hacksaw or other tool;
- screwdriver;
- drill;
- ruler;
- marker;
- milling cutter;
- clamps;
- a cylinder of paint.
Machine manufacturing process:
Step one. Electronics Installation
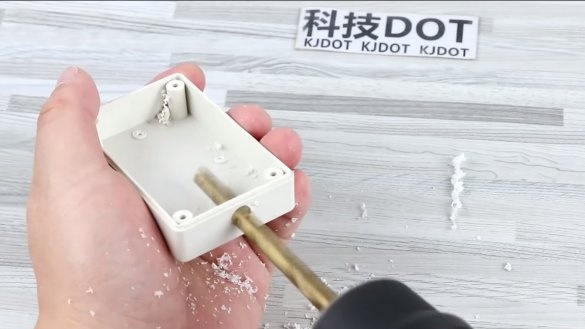
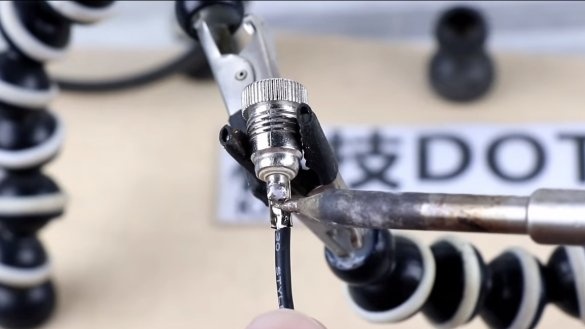
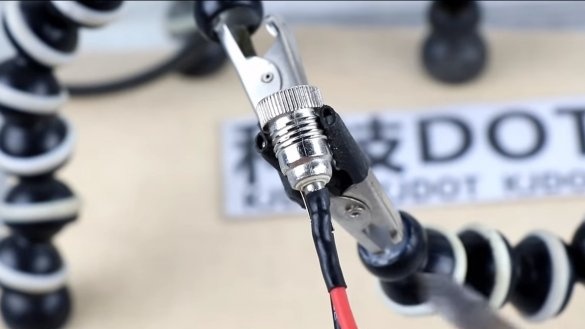
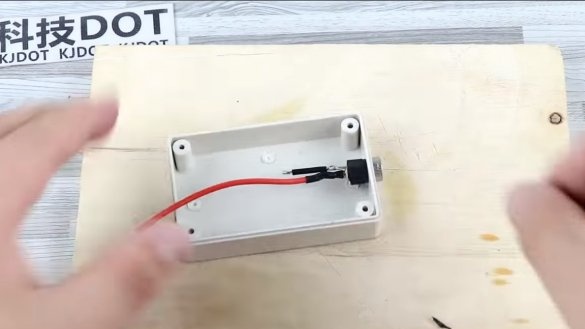
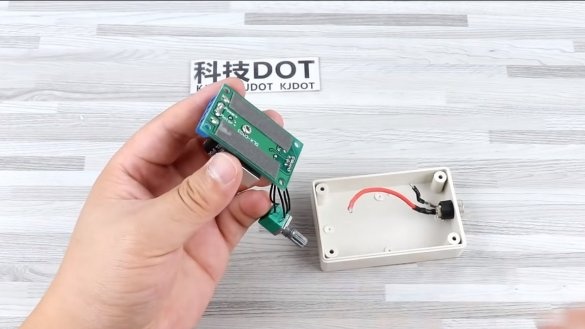
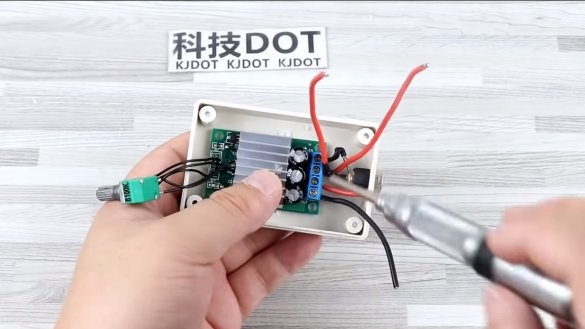
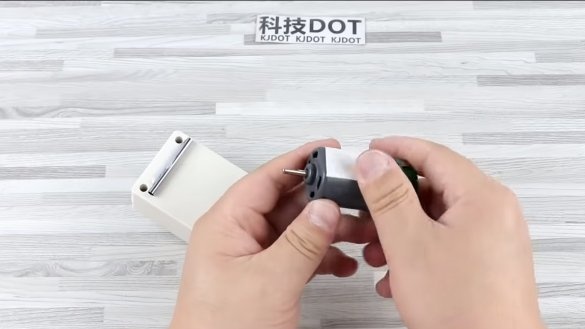
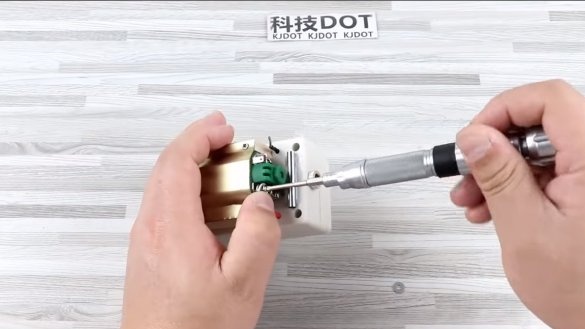
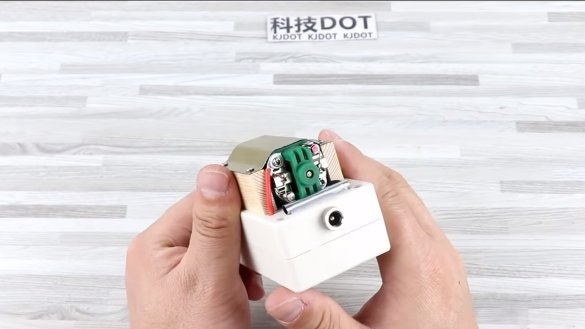
First of all, we need to install a dimmer, a switch, as well as a socket for connecting a power supply. The author’s case is already finished, made of plastic, this can be ordered from China. First of all, we drill a hole in the case for the charging socket, solder the wires to the socket, and isolate the contacts with heat shrink. The author uses a soldering iron, not a lighter, to shrink the tubes. Now the socket can be installed in the housing.
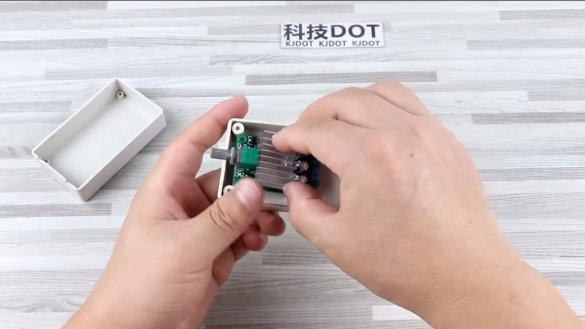
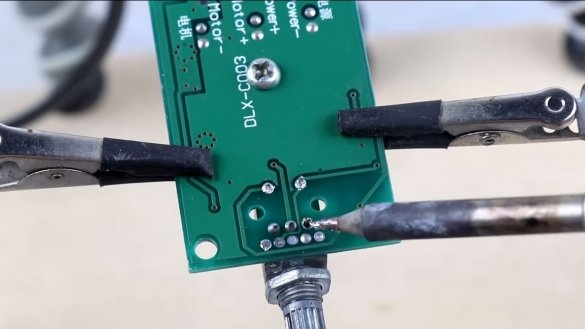
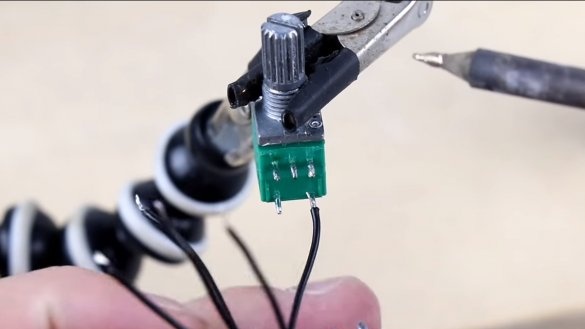
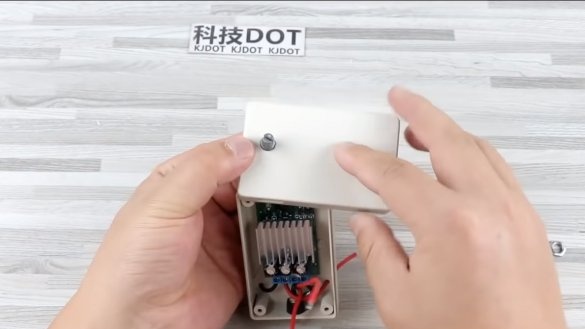
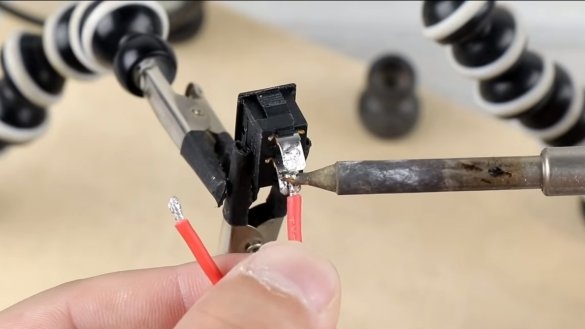
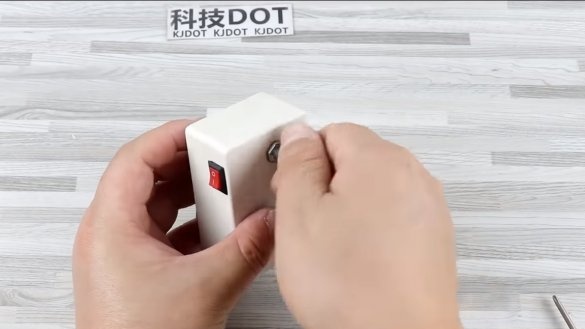
Next, we need to install a dimmer in the box, the author fastens it with double-sided tape. But first, we need to unsolder the adjustment knob and extend it with wires, the handle is installed in the housing cover, in the upper part. At the end of this step, we need to connect and install a switch in its place.
Step Two Guides and engine
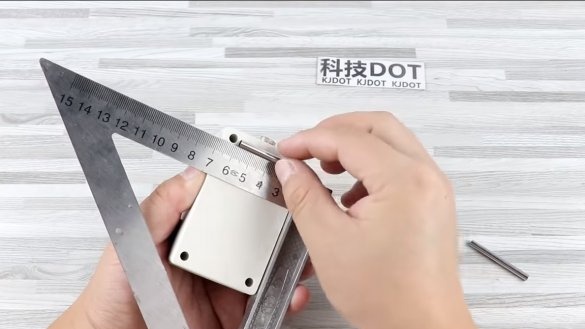
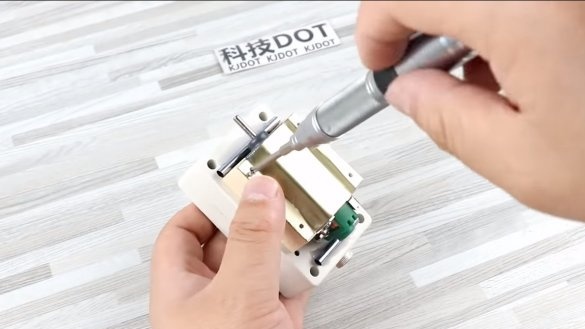
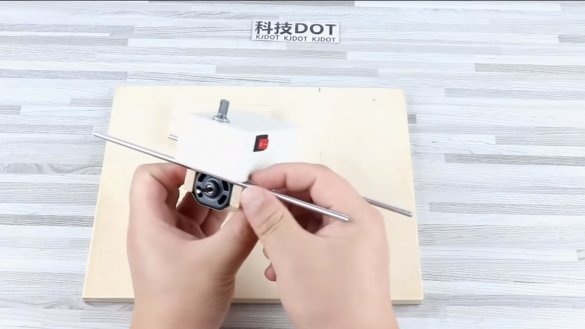
Next, on the case you need to fix two guides for the broaching system, here we need two metal tubes. For such purposes, the author uses part of a telescopic antenna, just cut the tubes with a hacksaw for metal. All sections of the antenna are of different diameters, so you can choose the right tube.
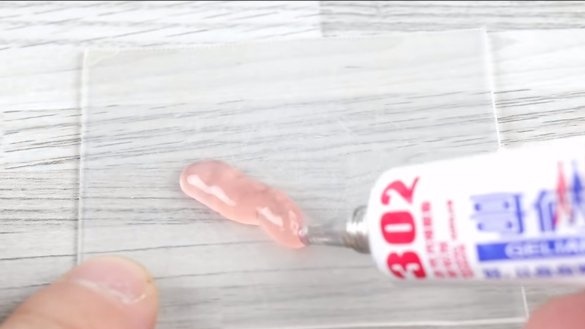
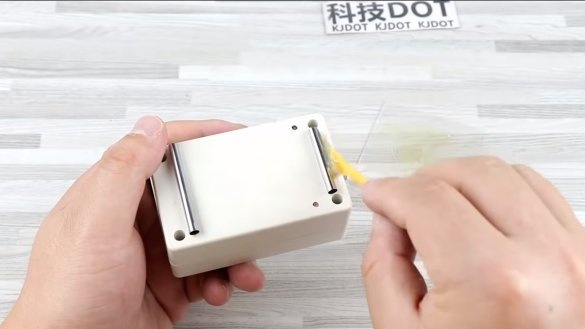
We fix the tubes on the case clearly in parallel, first the author fixes them with superglue, and then finally fixes them with epoxy glue.
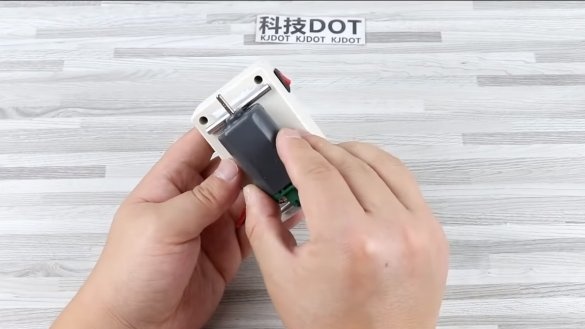
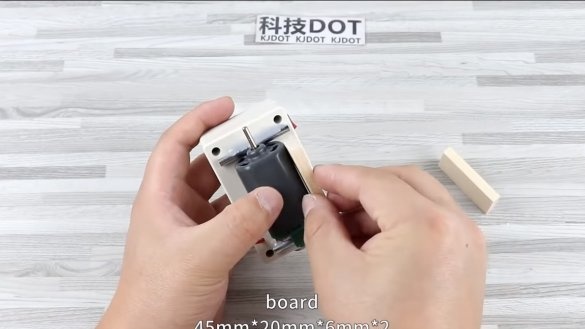
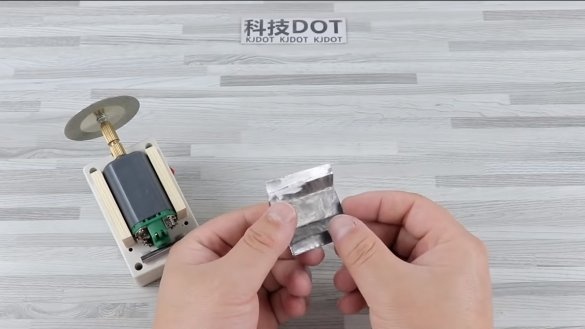
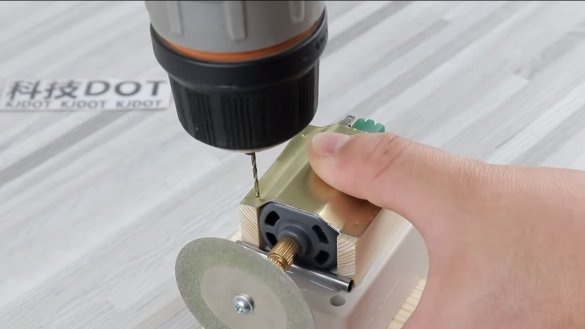
Now you can fix the engine and glue it to the body with double-sided adhesive tape. We glue small boards on the sides of the engine, these will be the side walls. And in the end, we press the engine from above with a piece of tin, fasten it with screws.
Step Three Broach knot
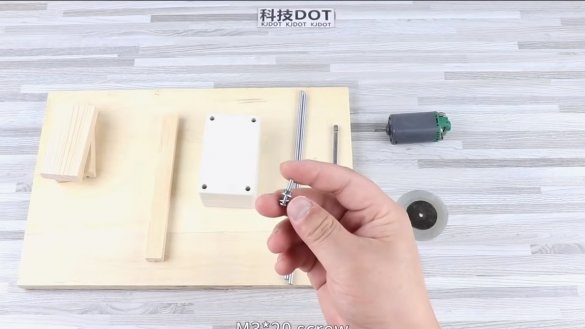
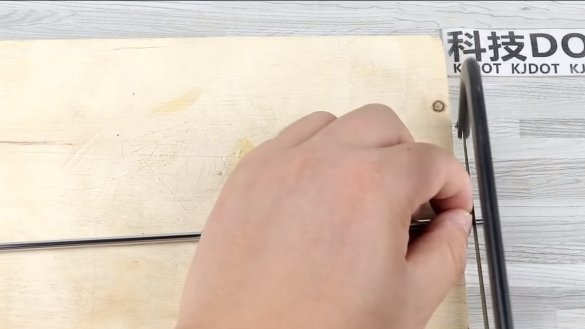
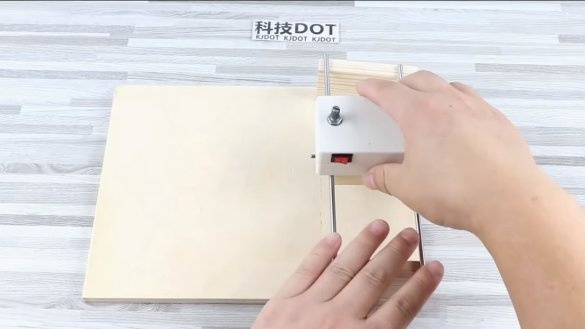
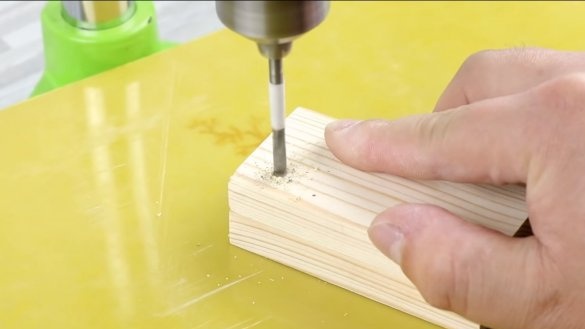
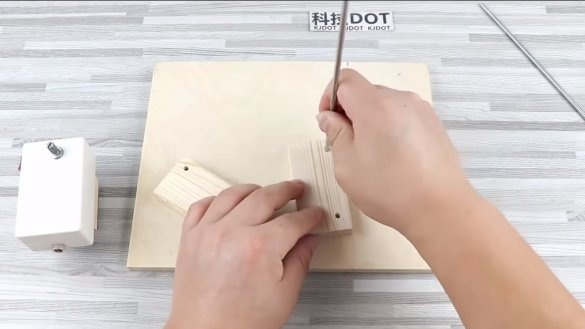
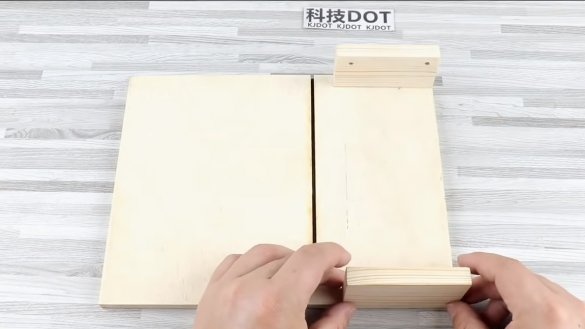
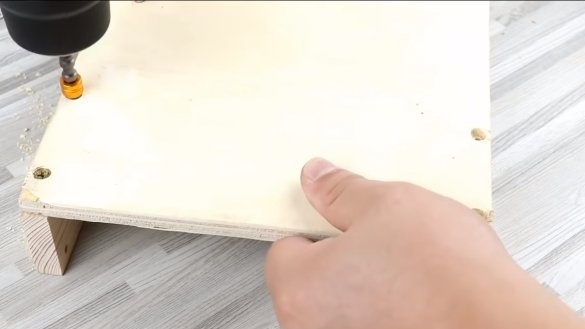
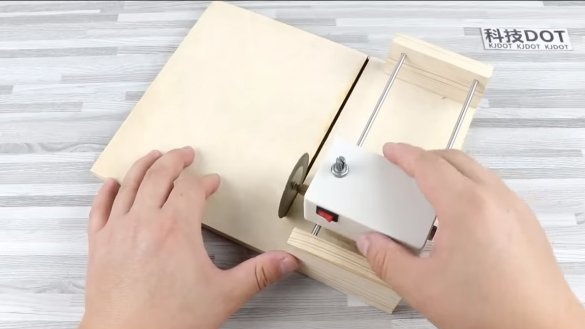
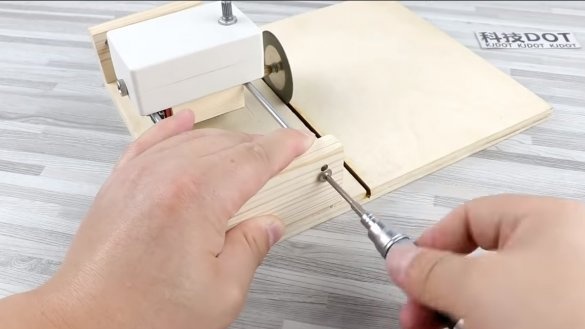
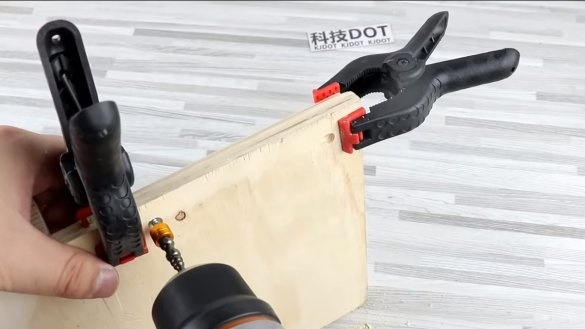
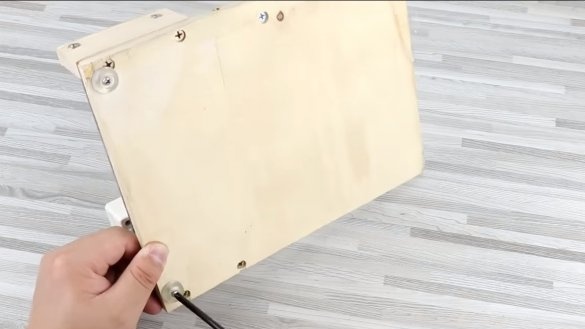
For broaching, we need two iron rods, their diameter must be such that the rods go into the tubes with minimal backlash. For axles we make stands of wood, securely fasten them to the base with self-tapping screws. We drill blind holes in one rack, and through holes in the other, now this entire assembly can be assembled. So that the rods do not jump out of the racks, the author fixes them with screws with large caps.
Step Four Assembly
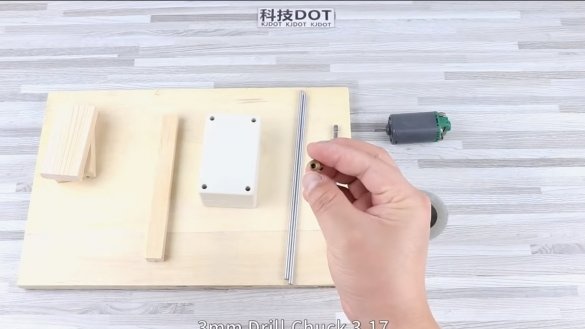
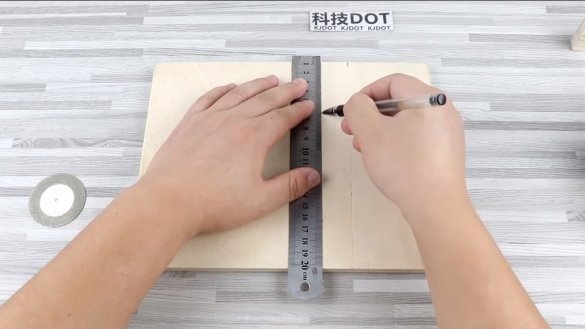
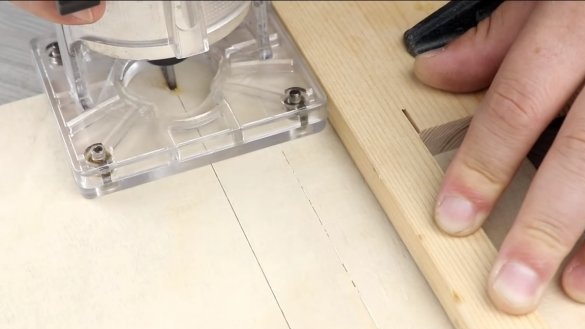
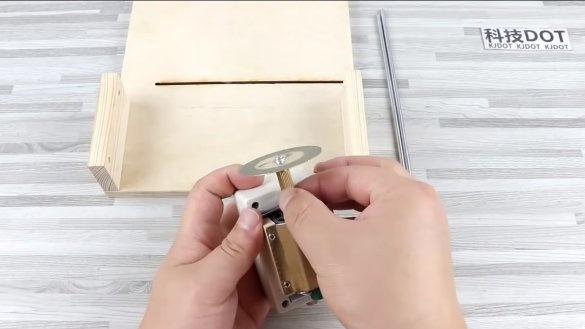
We assemble the homemade product, before installing the cutting disk, we need to make a cut at the base where this disk will go. The author makes such a cut using a manual milling cutter. That's all, we attach a drill chuck to the motor shaft and install a cutting disc. Check if the broach is working. If the rods are fixed in parallel, everything should work.
Step Five Painting and testing
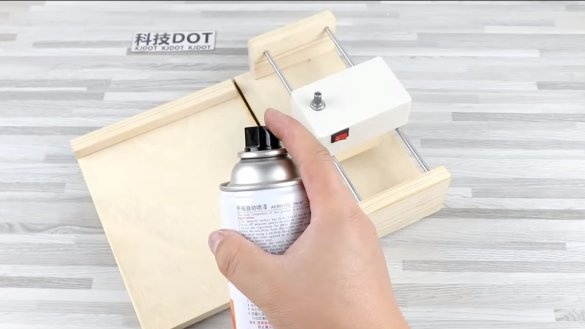
The homemade product is ready, now the wooden parts can be sanded and painted, the homemade product will look great, and even the details will be easier to clean in case of contamination. On this project is over, I hope you liked the homemade. Good luck and creative inspiration, if you decide to repeat this. Do not forget to share your ideas and homemade things with us!

