
I welcome fans to craft, I propose to consider homemadewhich will allow you to weld thin sheet metal. As an example, with such a homemade product it will be very convenient to weld the contacts to the batteries, which it is not advisable to heat with a soldering iron. Homemade assembly is quite simple and made from available materials. The author used a converted microwave transformer as a power transformer. The transformer should be turned on only for a certain time, for such purposes an inexpensive timer is used, which can be ordered from China. If the project interests you, I propose to study it in more detail!
Materials and tools used by the author:
Material List:
- transformer from the microwave;
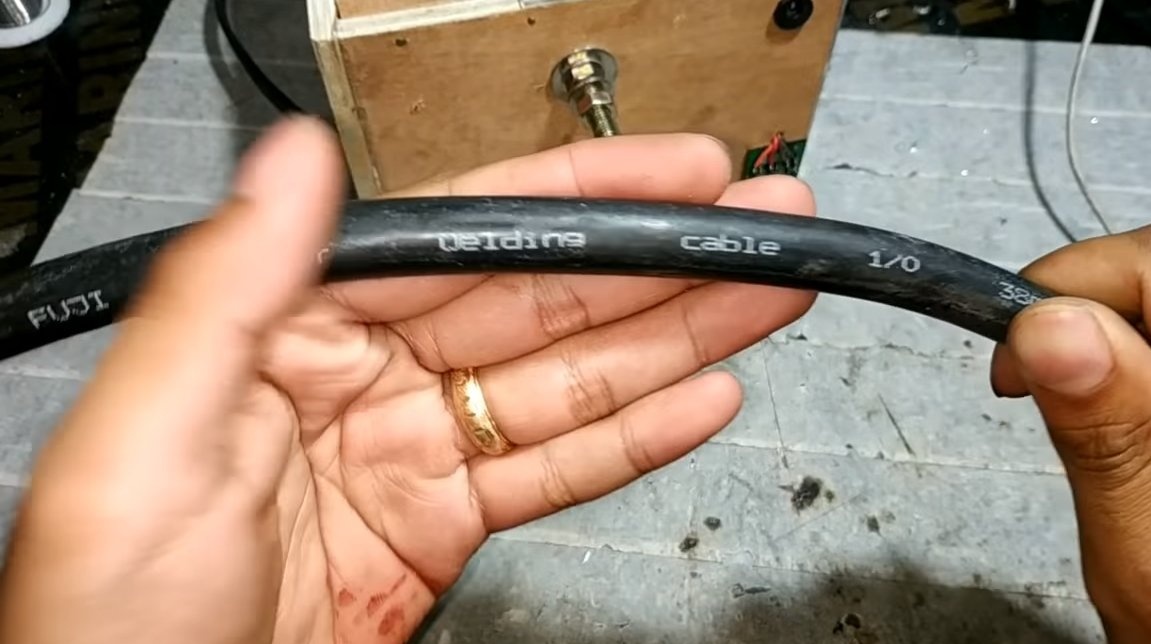
- thick-core wire for the secondary winding;
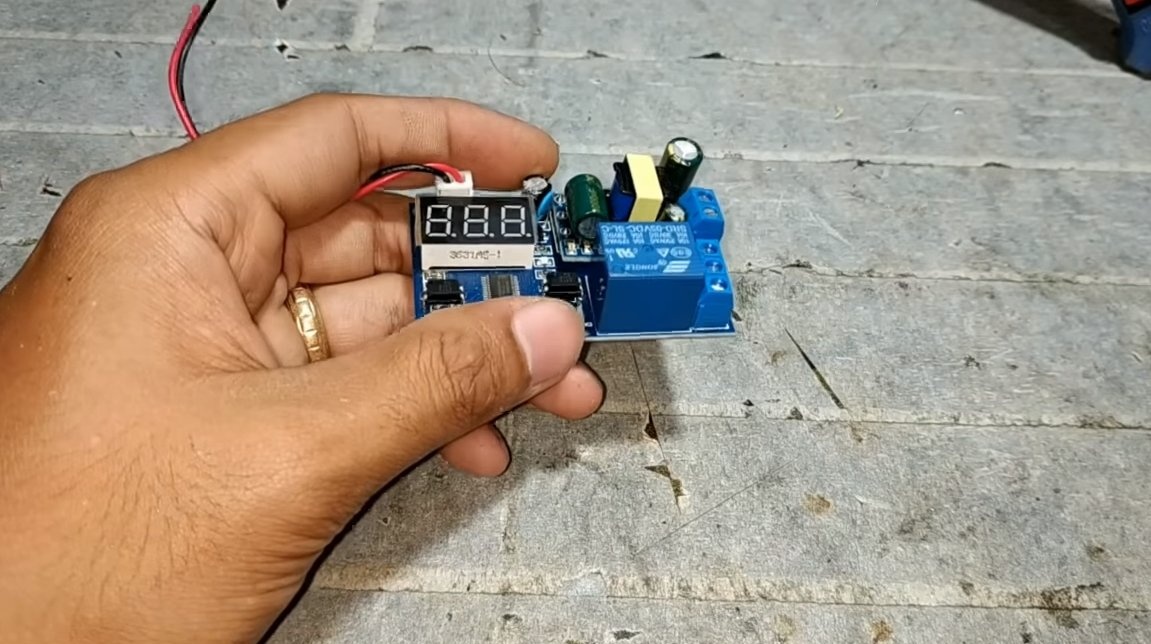
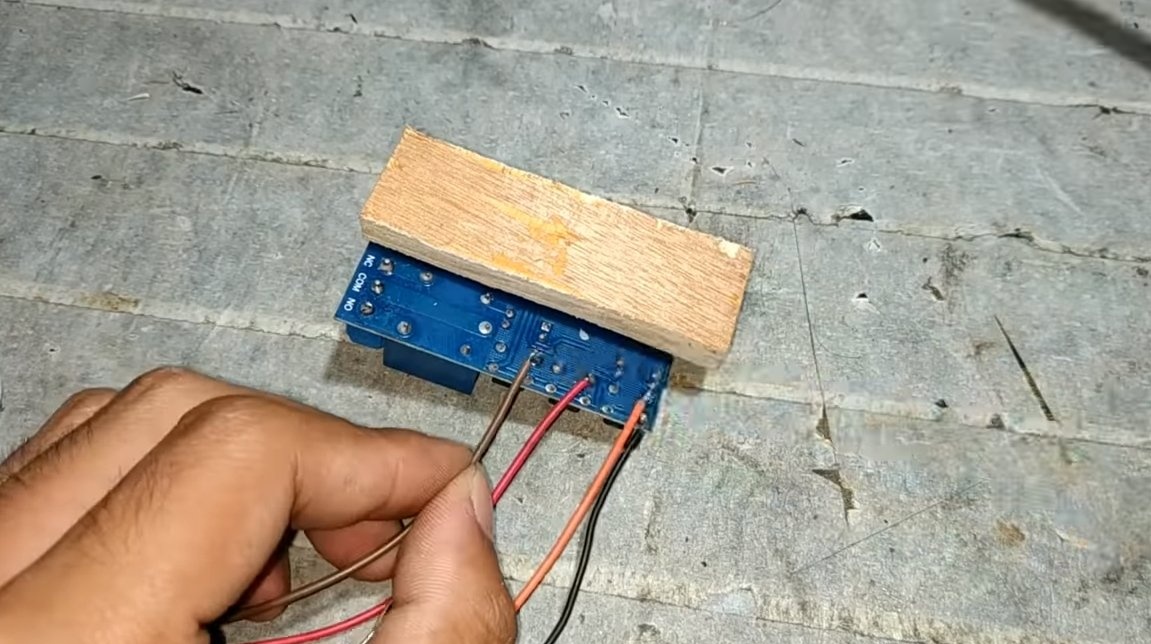
- timer;
- plywood;
- bolts and nuts;
- LEDs (for indication);
- plastic ties;
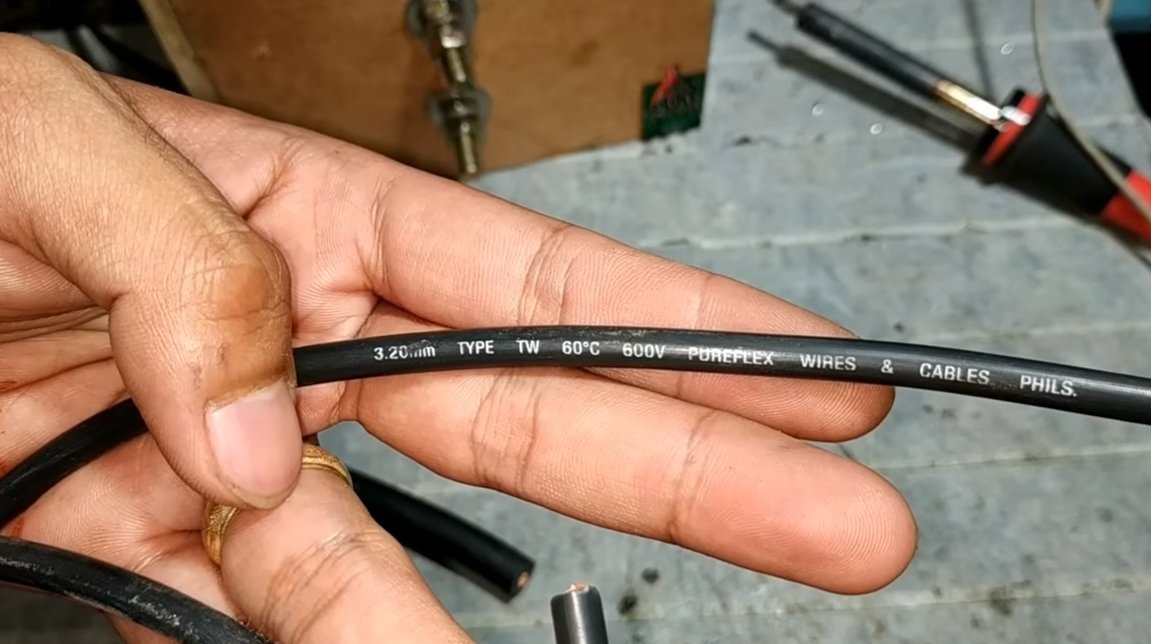
- wires;
- fuse 8A;
- plexiglass;
- door hinge.
Tool List:
- jigsaw;
- drill;
- soldering iron;
- grinder;
- glue gun;
- a hammer, screwdrivers, wrenches.
Welding machine manufacturing process:
Step one. Remaking a transformer
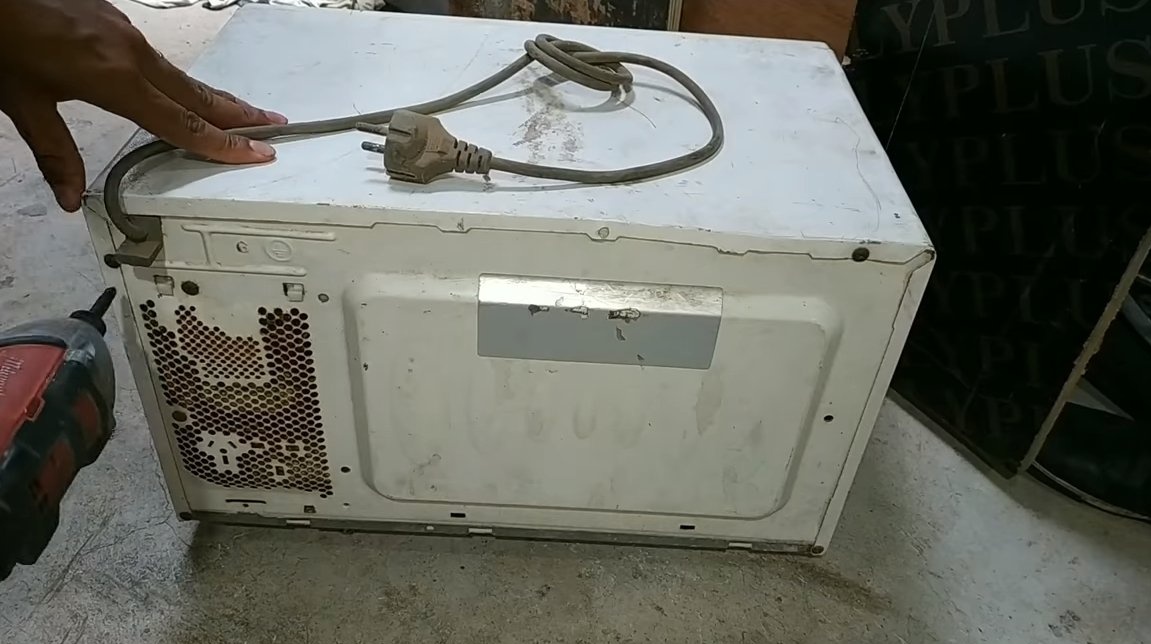
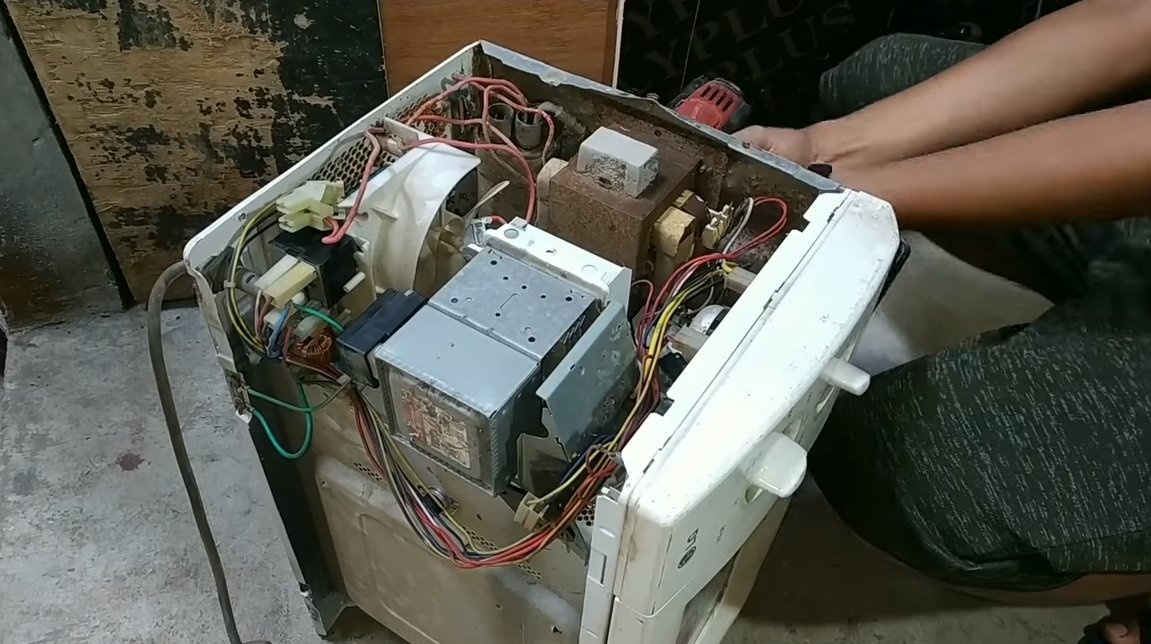
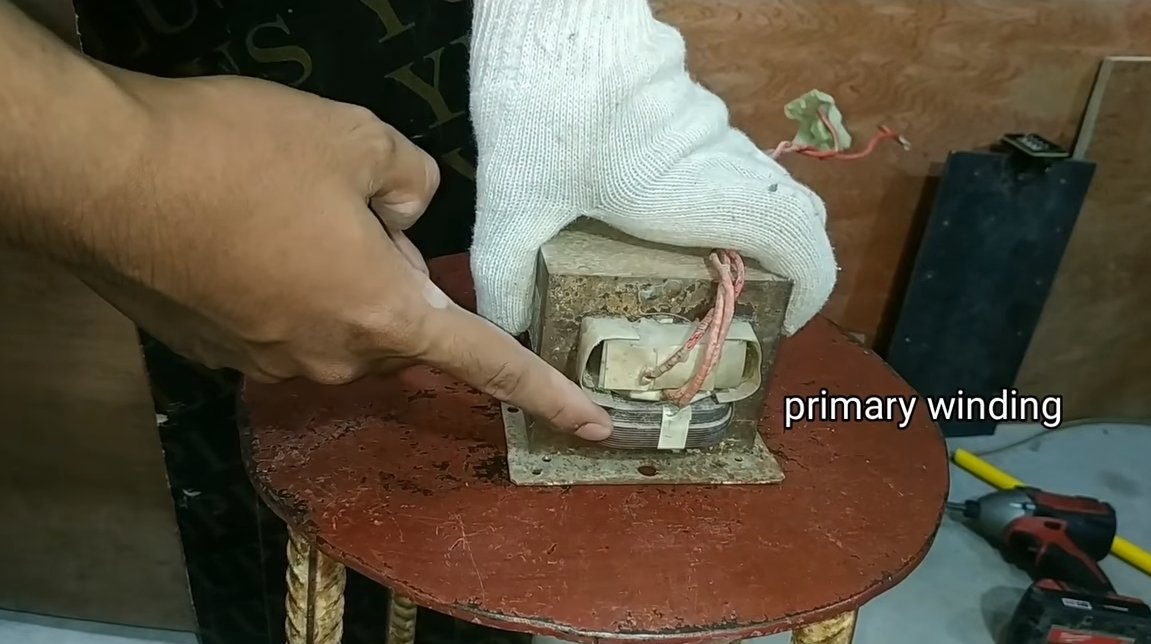
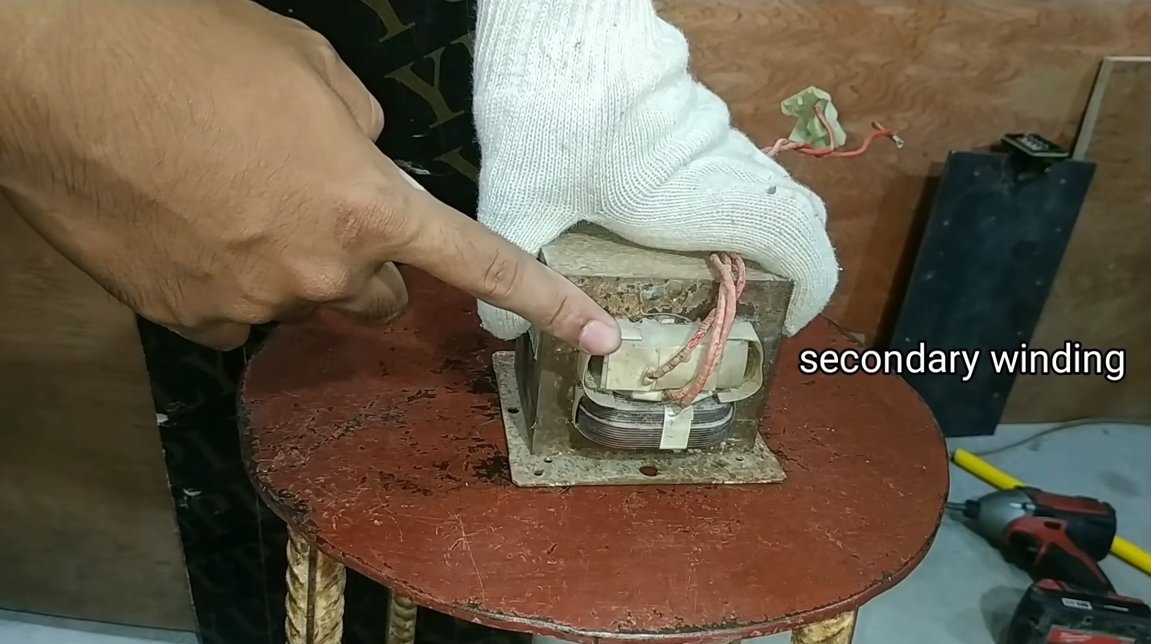
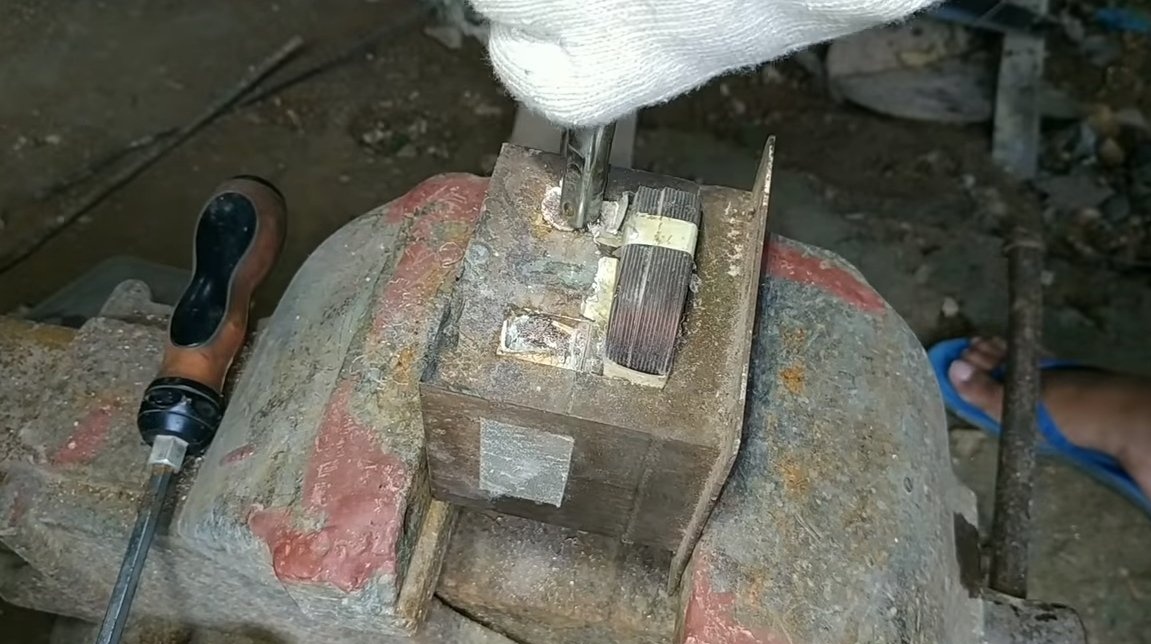
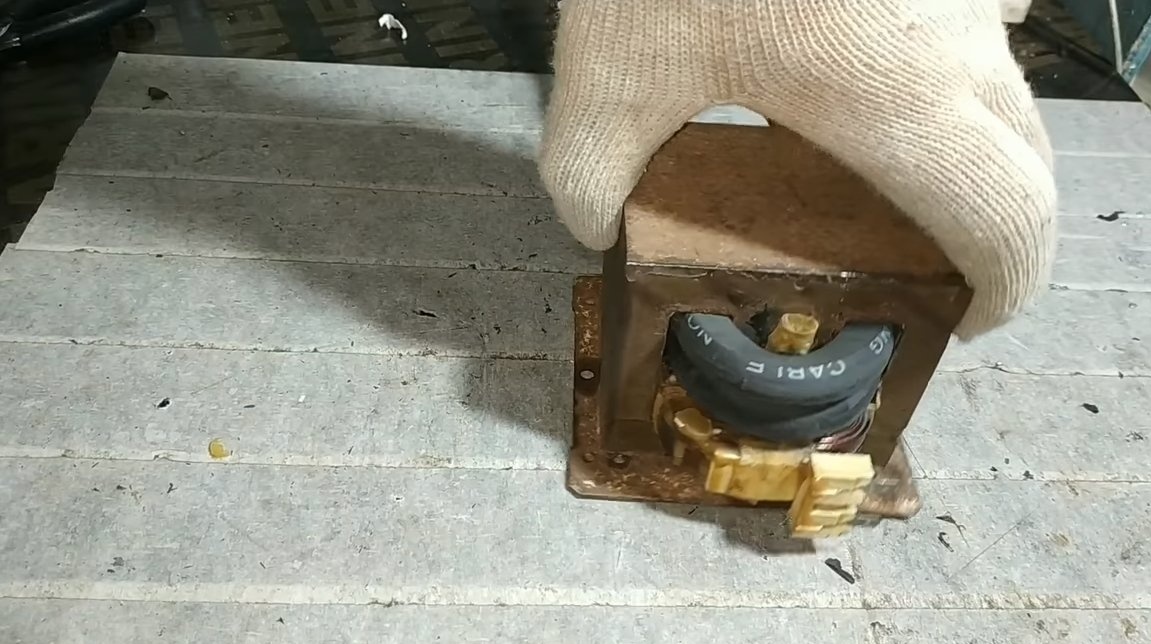
First of all, we need to disassemble the microwave oven, if it does not even work, the transformer must have remained working in it. We get the transformer, then we need to remove the secondary winding from it. The primary winding is the one to which the incoming cable is connected, the power cable.
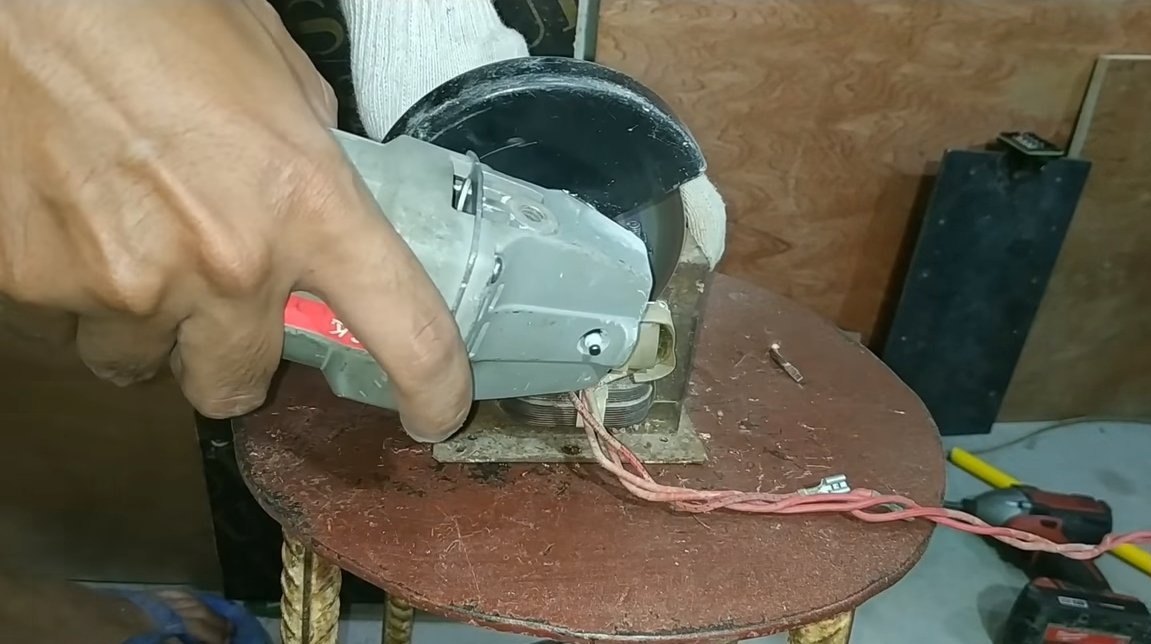
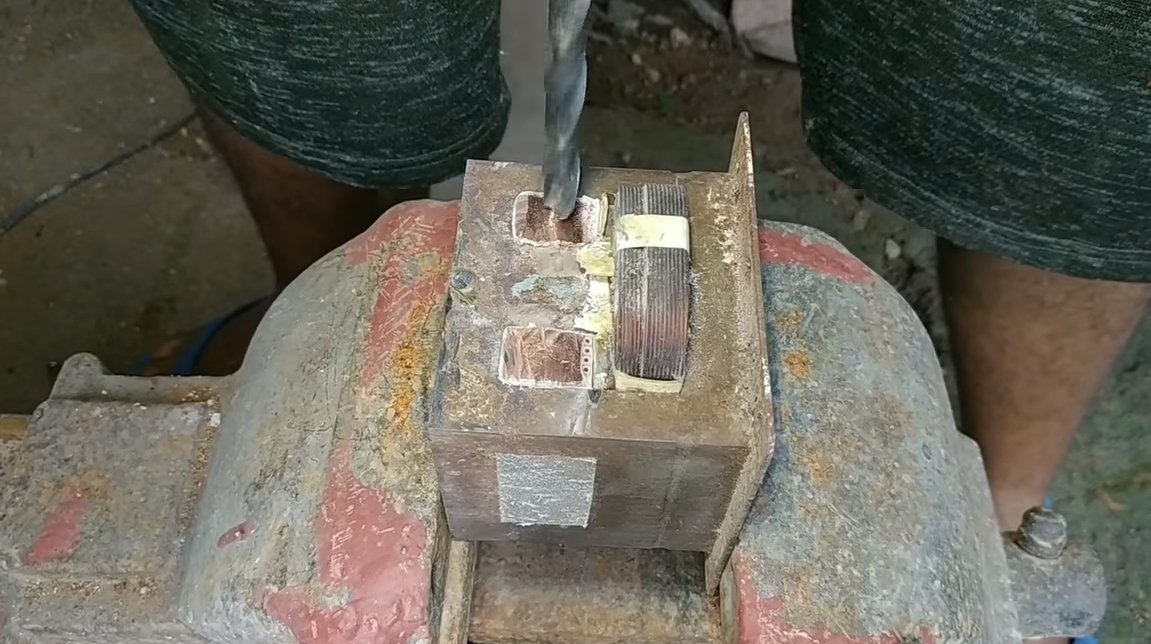
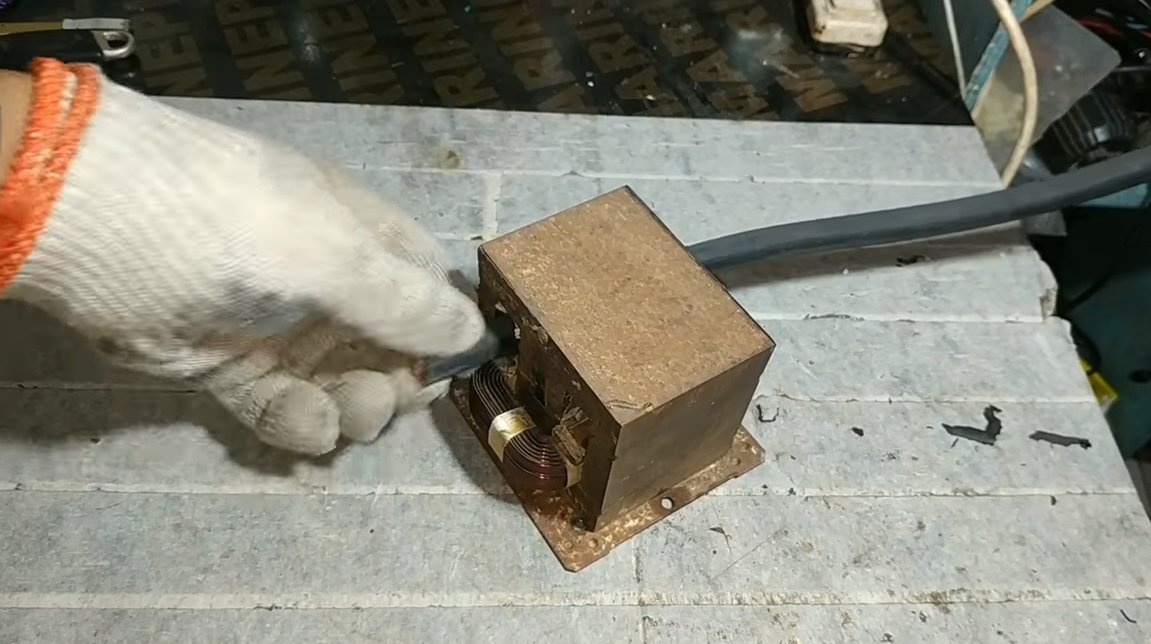
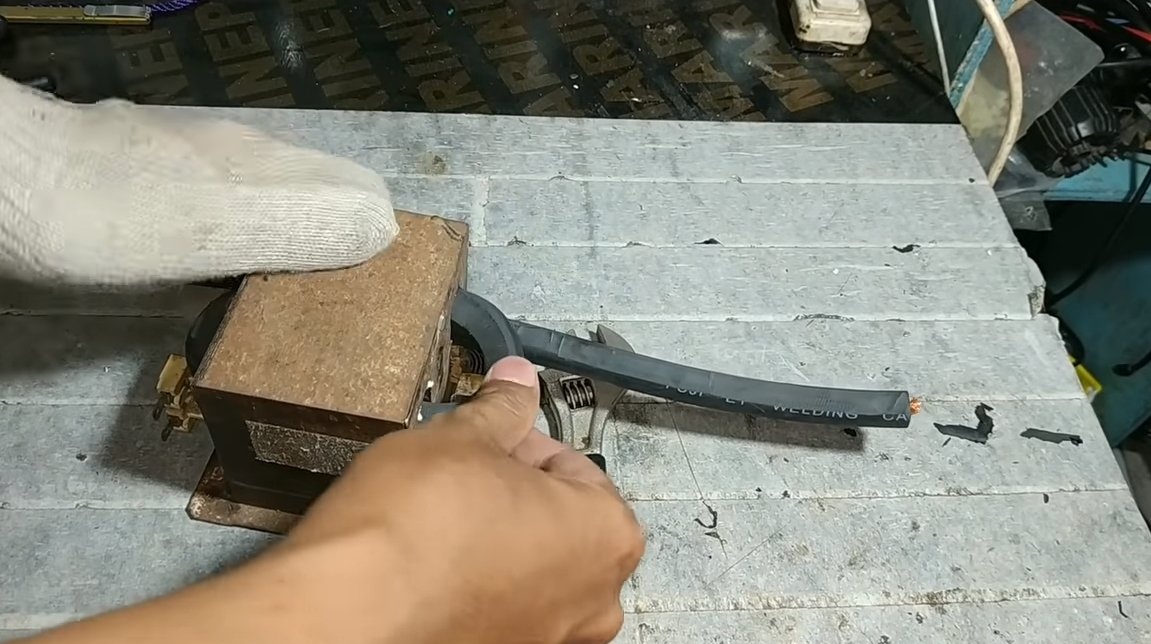
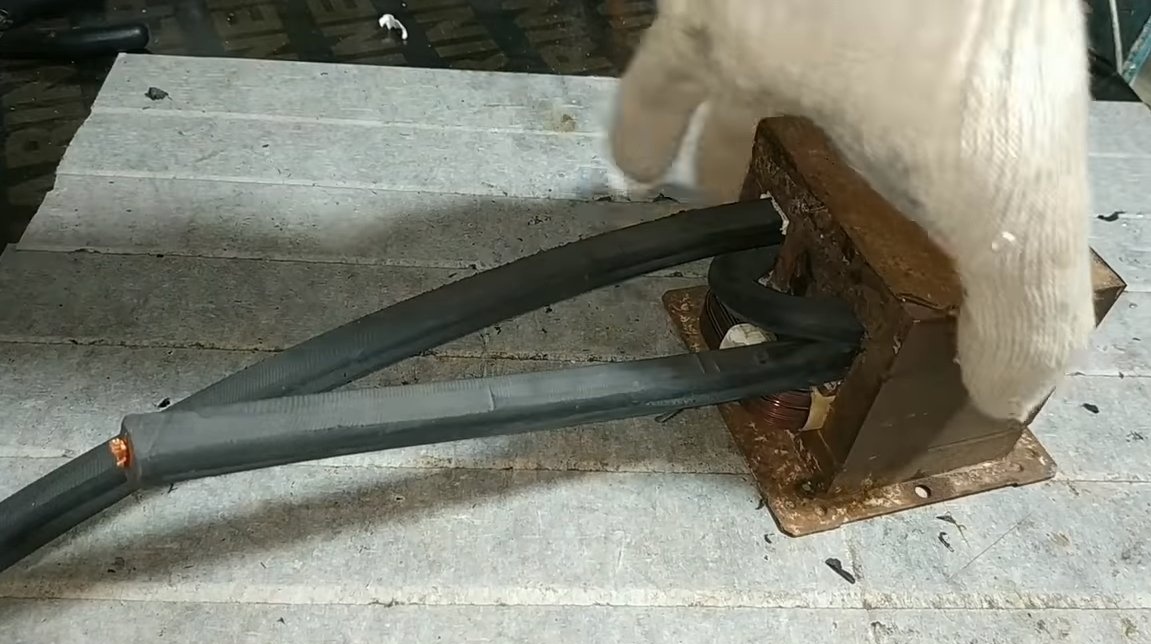
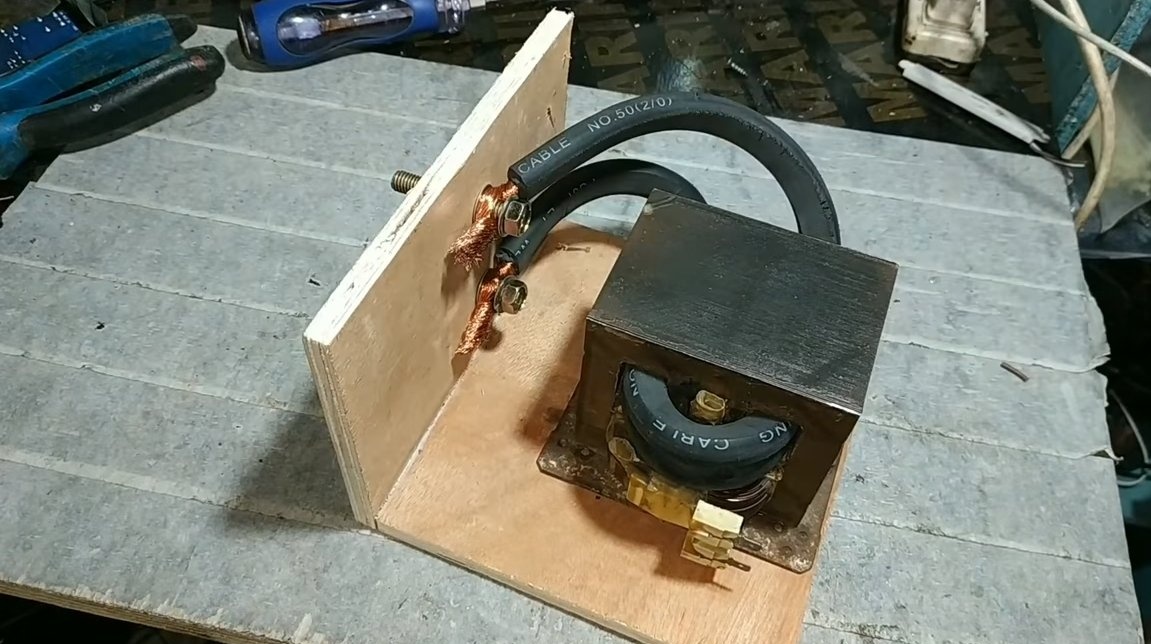
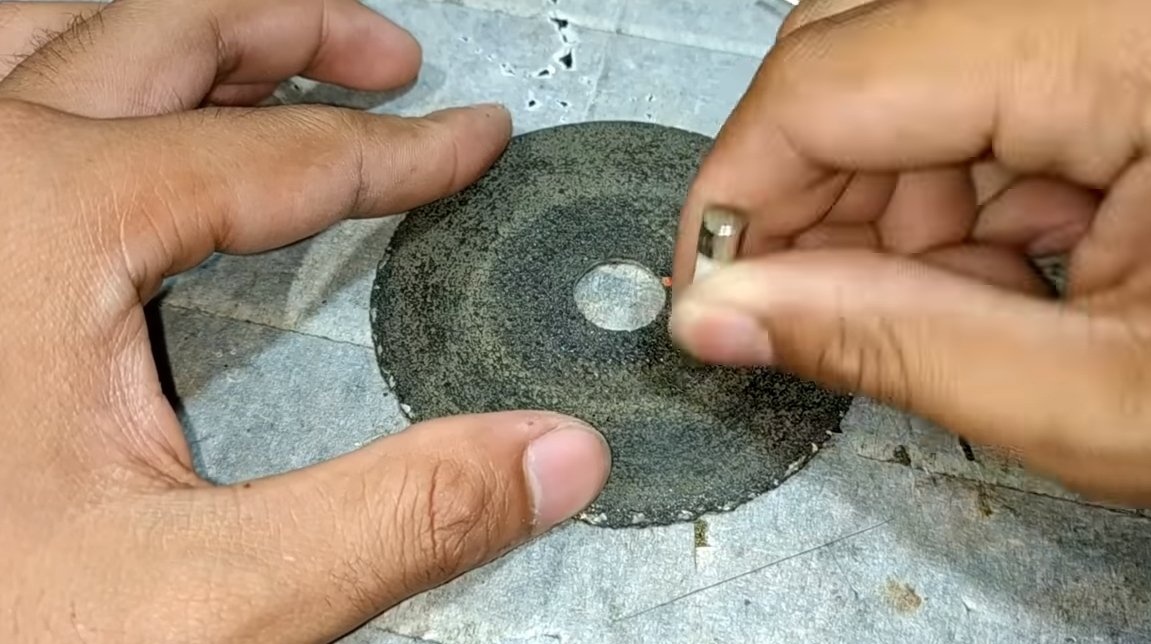
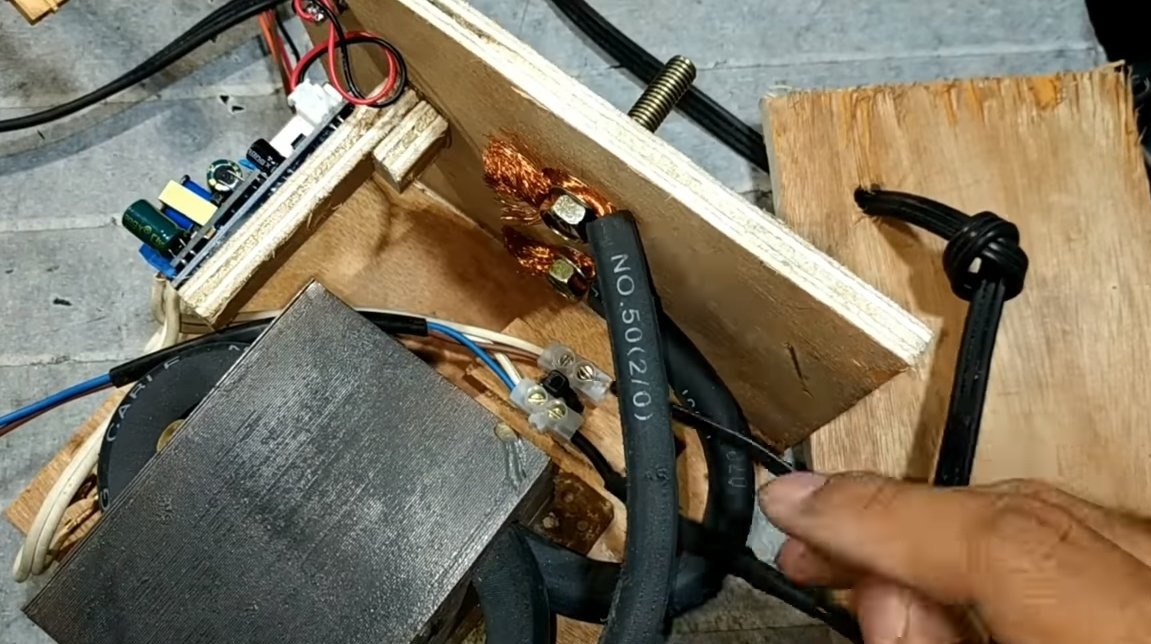
The author cuts the secondary winding with a grinder, drills it, and then knocks it out. Next, instead of the standard winding, we will put ours, for such purposes we need a wire with good insulation and able to withstand high currents. As such a cable, one that is used in welding machines is suitable. We need to make only two turns, this will be the secondary winding of the transformer. As a result, we will get a huge current with a small voltage, as a result, the welding process will be excellent, and the voltage will be safe so that you can be shocked.


Step Two Housing and assembly
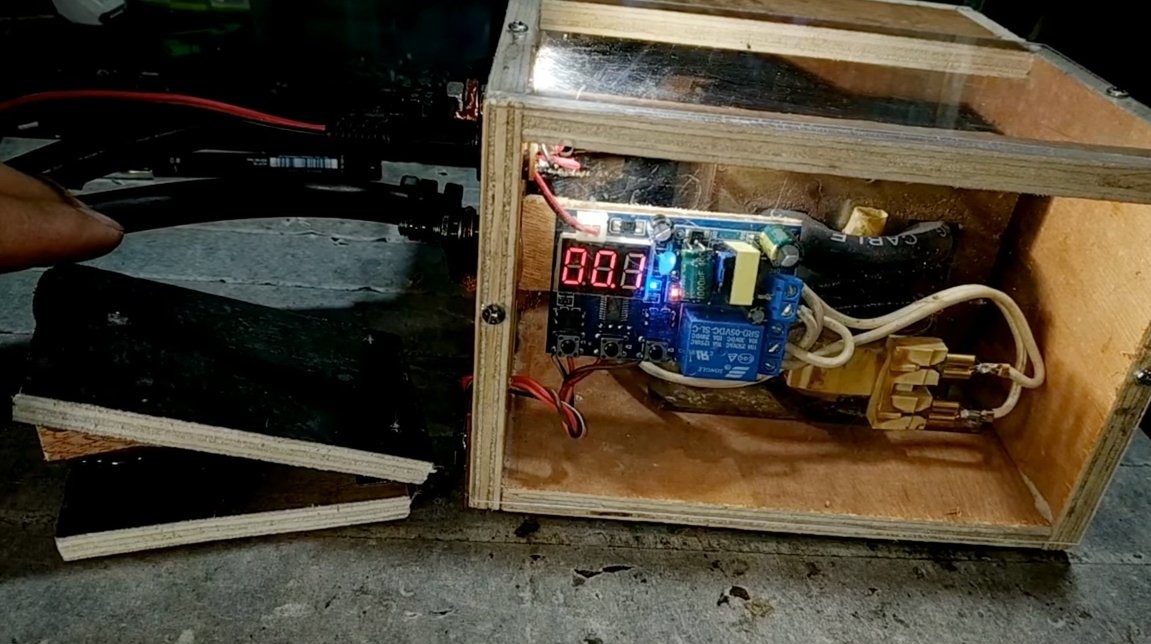
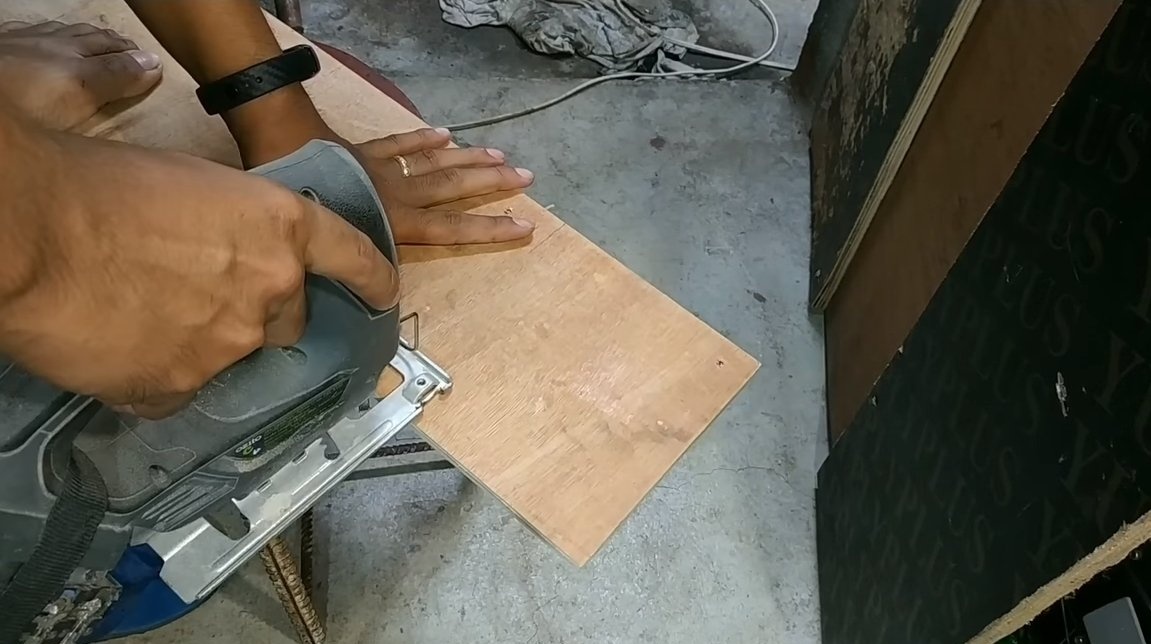
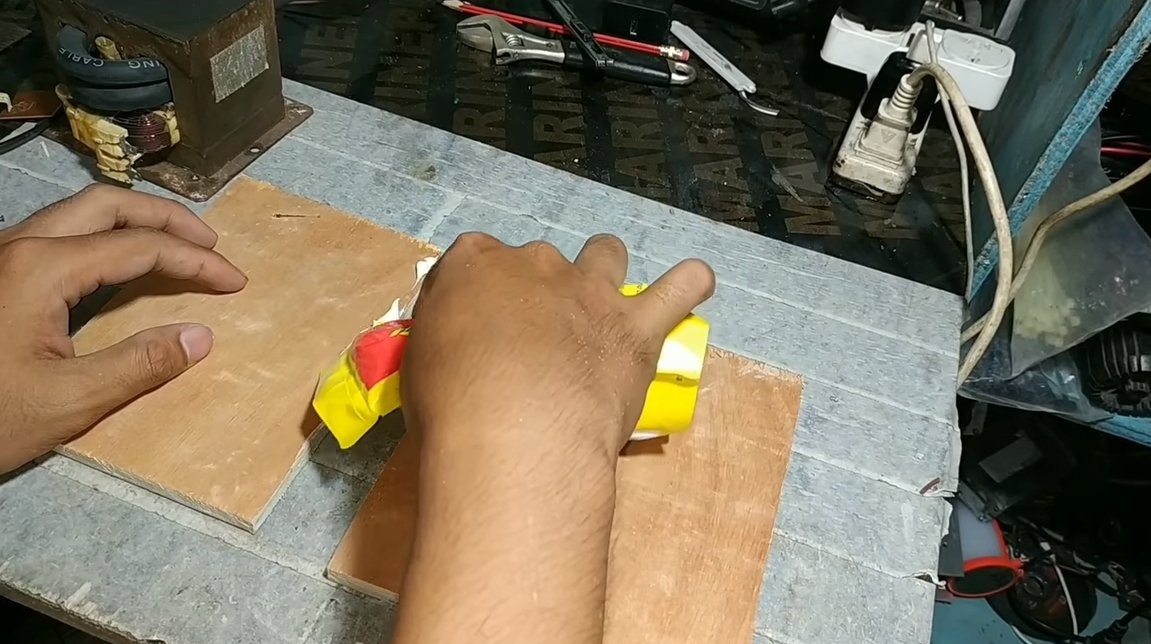
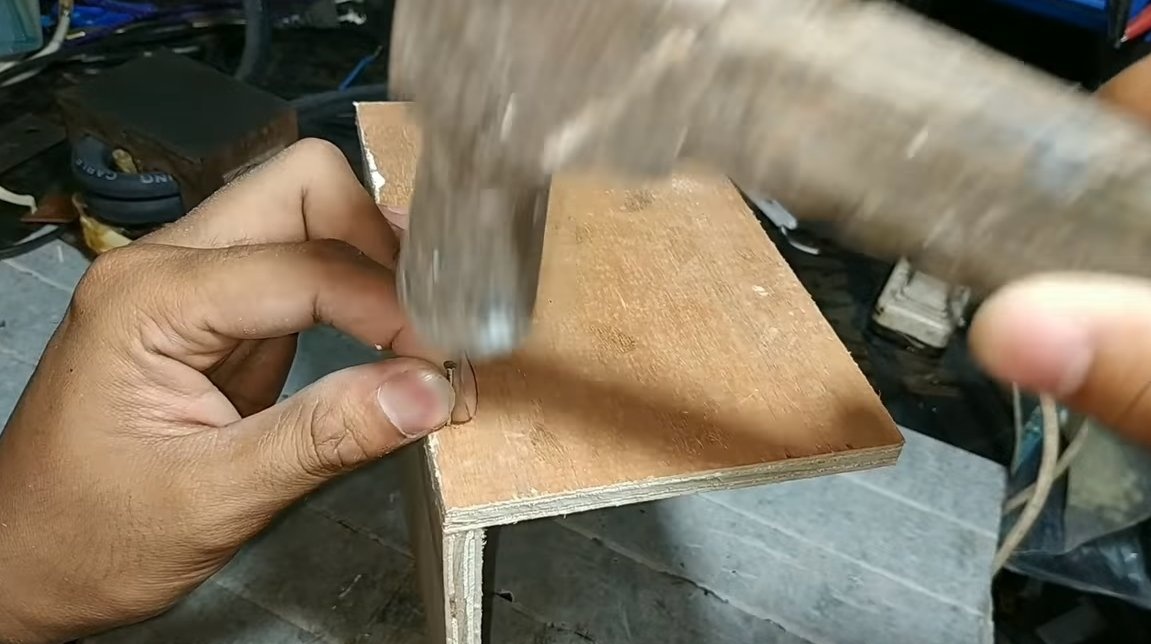
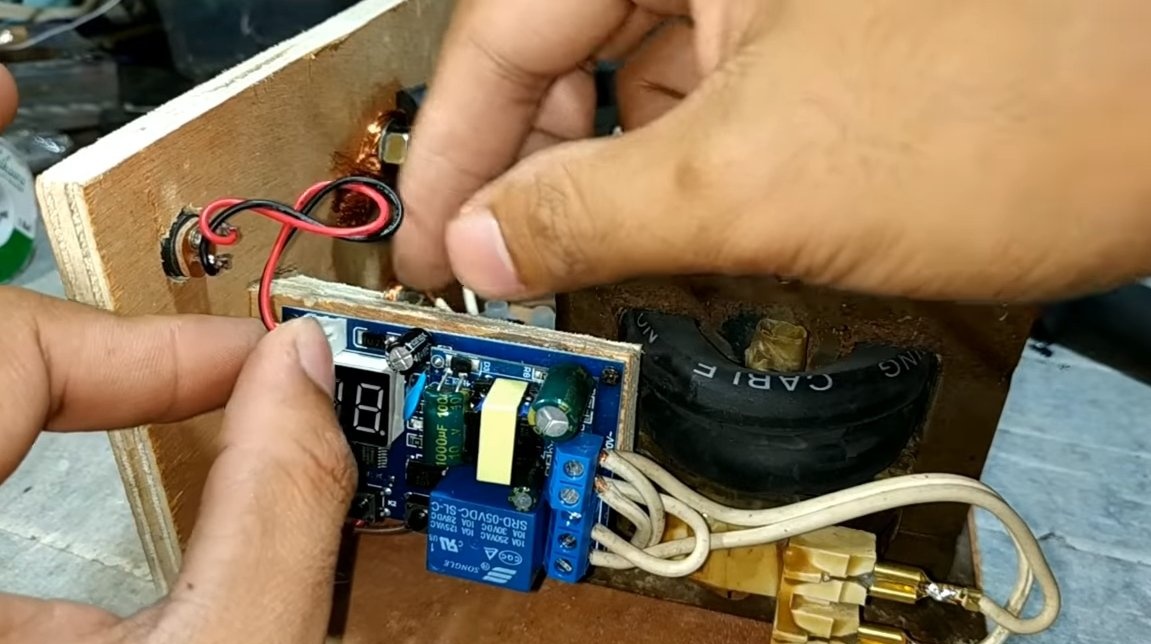
When the transformer is ready, we need to make a case, a timer will also be located in it. The author uses plywood as a material for the body; we cut it with an electric jigsaw. The author glues plywood to wood glue and knocks down with nails. We fasten the transformer inside the case, and also establish contacts, in which the author used bolts with nuts.
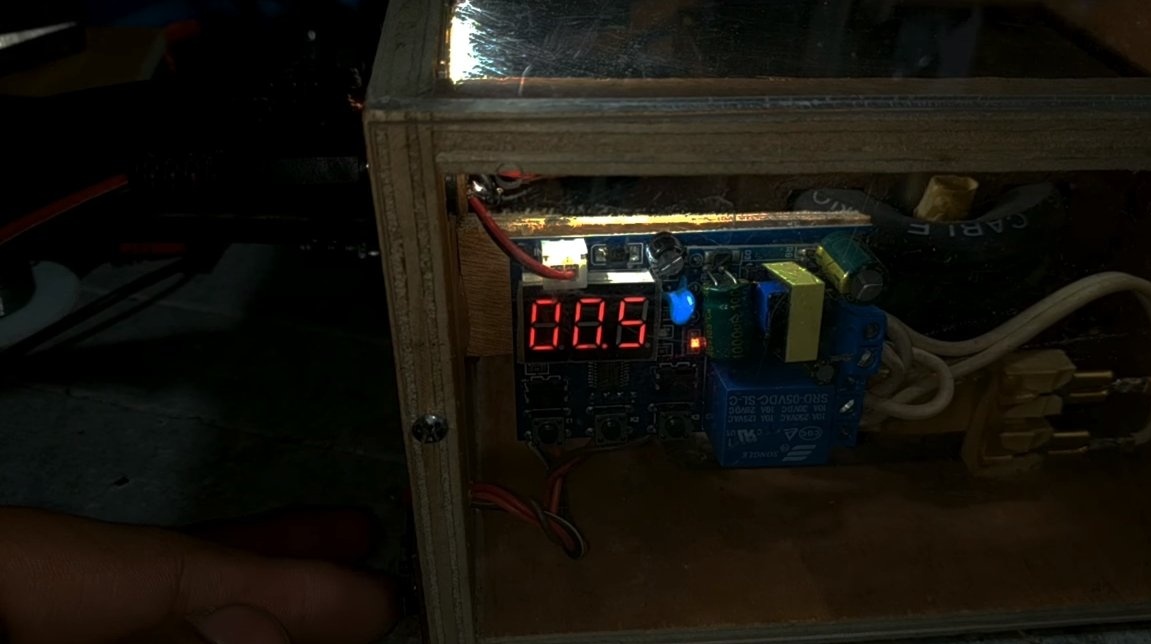
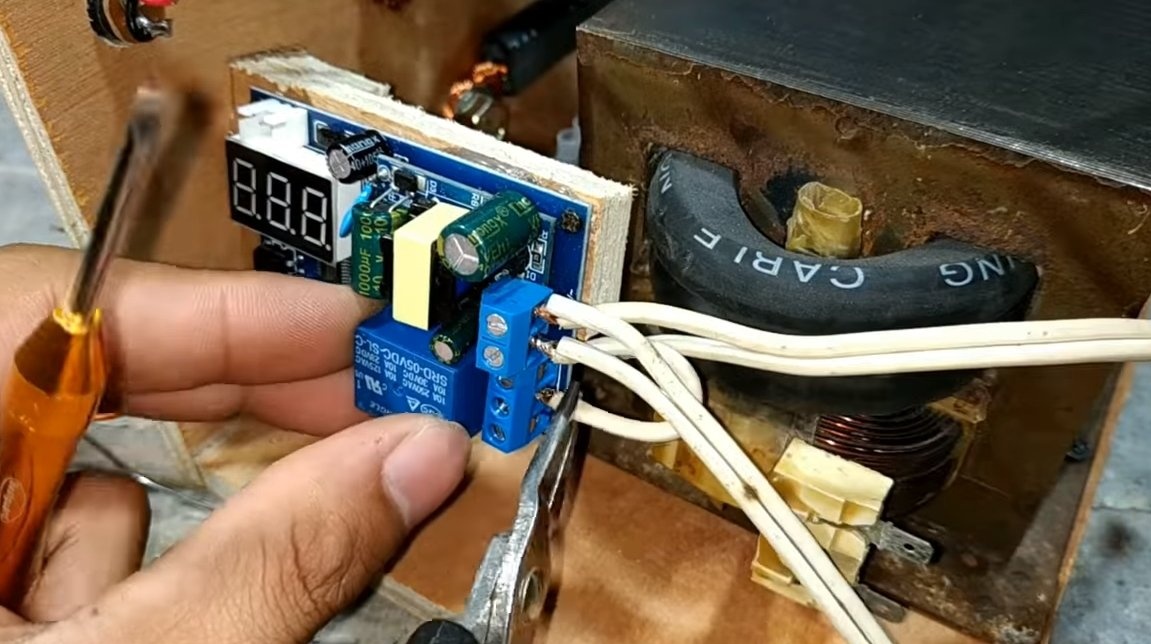
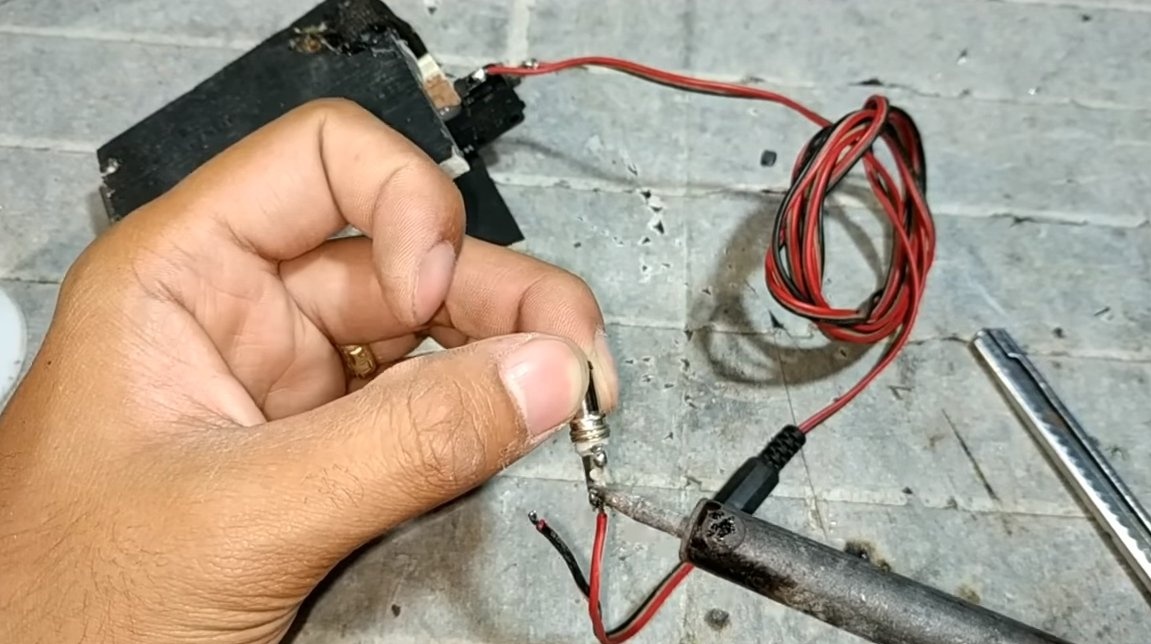
We also install a timer inside and mount a socket in the housing for connecting the power supply, from which the timer will be powered.
We connect the transformer to the gap through a timer, it is the timer that turns on the transformer for the time specified for welding.


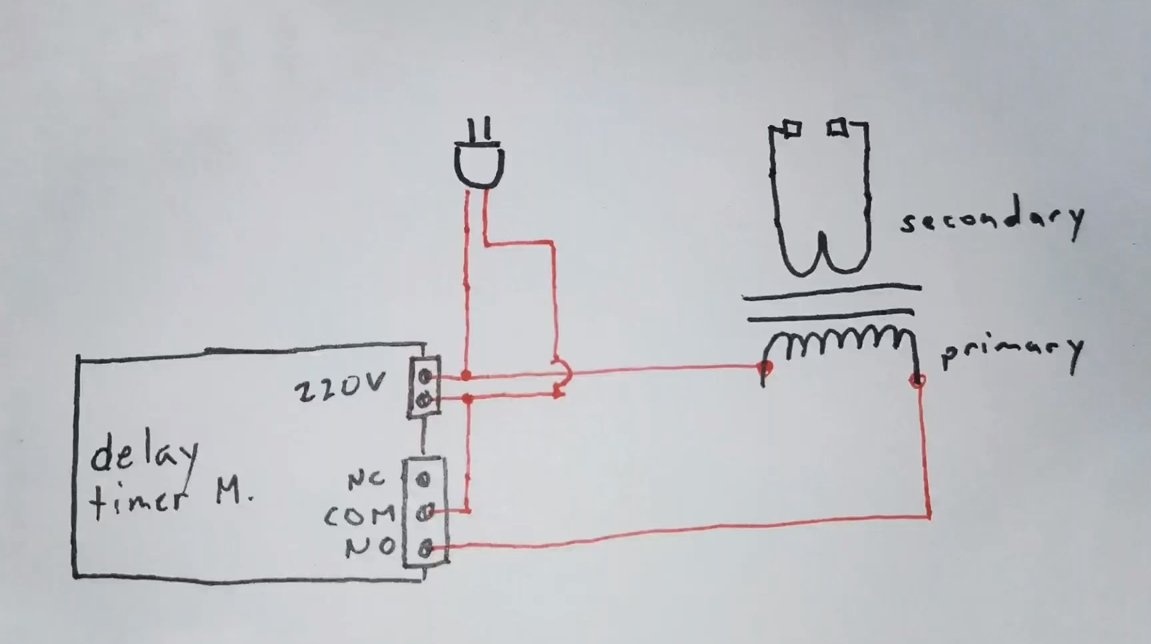
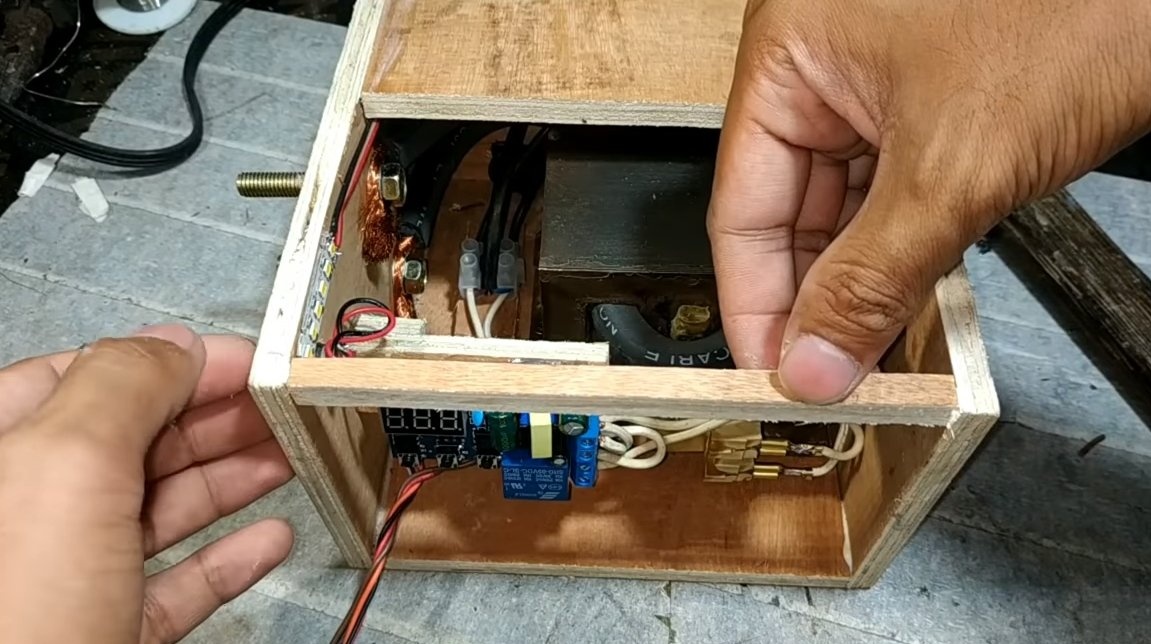
For additional precautions, the author installs a 8A fuse on the device, it will turn off the entire system in case of a short circuit in the transformer.
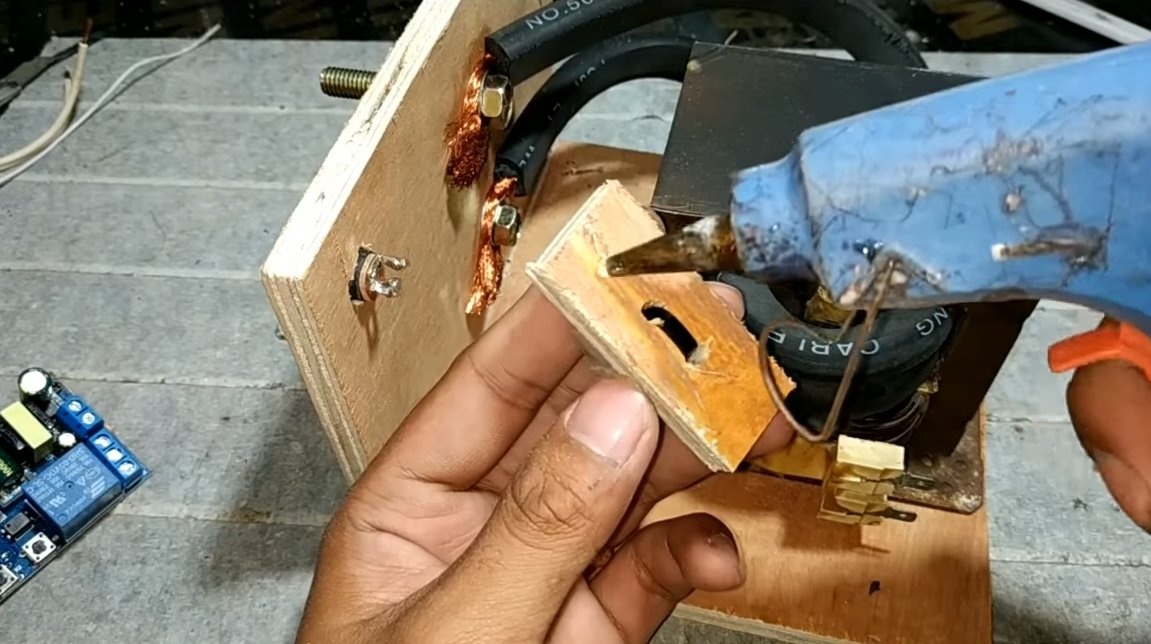
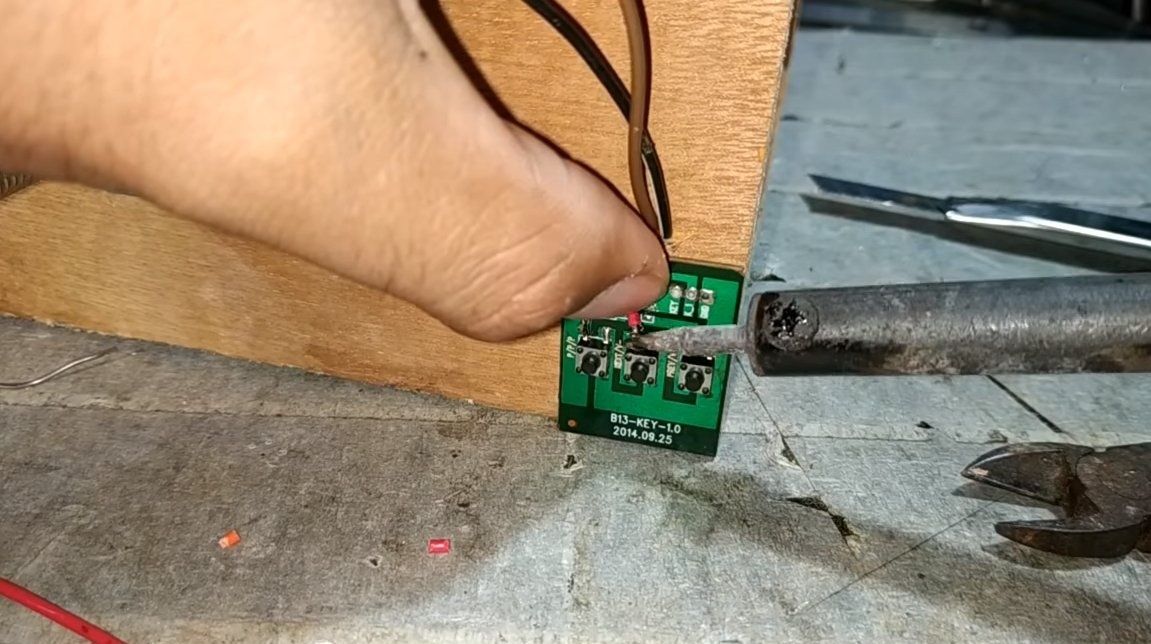
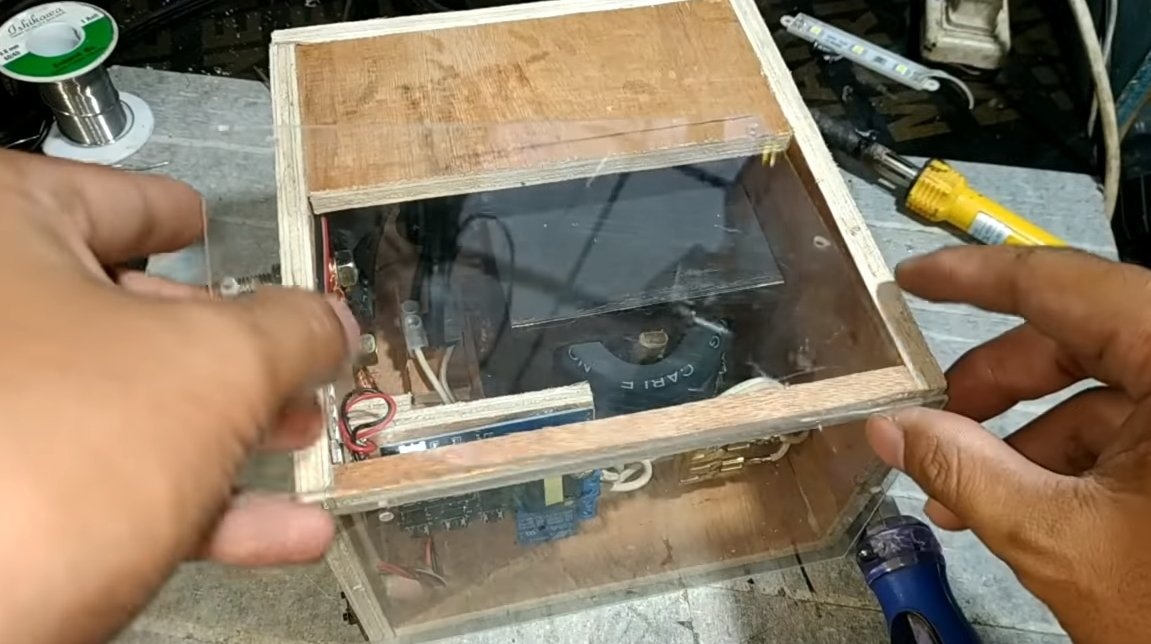
For convenient control of the timer, the author installed three control buttons outside the case. The case itself was sheathed with plexiglass so that the timer and LEDs could be seen.
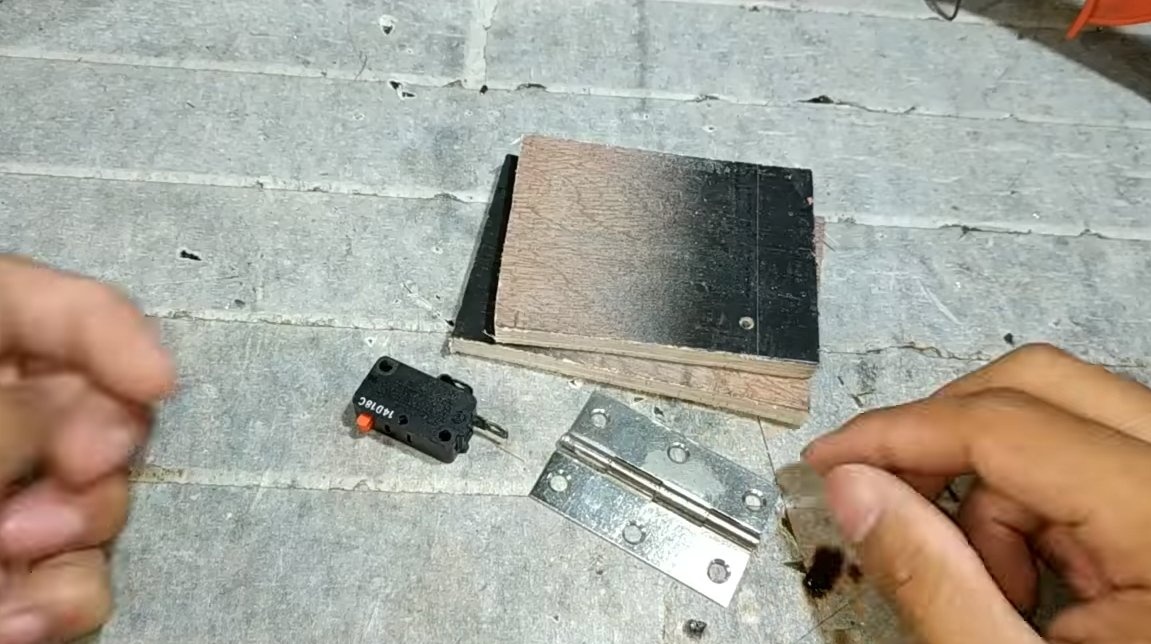
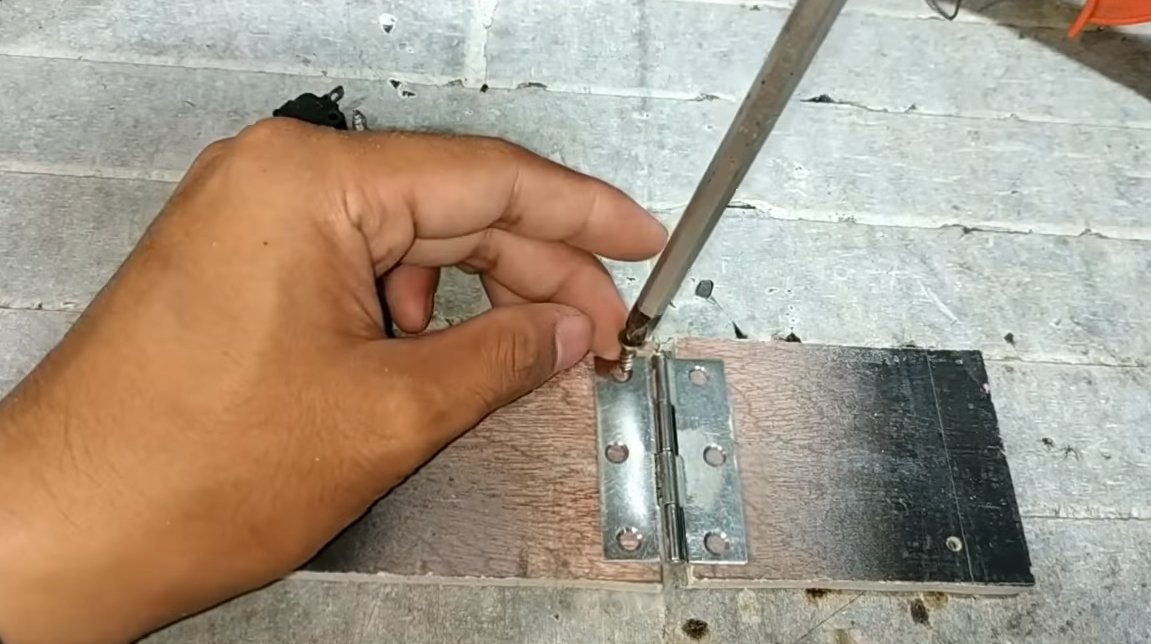
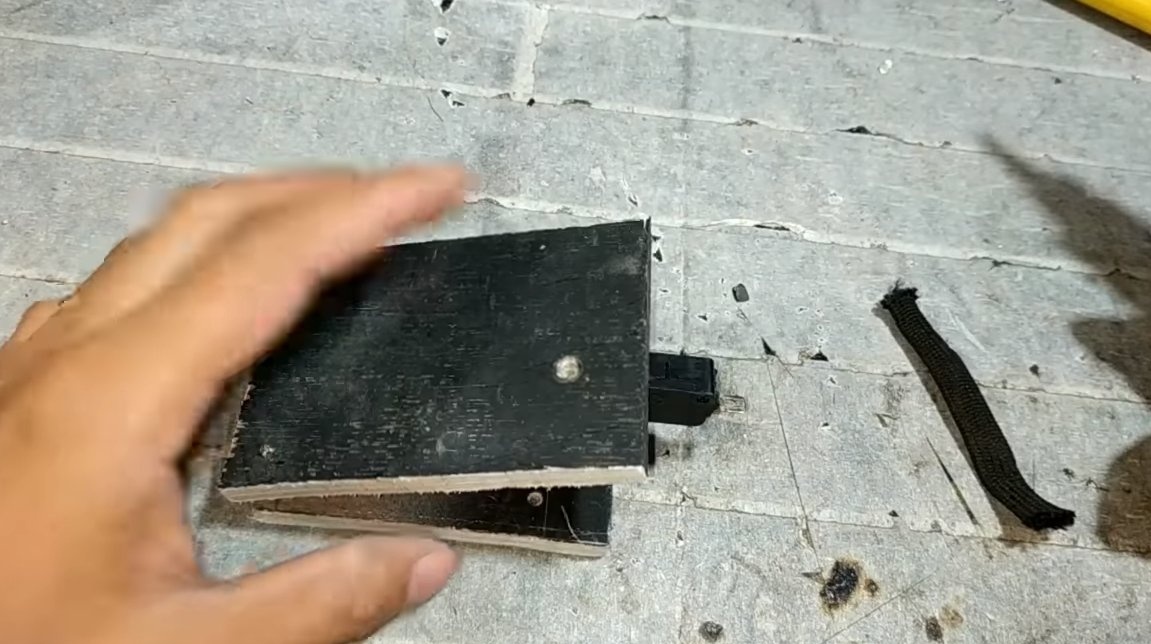
Step Three Pedal
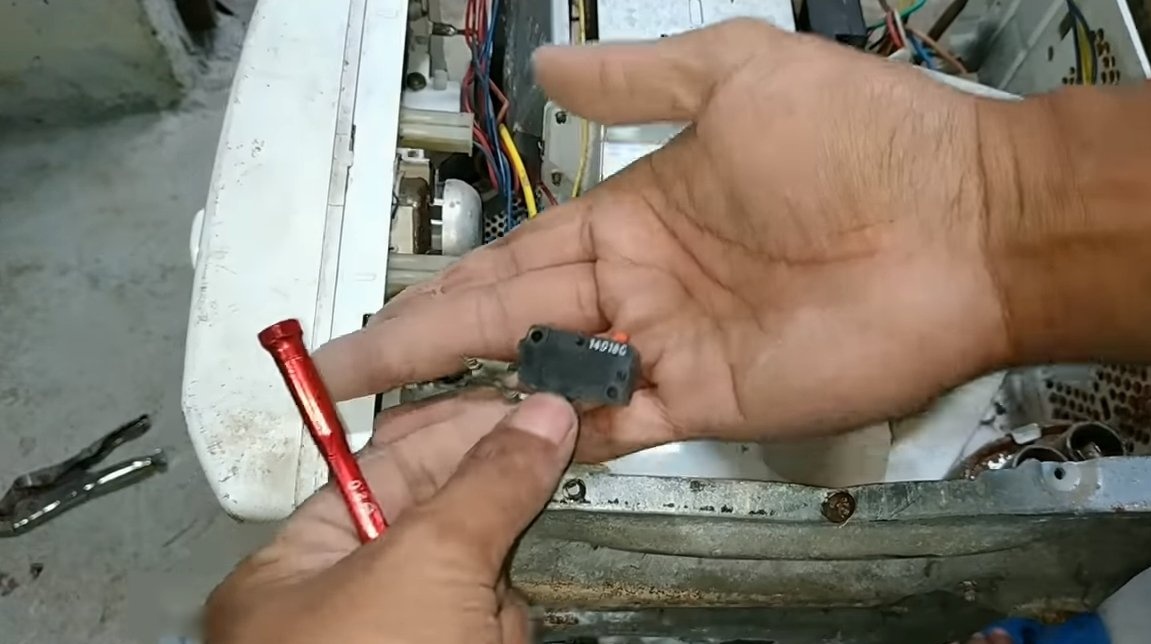
Self-made will be controlled with the help of the pedal, since our hands will be occupied during the welding process. We make a pedal from plywood, we use a door hinge as a hinge. We install an end switch on the pedal, we will connect it to the timer, so there will be no high voltage here, but the contacts need to be well insulated anyway.

Step Four Electrodes
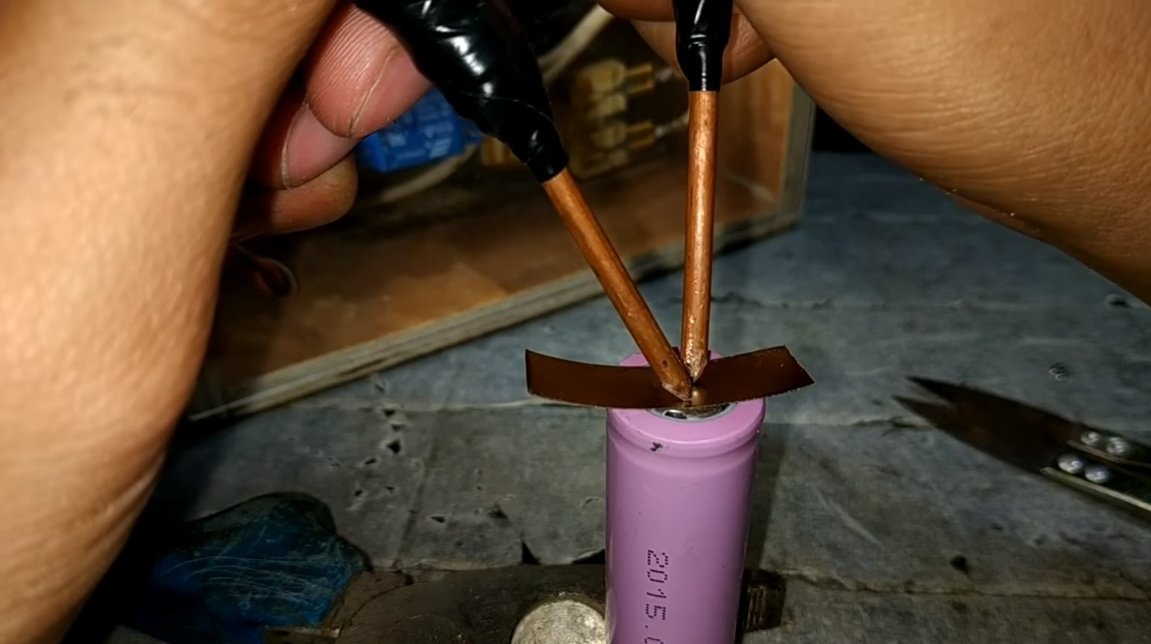
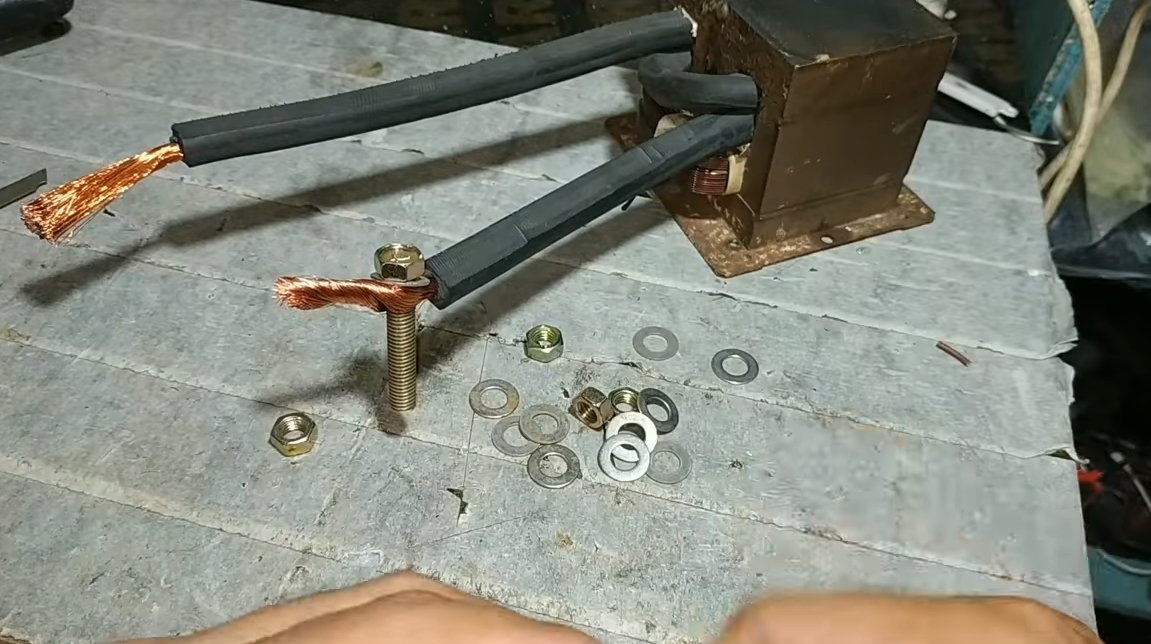
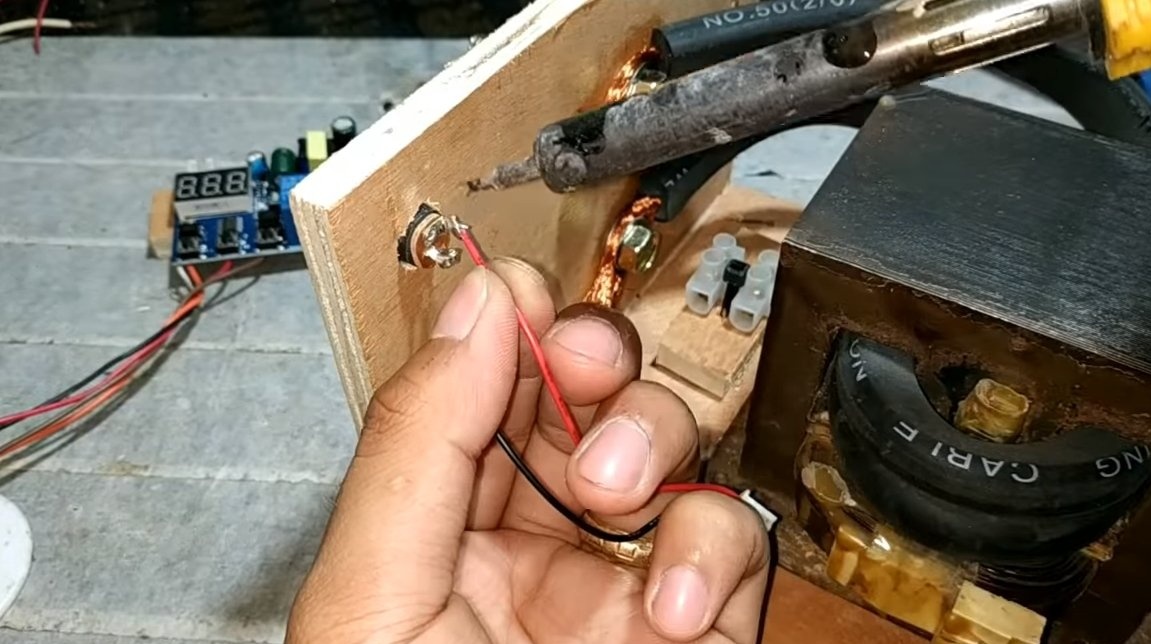
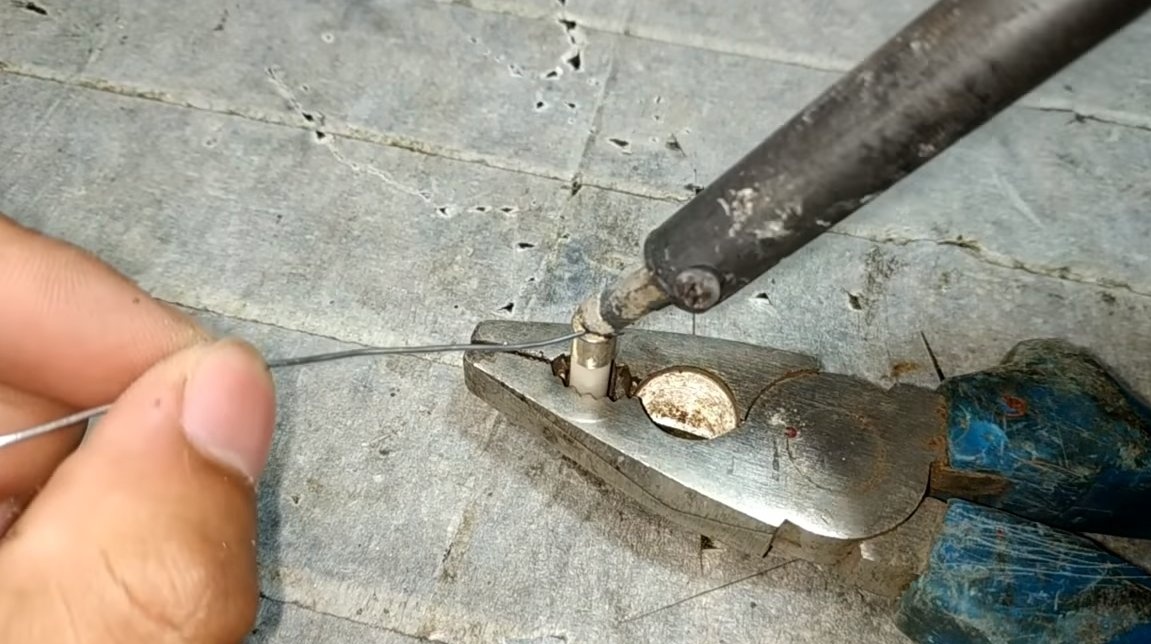
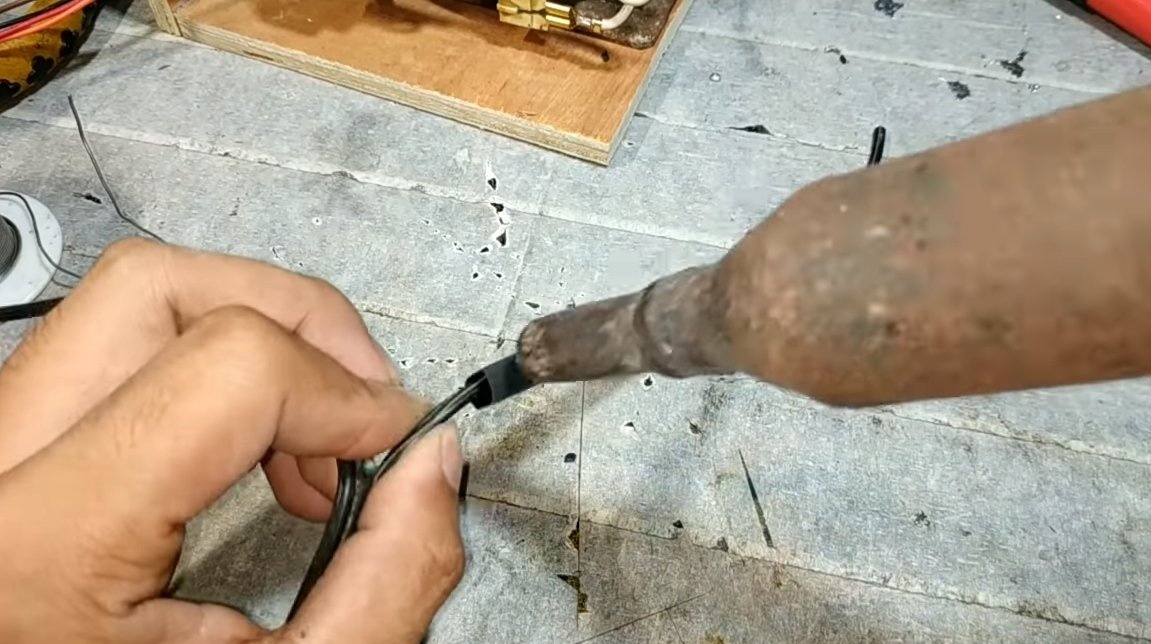
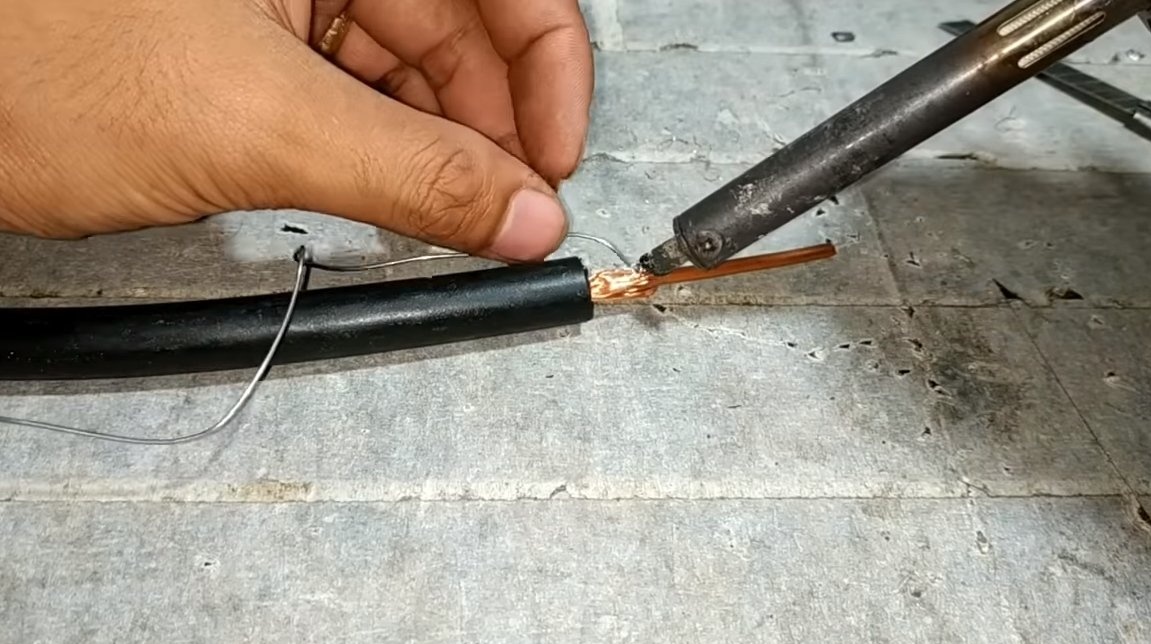
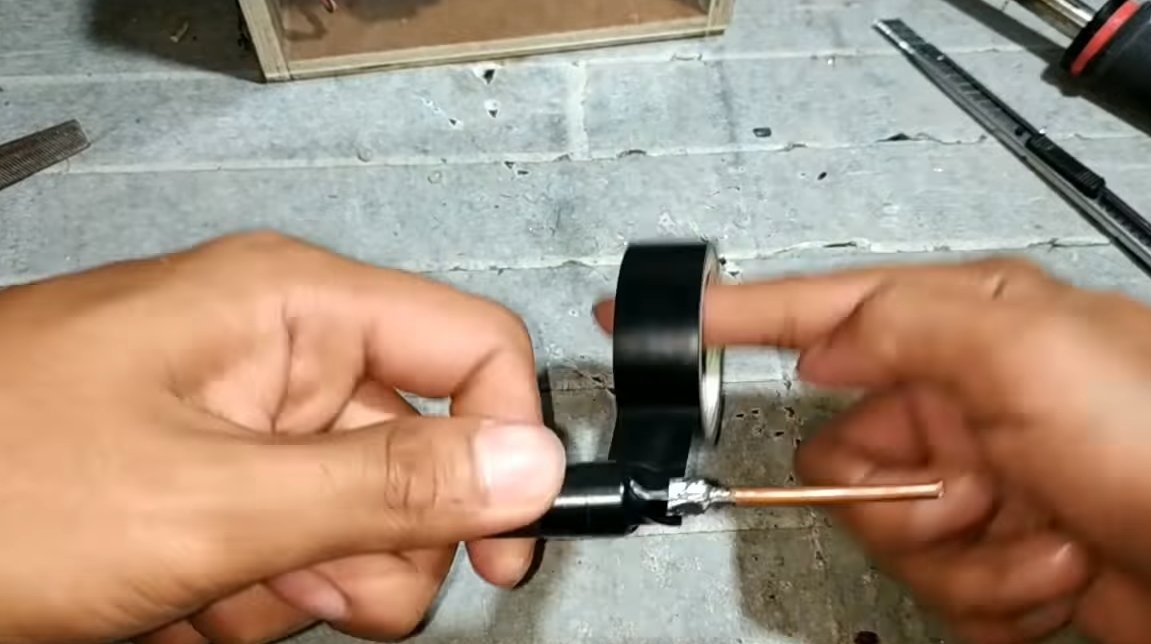
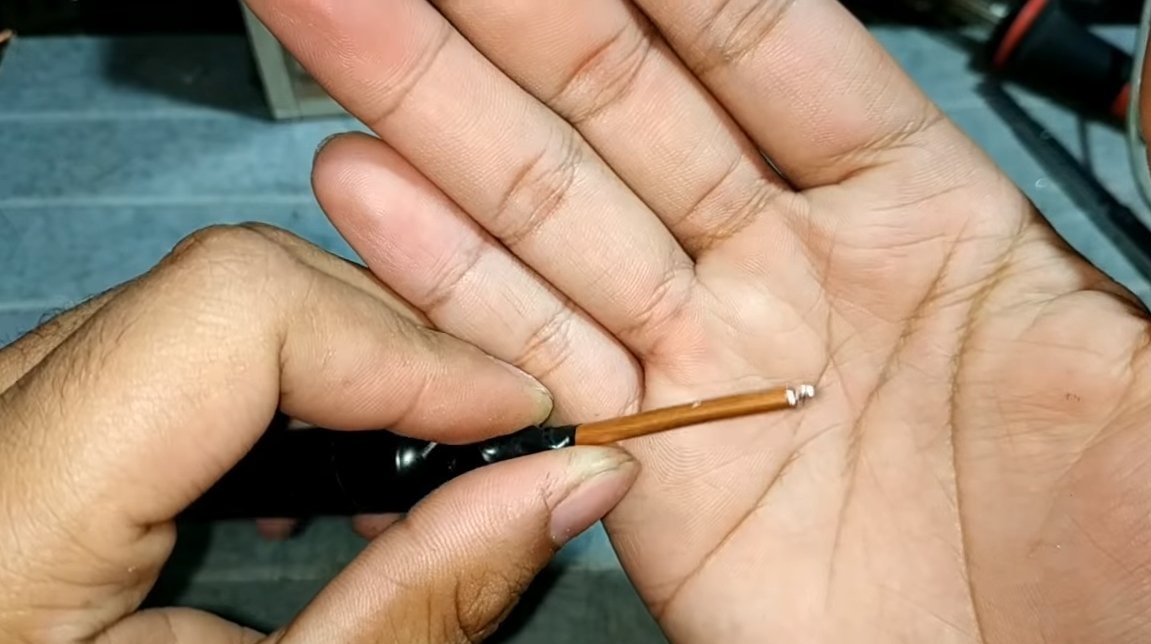
We make electrodes for the welding machine, for such purposes we need a thick copper wire. We cut it to pieces of the desired size, and then reliably solder it to the power outputs of the transformer. The soldering spots are carefully insulated with electrical tape.
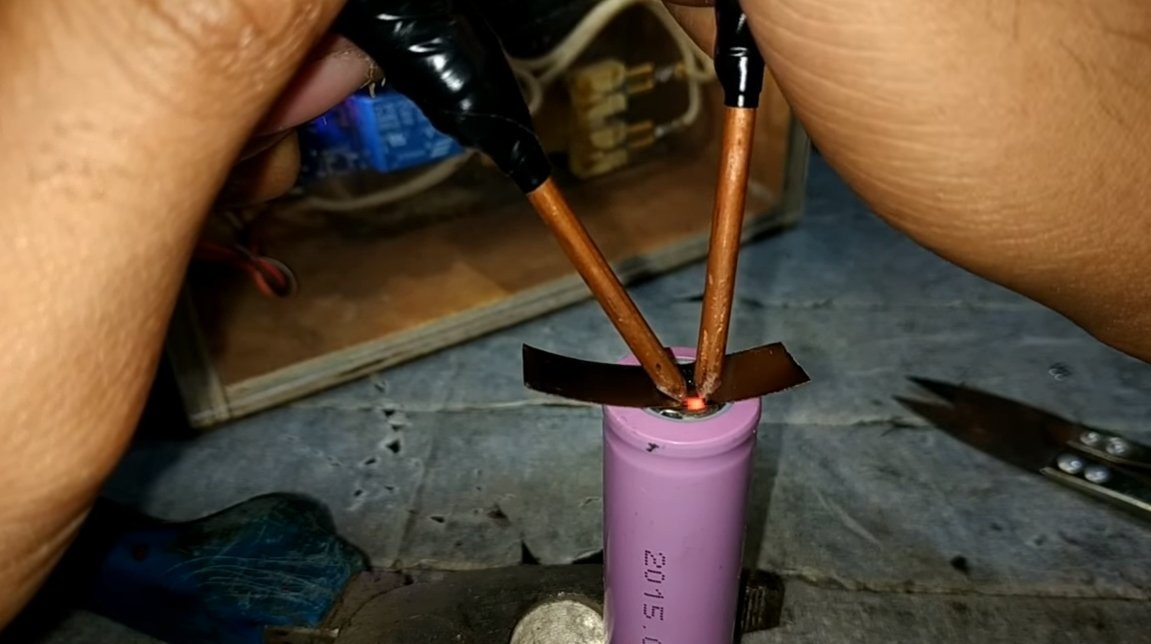
The electrodes need to be sharpened, so that the temperature necessary for welding will occur at the contact point.


Step Five Test
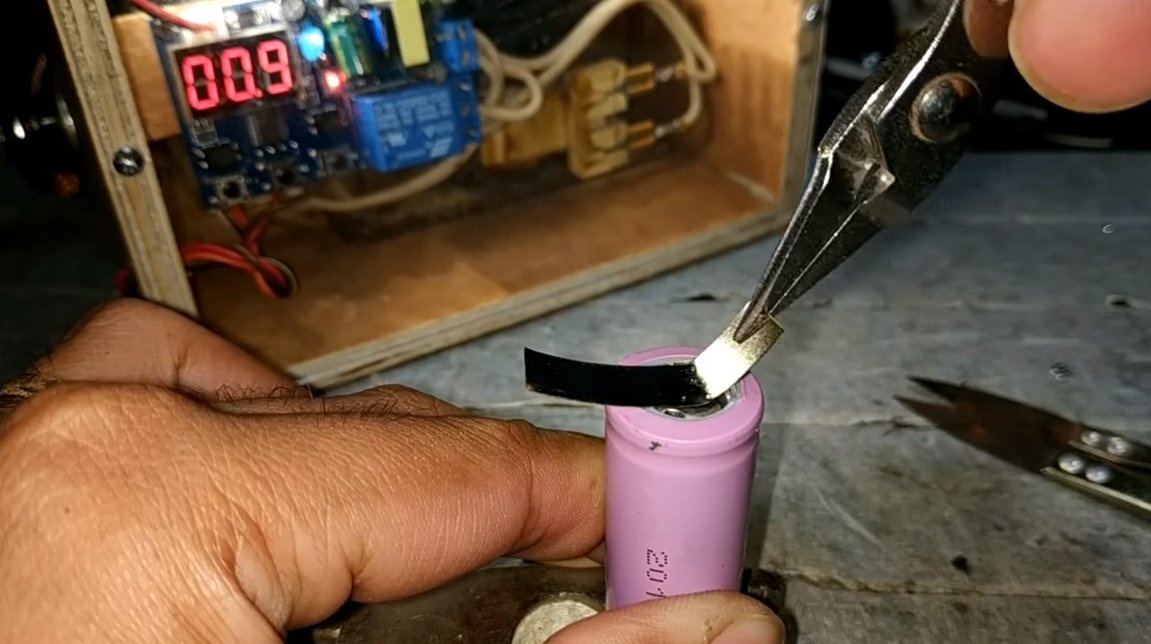
That's all, the homemade product is ready, now empirically you need to determine the correct time for welding. If the time is too long, the metal will burn through, and with insufficient welding time, welding will be unreliable. The author was able to fine-tune the home-made, the plates are rather tightly welded to the contacts of the 18650 battery.
On this our project is over, I hope you liked the homemade work, and you found useful thoughts for yourself. Good luck and creative inspiration, if you decide to repeat this. Do not forget to share your ideas and homemade things with us!