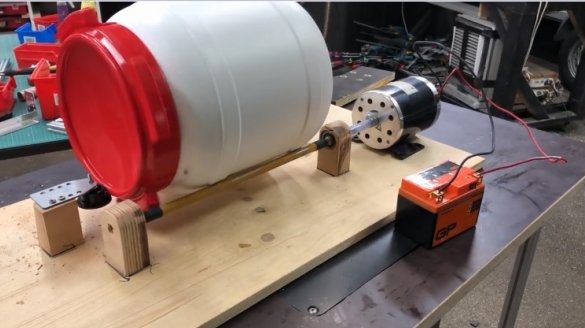
Let's first understand what a galtovka is and why it is needed.
How to say a wiki: Tumbling is a technological process of machining parts, from grinding to finish polishing the surface of parts made of various materials.
The master uses it for metal, but, with the help of a tumbling, it is also possible to polish wood, plastic or even minerals. If you put something with sharp edges in the tumbling chamber, the edges will become completely smooth. Tumbling is very easy to build, and it can save a lot of time when you have to process many parts at the same time.
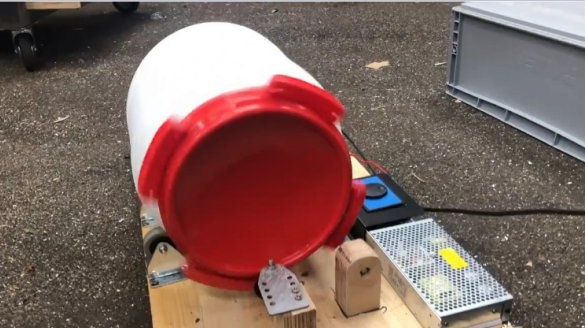
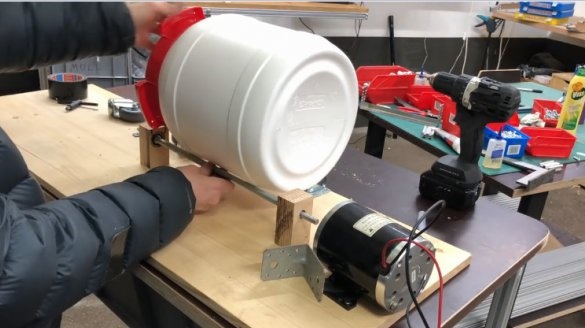
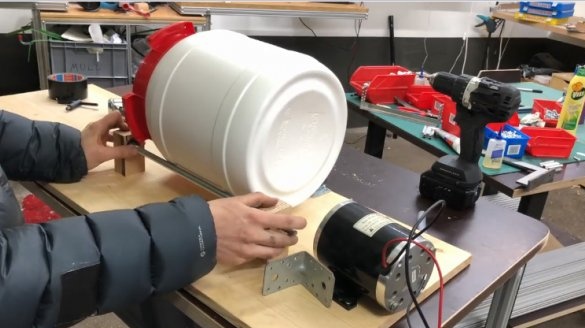
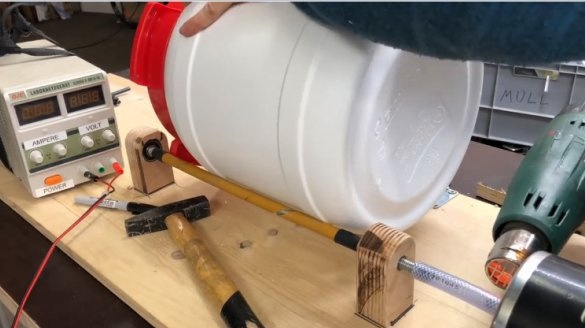
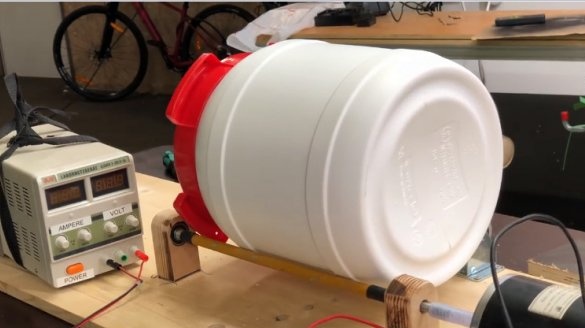
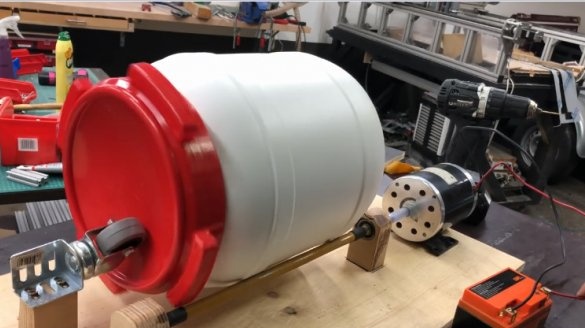
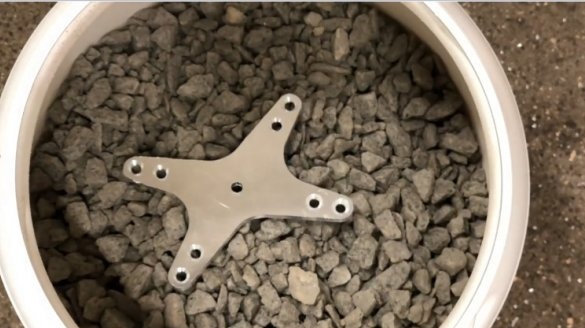
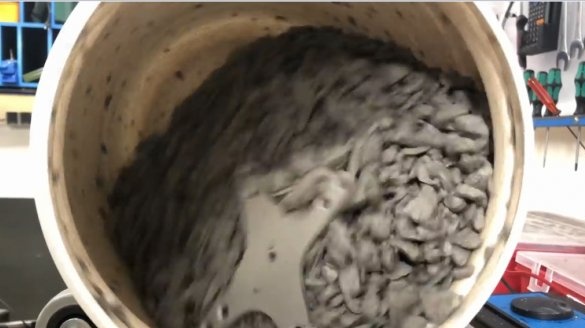
The principle of operation of tumbling is simple. In a tumbling chamber filled with gravel or metal balls, the parts that need to be processed are laid. Further, the tumbling container begins to vibrate or rotates, as in this case, and together with the filler the workpiece moves inside. A similar process occurs at the edge of the seashore with stones.
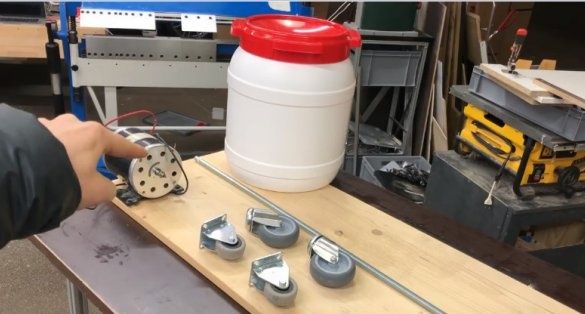
Tools and materials:
-Electric motor;
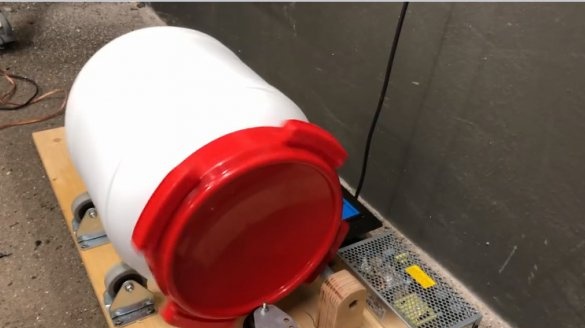
- Plastic container with a wide neck and a lid;
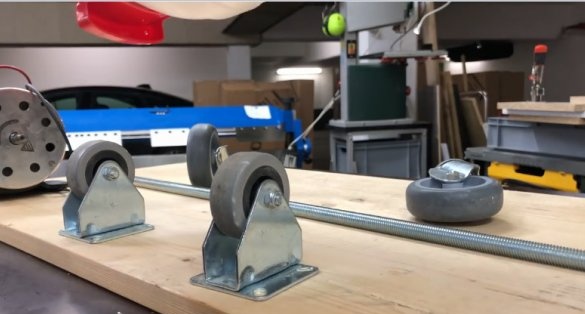
-Rollers;
-Threaded rod;
-Bearings;
-Silicone tube;
-Board;
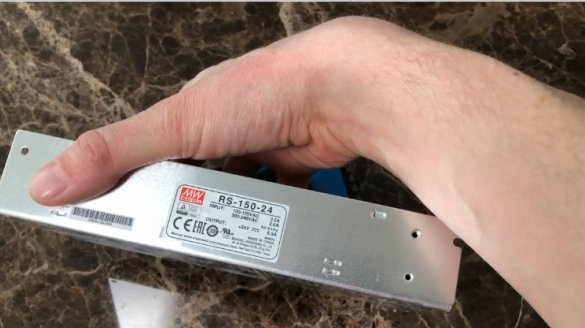
-Power Supply;
-Controller;
- clamps;
-A screwdriver;
-Screwdriver;
-Fasteners;
- Electric jigsaw;
-Fine gravel;
-Burner;
-Thermotube;
-Wire;
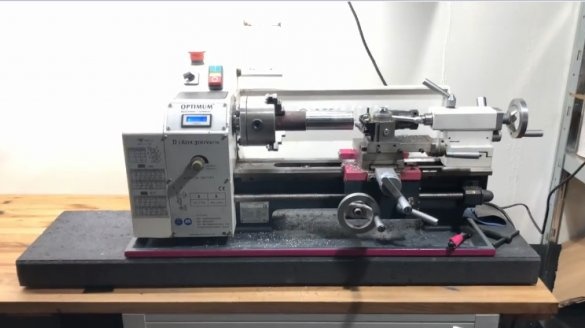
- Lathe (optional);
-Bending machine (option);
Step One: Planning
In this step, the wizard parses some questions and gives explanations.
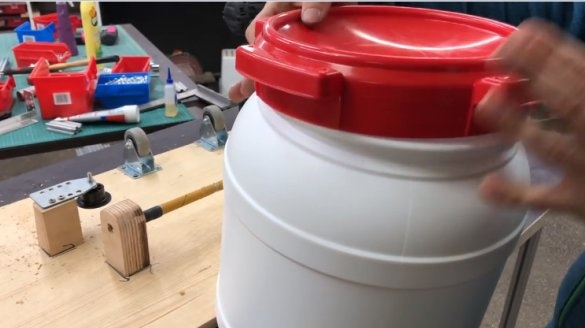
The size of the tumbling chamber should be larger than the workpiece, at least four times. Plastic containers, especially HDPE, are great for this purpose. They are not as heavy and noisy as metal ones.
As for the motor, the master says that it is 150 watts, although, following the link, we see 500 watts.
According to the master, the vibratory type of tumbling is better, but more difficult to build.
Step Two: Rollers
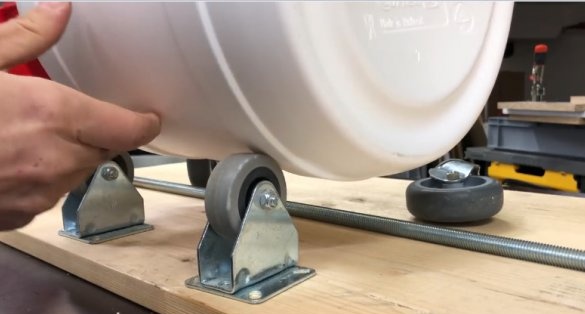
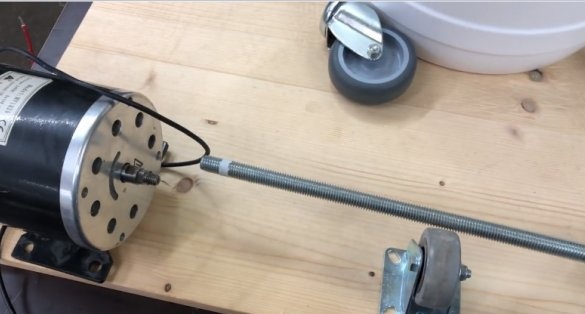
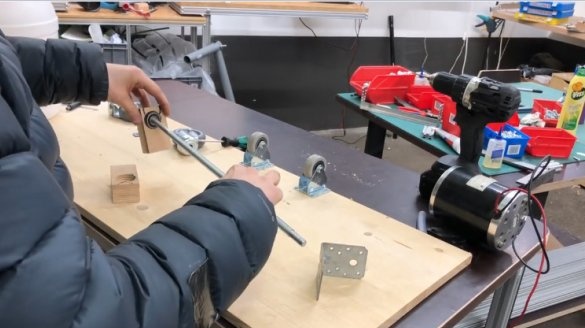
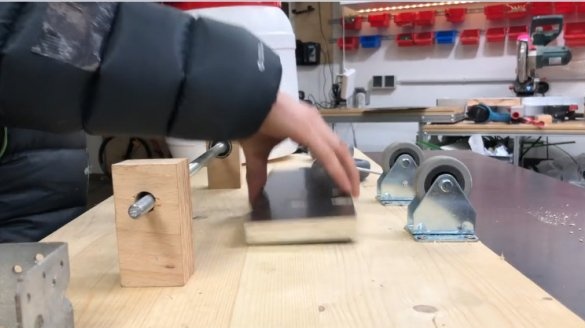
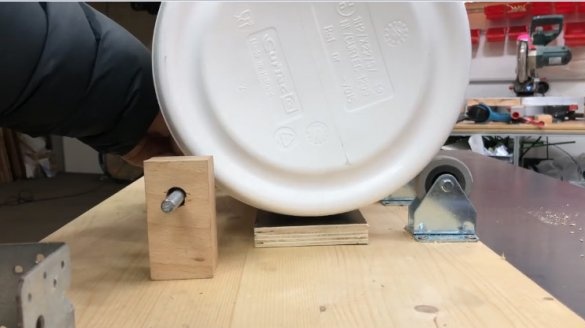
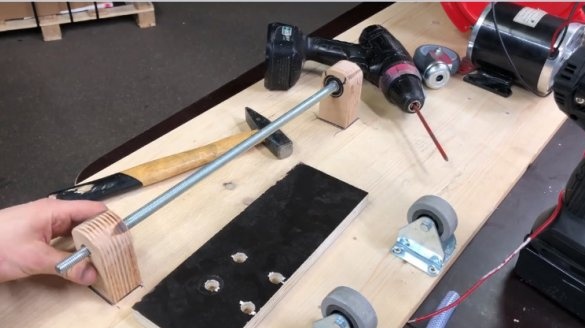
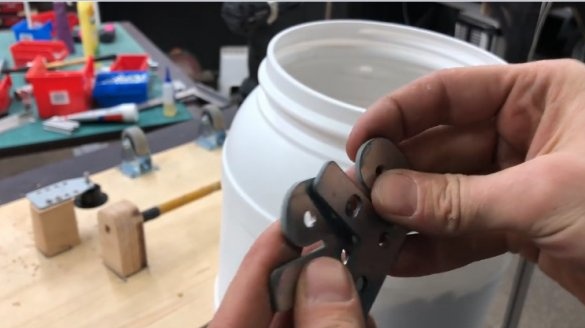
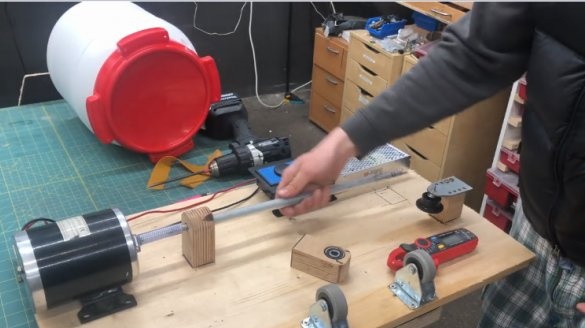
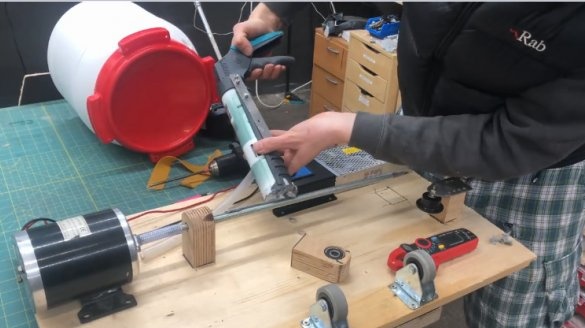
First you need to choose a suitable board and, approximately, arrange the details of the future apparatus.
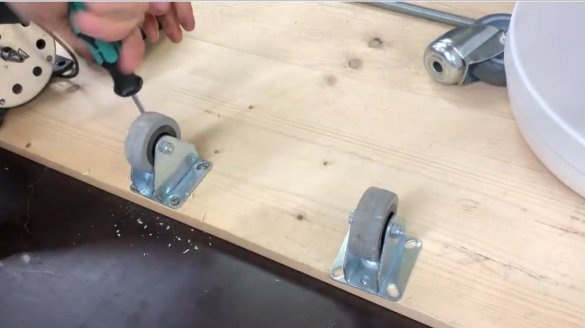
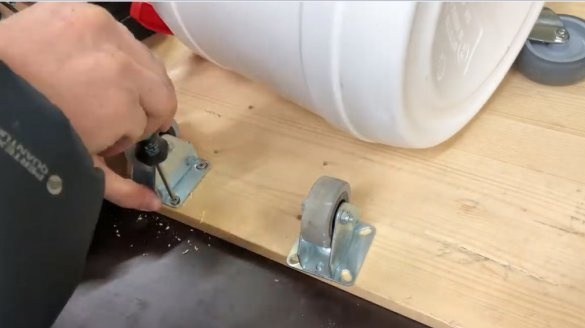
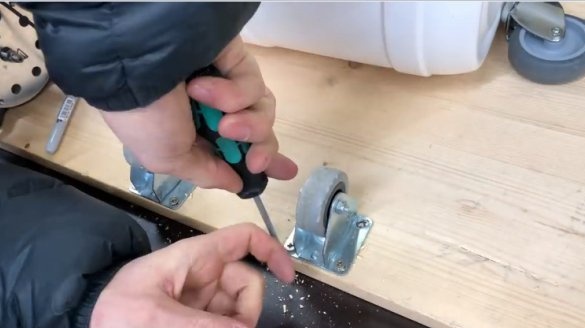
Marks the installation locations of the rollers and screw them.
Step Three: Threaded Rod
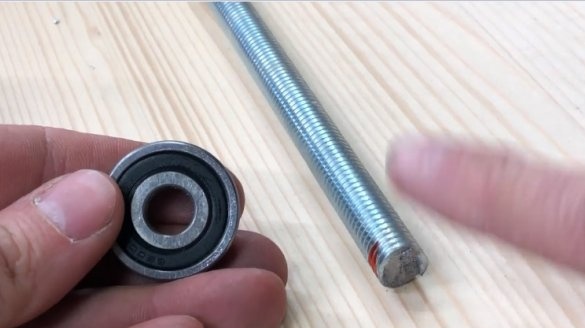
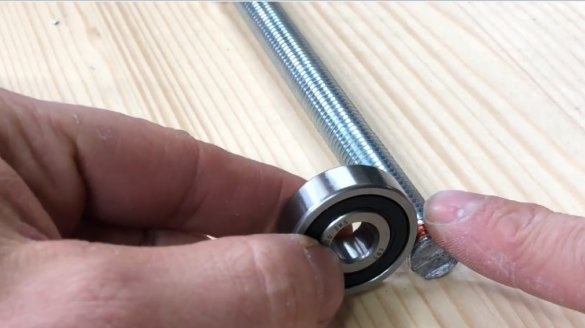
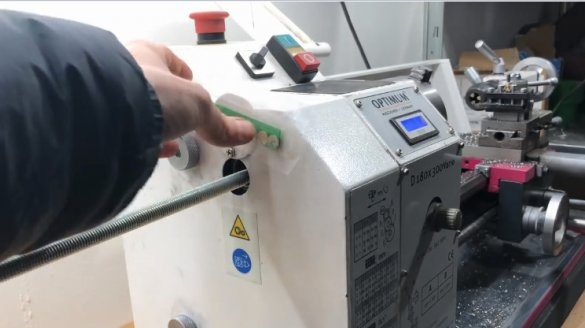
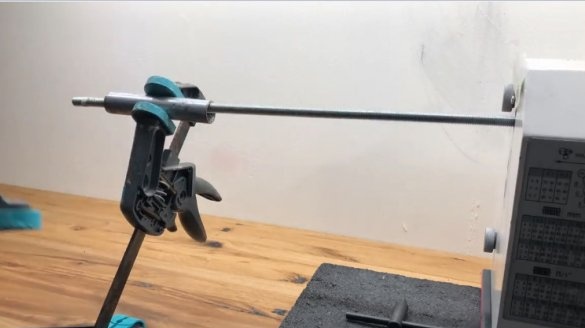
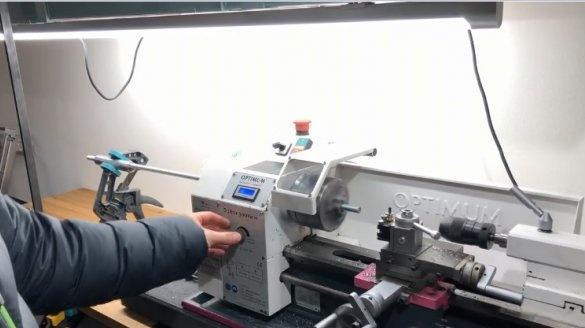
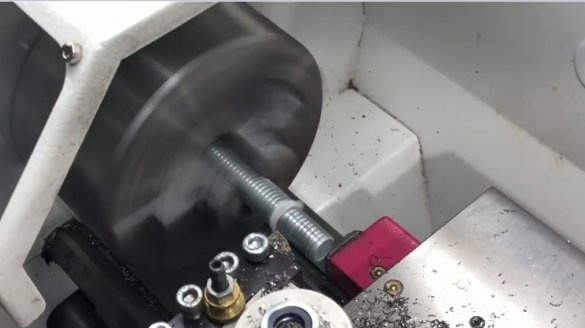
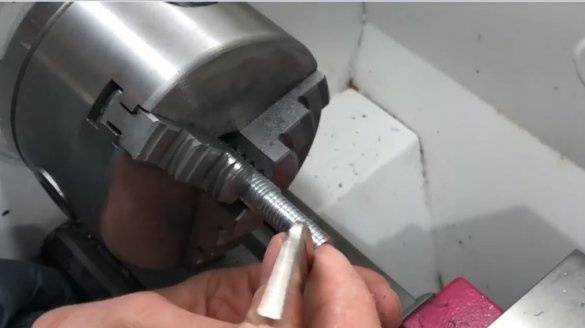
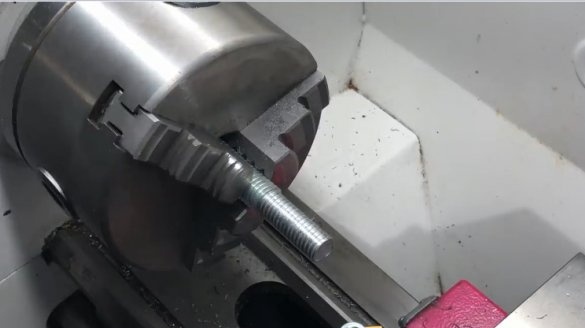
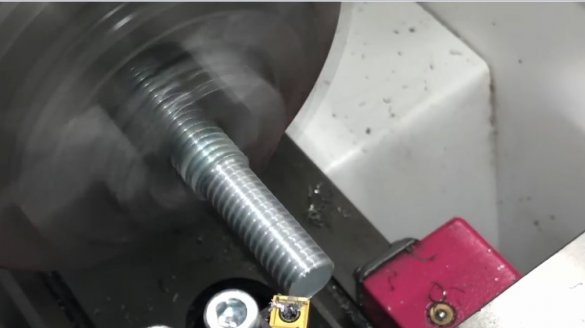
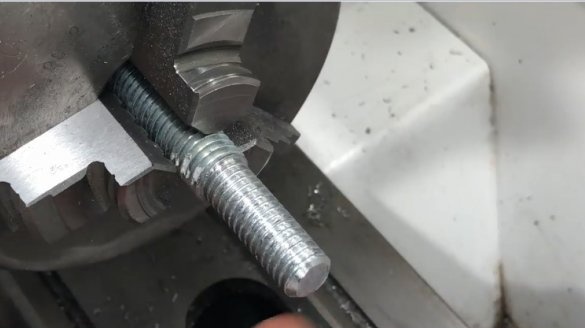
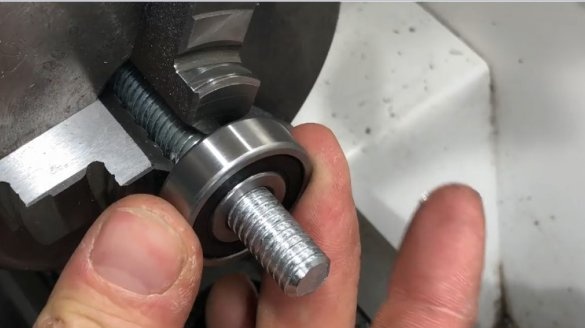
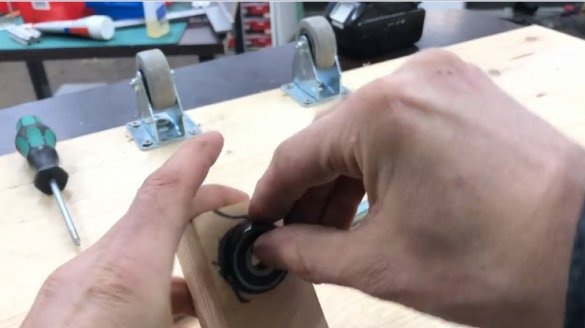
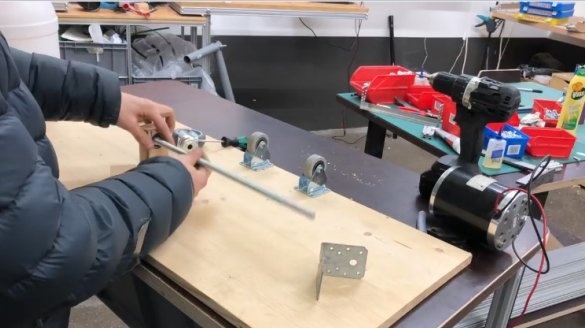
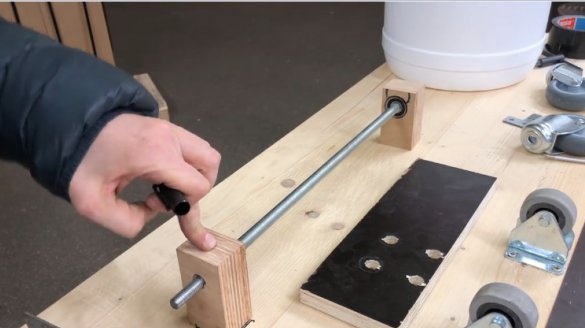
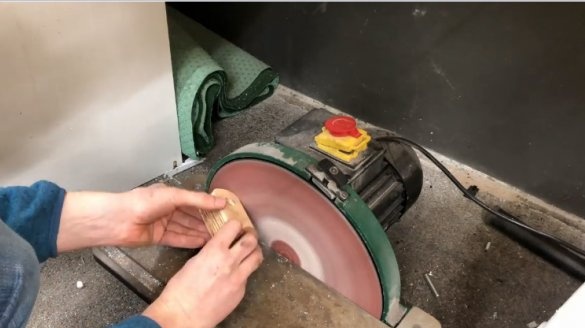
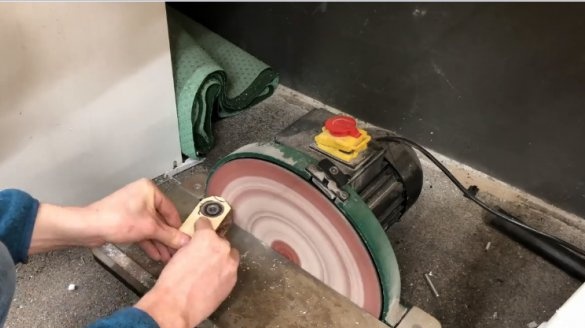
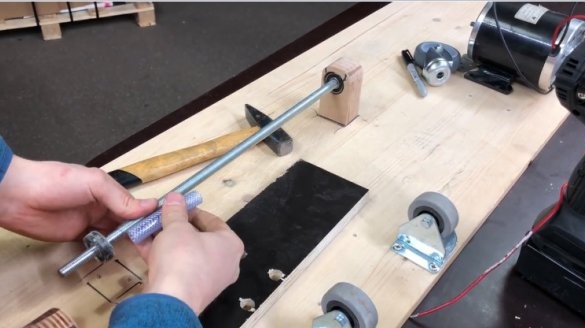
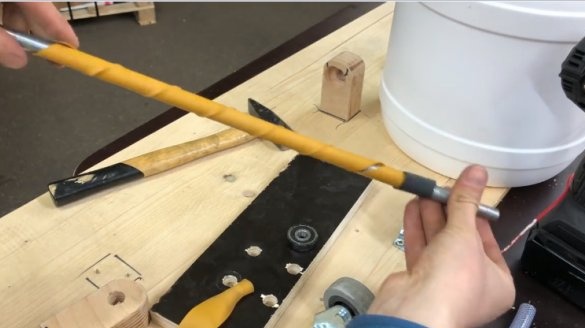
The bearing seat is slightly smaller than the diameter of the threaded rod. The master grinds the edges of the rod to fit the diameter.
Step Four: Prop
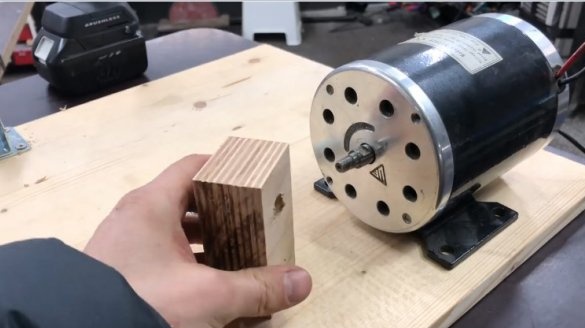
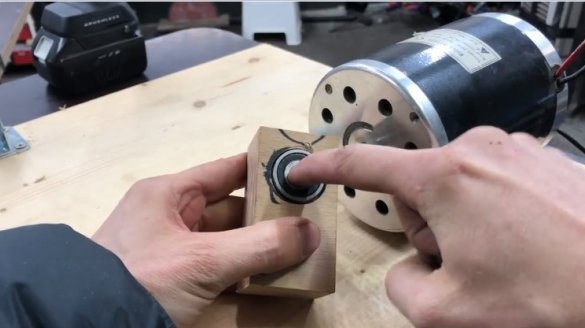
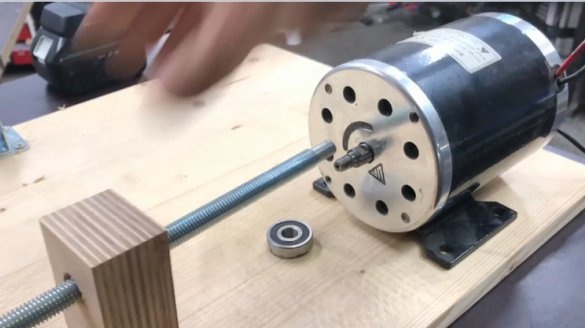
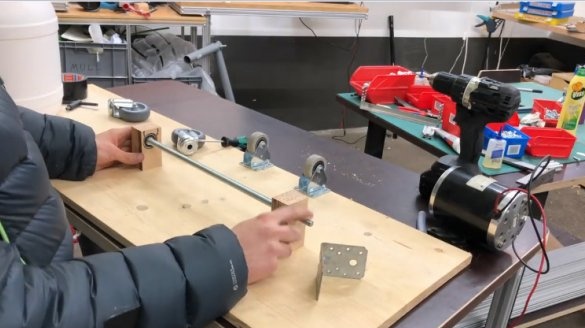
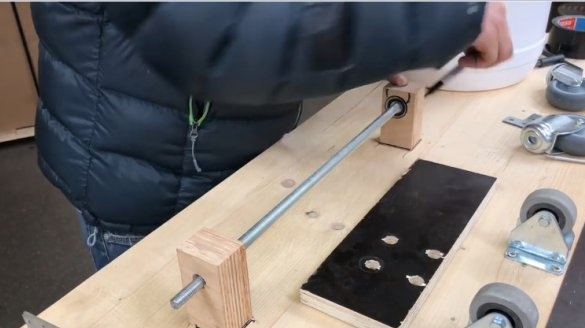
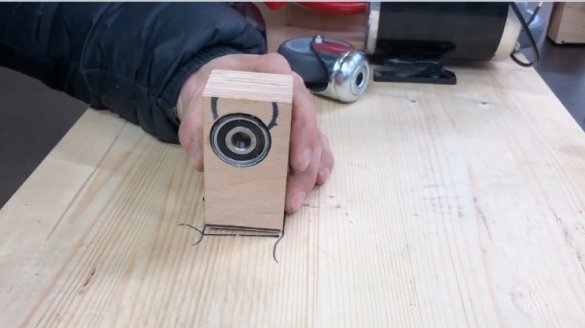
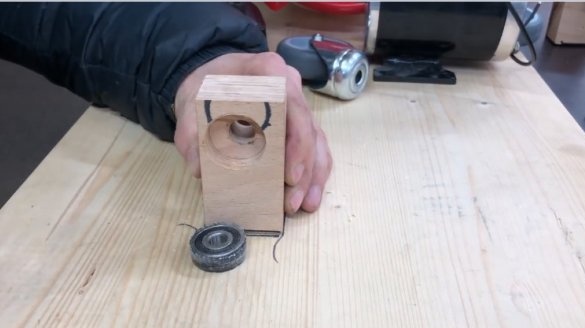
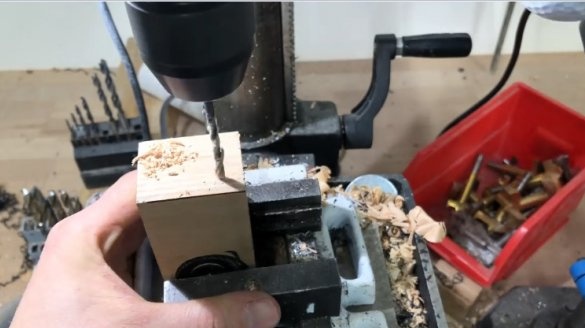
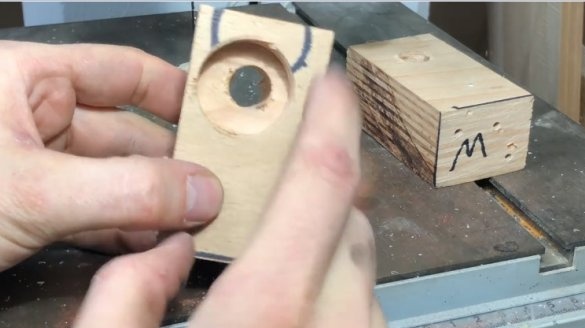
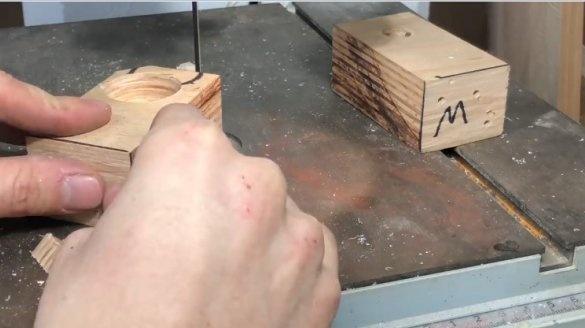
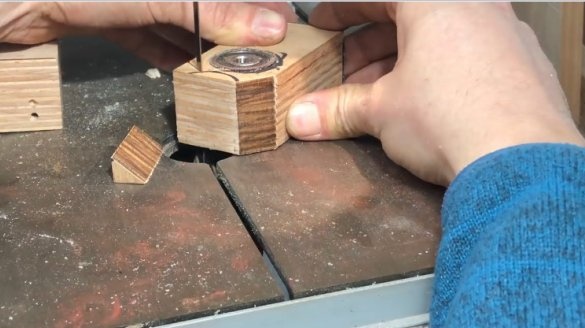
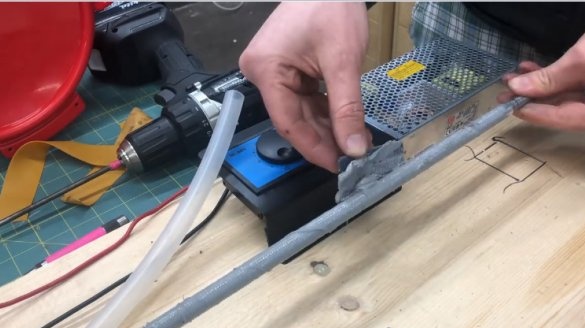
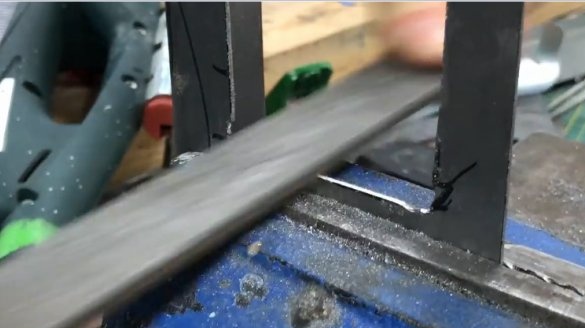
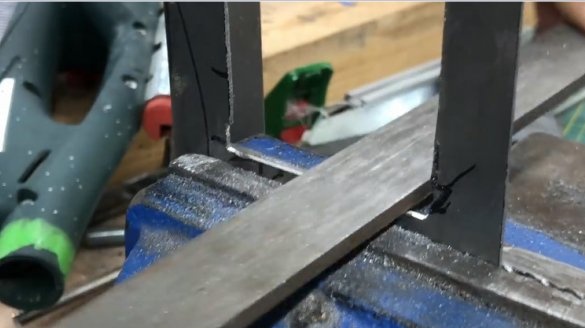
The rod will be installed between two bearings installed in the bearings. The master makes supports from a board. Cut holes for bearings in them. In this case, the seats were "loosened", and the master wrapped the bearings, before installing them, with electrical tape.
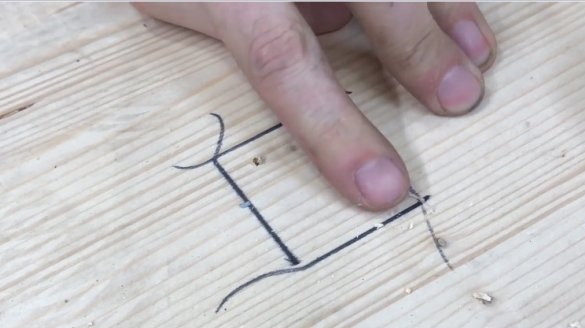
Marks the installation sites of the supports.
Drill mounting holes. Trim and grind the upper part of the supports.
Step Five: Material Selection
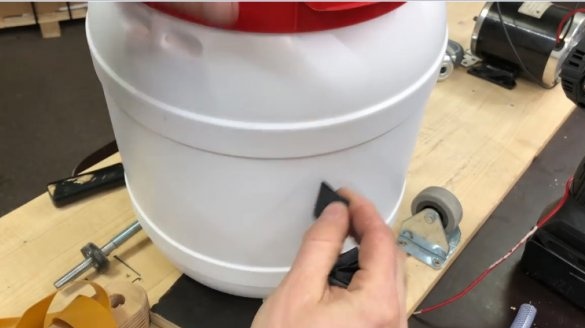
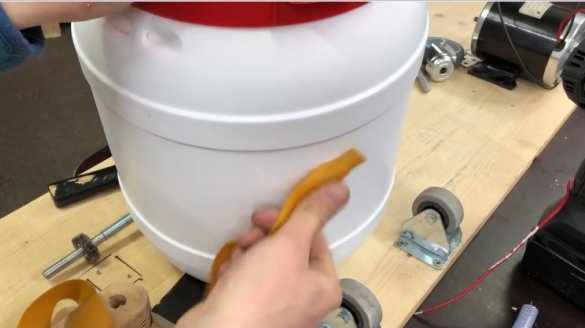
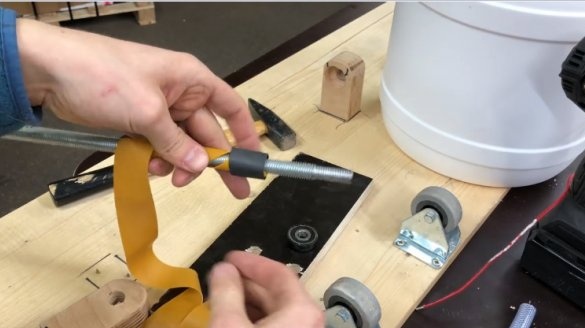
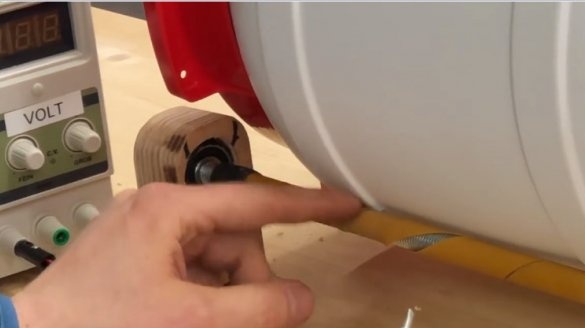
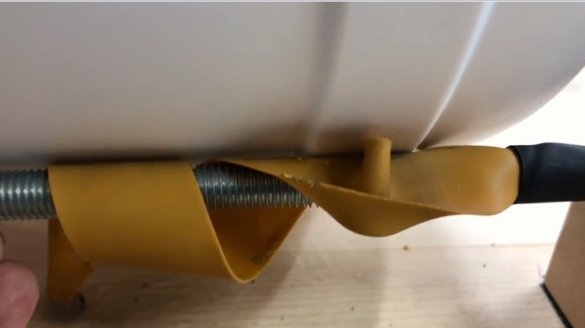
Before installing the rod, you need to put on it or wrap it with some kind of material so that it does not slip on the barrel. The master checks several types of materials and stops, for now, on the rubber tape.
Step Six: Test Your Device
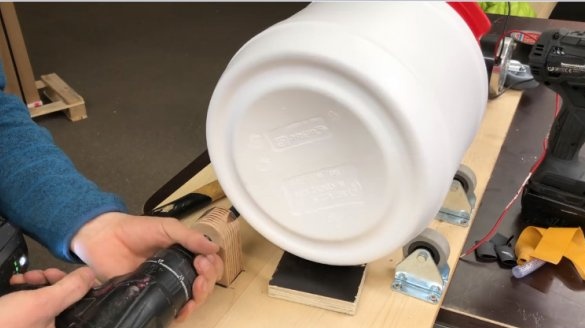
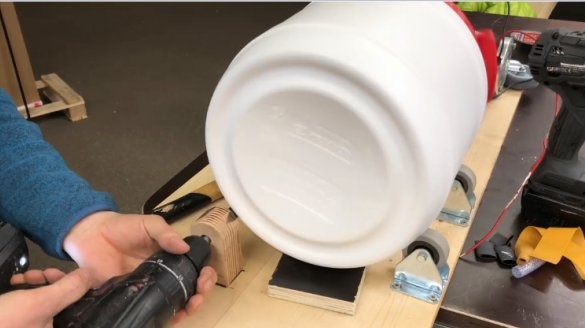
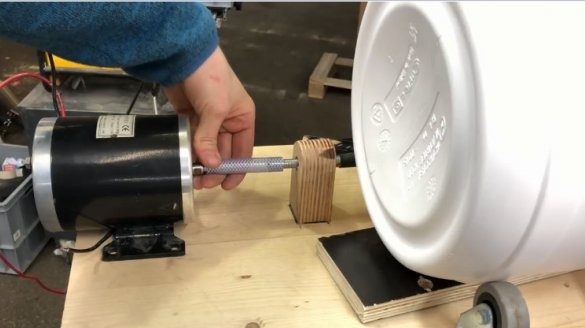
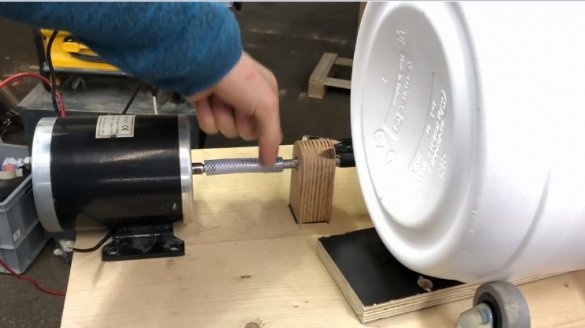
The engine has not yet been installed and the master checks the operation of the tumbling by fixing the end of the rod in a screwdriver.
Seventh step: engine
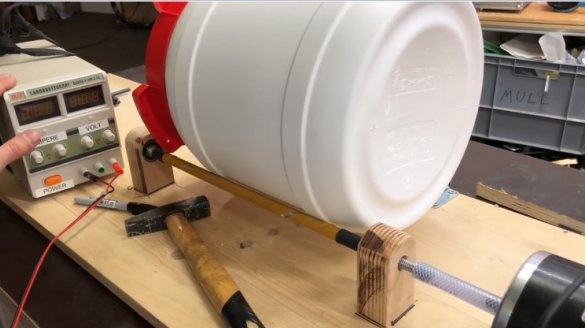
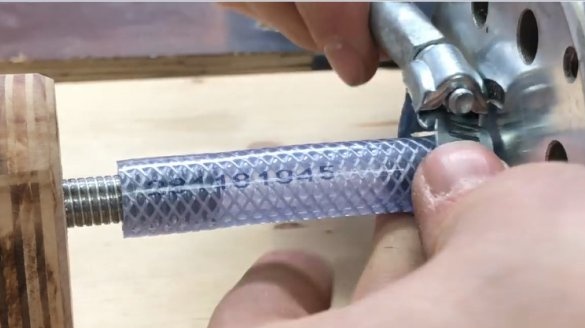
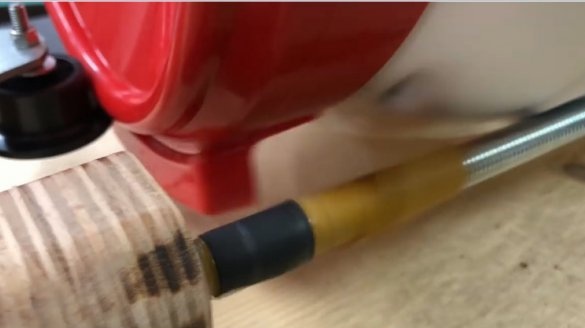
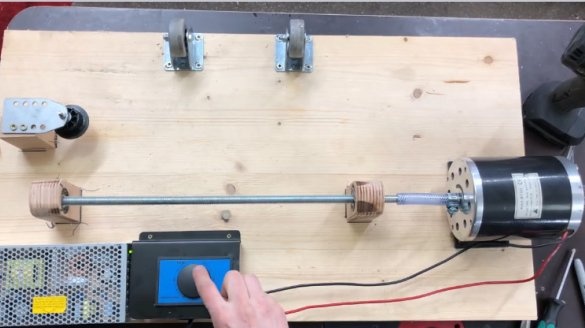
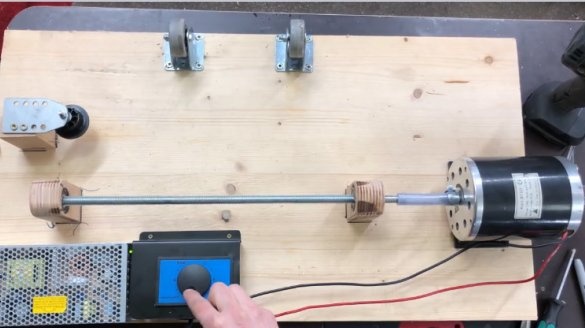
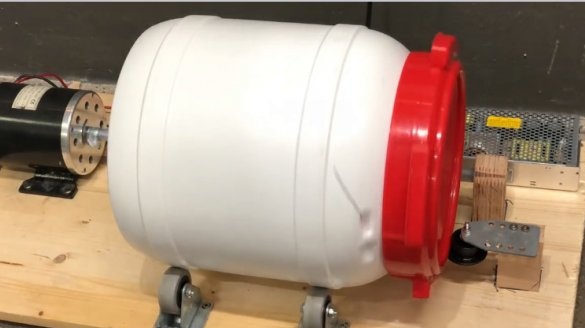
Everything works and the master installs and fixes the engine. The motor shaft and the end of the shaft are connected by a silicone tube.
Step Eight: Download Tumbling Camera
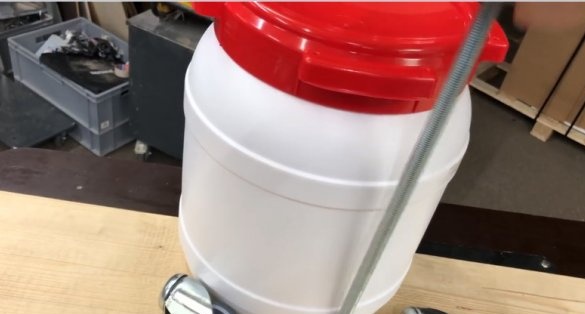
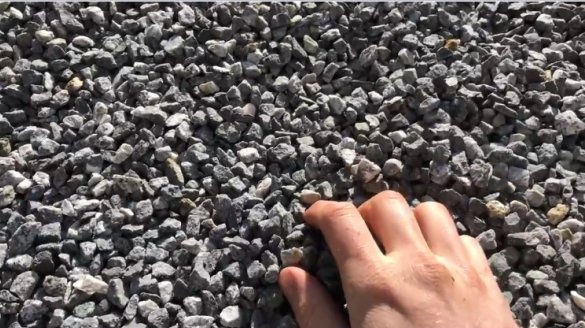
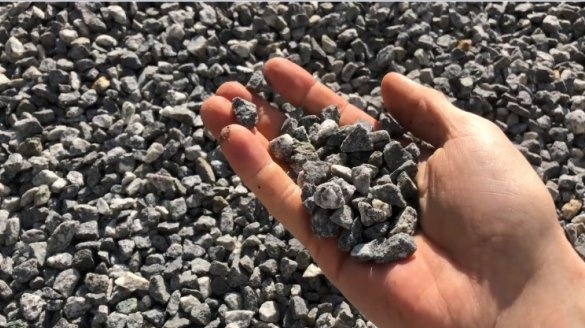
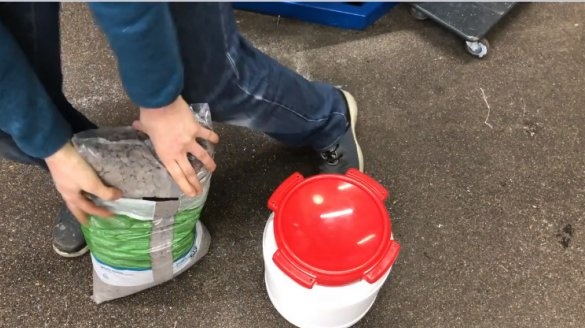
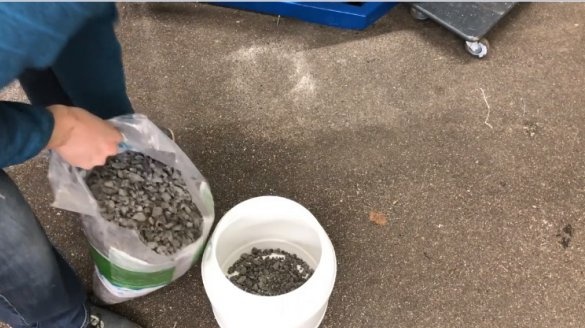
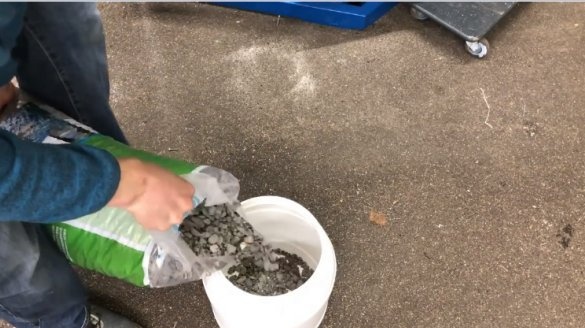
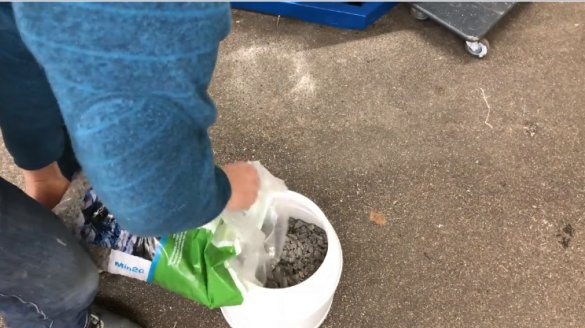
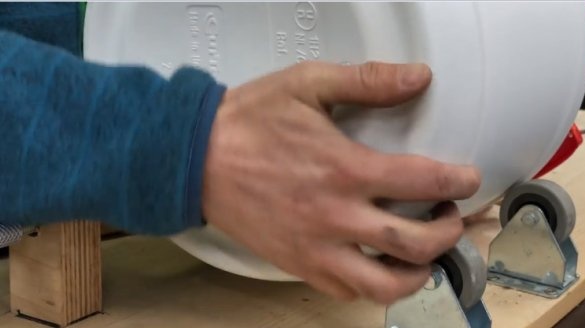
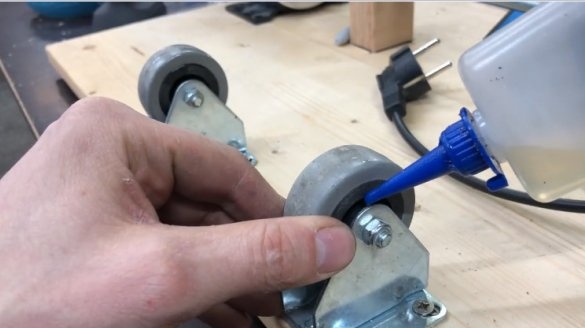
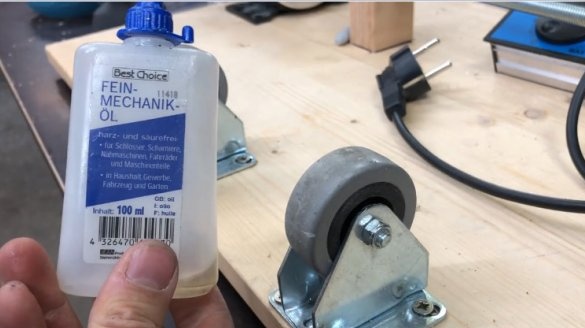
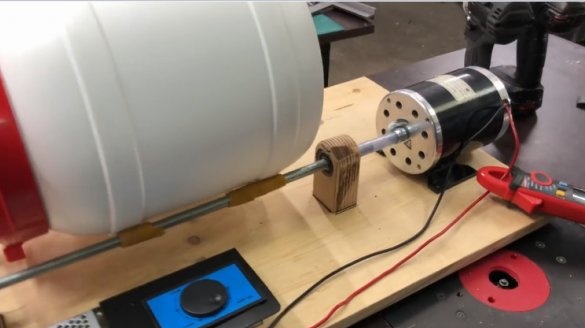
As a filler, the master uses granite gravel. Gravel falls into a barrel, and lays details. Sets the barrel to the bed. It is advisable to lubricate the rollers with oil.
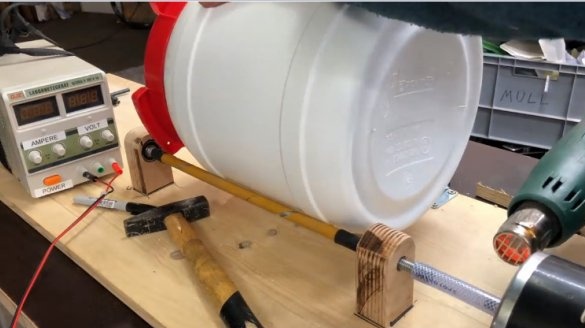
The connecting tube is heated with a hairdryer and secured with clamps.
Step Nine: Check under load
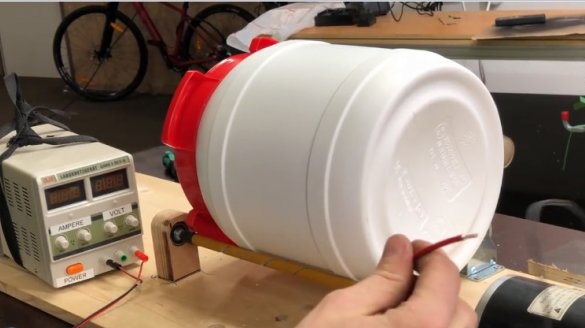
Now the wizard checks the chamber filled with gravel. Connects the engine to a power source and starts the device. According to the test results, the rubber tape could not stand it.
The master did not begin to wind up a new tape or put on a rubber tube, he simply applied and evenly distributed silicone on the surface of the rod. After curing, silicone showed excellent results.
Step Ten: End Stop
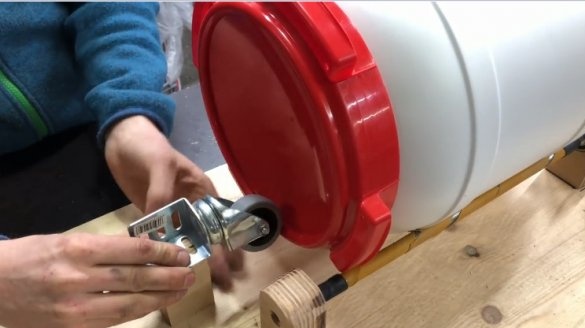
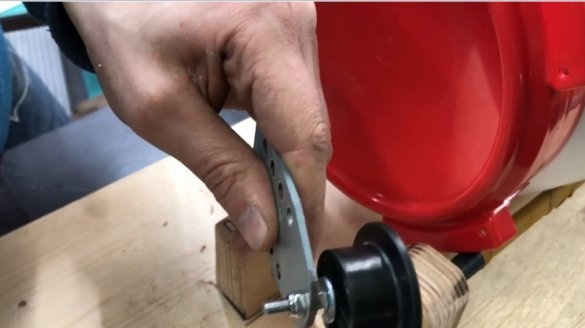
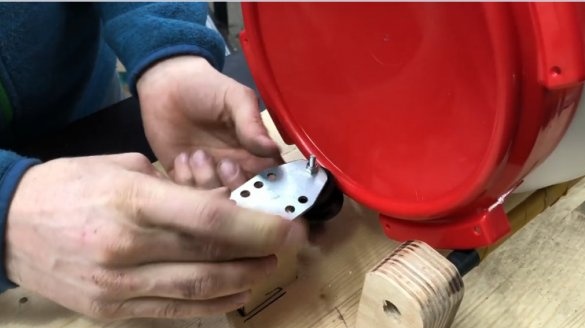
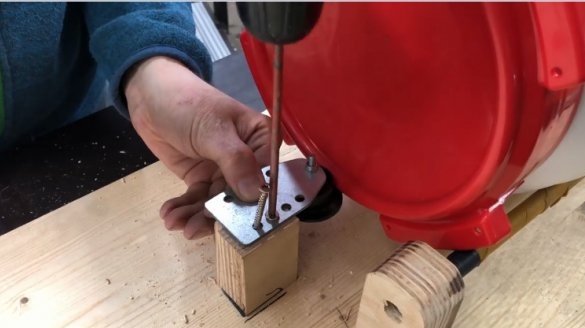
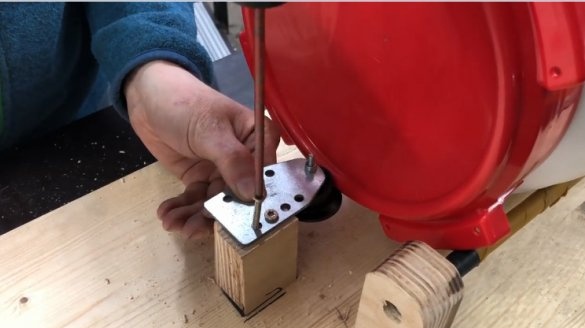
During operation, the tank moves forward all the time. To fix this problem, the wizard installs a roller from the end. Having tried two types of rollers, the master settled on a roller with a shoulder.
Step Eleven: Power Supply and Controller
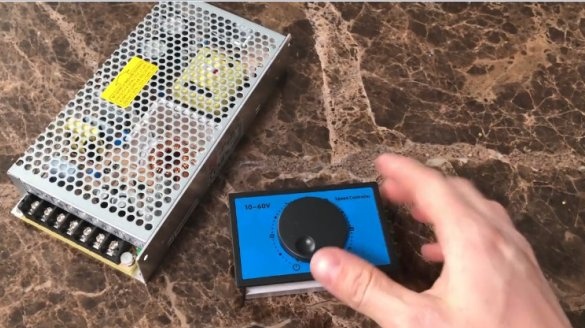
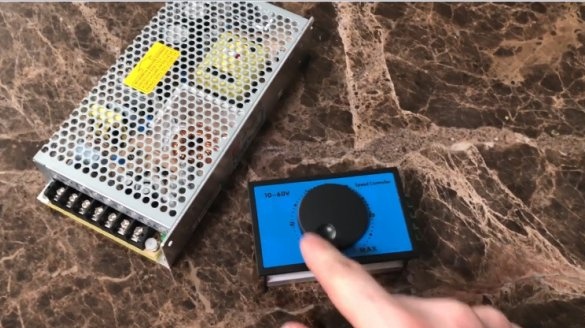
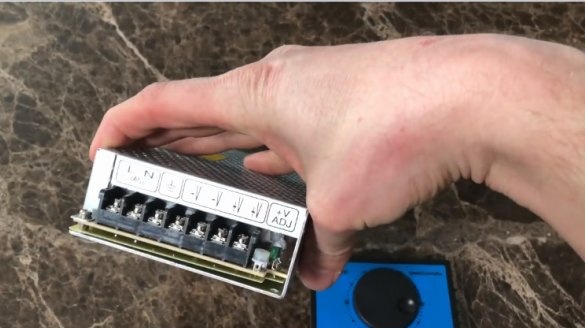
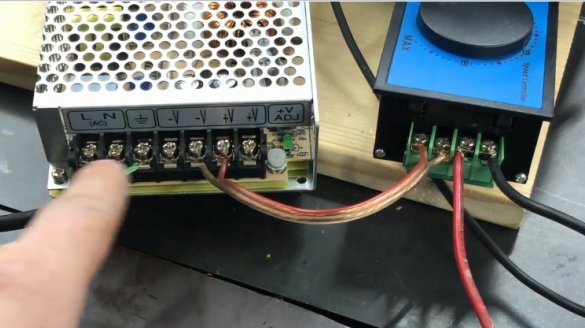
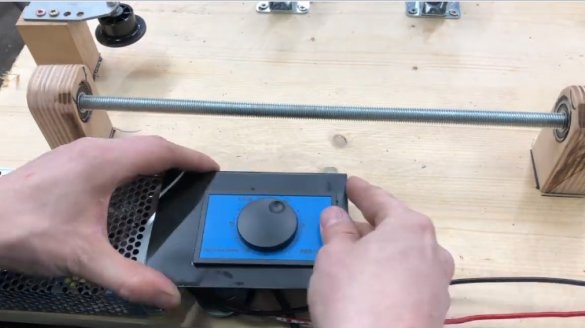
In the wiring diagram, the master uses a 150 W power supply and a controller.
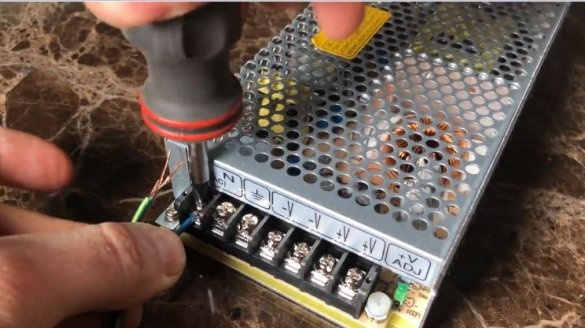
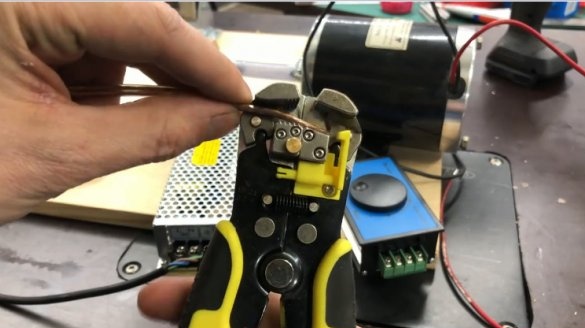
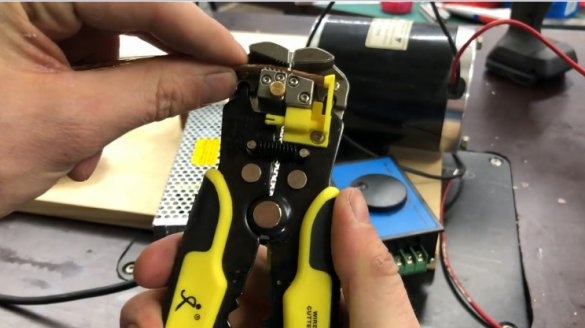
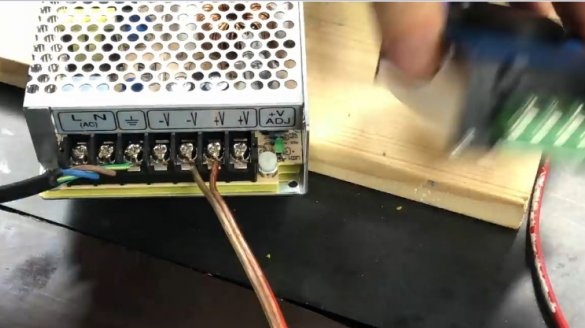
Connects the wires to the input of the power supply.
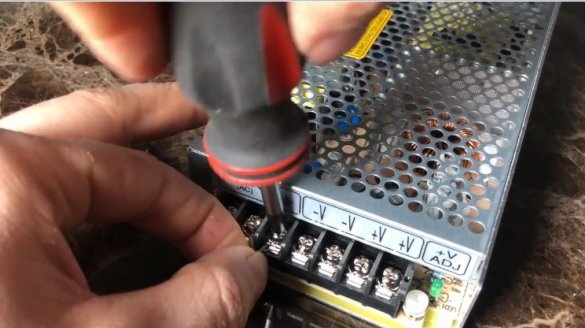
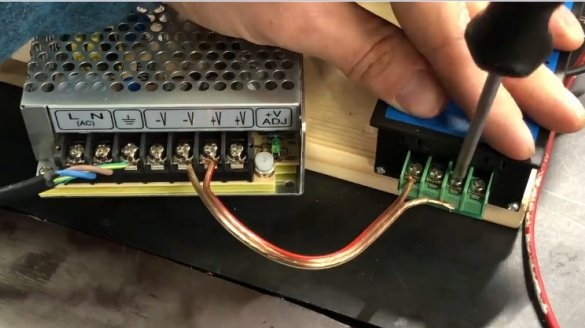
Connects wires from the power supply to the controller.
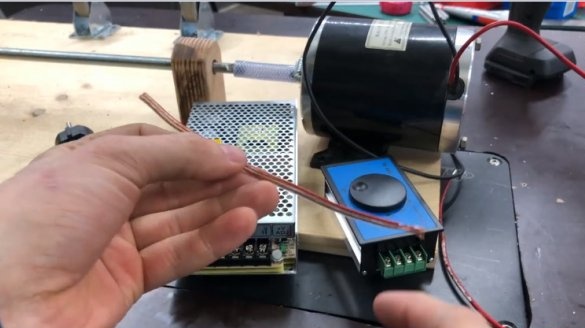
Mounts the wire from the controller to the motor.
Step Twelve: Mounting the Controller
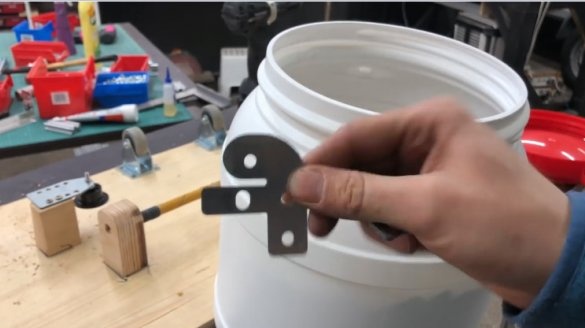
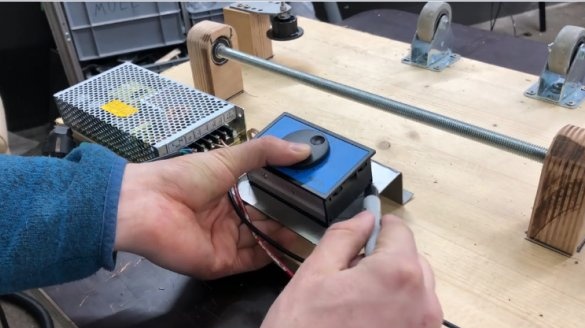
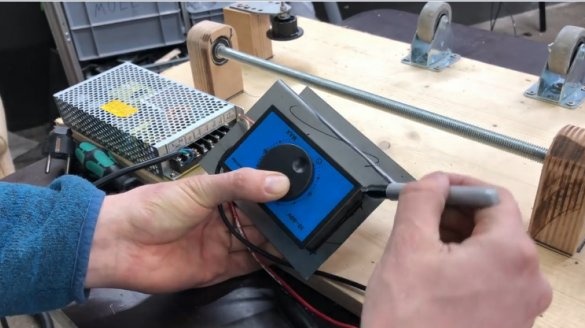
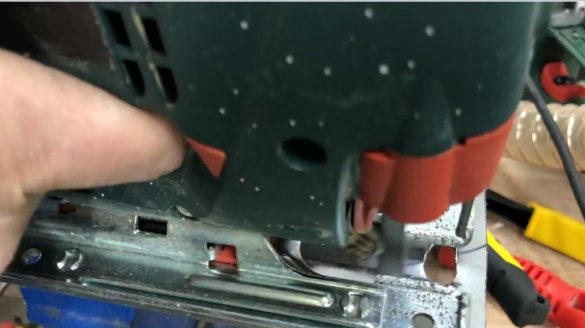
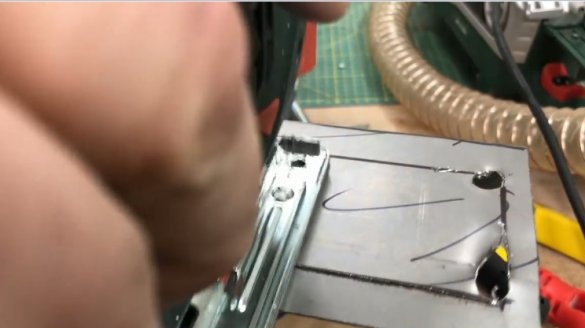
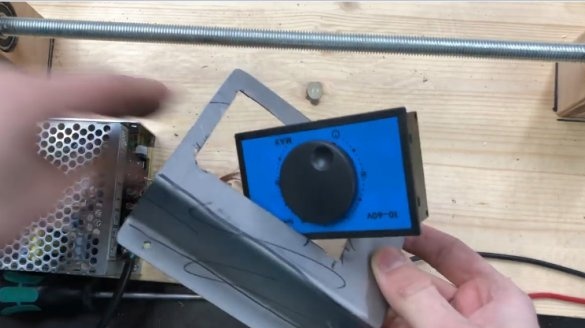
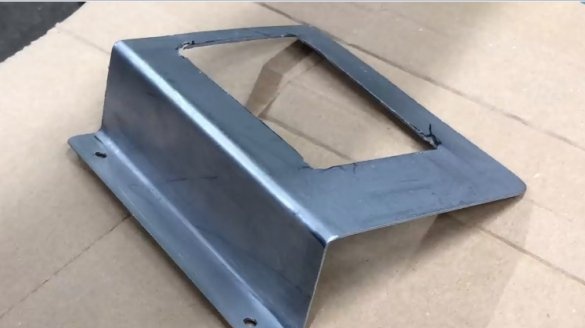
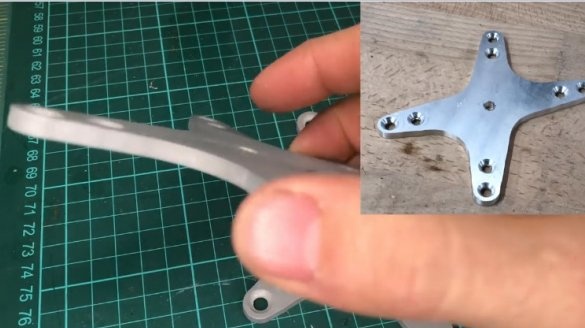
For mounting the controller, the master makes a special plate.
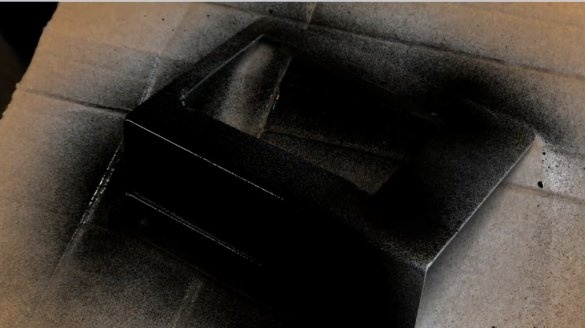
It colors her.
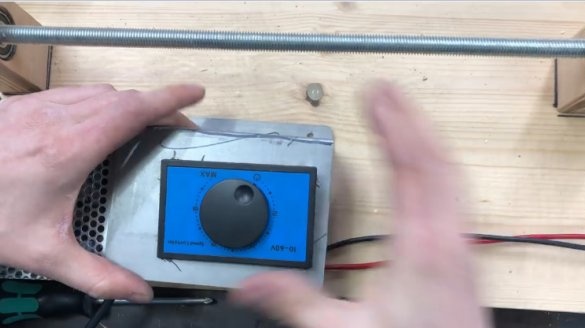
Fixes.
Checks the installation.
Everything is ready and the master again checks the device in operation by loading details into the camera.
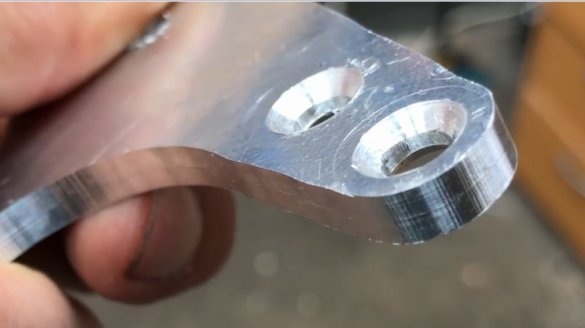
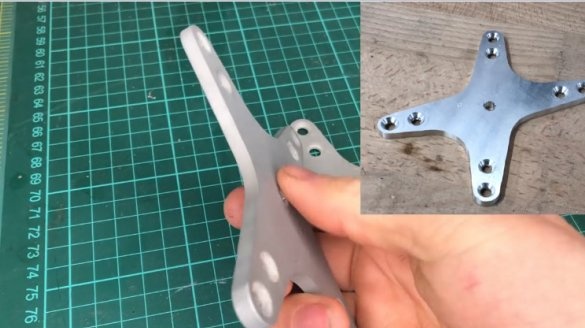
Tumbling is not a quick process and it takes about three hours to process aluminum parts, and about eight for steel. In the photo below, the result of processing a part in a tumbling apparatus.
The whole process of making a tumbling can be seen on the video.

