Greetings to knife lovers, you must admit that there is something special and symbolic in this tool. The knife accompanies a person for many millennia, it is a tool for protection, for food and for survival in general. Among the purchased ones there are many interesting and high-quality knives, but all this is not so in comparison with the knife that is made independently. The master endows the product with a piece of his soul, thereby he even receives some magical qualities, as many believe. Handmade knives will always be valued more than those made in factories.
In this instruction, we will look at how to make a simple folding knife. It is convenient to carry it in your pocket, it is difficult to break it due to the simplicity of the principle of its work, and this knife can be quite strong and hardy if you make it of high-quality steel. By the term “good steel” is meant a steel that incorporates a large amount of carbon. It is this steel that can be hardened. There are many steels designed specifically for the manufacture of knives, and knives are also successfully made from files and other tool steel. What specific steel was used in this manual remains unknown.
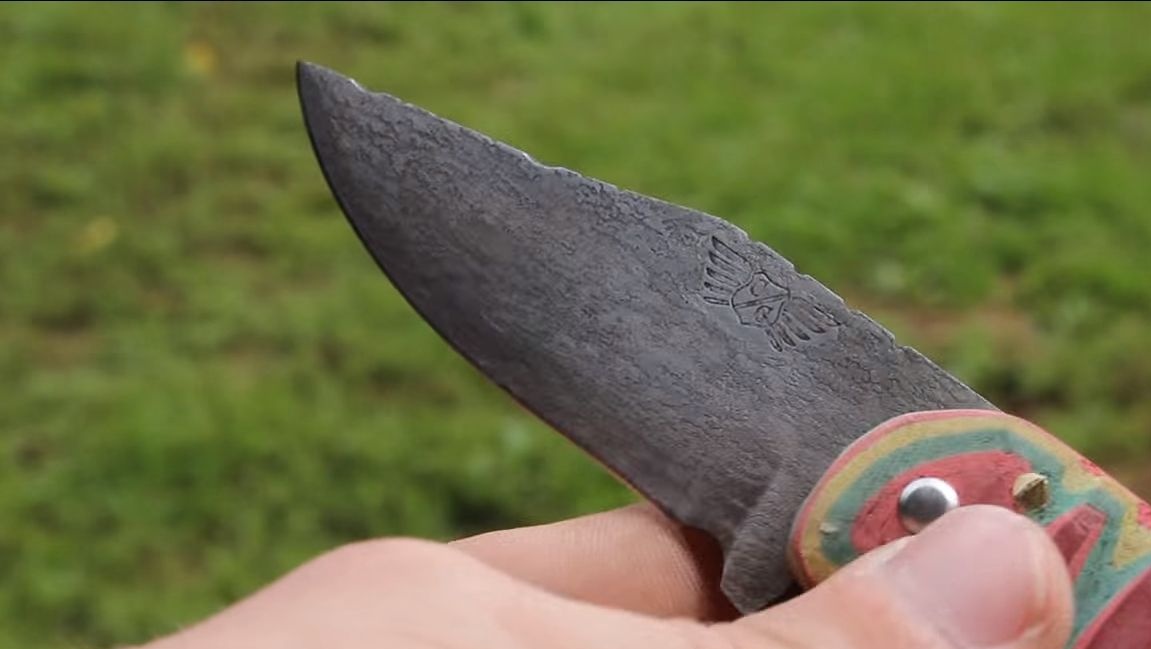
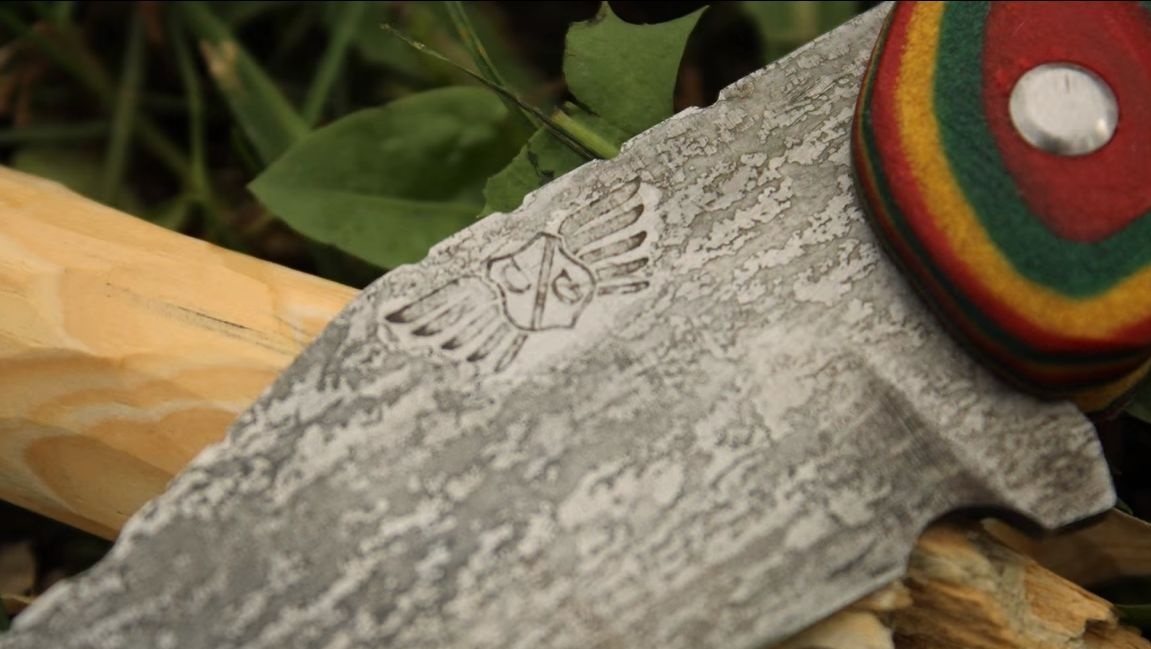
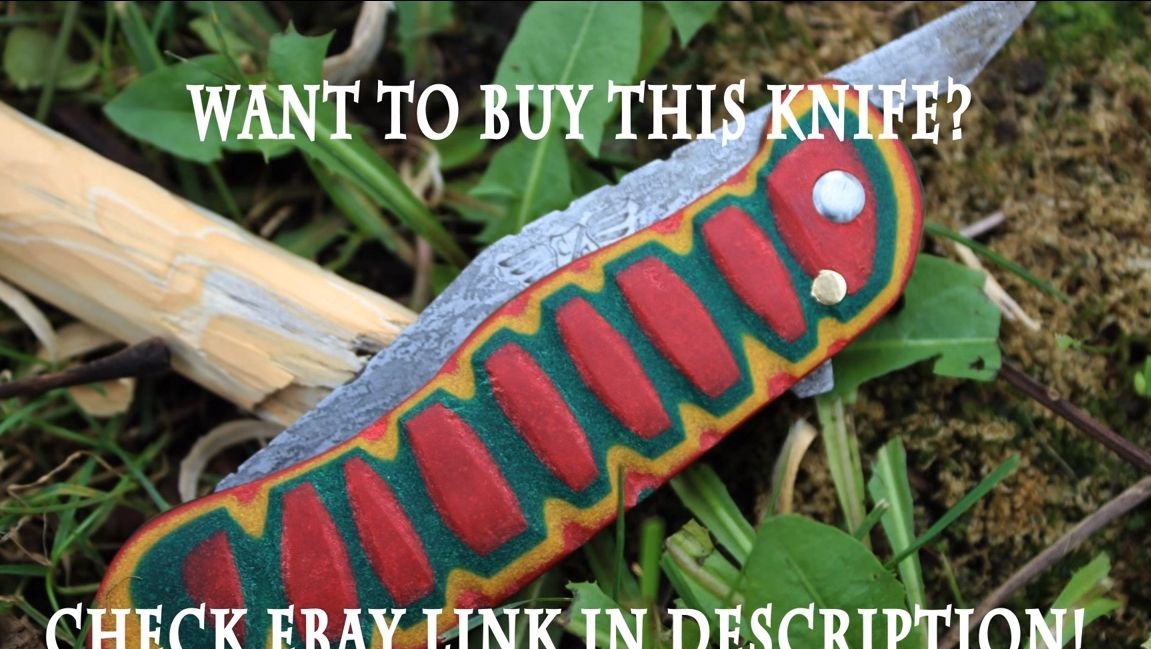
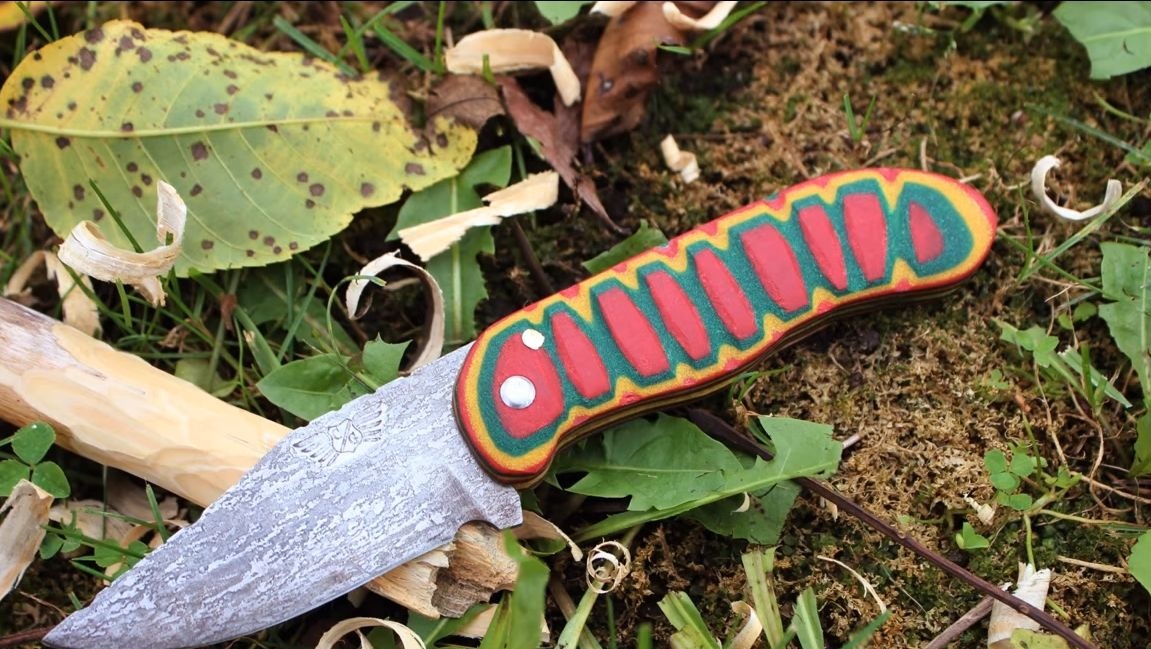
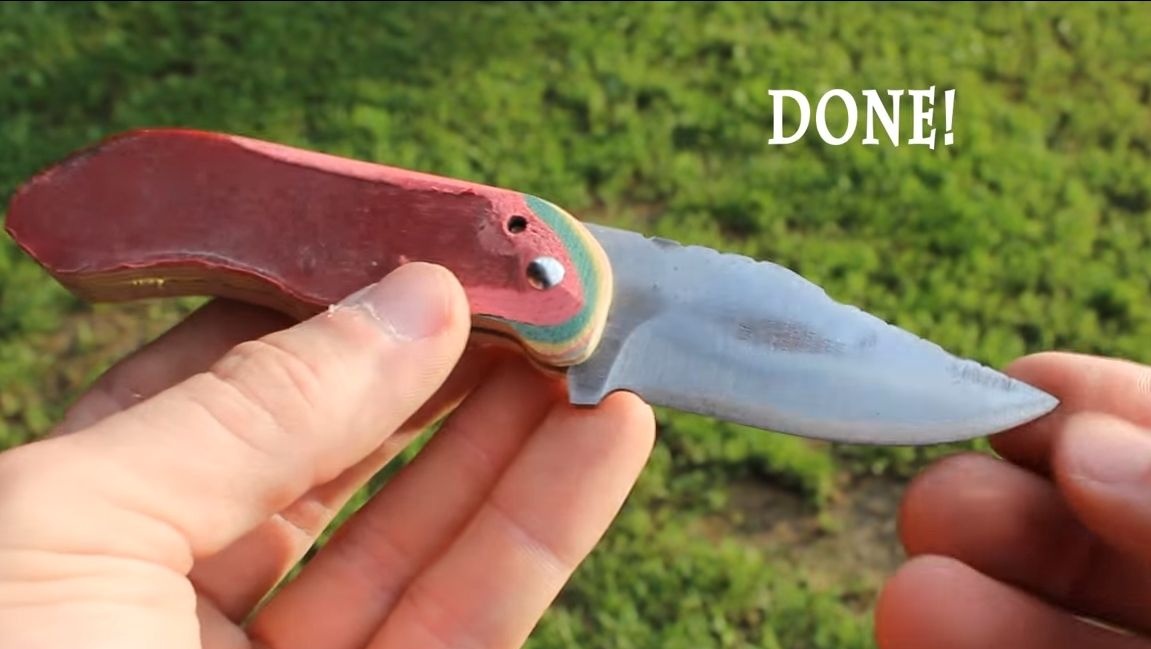
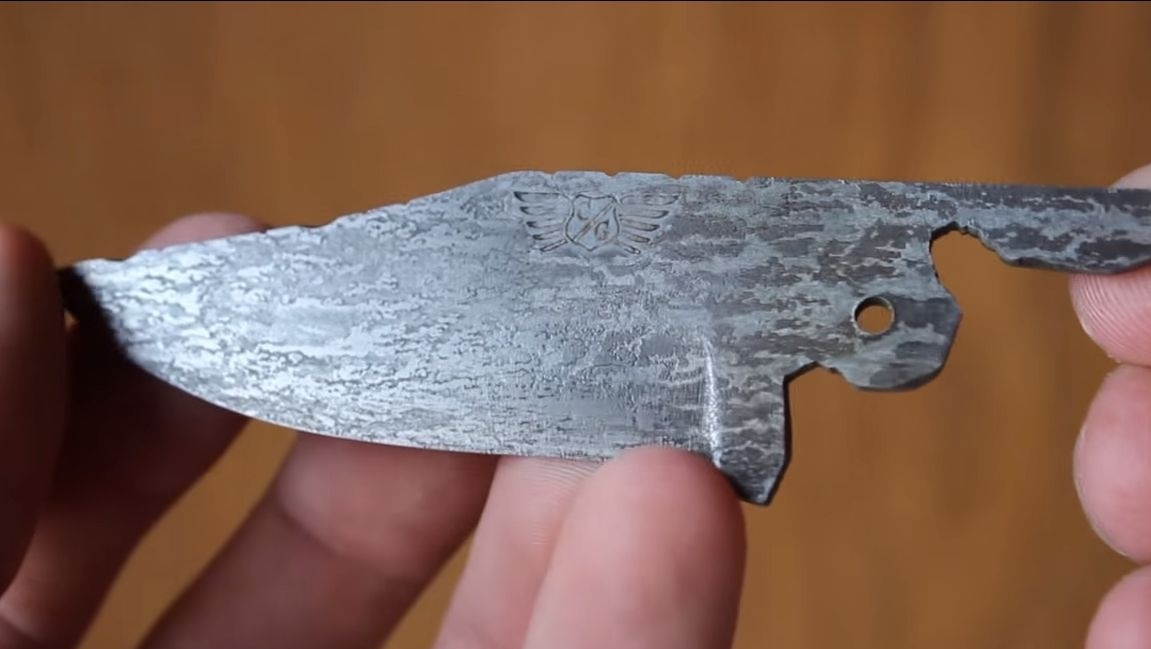
Of great interest is the handle of the knife, it is made from mikarta. The author decided to make an interesting ribbed pattern on the handle. By the way, the blade is also etched. So, we will consider in more detail how to make such a knife.
Materials and tools used by the author:
Material List:
- mikarta;
- sheet steel (for a blade);
- brass rods;
- epoxy adhesive;
- reagents for etching;
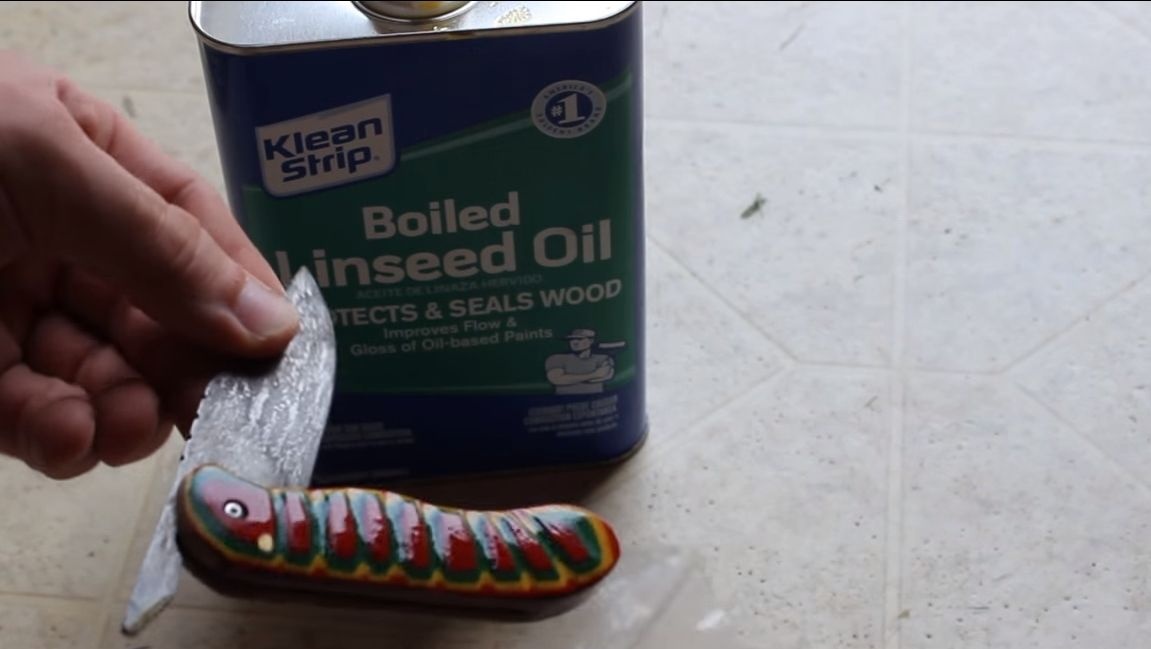
- oil for impregnation of the handle;
- steel rod (for the axis of the blade).
Tool List:
- files;
- sandpaper;
- belt grinding machine;
- drilling machine;
- a hacksaw for metal;
- jigsaw;
- grinder;
- vise;
- hammer;
- marker;
- whetted;
- burner or forge;
- household stove.
The process of manufacturing a folding knife:
Step one. Cut the main profile of the blade
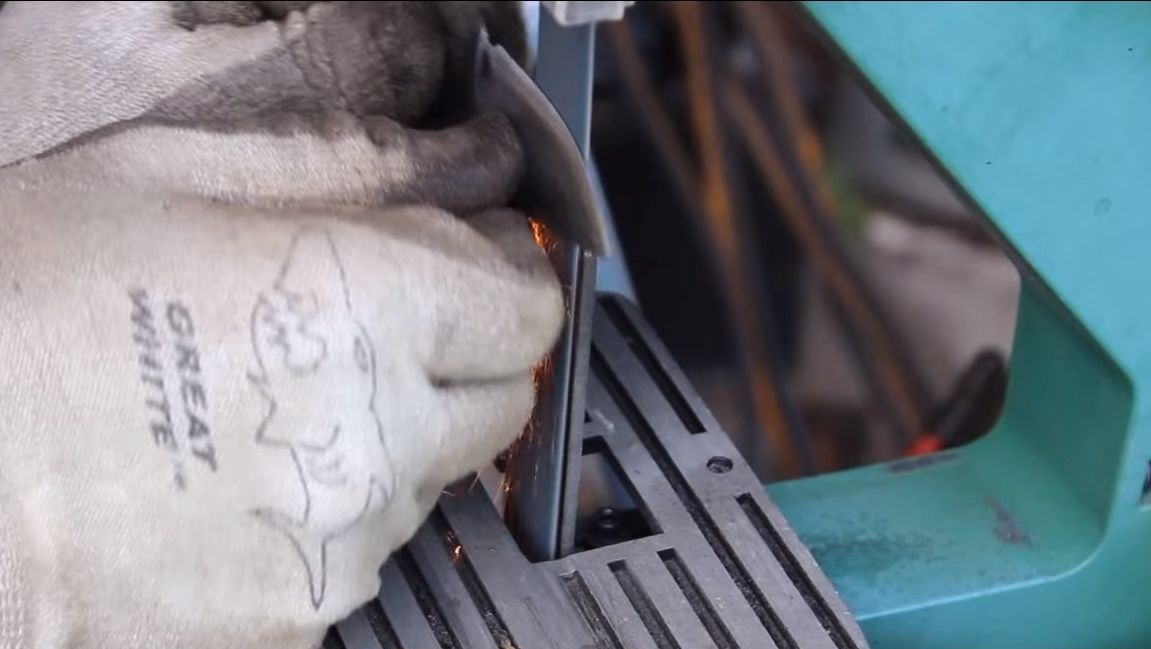
First of all, you will need to prepare the metal, if you think to use hand tools for work, you need to burn the metal. Red hot it and let it cool in the open air, after which it should become soft.
Now we take a marker and draw on the metal the desired blade profile. It is best to draw the blade first on paper and then cut it out to have a reusable template.
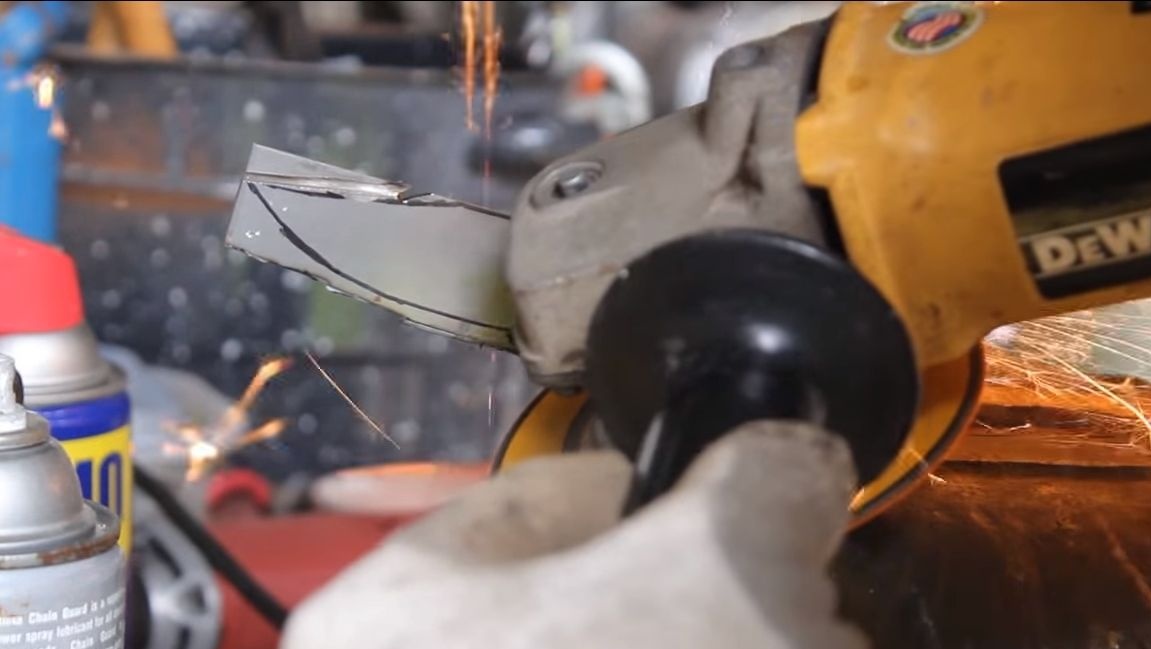
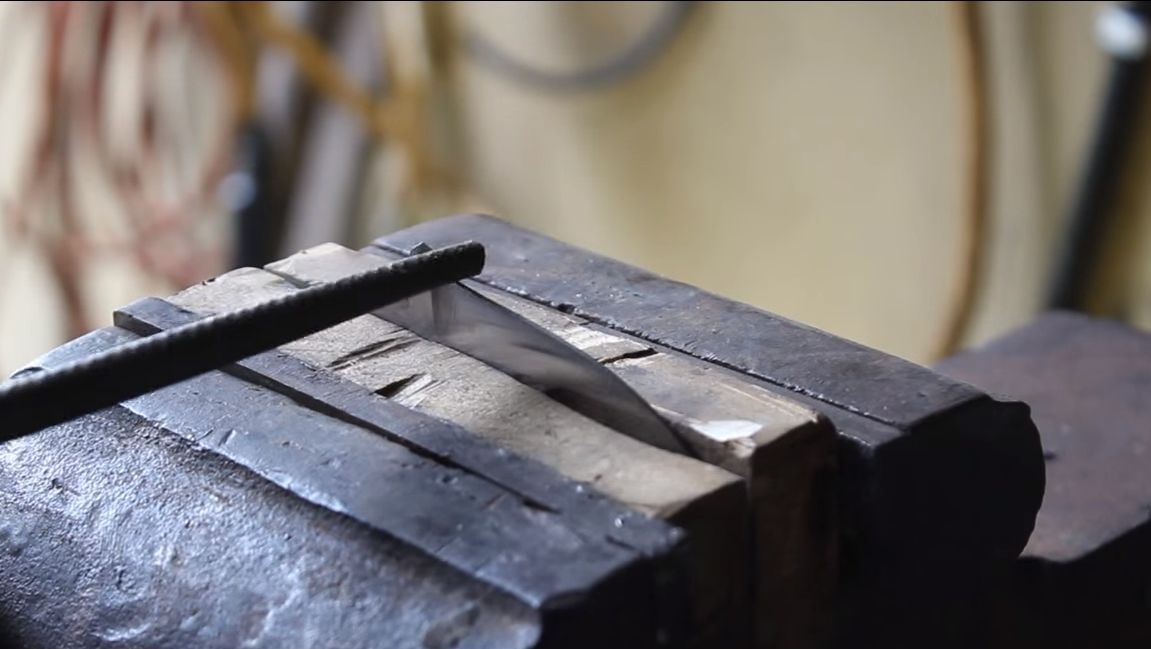
Well, then you can start cutting. To cut the main profile, the author decided to use such a public tool as a grinder. Do not cut too close to the line, as the metal overheats, which is bad. It is better to leave a little, and then grind the excess. At the end, we clamp the rough profile in a vice and carry out a finer processing by the grinder.
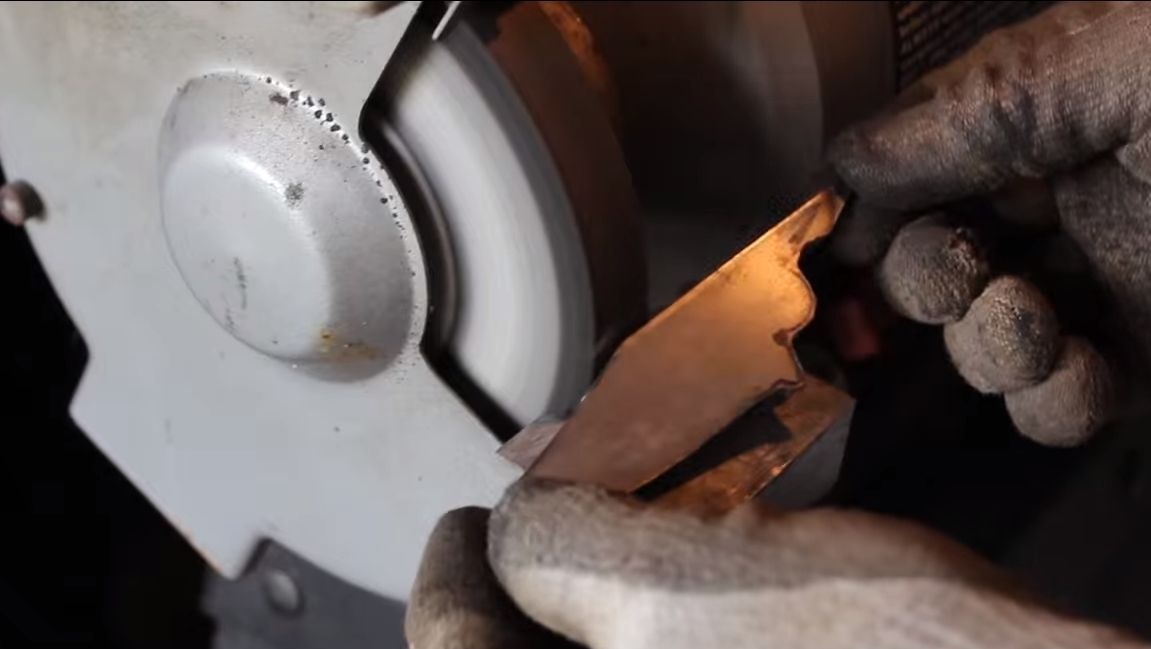
Step Two We bring the profile of the blade to the ideal
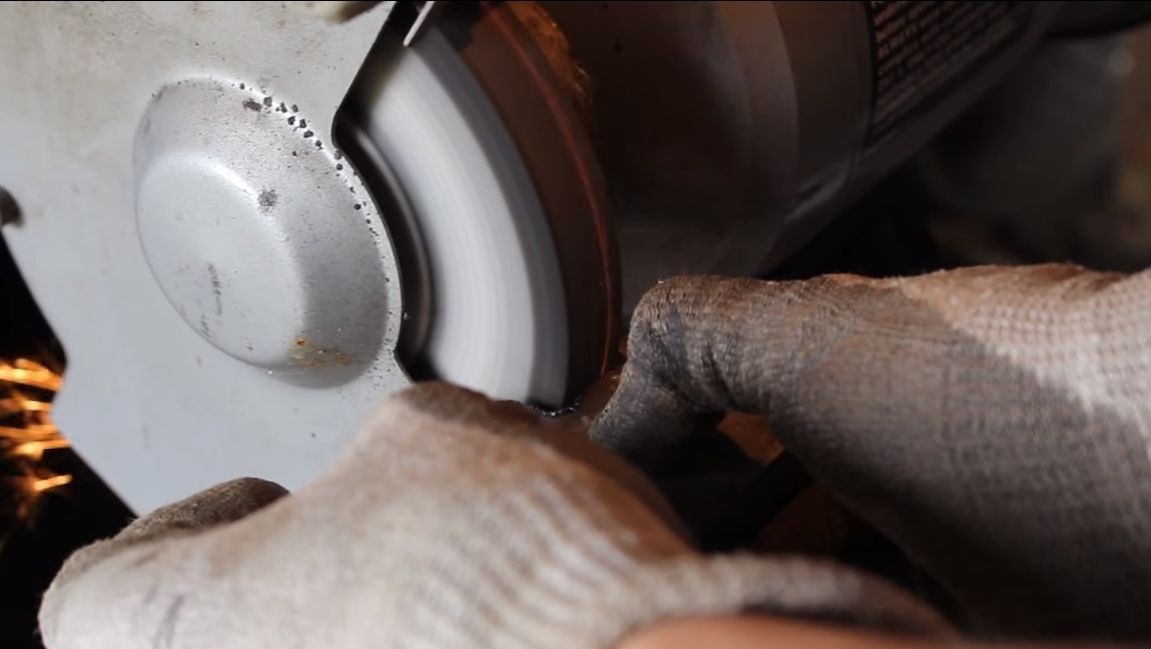
Now we proceed to grinding, we will need to remove all unnecessary from the blade so that the profile takes on a finished look. A sharpener with a coarse-grained stone is quite suitable for these purposes, thanks to which you will no longer overheat the metal. Where we could not crawl with a sharpener, we modify it manually with a file.
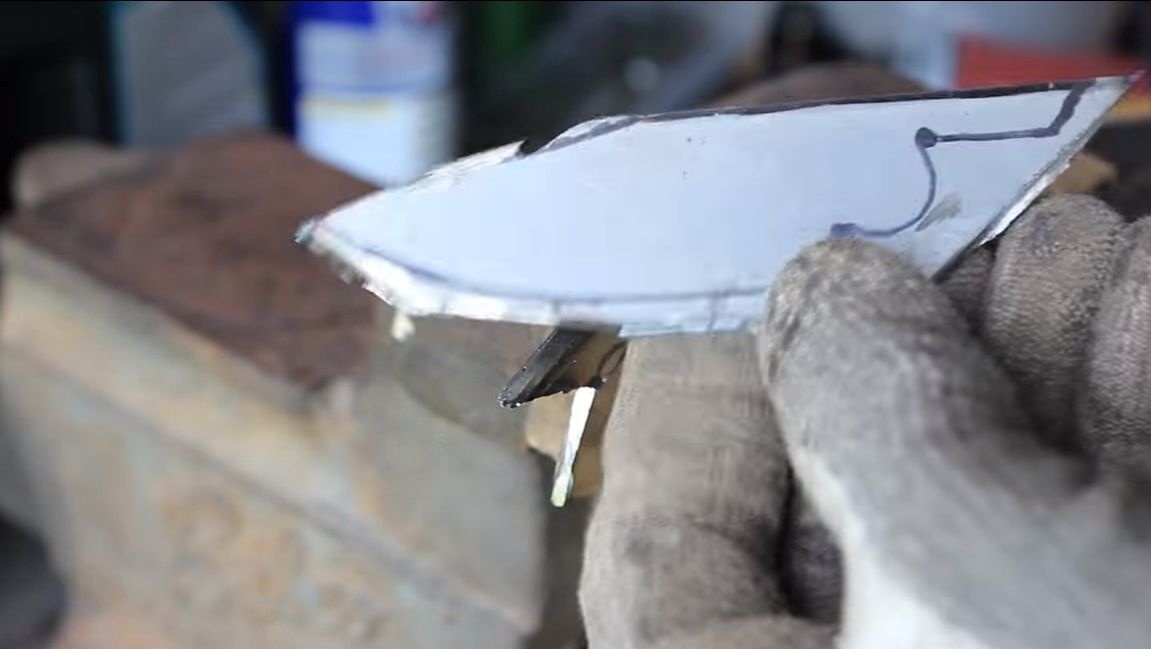
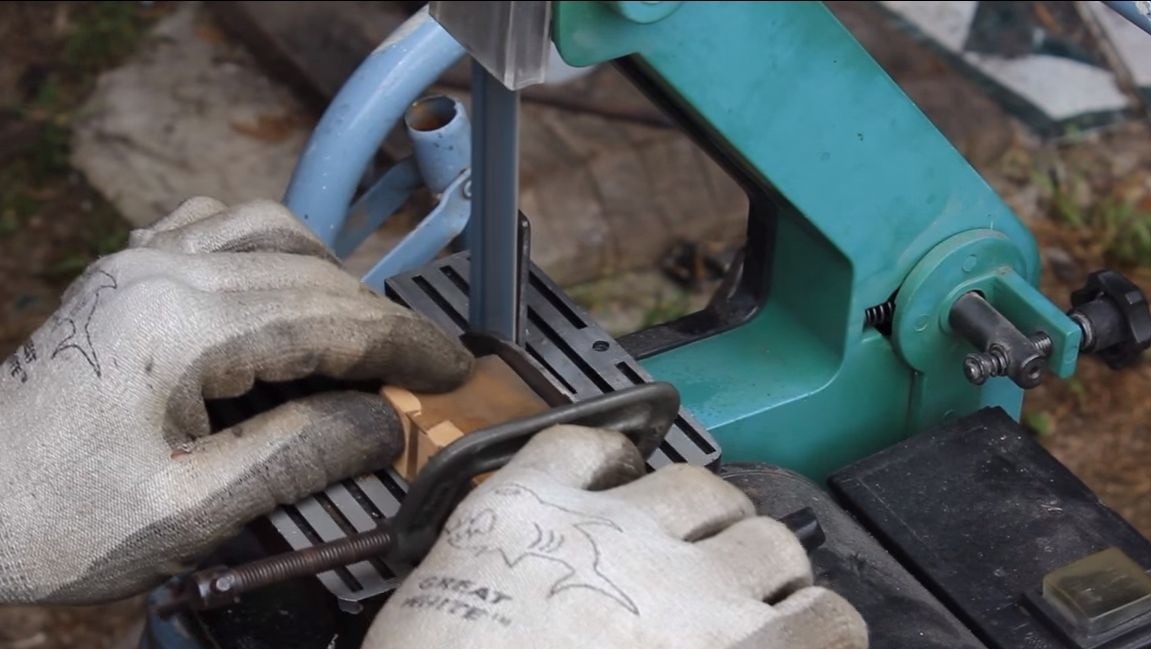
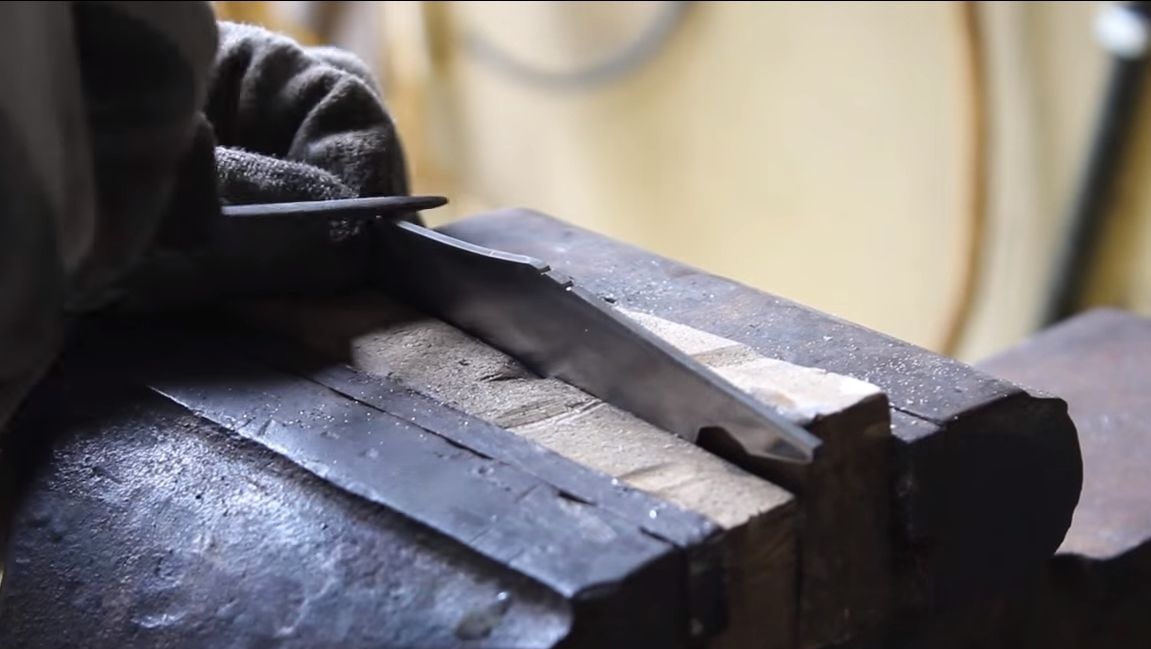
Step Three Blade Bevels
For the knife to cut and sharpen well, he needs to set the bevels, that is, the profile of the blade. The thinner the blade, the sharper the knife will be. But be careful, too thin a blade can crumble from heavy loads. Do not sharpen the blade at this step, as too thin metal can be overheated during heat treatment.
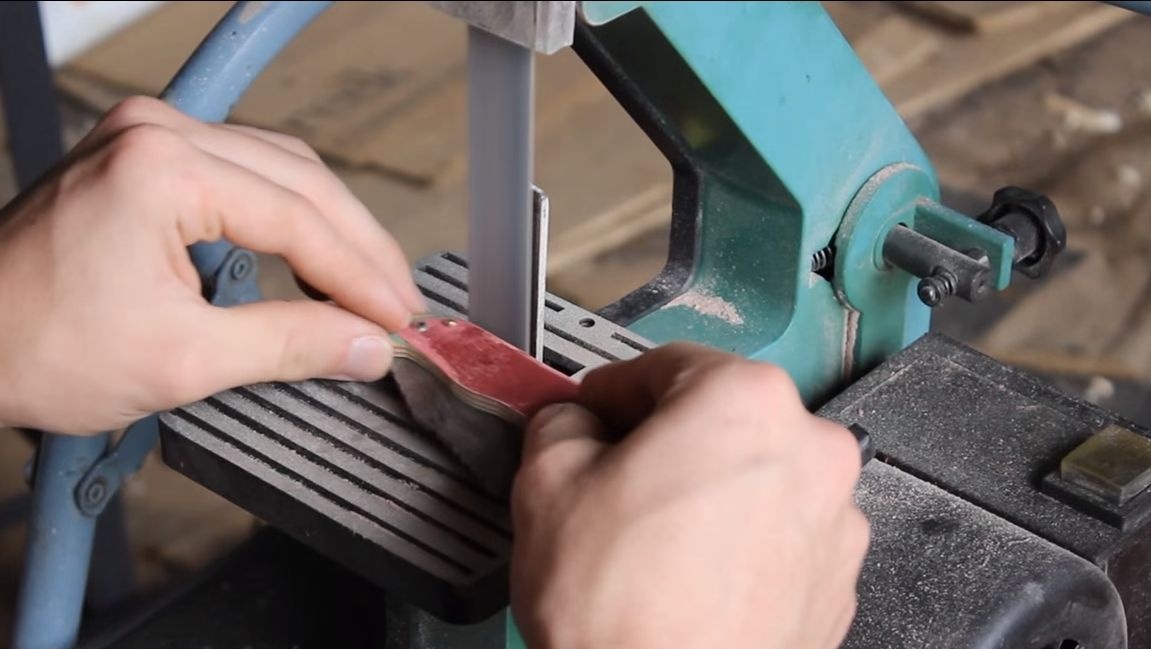
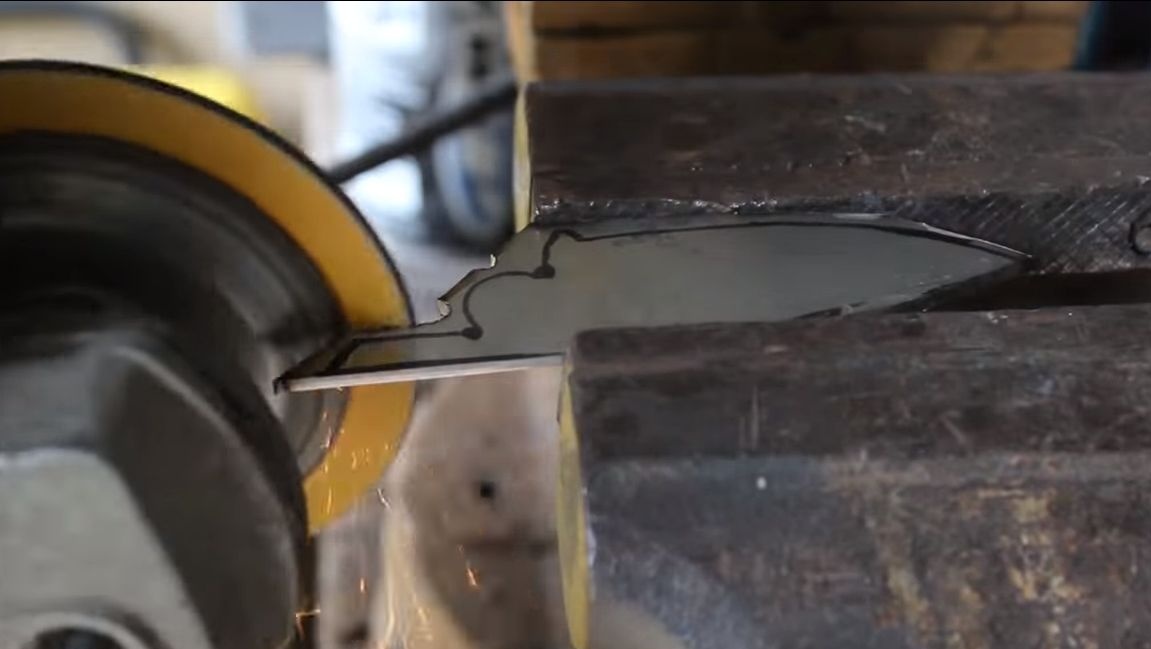
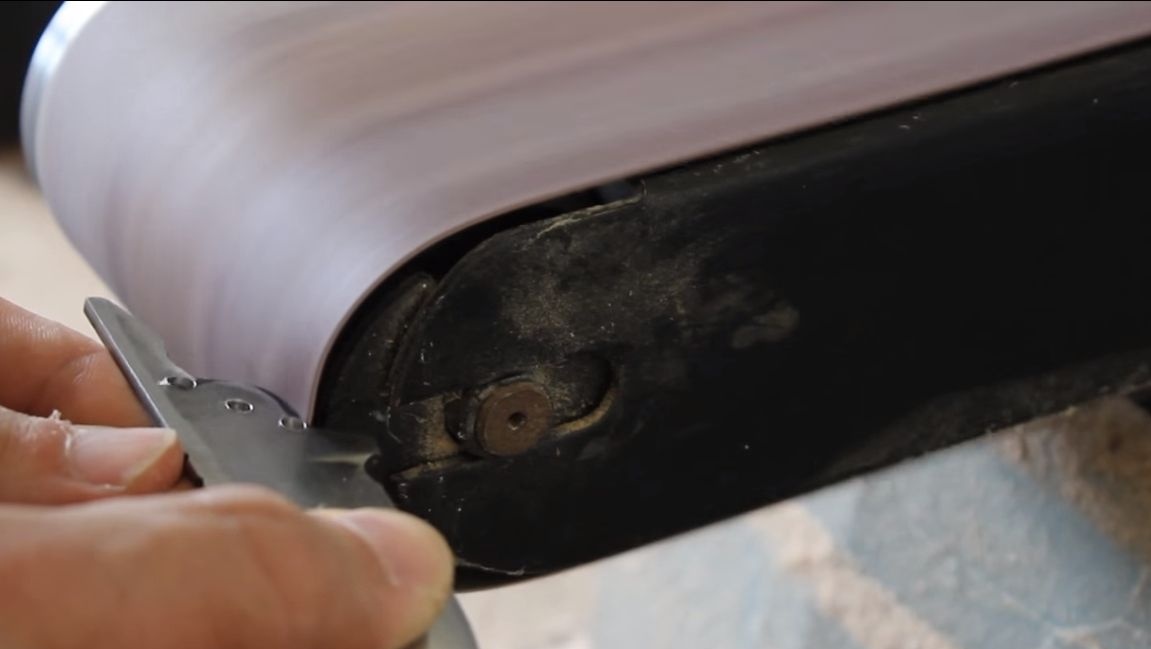
It is most convenient to perform such work on a belt sander, the author uses a small convenient machine. We fix the blade on the bar and get to work. The bevels are different, the most popular option provides that they must be symmetrical.
At the same step, grind the planes so that they are smooth. You can still walk along the contour, thereby removing gross irregularities.
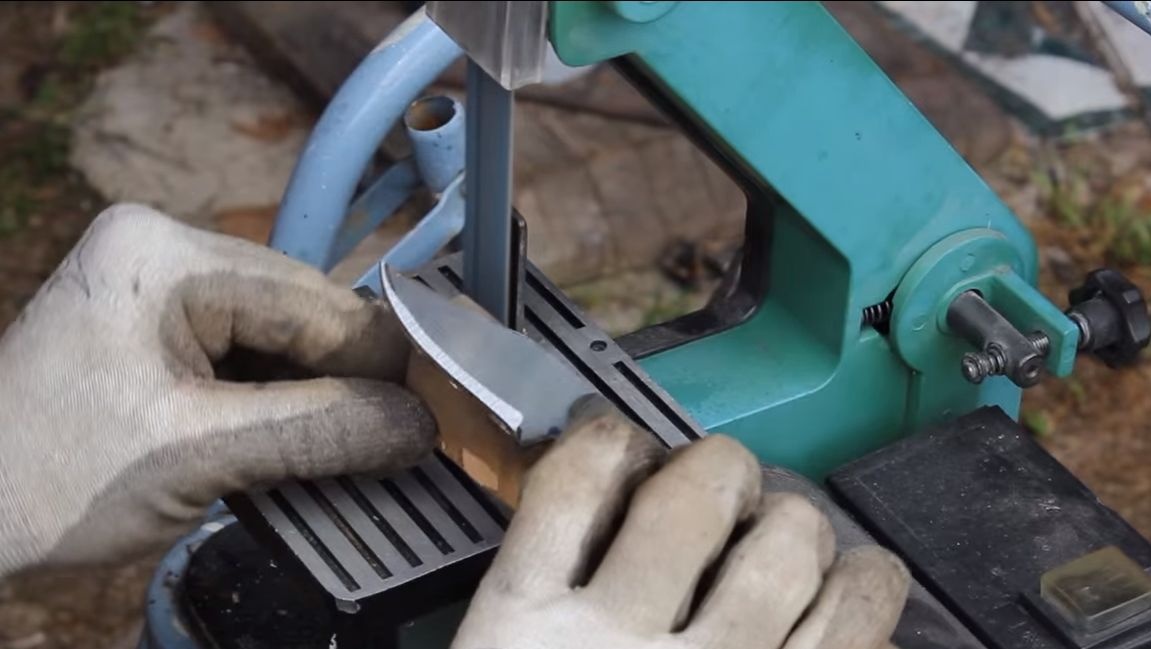
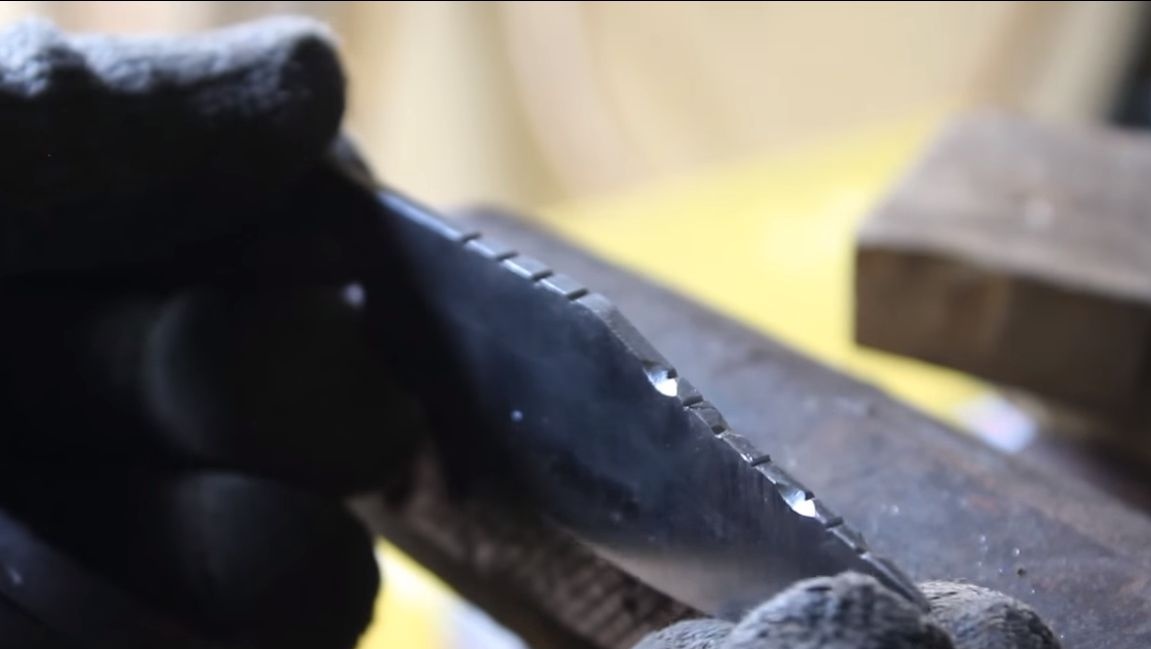
Step Four Blade Grooves
This step is not necessary at all, it is rather an aesthetic addition. We make grooves on the blade, first they can be cut through with a grinder or a trihedral file. And then the author changes the profile of the grooves using a round file. It turns out pretty pretty.
Step Five Blade Heat Treatment
If you want the knife to be strong, hold the sharpener for a long time and can cut nails without consequences, the blade should be hardened! The hardness after hardening will depend on the steel selected. Specifically in this homemade it is not known what steel was used. We will consider only the basic hardening method, which is suitable for most steels.
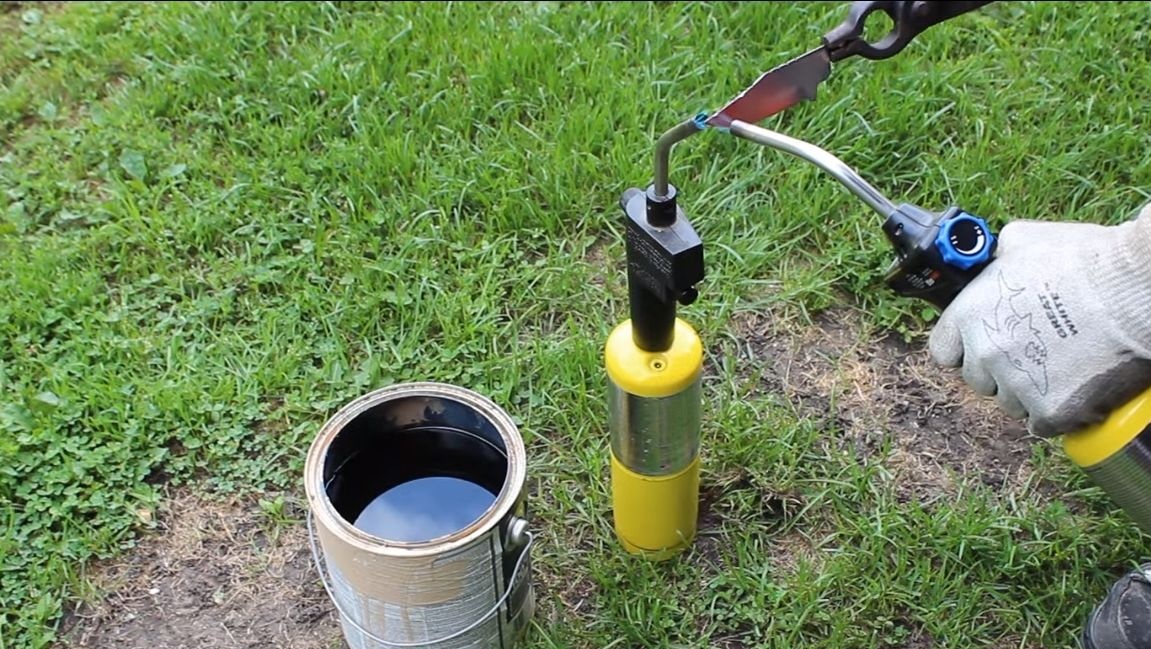
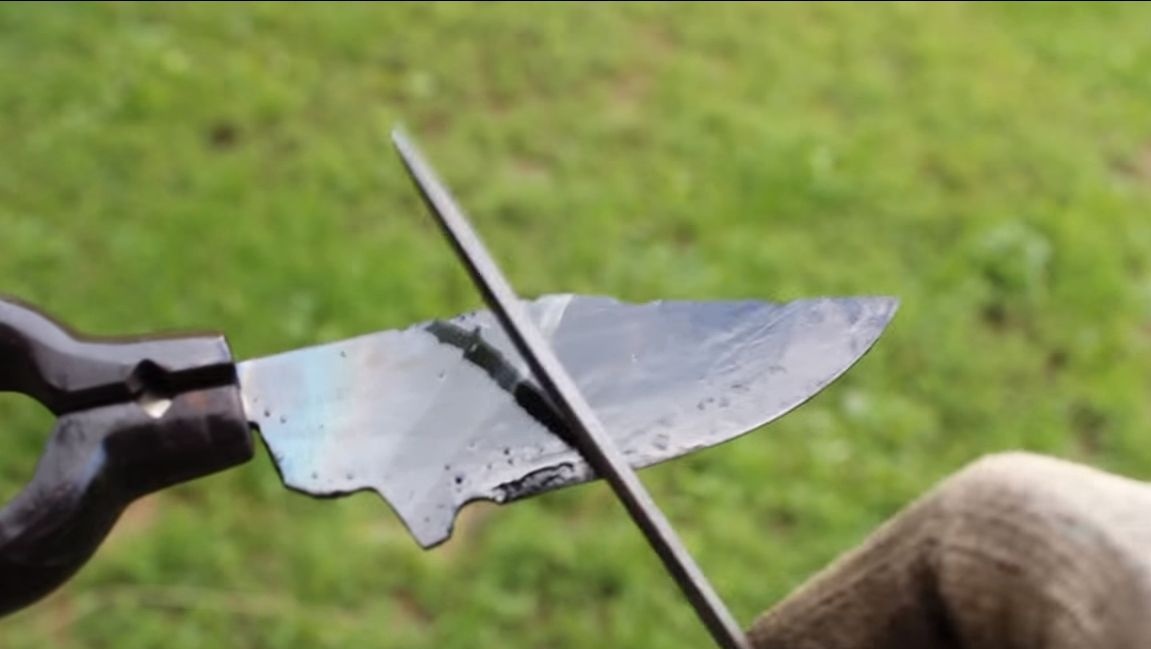
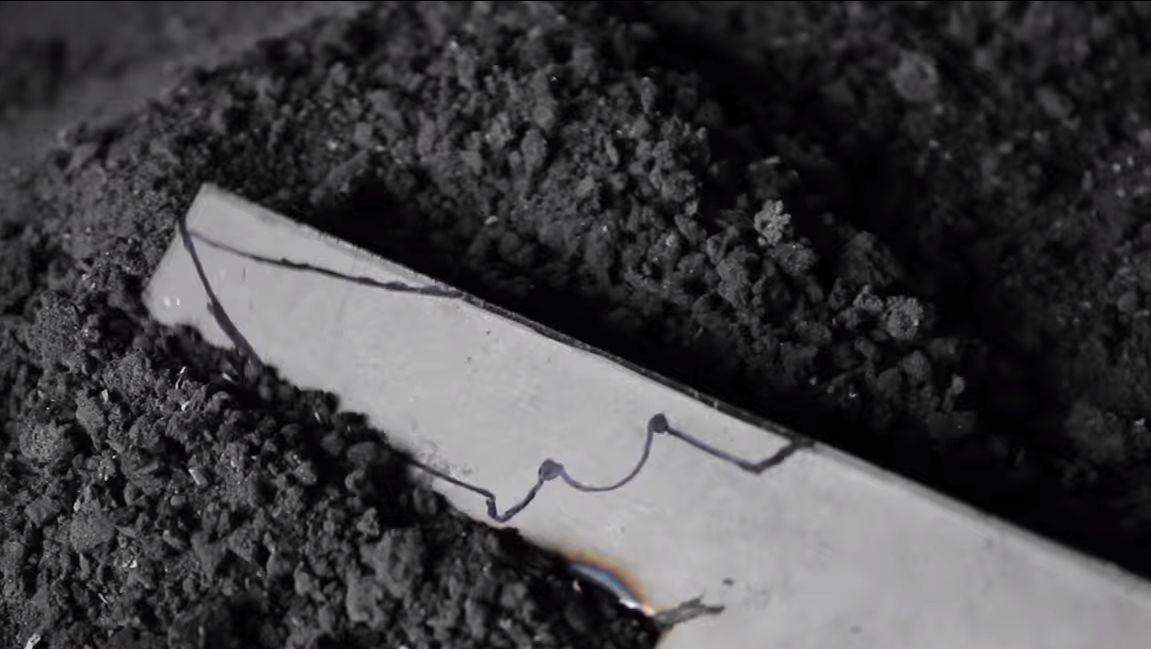
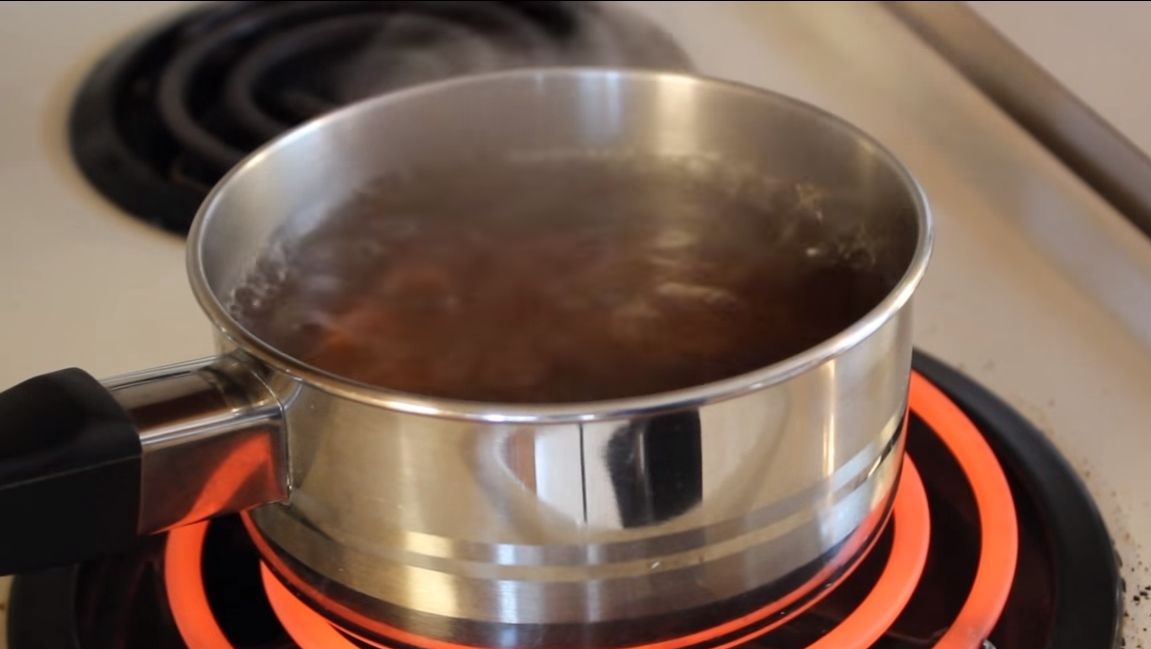
First of all, we heat the blade, and it is better to precisely the zone with the blade to such a temperature that the metal does not react to the permanent magnet. In appearance, the metal can be a bright red or yellowish color, but for each brand, everything has become individually. The author warms up the blade with a burner, this is quite an acceptable option if the blade is small. And the best thing is to make a simple stove made of refractory bricks, which can be fed with the same burner. Well, then lower the blade into the oil, this is the most common substance for hardening steels. Oil does not cool the metal as fast as water, so there is less chance that the blade will crack or warp. Oil is suitable mineral or vegetable.
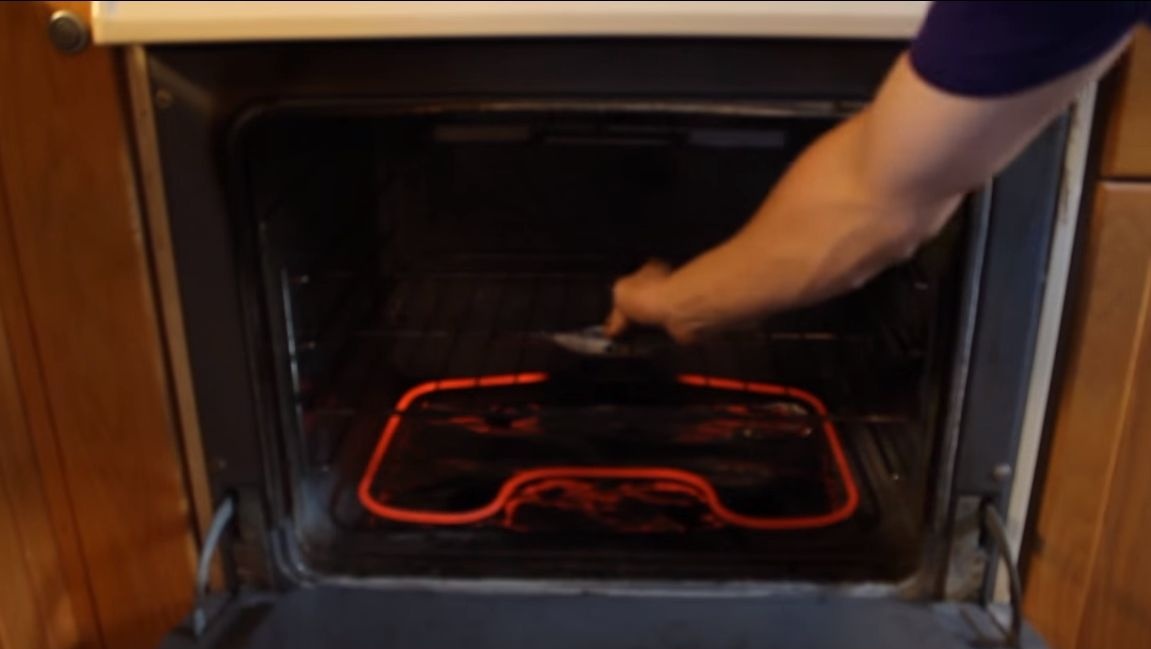
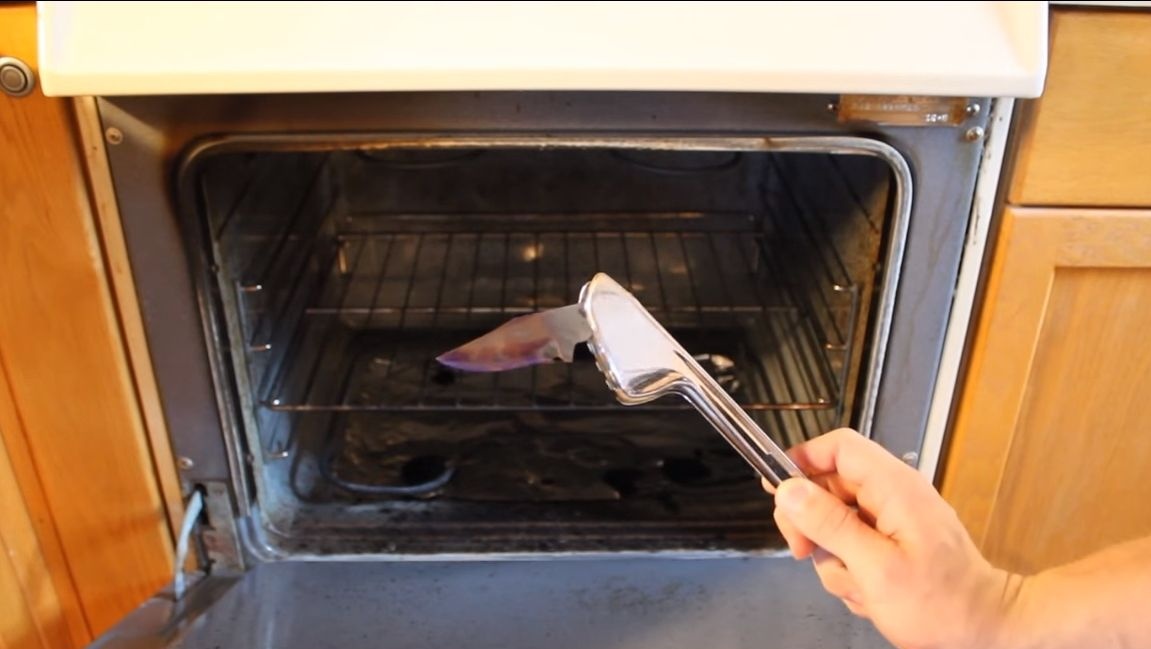
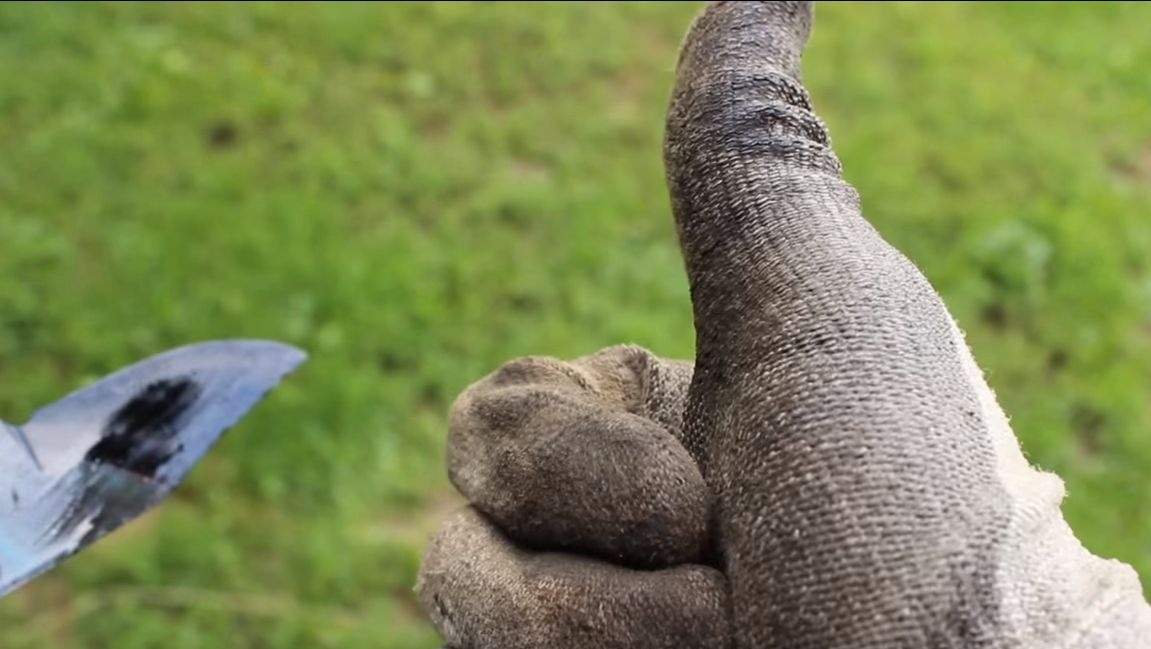
After hardening, we check whether everything worked out for us. We take the file and draw it along the blade, if there are no scratches, fine, move on! Now we are waiting for the final stage of the heat treatment, it is called metal tempering. This procedure will make the steel a little softer, the blade will begin to spring, it will no longer be brittle and it will be difficult to break it. We place the blade in the household oven for an hour, the temperature should be 200-300 ° C, but for each metal it is individual. In color, the metal should become straw, this also means that we let the steel go properly. Turn off the oven and let it cool when closed.
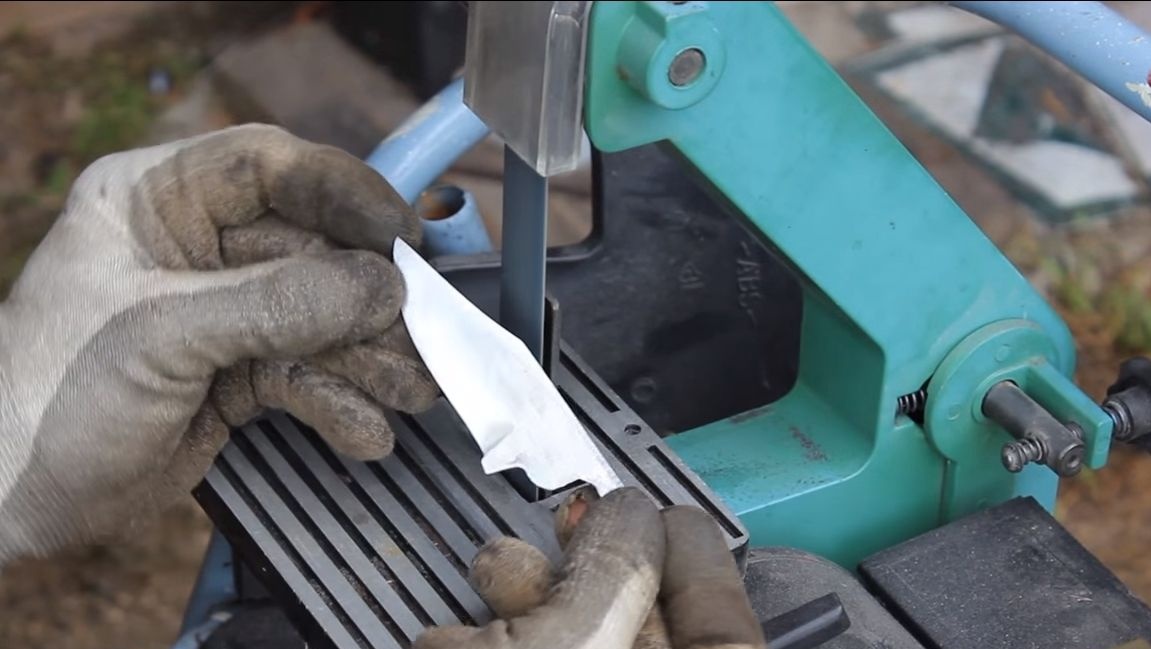
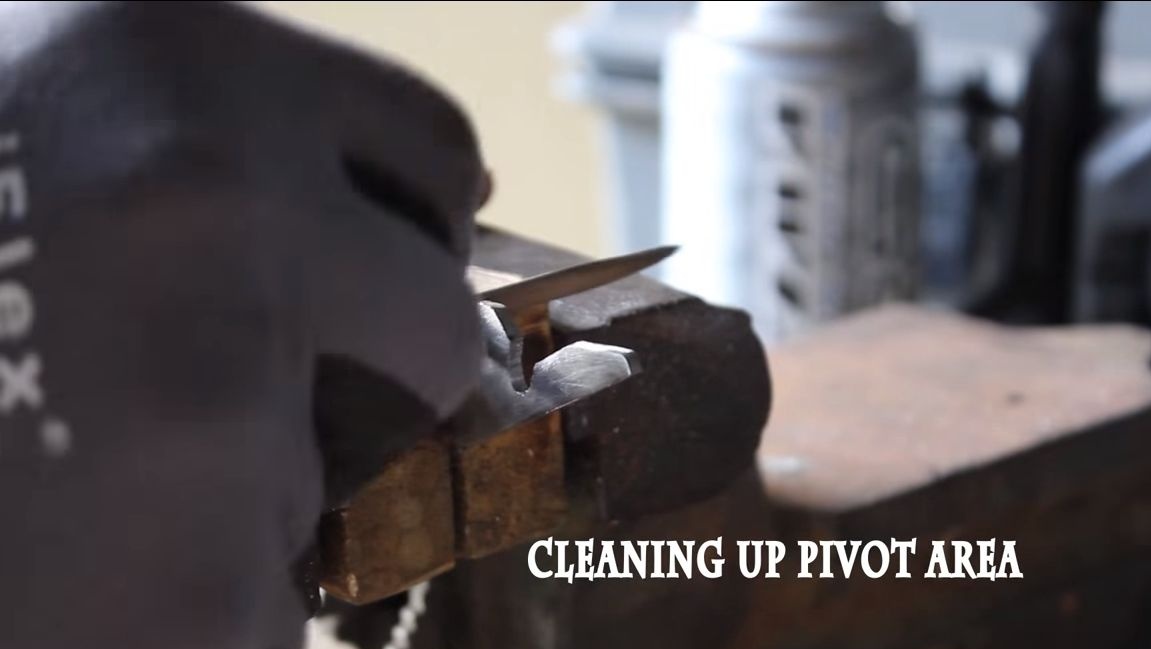
Step Six Final revision of the blade
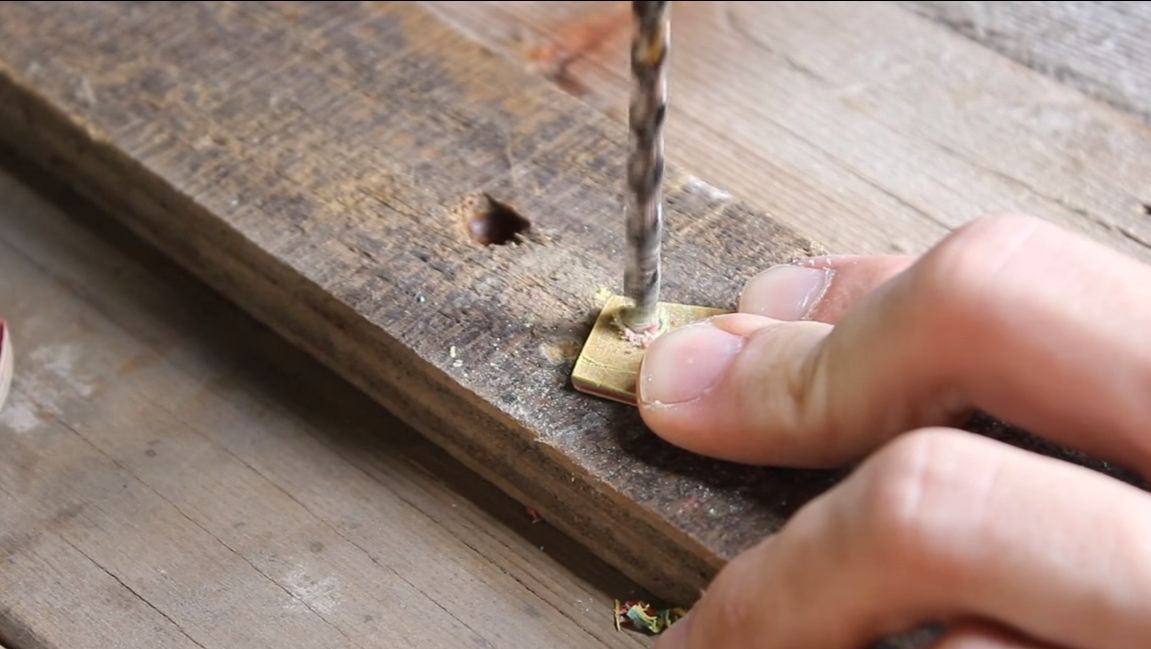
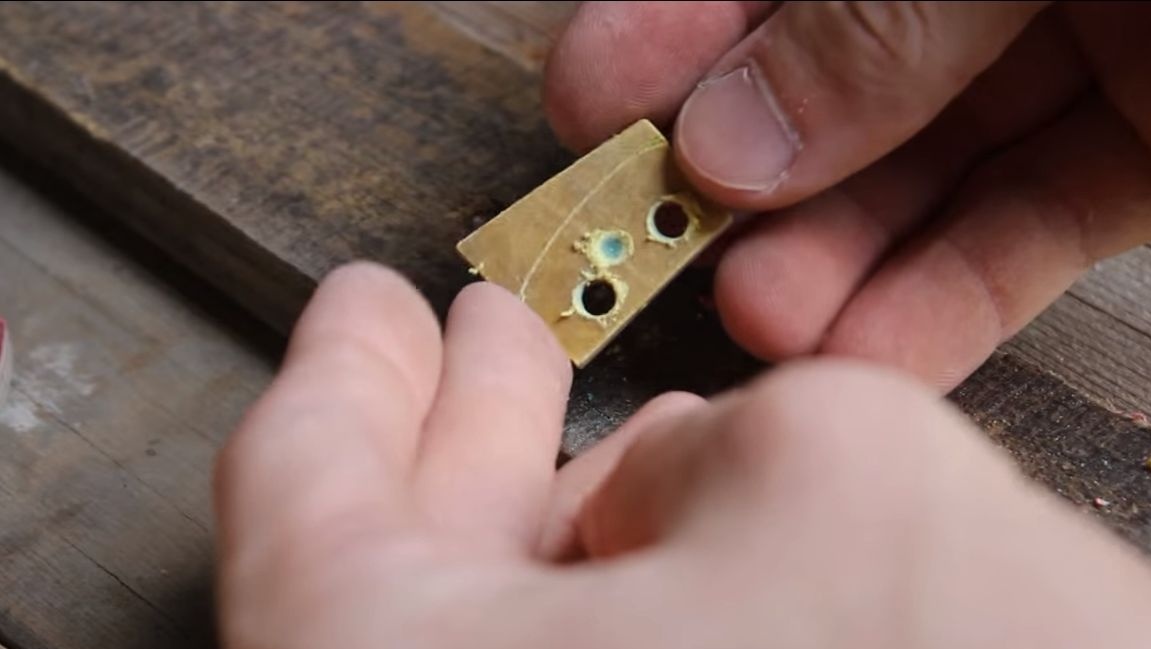
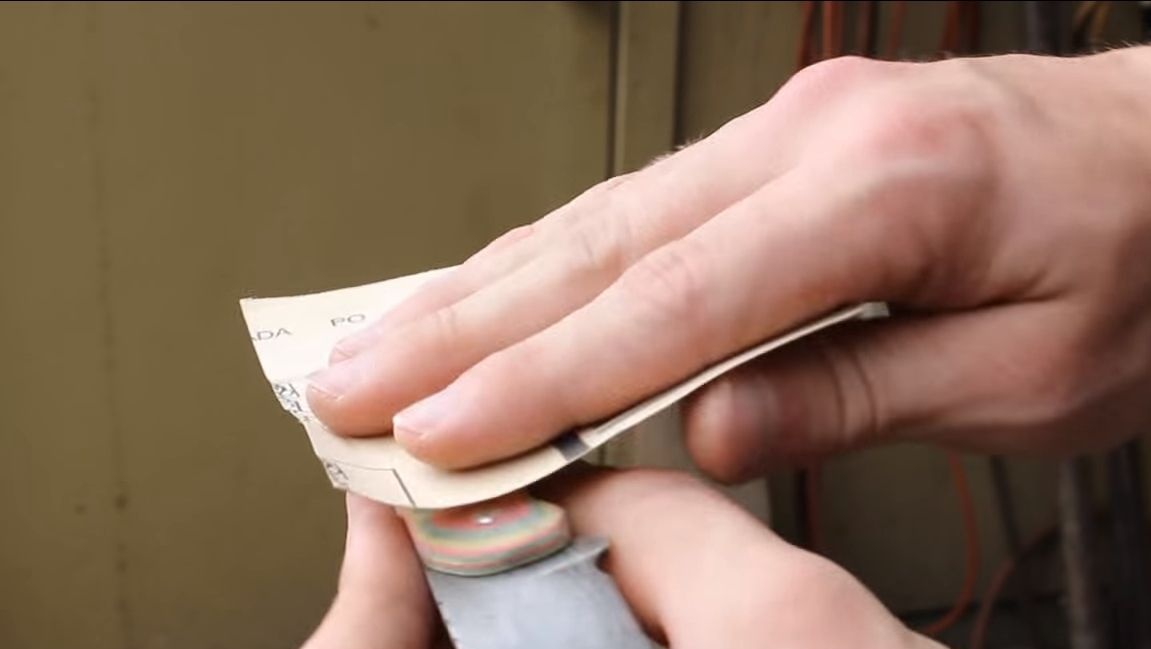
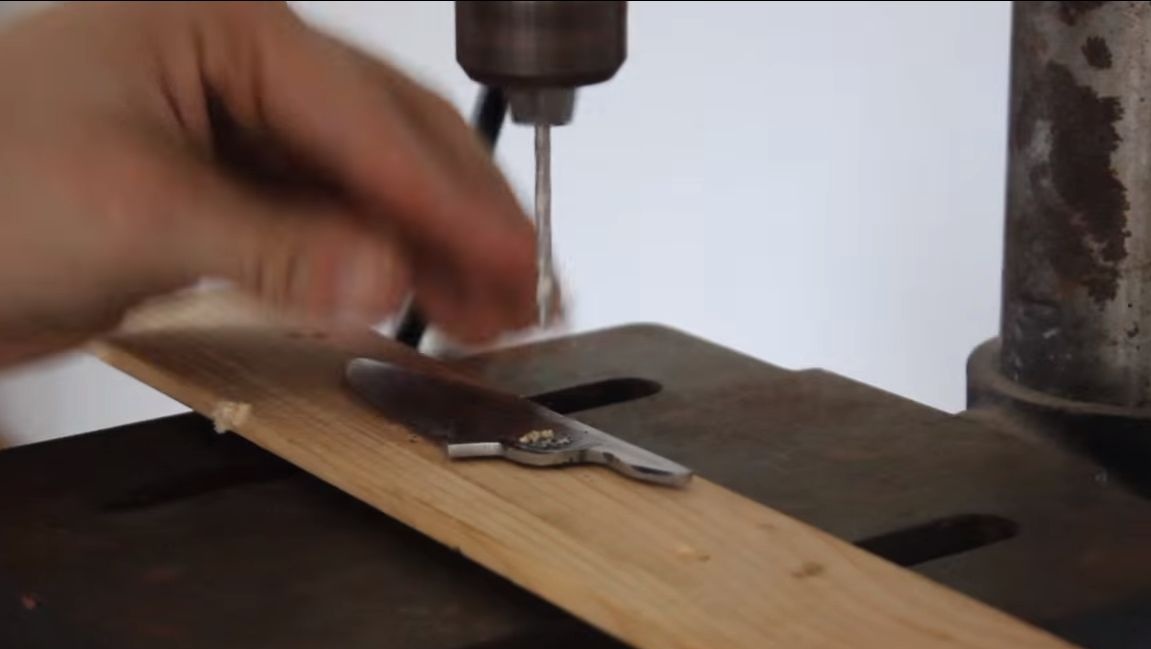
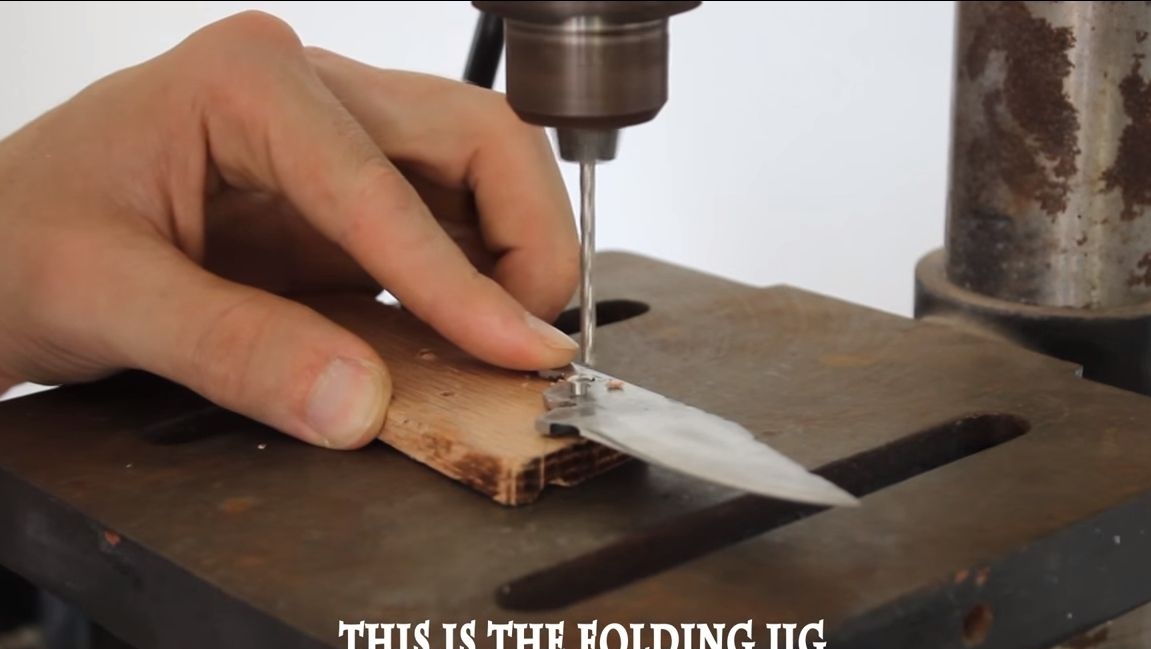
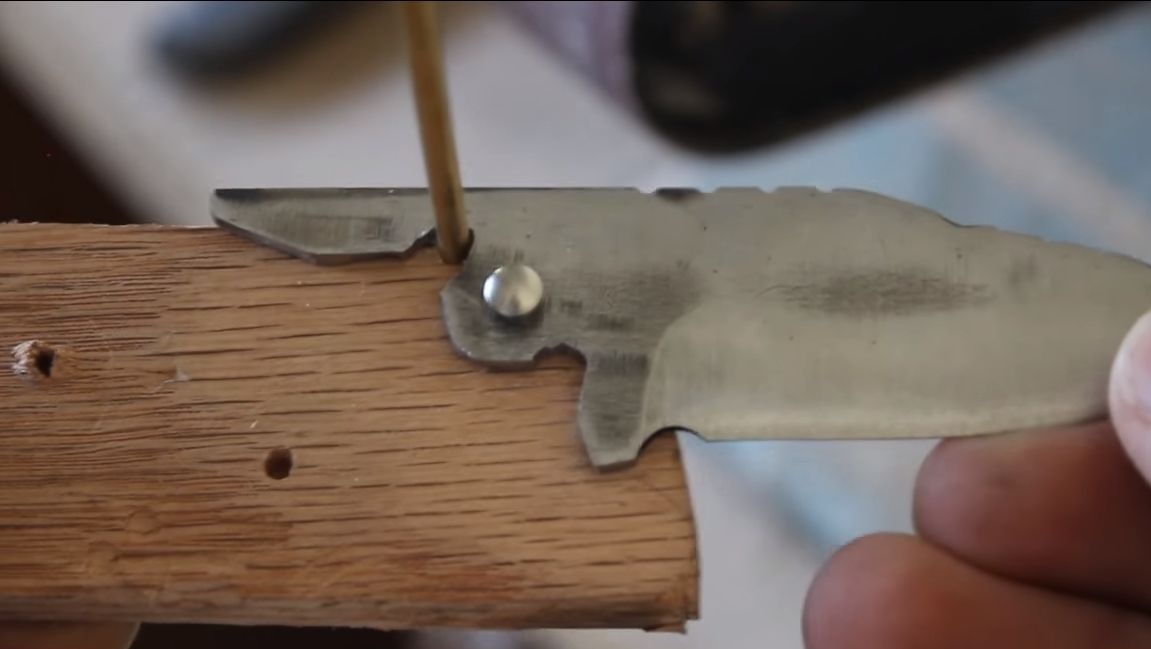
At the end, we grind the entire surface of the blade, since after heating the steel changes color. We pass on the tape machine, and then you can polish the blade and manually emery. In addition, the author drills a hole for the axis. Do not forget to make the grooves for the fixing pins.To do this, drill holes, and then make cuts to them with a grinder. Of course, it is best to carry out all these procedures before the heat treatment.
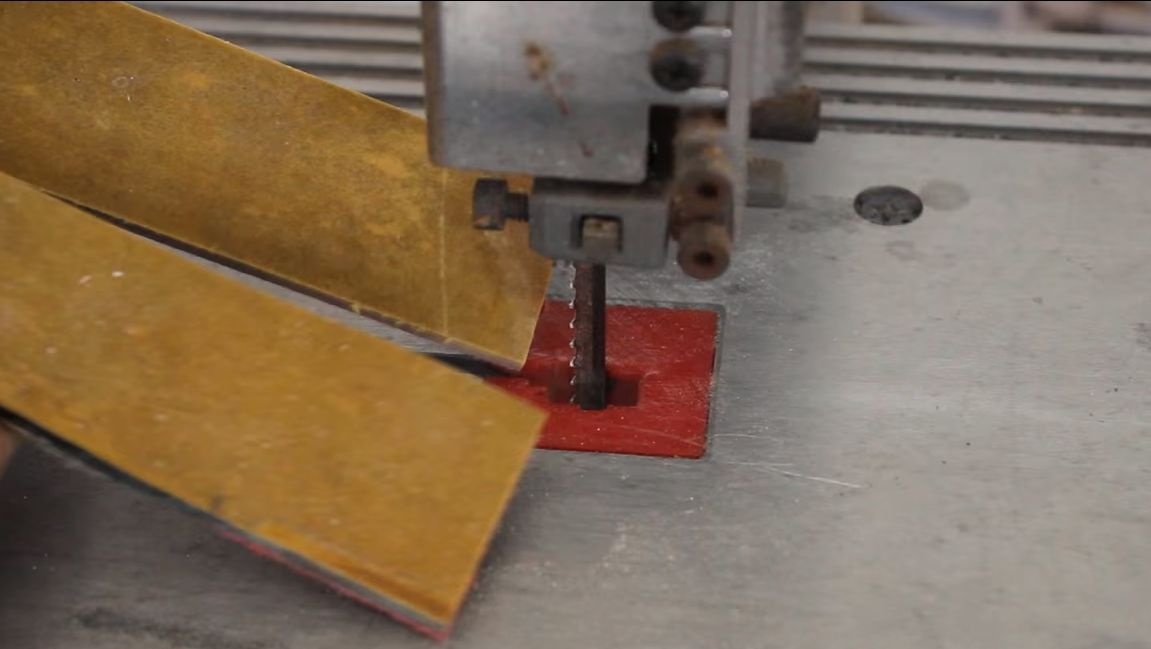
Seventh step. Getting to the handle
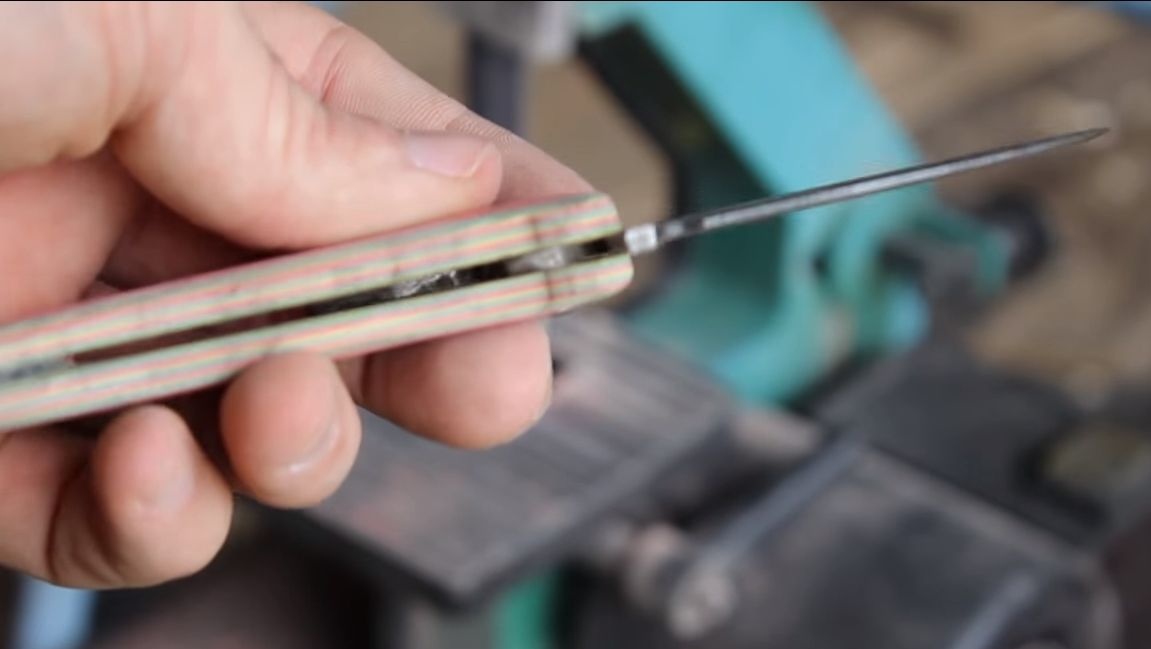
The author ruffled to make a pen from mikarta, plywood or thin trims are also suitable. We take measurements and use a jigsaw to cut two identical parts. In the future they will be glued with epoxy. Two brass pins are installed in the handle, as well as one steel axis, on which the blade will be held.

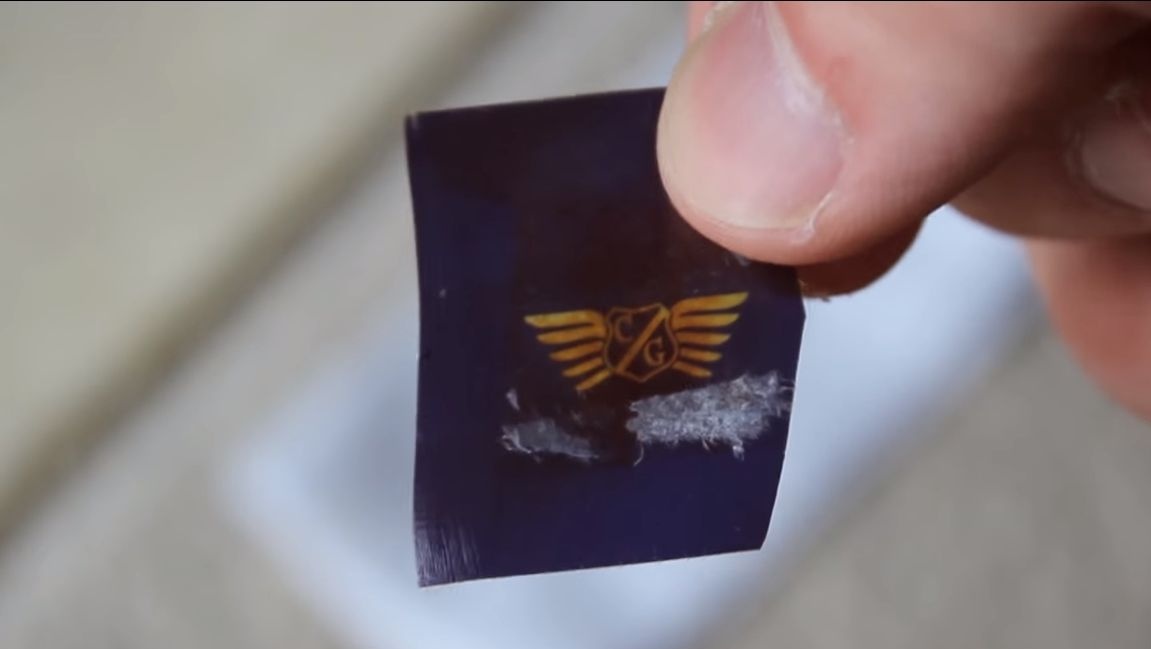
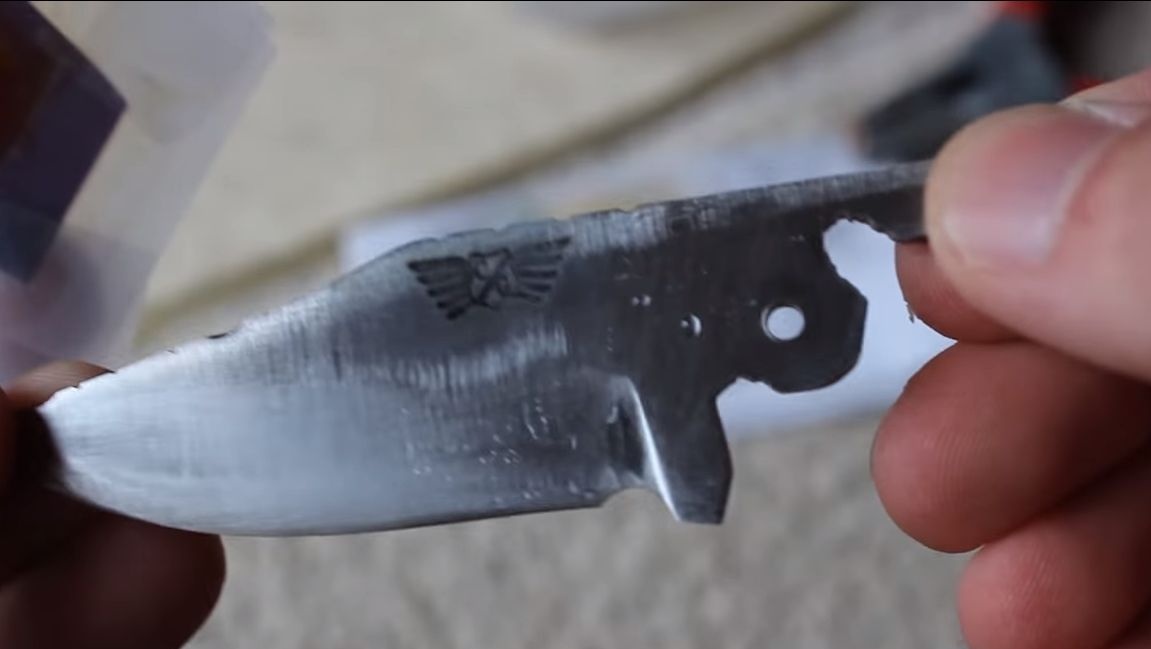
Step Eight. Pattern
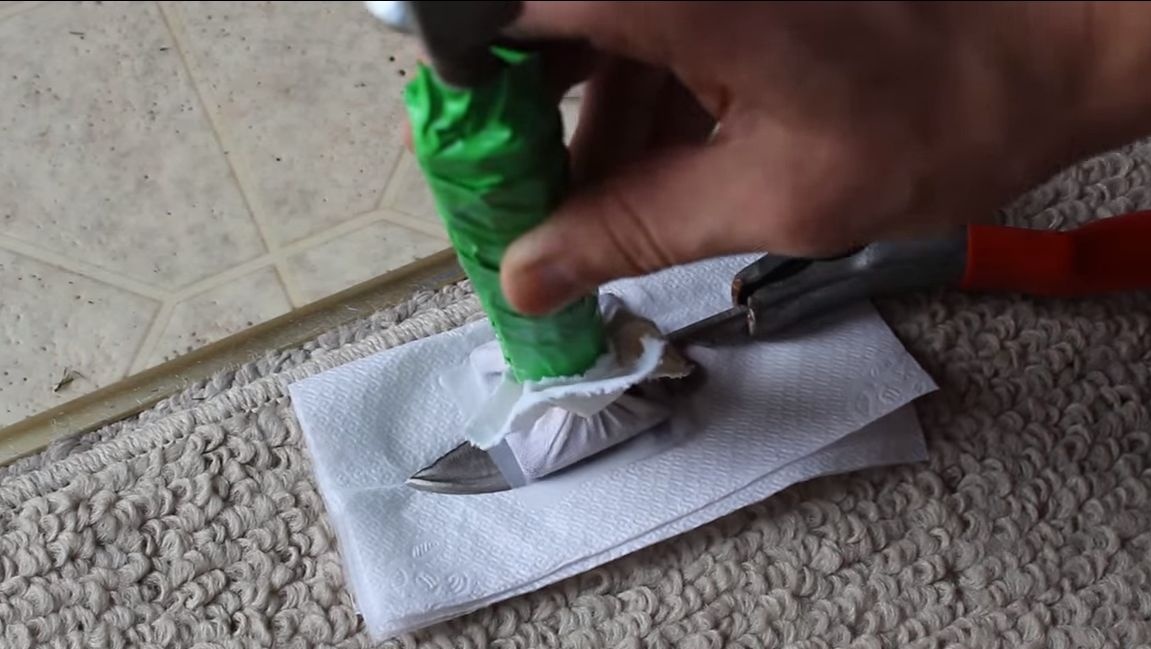
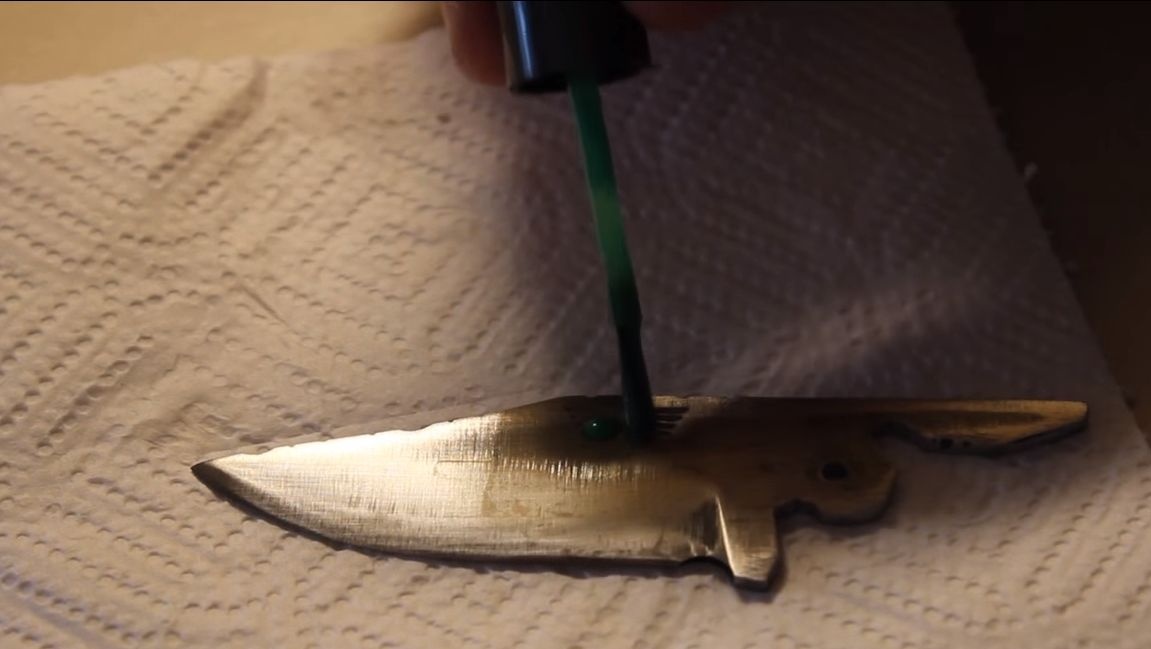
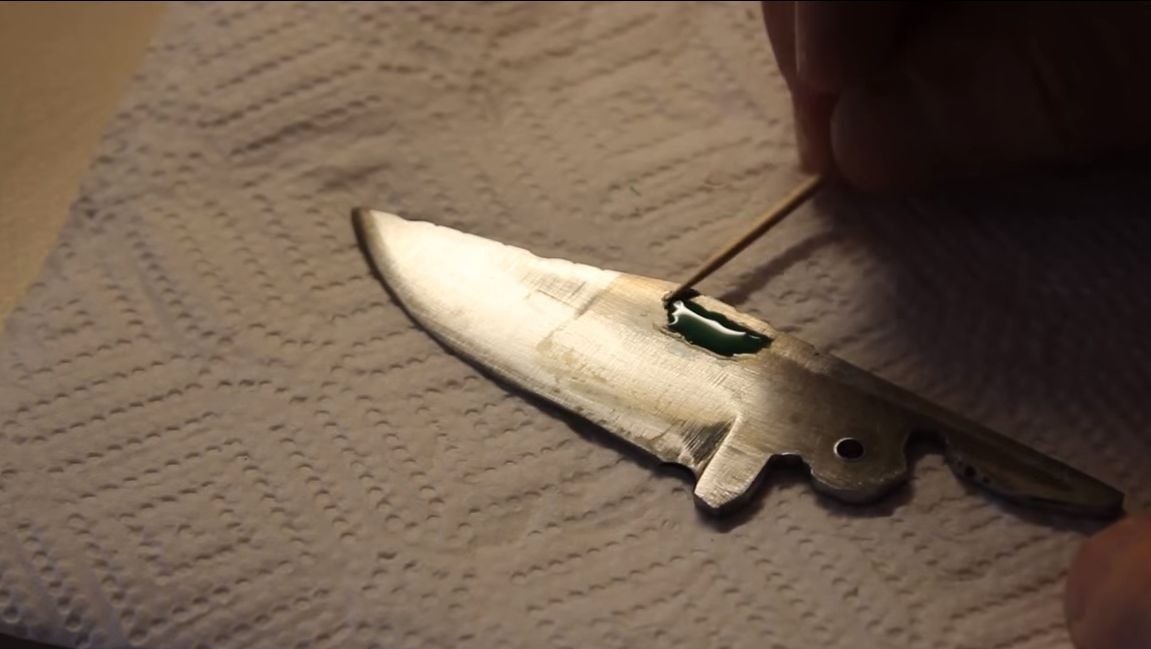
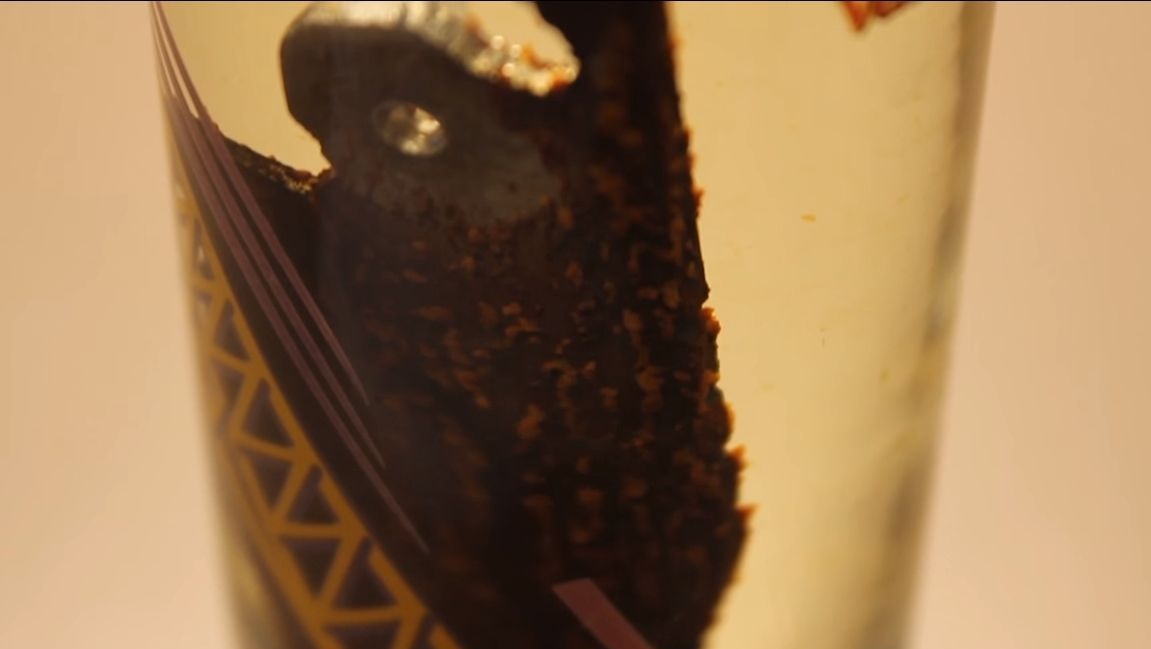
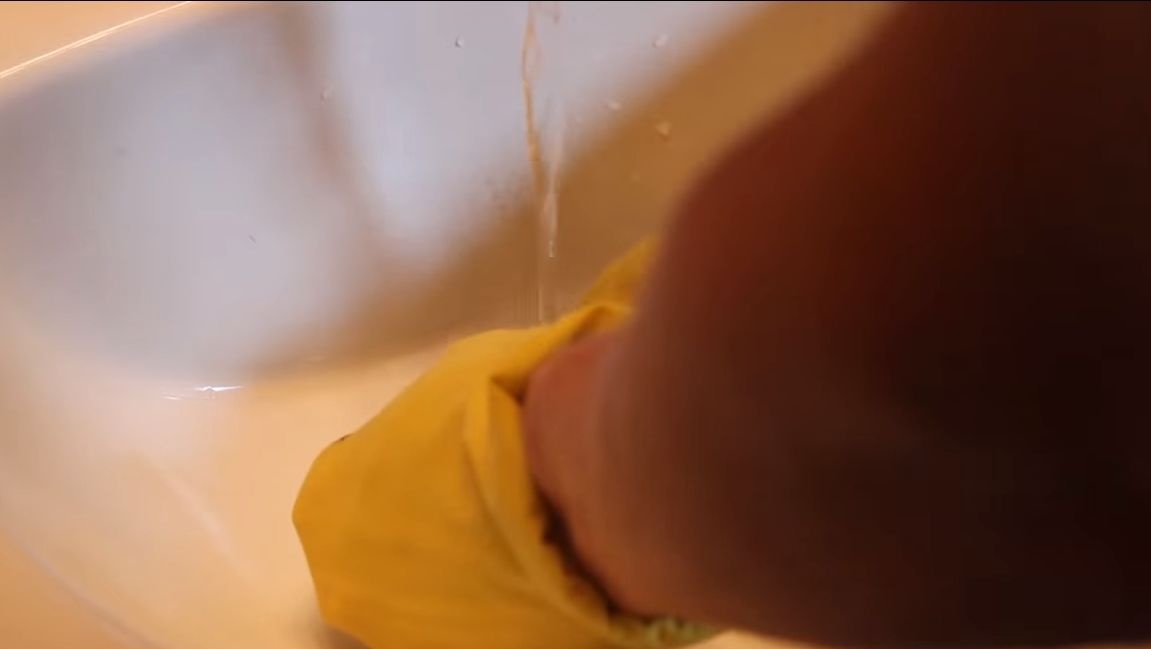
If you wish, you can etch a drawing on the blade, you can invent it yourself or buy a ready-made kit for these purposes. In addition, the author decided to cover the whole blade with a patina, for this he is immersed in acid. To protect certain areas from acid, for example, a blade or inscription, we apply nail polish or paint to these places, so the acid will not be able to get to the metal.
At the end, wash everything thoroughly under running water and neutralize the acid according to the instructions.
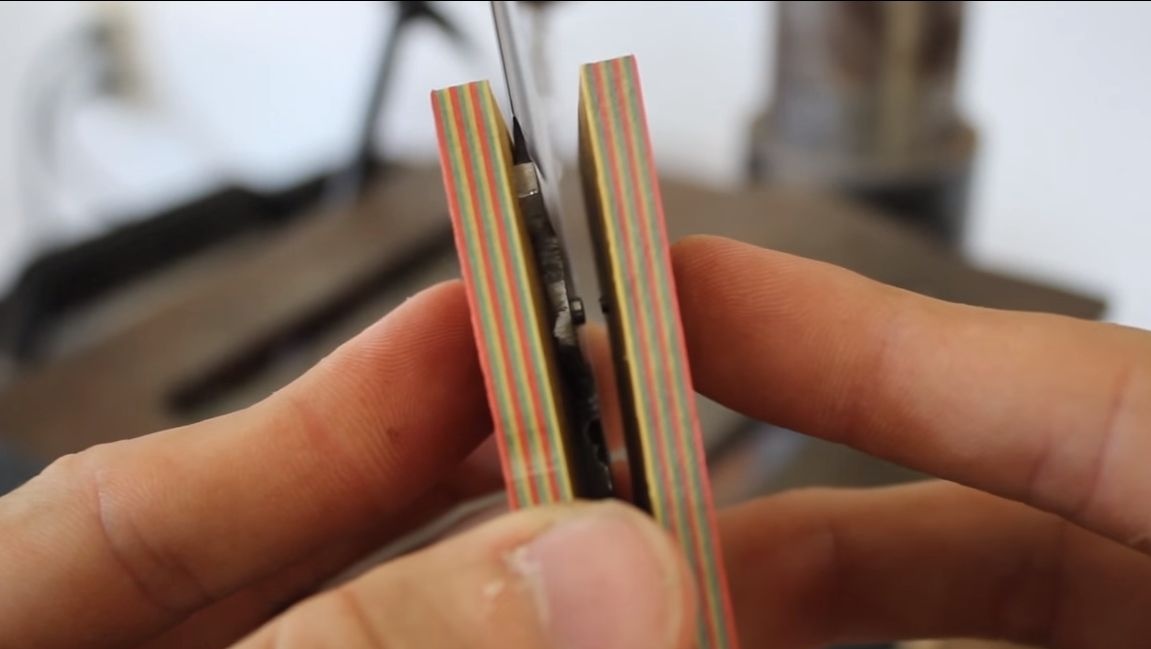
Step Nine. The final assembly of the knife
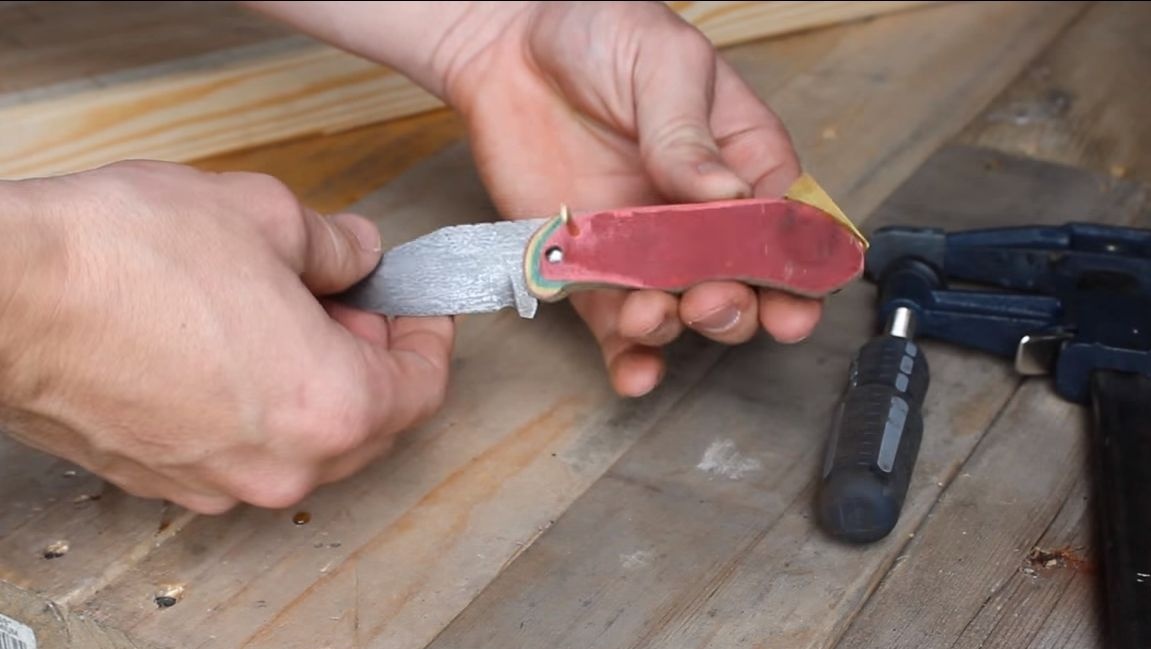
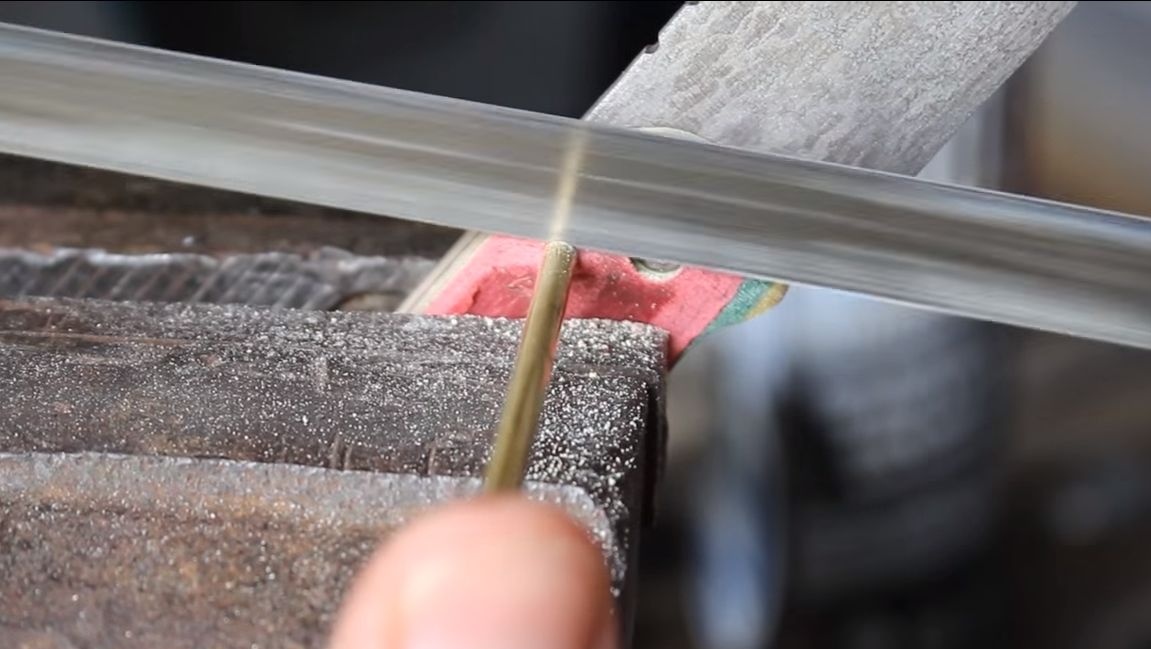
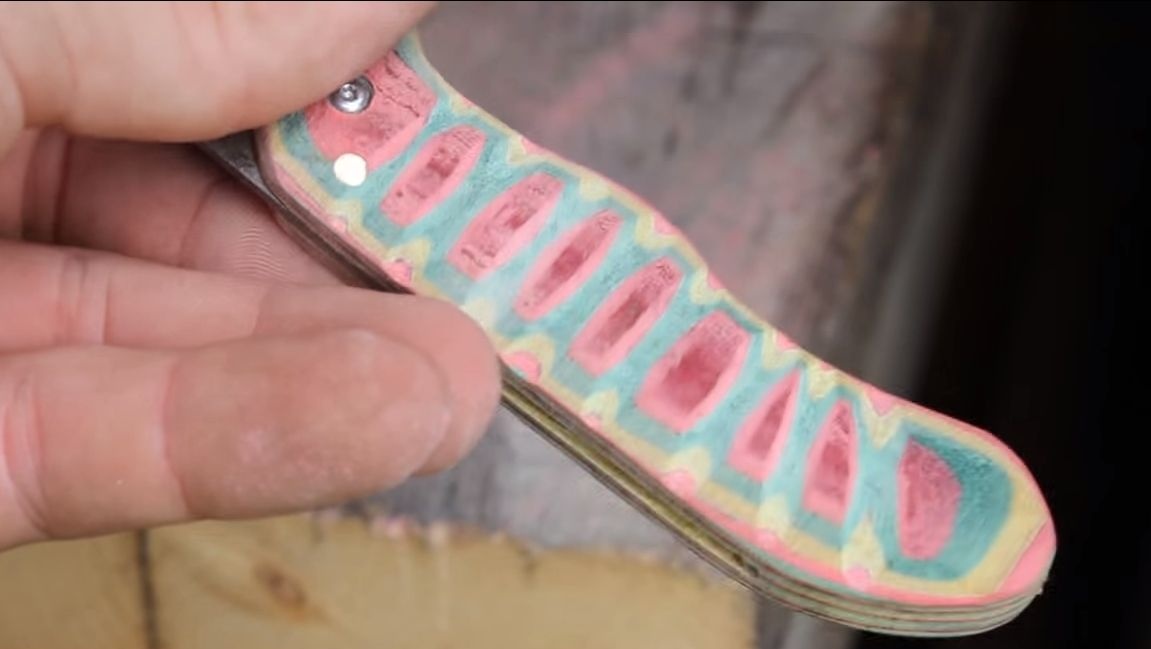
At the end, we collect the handle, install the pins. Glue it with epoxy glue. When the glue has dried, form the final profile on the belt sander. The author also decided to make a ribbed pattern on the handle, for this a round file was used.
That's all, the knife is ready, soak the handle with oil to protect it from moisture, in addition, the oil will make it beautiful.
This is the end of the project. I hope you liked the homemade product, and you learned something new. See you soon!