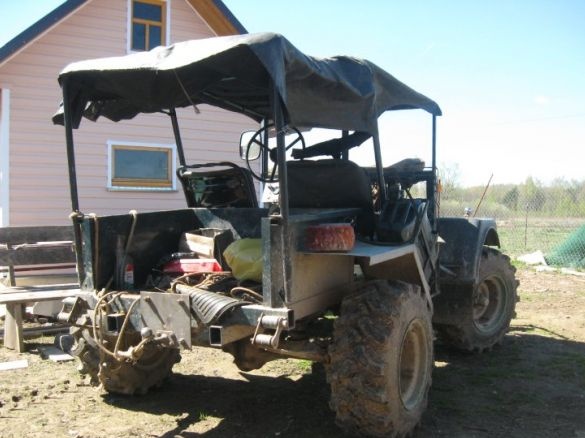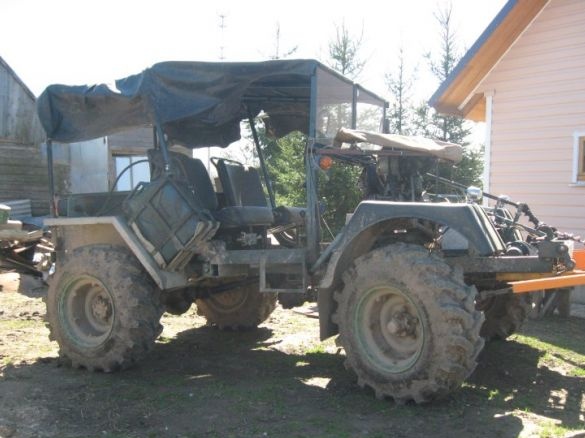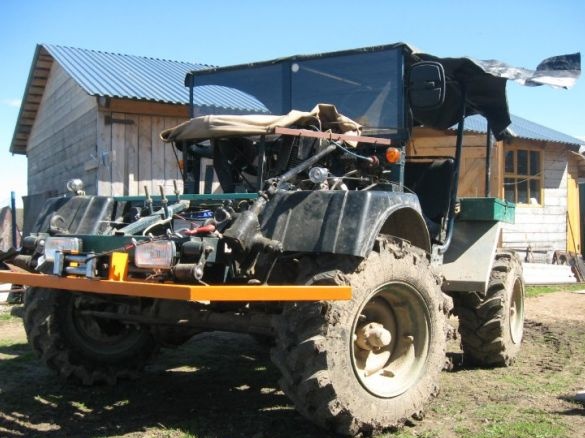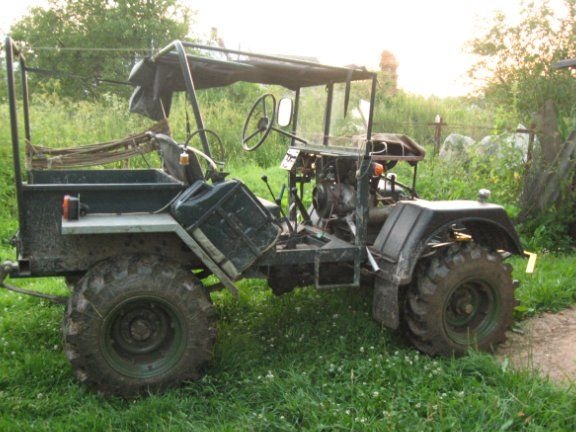
Another interesting option is an all-wheel drive 4x4 all-terrain vehicle, this time from the Moscow region.
Construction This unit lasted, according to the author, for about two years, but work on the machine is still ongoing.
The author began to build this car when he was at school, and in 2004 he already made the first test run in Moscow garage cooperatives. After buying your own the garage, the author purchased the engine from the CPD and installed on all-terrain vehicle.
Interesting fact: From the very beginning of construction, the author was engaged in an all-terrain vehicle as a graduation project at MSTU MAMI.
So what was used in the construction of this self-propelled gun, what parts and parts:
1) The internal combustion engine, as already mentioned, was installed from the CPD with a three-shaft gearbox.
2) The generator was taken from an ordinary Muscovite 2140
3) The filter was selected from the classic VAZ model
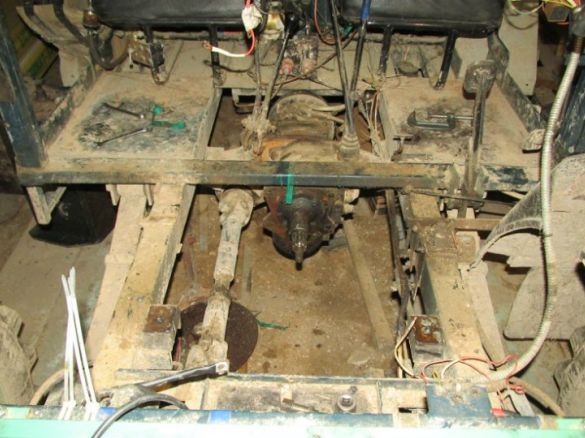
4) When constructing the frame of the frame, a profile pipe of size 60 to 80 was used, as a result, the length of the frame was about 3 meters.
5) Also from the same Muscovite 2140 springs were remounted both front and rear.
6) The rear and front axles were taken from the UAZ, and looking ahead, I will say that the rear was reinforced with a worm self-block.
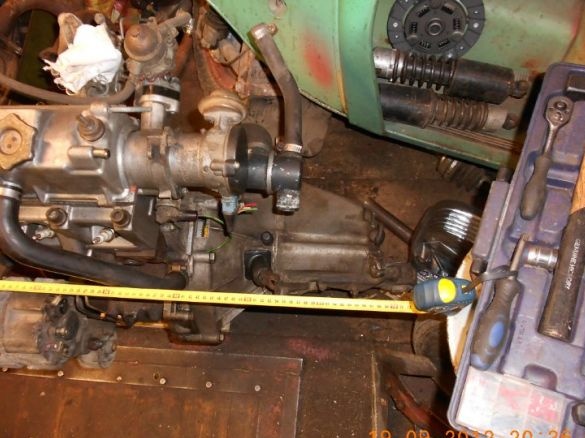
7) One of the chips of modernization is the greatly shortened cardan transmission, almost to the limit.
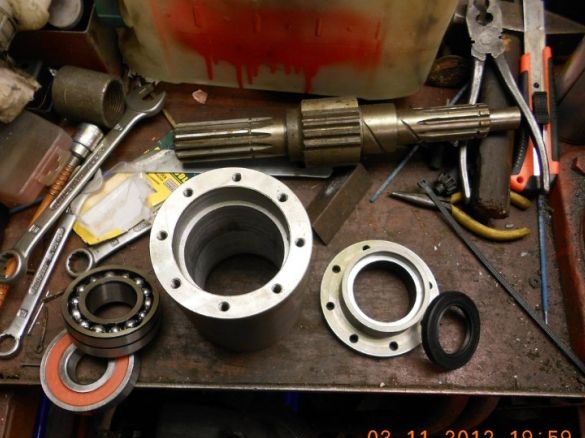
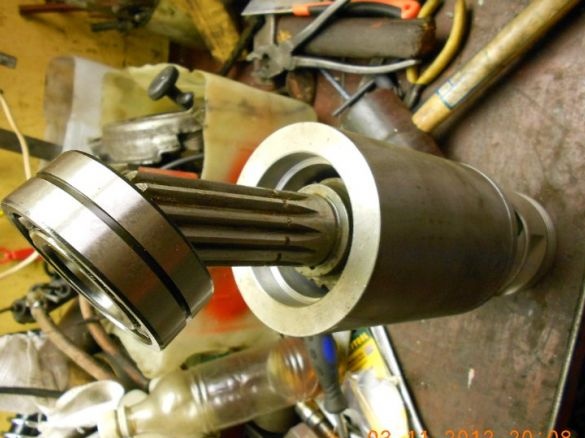
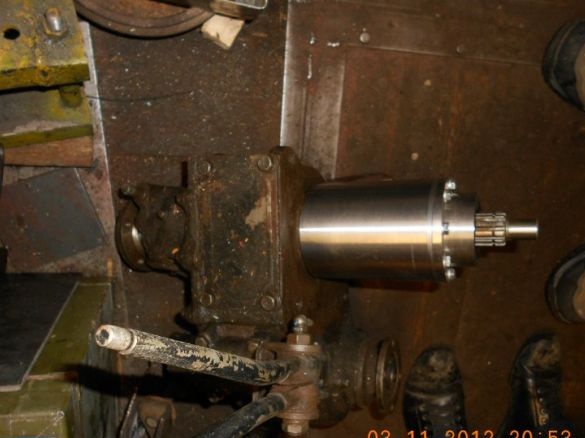
8) From the gearbox of the UAZ, a selection shaft was constructed on the primary course. By the way, I’ll immediately explain that the transmission from the engine to the shaft is chain, in fact, one to two.
9) The electric gasoline pump from Mercedes and Ford was also used in the design of the all-terrain vehicle, and the pump was taken for low-pressure engines specifically for carburetor engines. A backup valve and a return to the fuel tank were also made, this was done to reduce the load on the pump itself.
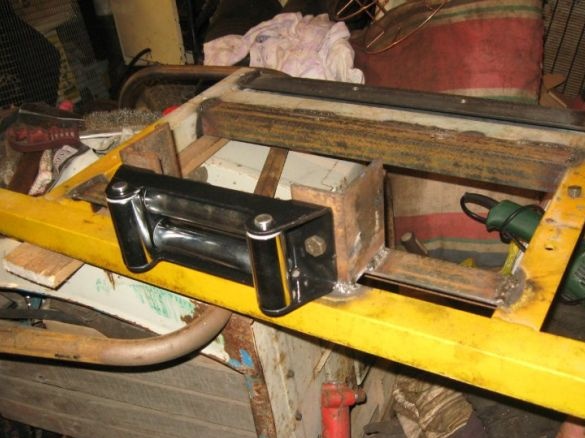
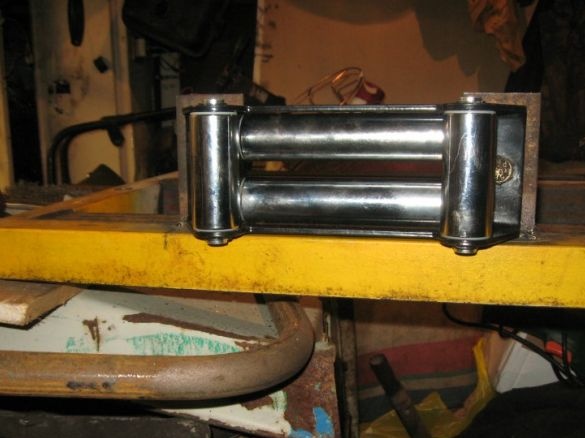
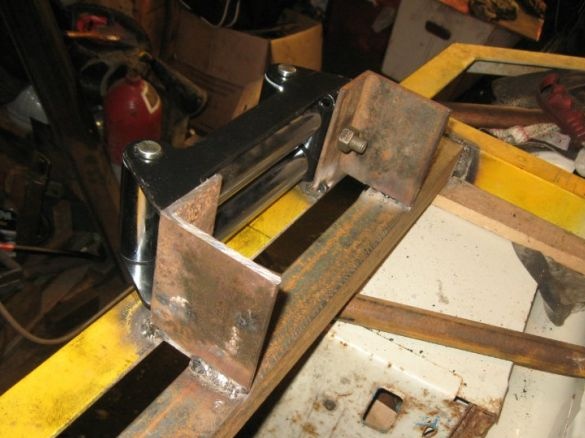
10) Well, where is the all-terrain vehicle without a winch, and here it could not do. A winch of the Taiga ELA-2500 brand was used.
And so we will analyze the stages of assembling and constructing this self-propelled gun in photographs, discuss what difficulties the author encountered, what solutions were found to get around them.
To begin with briefly about the stages of assembly.
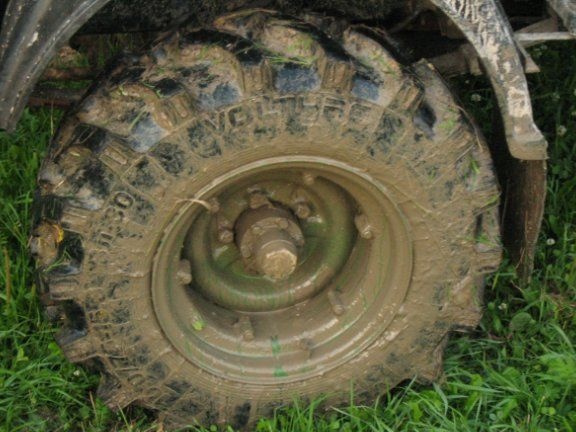
here you can see that the author did not resort to ready-made designs, but made a weld on his own.
Below will be illustrated the author’s decisions regarding the transition node to the UAZ razdatka:
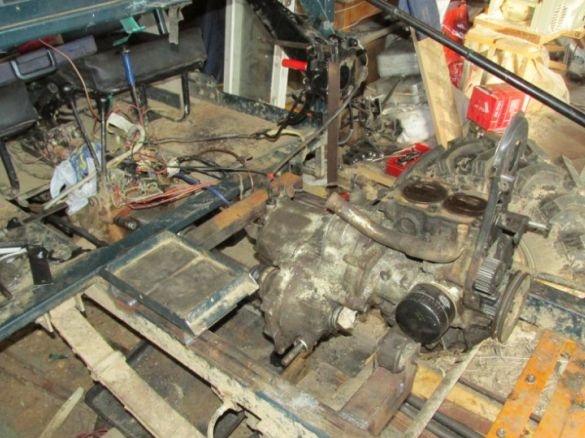
Here is the engine already prepared for installation:
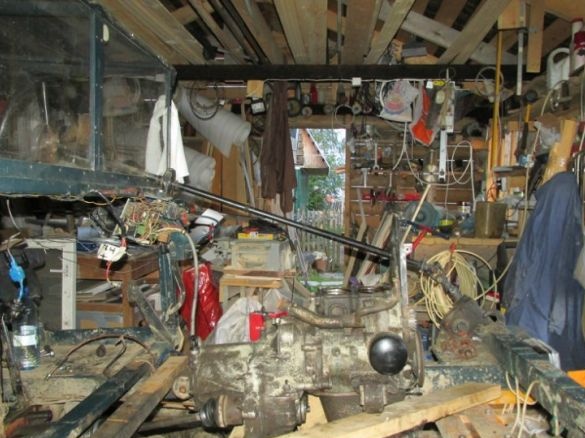
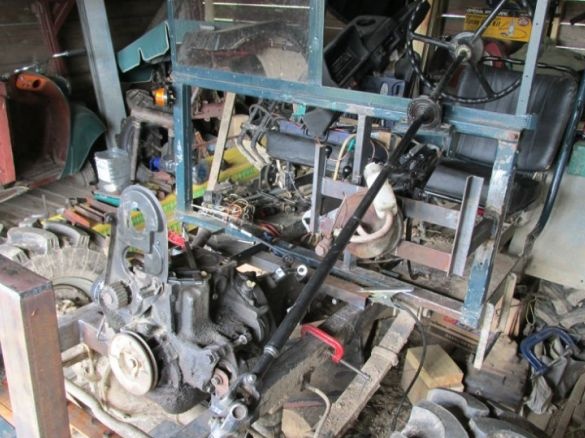
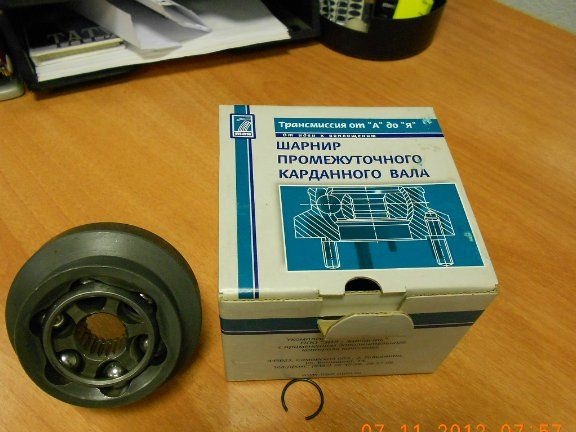
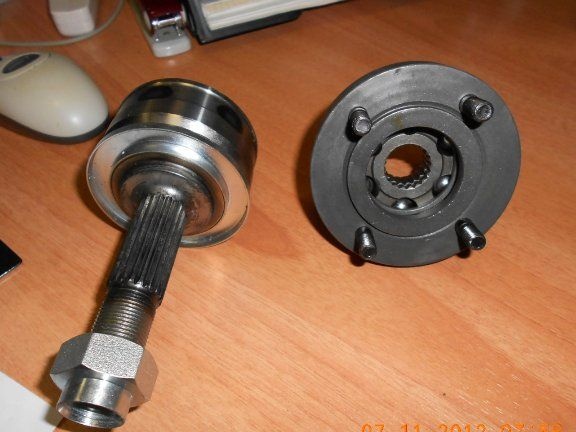
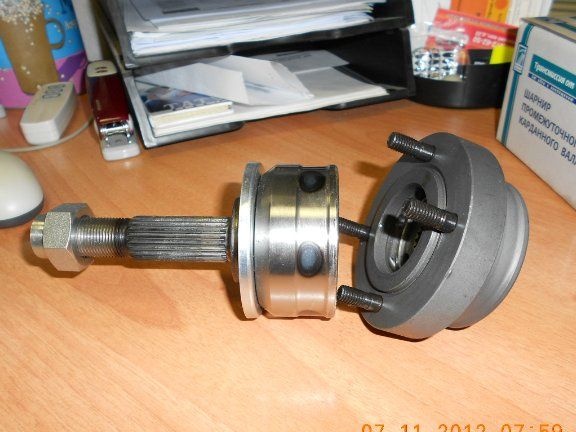
photo of propeller shaft:
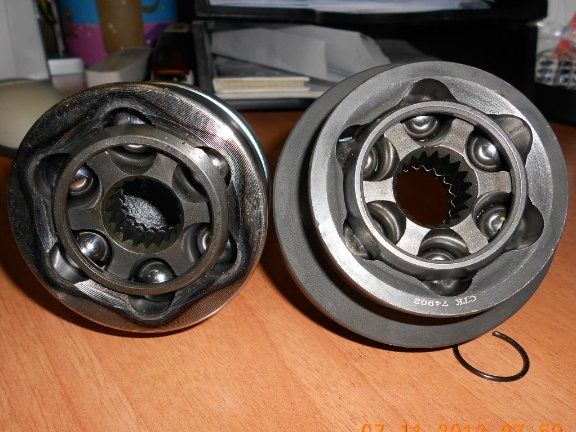
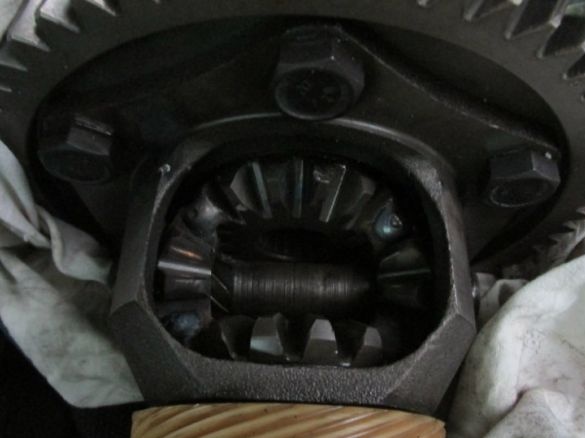
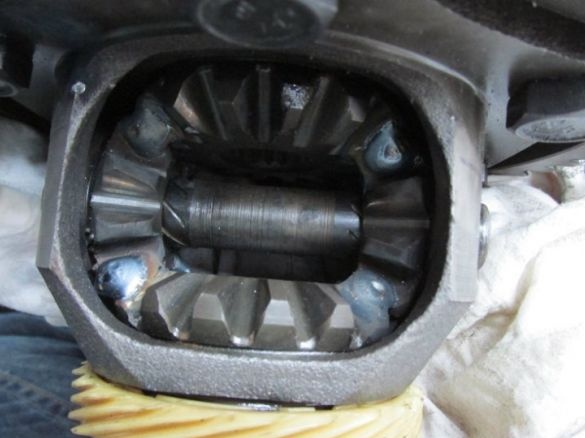
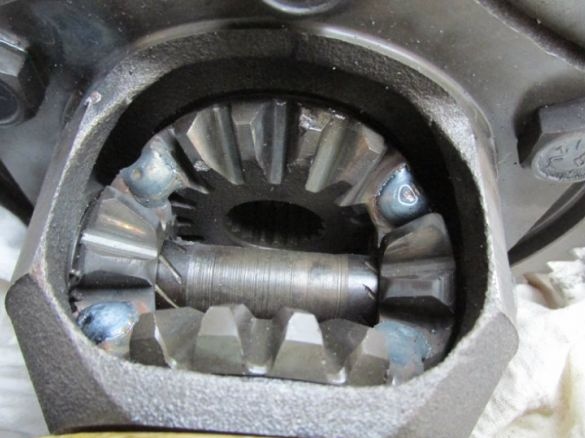
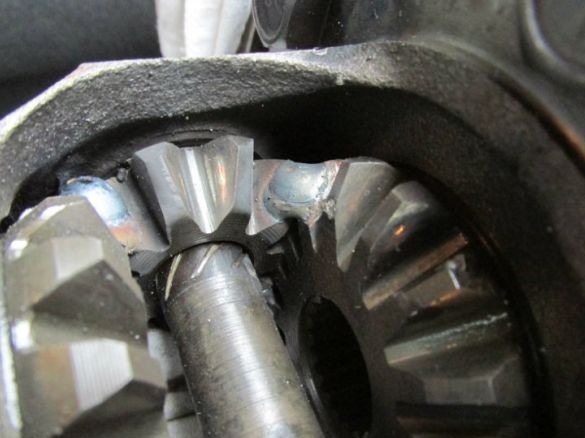
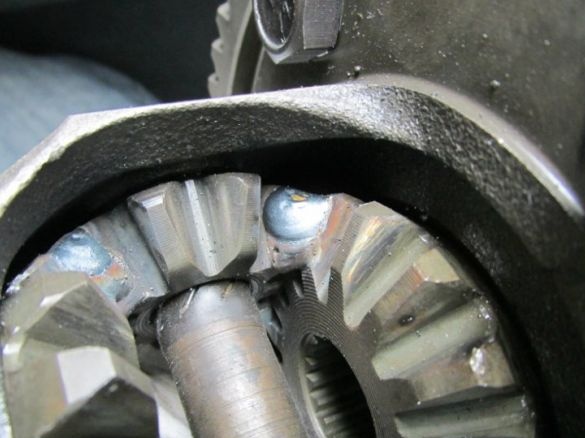
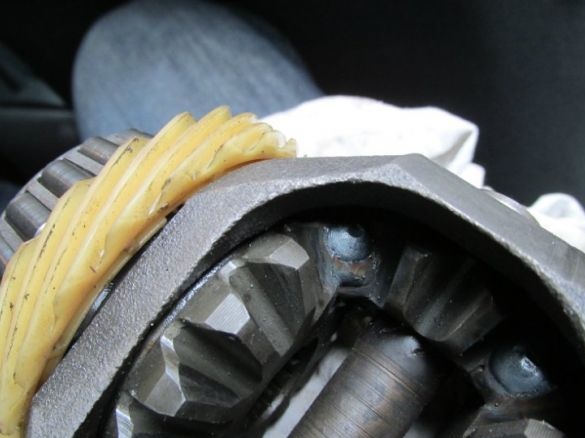
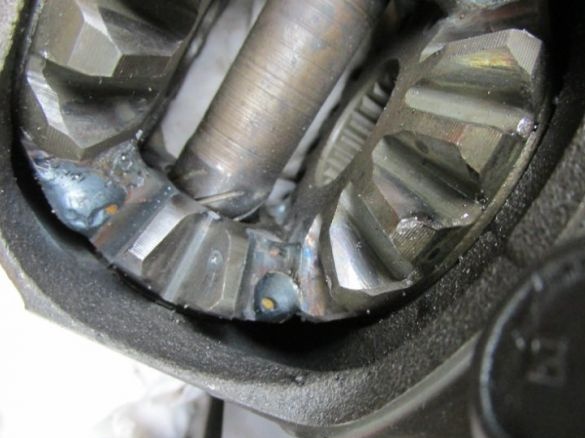
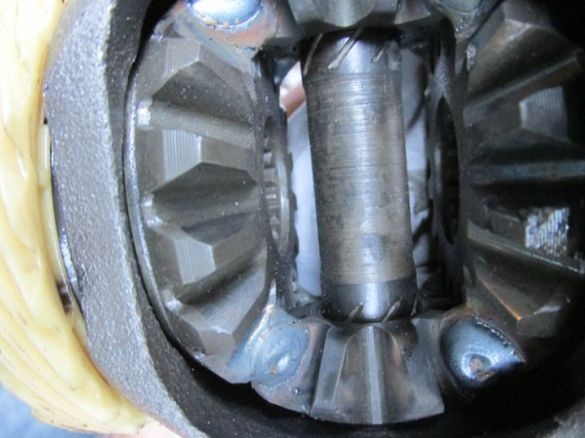
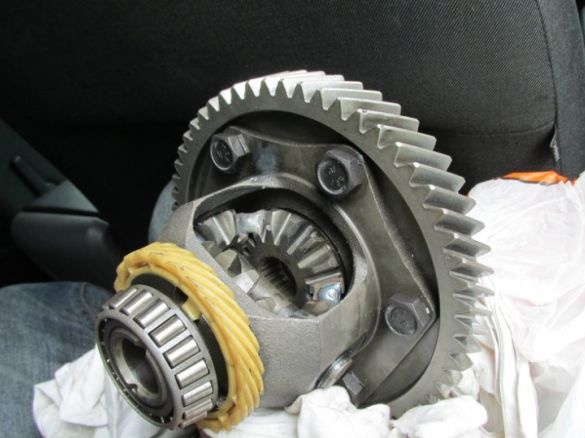
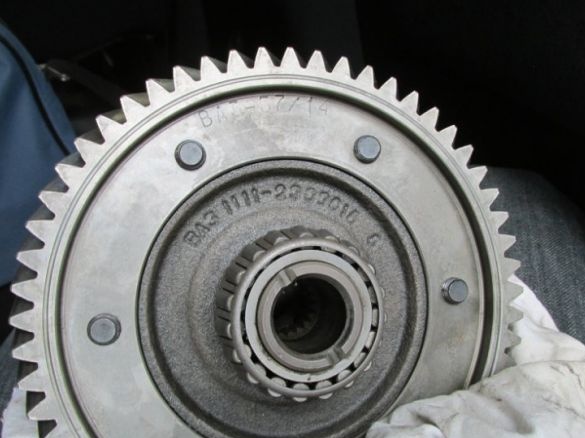
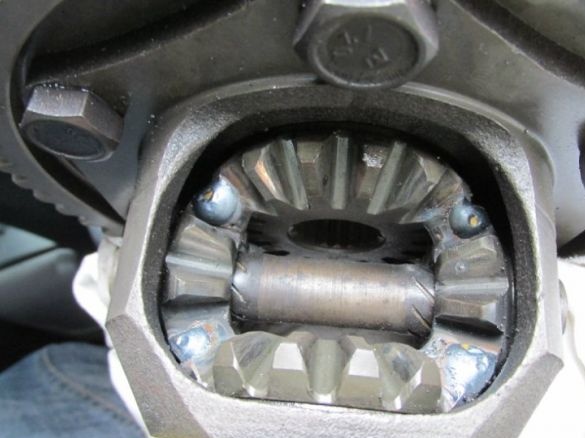
Differential welding work:
By the way, with this approach to welding, there were flaws on the part of the design features of the machine’s behavior on the roads, so the differential track will be brewed a little differently, in addition, the operation will occur in the factory, respectively, the differential mentioned above will also be fixed. But all this is just work on optimizing the machine, increasing its margin of safety and reliability.
Here is a photo of the corrected differential:

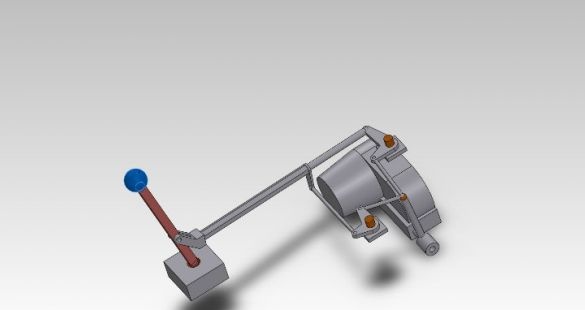
But in the image below is a sketch of a design that is not demanding on the cable link:
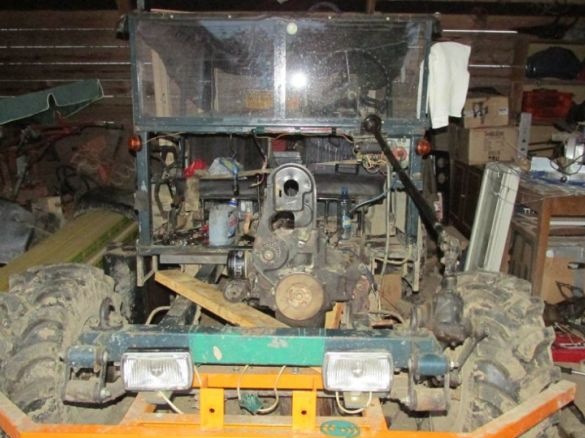
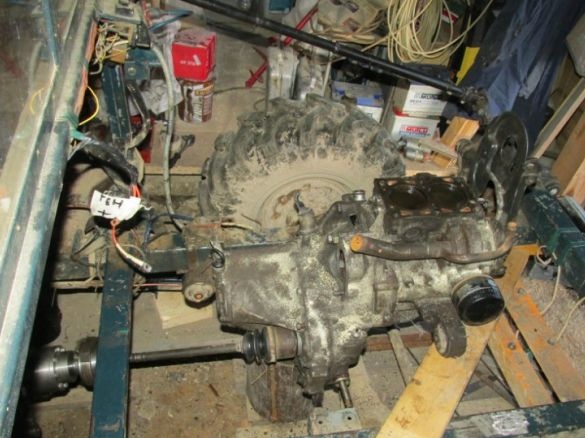
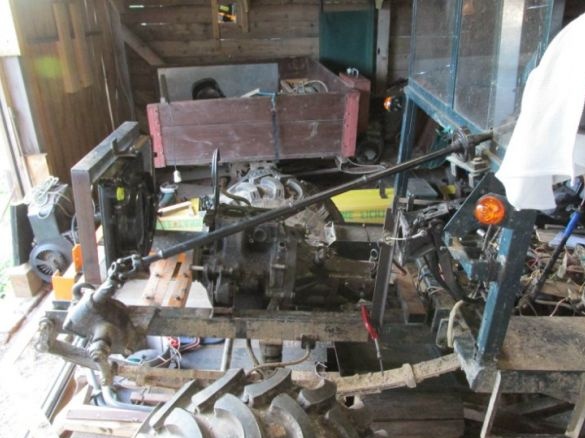
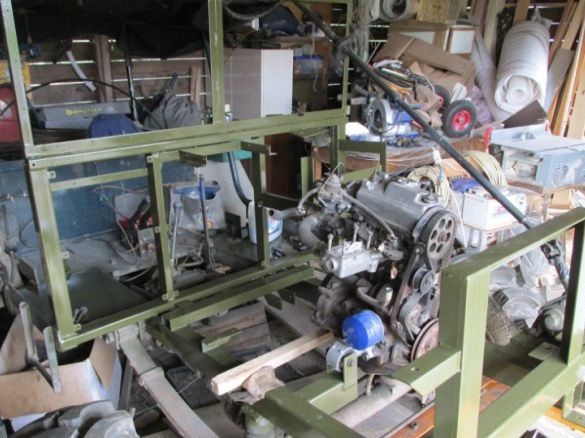
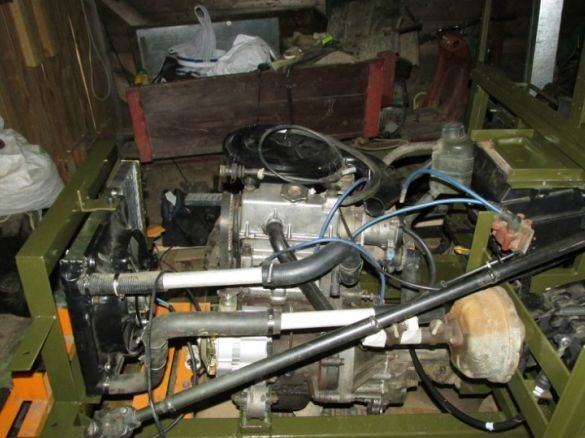
Immediately visible work on the frame, the installation of the engine, cardan:
By the way, pay attention to the engine tilt, it is about 30 degrees towards the rear axle.
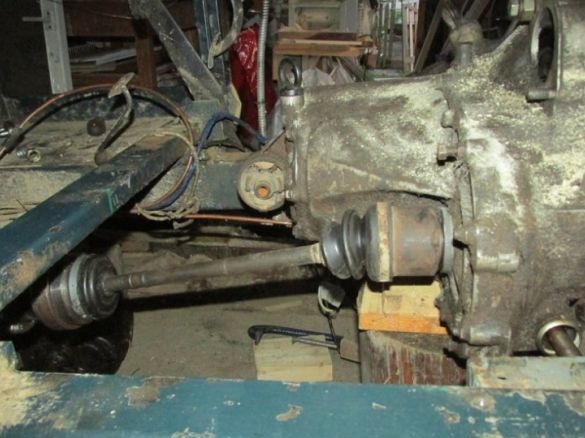
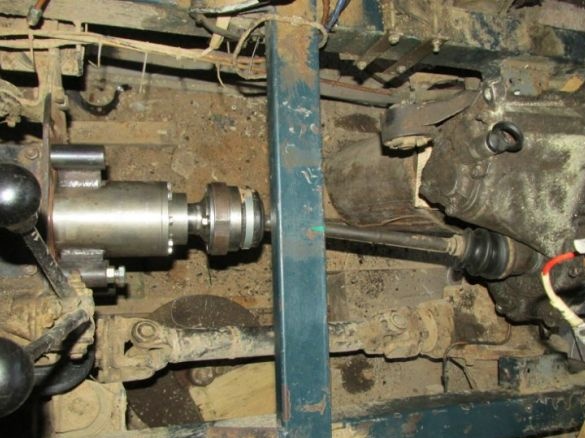
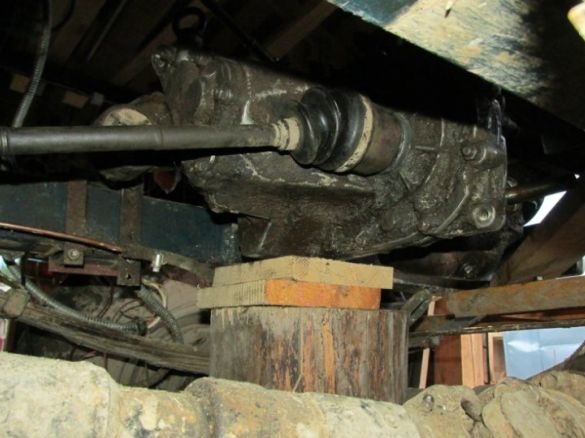
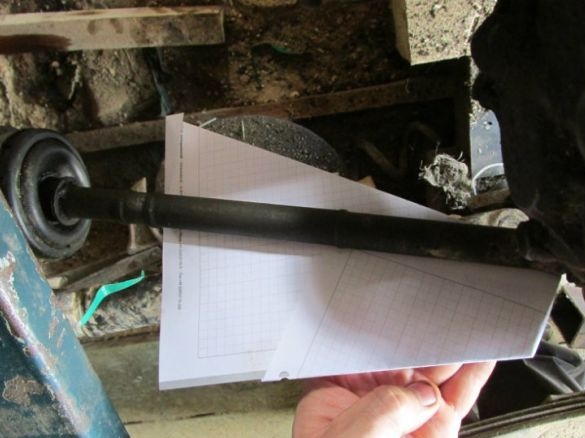
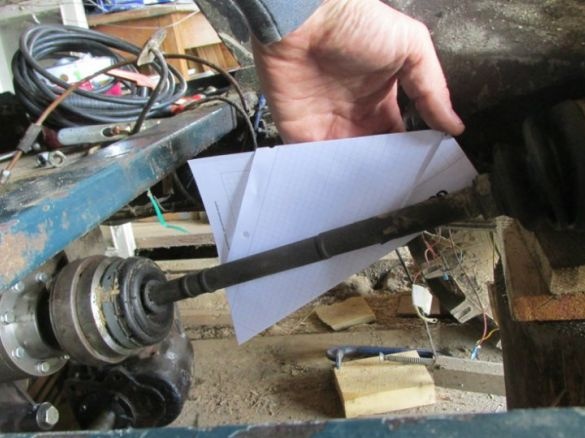
The SHRUS was also planned to be done at a 30% slope, but there was a small error in the initial calculations, so it was decided to leave it as it is (this will not affect the driving characteristics of the car):
As you probably already guessed, the leaflet is folded at an angle of 30% and gives an idea of the discrepancy in the geometry of the SHRUS installation.
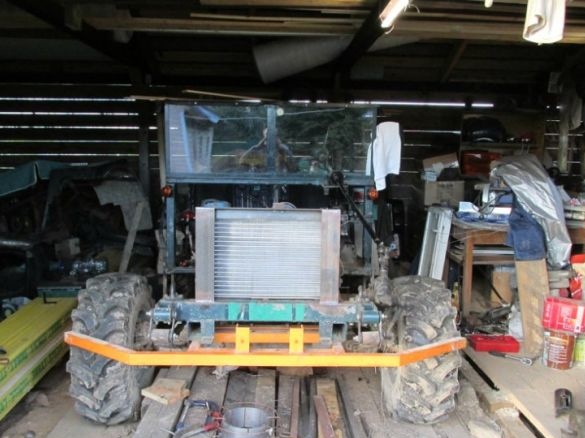
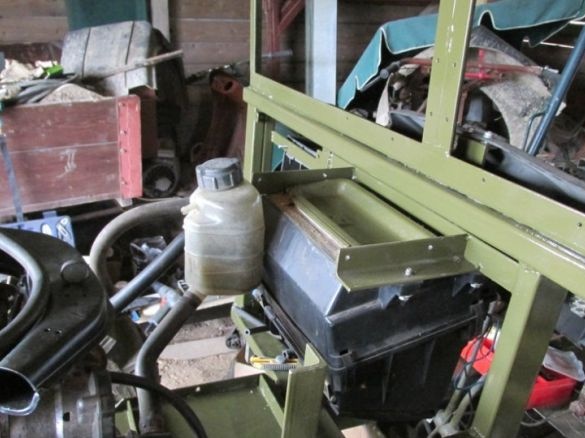
Then the radiator was installed:
And this is an intermediate stage of assembly.
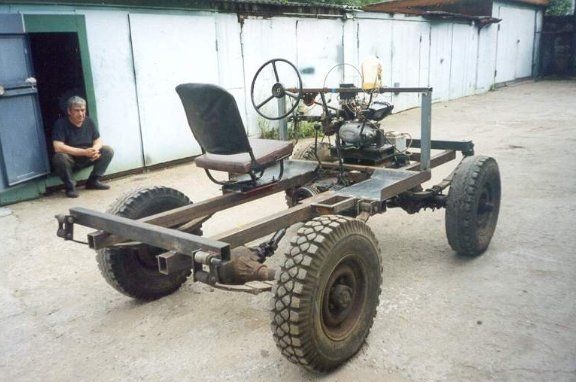
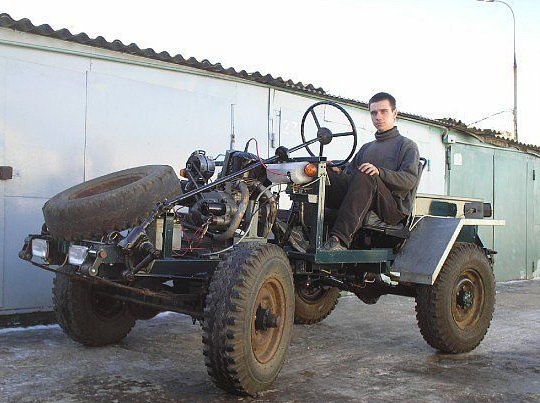
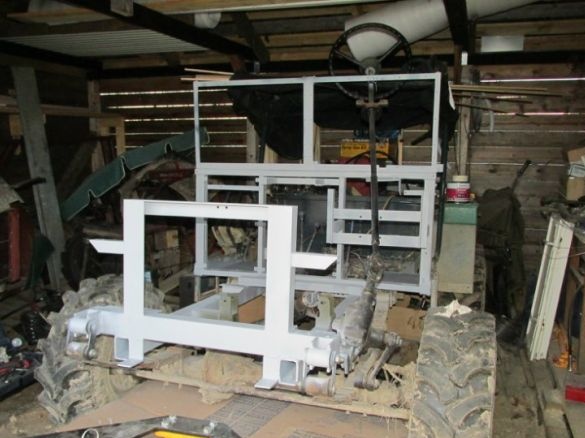
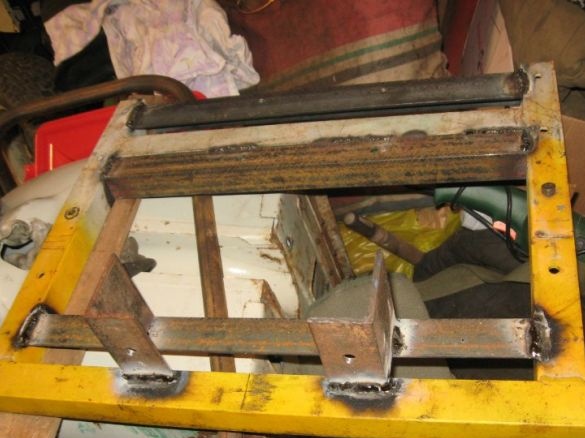
In this photo you can see the frame assembly, as already mentioned, it was made of a profile pipe.
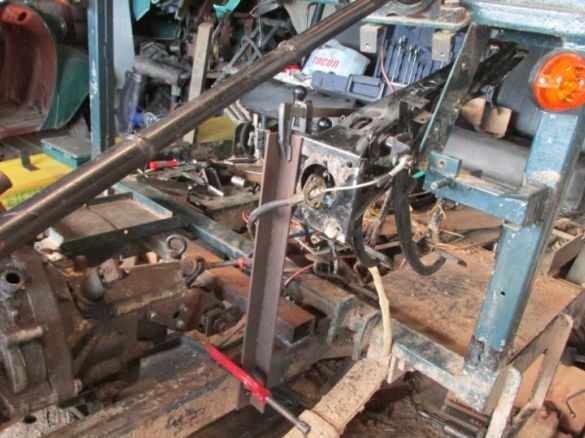
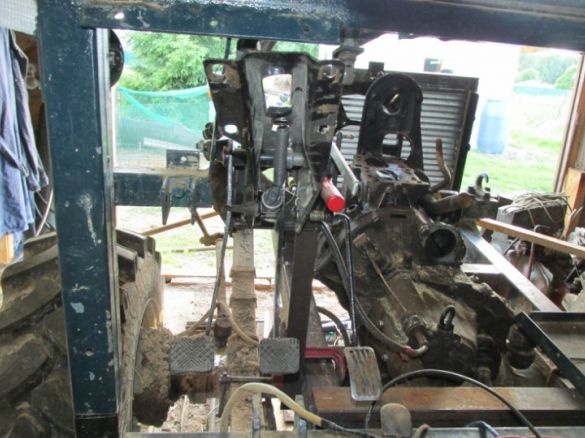
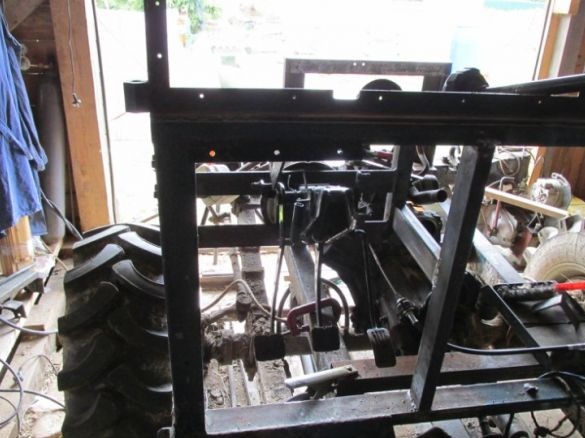
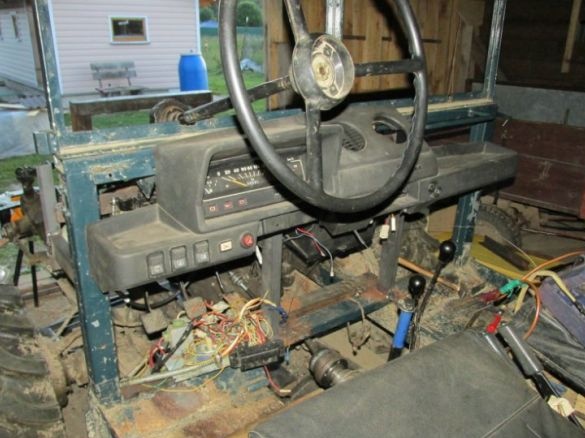
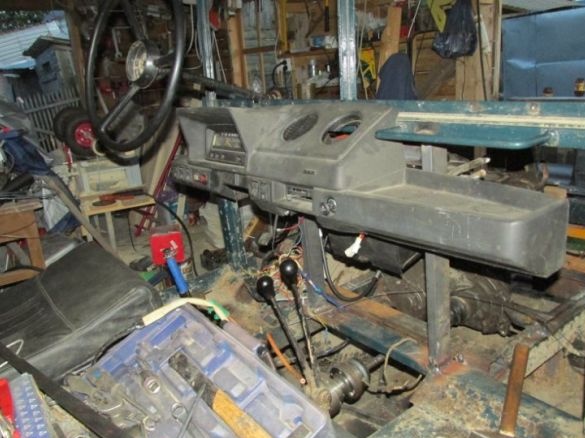
Then the author began work on the interior of the car. namely, the stove, pedals, as well as the dashboard from Oka were installed:
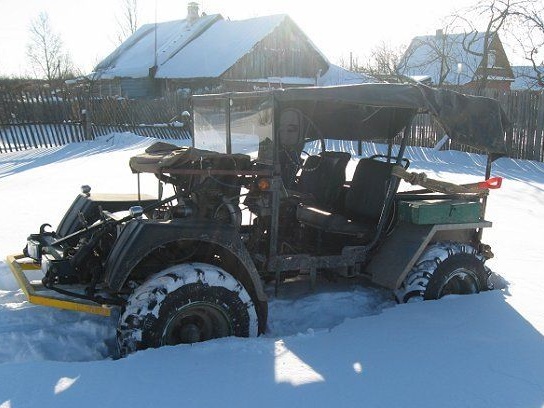
Reminds classic model 60s car ready.
Almost finished car:
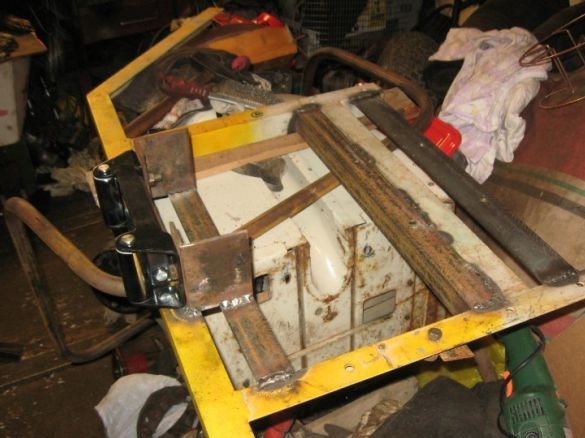
And here are the photos of the installation stages of the winch:
But the all-terrain vehicle is shown in close-up:
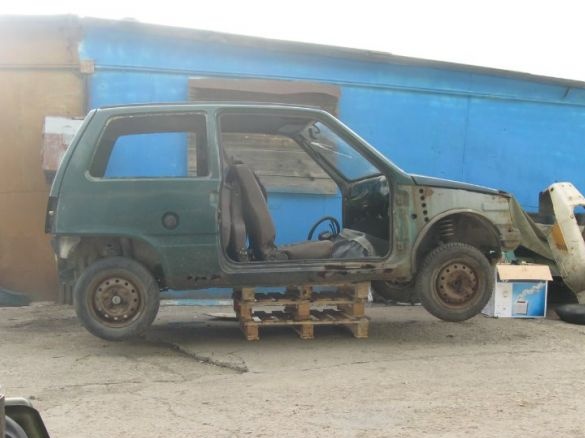
you can’t guess right away, but the body of this self-propelled gun is a disassembled eye:
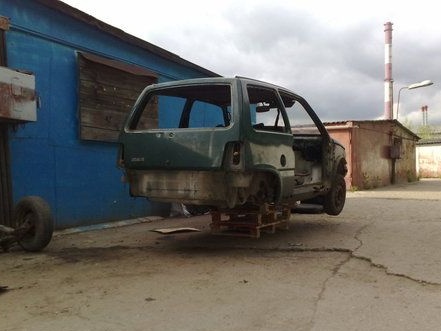
The author went on to notice that at high speed, even with good coverage, it still shakes the transfer case, the reason for this, according to the author, is an incorrectly assembled and mounted cross. Therefore, the all-terrain vehicle is still in the process of being finalized, since it is necessary to stretch the glasses with a puller, because the cross walks in one direction quite easily (although the author did not take it apart), but in the other direction it is tight (it just underwent alteration and disassembly). That is, it turns out he pulled it.
Another of the shortcomings, it can be distinguished that the driveshaft itself is not entirely machined directly (it just happened). That is, it is a little crooked, although it is still possible to drive with it, but it’s better to naturally change and grind it evenly. And yet with such a gimbal it is quiet and not dangerous to drive, even fast. Therefore, the all-terrain vehicle is ready for operation at 100%.
And the flaws only slightly affect the ride comfort. By the way, the all-terrain vehicle does not make noise from the very first second of launch. Although the SHRUS still began to crackle, but only at the moments of start, well, or while driving over bumps, it jerks back and forth a little in the tension and roll mode, and the frequency of such repetitions is very high. And yet these shortcomings, only shortcomings. The all-terrain vehicle itself is excellent and has excellent rideability characteristics. A revision of the author will be carried out and in the end, the shortcomings will be eliminated.
After all, the bolts that are supplied with the internal hexagon 12.9, from here it is already clear which size of the cardan is needed.
Here is a machine that Dmitry got from the Moscow region under the nickname Dimas.

