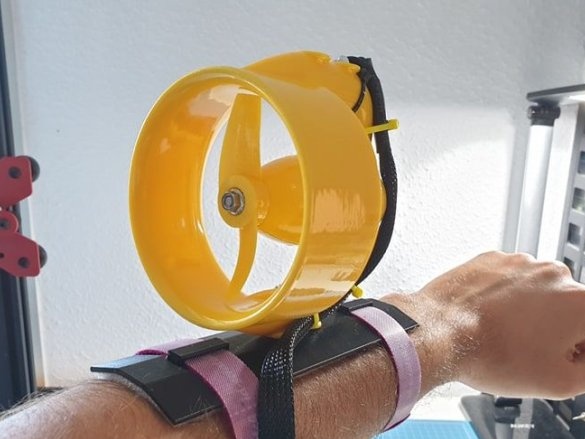
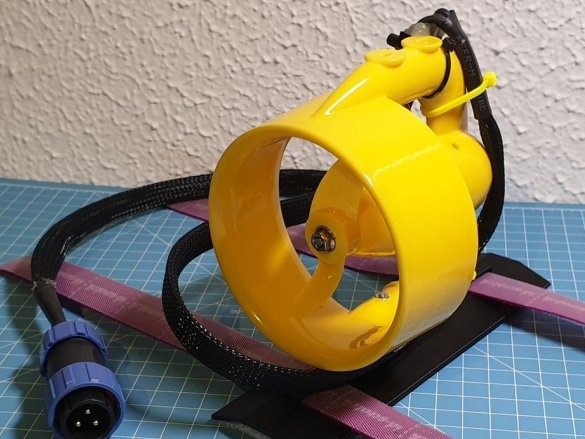
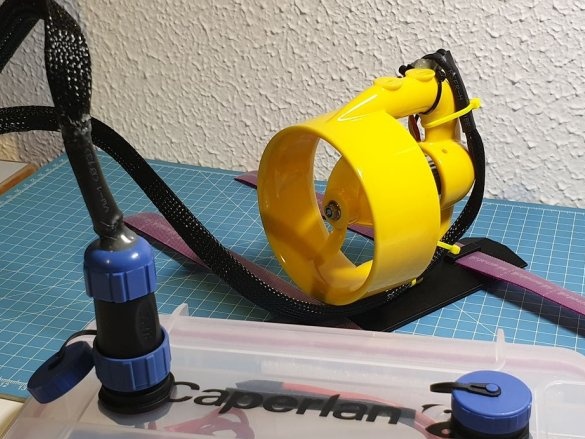
Another interesting topic, given the summer season, is an underwater tug. If it’s rough, then an underwater towing vehicle is a traction device for moving a person under water. Such towers have become popular lately. According to the author, its assembly is cheaper than purchased analogues. I will try to more accurately convey the meaning of his article, including all links.
The idea is to make an underwater thruster in the form of a jetpack (attached to arms and legs) powerful and reliable, but at the lowest cost!
Materials:
For engine
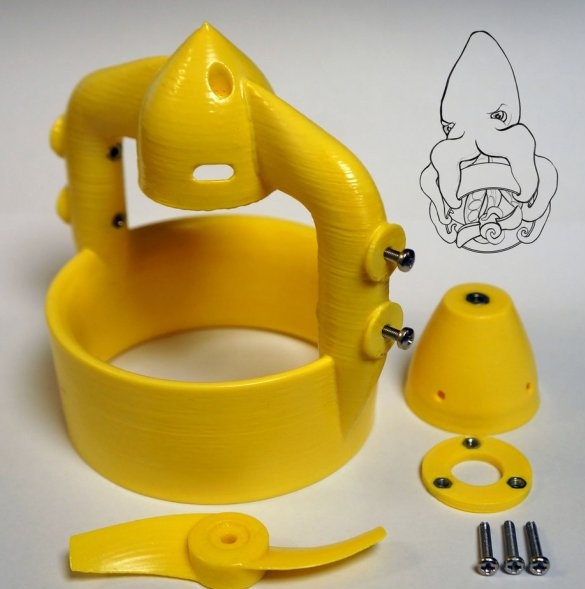
1. The case with the screw.
The manufacturers did a great job creating a very efficient engine.
You can purchase on
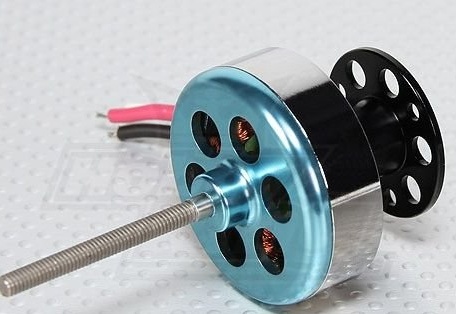
2. Brushless motor
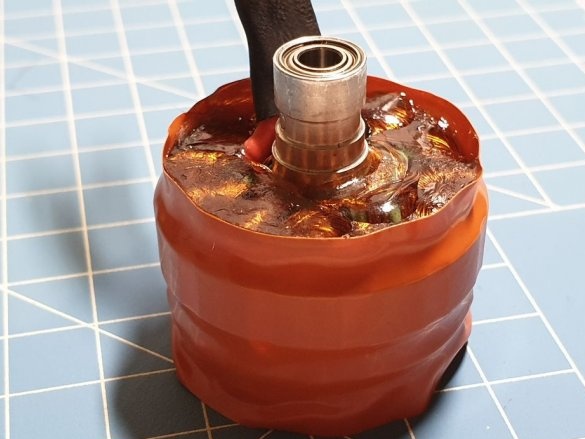
3. Some low viscosity epoxies to protect engines from corrosion (especially in salt water).
4.16 AWG wires.
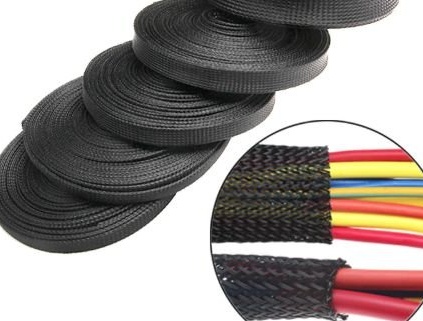
5. Heat Shrink Tubing and Insulation Braid / PET Tube.
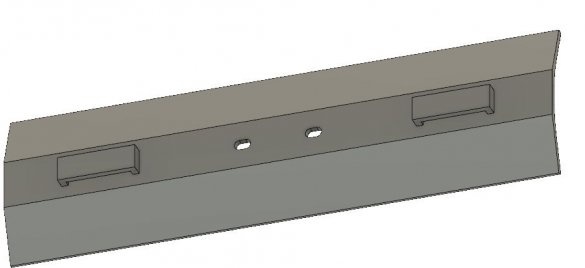
6. 3D printed brackets. .
For control unit and remote control
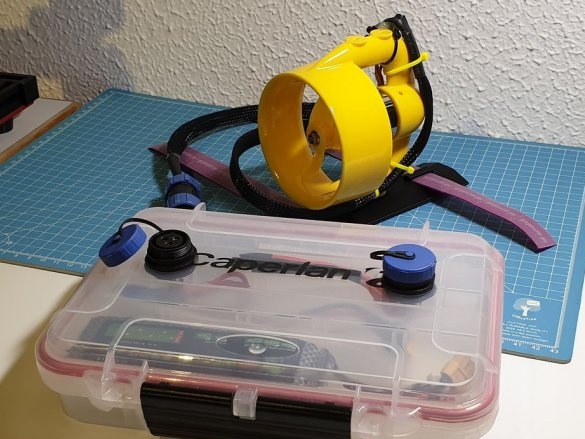
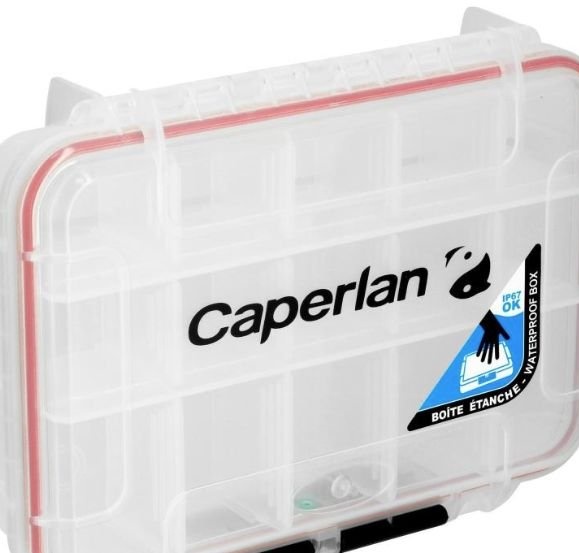
1. As a waterproof box, the master chose one of the products.
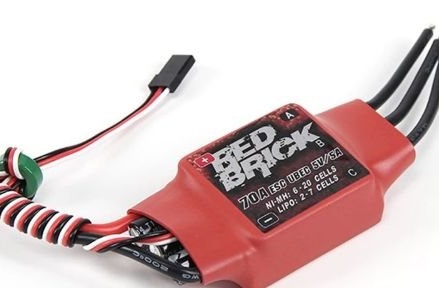
2.Two ESC. You will need at least ESC at 30A.
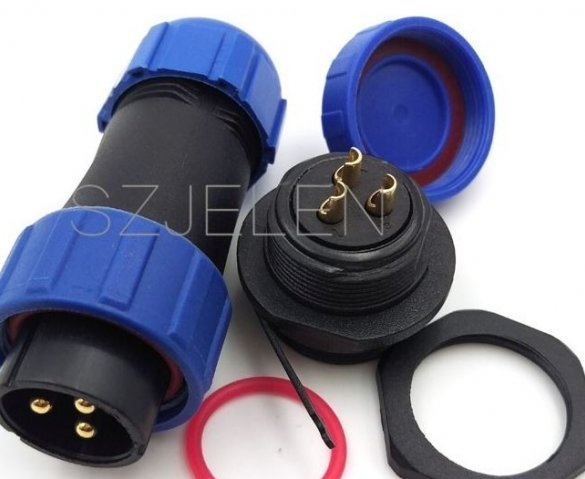
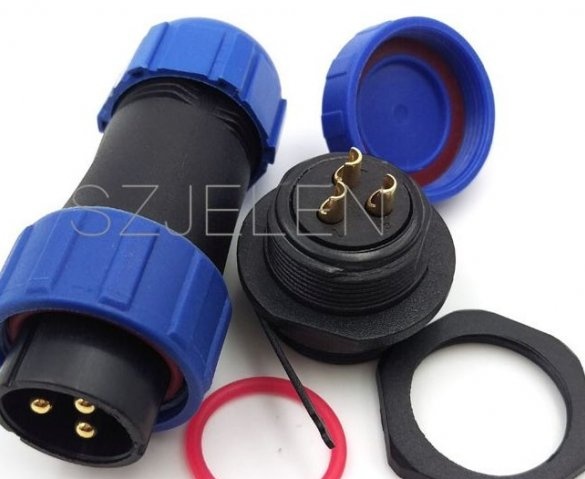
3. Two waterproof sockets for connection of engines to the control unit.
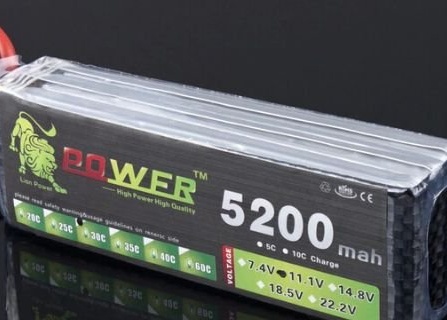
4. Some 3S Lipo batteries (the author has two 5000mAh 20C from HobbyKing, they fit perfectly into a waterproof box).
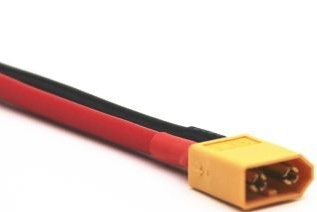
5.Two XT60 female connectors for connecting ESC wires to the Lipo battery (if your batteries have XT60 connectors)
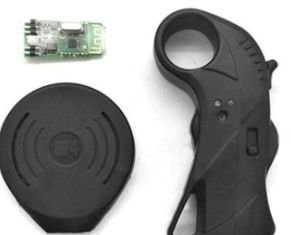
6. As a remote control, the author used a wireless waterproof designed for an electric skateboard.
That's it, the budget is about $ 150.
Step 1: Build Engines
Add some epoxy to the disassembled brushless motors to protect the wires from water.
Follow the instructions given by the rovthruster to assemble the nozzle, engine and propeller.
Solder 1 meter of 16AWG cable to the three motor wires and protect the solder with heat shrink tubing.
Coat the wires with PET insulation braid.
Solder the wires to the waterproof connectors.
Screw the thruster to the bracket.
Repeat operation for the second engine.
Step 2: Prepare a waterproof control box
The master does not provide a diagram, but I think it will not be difficult to understand if you wish.
Drill two holes with a diameter of 21 mm in the middle of the box
Install two waterproof plug connectors and make sure the rubber seals are correctly installed.
Solder the wires from the connectors to the ESC.
Solder the XT60 connectors to the ESC.
Connect the remote control receiver to the ESC.
Also, the master posted a demo video.

