
In this article, we will consider in detail the phased process of manufacturing an unusual lamp. This instruction was taken from the YouTube channel “MasterDIY”.
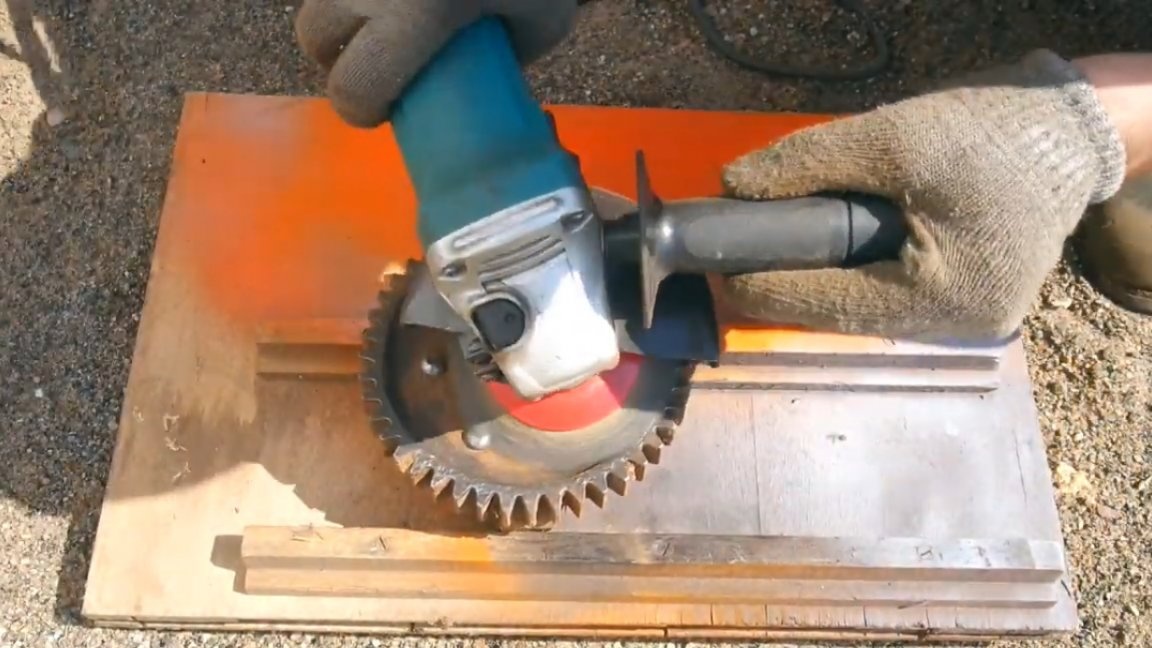
The author decided to make this homemade product from this gear, which was found on a metal receiver.
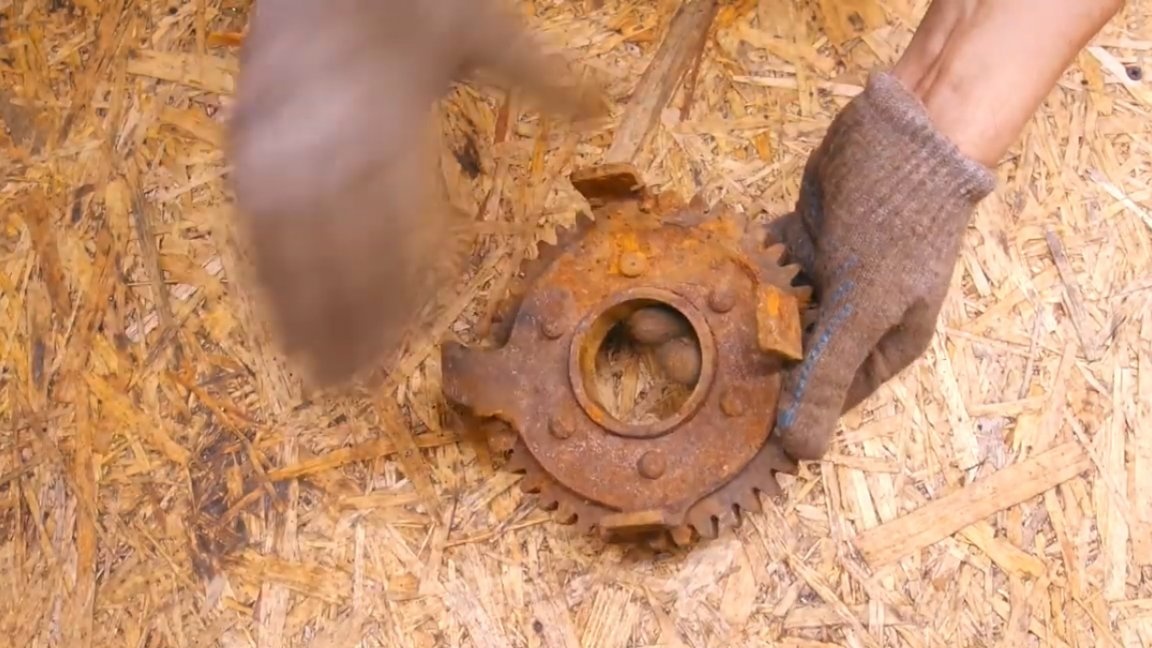
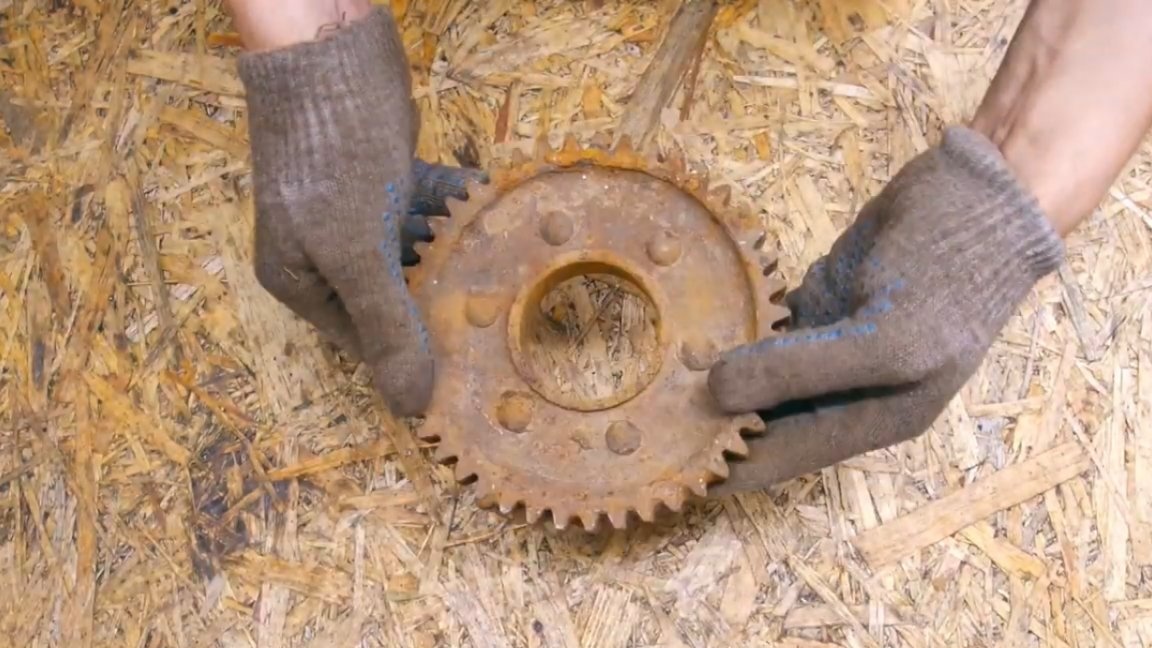
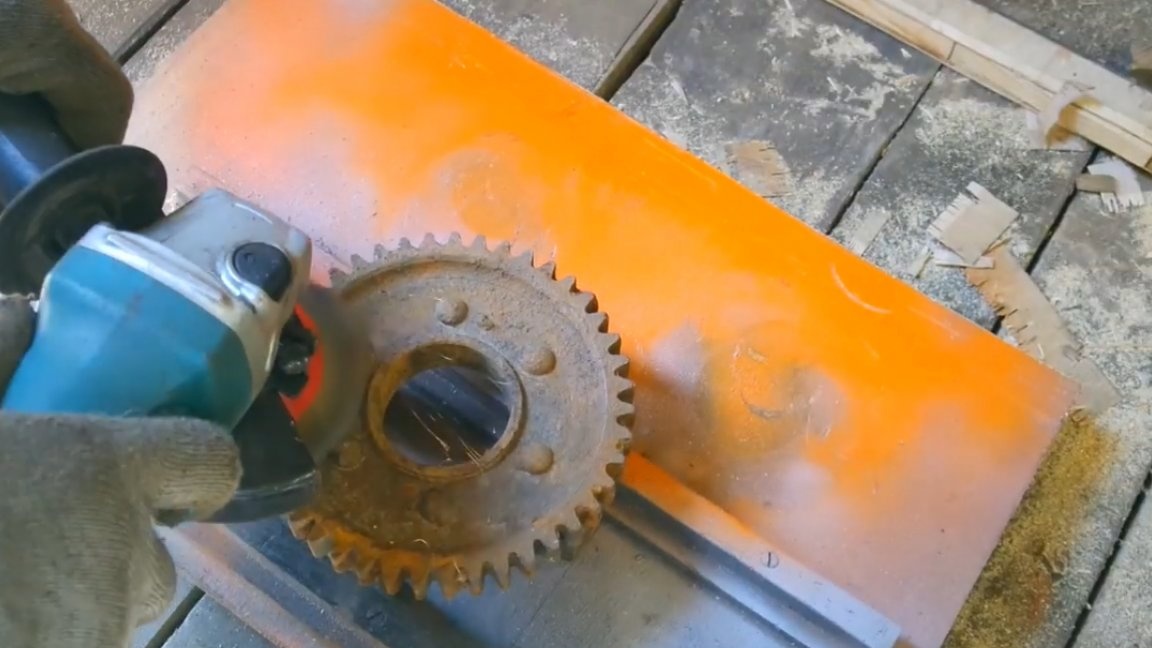
From what exactly this gear the author failed to find out. But during a visual inspection, it turned out that this part has multiple foci of corrosion, and rather large sizes, which we will have to get rid of. And to help in this not easy and rather dusty business, we will come to all familiar electric tools - an angle grinder (angle grinder) or a grinder and an electric drill. You will also have to use a special metal brush.
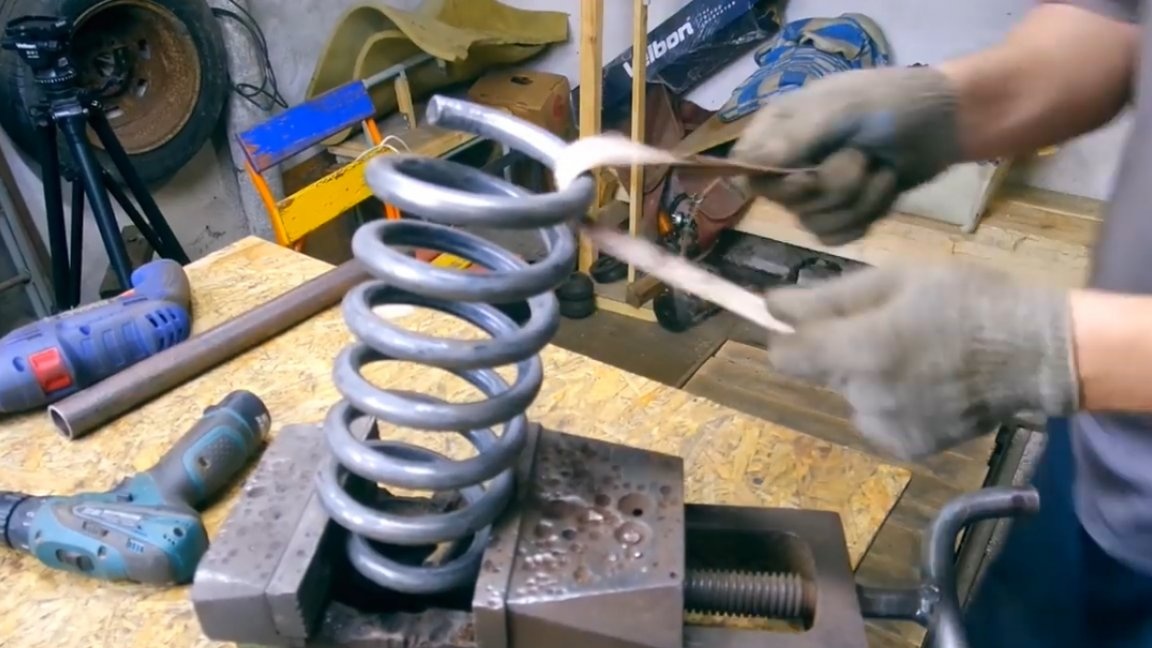
The author’s plans for homemade should have been simple, not requiring special skills, but in reality everything turned out to be a little more complicated. In addition to the aforementioned gear from the scrap collection point, such a spring will take part in the manufacture of this homemade product:
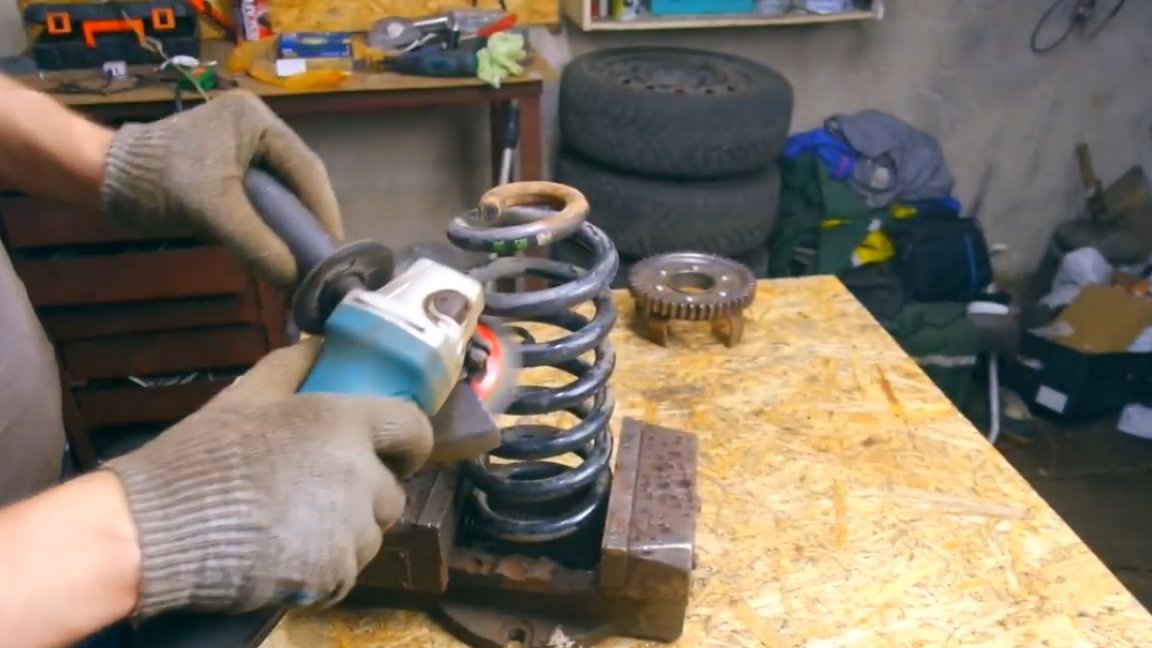
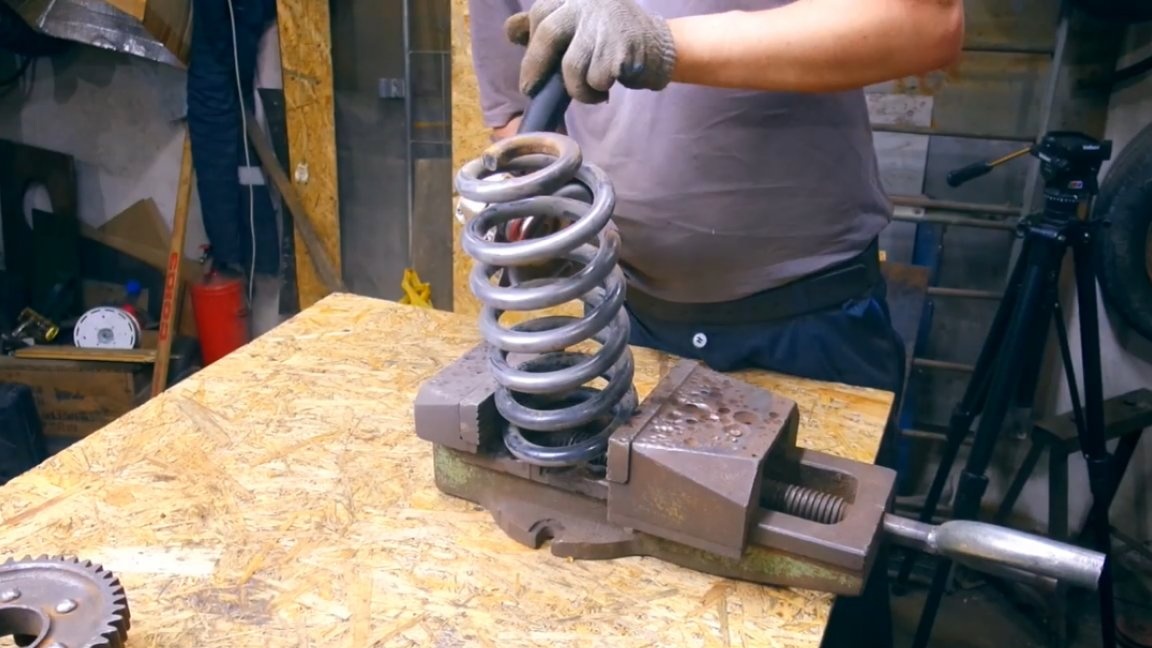
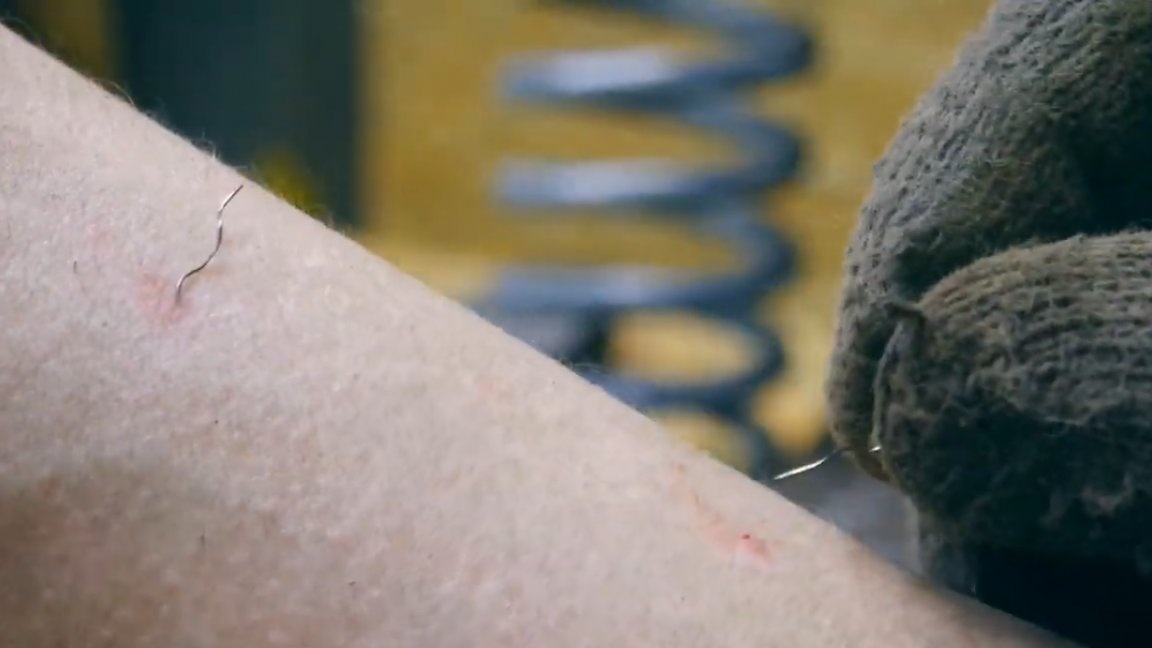
This spring migrated to the master from the same place as the gear - from the reception point of the ferrous metal. Of course, it is much better to protect such things in a sandblasting chamber, but if it is not there, and you decide to use a grinder for stripping, then be extremely careful and observe safety precautions so that extra “hair” does not grow on your hands, this is very unpleasant.

It is not known exactly what paint painted this particular spring, but it holds very well and is quite difficult to clean.
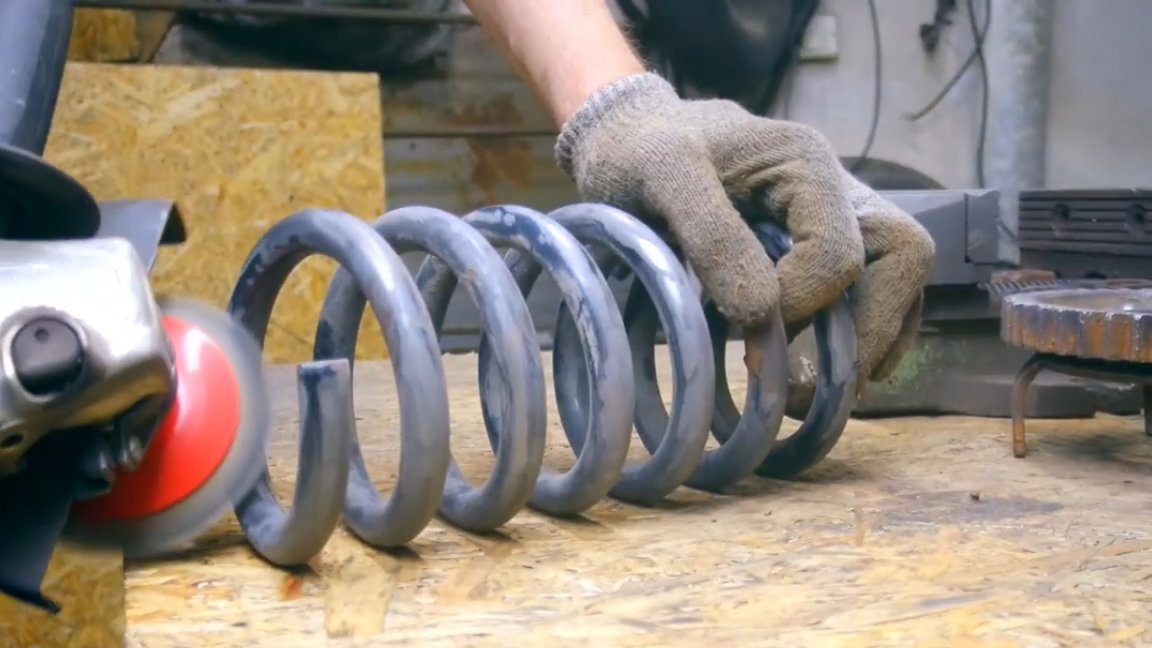

Plus, the spring has a shape that is not very convenient for processing by a grinder, so you have to resort to the help of the good old sandpaper and switch to manual mode.

It is best to clean the spring from the inside with a long piece of sandpaper, which, unlike a metal brush, is much safer.
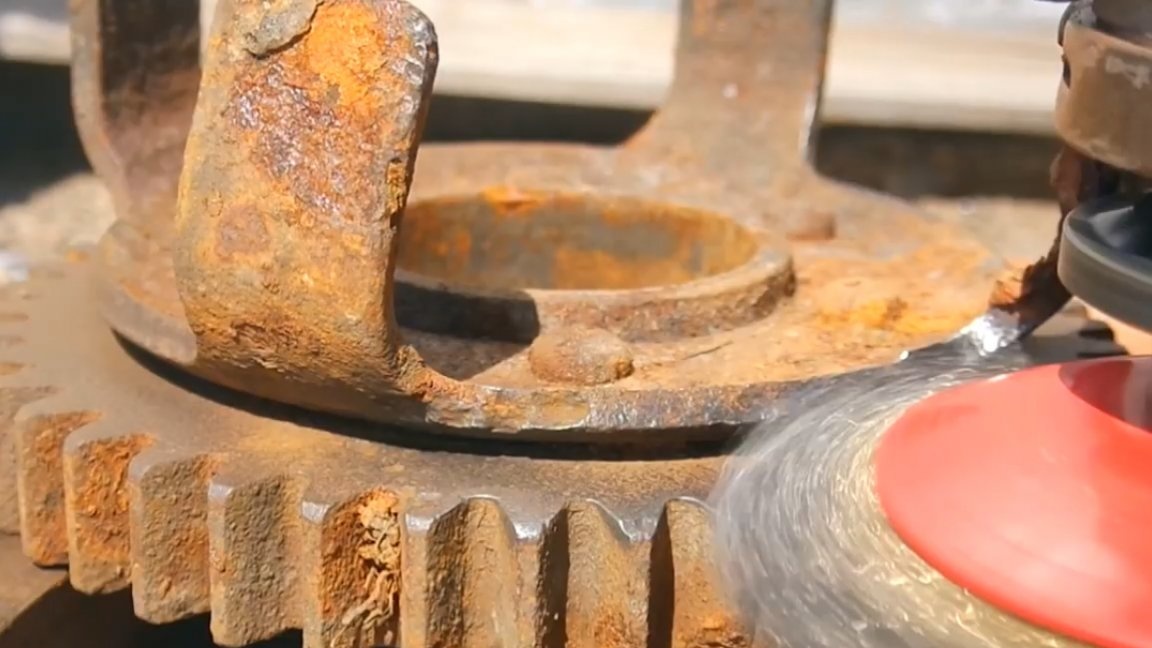
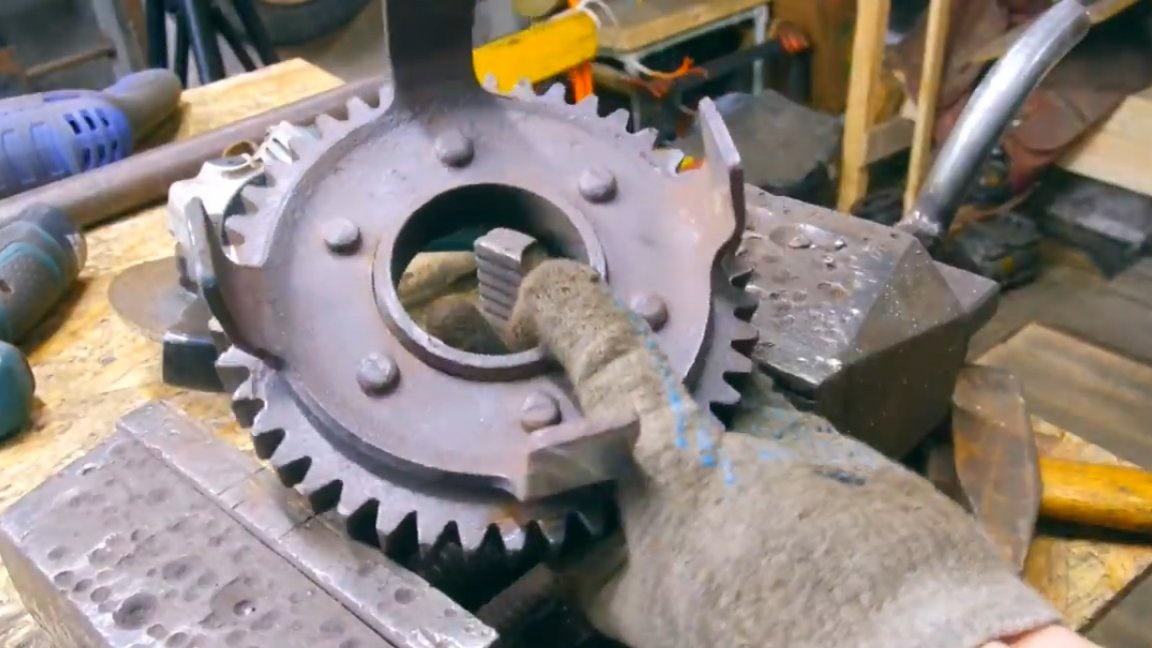
The teeth of the gear itself are in very poor condition. They were clogged with rust and rubbish, and some even had traces of someone else's welding work.The work ahead is not easy, let's get started.
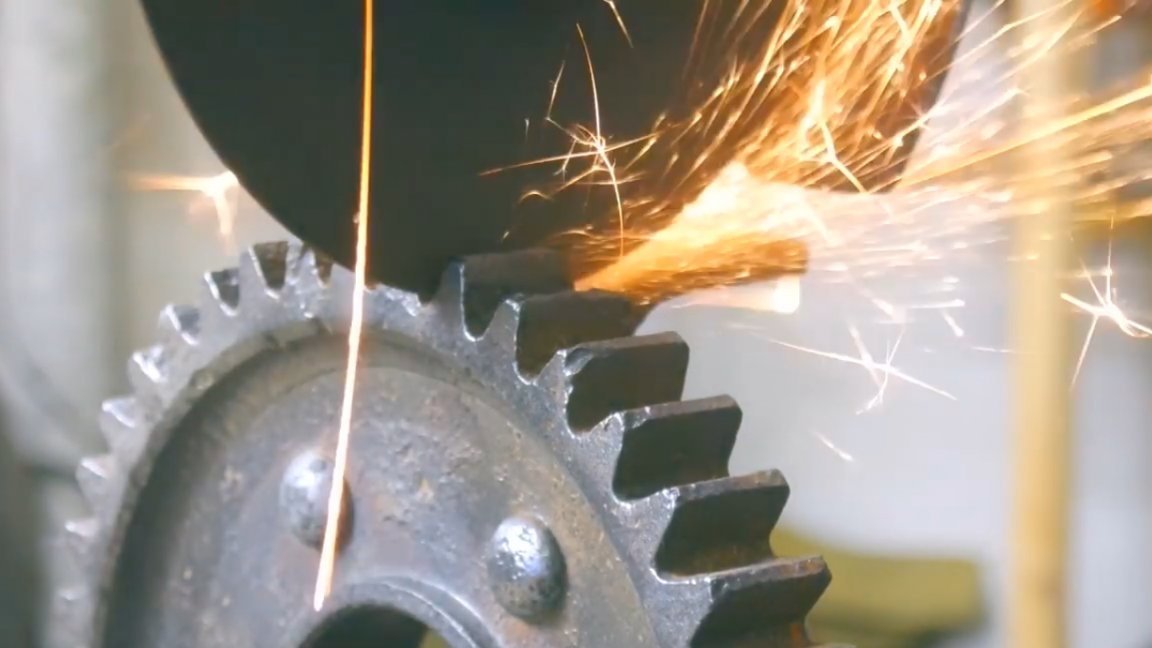
Future legs had large pores from rust. To get rid of this kind of corrosion, you will again have to use a grinder with petal circles and sandpaper with different grain sizes.
One of the future legs was twisted.
Here, refinement with a hammer is already required. And after several strokes, the author manages to fix it.

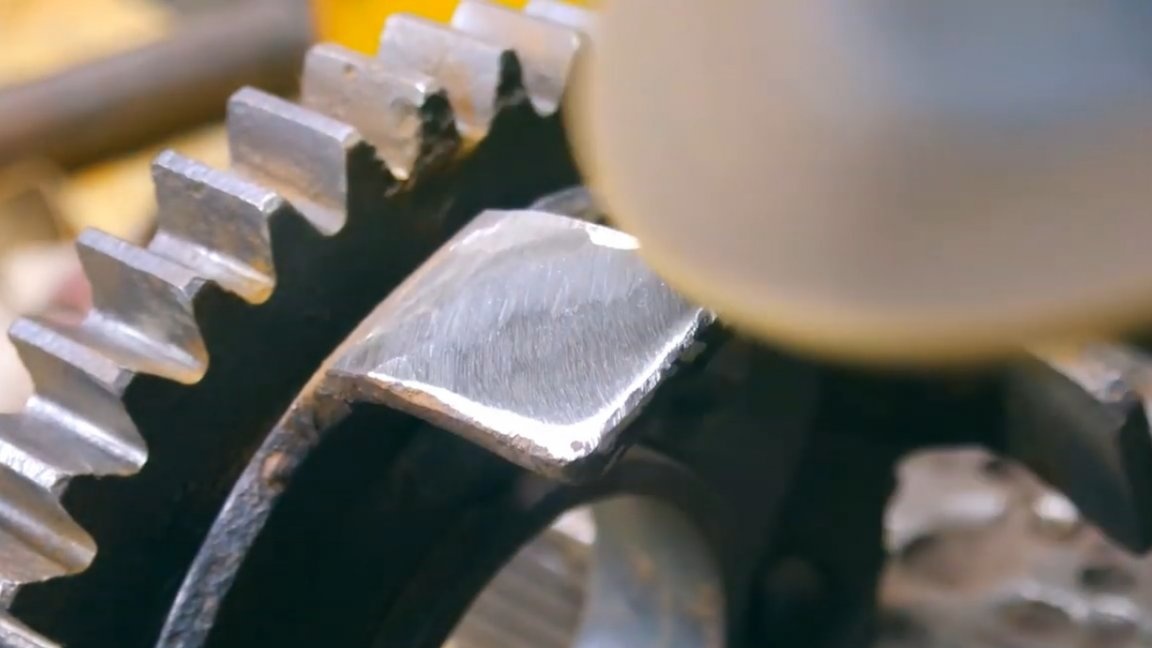
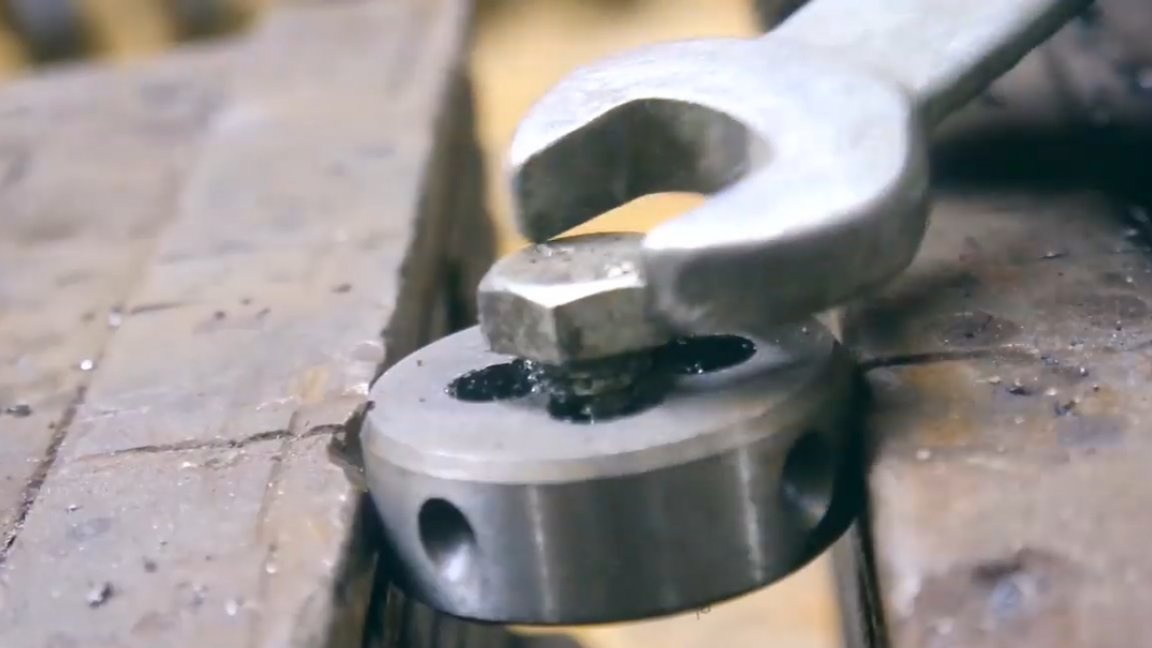
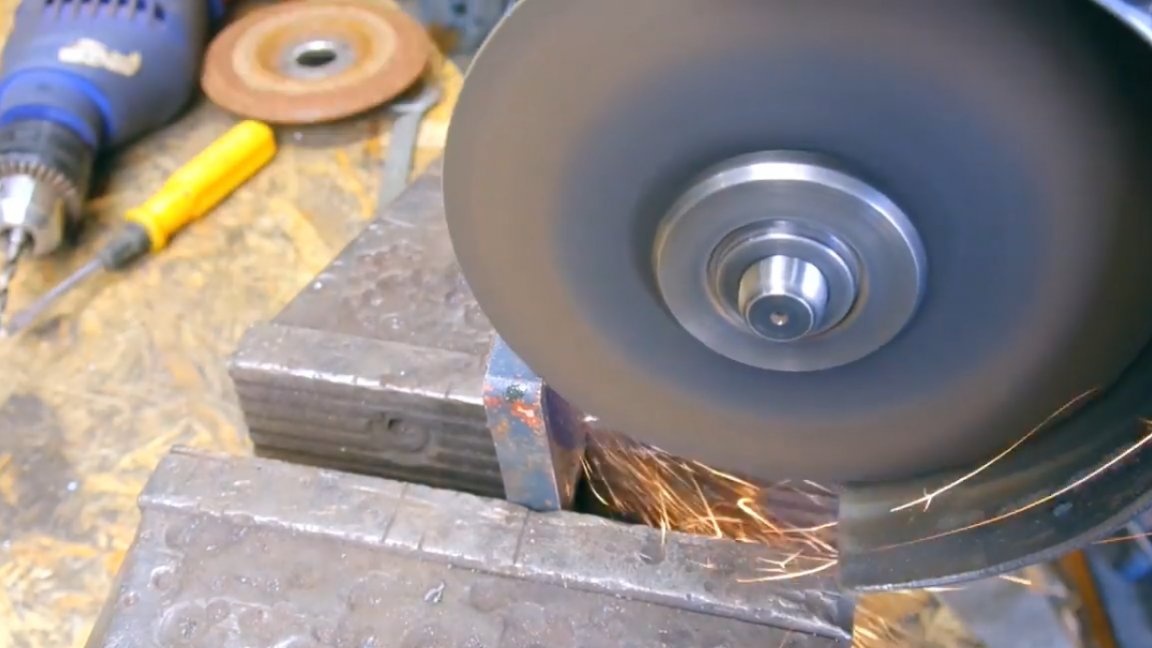
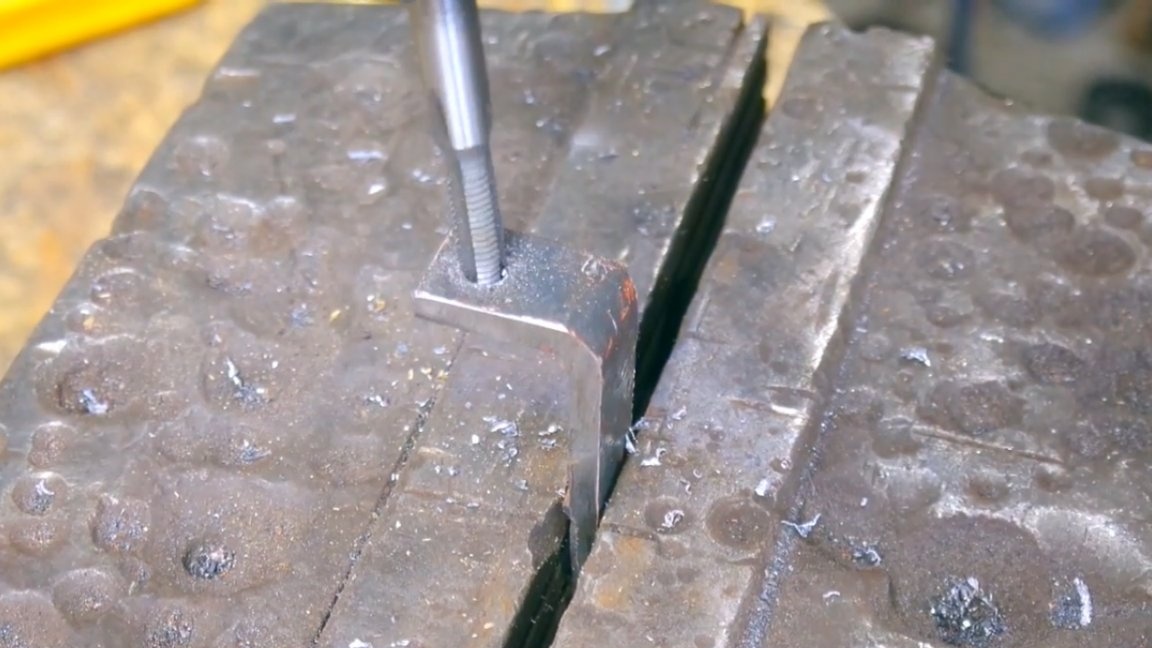
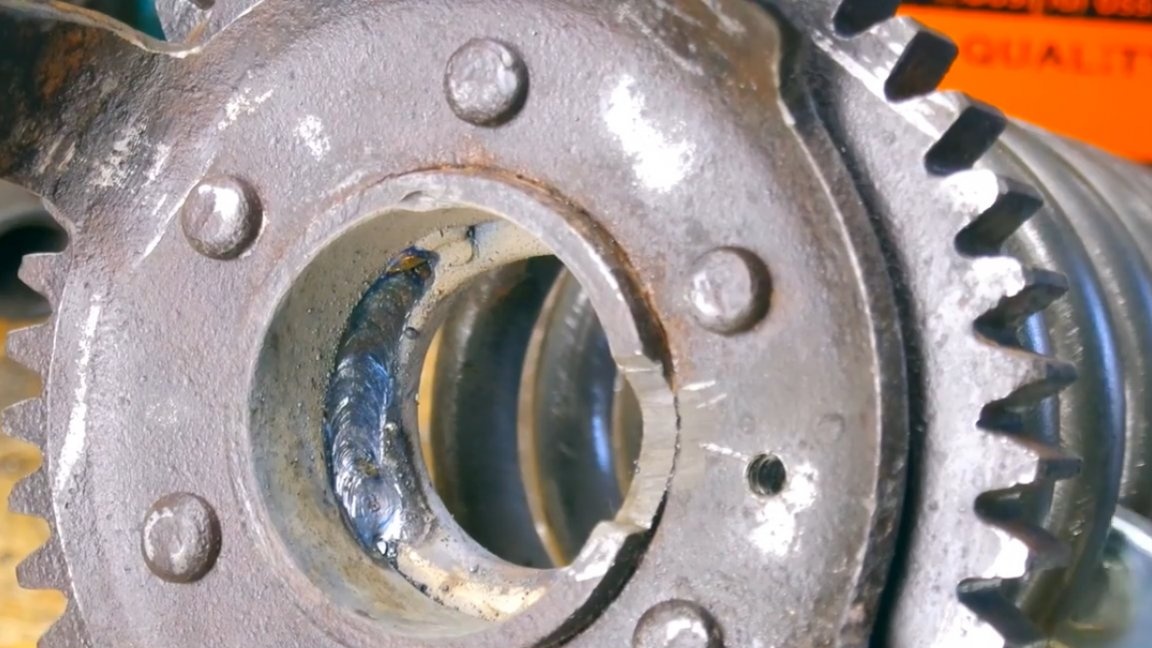
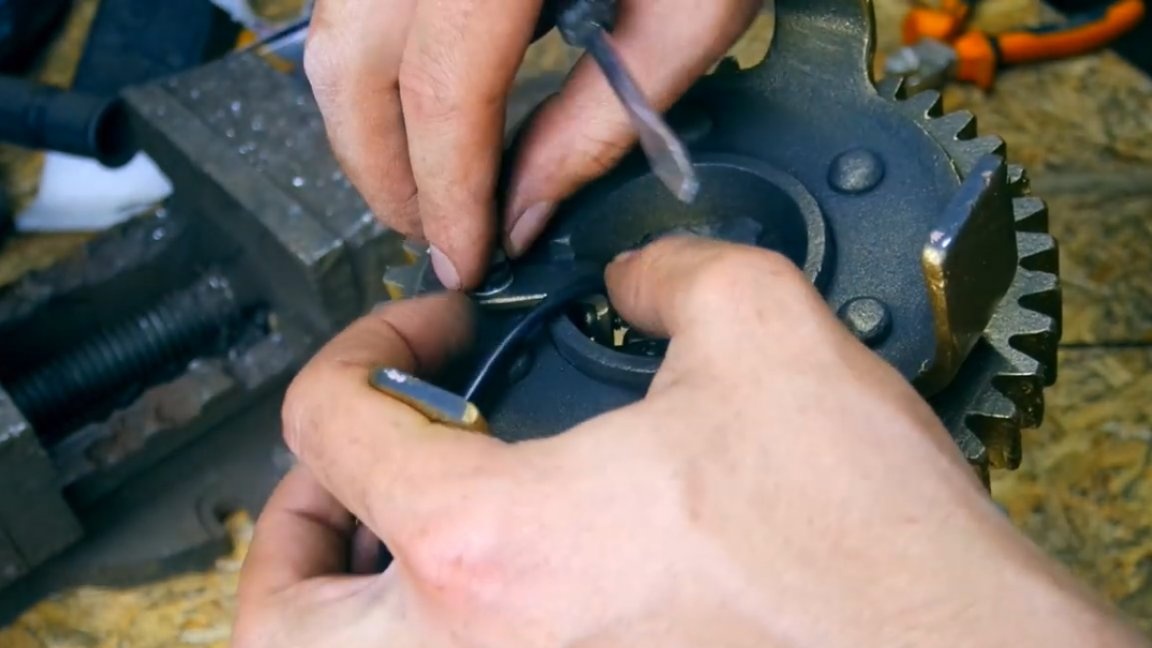
Now, with the help of the same angle grinder and a cutting and grinding wheel, we need to make a recess of arbitrary shape.

After this, it is necessary to drill a hole with a drill with a diameter of 5 mm. But first, we use a drill with a smaller diameter - 3 mm, and only then we take a drill of the diameter we need.
Next, in the resulting hole, it is necessary to cut the m6 thread.

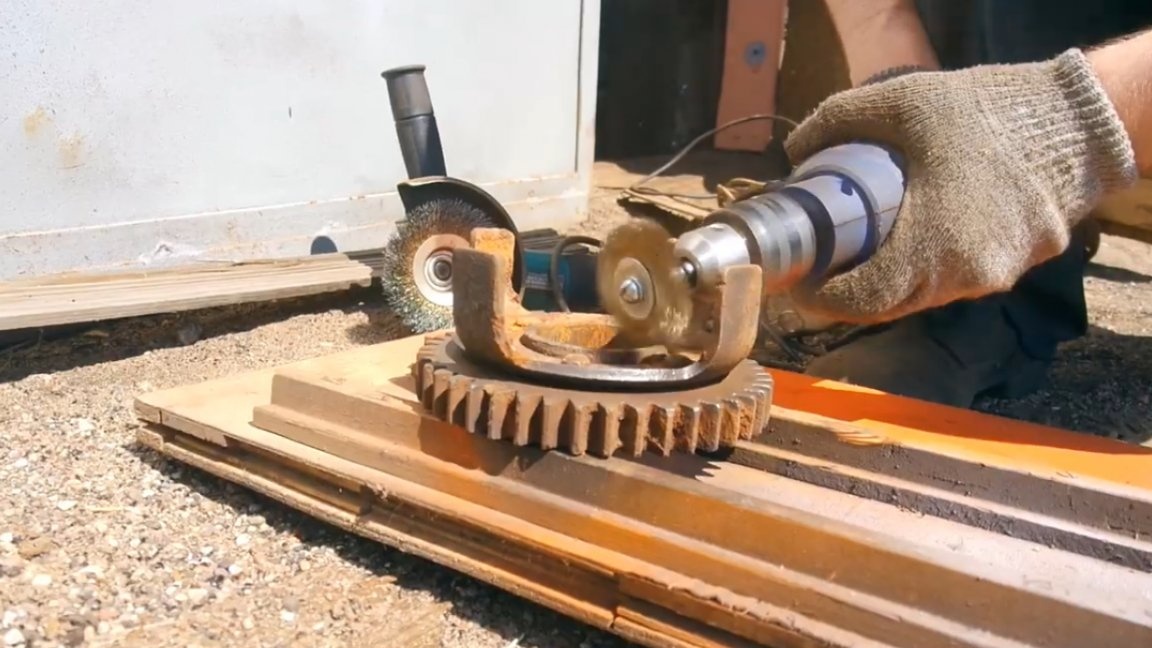
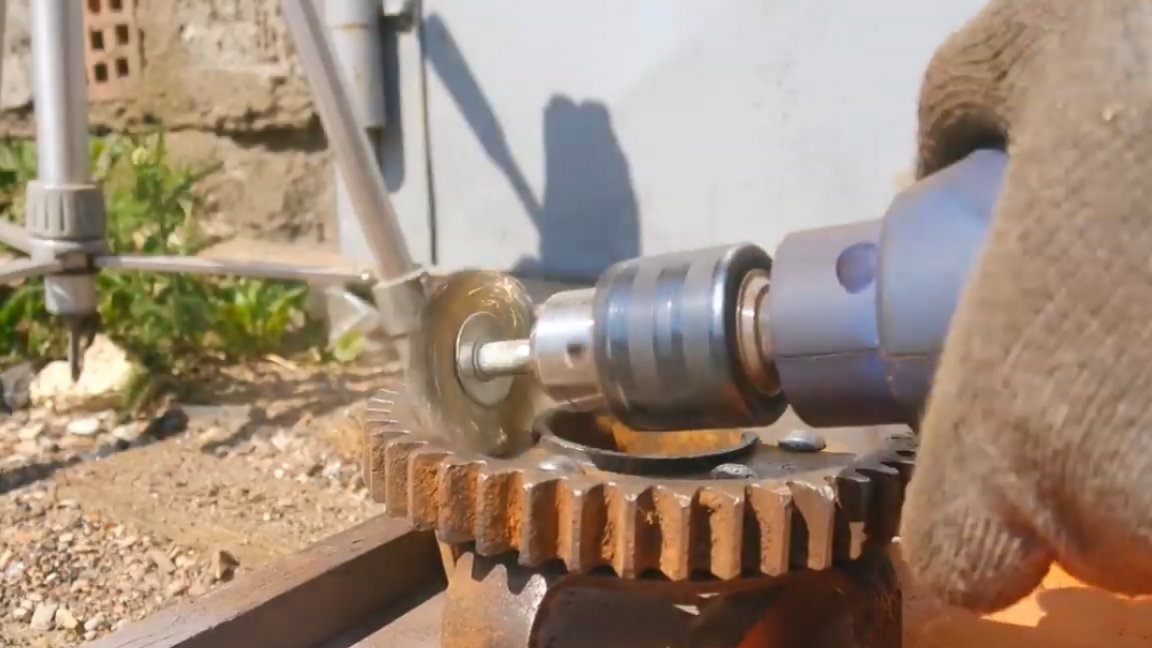
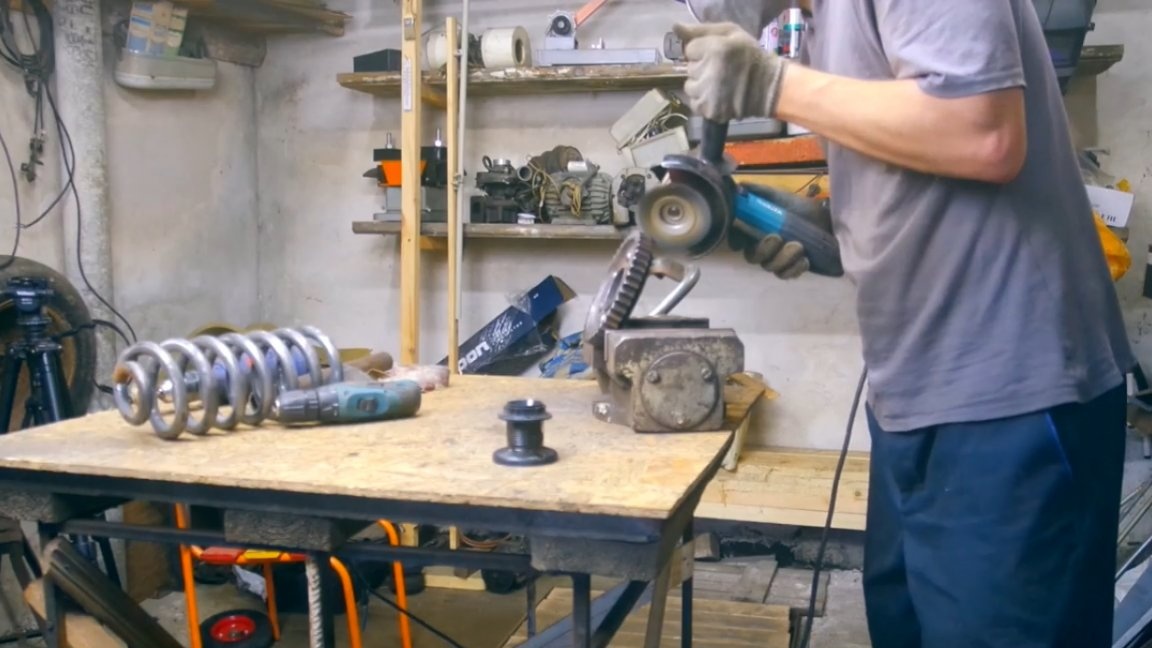
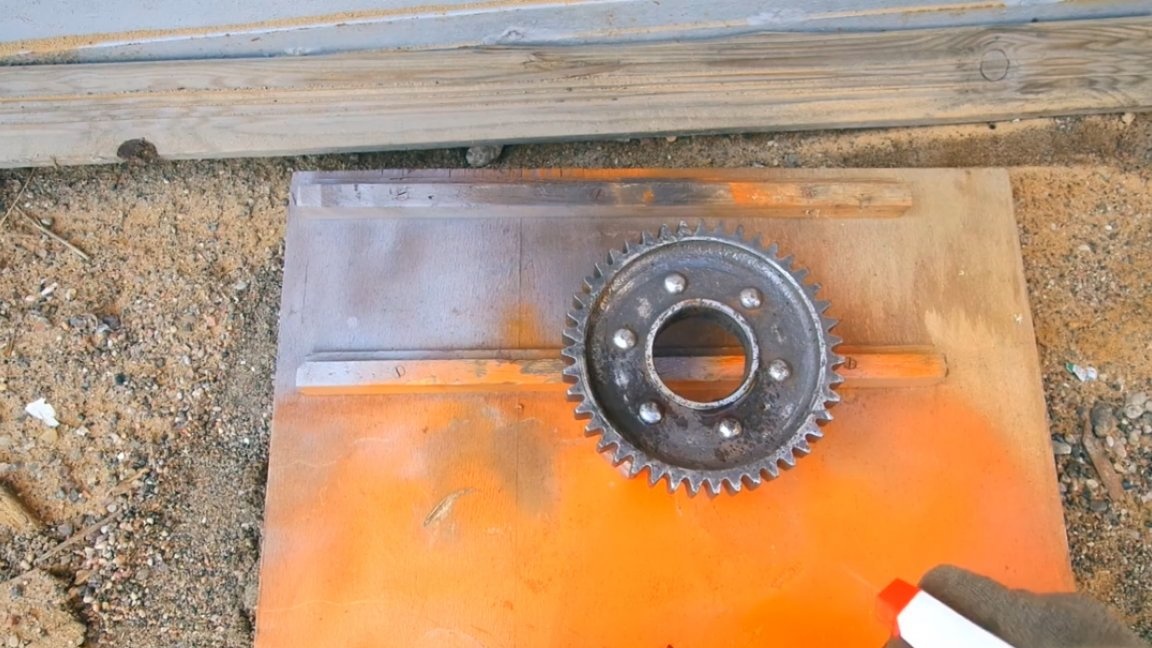
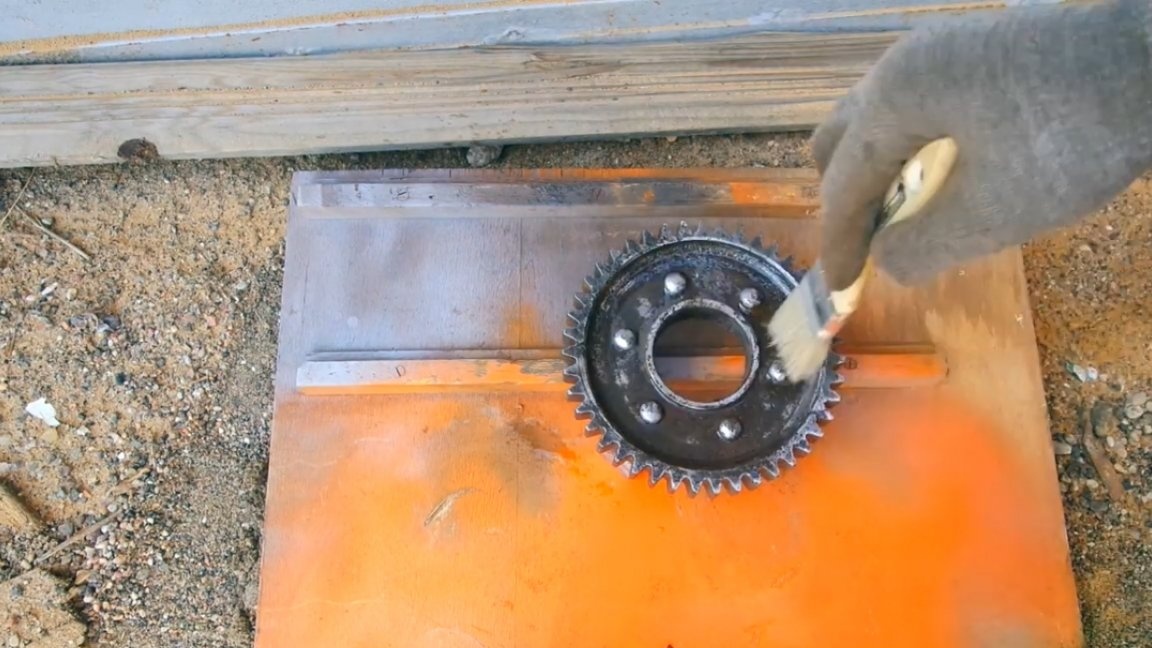
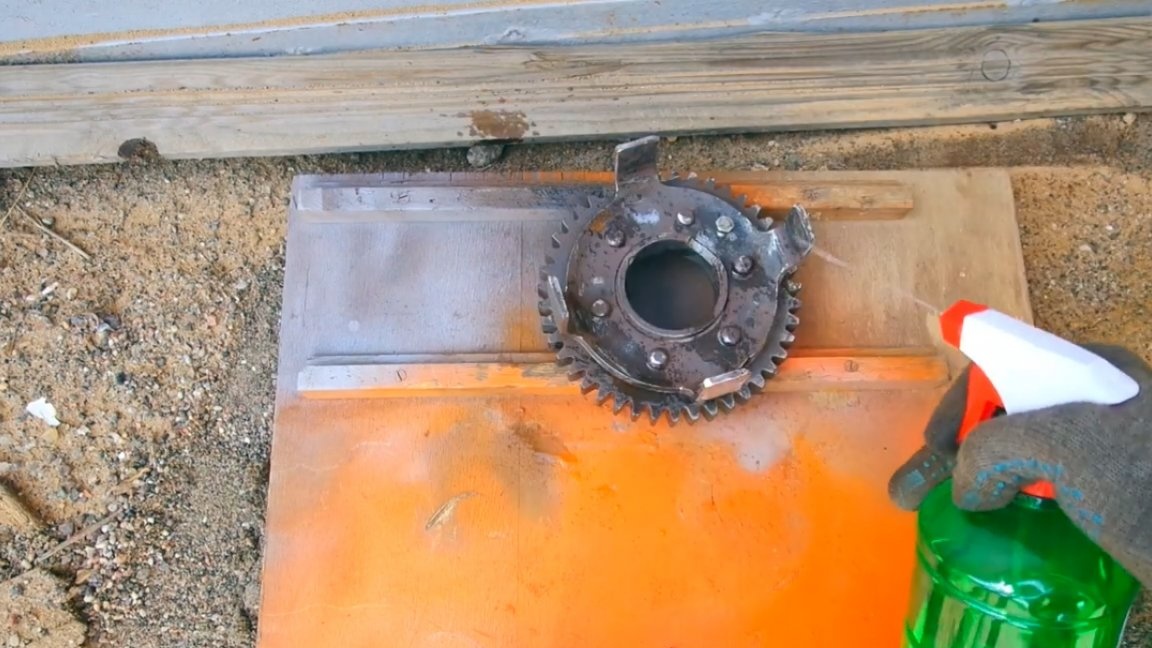
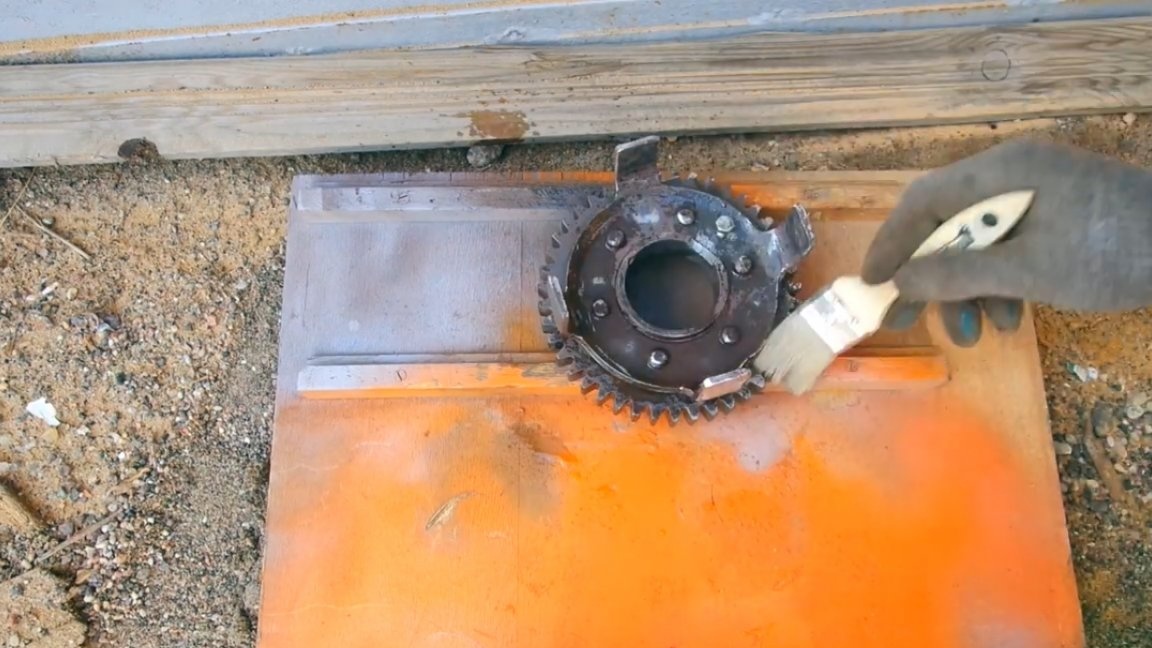
Since the author’s sandblasting chamber is still in the plans, and all the rust from the gears with the grinder, brush and emery cloth is simply impossible to remove, you will have to resort to additional processing with this wonderful tool.

We apply a rust converter to the gear and with a brush we clean the surface.
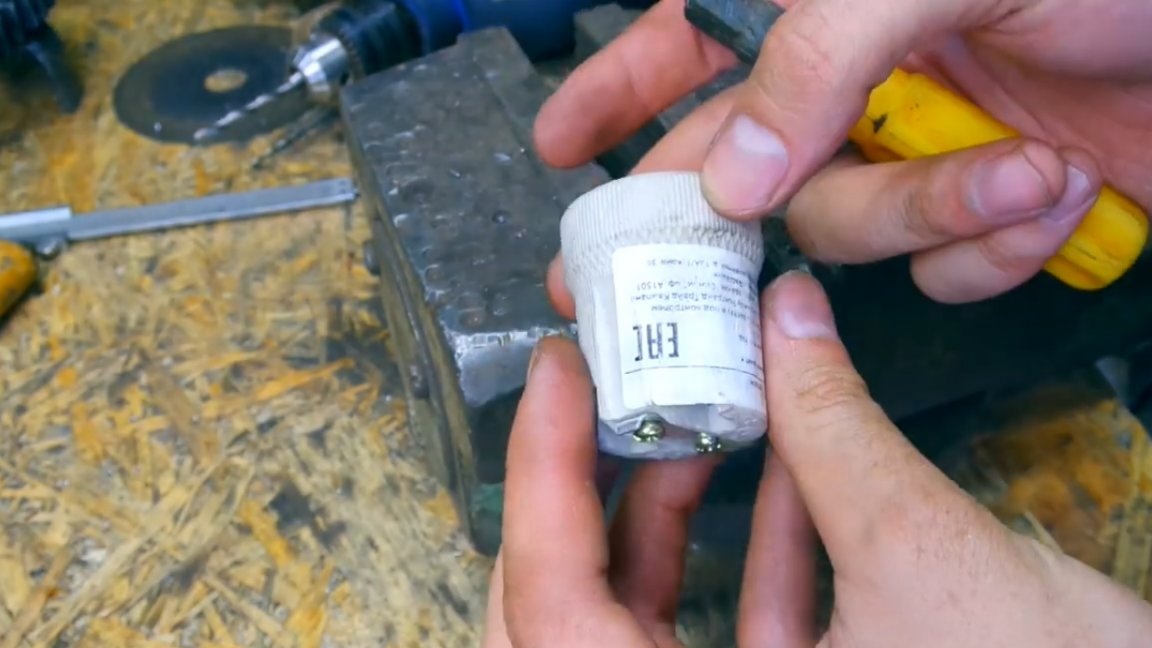
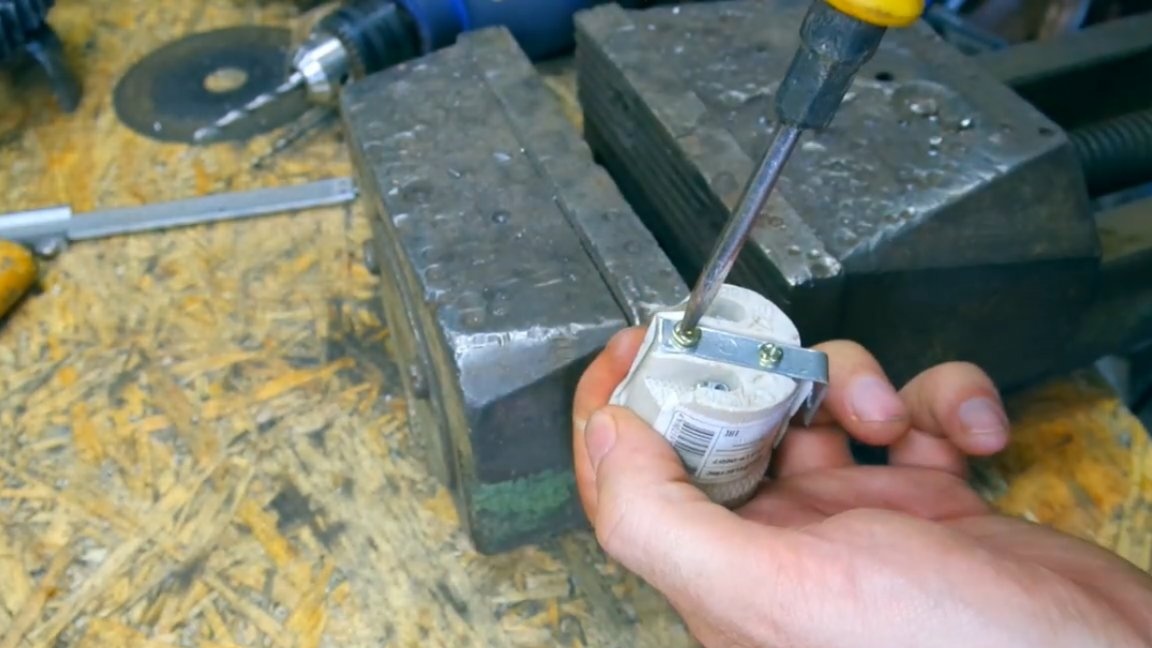
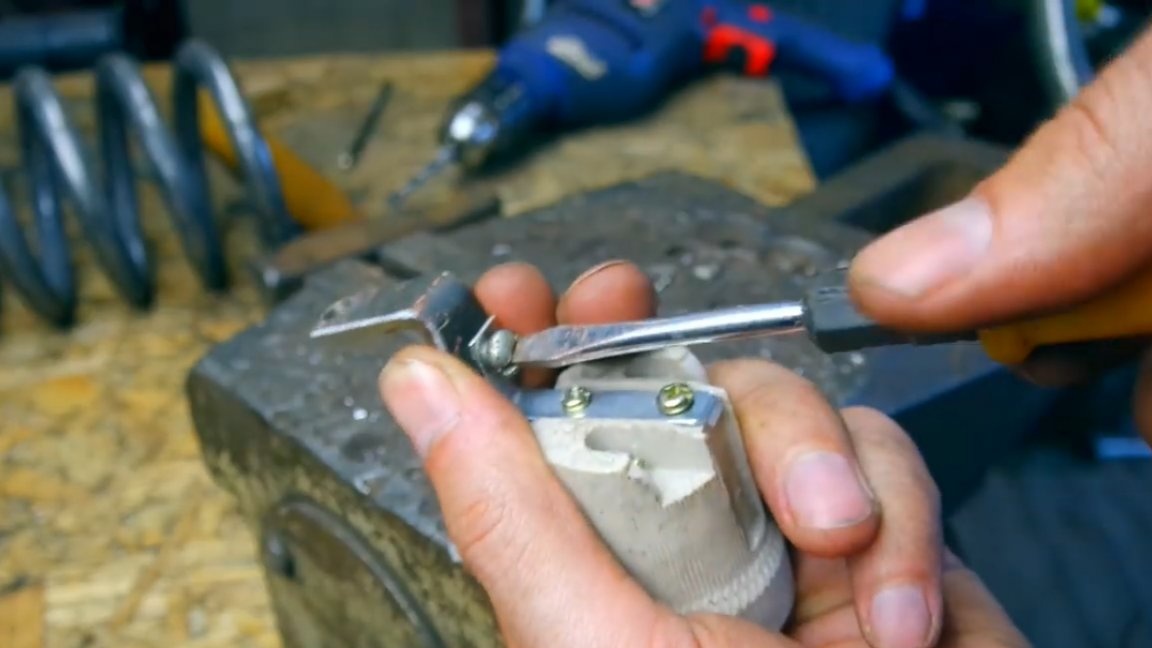
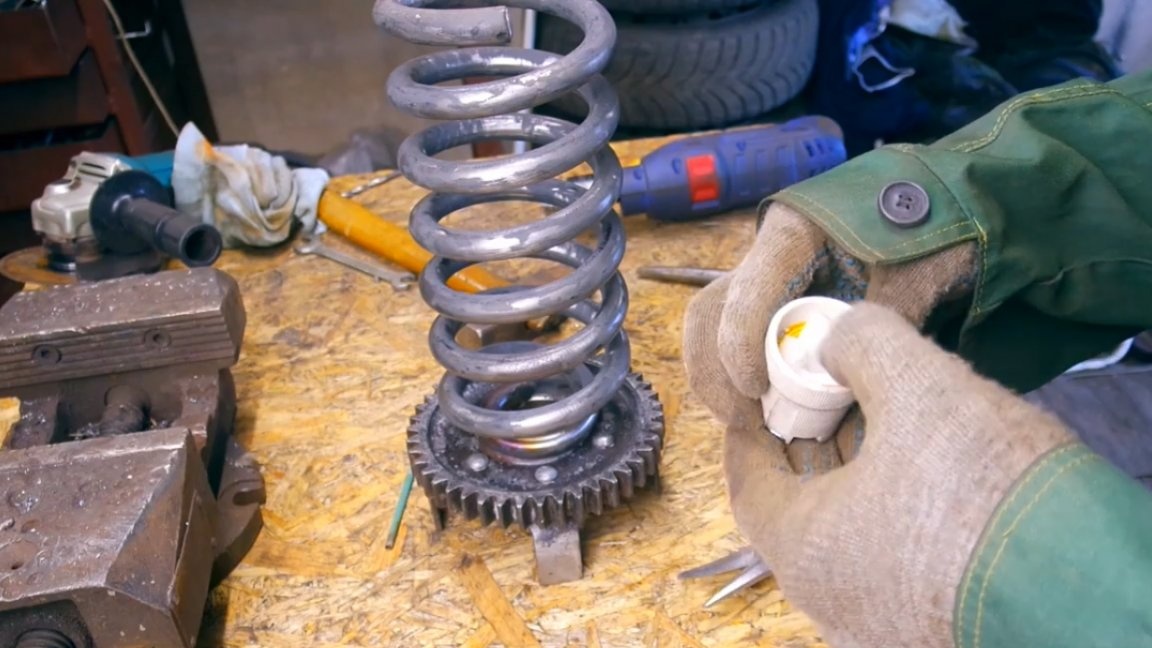
Cartridge e27 required a little refinement. It was necessary to unscrew the bracket and rearrange it in the other direction.
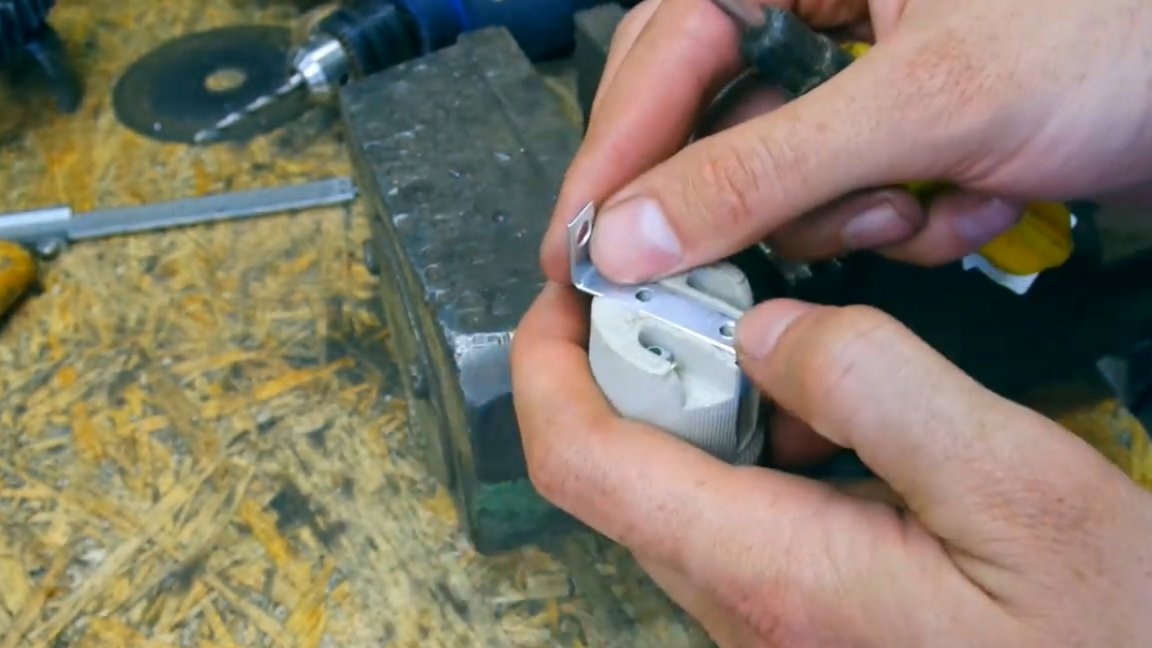
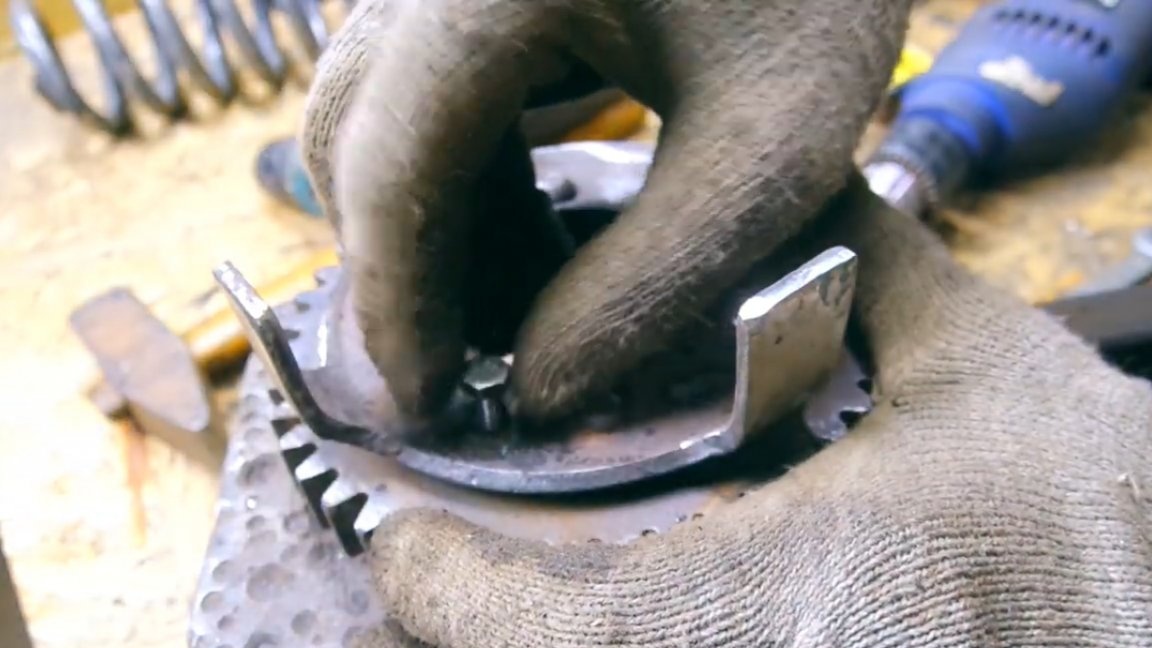
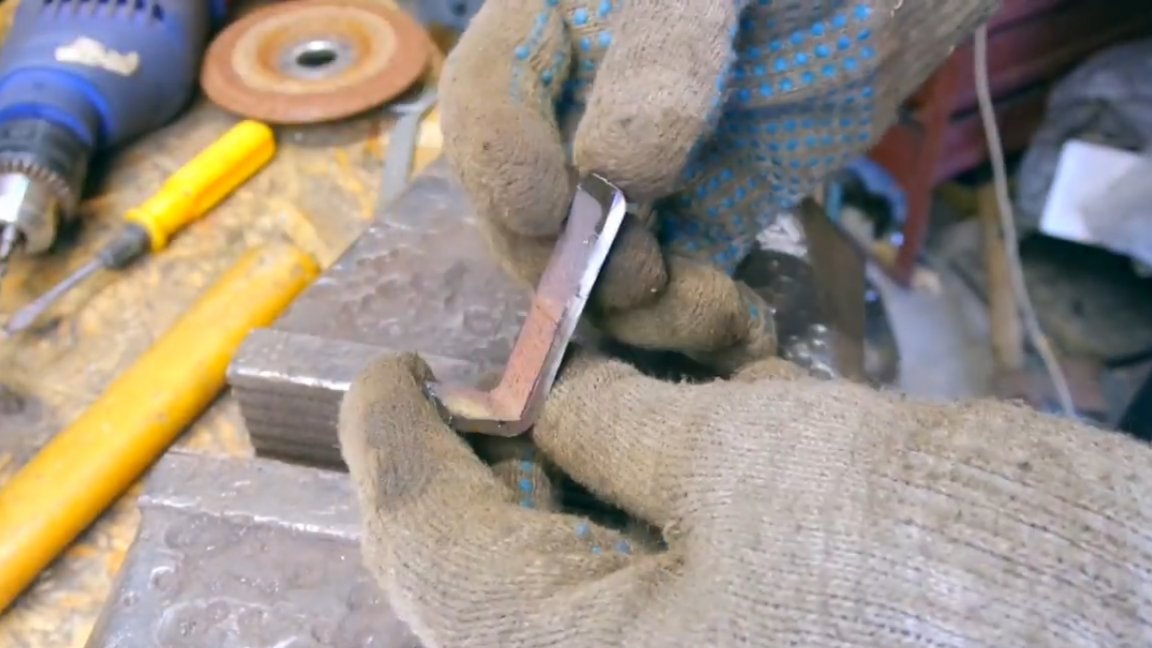
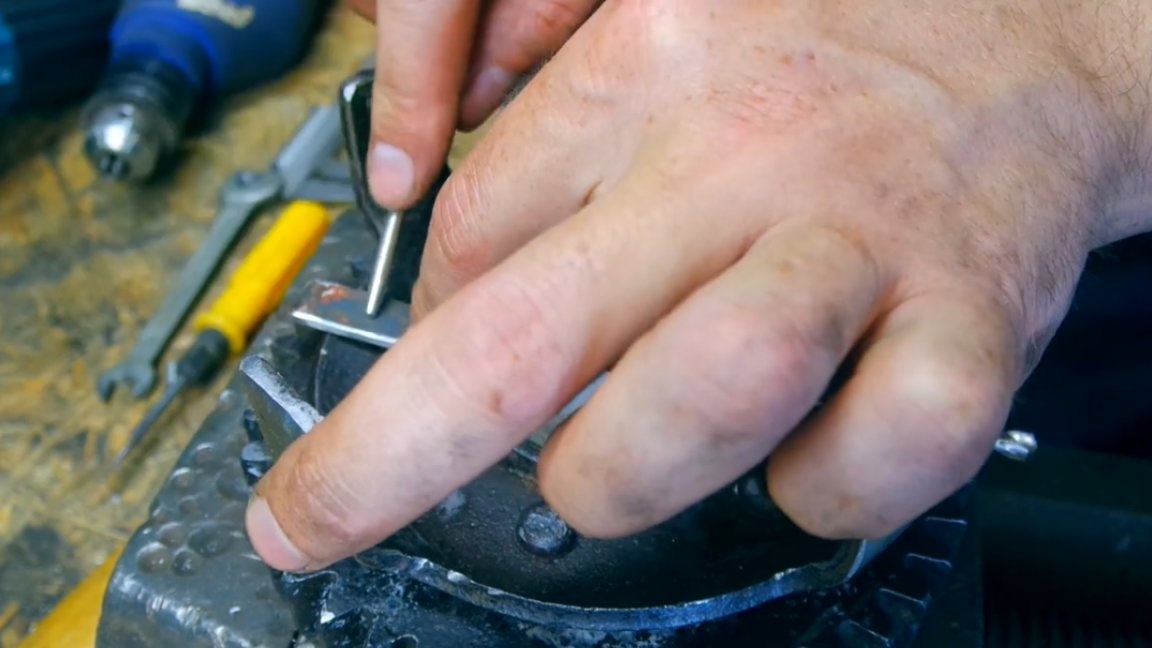
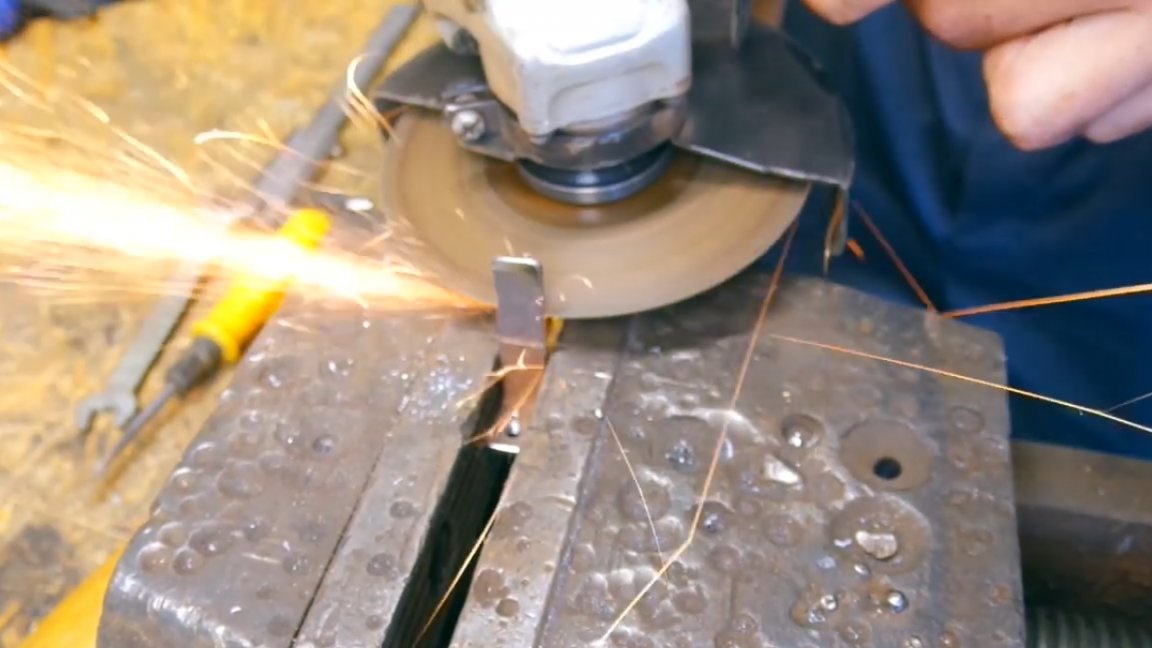
The author made another bracket from a small trim of the profile pipe.
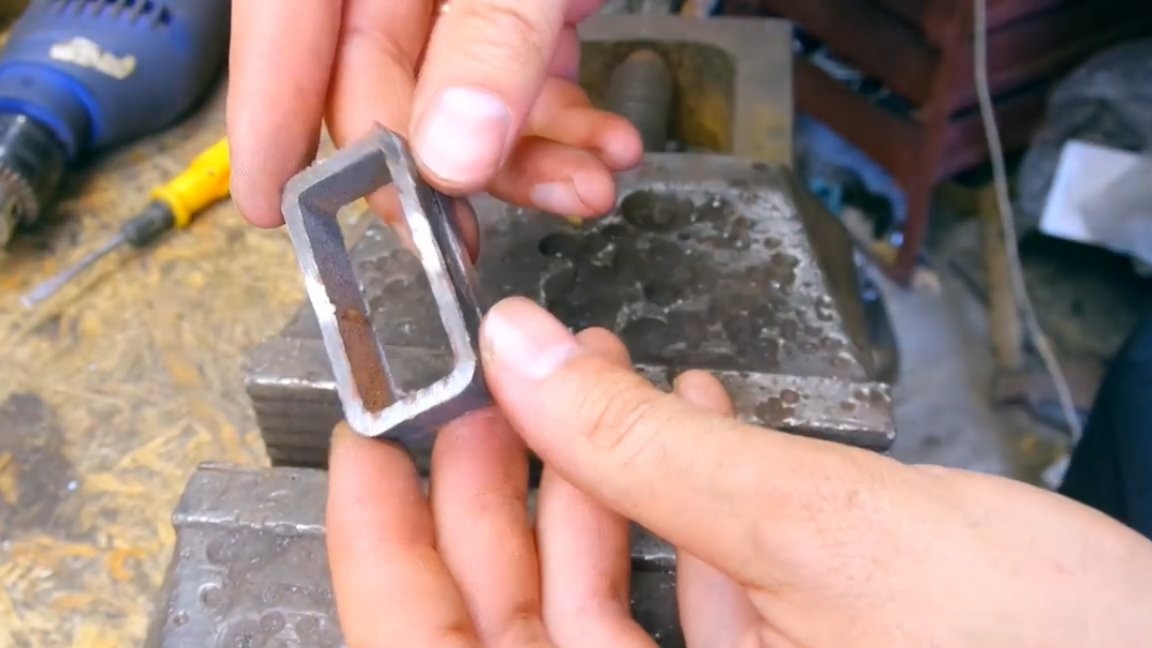
Here is a bracket or corner as a result.
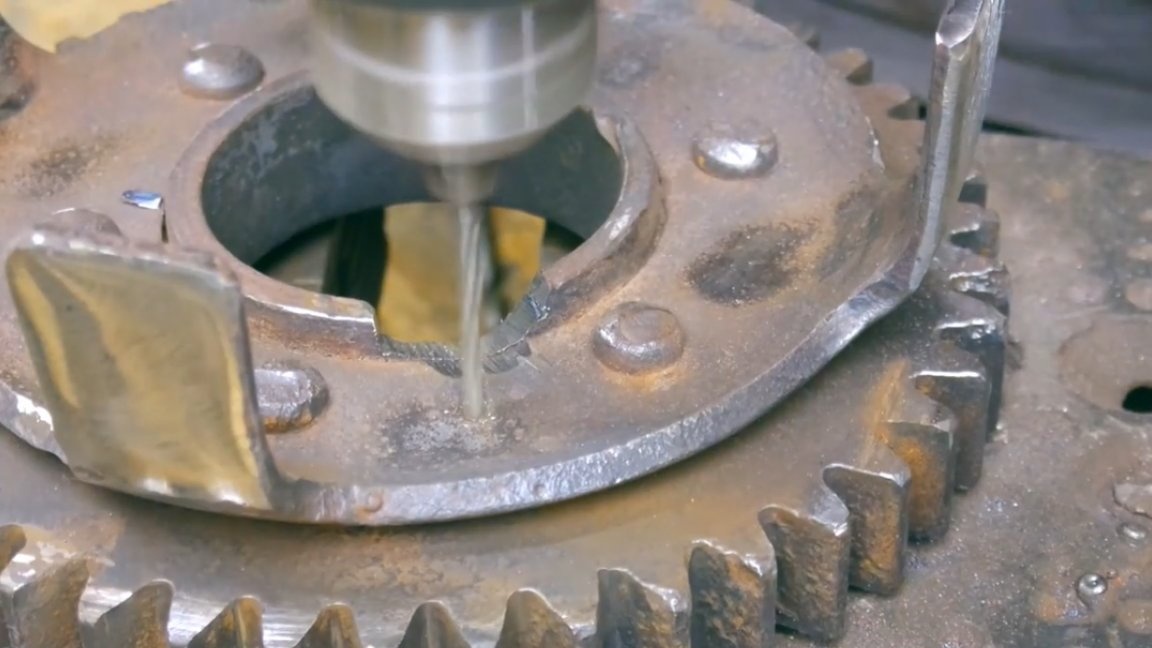
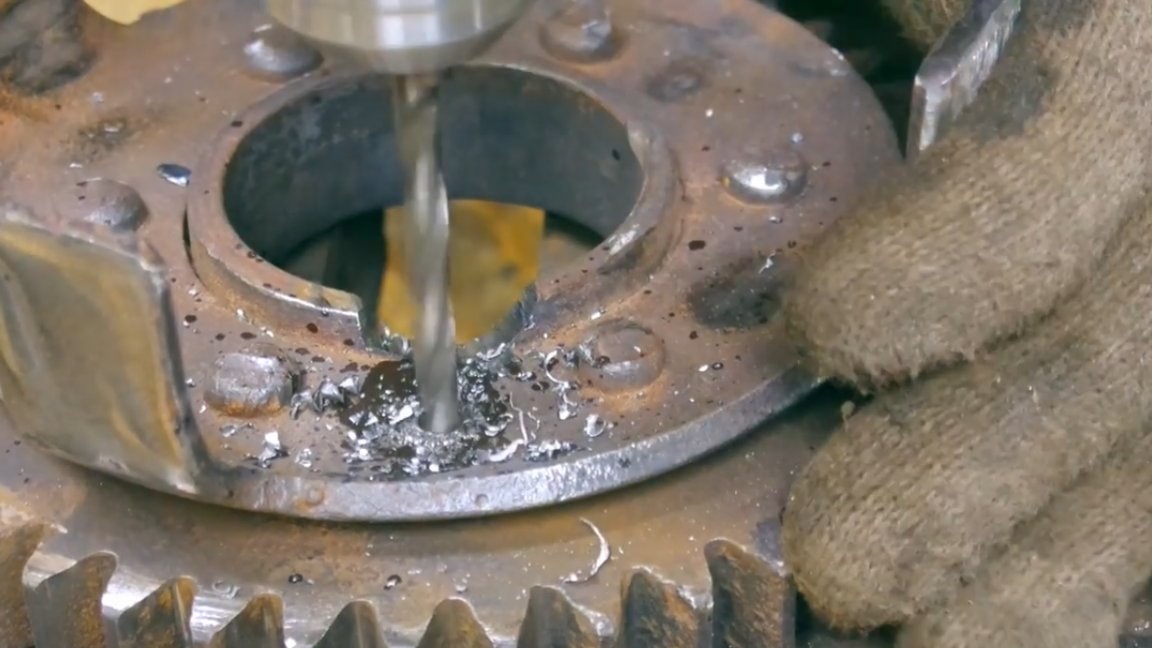
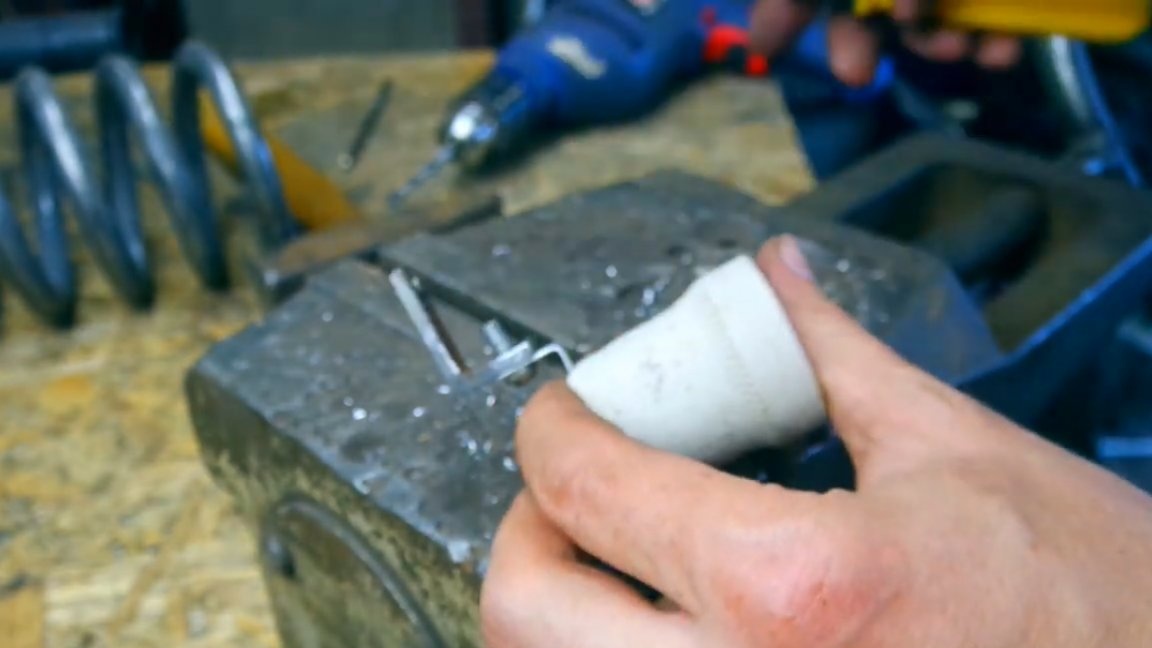
Now it is necessary to drill a hole on one side and cut the m5 thread, and on the other hand to cut it in place and make a hole with a 7mm diameter drill.

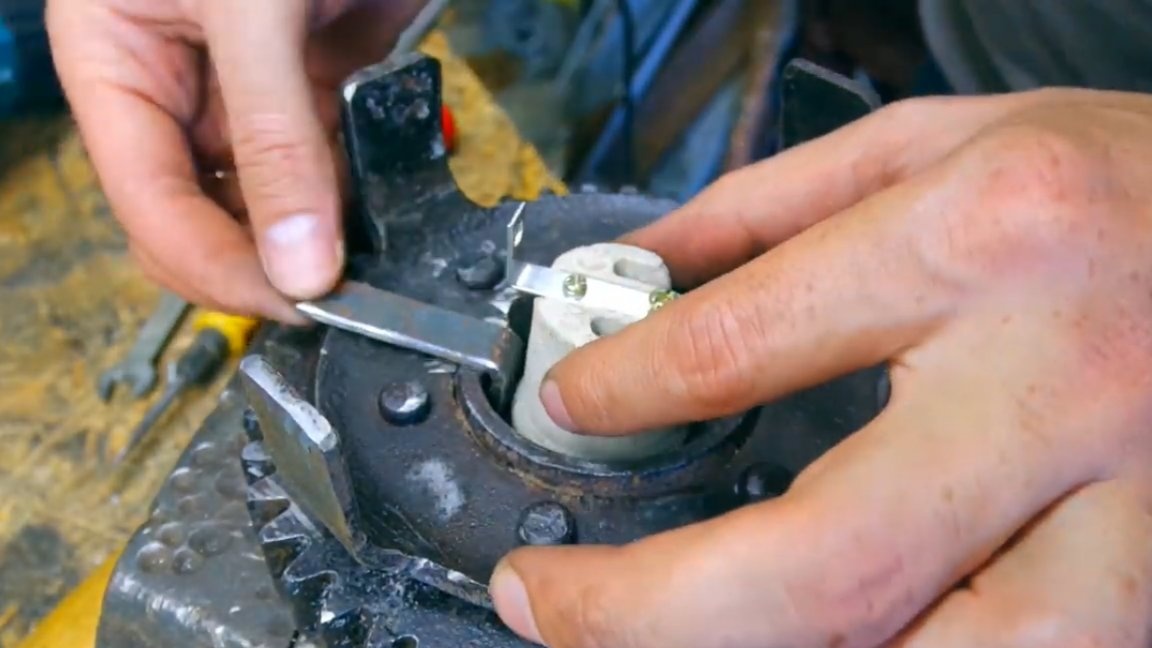

Next, we connect the resulting part with a cartridge.
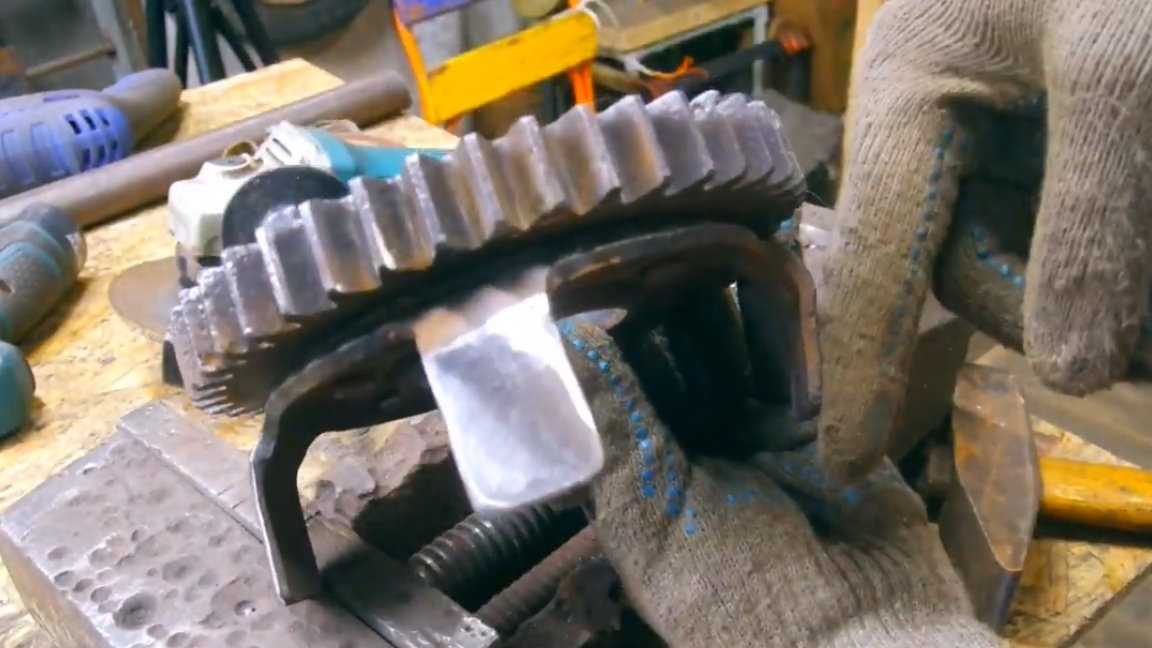
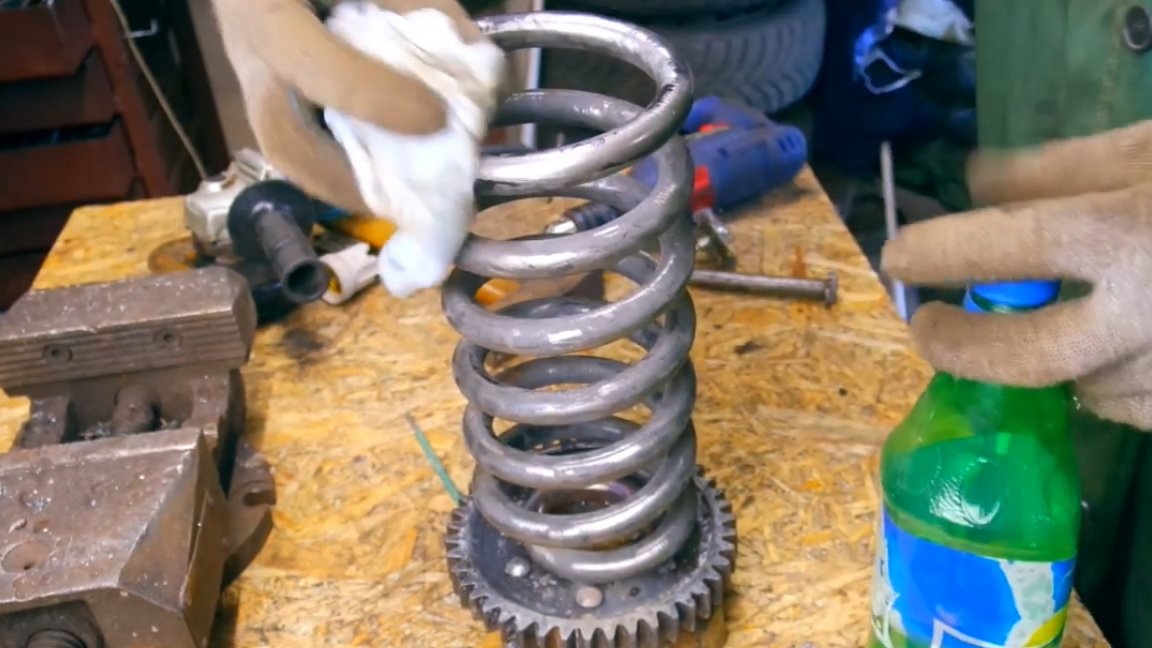
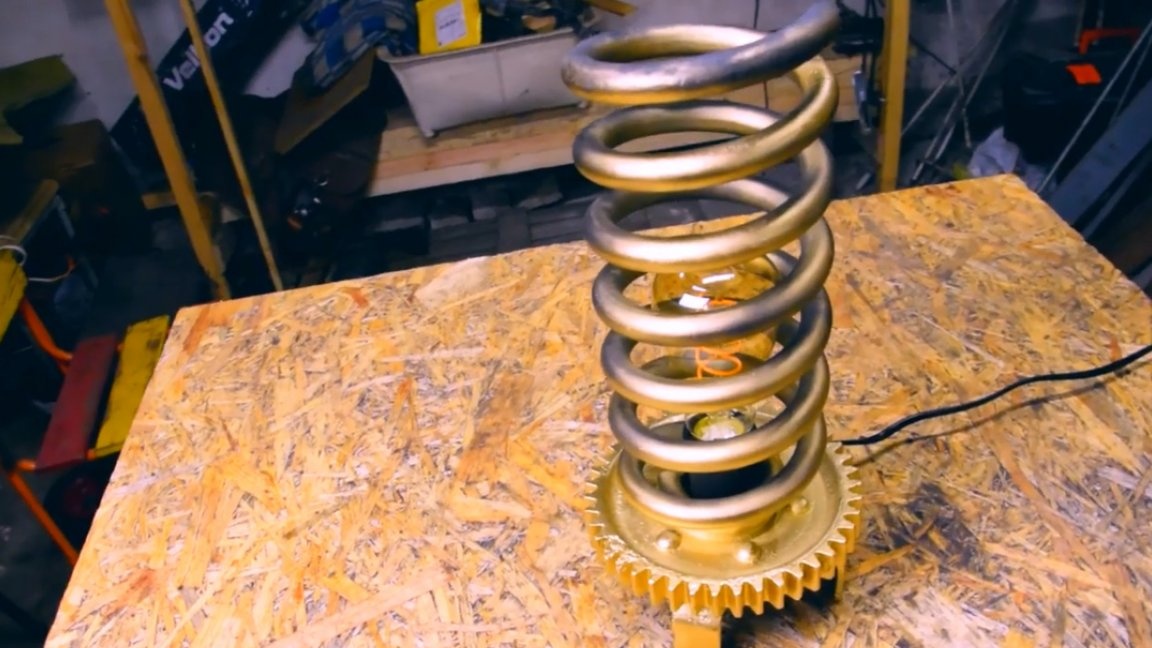
Further welding. When welding, the author first makes tacks, adjusting the spring perpendicular to the gear itself and fills the whole thing with a hot electrode.

Then with a solvent it is necessary to degrease the resulting part.
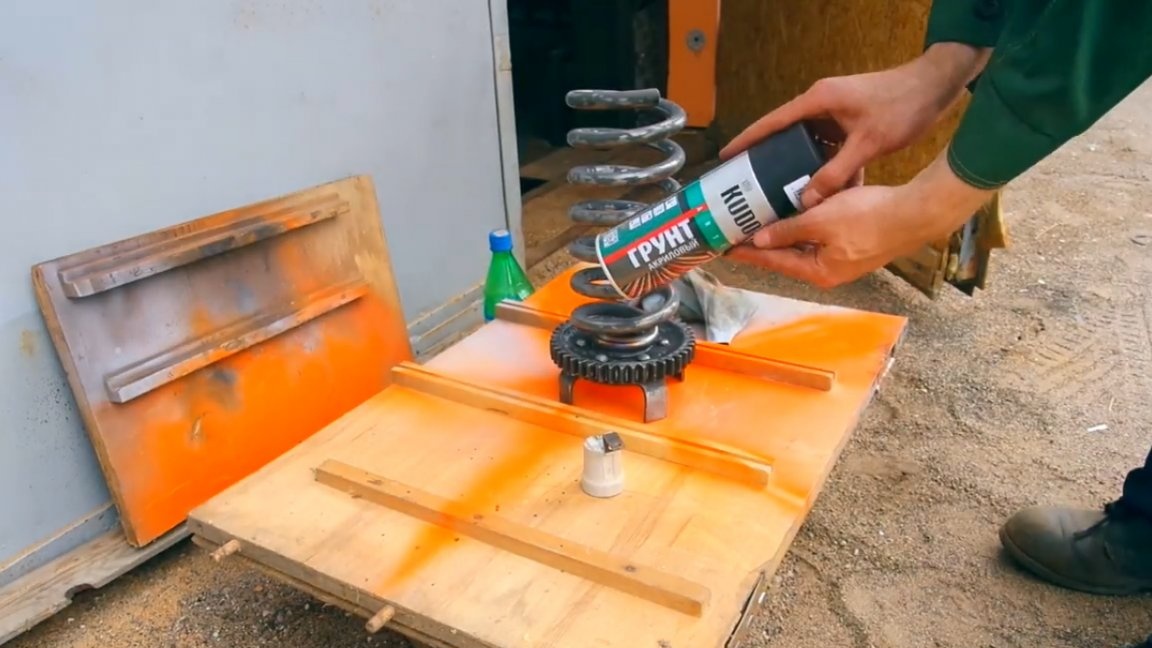
The e27 base was also decided to be painted, so it is necessary to close all openings where the paint should not get.
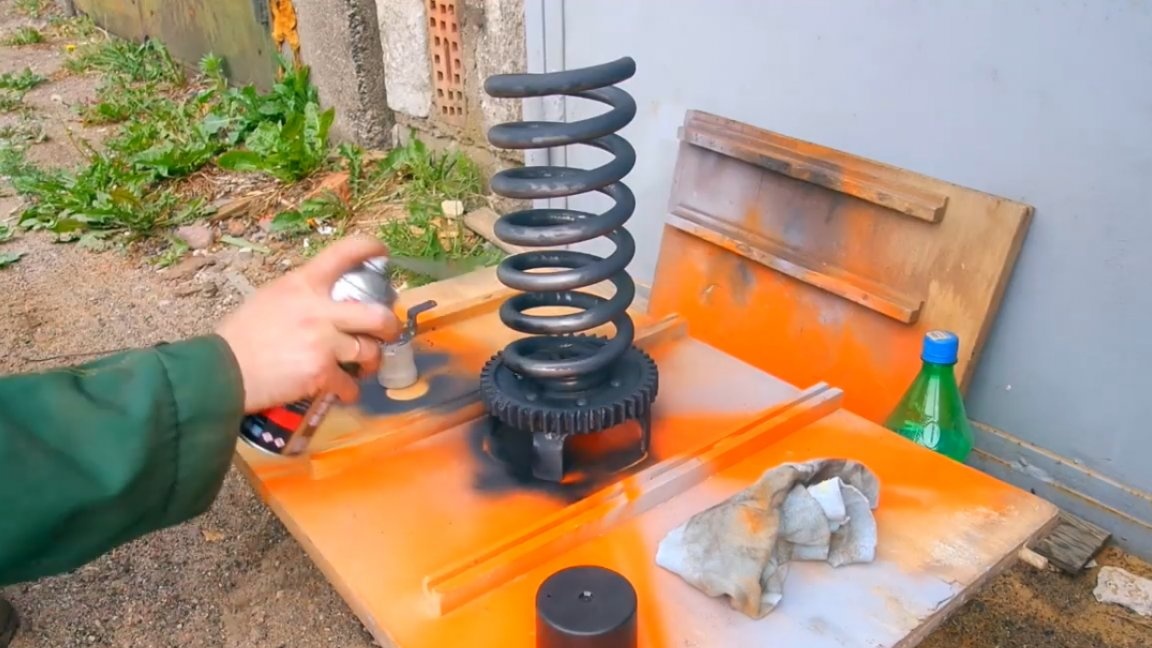
The author decided to perform the painting itself in the fresh air. At the first stage of painting, it is necessary to apply black acrylic primer.
The second step is to paint a golden hue.
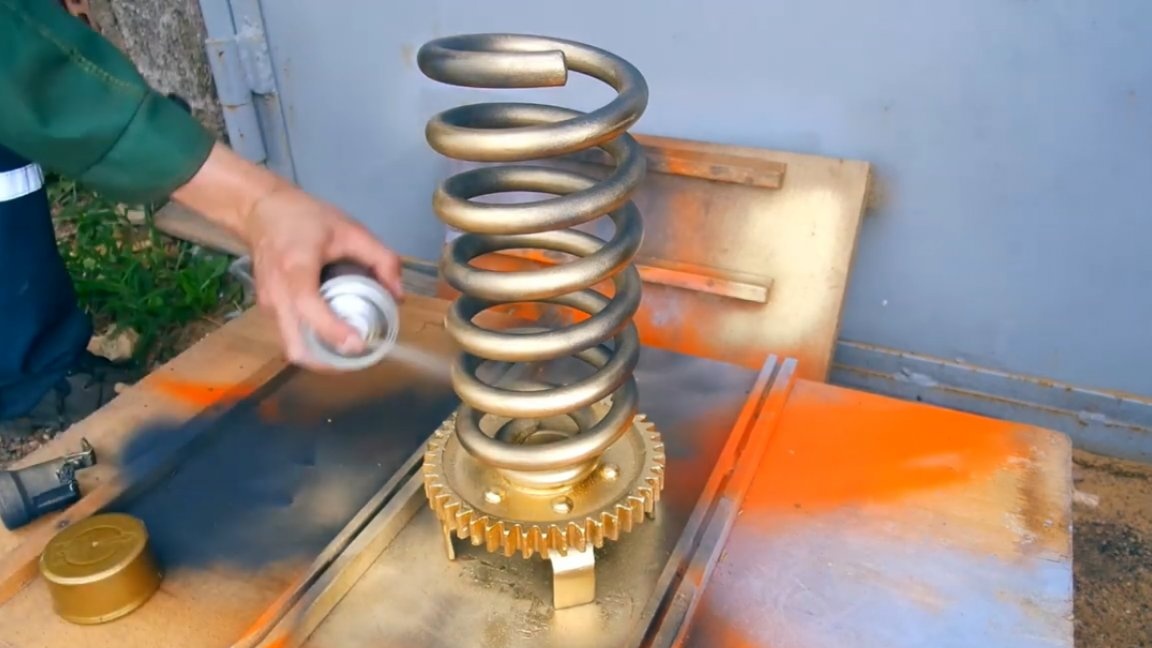
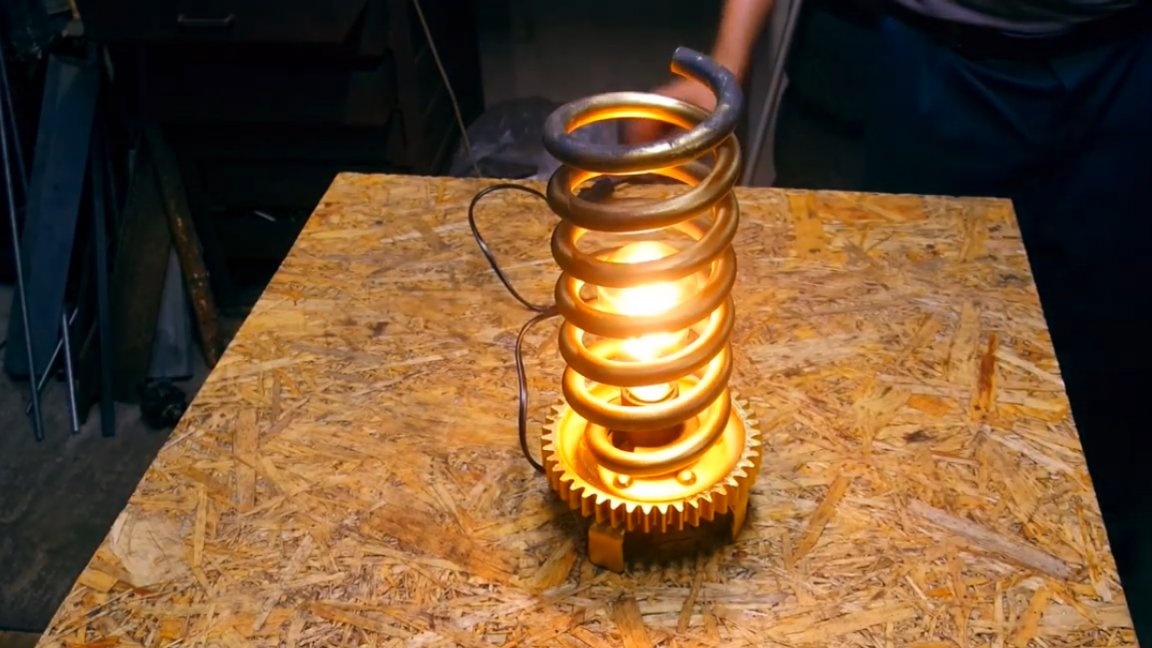
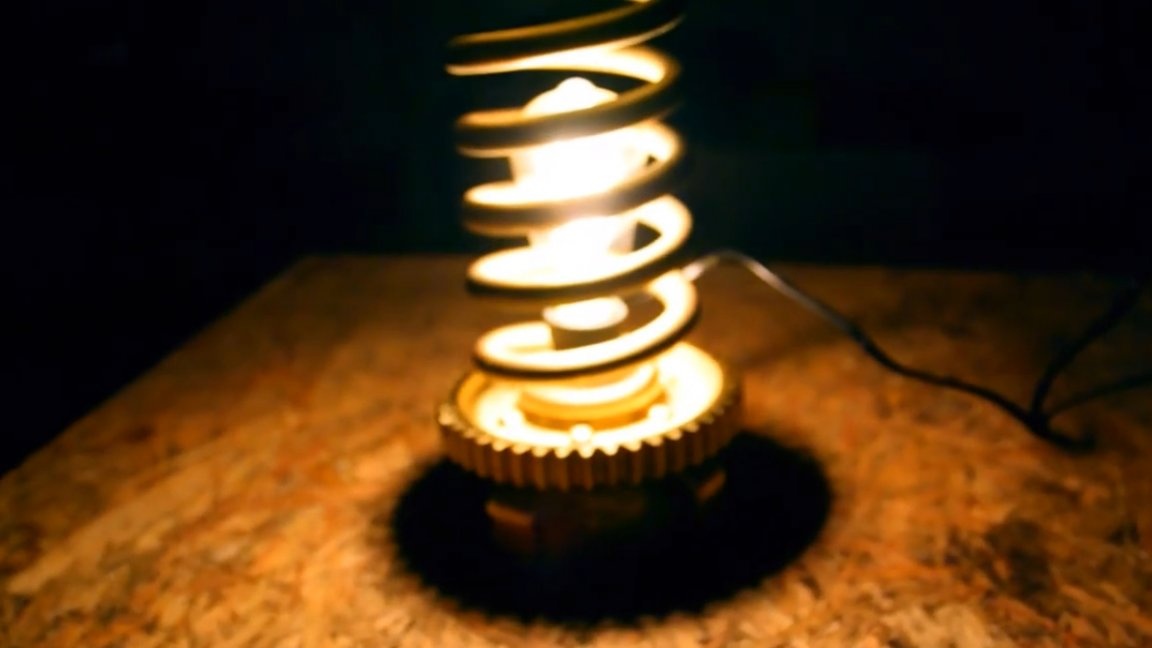
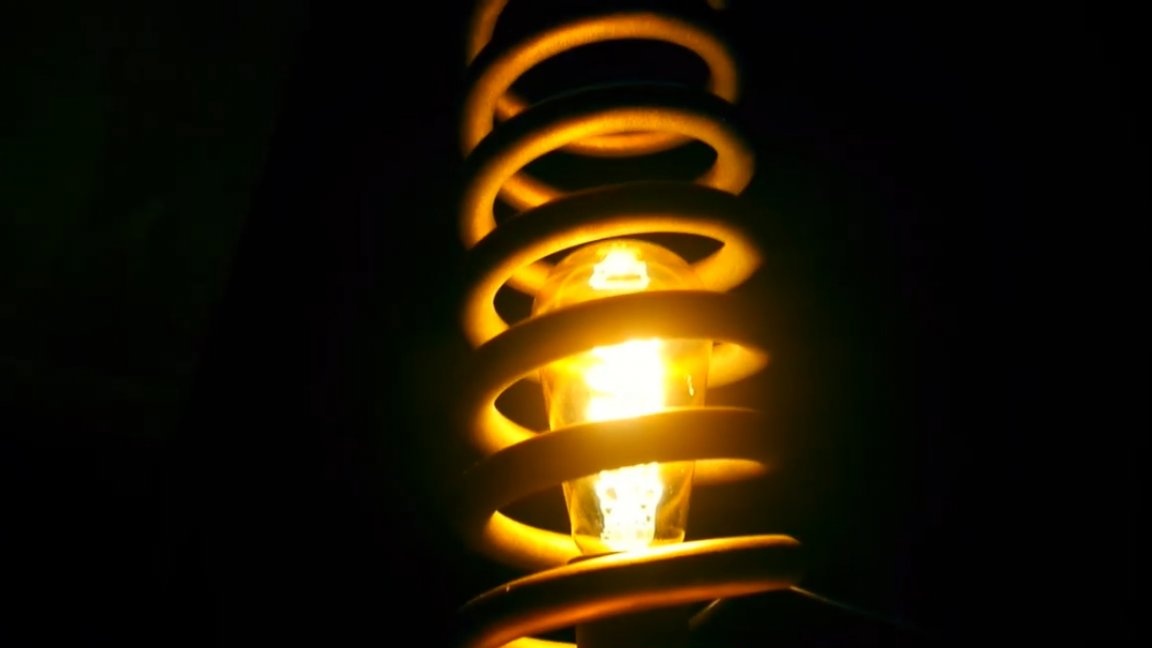
As a result of the work done, a very good result was obtained. Next, you need to do the electrical part of the future lamp. To do this, the author bought a finished wire with a switch, which just needs to be connected to the cartridge and mounted on our future craft lamp.


That's all, the lamp is ready.
Thank you for attention. See you soon!
Author's video: