
Sometimes I remember the times when I wanted to make a printed circuit board, but I didn’t have a laser printer. At first, I turned to a friend who made boards well using the LUT method. But then I decided to figure out how to make them, having an inkjet printer. And since then I have been making boards only with a photoresist. Today we will consider in detail the features of this technology.
To make a printed circuit board using negative photoresist, we need
• Photoresist (I have ALPHA ORDYL 350)
• Foiled fiberglass (I have double-sided)
• Soda ash (for development)
• Degreaser (I have a normal household soap)
• Transparent film (I have for CACTUS CS-FA415050 inkjet printers)
• UV lamp (I have LH26-3U / BLB / E27)
• Office paper clips
• Fine sandpaper
• Medical gloves
• Small tweezers (it is convenient for them to separate the films from the photoresist)
• Plastic card for ironing
• Clothespins
• lamp holder
• 2 glasses for pressing the drawing to the board (preferably thick)
• Capacity for development
• Soda ash
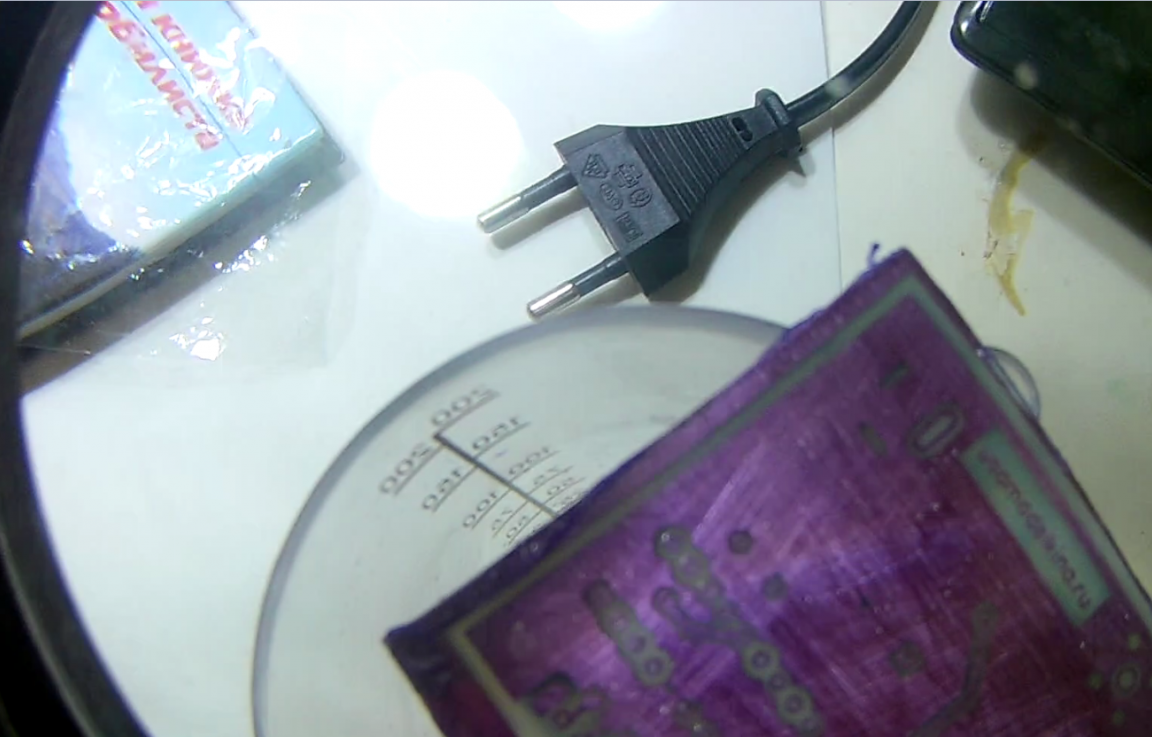
In this article, my motherboard from a frequency counter will serve as an example.
And so let's get started.
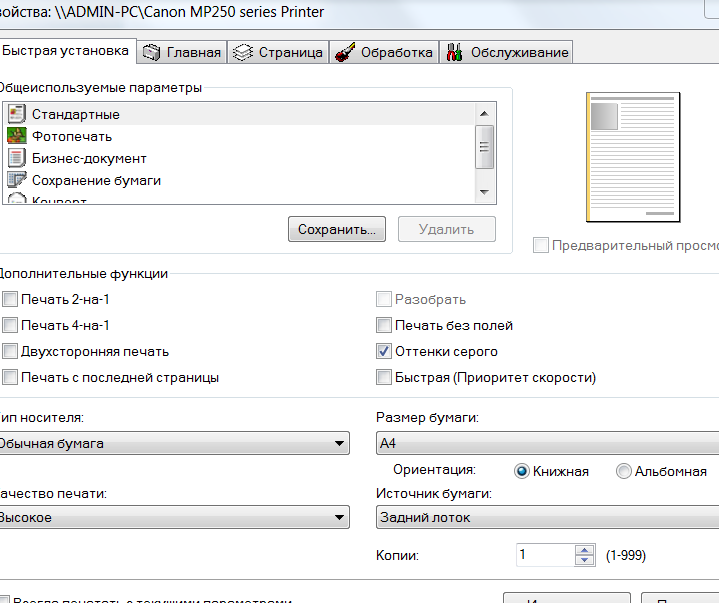
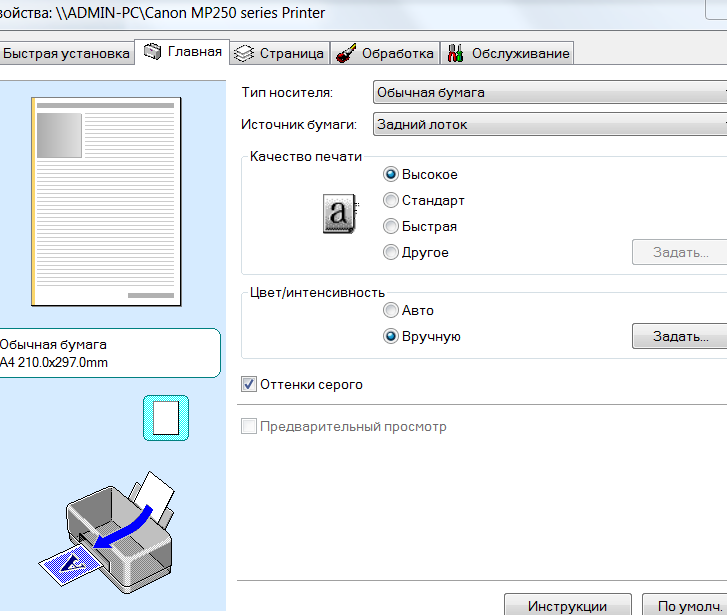
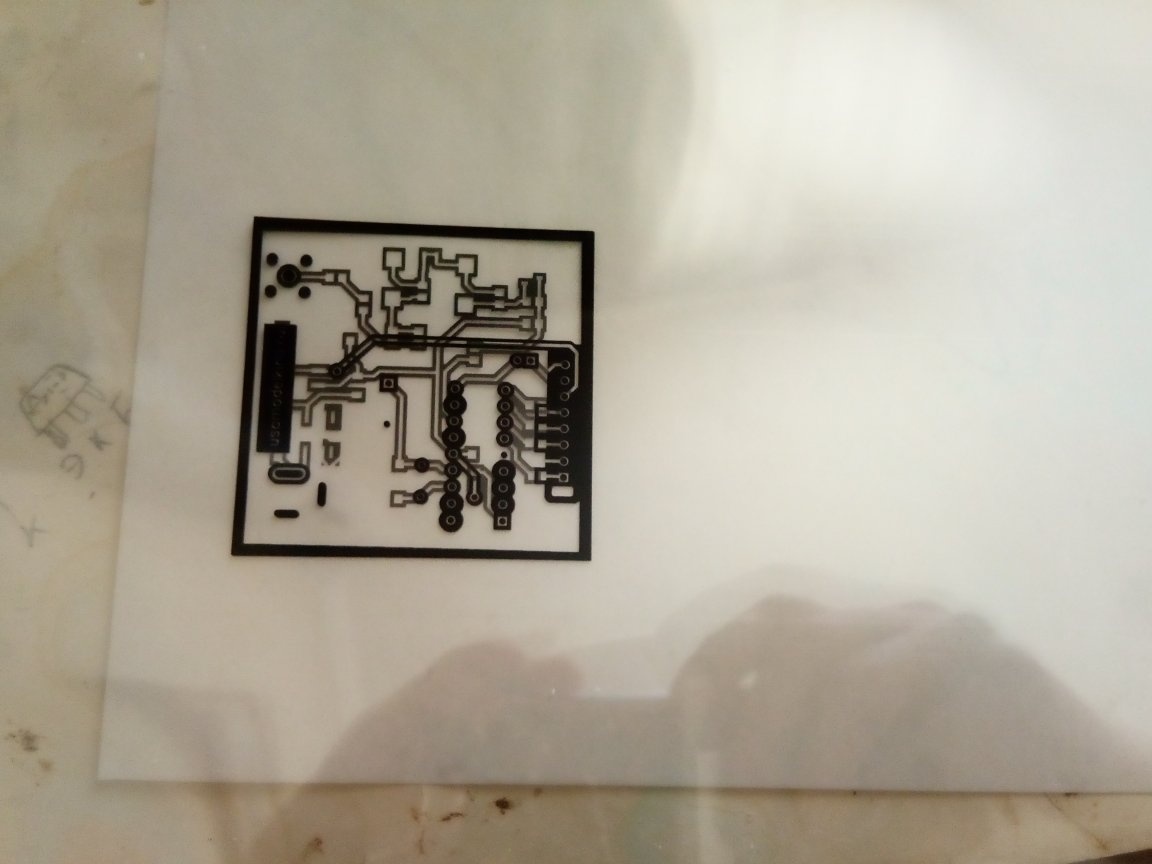
First you need to print the photo mask correctly. Since we print with an inkjet printer, we print 2 copies of the etching pattern on one side of the board. This is necessary so that the black part of the picture is completely opaque. If done with a laser printer, you can print one template and hold for 5-10 minutes over acetone vapor (verified).
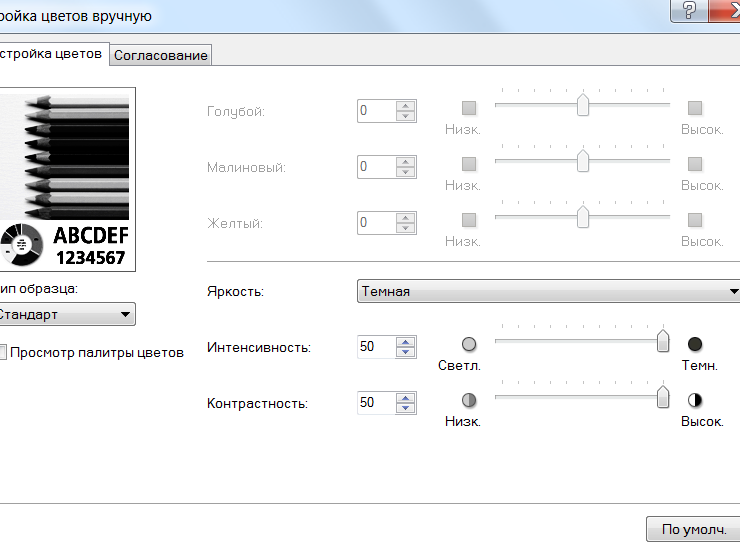
I would like to note that in diptrace we display the top layer mirrored and in negative, while setting the printer to high quality print, high contrast and color saturation. It is worth noting that the template is pressed with the ink side to the foil.
Next, we combine the two drawings so that they completely coincide with each other (I did this with the help of stationery clips and paper clips).
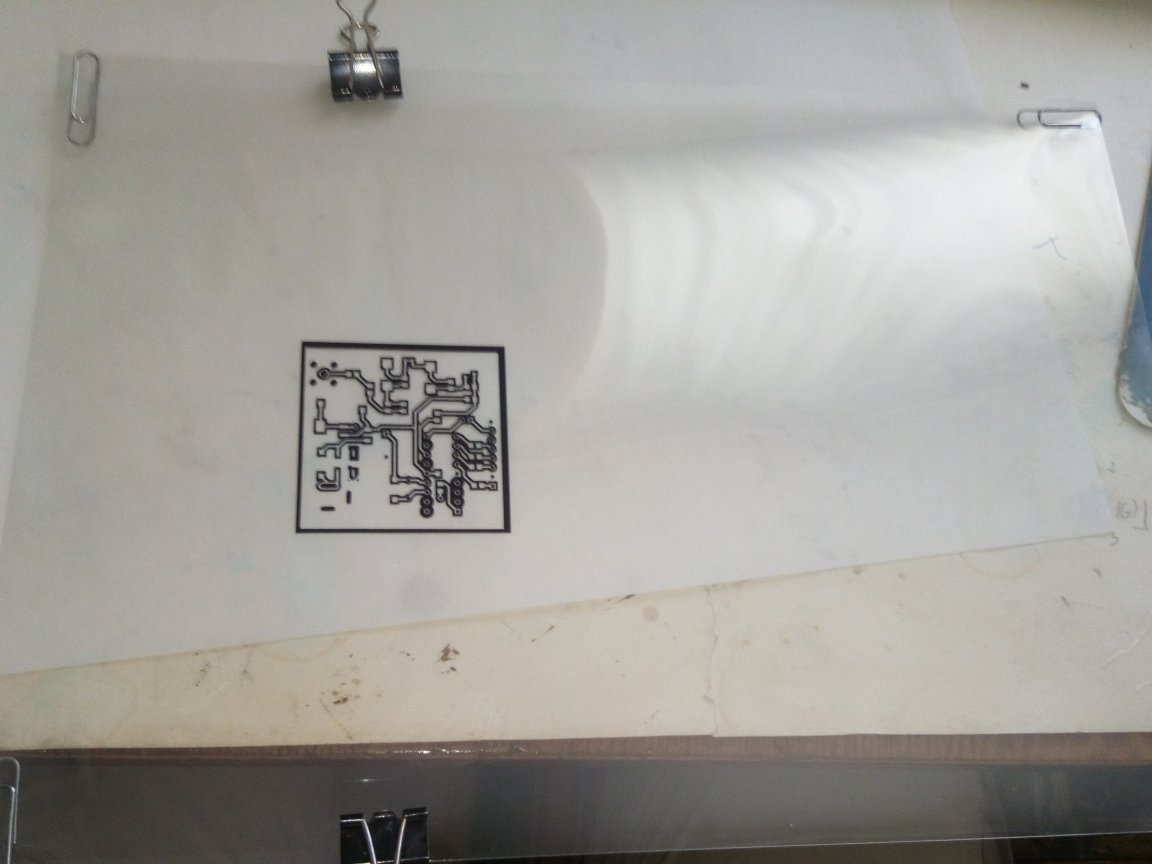
I note that I first clamped the clothespins, then hung four staples at the edges, and only then removed the clips. This was done so that the material connecting the 2 films does not interfere with the glass mask being pressed tightly against the printed circuit board.

So now we proceed to the preparation of fiberglass.
First of all, you need to thoroughly sand the future board on both sides with light sandpaper. So we get rid of unwanted oxides and give the surface a rough look, so that the photoresist will better stick on the foil.Then we lather it and rinse it under running water (this and other processes associated with touching my hands with the workpiece, I do in medical non-sterile gloves).
So now we take our photoresist and cut off pieces from it to the size of our board (a little more can be). Then the most interesting. I used to iron it, and despite the fact that the Nylon mode was on my iron and stroked quickly, either bubbles or a photoresist were partially broken at the stages of development and etching, which negatively affected the quality of the board. And then I decided to go the other way. The photoresist must be glued to a heated surface, so I heat the board with a blow dryer on both sides. Then, while it is still hot (degrees 35-45), gradually remove the matte film (not to be confused with the glossy one!) And gently glue it on the foil with a plastic card. We also act on the other side.
Then I clamped the board between the pages of the notebook, crushed the weight. From experience, I can say that after 1 hour 10 minutes (for about the first time I kept it under pressure) the photoresist held on tight and went through the development and etching procedures well, heated to 60 degrees Celsius. This time (since I left on business), he spent 4 hours in this state.
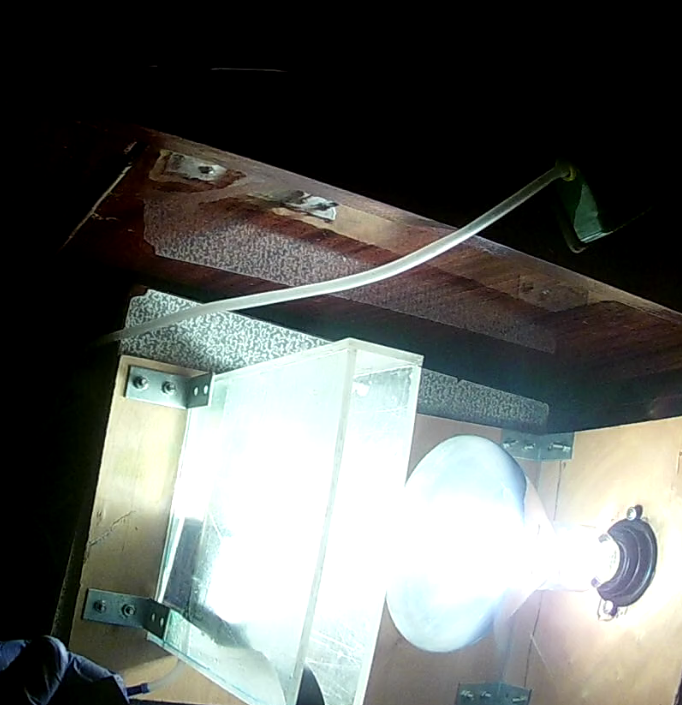
Now we are fencing a small installation of two stools, thick and thin glasses, a lamp holder and a photomask with a board between the layers. It is worth noting that the ingress of dust and dirt between the photomask and the board is undesirable especially if you make thin tracks.
Highlight the top layer
Also lower, only put the lamp under the stools. It is advisable to use the same glasses, although in my case they are different. Thick is scratched, and thin is more transparent. I illuminate both sides for 3 minutes and 30 seconds, after which I let the board lie in a dark place (between the pages of the same book) for about 7-8 minutes (more can be done, but not necessary).
Before developing the board in a 0.8-1.2% solution of soda ash (I measured it by eye), do not forget to remove the glossy protective film (it is then removed a little more difficult). Well, then we just wait for a while. If you want faster (like me), pick up a brush (or a toothbrush only without fanaticism ) and drive along the upper and lower layers of the board. This process took me about 20 minutes. After development, it is worth making the tester a continuity: put the probes in places where bare copper should be, and if the tester kicks with a light touch (without strong punching), it means that we completely showed an unlit photoresist.
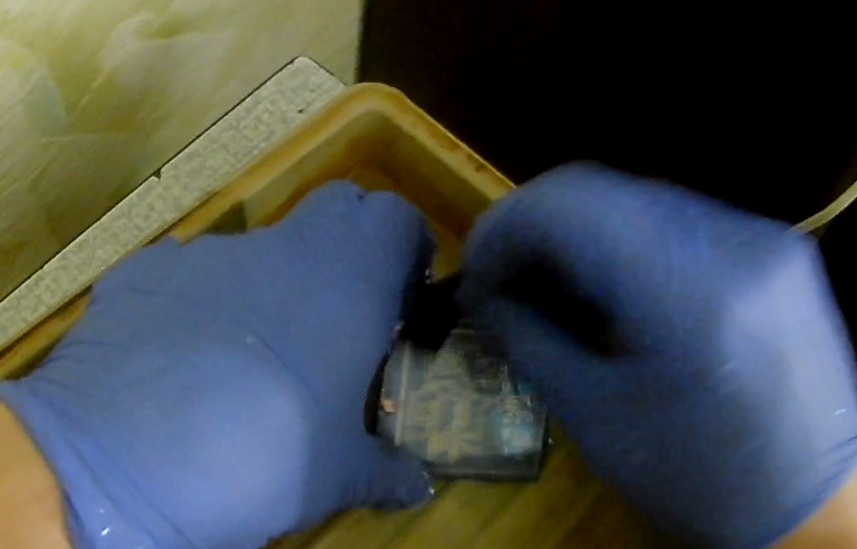
Well, everyone chooses the pickling solution to their taste. I used to make boards in a 1: 3 solution of ferric chloride. But due to indelible brown spots on clothes, he decided to switch to citric acid with hydrogen peroxide. Somewhere on the Internet I found this proportion of substances: per 100 ml of 3% peroxide, 30 g of citric acid and 5 g of salt. The tip of the board was glued to the electrical tape so that you could get it out of the etching solution.
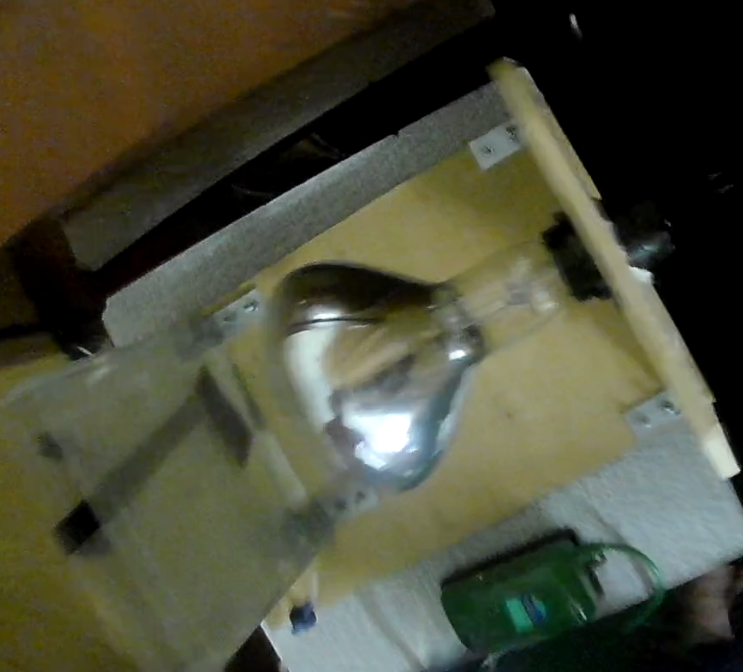
Thanks to the use of such a setup, the etching time did not exceed 30 minutes (to be more precise, about 20 minutes). If the solution is first heated with a lamp to 50-60 degrees (it should not be higher, otherwise the solution will foam very much and may leak out of the walls), then the etching process will go even faster.
IMPORTANT! Do not hold your face over a hot solution! Because of this, my eyes pinched!
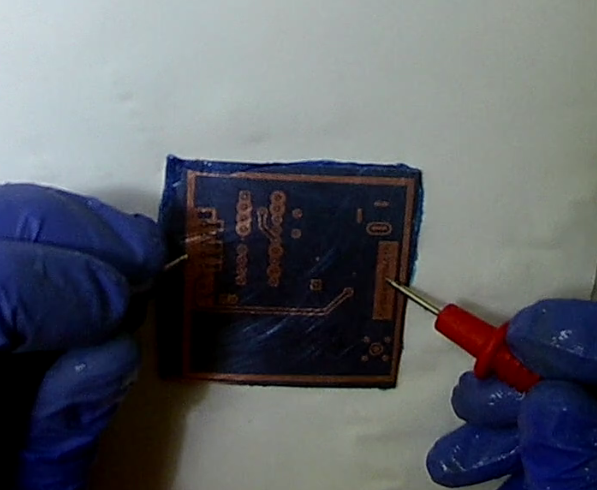
So that’s the result.
Well, then this photoresist is elementarily and quickly removed with a solution of ammonia from a pharmacy or a solution of KROT in a small concentration with water (about 5% can be less). The holes were able to combine quite accurately.