

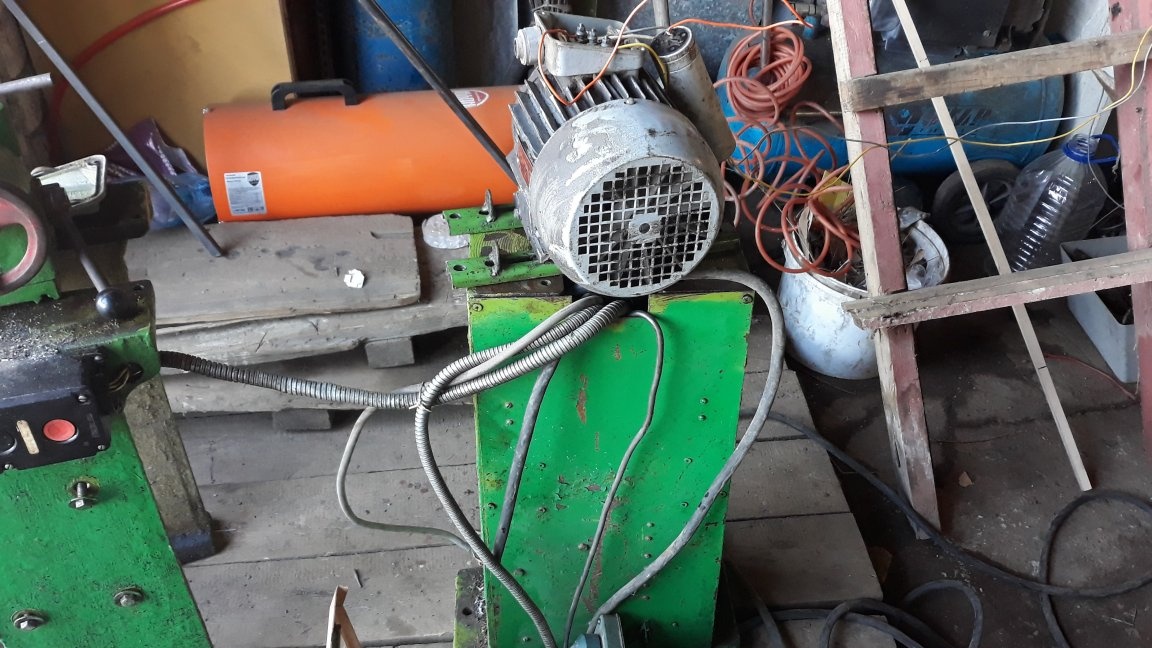
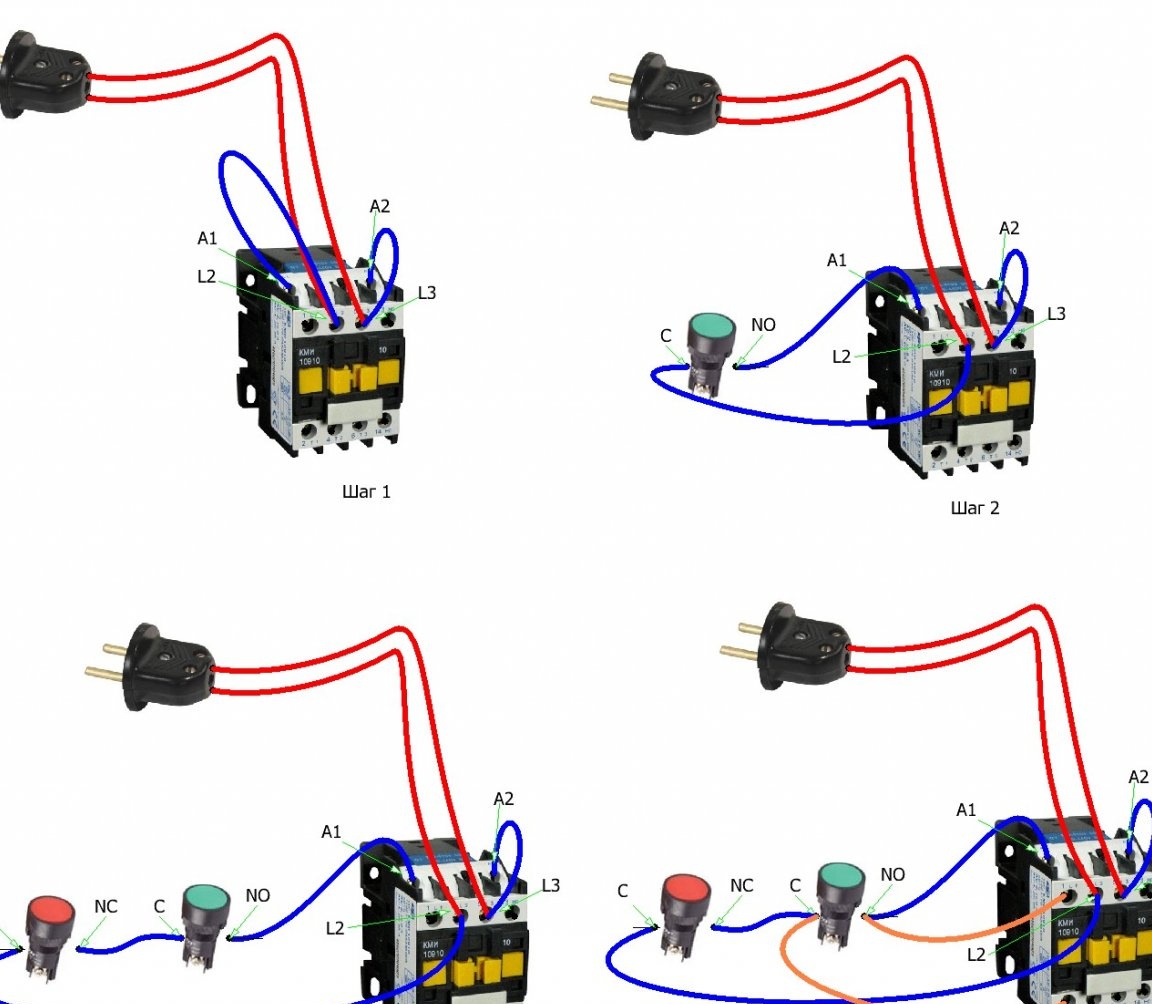
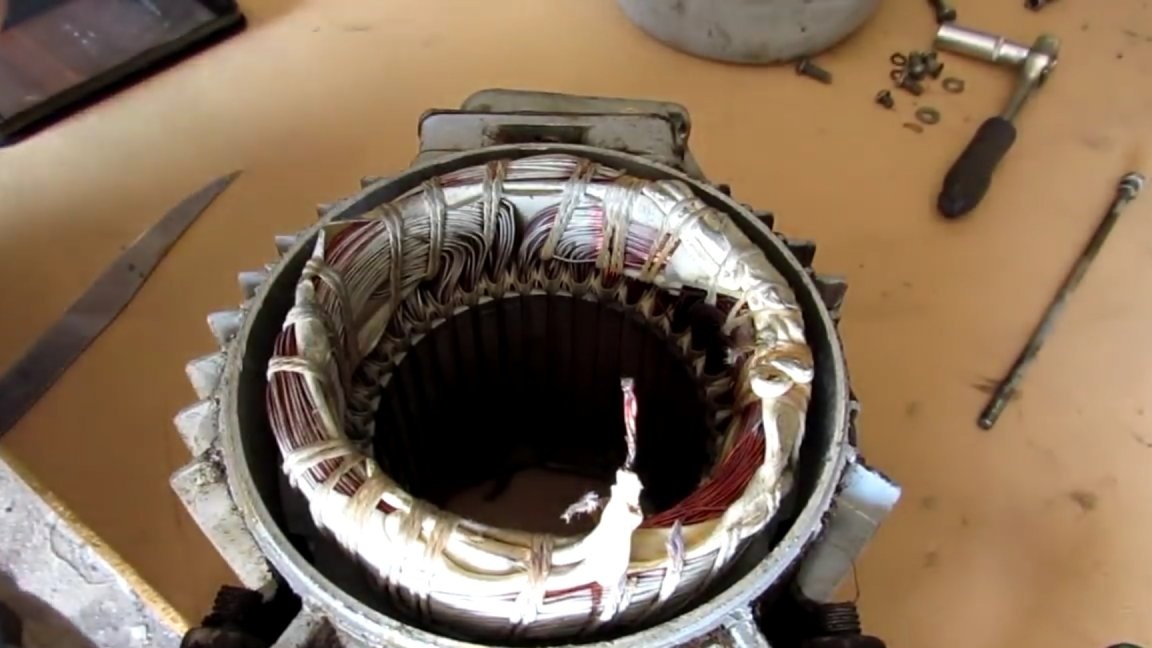
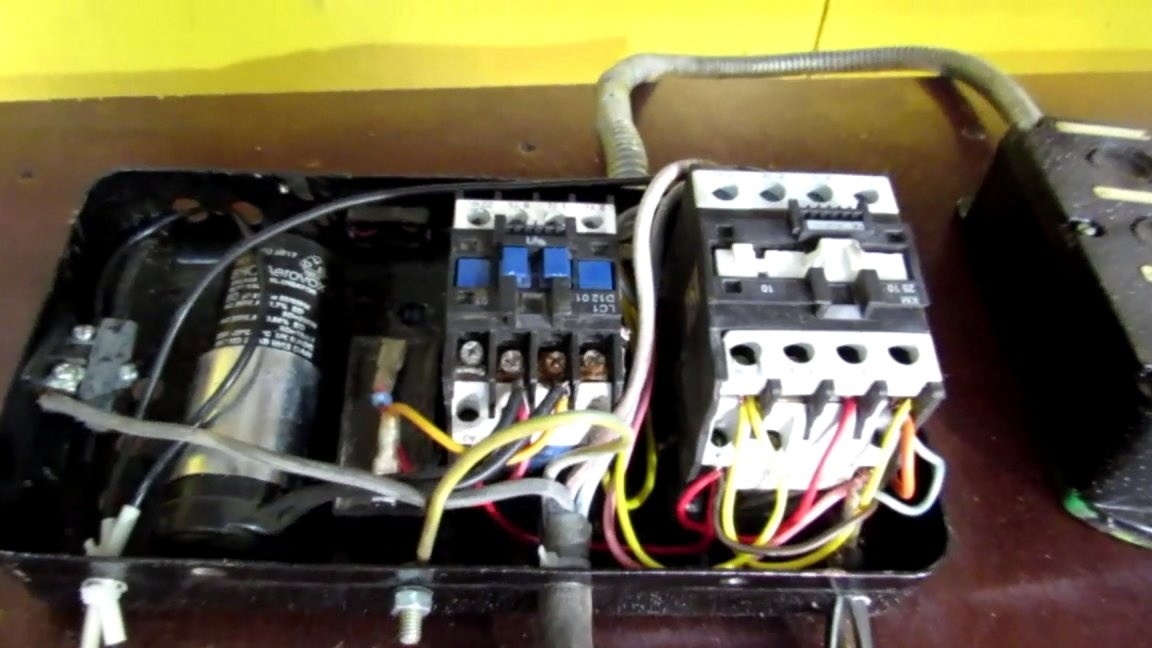
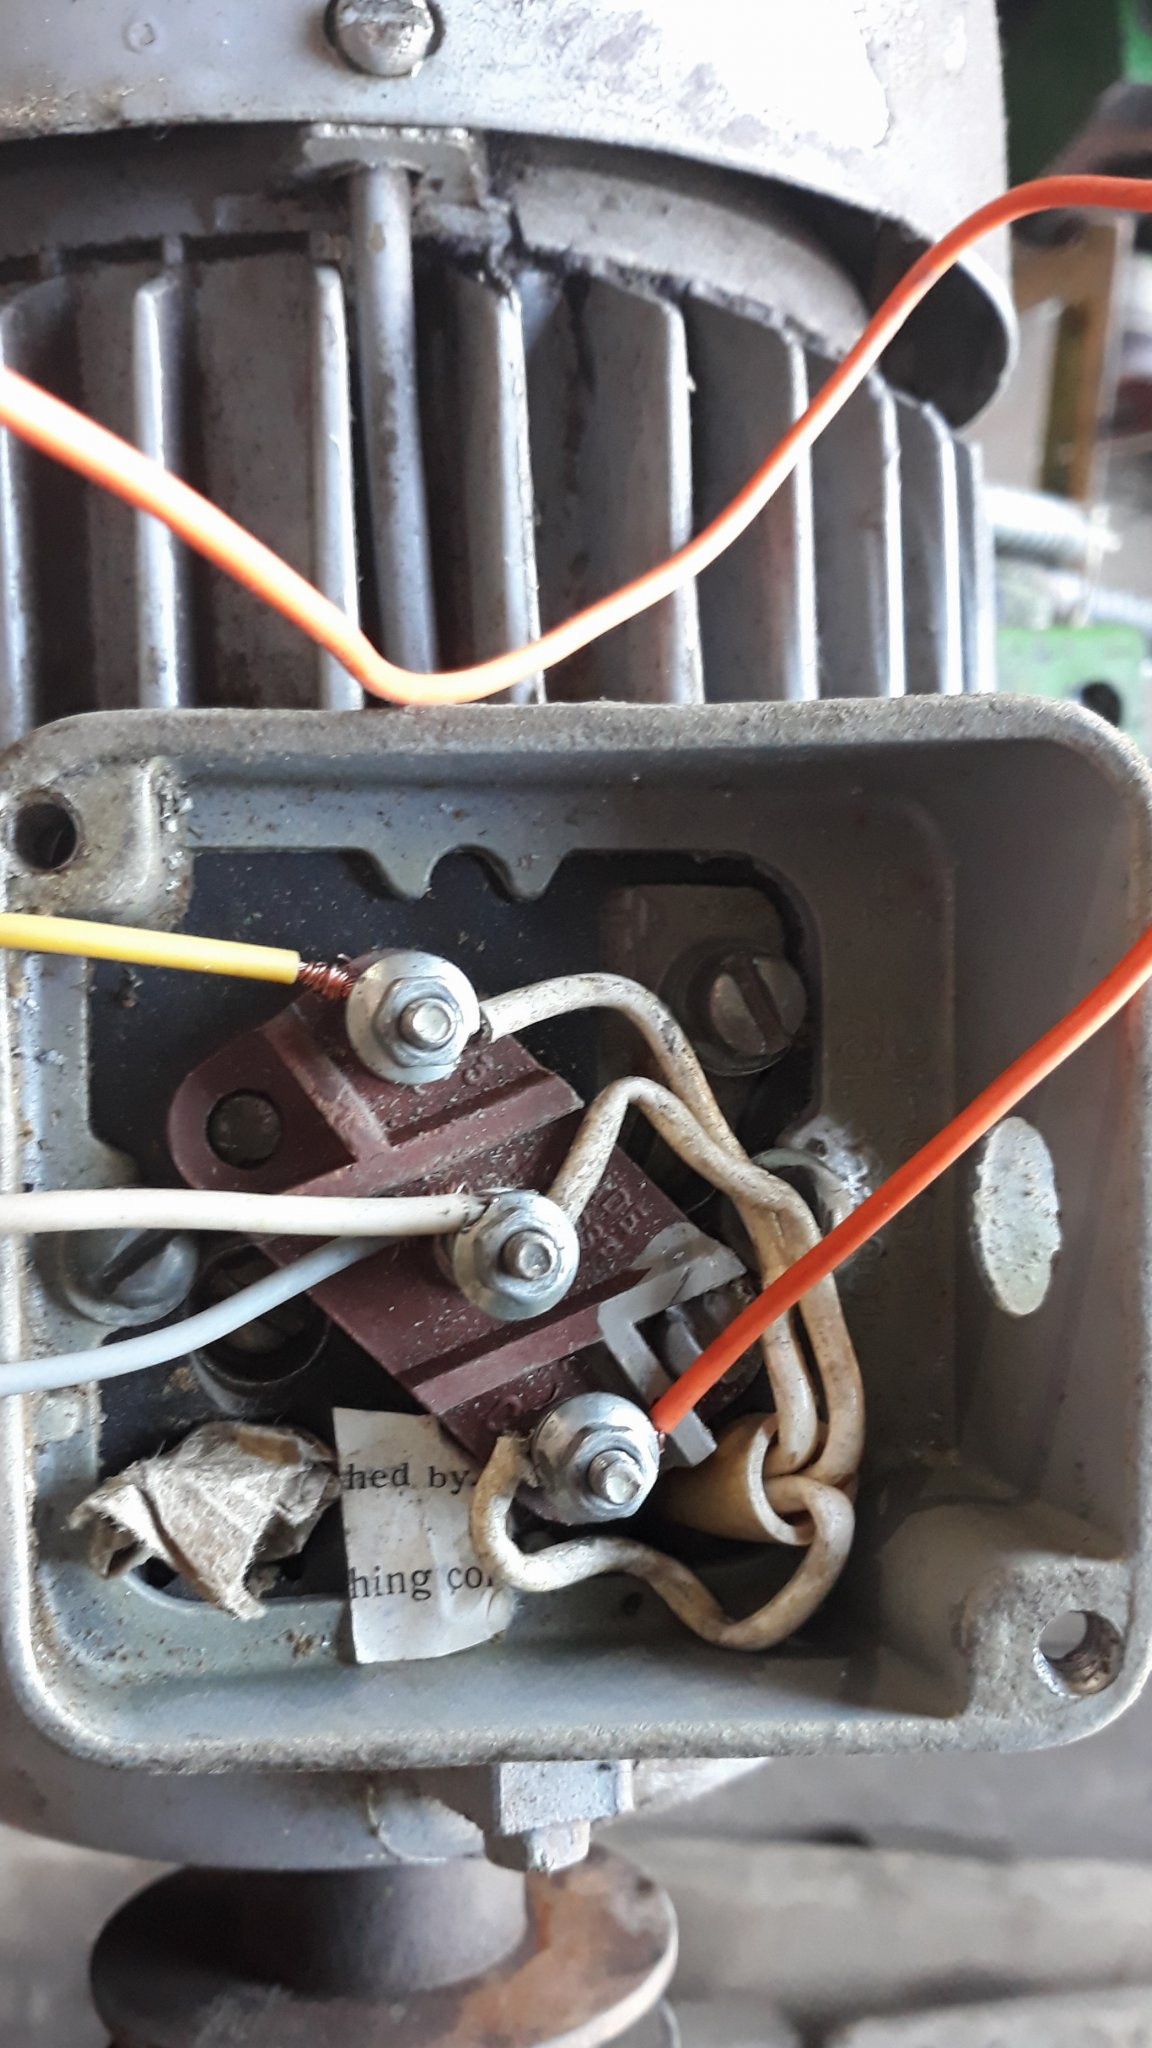
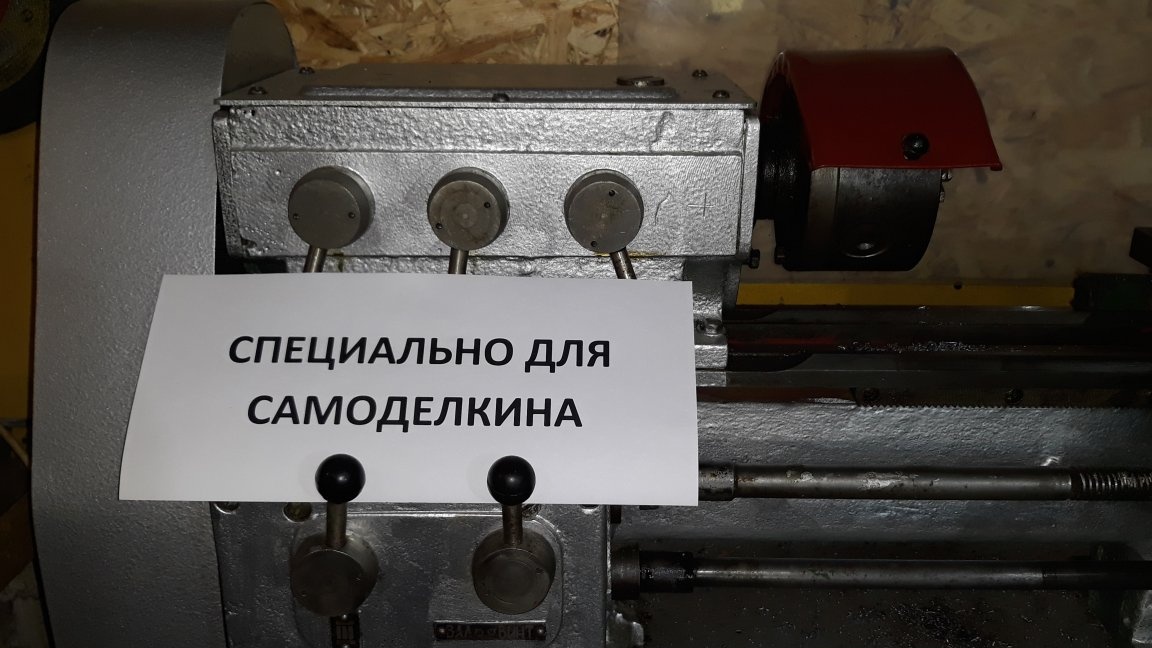
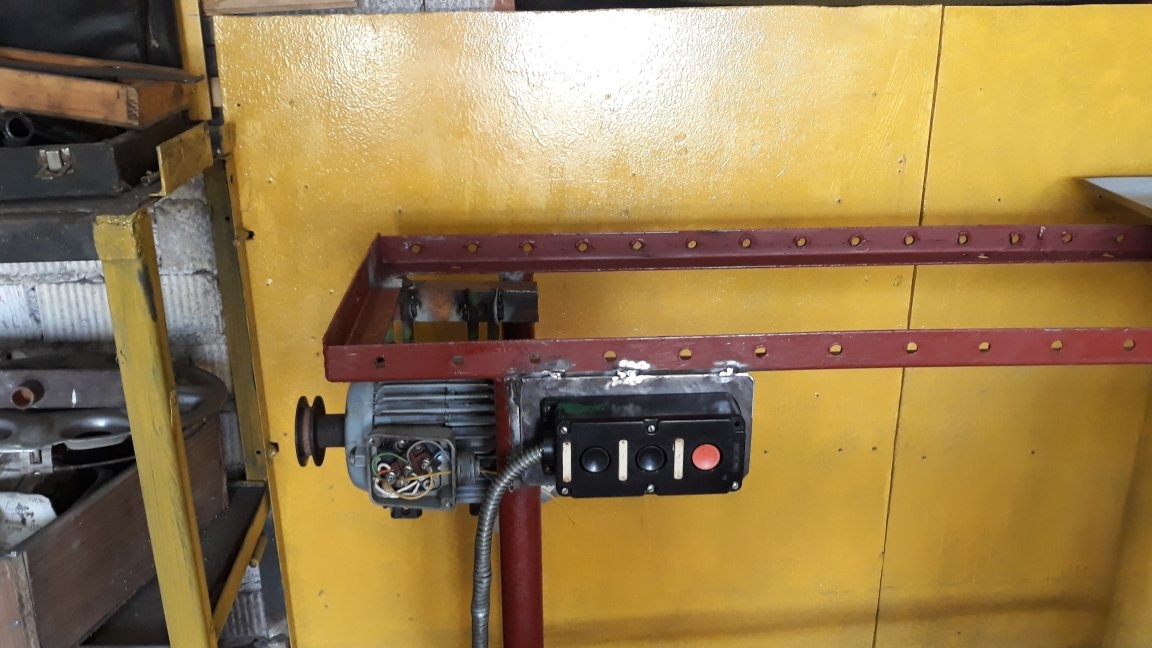
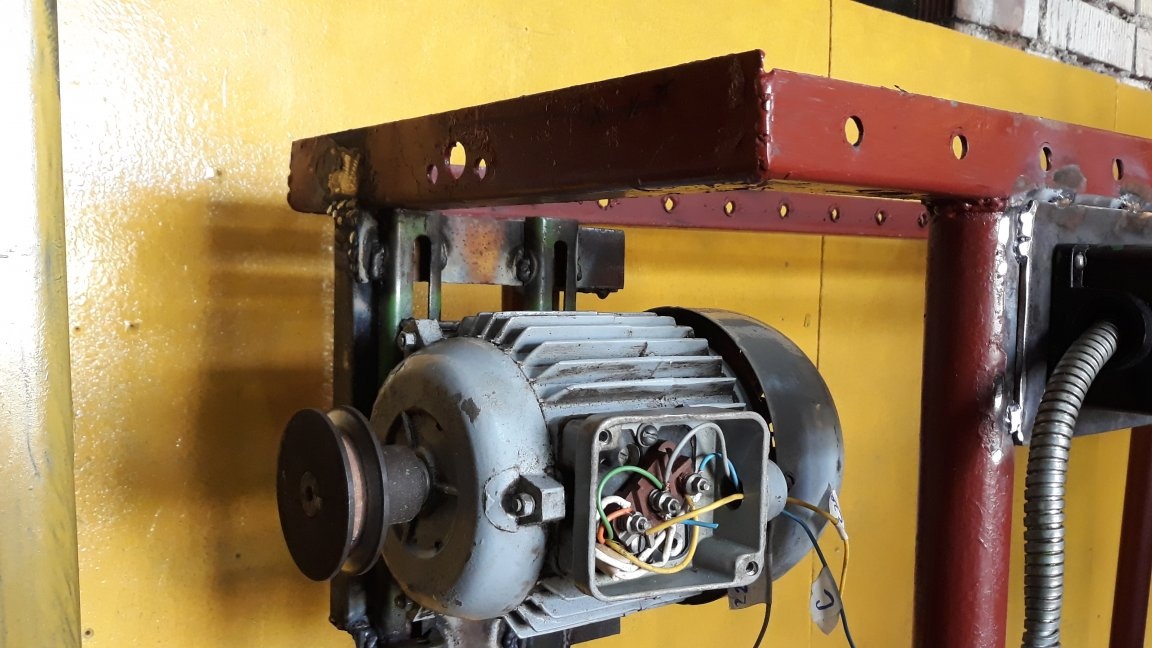
First of all, you need to transfer it to work from a 220 volt network. Having removed the engine and unscrewed the cover, I saw that the windings are connected by a star without the possibility of switching the windings to a triangle. I had to disassemble the motor completely, and unwinding the insulation to find the junction of the windings. I soldered three wires and carefully insulated the joints, brought the ends to the cover. I connected this whole thing with a triangle. The motor will work with starting and working capacitors. The motor turns on with the native button post. There are three buttons on it. Left, right and stop. I do not need a reverse on the machine, so for starting you will need to press and release two buttons. One of them supplies power to the motor, the other connects the starting capacitor. Switching is carried out by starters. To power the motor, after lowering the button, the starter is fixed in the on state and is disabled by breaking the contacts of the stop button. The second starter turns off after lowering the button and disconnects the starting capacitor. There are starter connection schemes on the Internet. You can see how they connect. There is nothing to worry about. Understand. All this stuff was placed in a box from the Soviet stabilizer, which, by the way, fit in size.

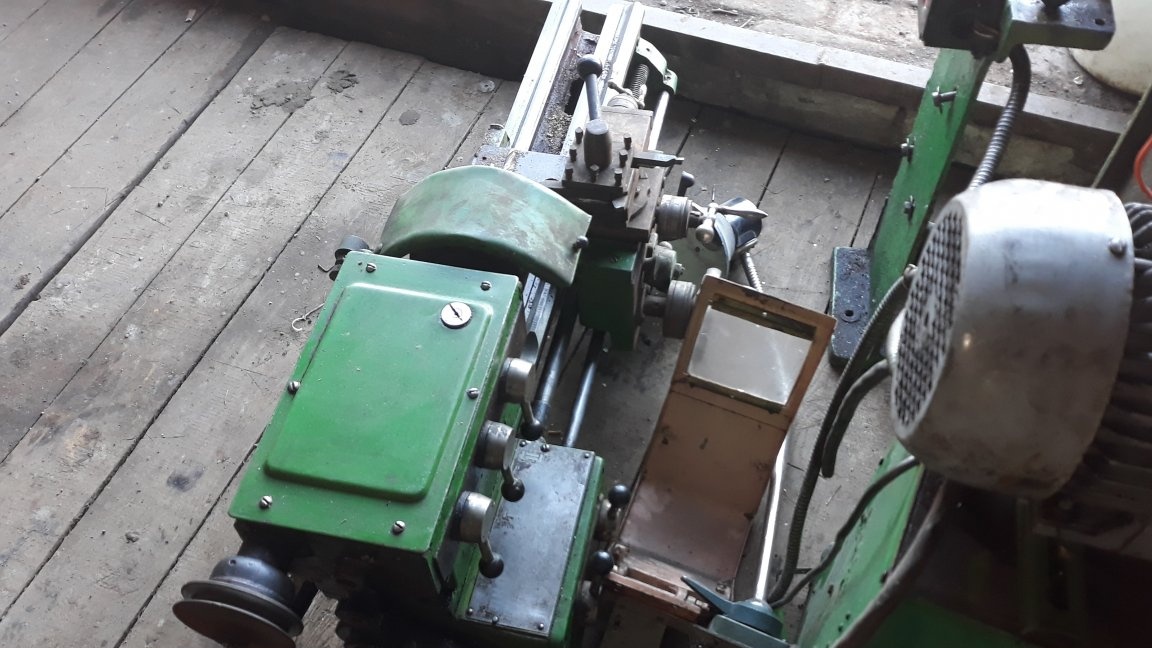
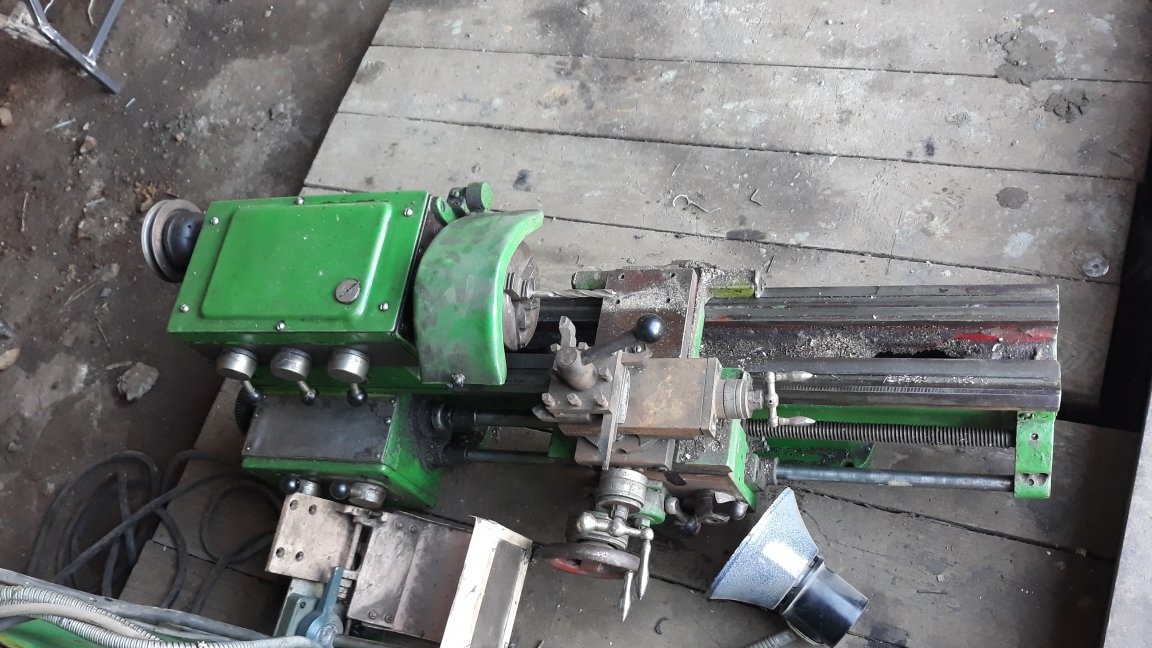
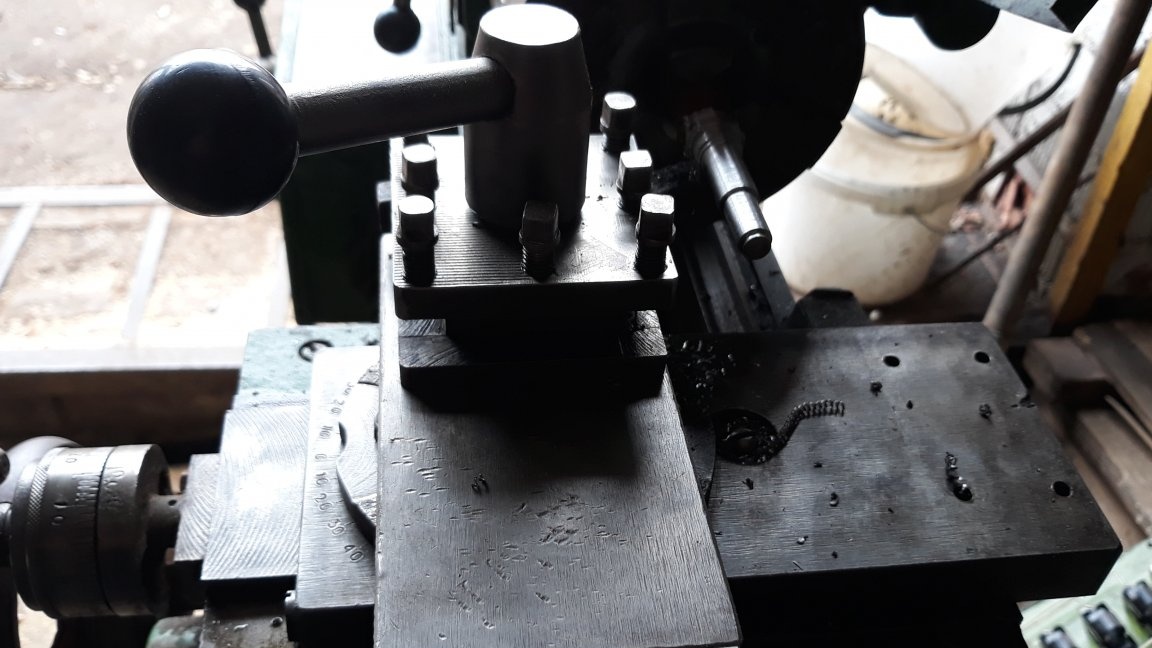
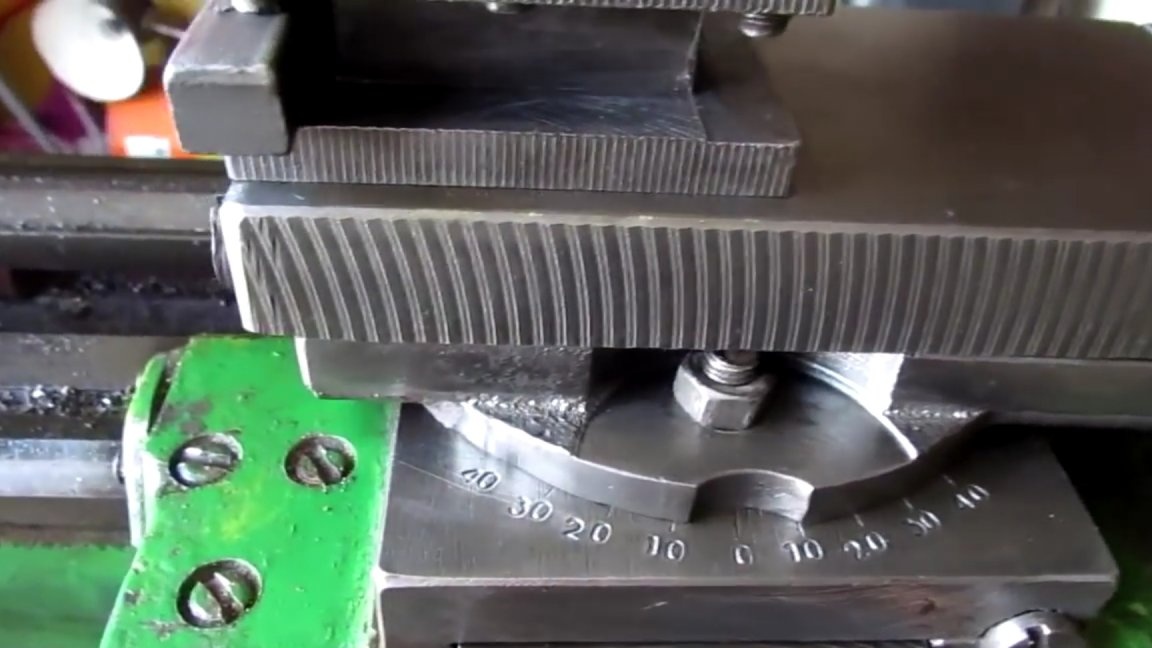
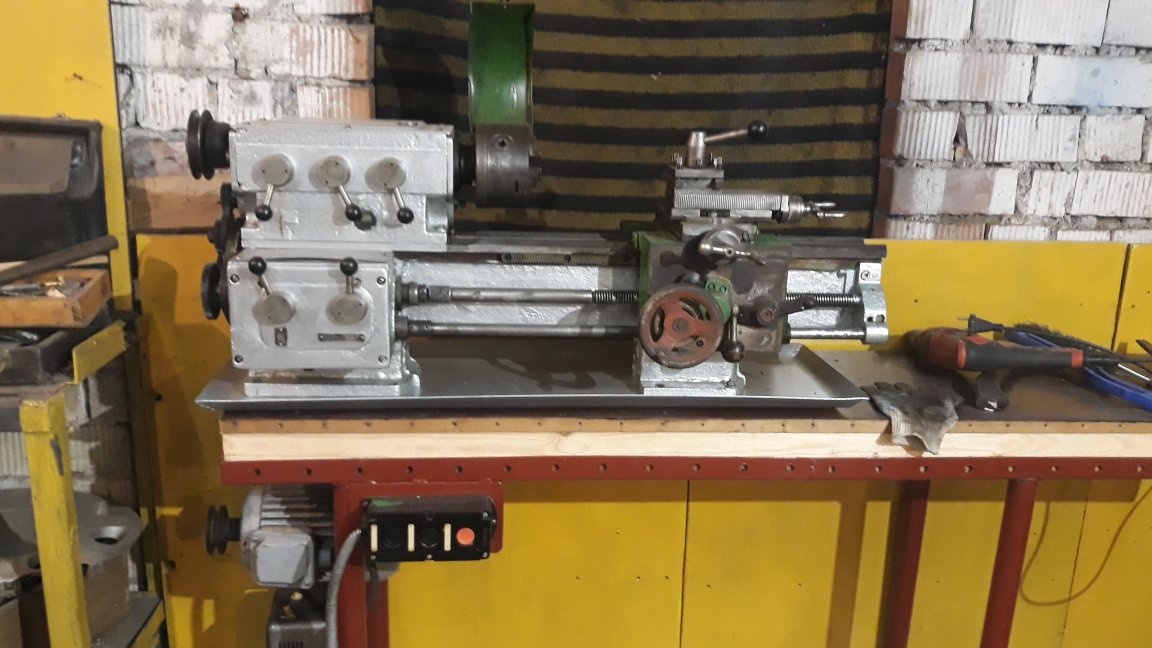
We move on. The machine needs to be serviced. The tool holder and small longitudinal feed were in a slight rust coating. I had to disassemble and clean everything with a soft metal brush. During assembly, everything was adjusted and oiled.
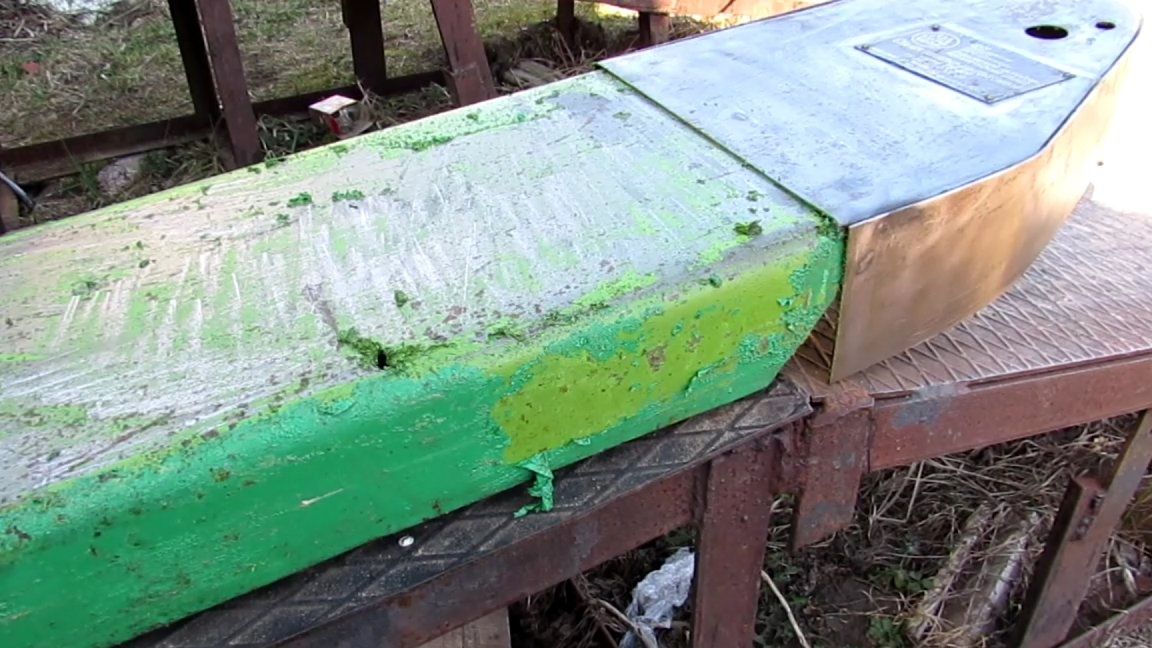
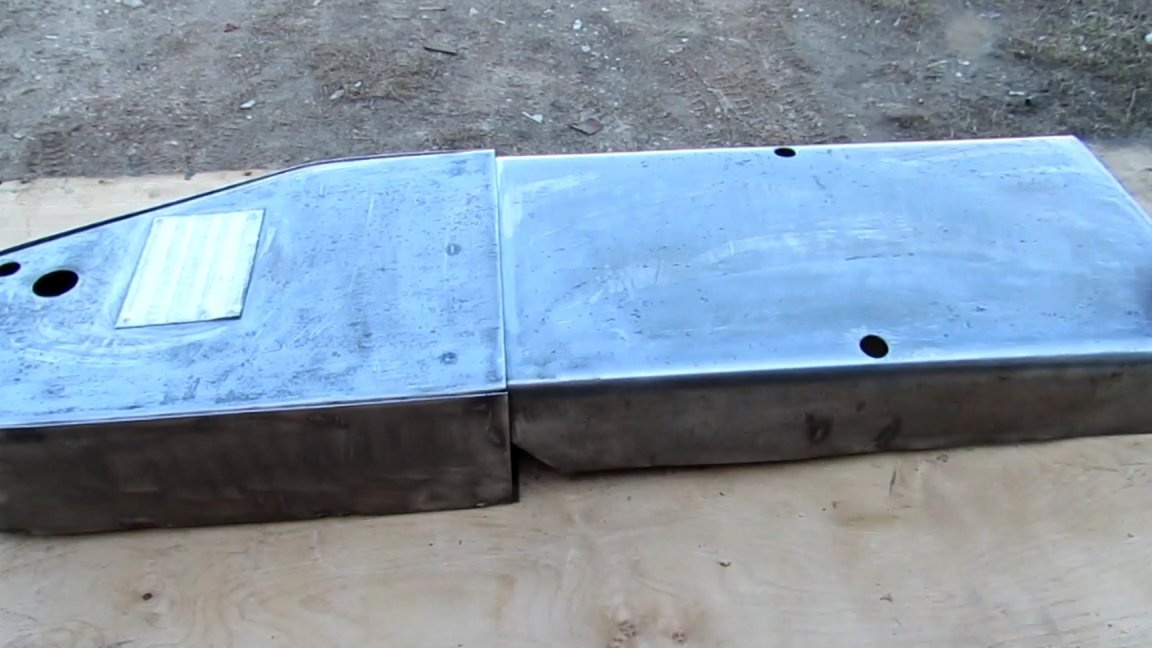
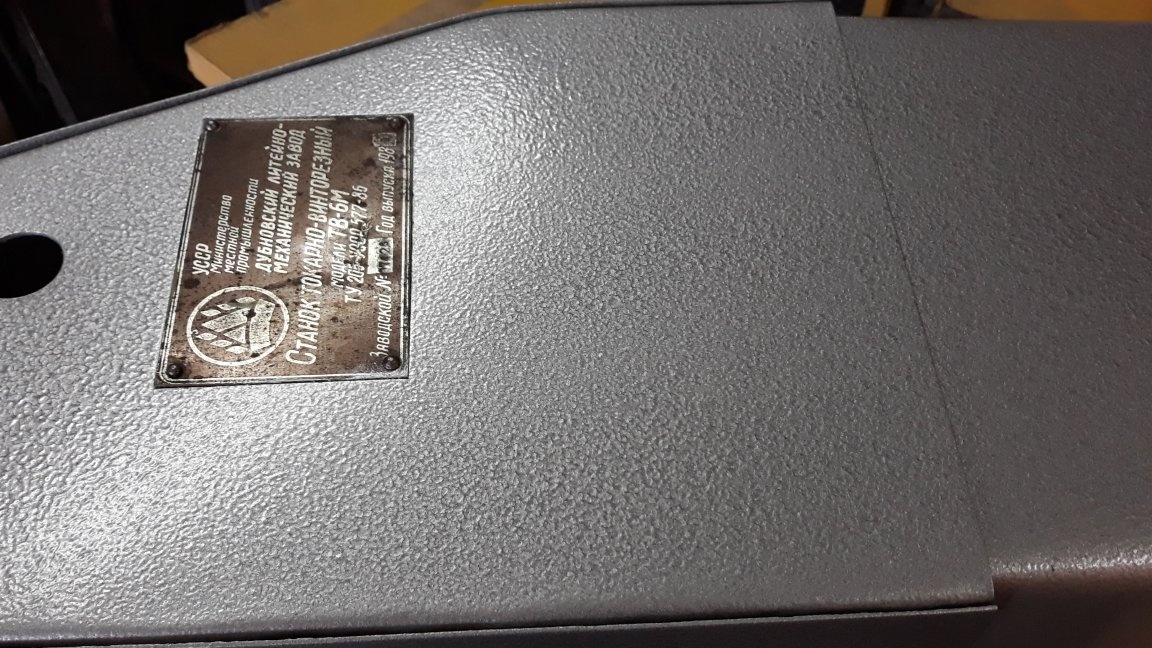
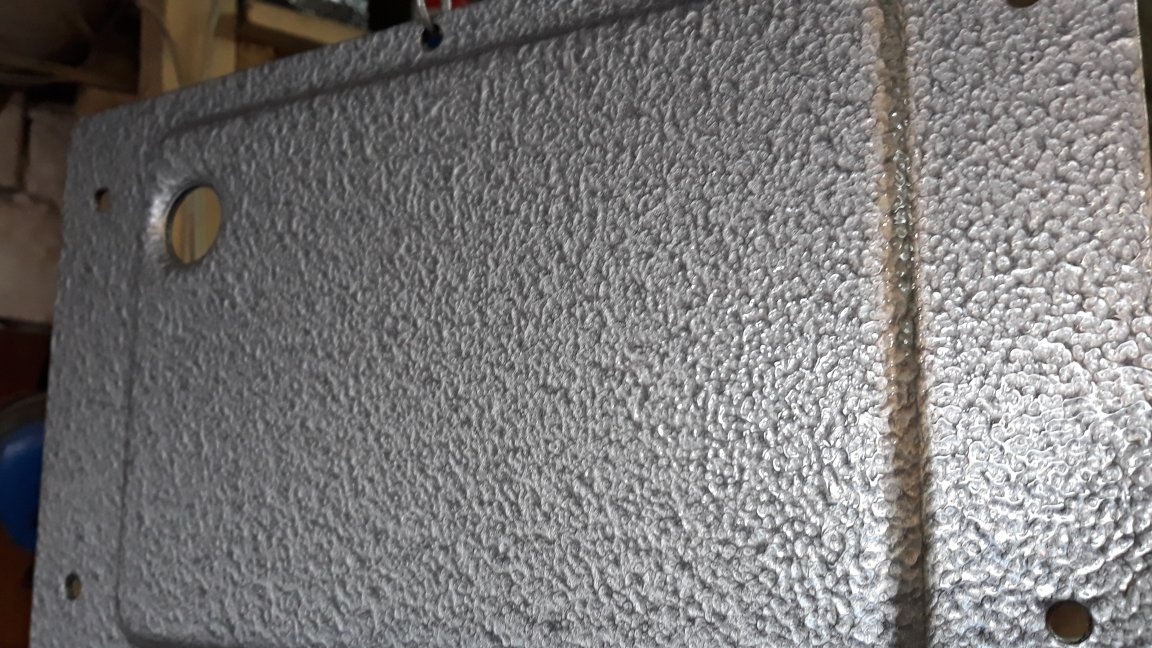
Also decided to paint the pages. A lot of time and effort had to be devoted to removing old paint. We used brushes for grinders, scrapers and a wash for paintwork. I decided to paint with primer-enamel on rust with a hammer effect of silver color. The casing and covers were painted with a spray gun, in difficult places with a small brush.Also, after removing the covers, added oil to lubricate the gearbox and replaced the oil in the gearbox. I also noticed smudges between the gearshift knobs and the body. In the downloaded passport they write that there is a type of stuffing box packing. I will replace it later.
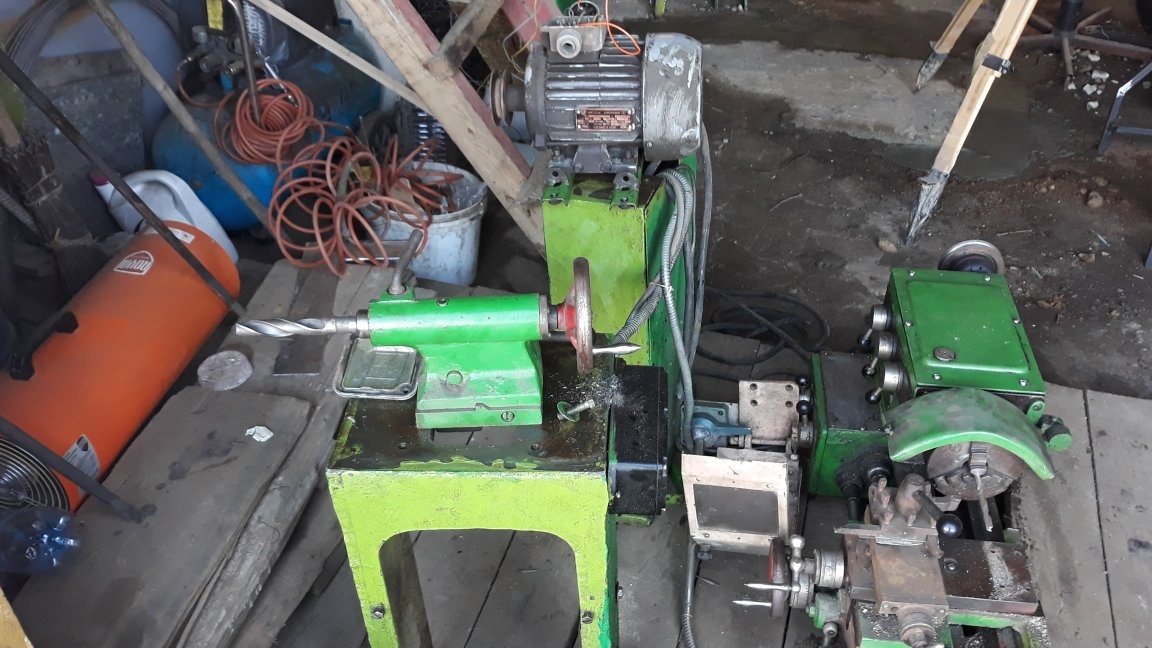
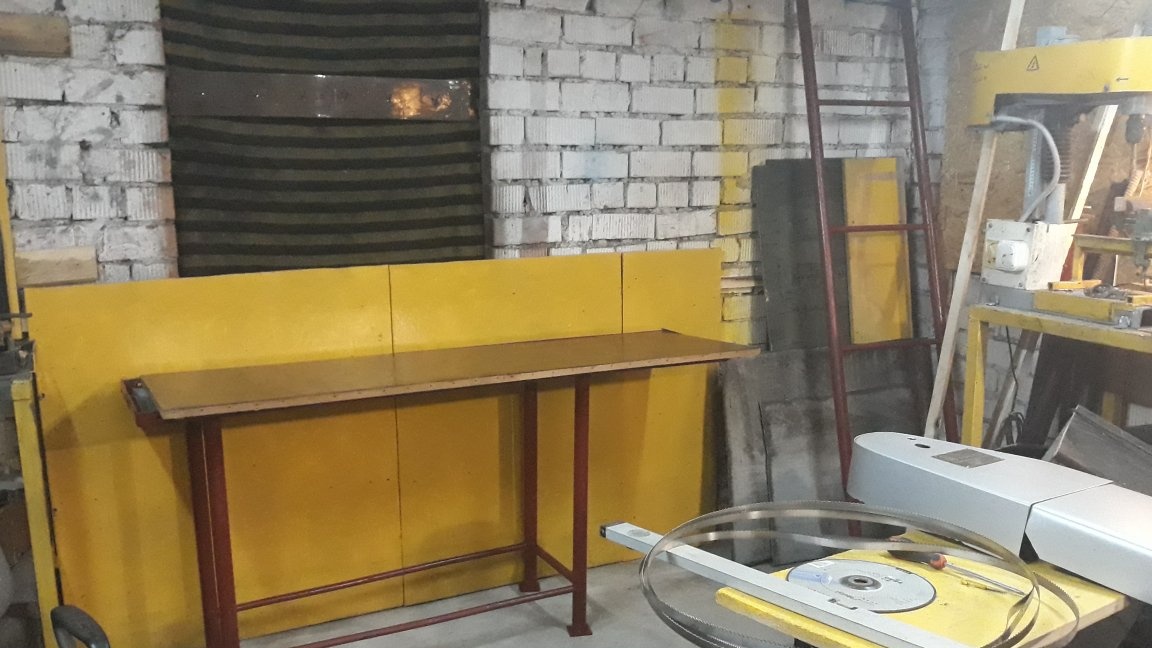
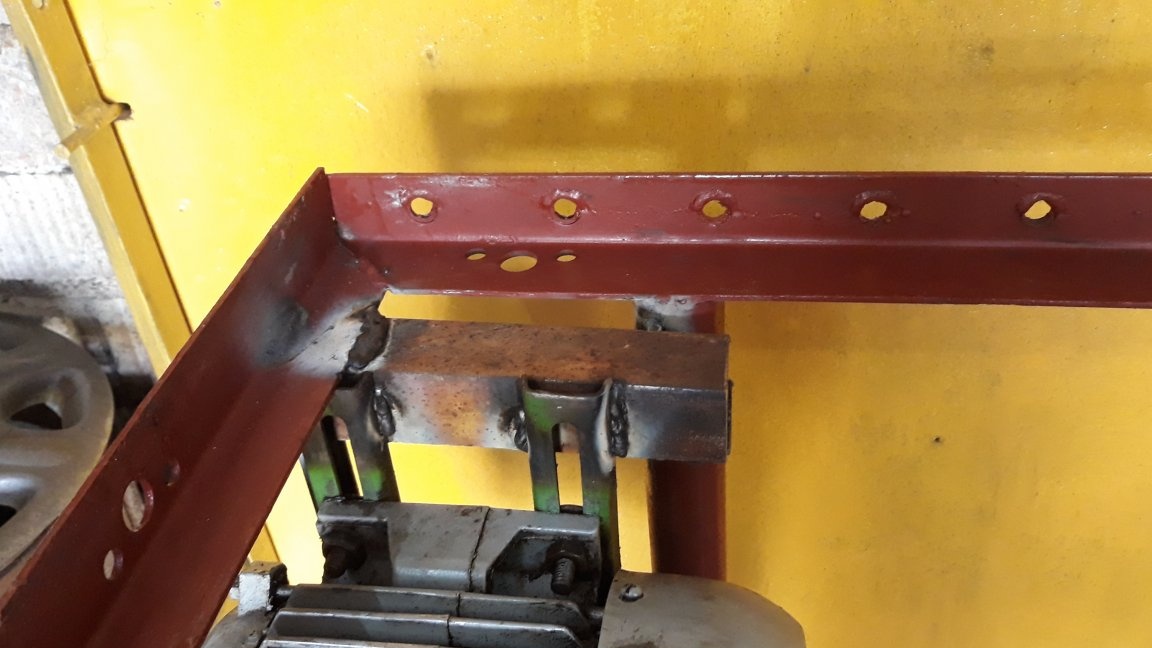
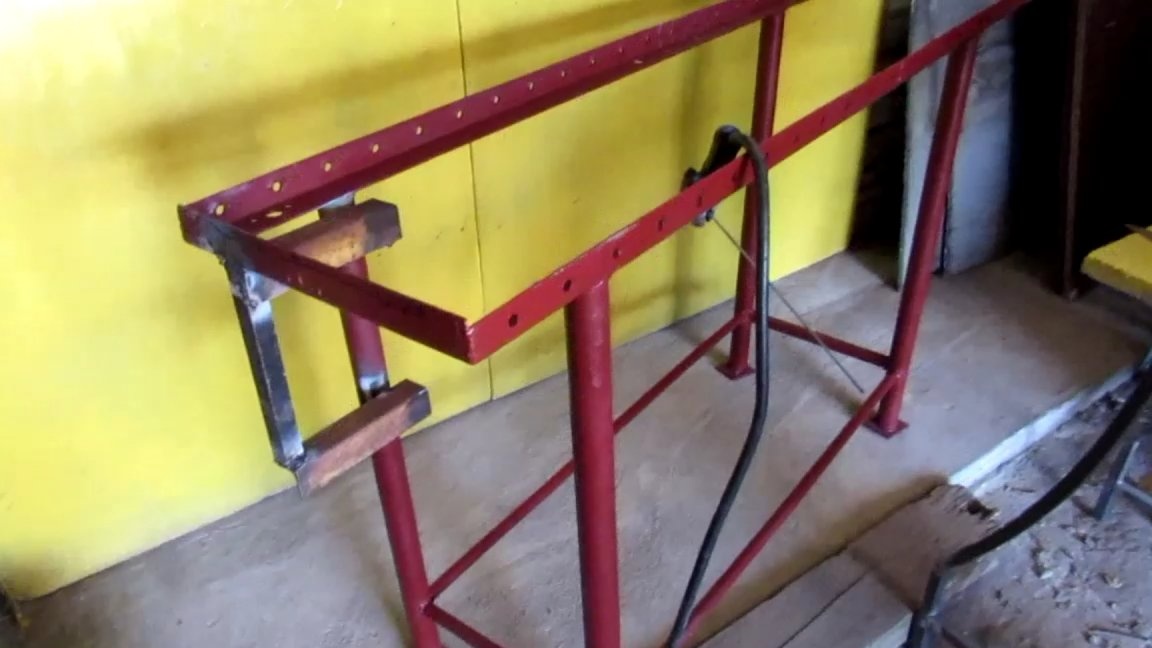
The next stage, the placement of the machine in its rightful place. Since I’m going to fill in the screed, it was decided to fill in a small piece in the place where the machine will stand. Also, I was not satisfied with the native tables on which he stands. They are low, and you have to bend over the machine. This is bad for the back. You can weld coasters under them, but this is not an option. The fact is that they occupy a scarce place. In one curbstone there is a native electrician, and in another motor. You can make shelves between them, but you don’t really put anything in there. Without thinking twice, it was decided to cook the table. The legs of the table are cut from 32 pipes. Top connected 45th corner. Bottom obligated 15th pipe. I used a chipboard sheet as a tabletop. A 5 cm thick timber was laid on it, and a sheet of chipboard was still on top. He generously twisted this whole pie with self-tapping screws and scrolled to the table. Welded motor mount by placing it under the tabletop itself. I had to change the belt to a shorter one. Under the motor is a box with starters and capacitors. Since I had 4 drawers from the old nightstand, it was decided to use them. Sides cut out of plywood. I welded the ears to the table and screwed them. For better gliding, the grooves in the drawers are waxed. On the left side I screwed two shelves. Now here you can place blanks, accessories, cutters and various measuring tools. It is convenient to mark the holes for fastening the machine on a metal pallet for chips. We put it in the right position and drill with a 12 mm drill. I fastened the machine to M10 studs with large washers. The design is reliable, it is tough. On the right side there is still a lot of free space for placing different shelves and drawers. Well, this is later.


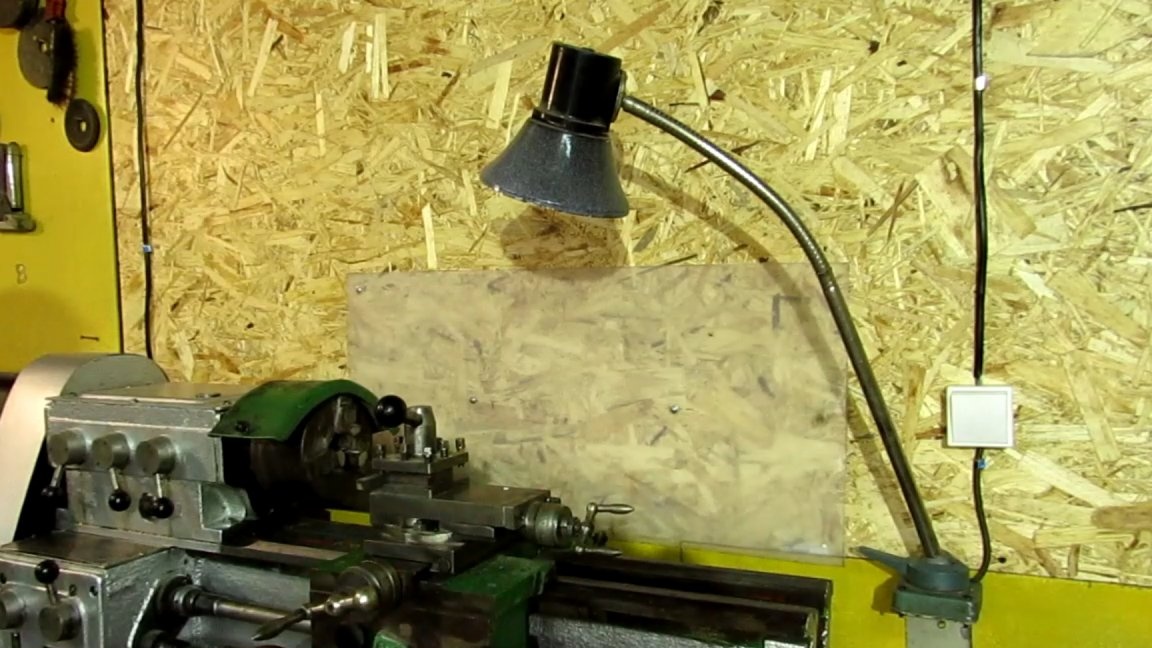
We continue. In the place where the machine stands, she covered the OSB wall with a stove. Opposite the cartridge screwed a sheet of plastic. When processing parts, they have to be lubricated either with oil or with a cutting fluid. And after lubricating the cartridge oil flies out of it. It will be bad to slap the wall. And with a plastic wiped with a cloth and clean. I also screwed my native lamp onto the wall and screwed the LED light in without flickering. Previously, it was attached to the machine and went along with the longitudinal feed. It seemed to me uncomfortable. It has a flexible bar and the light can be directed to the right place.
That's all. Sick work was carried out, and now the machine is installed and ready for work. He will become a good assistant in my workshop and will help in the implementation of other projects.
Who will be interested, here are a few videos with all the stages of this "big deal".
Thanks for attention.