

I received a small order for an unusual charger. The guys from the club for lezertag, have difficulty in simultaneously charging several machines. Previously, they used one memory, it charged up to ten machines. One is charged, the other is not. The machines use a 6-volt lead-acid battery. So you need to charge up to about 7.3 volts. For these batteries, a current of 120 mA is needed.
For these purposes, charge modules were purchased in the Middle Kingdom.
For homemade we will need:
- ;
- wires with connectors;
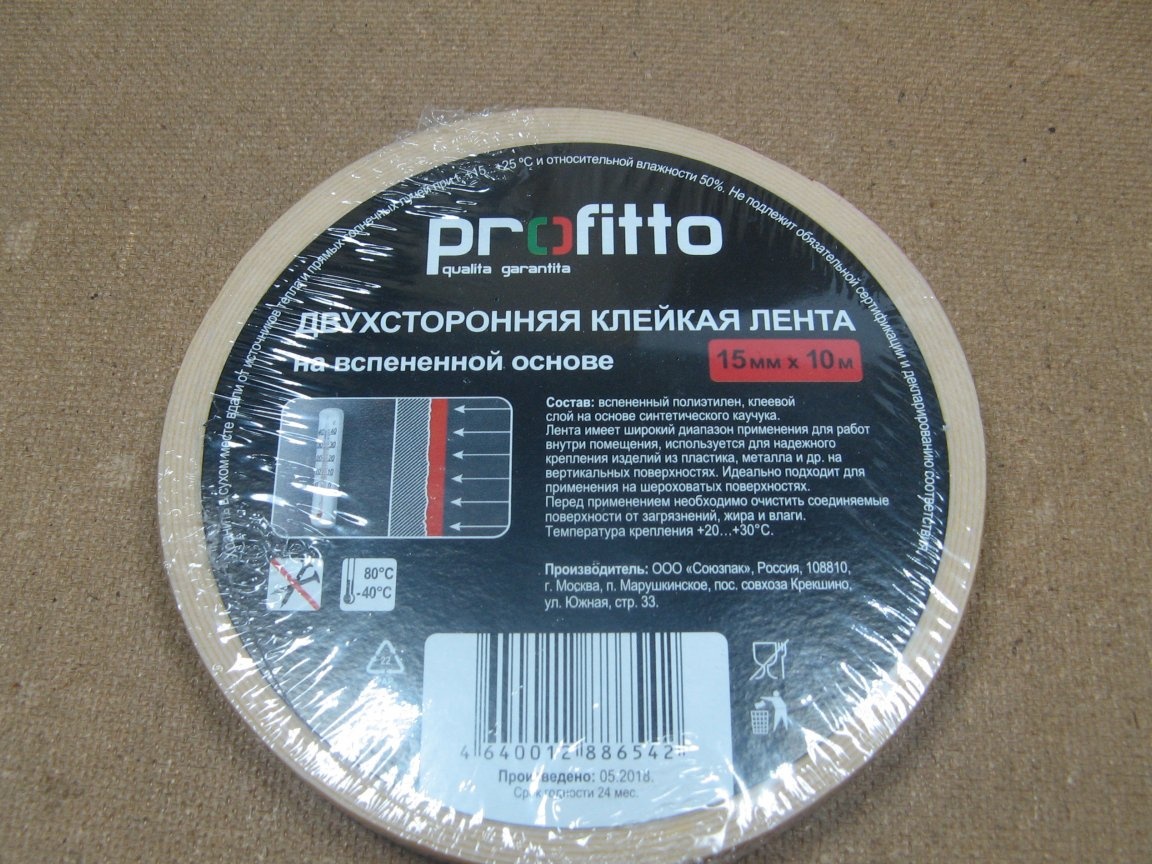
- double-sided adhesive tape;
- box for wiring;
- PVC plastic;
- instruments.
About the components.
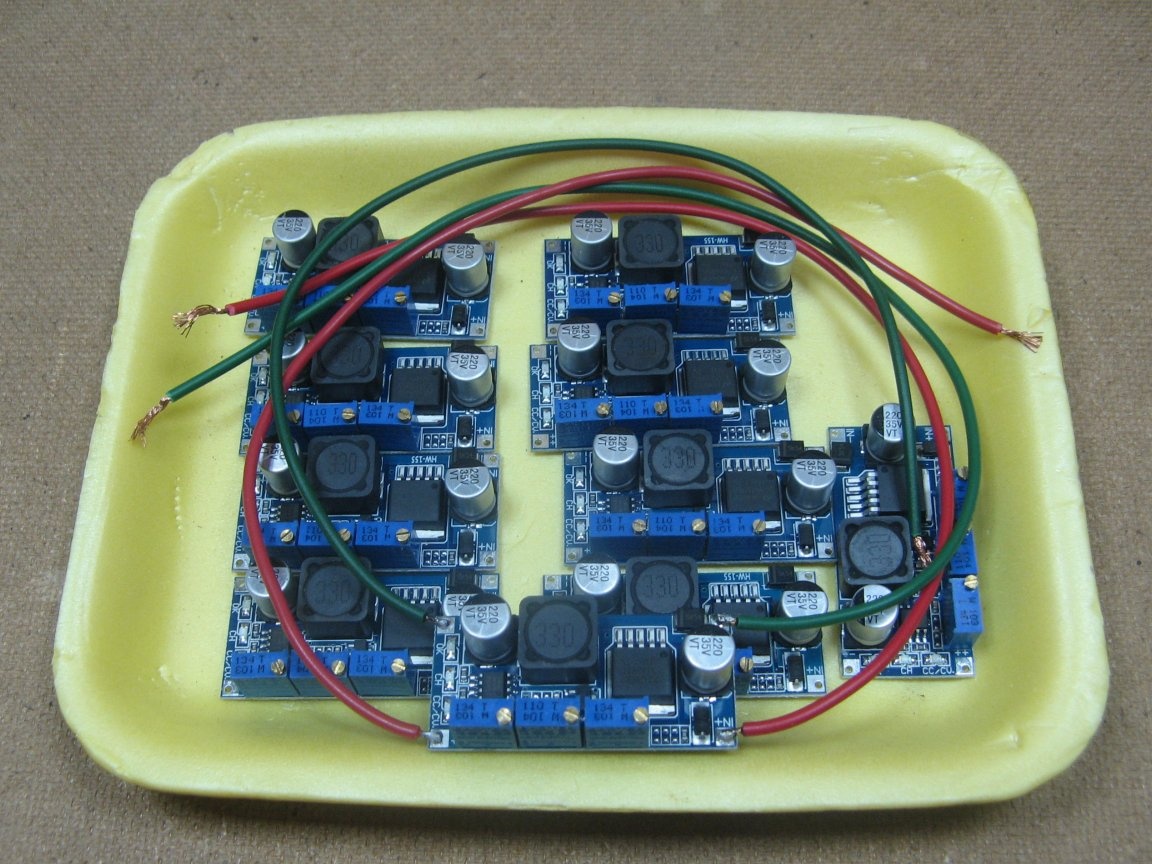
The guys purchased the charge modules themselves, on my recommendation. I will apply 10 pieces.
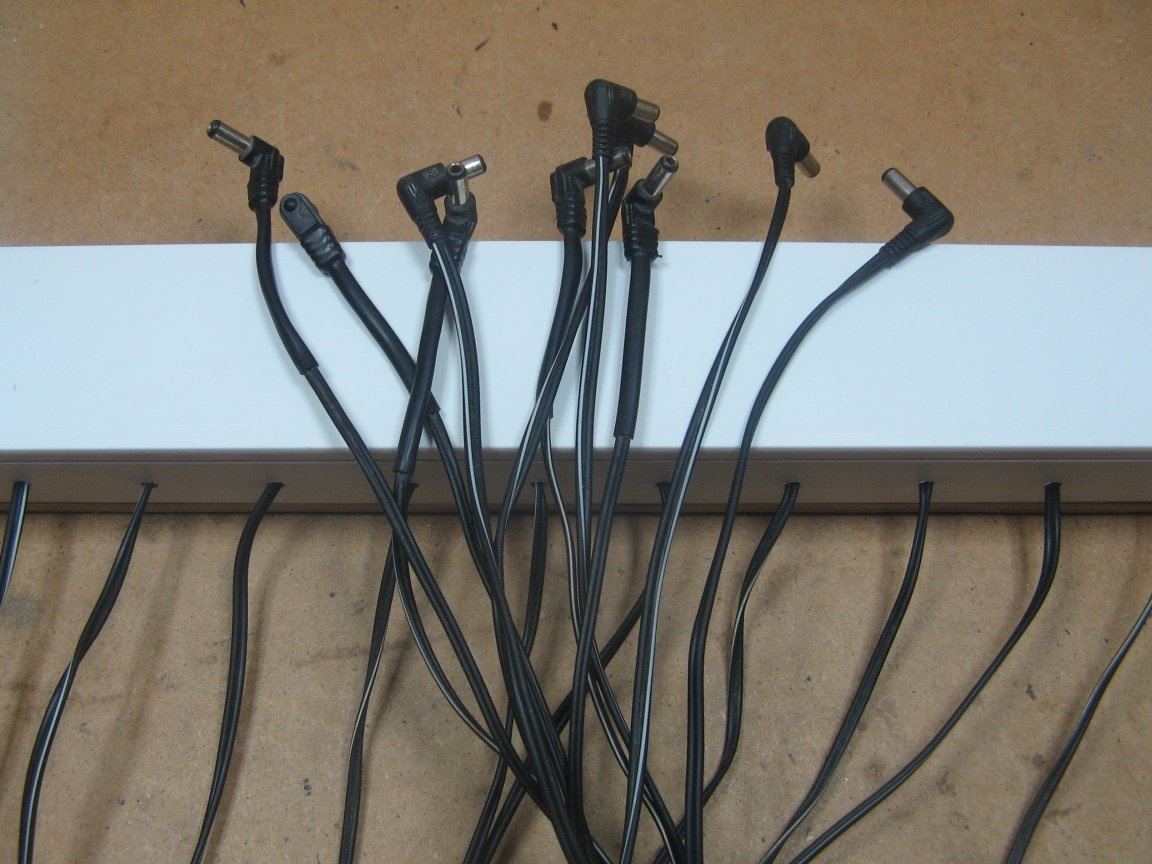
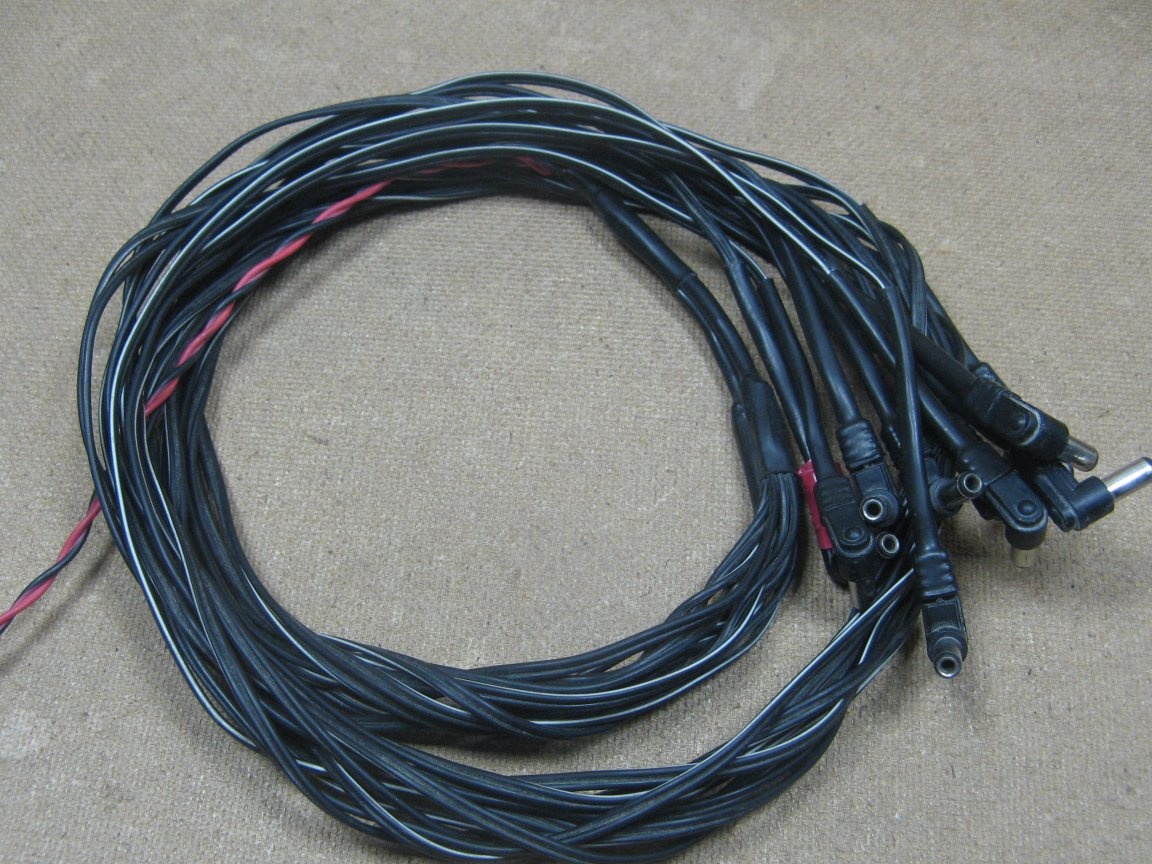
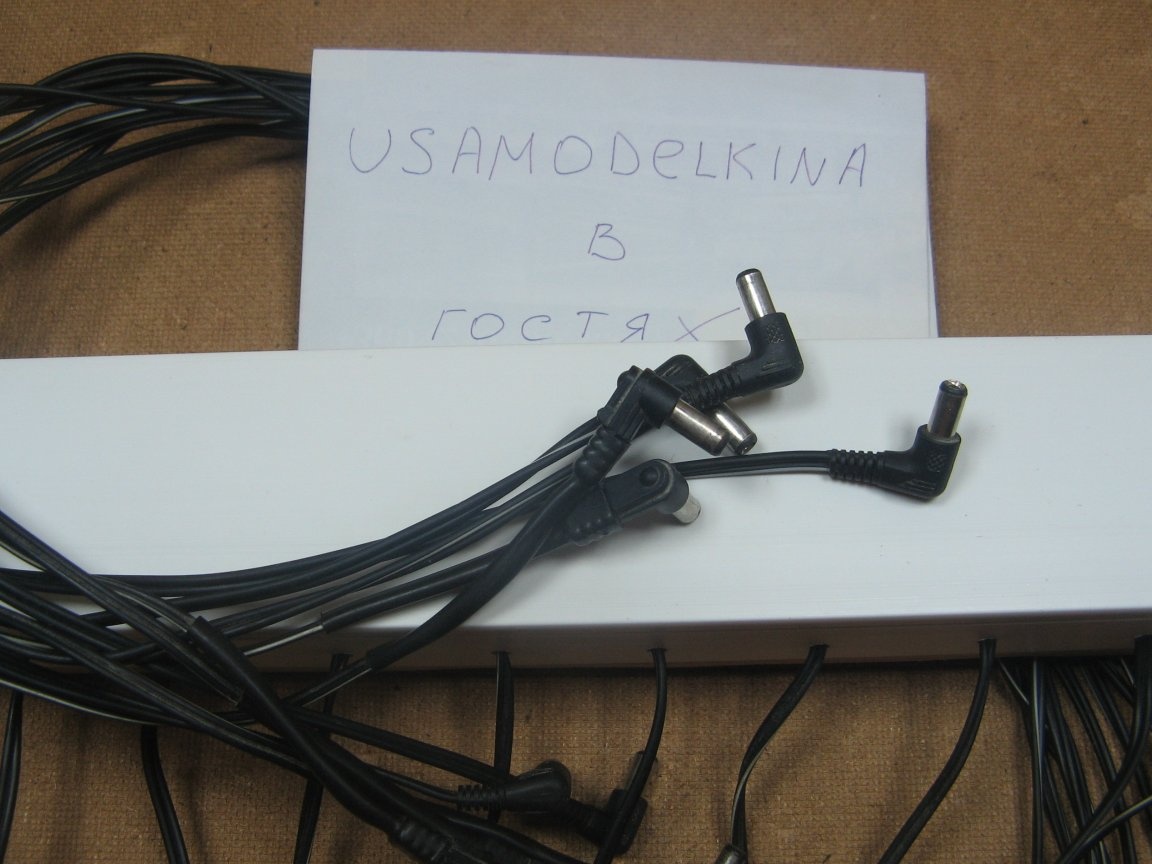
I use old wires with connectors. Sort those that are in the cliff, there are such.
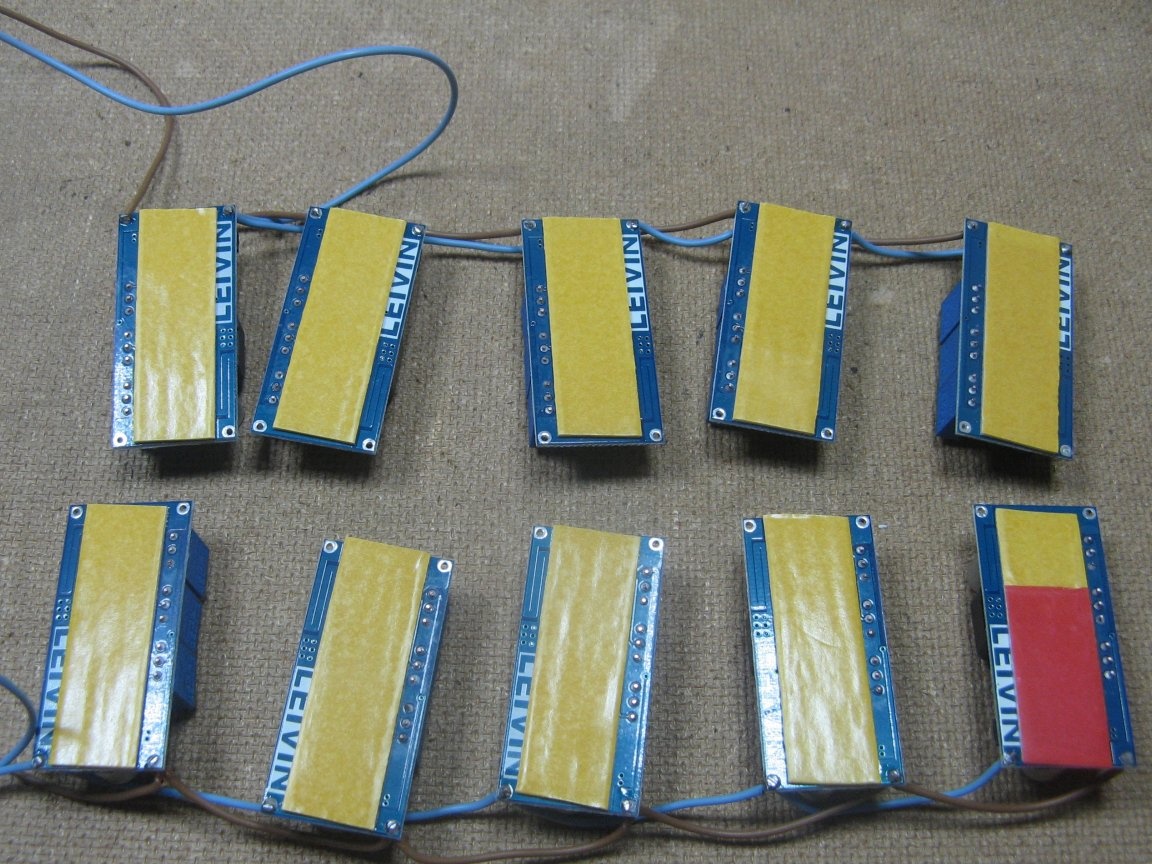
Double-sided adhesive tape. Thickness is about 1 mm. Foam base.
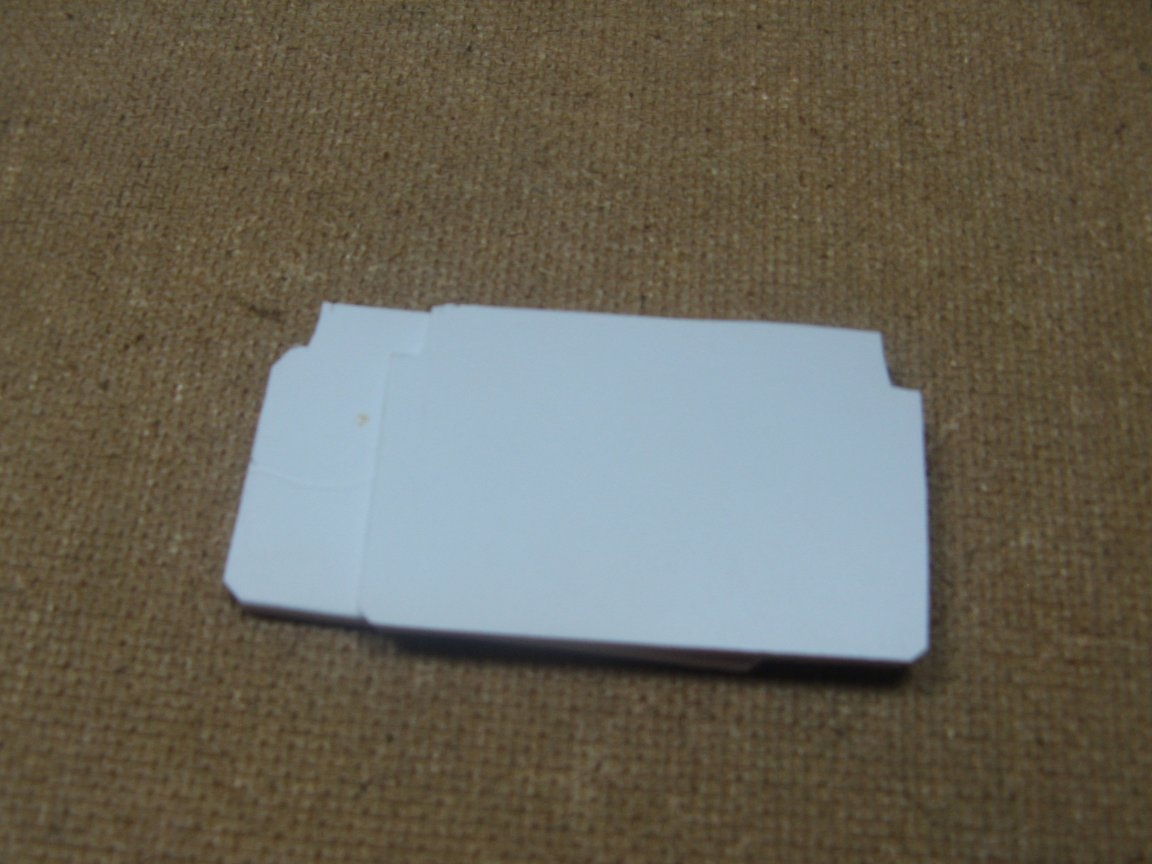
Box for wiring with dimensions 40 * 60 mm. Need a piece of 500 mm.

I will muffle the holes with PVC plastic.
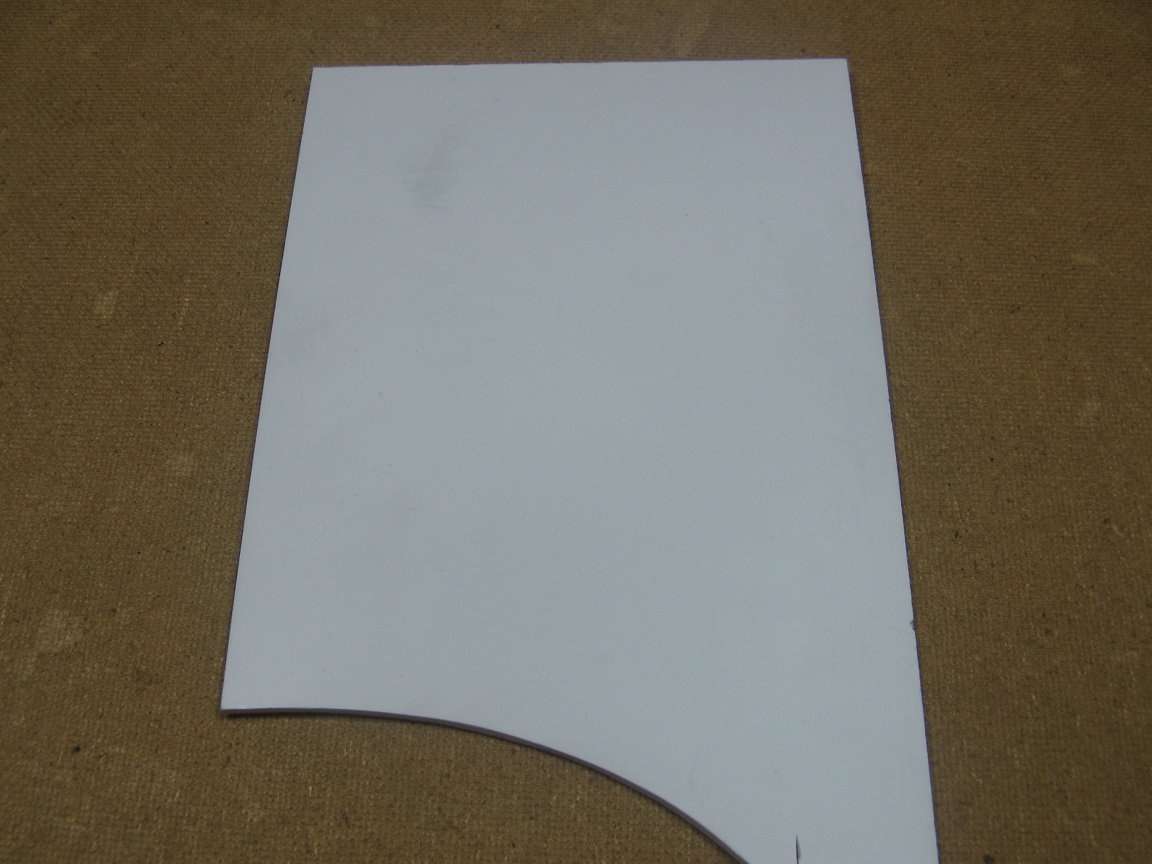
Pre-cutting two stubs.
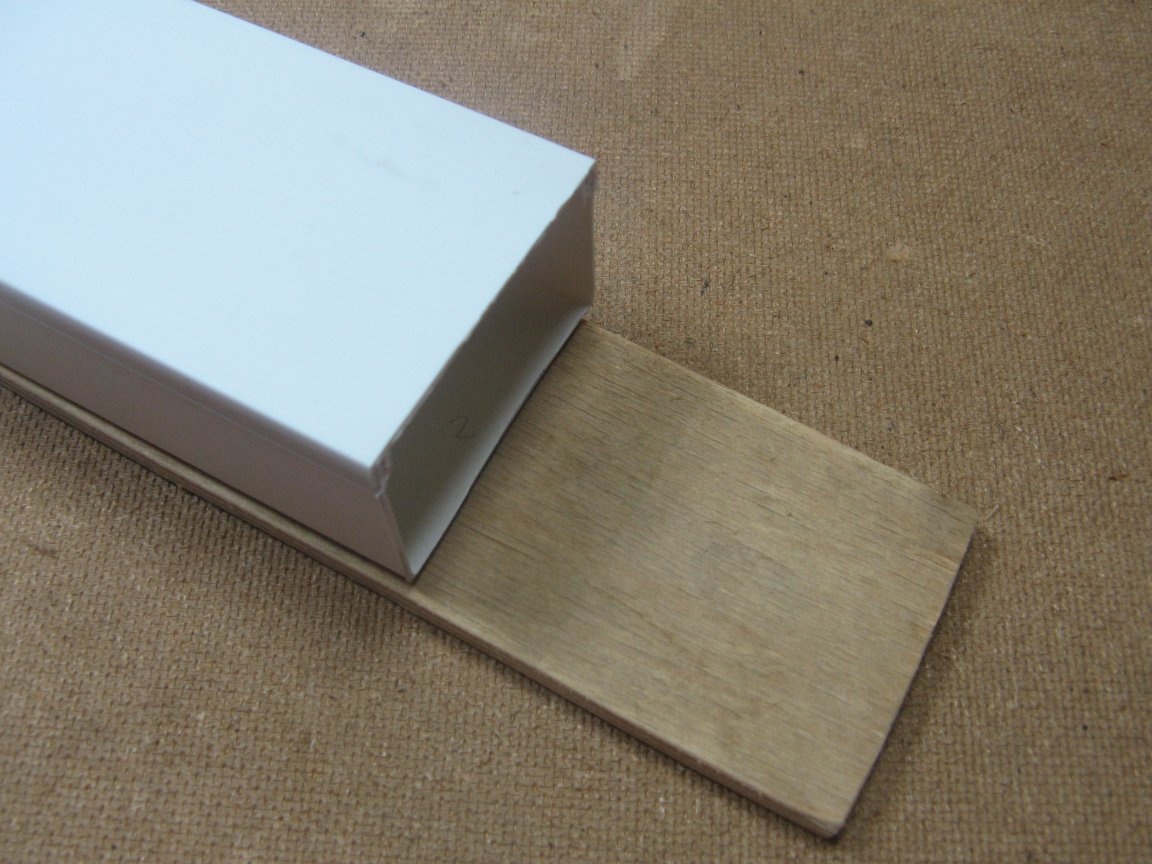
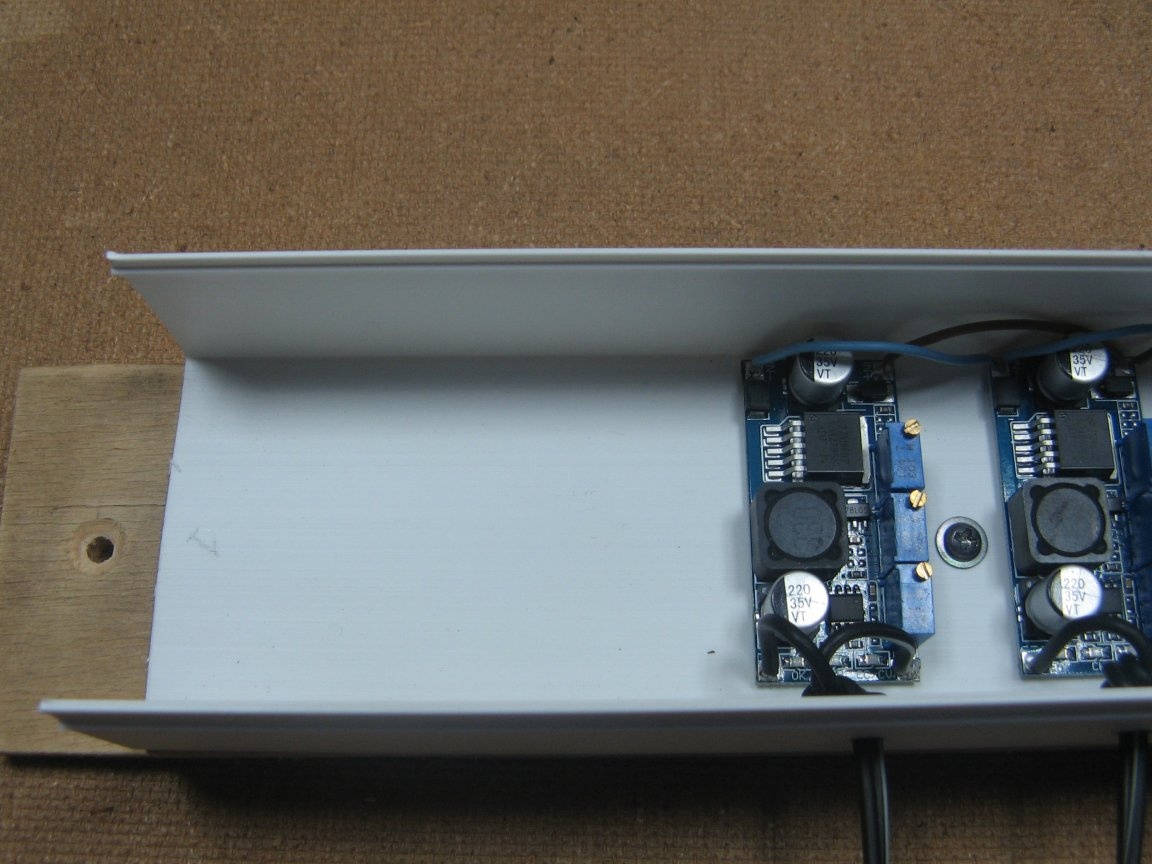
For rigidity, the docking station cut out the lining. I will attach a casing to it.
Assembly.
Modules need to be connected in parallel. I cut pieces of wire of 50-70 mm. Section 0.35 mm2. I solder everything according to polarity. Trial soldered 5 pieces. We adjust the voltage with the upper resistor. Bottom resistor current. 7.3 volts and 120 mA, respectively. Trial included.
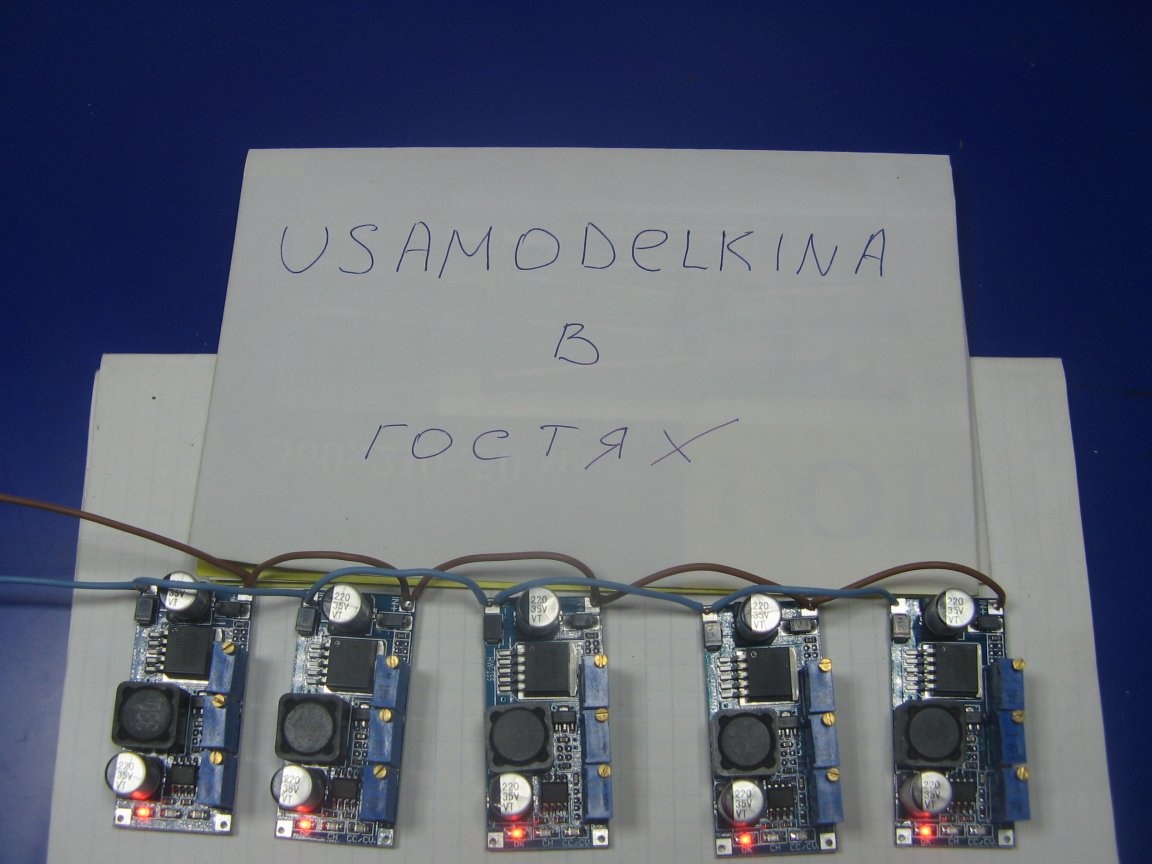
Next, I solder all 10 modules.
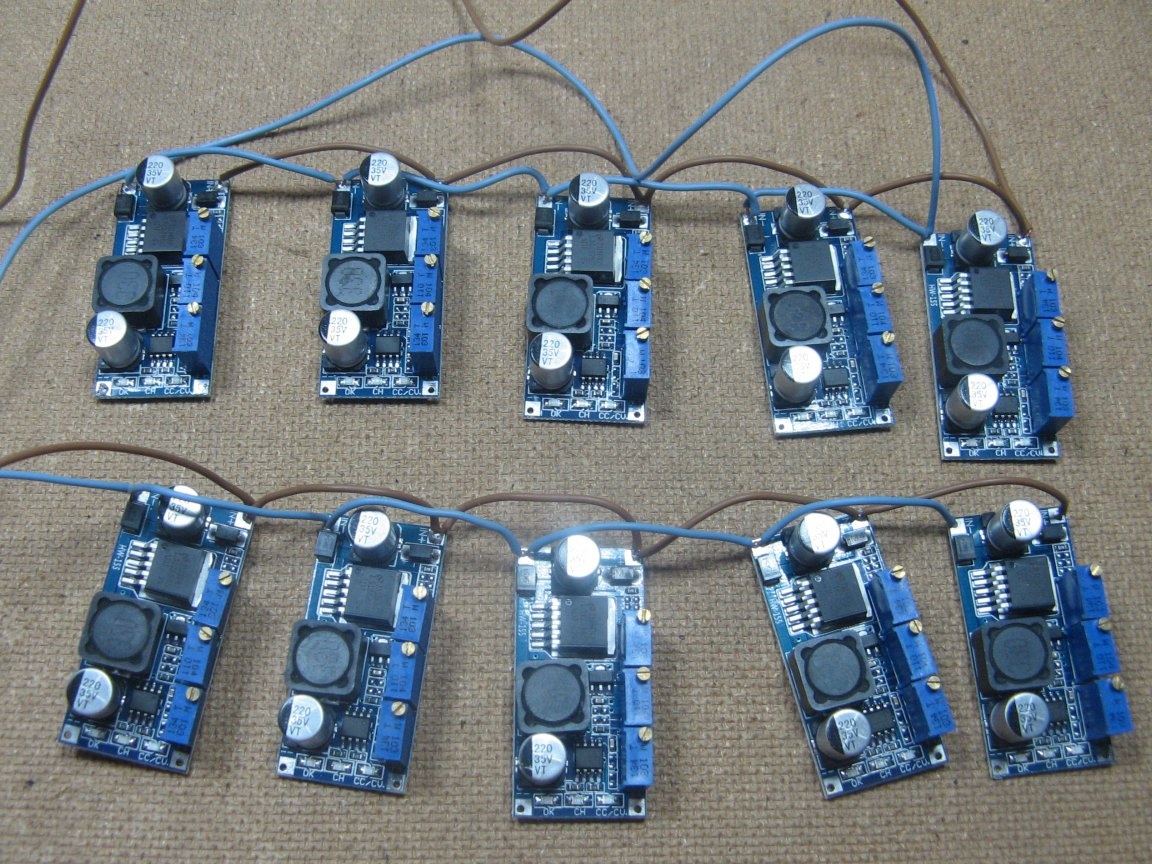
I cut the double-sided tape into pieces. Glue to the modules. Modules practically do not heat up.
In the box I drill holes for wires.

I pass the wires through the holes. For reliability, I tie knots. I solder the output connectors. Wires, respectively, plus and minus. I will install a connector for power from an external power supply. You can connect a laptop “charging”, a computer power supply or the vehicle’s on-board network to the connector.
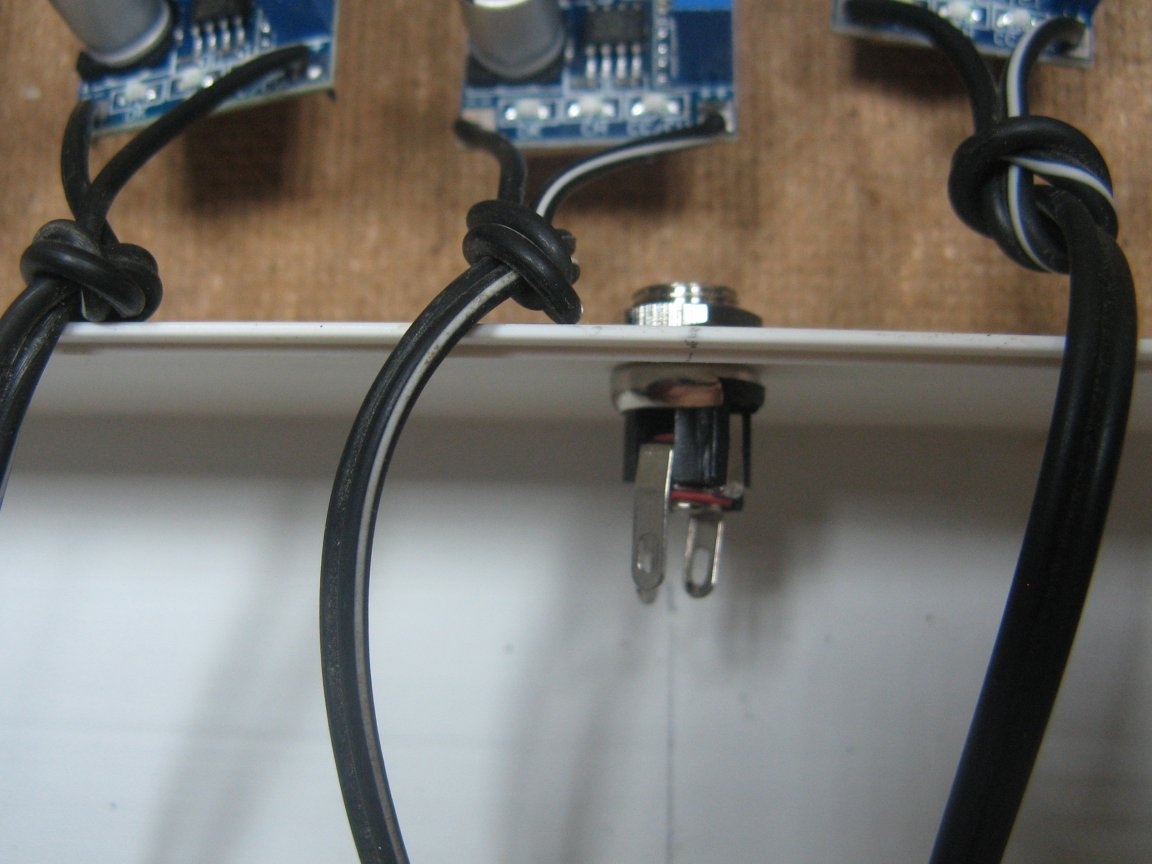
The connector is soldered and connected to the sample. I control the polarity of the connector. I also check the voltage and current, if necessary, adjust.
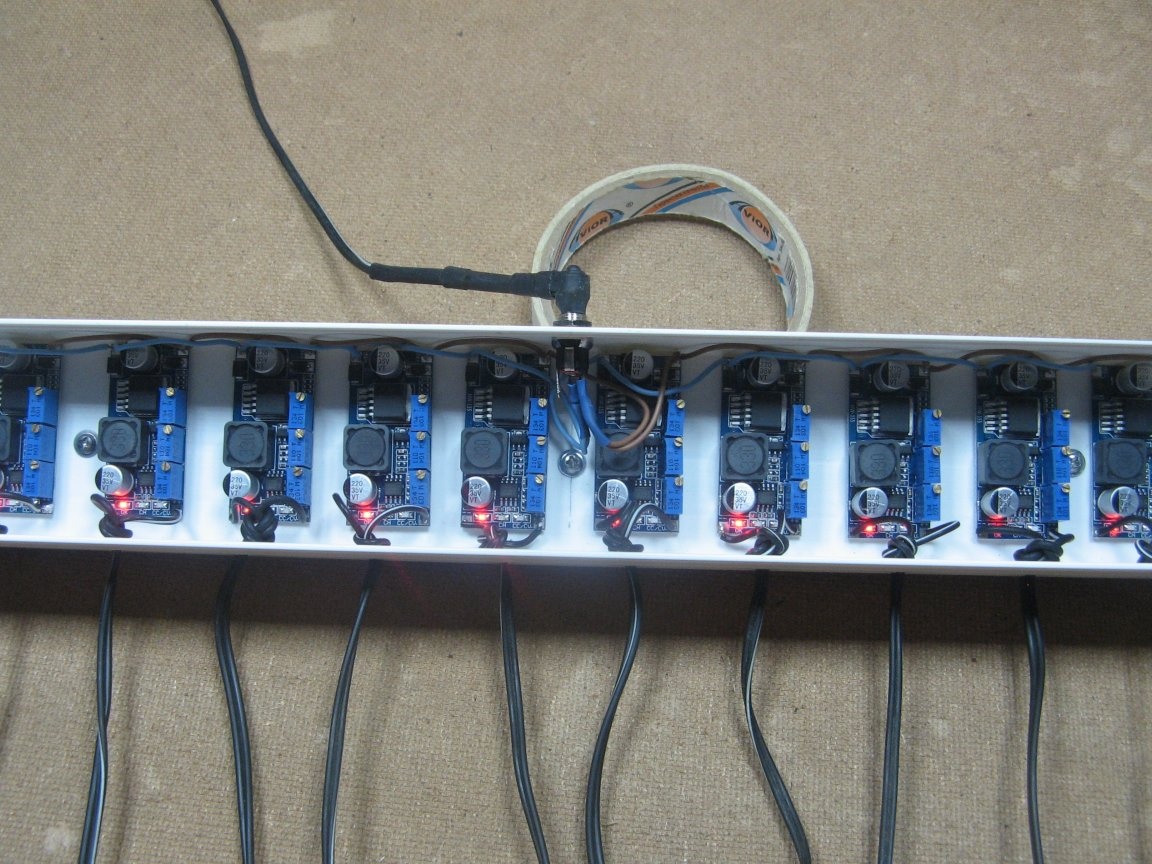
I screw the box to the plywood lining. He made holes in the plywood to fix the charge on the wall.
I put the lid on and give it to the customer. People were satisfied. Batteries charge well.There is a bit of space left, you can add more modules later.
Assembly video: