I welcome the fans to craft, today we will consider how to make such a useful thing in everyday life as a vice. The author decided to collect homemade from the existing scrap metal, everything turned out neatly and reliably. Of course, at first glance, the screw assembly is not very reliably made, the usual threaded rod and nuts were used here, while in a high-quality vice, it uses a shaft with hardened steel, and the thread has a special step. Nevertheless, the vise perfectly compresses a piece of the profile pipe, so that they can hold objects quite well. The vise also has a small anvil. If you are interested in the project, I propose to study it in more detail!
Materials and tools used by the author:
Material List:
- channel;
- corner;
- sheet metal;
- threaded rod, nuts;
- steel rod for the handle;
- paint for metal.
Tool List:
- a grinder with cutting and grinding nozzles;
- drill or drilling machine;
- welding machine;
- marker, tape measure.
Vise manufacturing process:
Step one. Preparation of materials
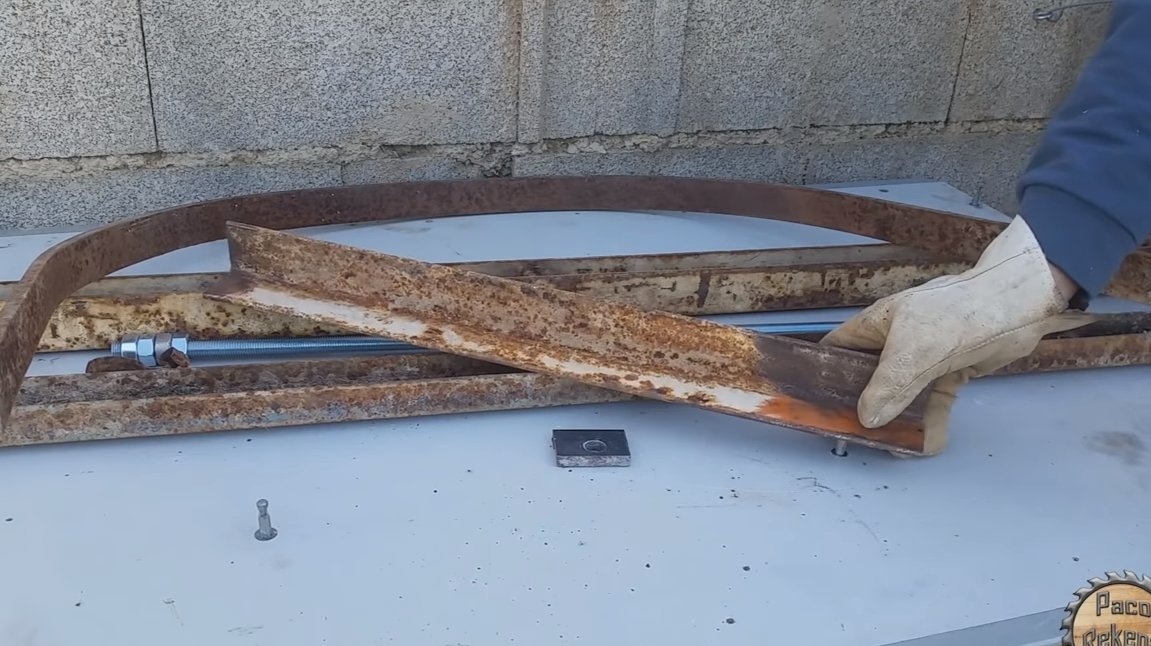
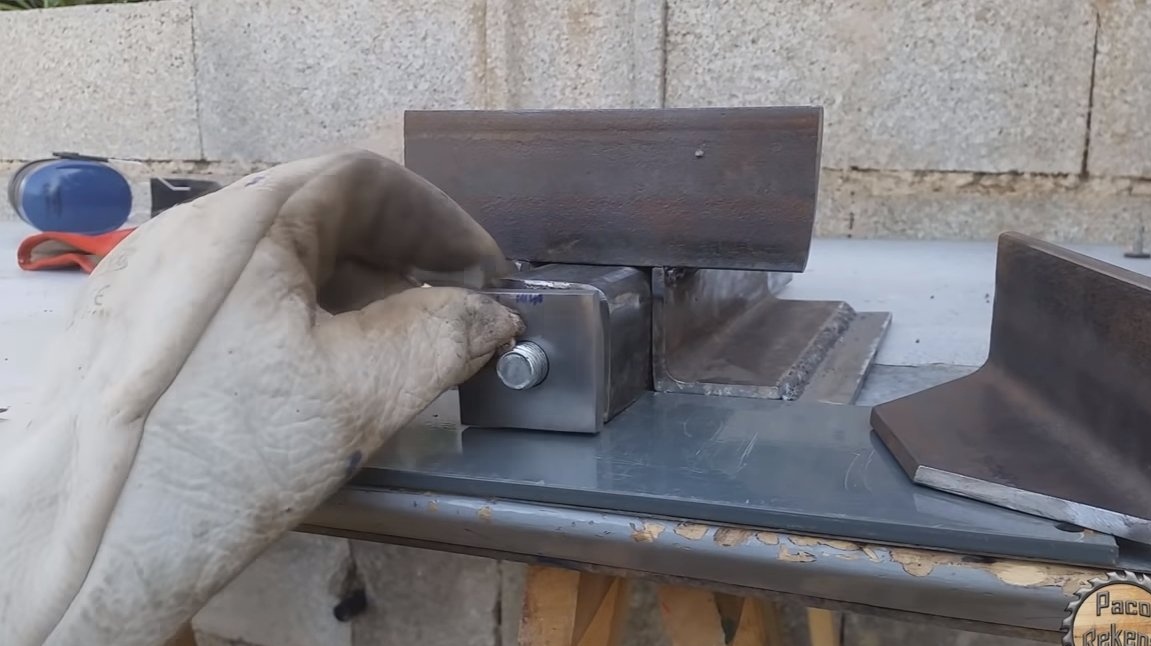
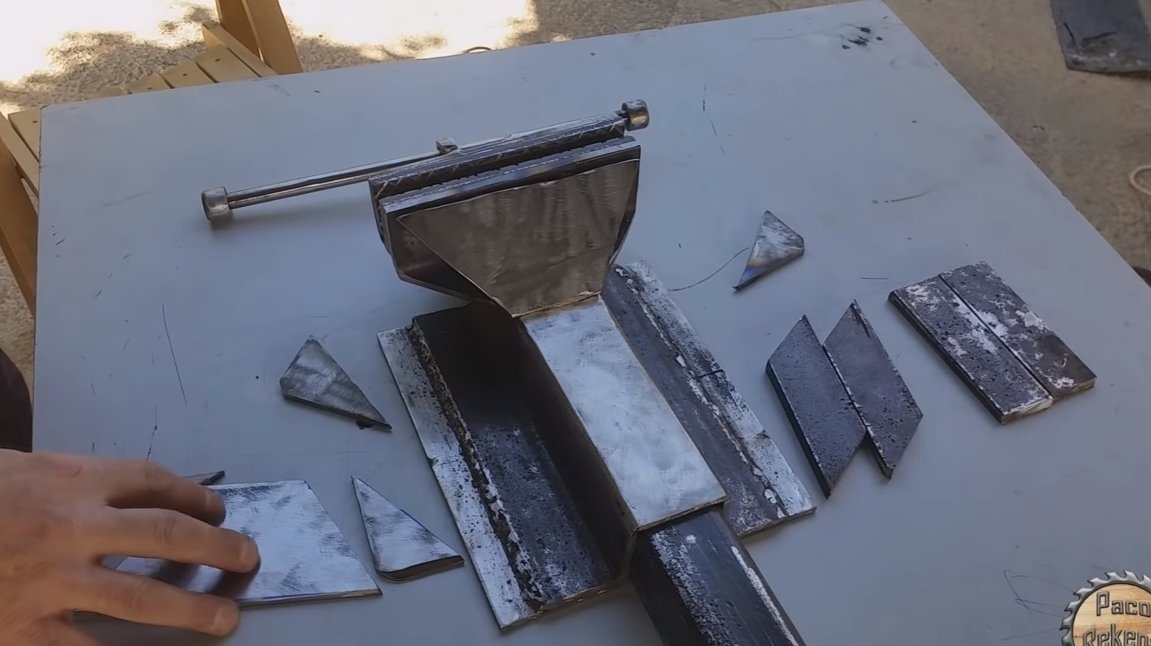
The movable part of the vise is made of a piece of channel, and the author used thick sheet metal to make the base. To get the foundation of the right size, the author welded the sheets together.
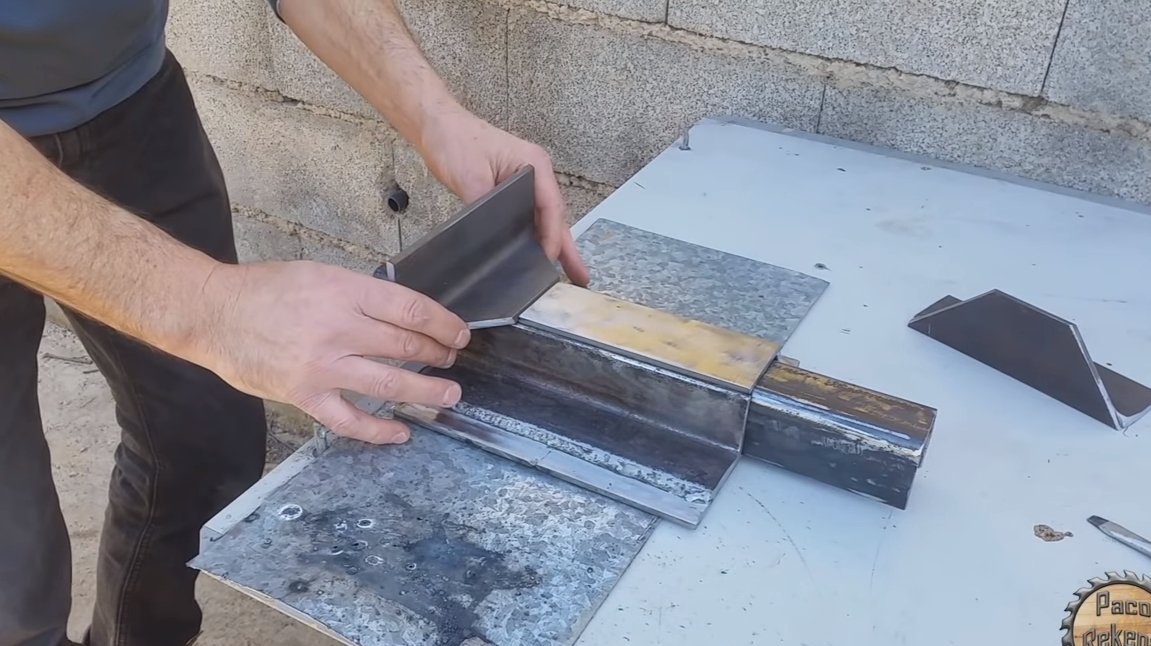
As a guide for the channel (moving part), the author used two corners and sheet metal. The author made lips from a corner, and then they were additionally scalded with sheet metal.
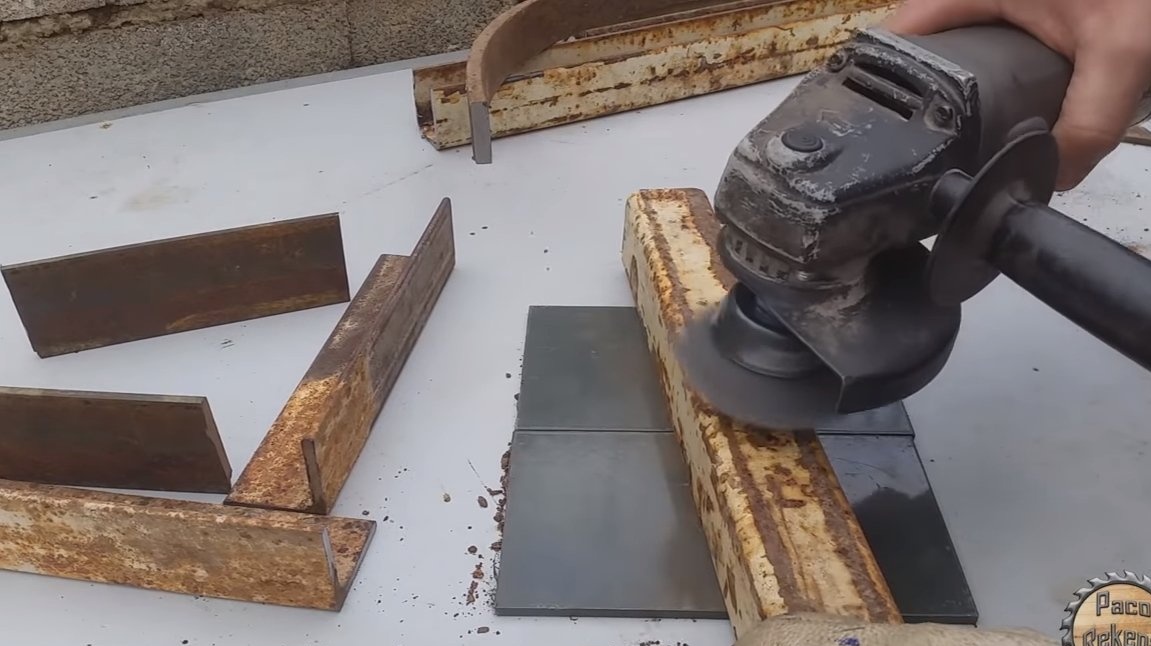
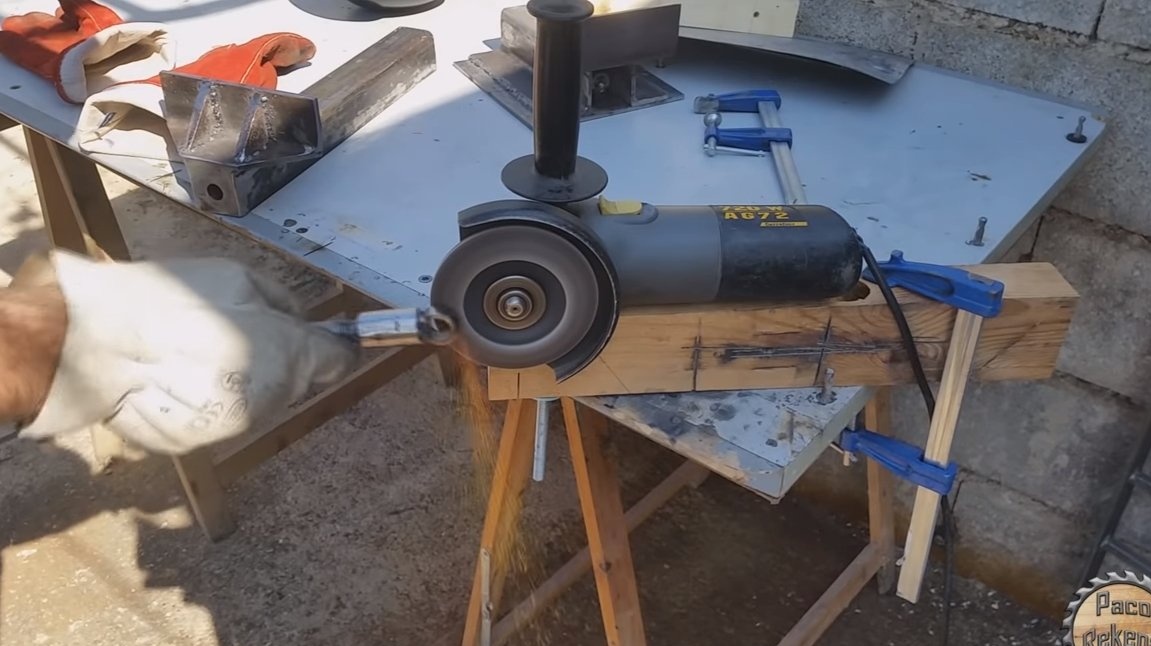
We cut and clean all the components to a shine with a grinder with a brush nozzle.
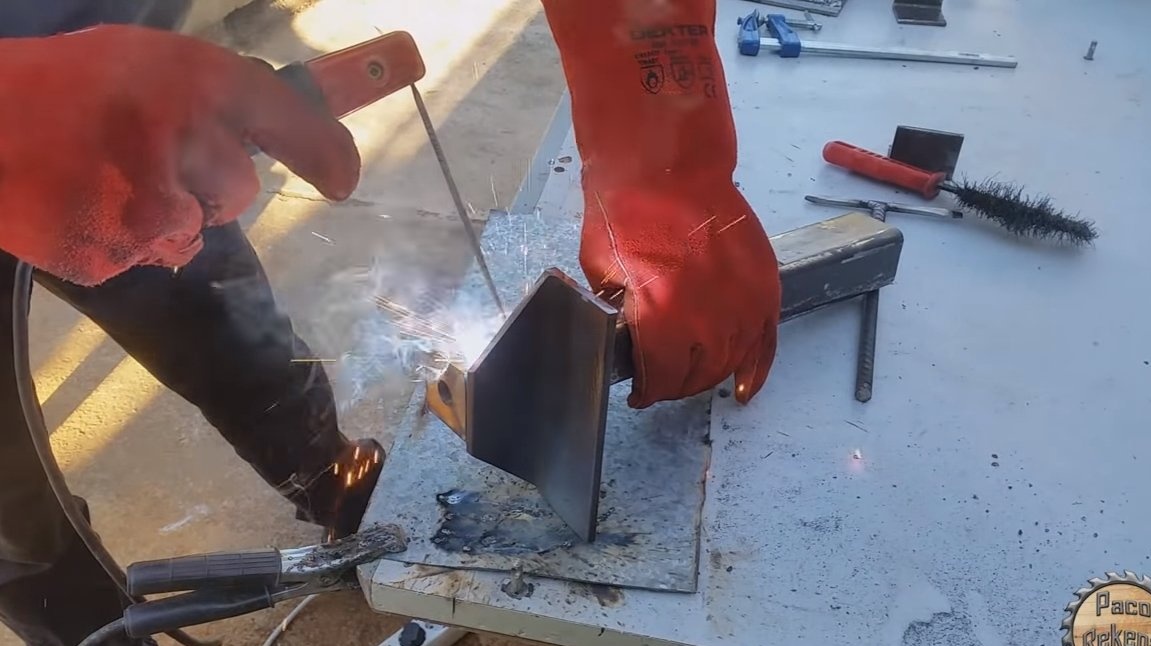
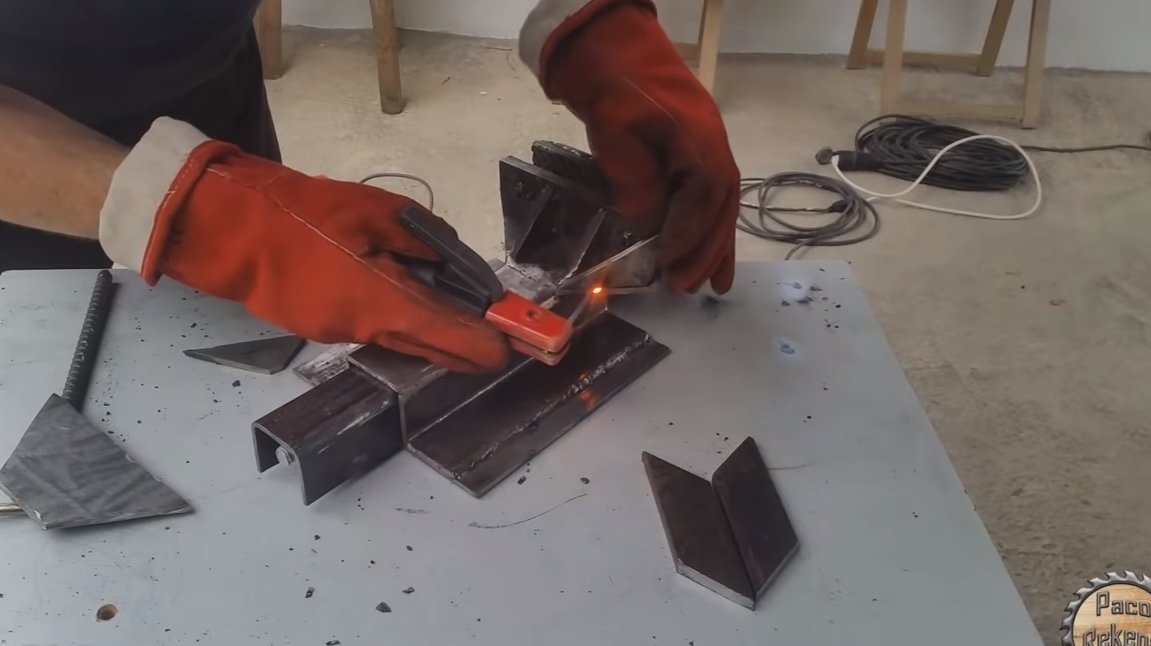
Step Two Base assembly
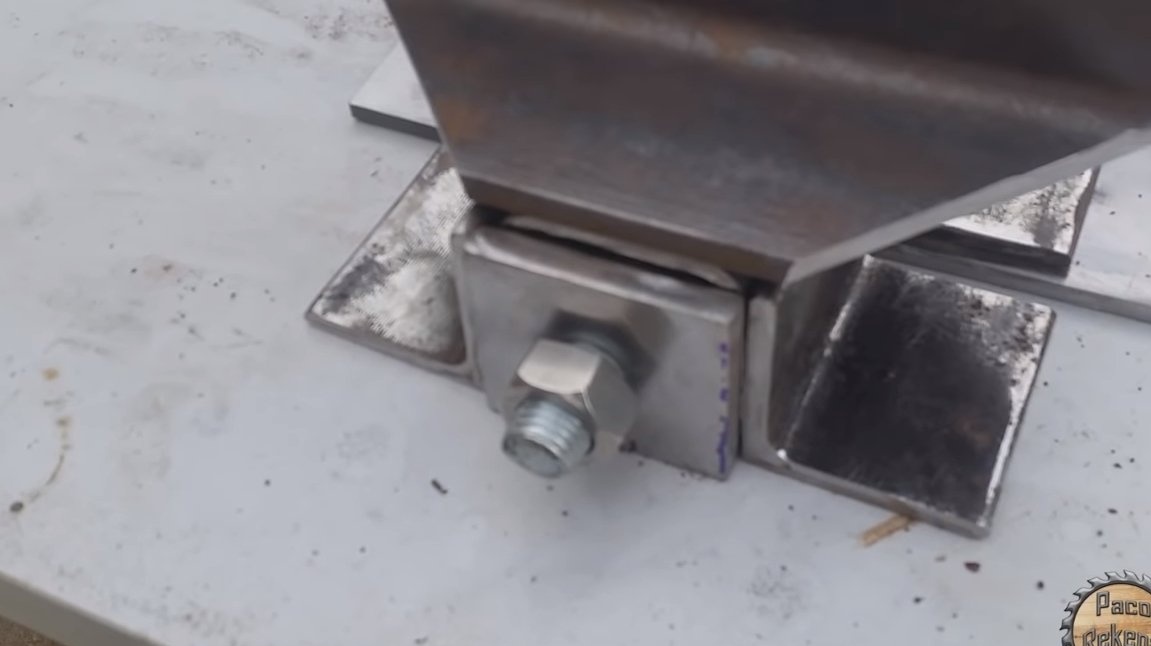
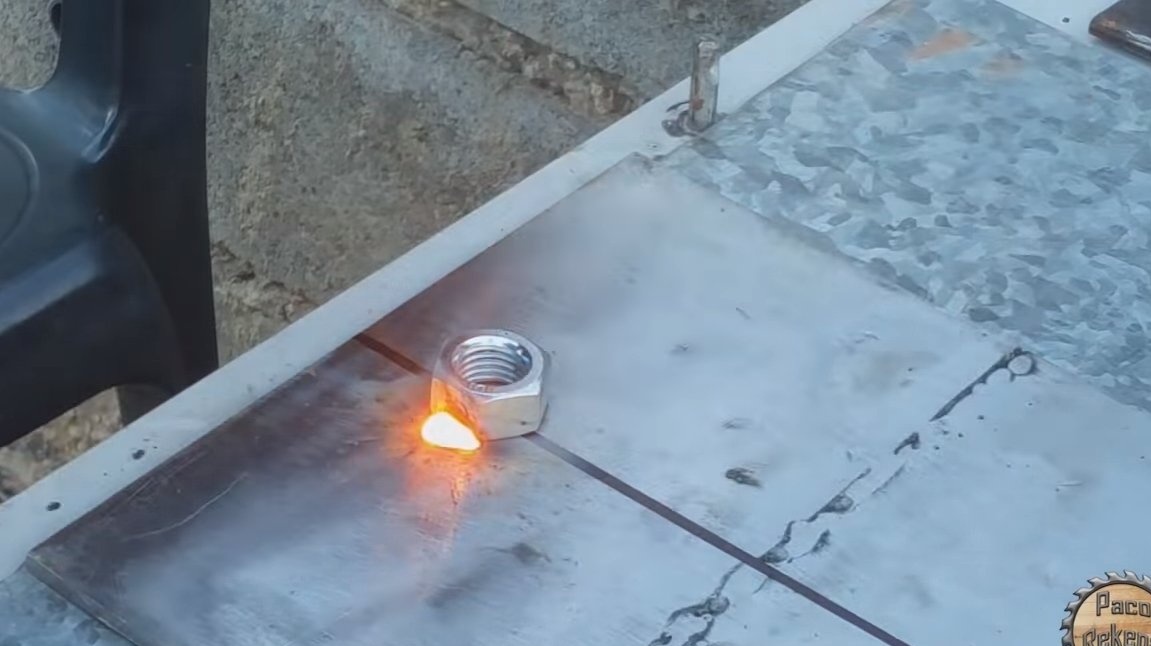
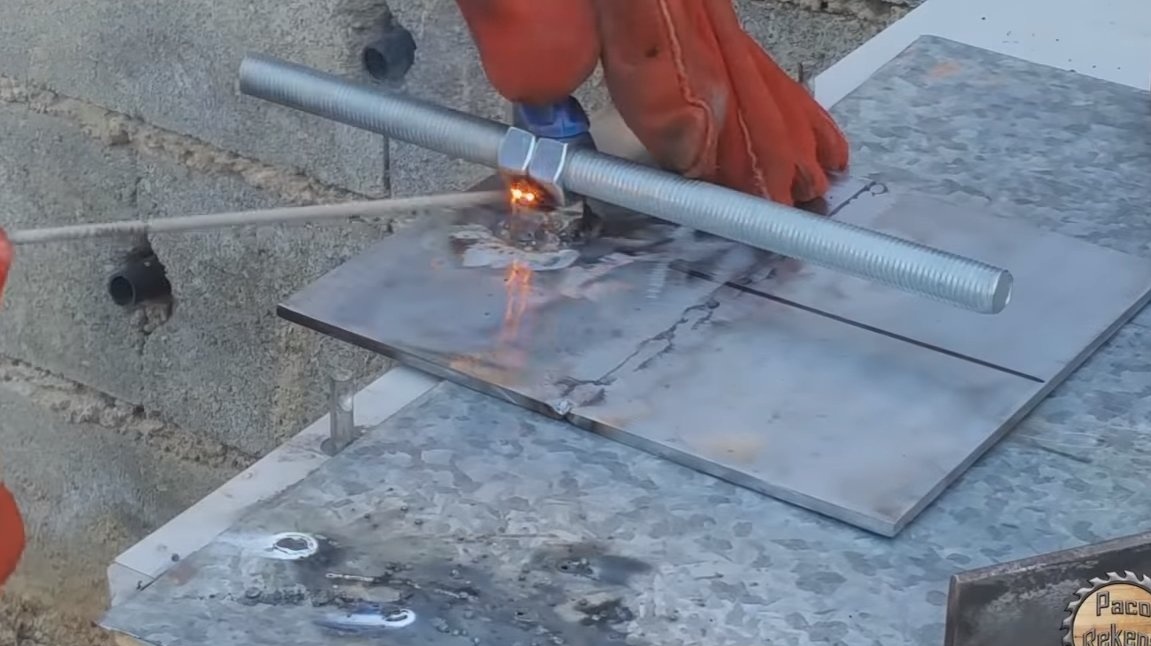
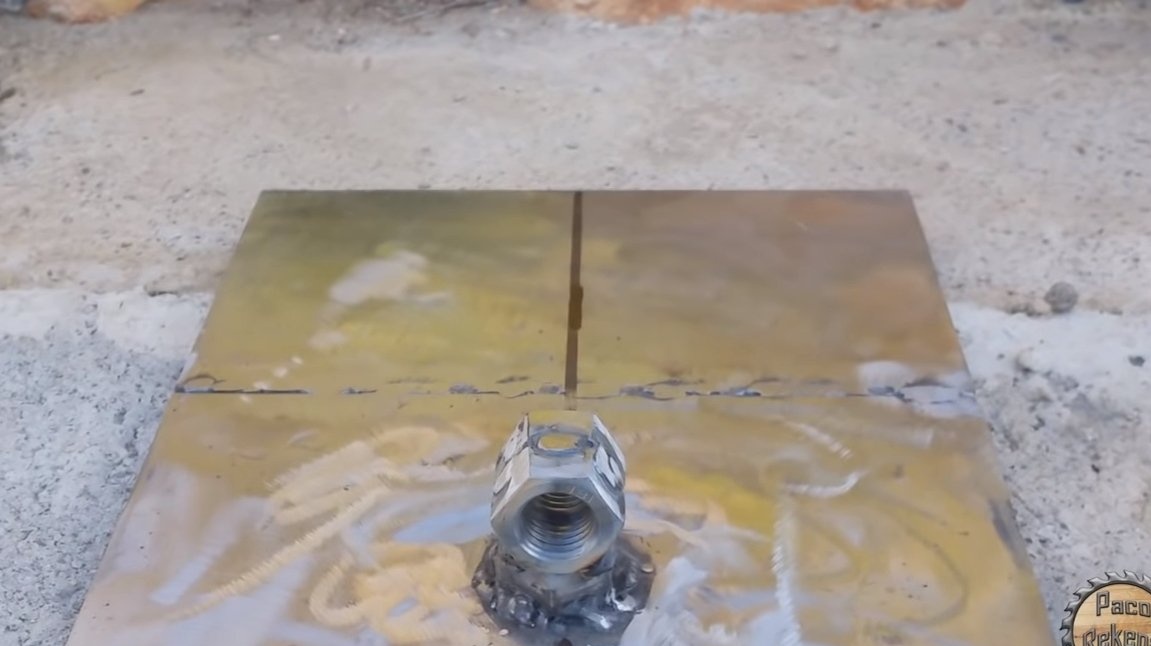
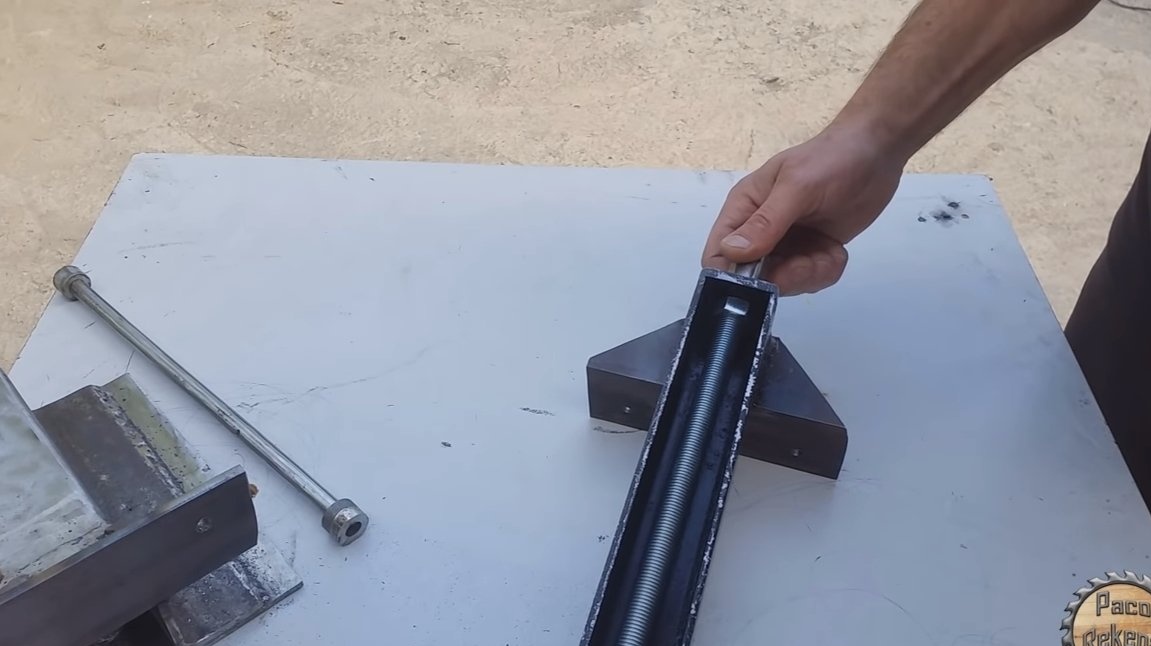
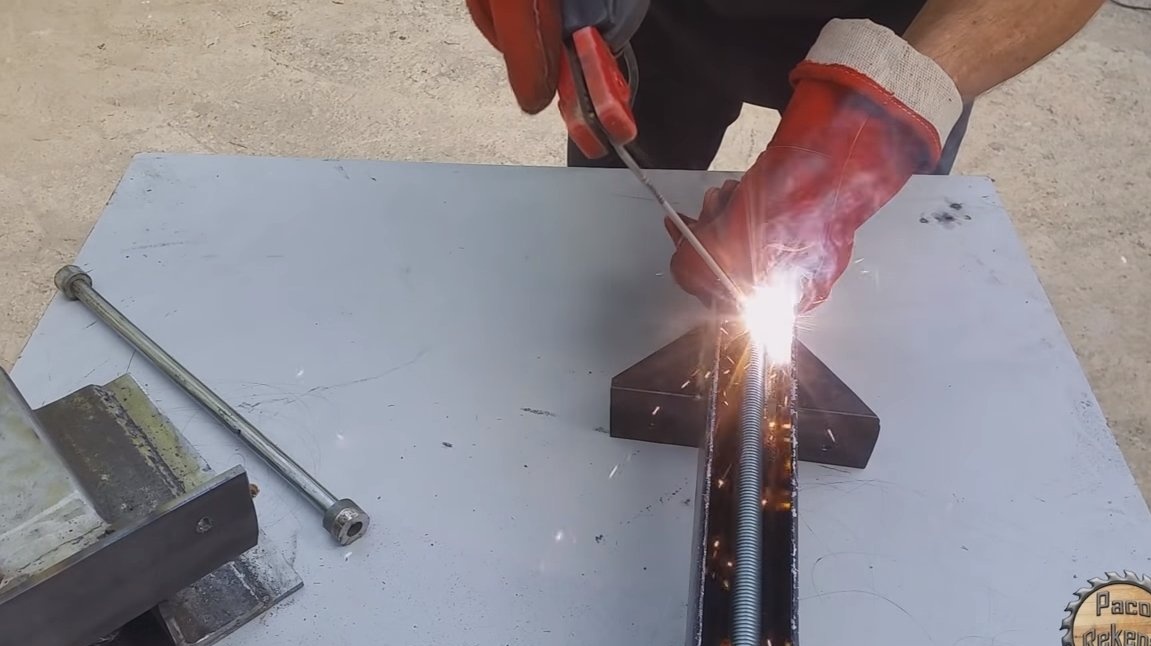
We assemble the base, first we weld the double nuts to the plate, as the author, a threaded rod will be screwed here. It will not be out of place to make nuts 3 or even 4 pieces, everything needs to be welded reliably, since this assembly is very responsible and there are heavy loads. In general, it is not advisable to cook nuts, as the metal becomes softer.
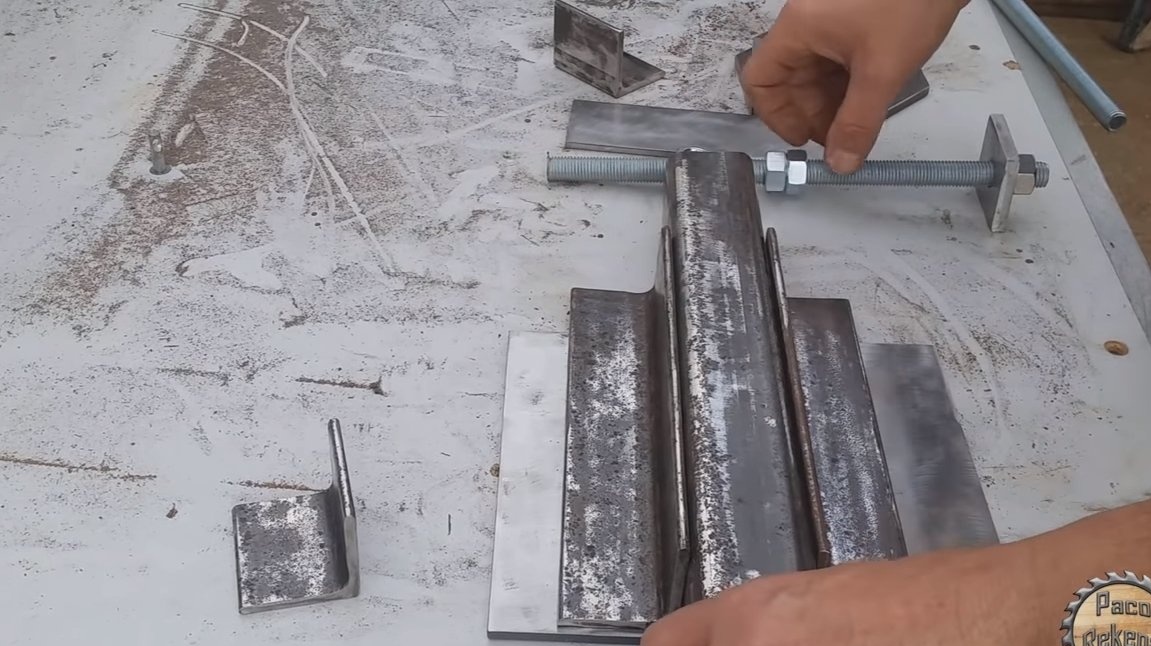

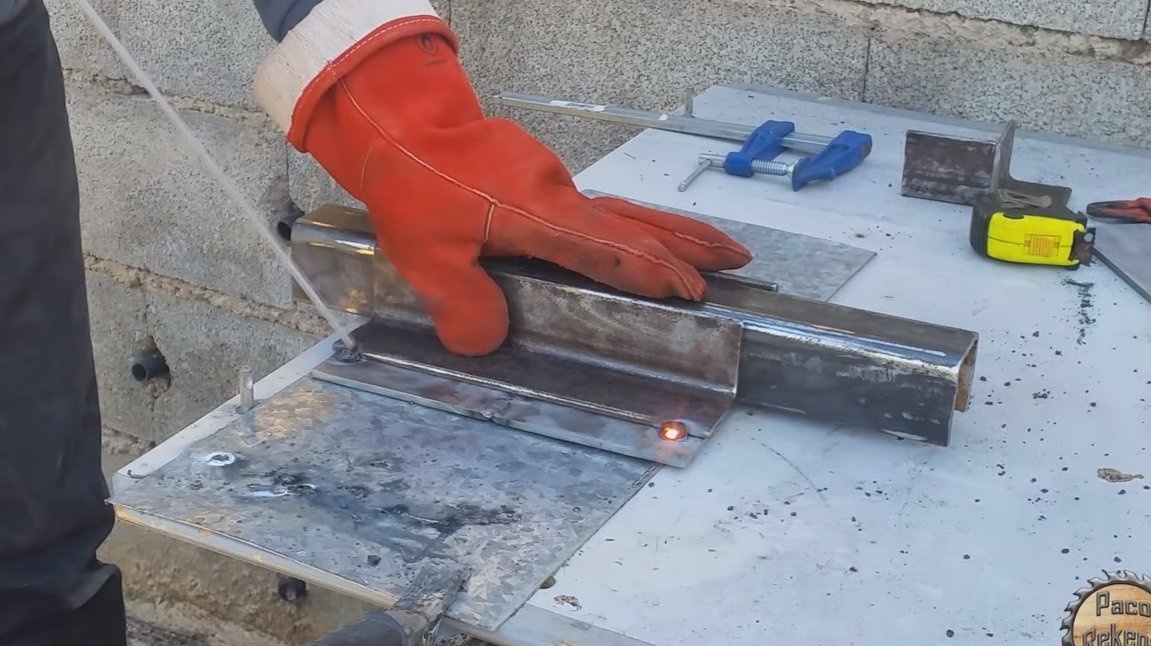
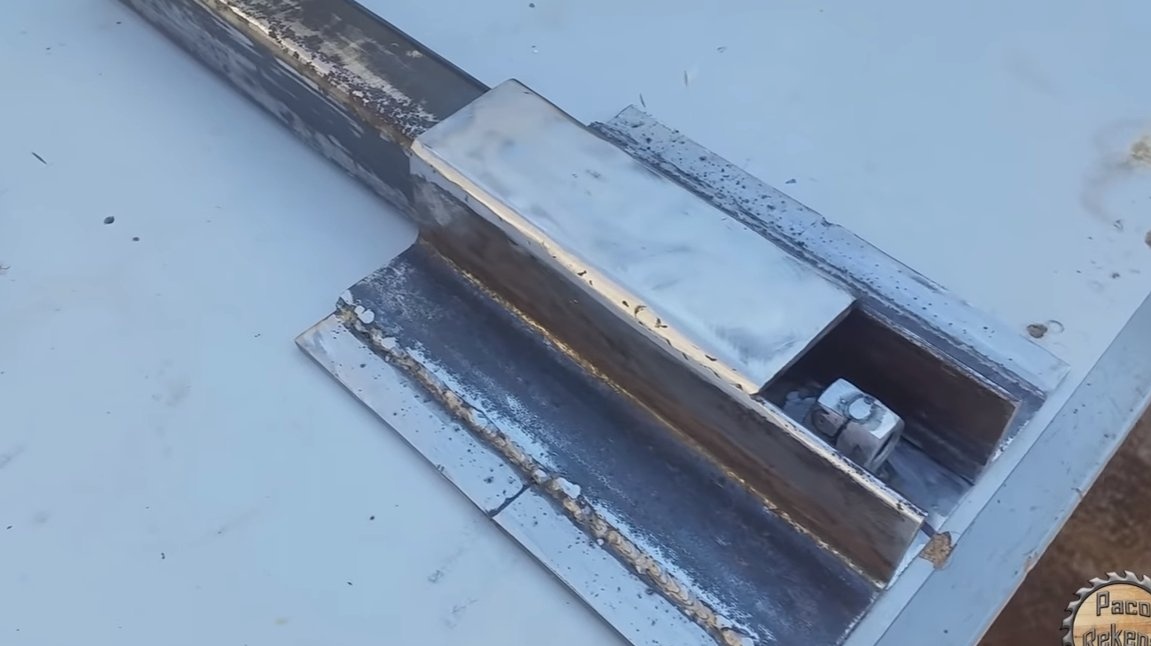
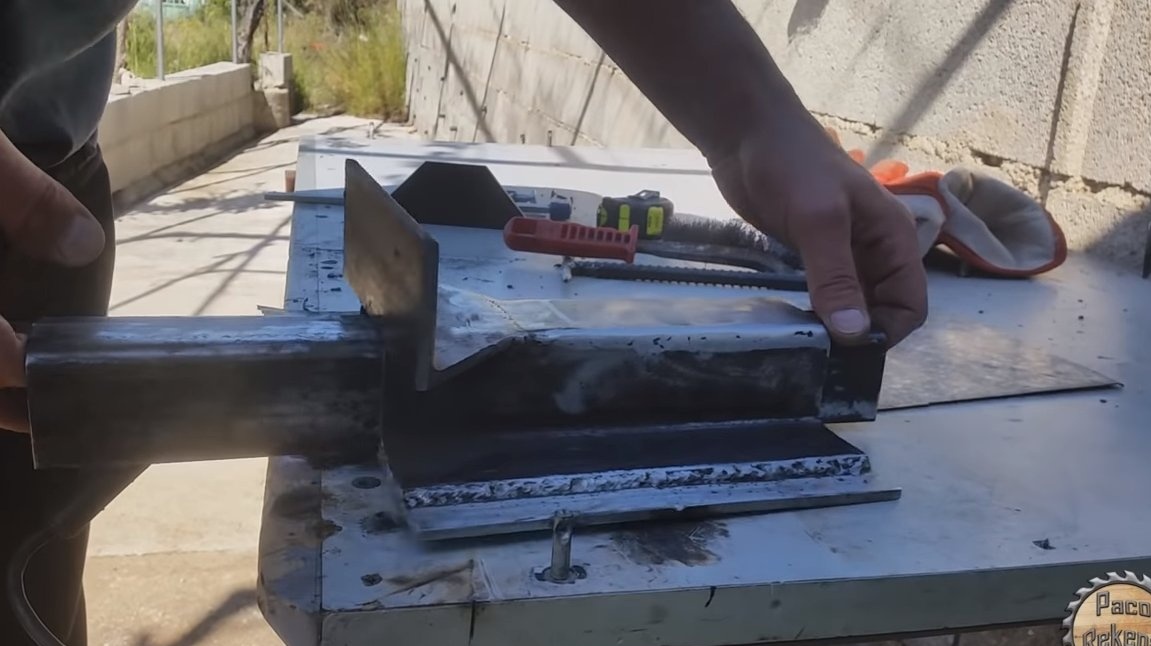
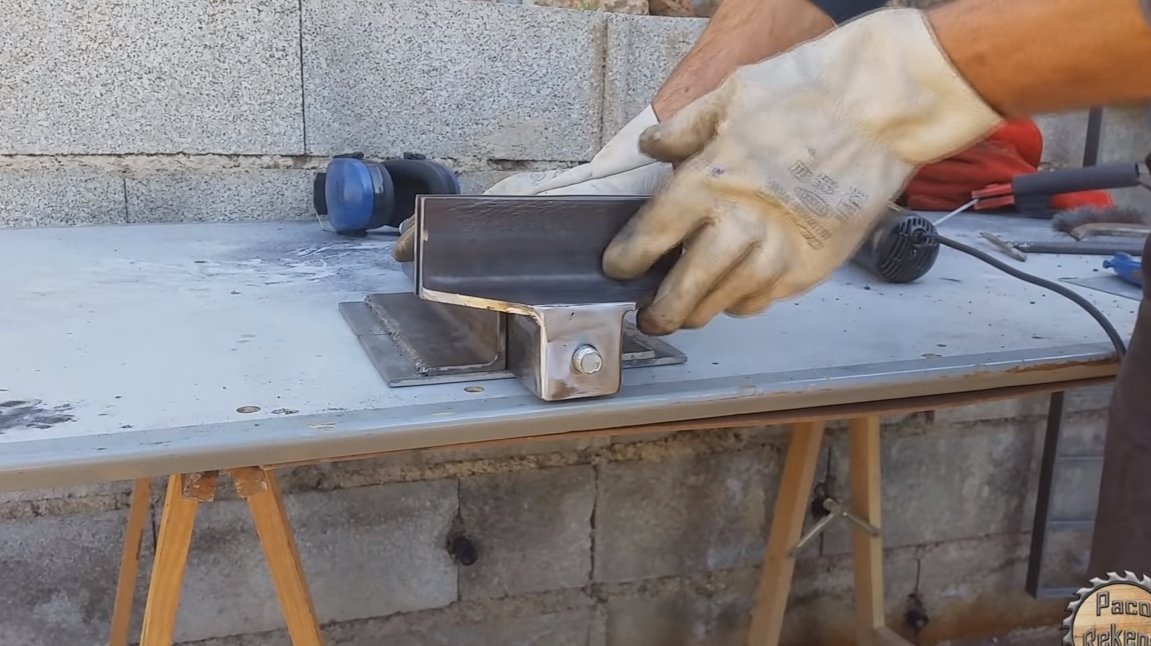
Then we install the channel on the base and weld the guides on the sides, in our case these are corners.The channel should easily move between the rails, but there should not be any large backlash. On top of the channel, we weld a plate between the corners, it turns out a kind of pipe in which the channel moves.
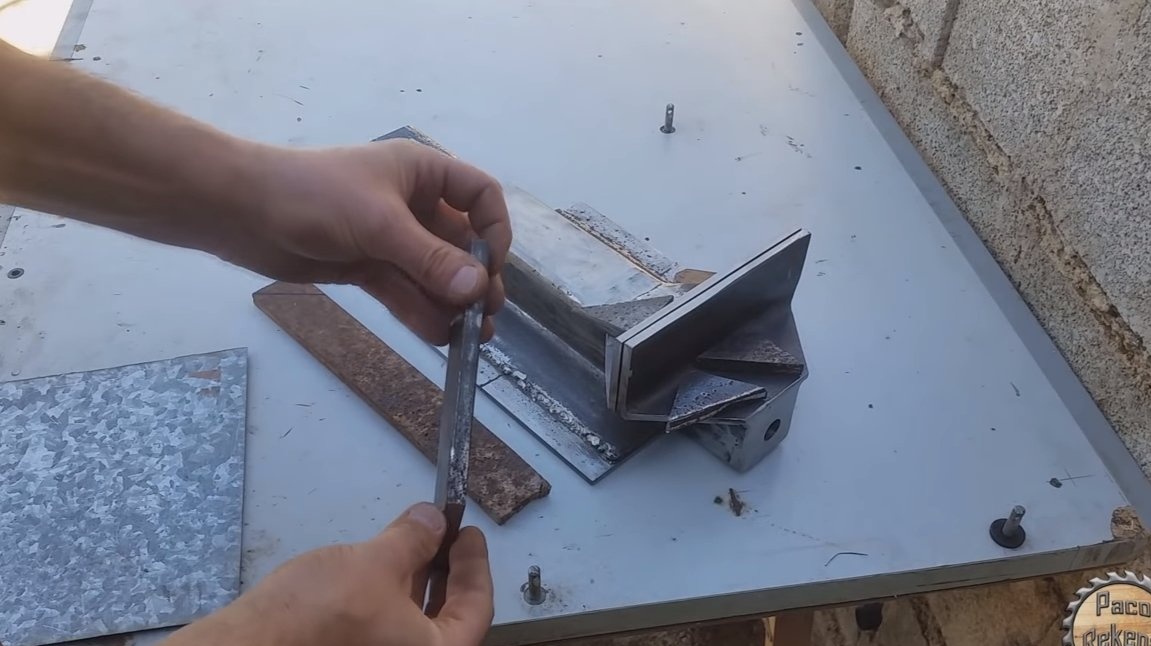
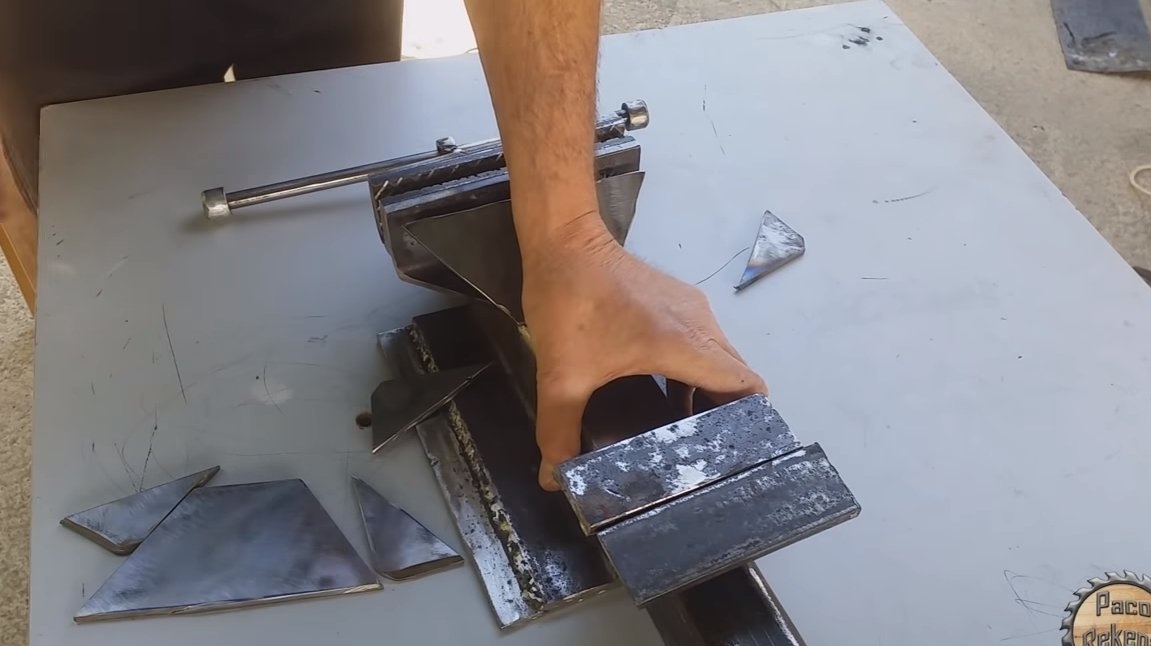
Step Three Lips
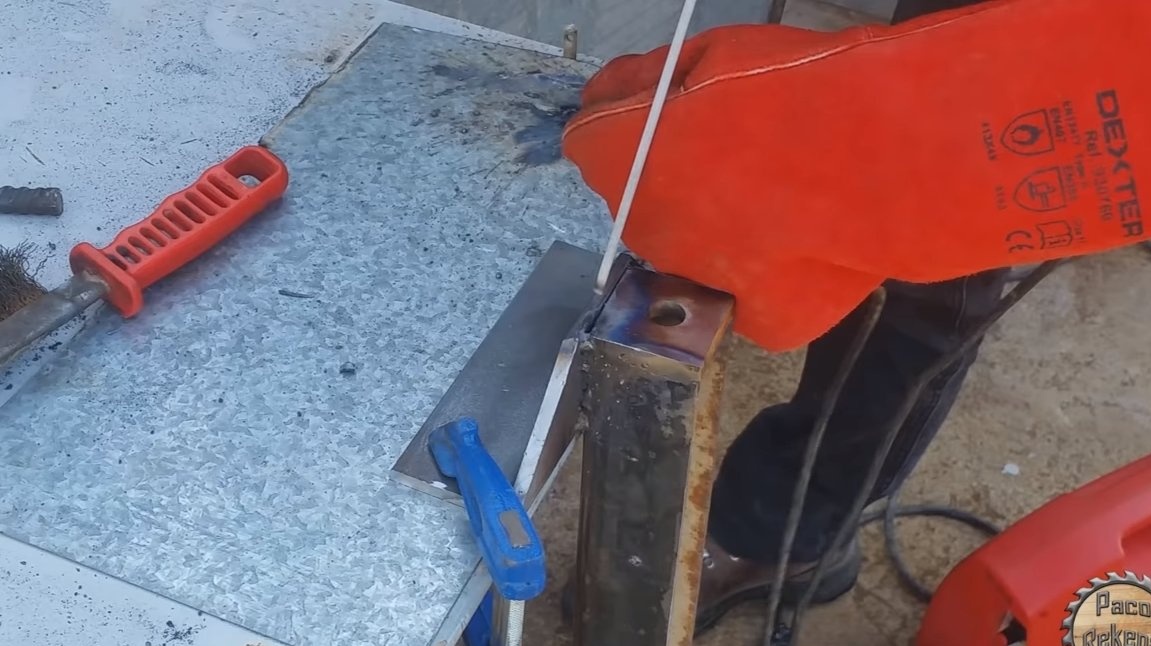
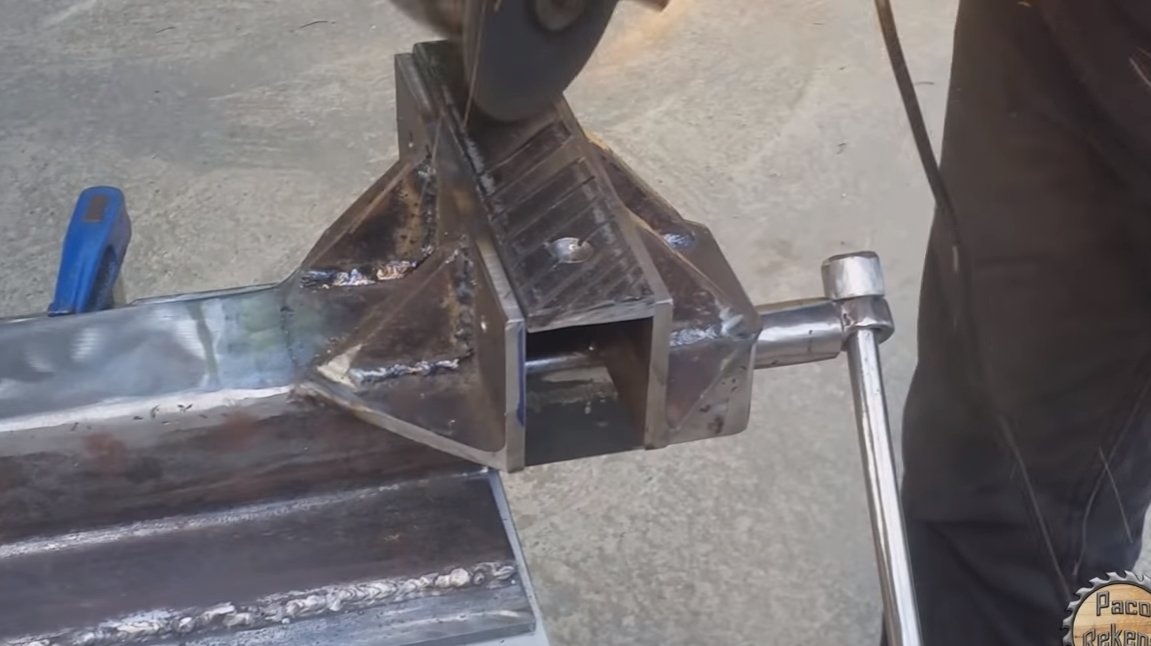
A fixed lip is welded to the base, as a material the author uses a piece of a corner. Well, the movable lip is welded to the end of the channel. We end the channel end with a plate of thick iron, it should have holes for the threaded shaft. This plate will serve as a stop for the threaded shaft.
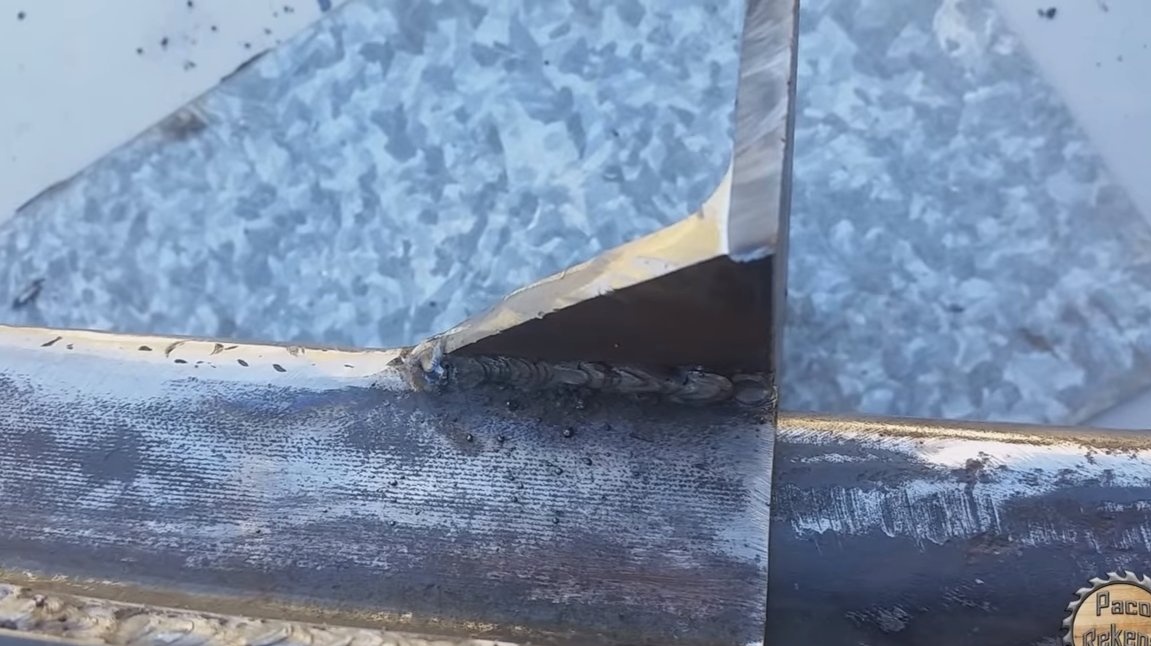
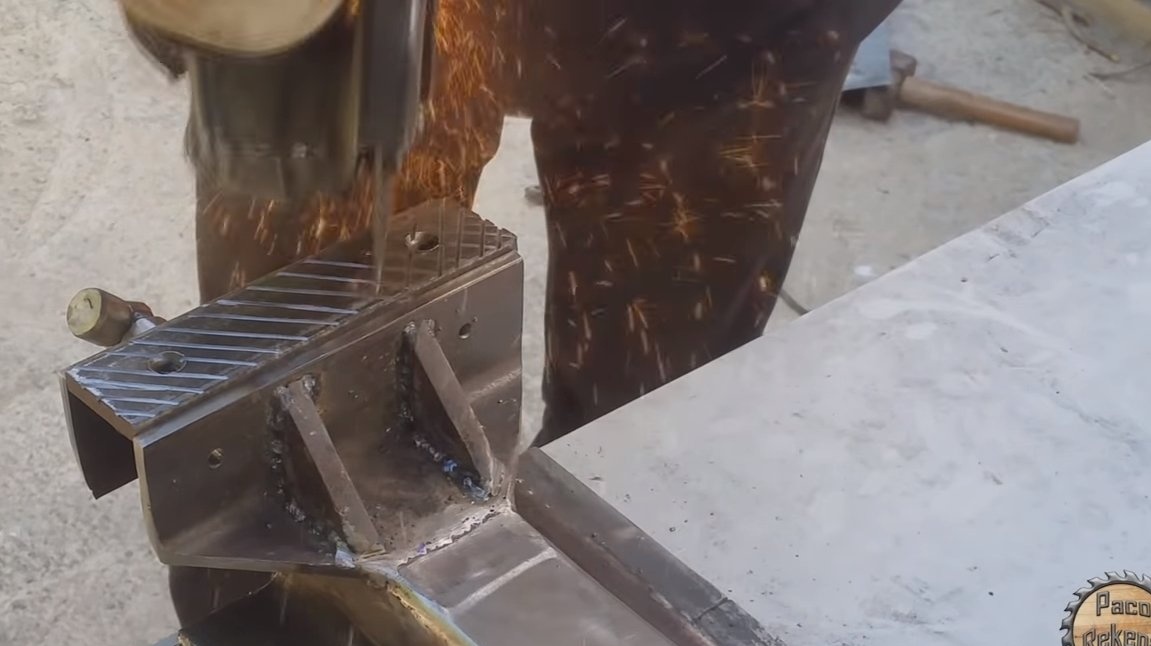
Next, the lips need to be strengthened, cut out triangles from thick sheet metal and weld into place. As far as possible, we clean the welds so that everything looks neat.


Step Four Working shaft
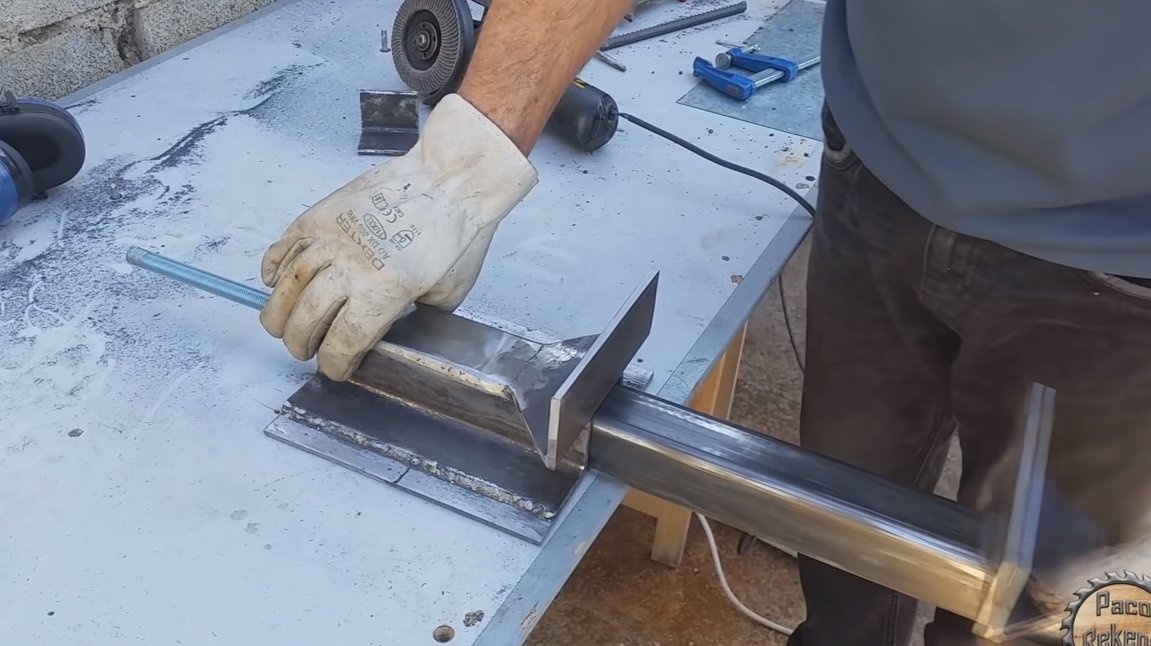
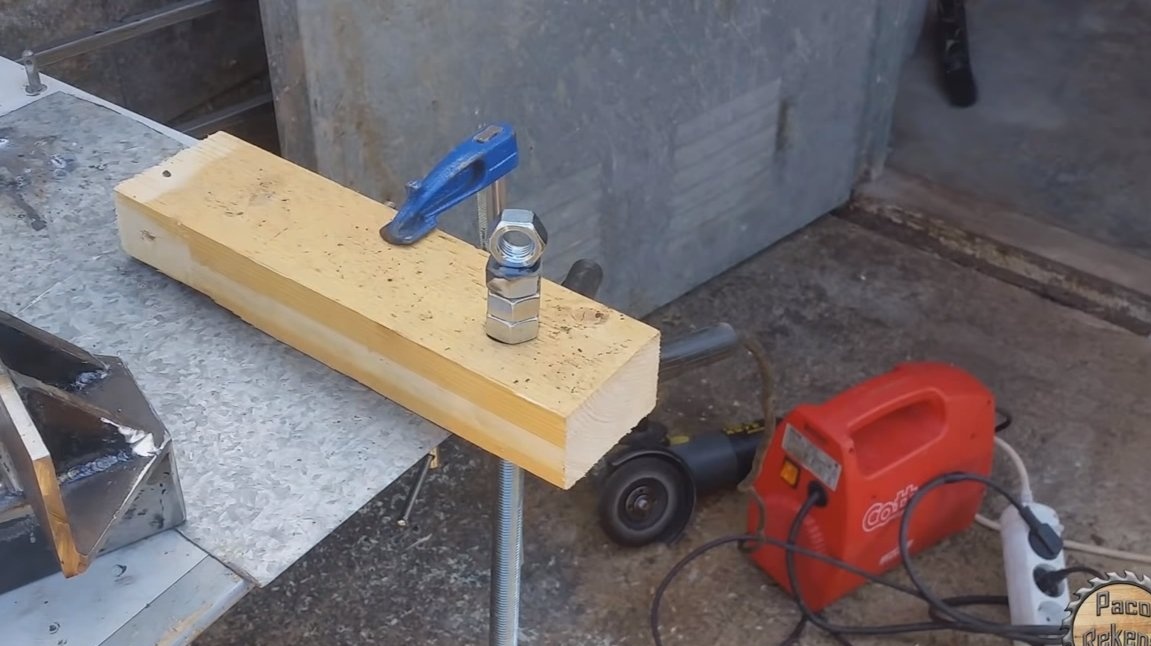
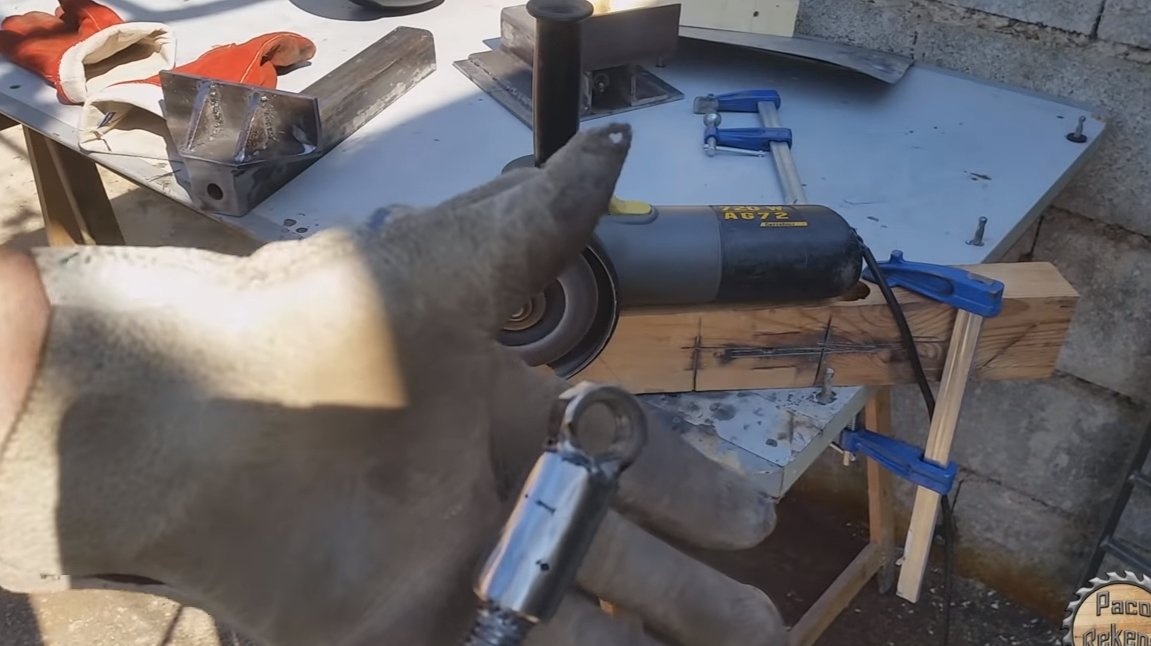
We make a working shaft, in our case it is a threaded rod. We wrap two nuts on the shaft and weld them together, and also weld to the shaft. Then this part is polished by a grinder, this will be the shaft stop. A nut is welded perpendicularly to the end of the shaft, this will be the ear for the handle. As a handle, we use a steel rod, since the iron will bend.
Also, there should be an internal emphasis on the shaft, which will be responsible for pushing the lips apart, we wind the nut on the shaft and weld it. That's all, the shaft is ready, it remains to be lubricated for a long service life and the vice can be assembled. They are already working, but need improvement.


Step Five Lip linings
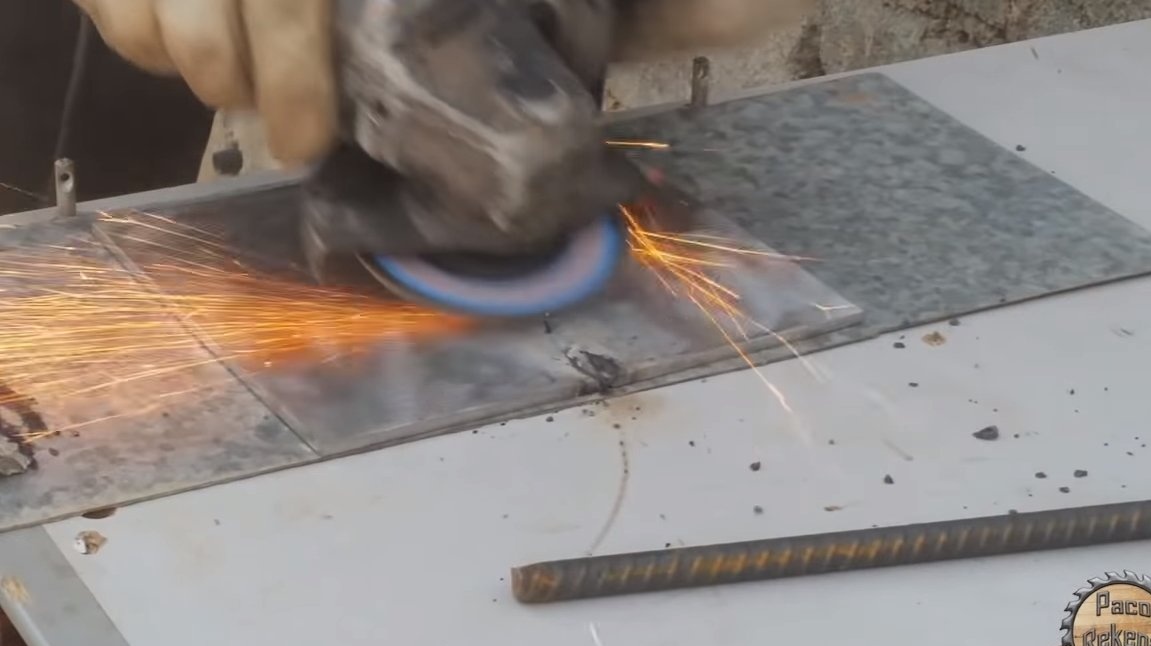
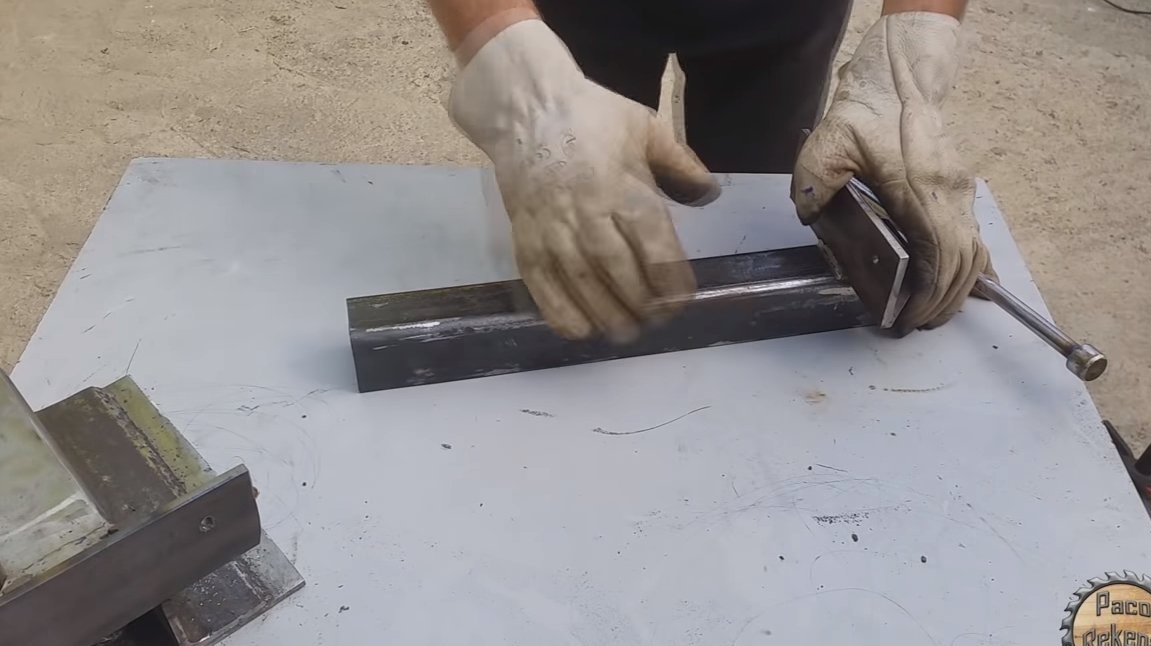
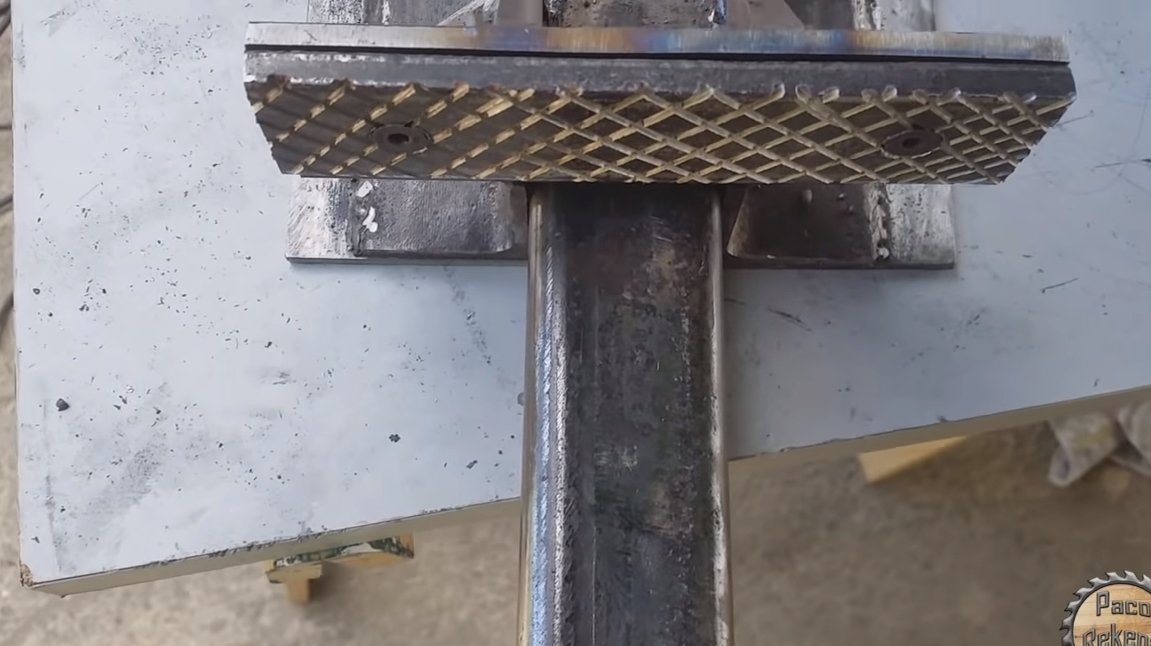
We make overlays thanks to which objects will be reliably held in a vice. For linings, it is recommended to find carbon steel, since ordinary iron is soft and steel parts will not hold well in a vice. We cut out two details and make incisions on them crosswise. As a result, we get excellent linings, drill holes and fasten them with screws to the lips. For simplicity, the author has welded nuts to his lips.


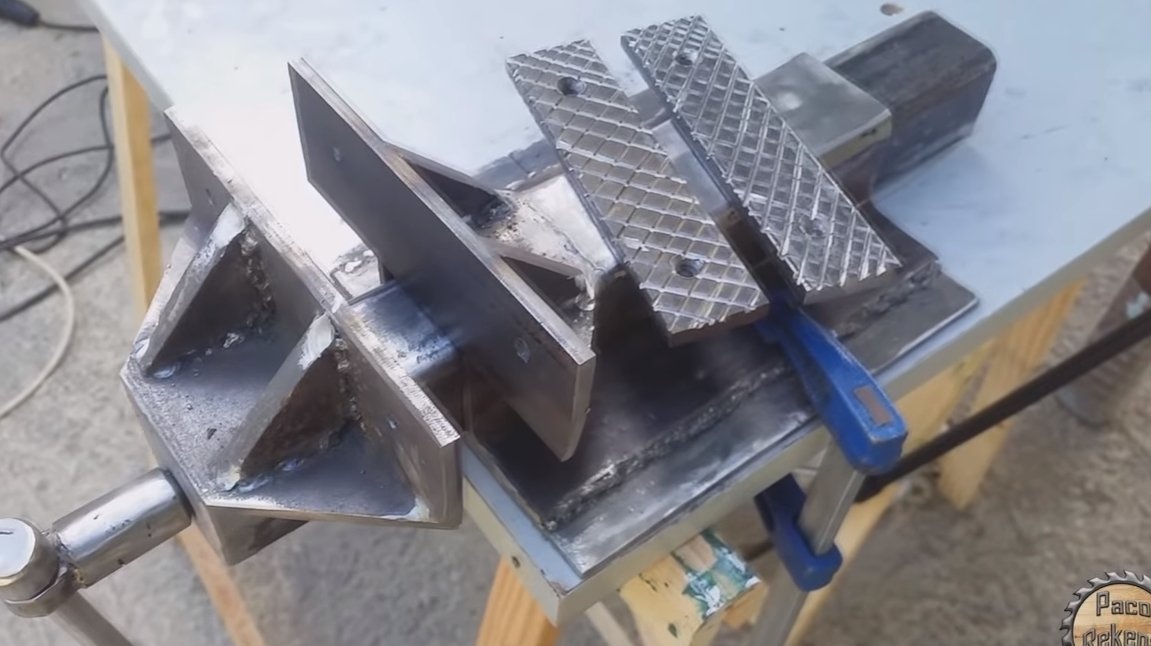
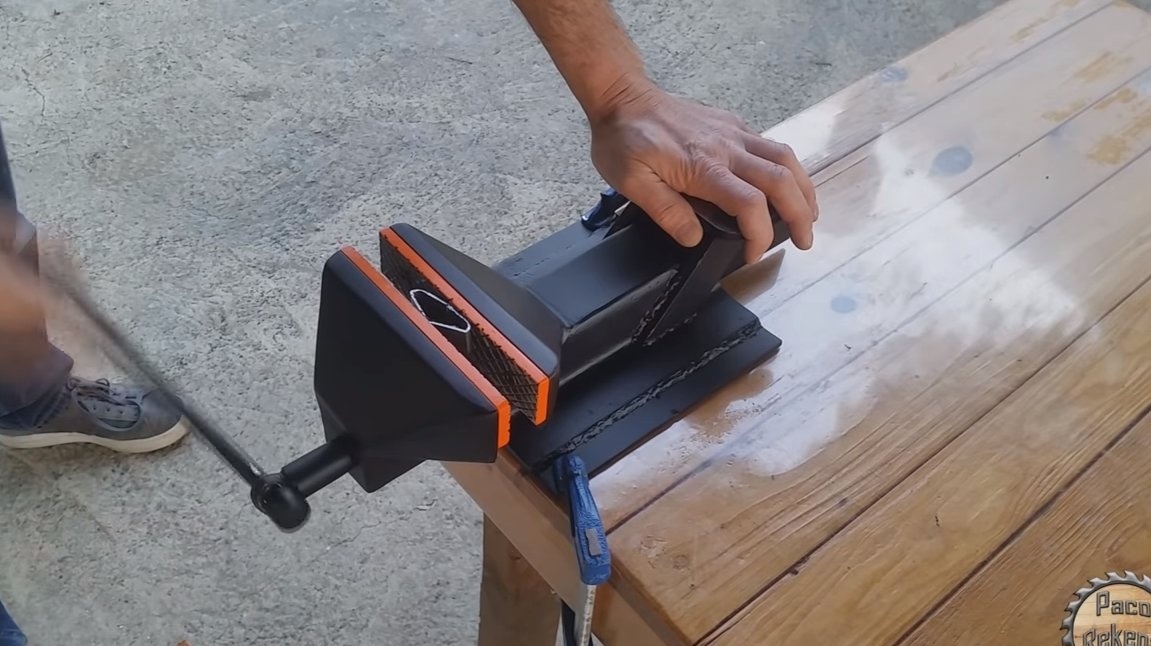
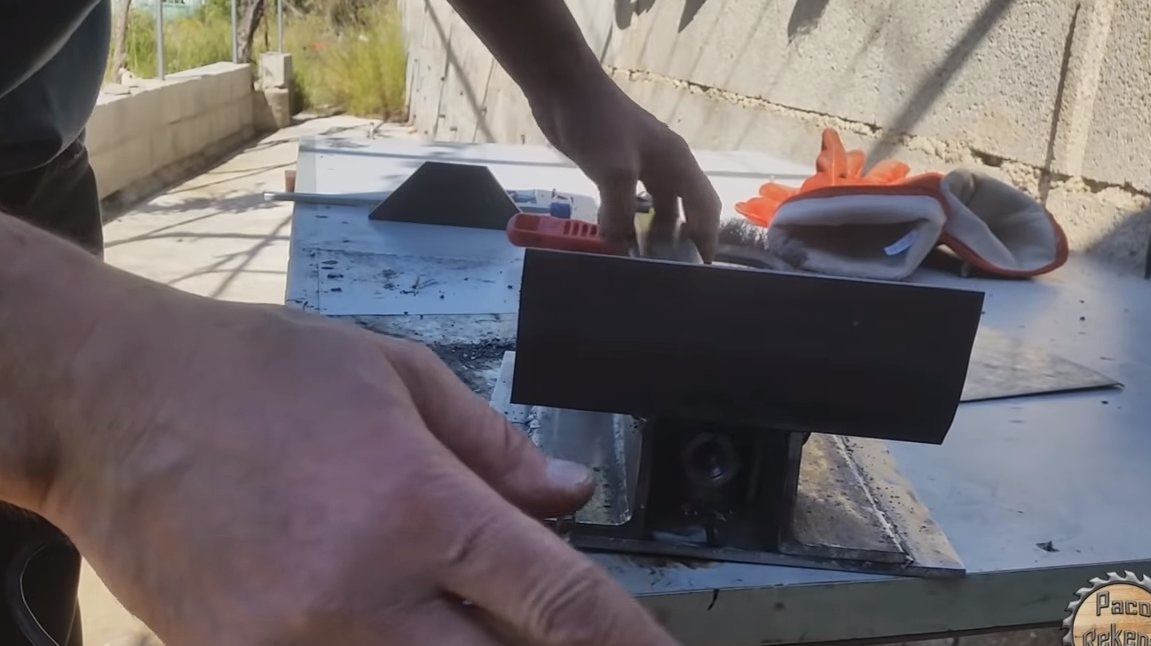
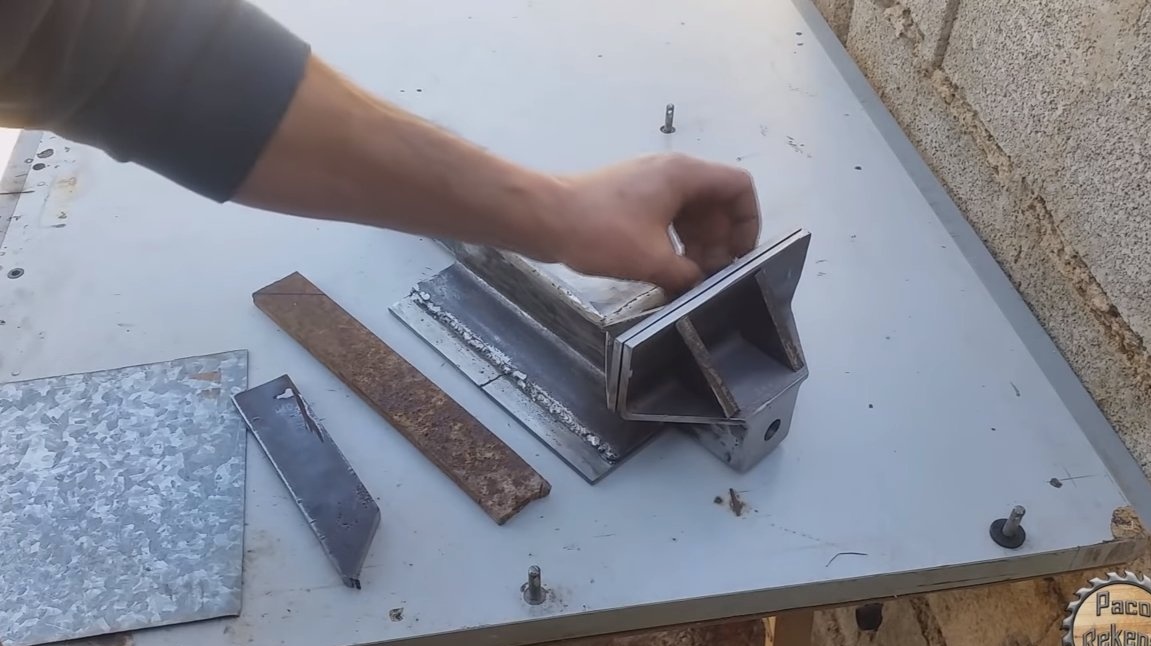
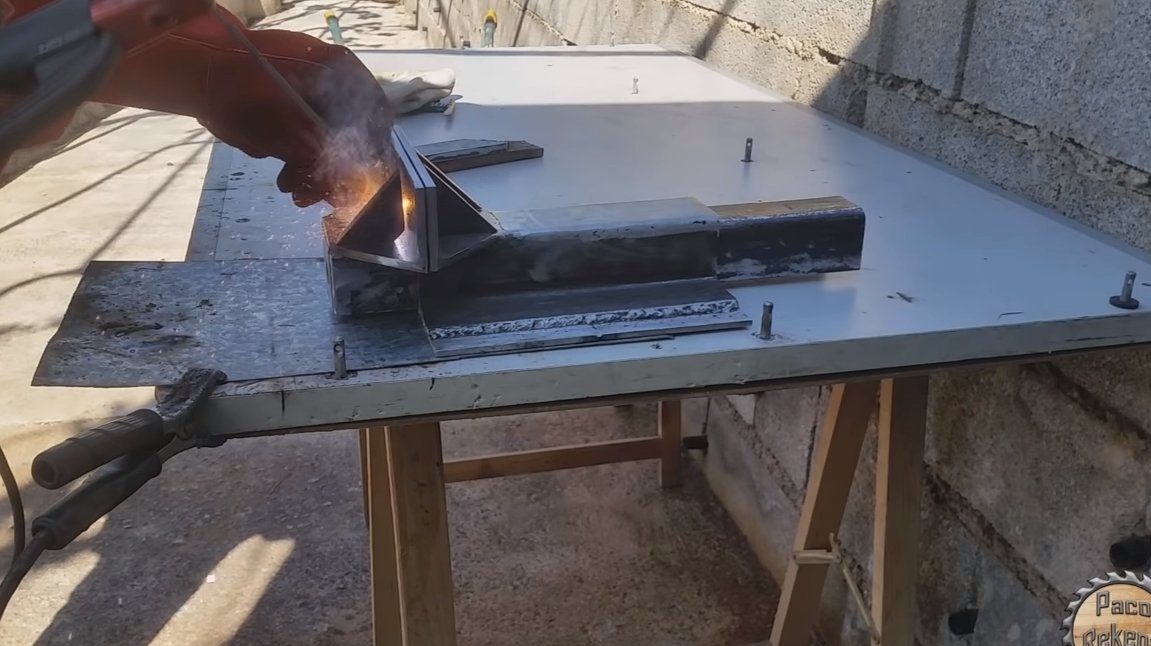
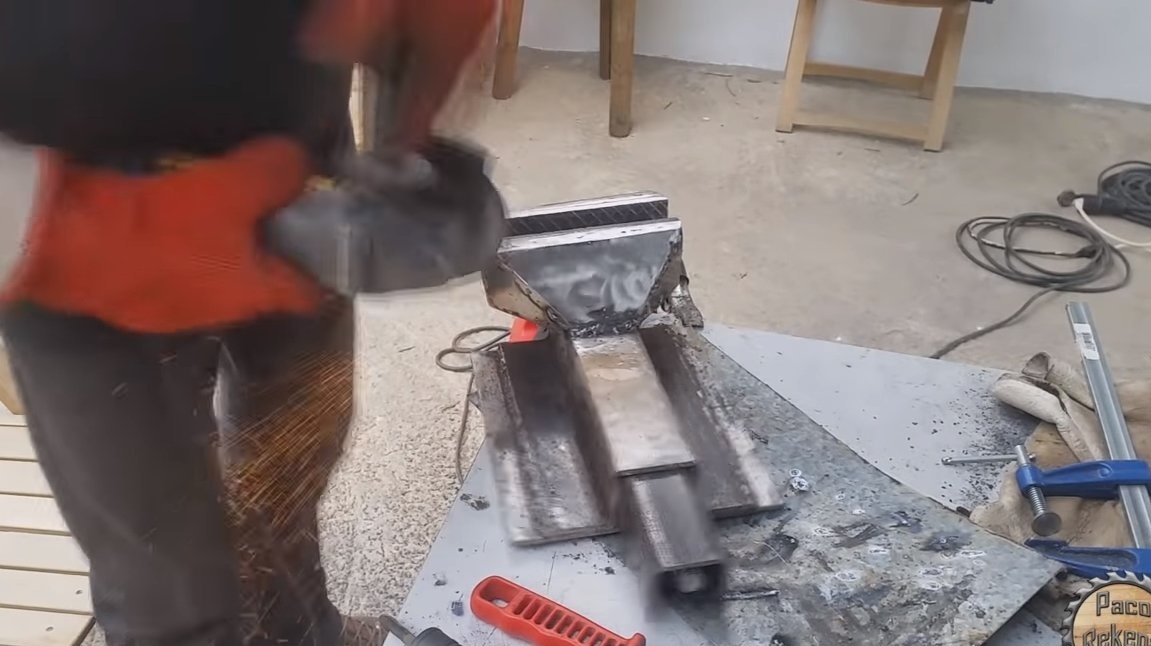
Step Six Lip liner and anvil
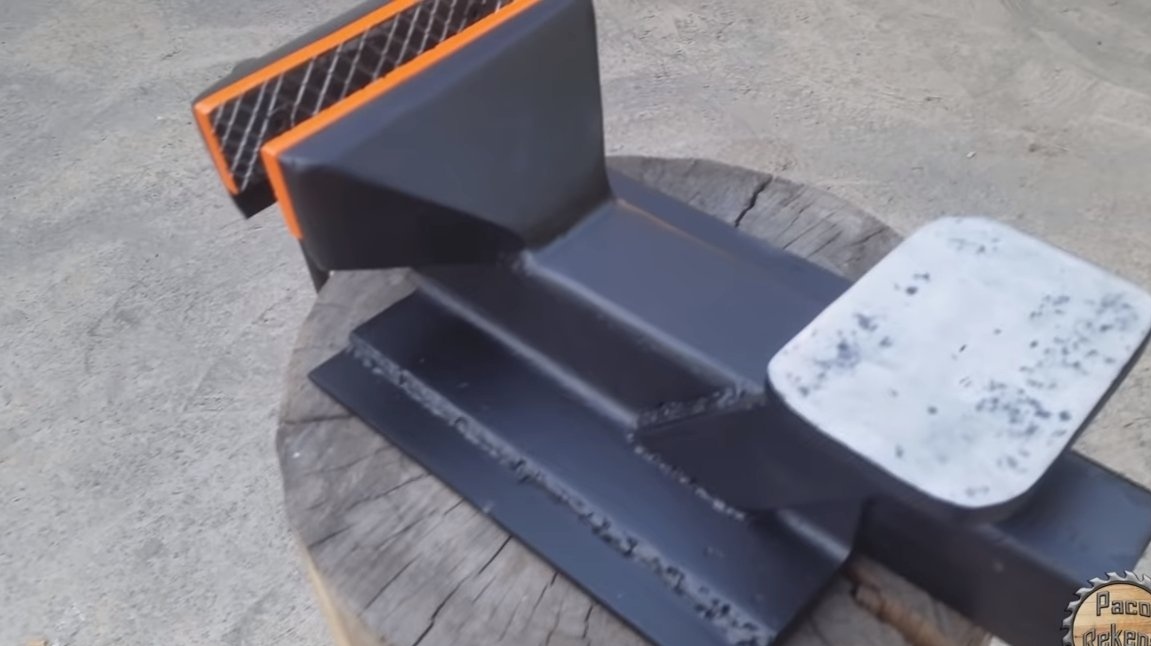
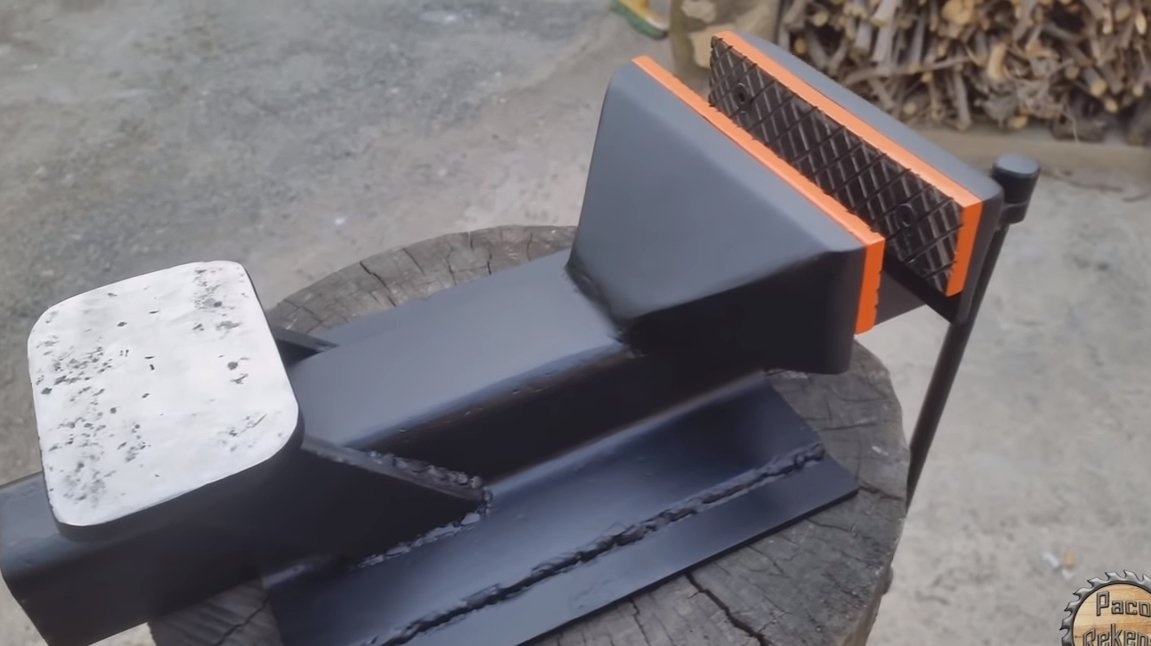
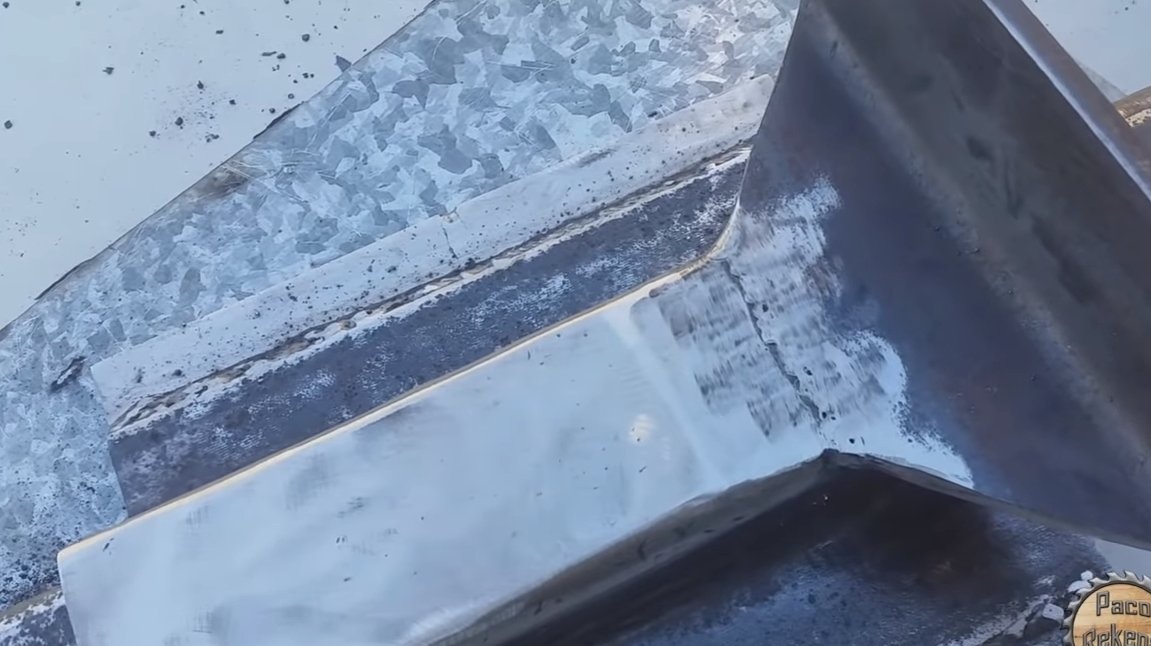
The author decided to additionally sheathe lips with sheet iron, due to which everything looks beautiful, and lips are additionally strengthened. After stripping the welds, everything looks like a solid product.
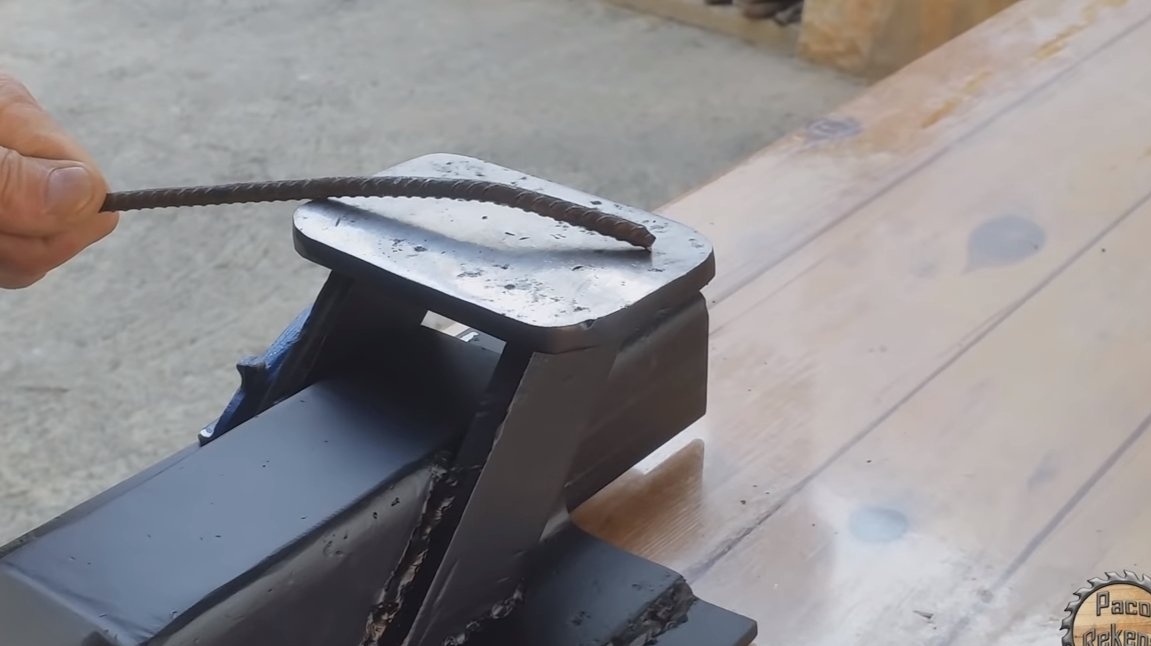
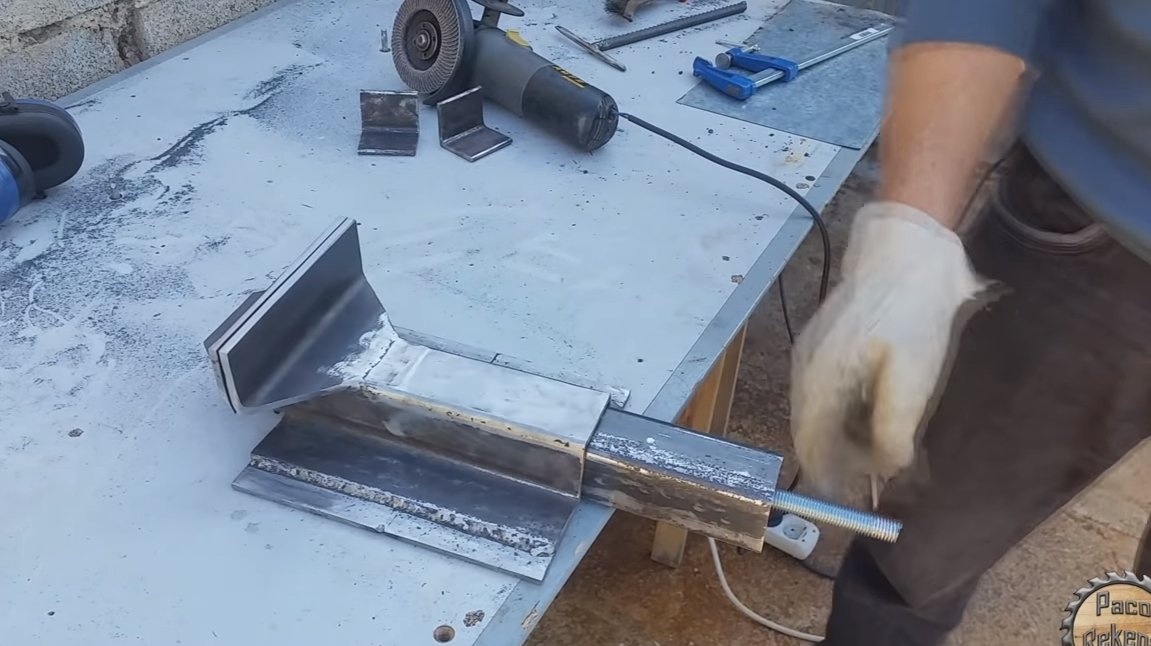
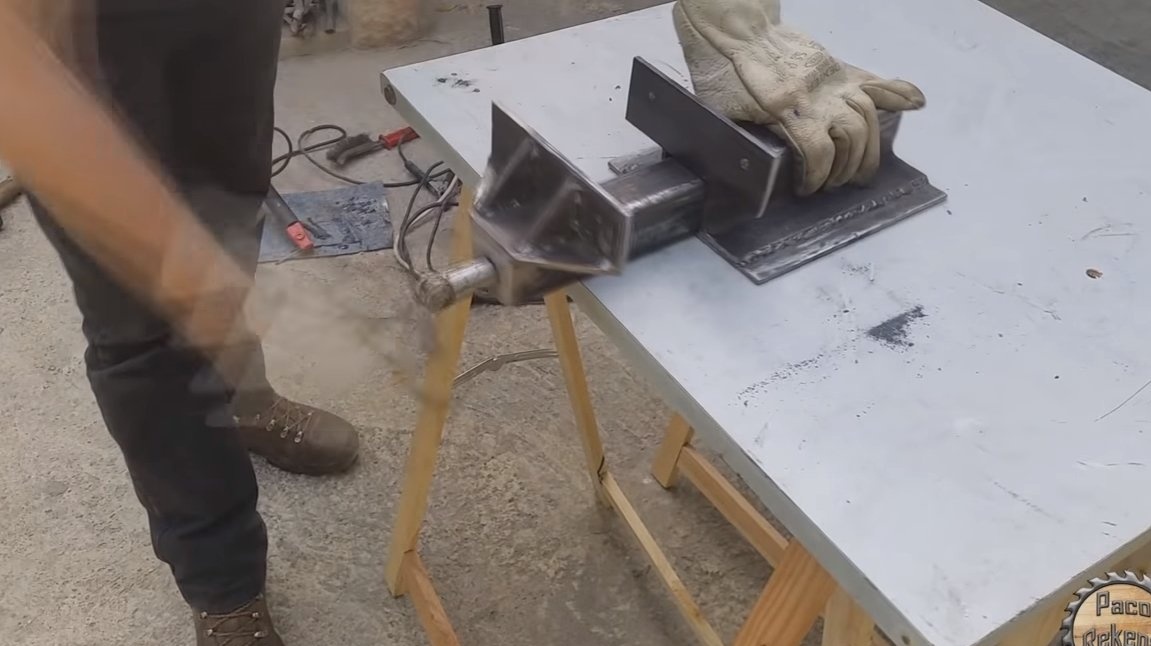
We make for a vice and an anvil, which will align the parts and so on. We weld it from thick sheet iron. At the end of the vise, we clean well to a shine, remove irregularities.


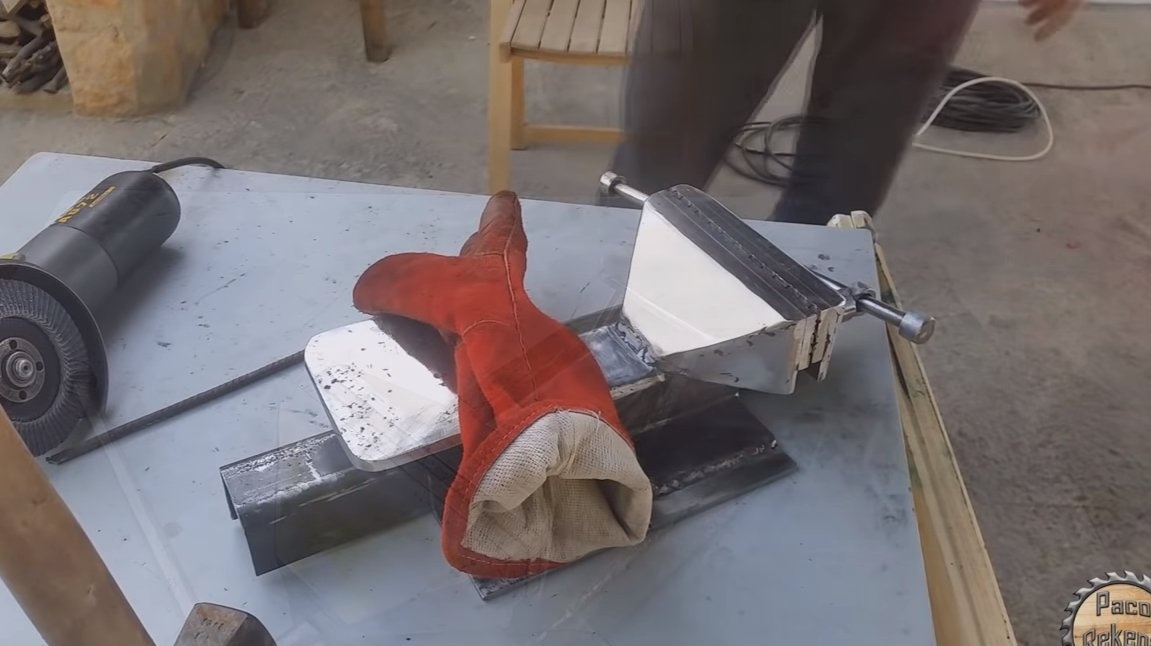
Seventh step. Completion
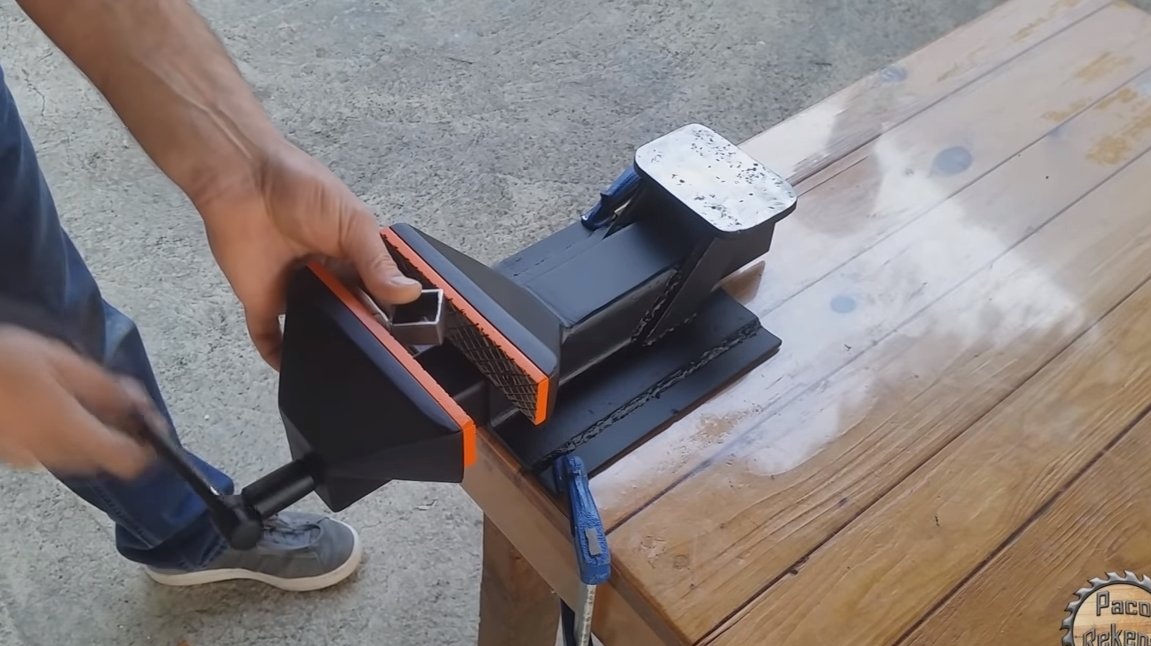
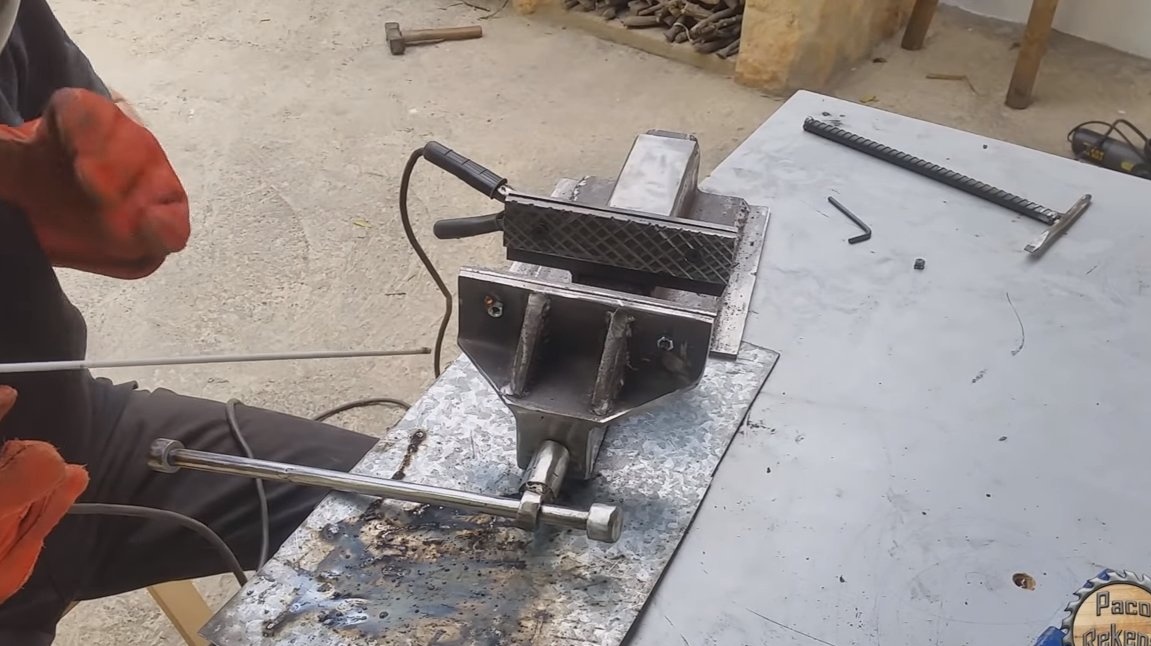
At the end, we paint the vise with metal paint, now the iron will not rust, and the vise will look great. We always lubricate the working shaft, now the vice works easily, and the thread wears out not so fast.
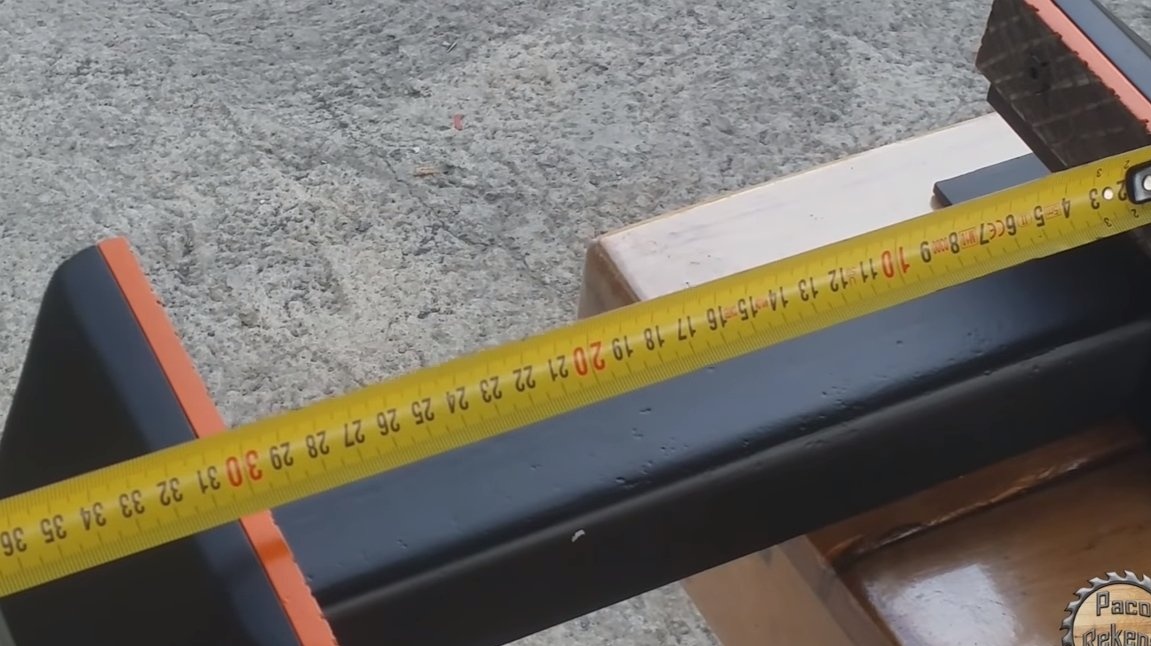
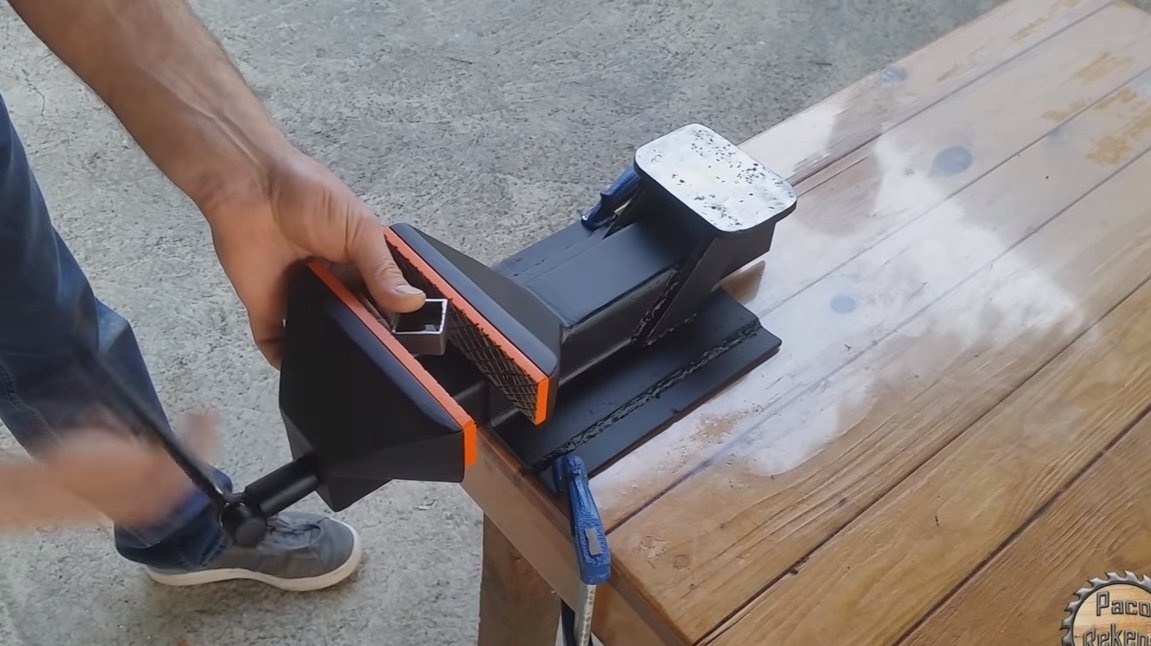
The vise is ready, as an experiment, the author squeezes a piece of the profile pipe. The lips of the vise extend to a maximum of 30 cm. The anvil also works perfectly. On this project is over, I hope you liked the homemade. Good luck and creative inspiration, if you decide to repeat this. Do not forget to share your ideas and homemade things with us!