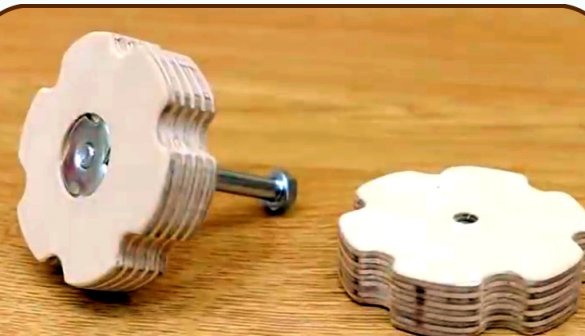
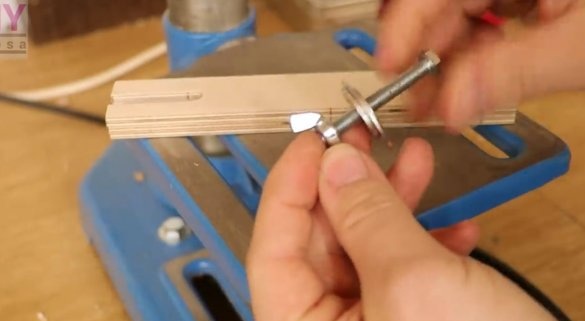
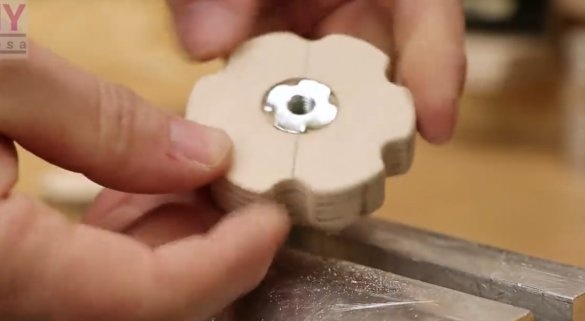
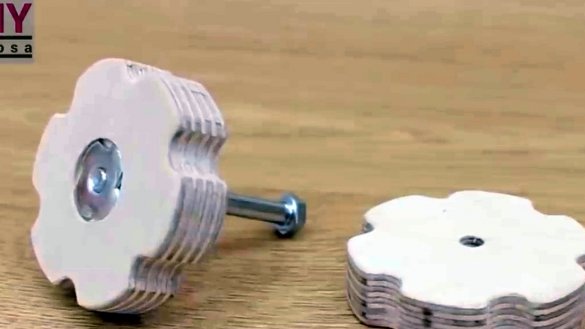
For many different homemade products and tools, a so-called wing nut is often required.
In this article, the author of the thosa YouTube channel will tell you how he made it from sheet plywood.
Materials
- sheet plywood
- Furniture nut for pressing in
- Sandpaper.
Instruments, used by the author.
—
- Drilling machine
—
- Vise
- Feather drills
—
- Grinding machine.
Manufacturing process.
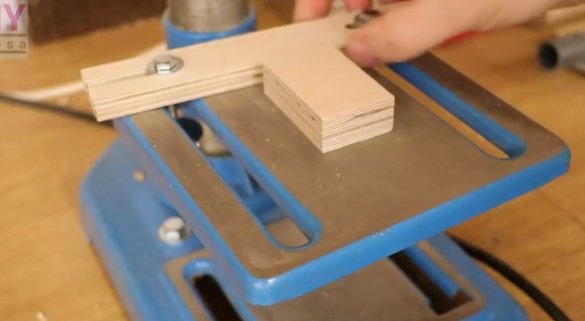
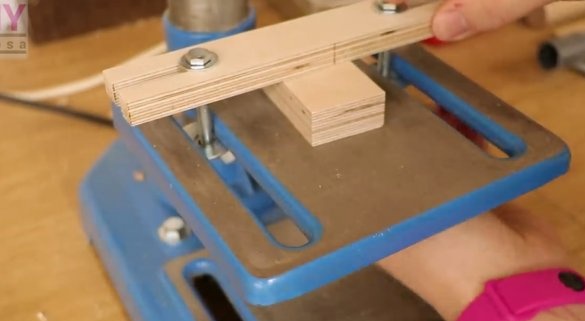
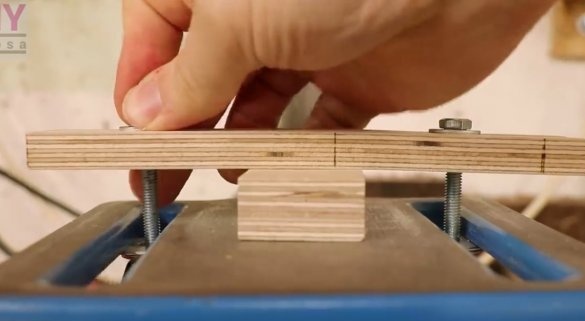
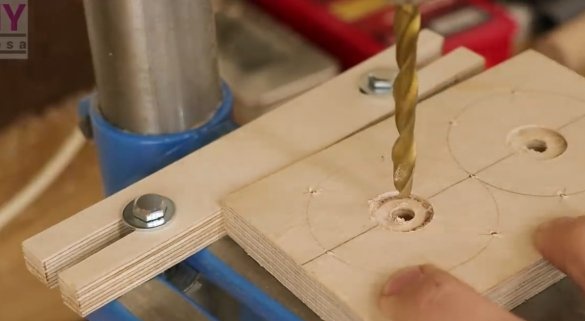
Before making homemade work, the master decided to slightly improve the table of the drilling machine. To do this, he will make a simple emphasis.
Using this strap, you can press the part to the table, or use it as a stop.
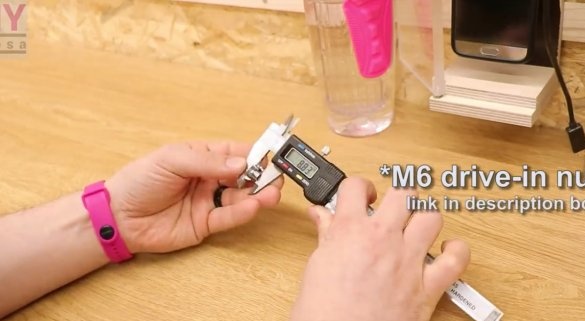
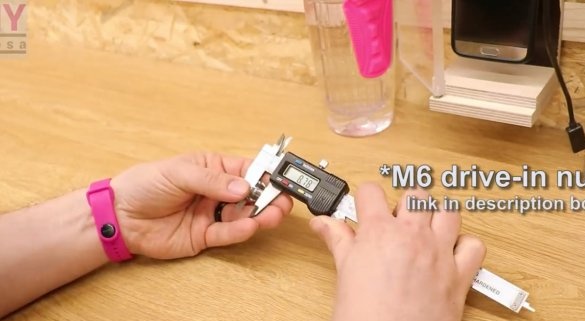
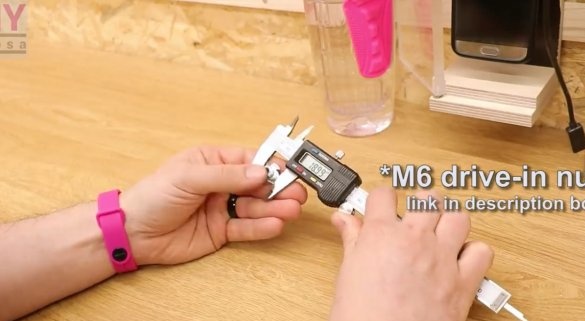
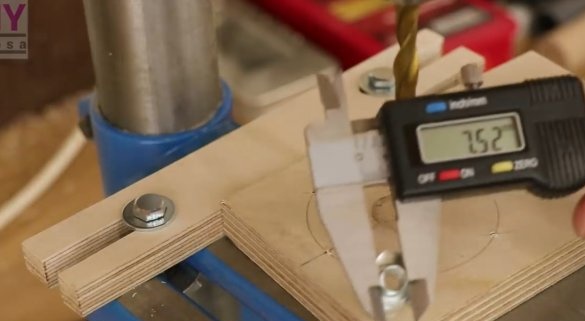
Then the master measures the size of the nut.
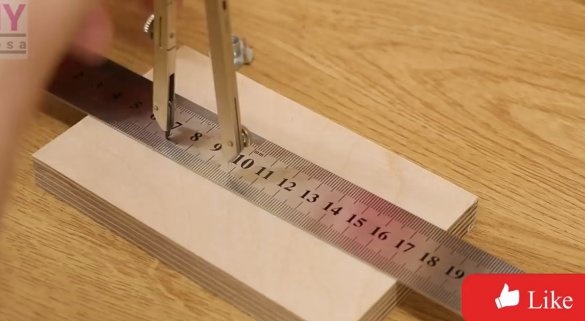
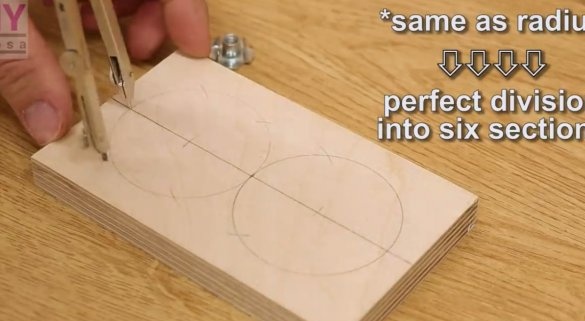
Using a compass, marks future workpieces, and divides the circle into 6 equal parts, the same size as the radius of the circle.
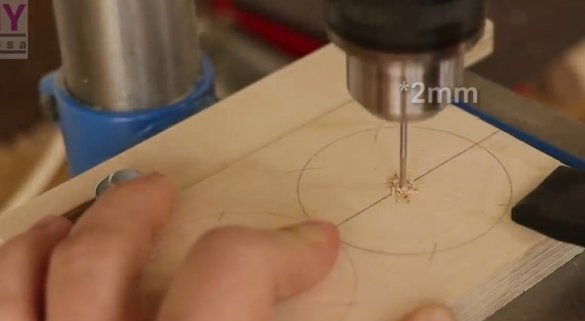
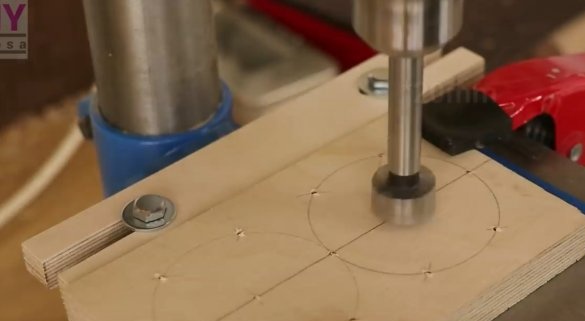
Marks pilot holes with a 2 mm drill. He then drills a 20 mm Forstner drill into the groove for the nut.
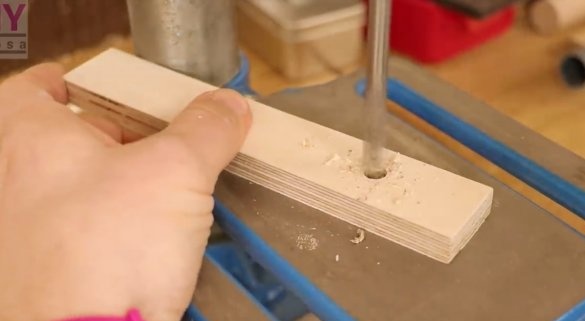
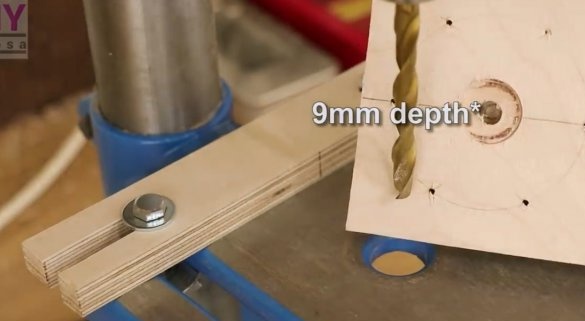
A central hole is drilled with a 7.5 mm drill to a depth of 9 mm.
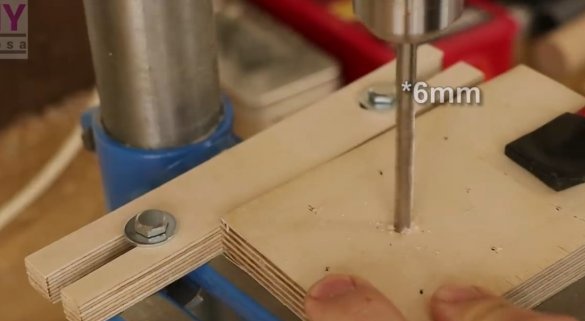
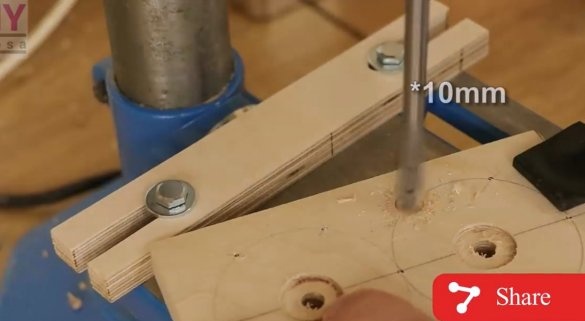
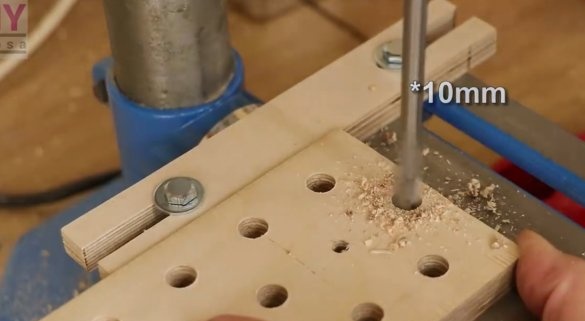
In the center, a hole with a diameter of 6 mm ends. And around the perimeter makes 10 mm holes with pen drills.
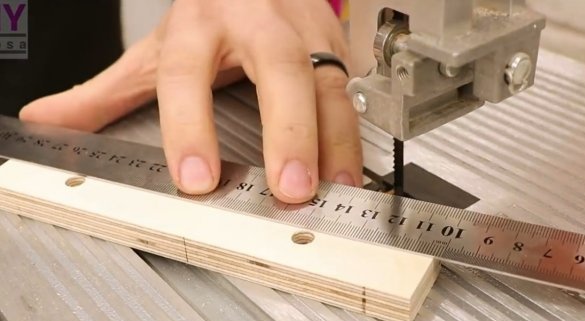
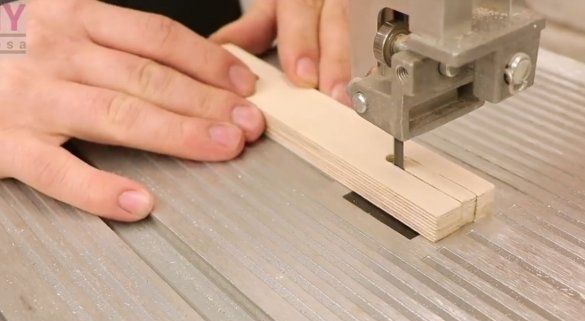
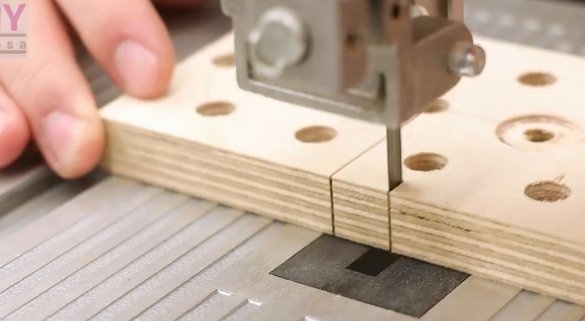
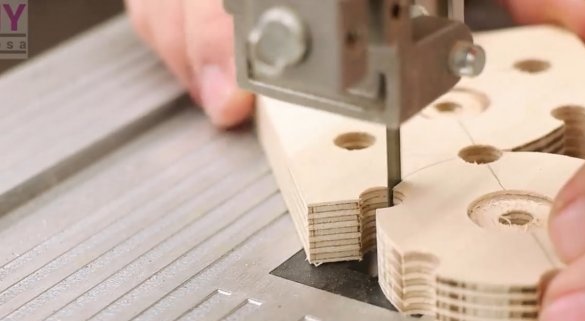
Cuts blanks on a band saw
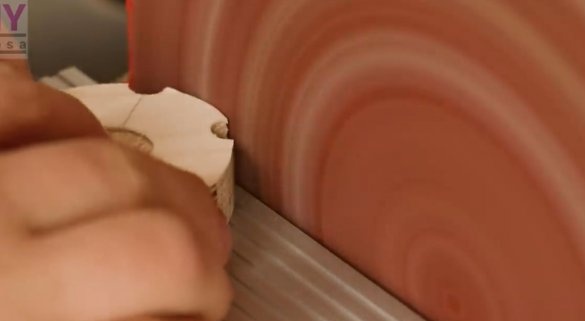
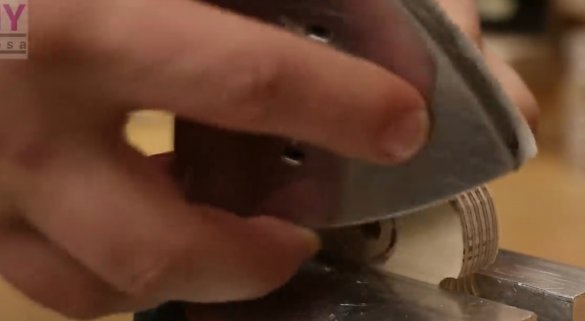
Grinds the edges on the machine, and then manually.
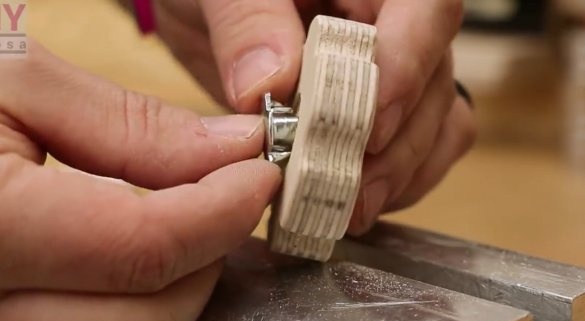
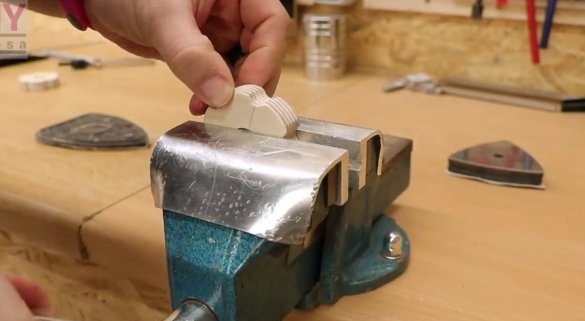
It only remains to press the nut in with a vise.
Here is such a simple technique, and a very necessary thing.
The author also kindly shared the drawings, which you can find by the following the link.
Thanks to the author for the simple idea of making a wing nut!
All good mood, good luck, and interesting ideas!
Author video can be found here.

